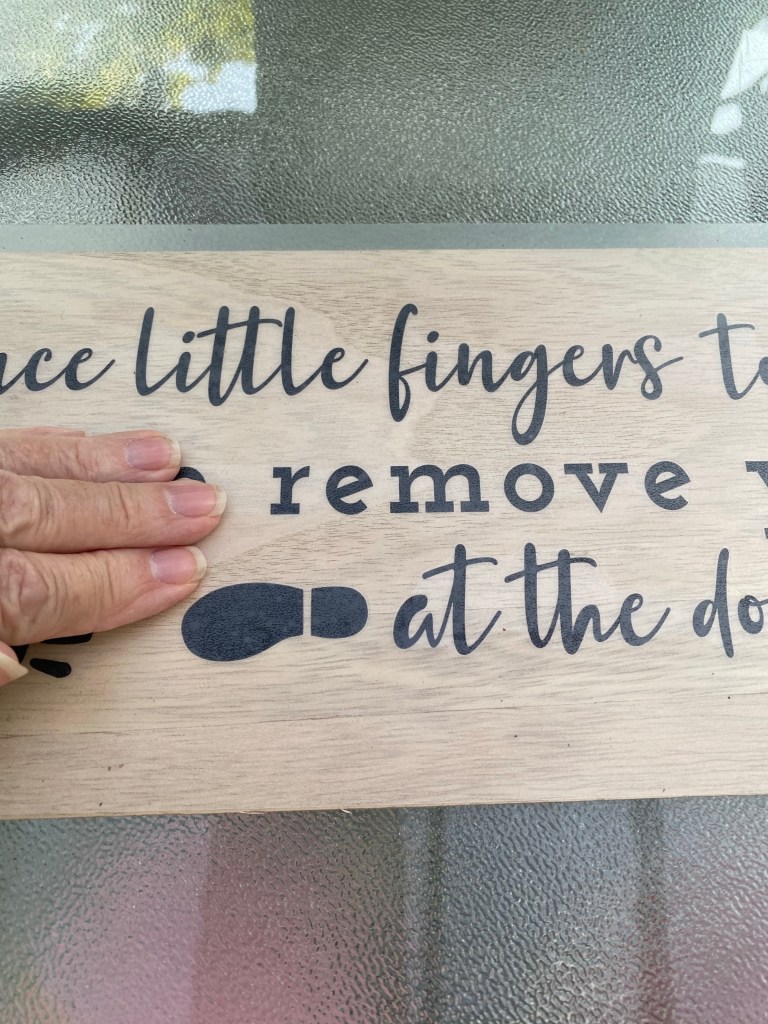
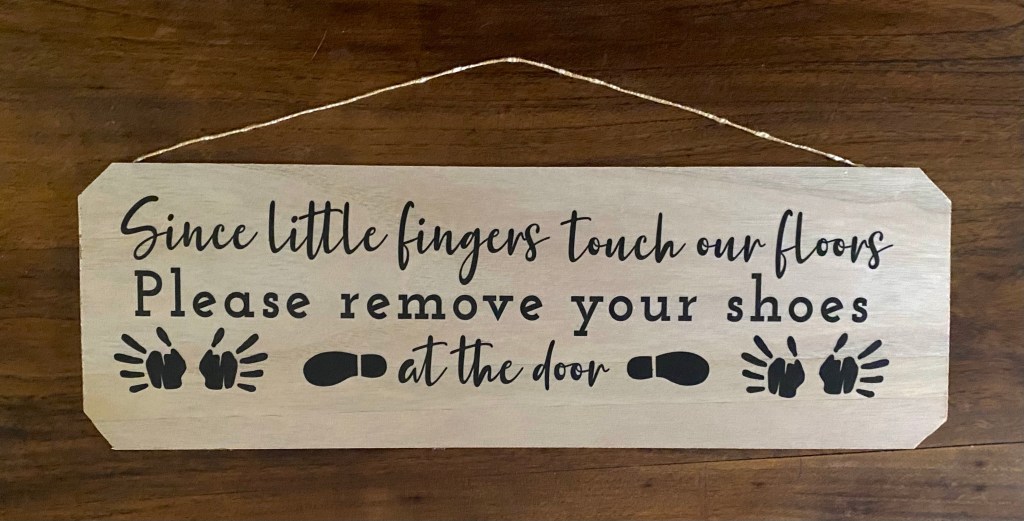
Many people take their shoes off at the door. It seems as though Dollar Tree has noticed this and has started stocking Wall Art politely asking visitors to do the same.
If this is something you practice, I have taken their Wall Art and applied it to a piece of one of their MDF thin boards with a natural wood look.
This board had a pumpkin cut out on it. I measured how long it needed to be and removed the pumpkin area. I scored it with a box cutter and broke it off, then sanded the edges.
I removed the extra vinyl on the wall art and then used transfer paper to pick up the words and images.
I notched the edges of the board using a pair of scissors for a more decorative look and added a decorative string to hang it.
Everyone is always using high end stores as inspiration and creating projects that sometimes turn out better than the original. I did that this evening, and even I was blown away by the results.
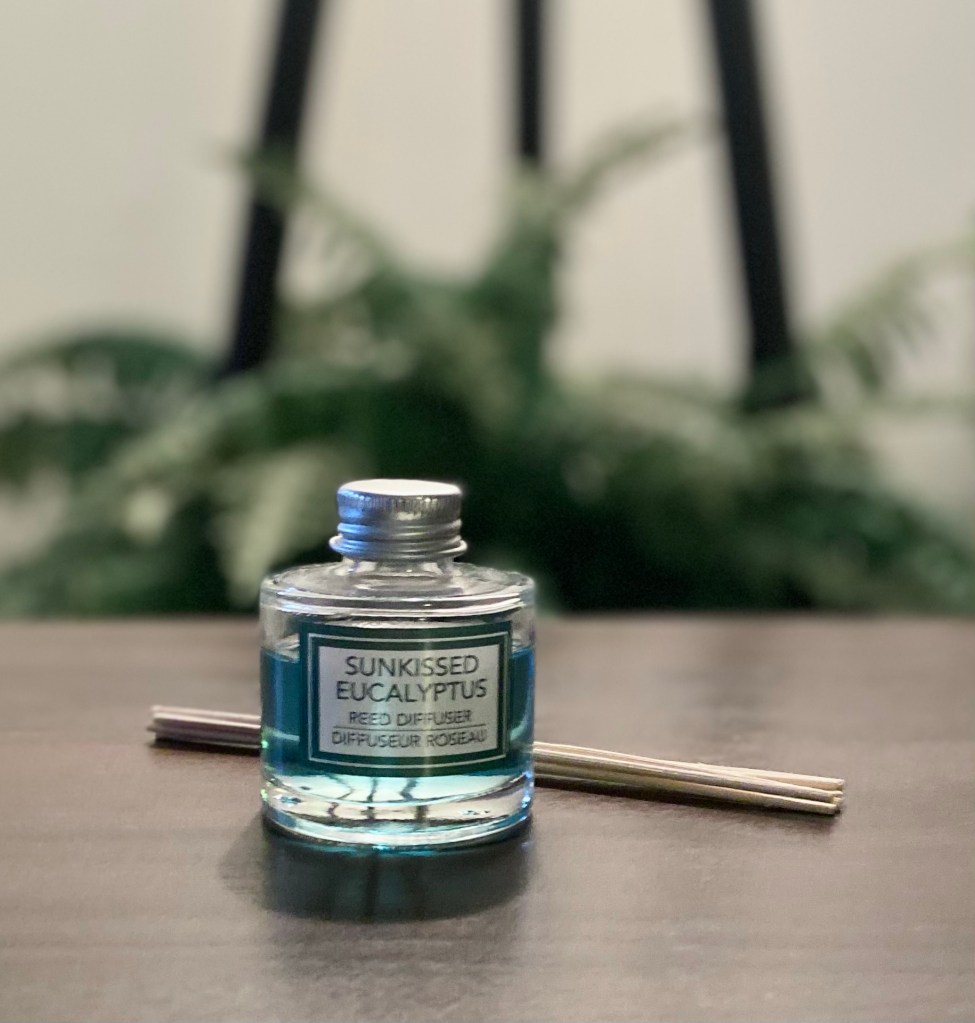
It all started with this little Reed diffuser from Dollar Tree.
I was putting away some bags with Dollar Tree purchases and got distracted. Lol
First of all, I’ve had a little gold metal riser for a year or two. I never knew what I would do with it. Today, I used it to put my hot melted candle wax jars on, so it was handy (I hadn’t put it away yet, either. 🙄)
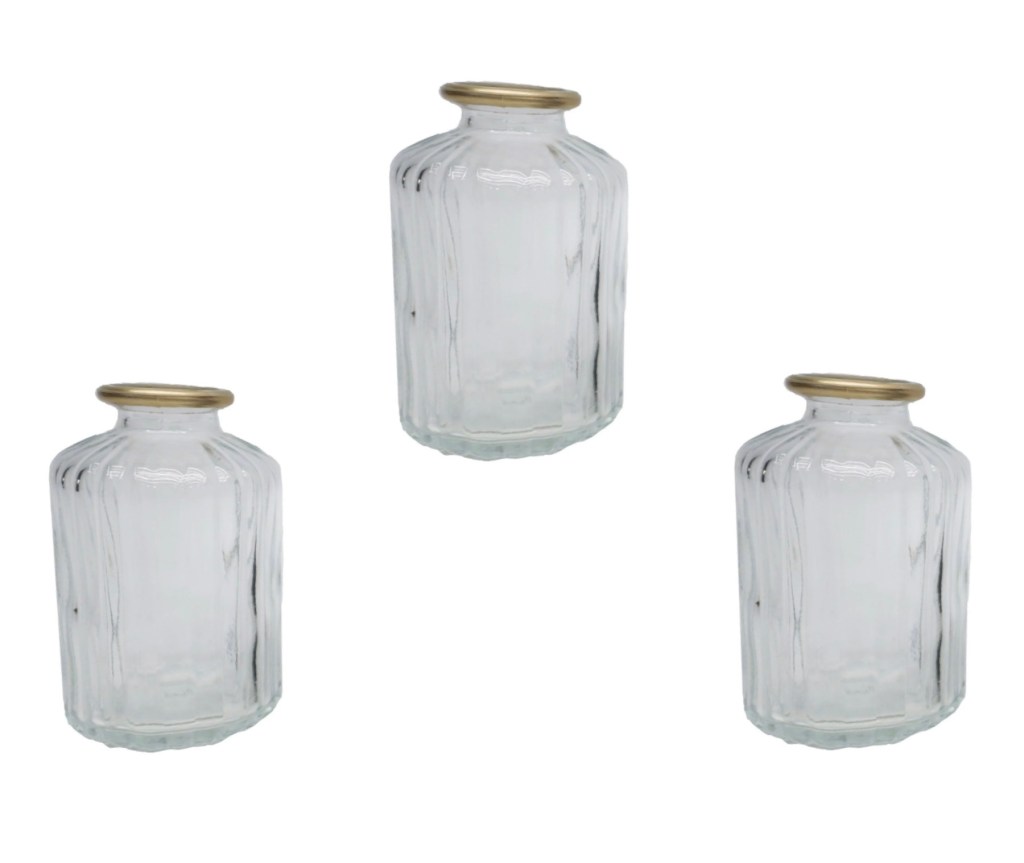
I took three little glass vases out of one of the bags. They were the only three I saw at Dollar Tree one day so I got them, not knowing what I’d use them for, either. I really liked the bit of gold around the top of them.
I also found two packages of reed decor. I have found these before and have them in my upstairs bathroom in a vase. I really like the neutral look of them.
Then I remembered I bought a Reed Diffuser at Dollar Tree awhile ago and hadn’t used it yet. It had the Eucalyptus scent.
So, of course, I had to act on an idea that came to me.
I added some RubnBuff on the rims of the vases to enhance the gold a little more and also added it to the edges and feet of the riser.
I poured the liquid from the diffuser evenly into the three jars and divided up all the reeds into the jars, making sure I saturated the ends well. Then I arranged the jars on the riser. They fit perfectly!
I’m so glad I stopped what I was doing and put all these things together. I really like how this turned out! It’s so much prettier than just the little Reed Diffuser all by itself. It looks and smells perfect in my downstairs bathroom.
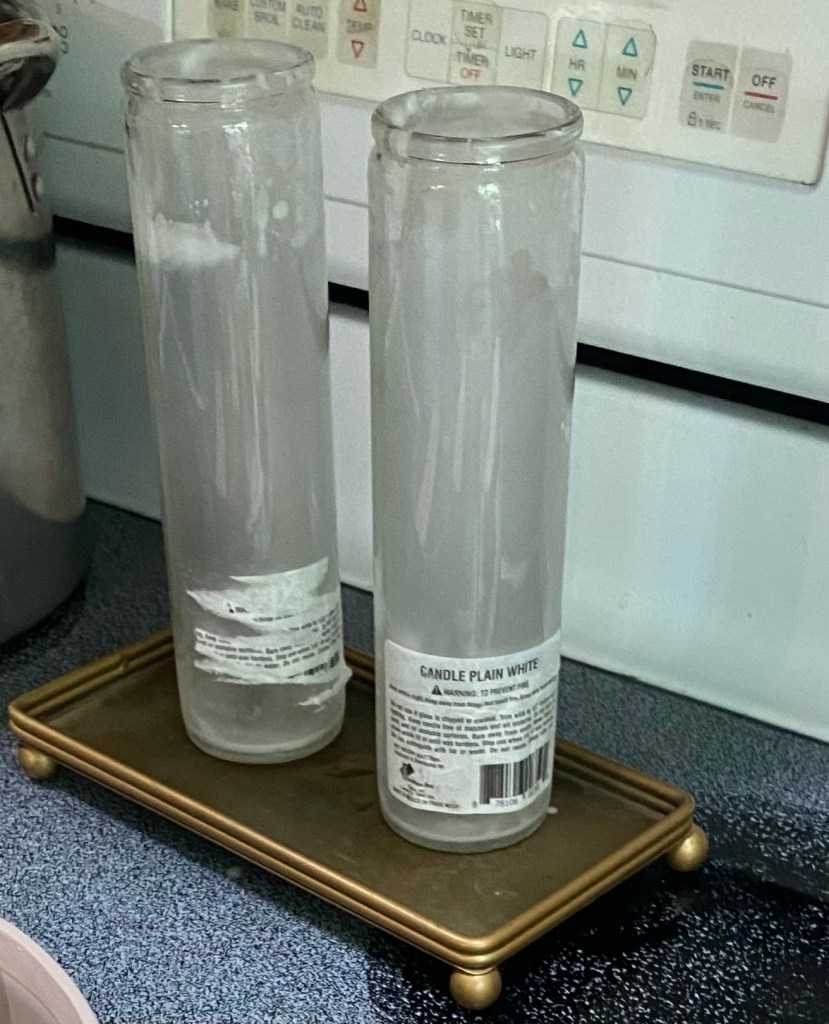
I’ve been seeing crafters use the tall Dollar Tree candles and melt them to create new candles in pretty containers. I had everything I needed to try this out. I am thrilled with the results. In fact, I shared the one I made for myself on my Facebook page and already have a request to make another.
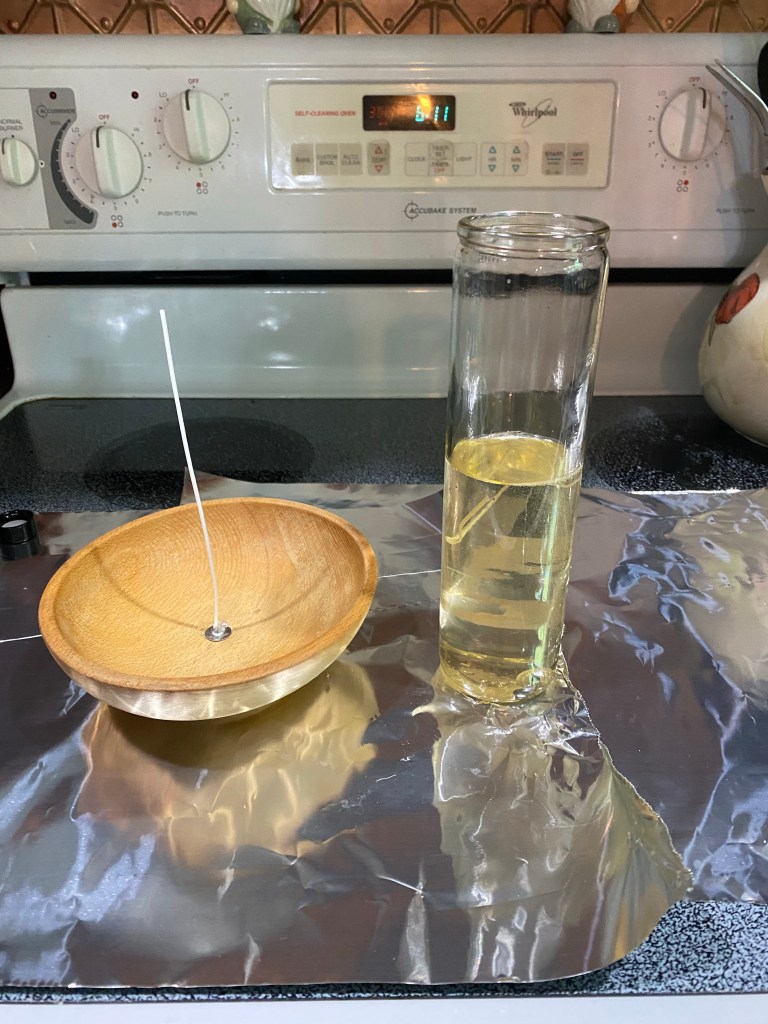
The candle in the glass holder is from Dollar Tree. I ordered wicks from Temu and I had this wooden bowl. I love thrifting wooden bowls so I had several to choose from. The fragrance oil is “Egyptian Musk”. I love the fresh clean smell. I found it on Amazon.
I had seen many crafters stand the candle in a pan of water and put it on the stove on low until it melted. Today, though, I saw a technique of placing the candle on a cookie tray in the oven at 300°. It took about 18 minutes to melt mine.
I hot glued the wick to the bottom of the bowl while the candle was melting and got it ready for the wax.
It is ready to pour.
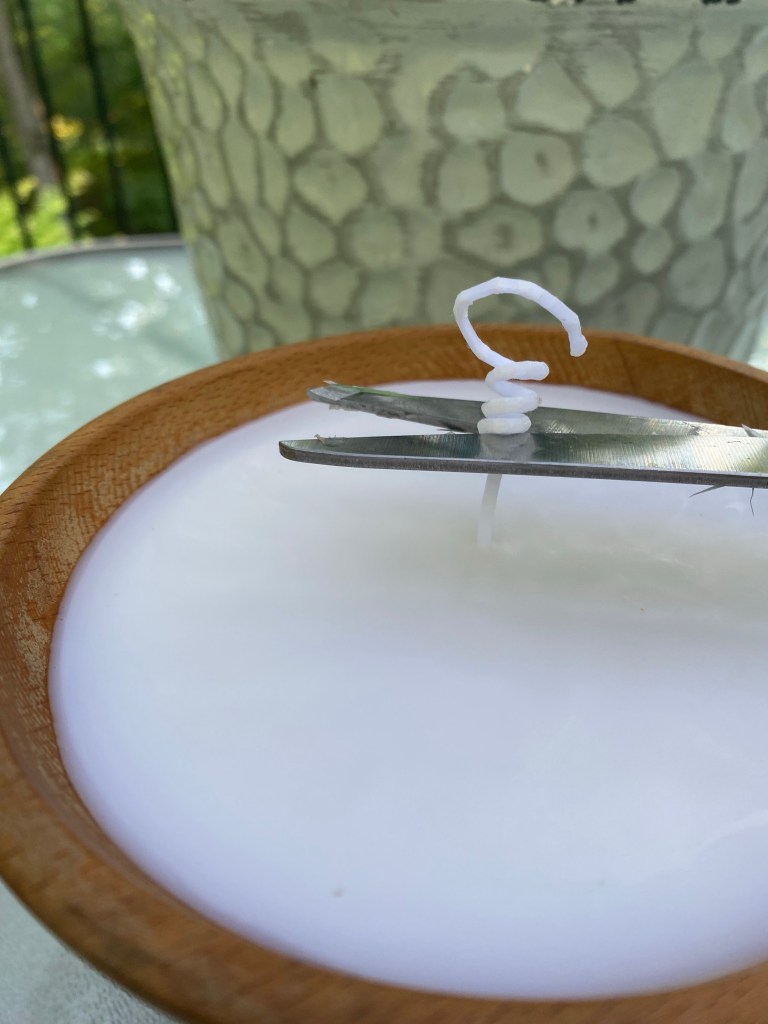
After I poured the wax into the bowl, I added two capfuls of my fragrance oil and stirred it around a bit with another skewer.
I should have curled the extra wick around a skewer and laid it on top of the bowl to keep the wick upright, but didn’t remember to do that until after I poured the wax. Next time I will do that before pouring.
I then let it cool and trimmed the wick.
I love how my candle turned out! I can’t wait to make more!
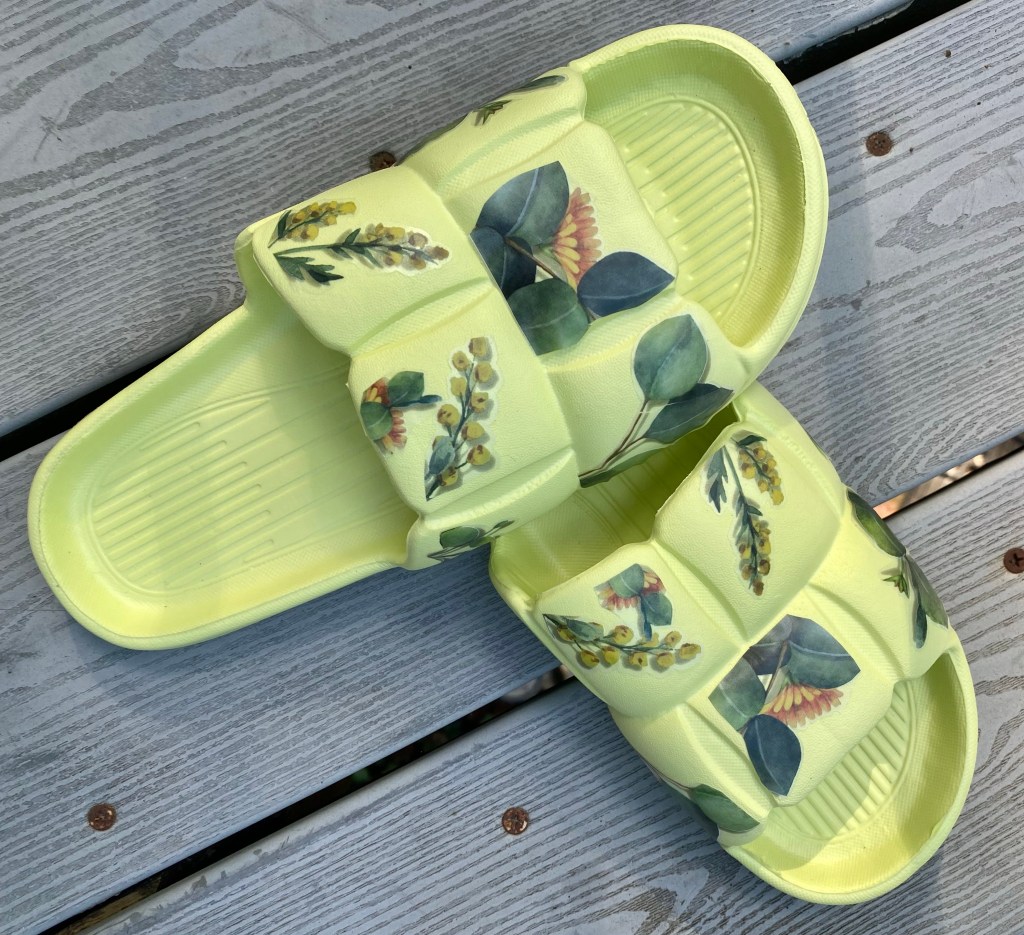
I have been experimenting with adding designs on some rubber bath slippers I bought on the Temu app. These were a great buy, but I am also seeing these at Dollar Tree, Walmart, Hobby Lobby, etc. Today’s experiment is applying rub on transfers to them. This has become my favorite way to give bath slippers a unique look.
Today, I’m highlighting the rub on transfer technique because I love how they turned out and I believe this to be the most durable method. I did seven pairs this way, once I did the first pair using the rub on transfers. I used Dollar Tree rub on transfers and a set from Temu, but any brand should work just as well.
I know they are super durable because I applied one of the transfers where I didn’t want it on one pair and I couldn’t remove it. I tried scraping and picking it off with my fingernail and tried using soap and water. I couldn’t budge it. So, I ended up applying another transfer over it. I actually like the shadowed look it made. 🙂
These are really easy to apply, especially if you have used rub on transfers before. If you haven’t, they remind me of the type of stickers when I was young that you would lay down on a piece of paper and they rub over the top plastic piece with a pencil and the image would transfer to the paper. That’s it!
I like to keep all the bits and pieces of the rub on transfers I don’t use on a project and use them another time. Today was that time. I picked out the ones I wanted to use and a pair of pink slippers and then started applying them to the different sections on these slippers.
I cut the first piece I wanted away from the sheet. It has a white backing on it to protect the transfer. You don’t want to remove that white backing yet as you don’t want the transfer sticking to anything until you are ready to use it or you will ruin it.
Then I removed the white backing, placed the transfer where I wanted it and used a flat stick I had that came with another type of transfer and rubbed on the plastic until the image released. A popsicle stick or even your fingernail would work, After it releases, I then used the plastic sheet to “burnish” it into the rubber, meaning rubbing it in to make sure it adhered well.
That’s all there is to it! I continued adding transfers to each section. I applied a little Wise Owl Salve (or any clear wax would work) to protect the transfer, but I really don’t think it is needed.
Examples are below of my other experiments…. decoupaging napkins (I did another blog post on that technique) and using Dollar Tree Wall Art.
The first experiment was with decoupaging napkins. They were pretty and turned out nice and I wear the pairs I made myself around the house all the time. They were fun to make and fun to wear. They do not slip off your feet at all. Here’s a link to my blog post on them.
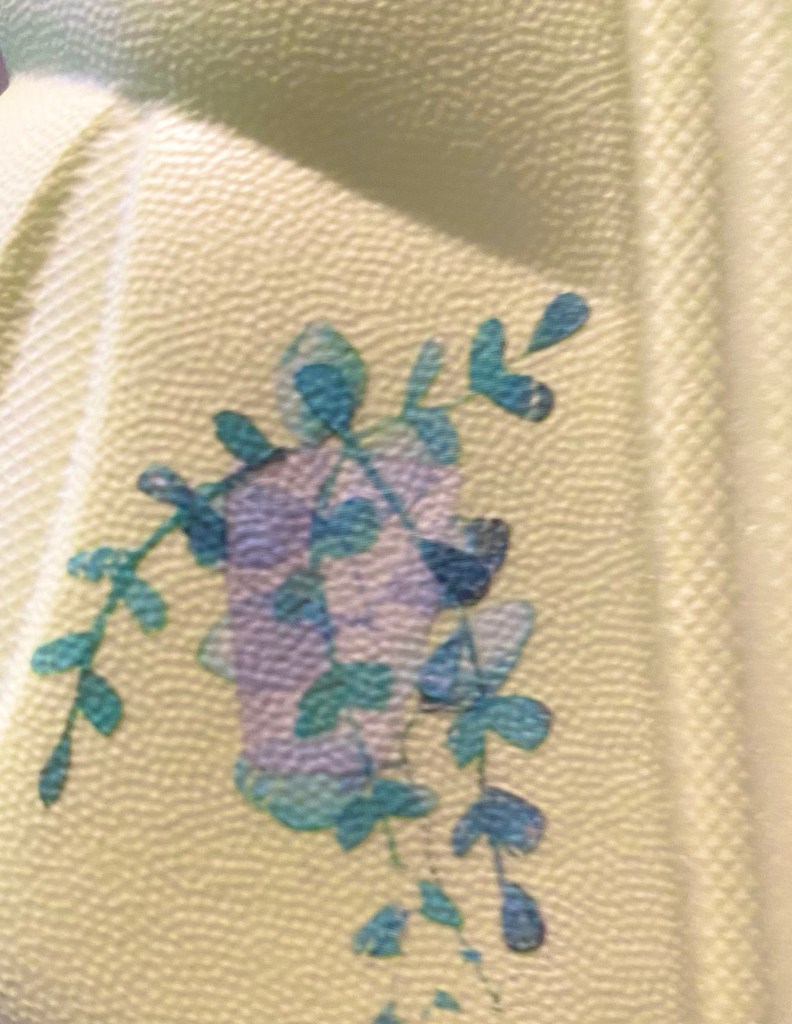
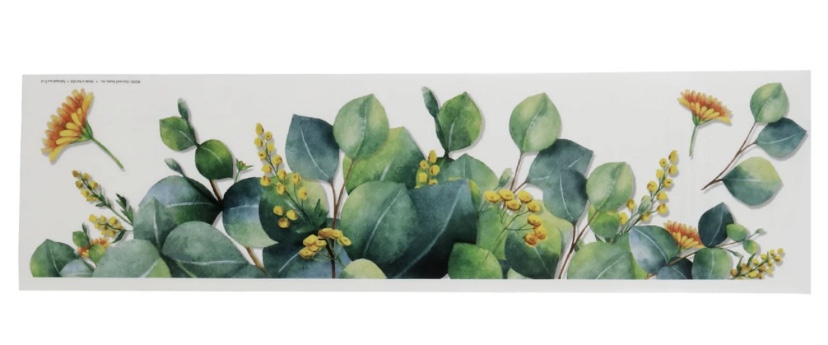
The other experiment was using Dollar Tree Wall Art. I found a beautiful flower and foliage design and cut it to fit a different type of slipper. I love how it looked on this blue slipper. This Wall art is removable, so…. If it starts coming off after a bit, simple remove it and you’ll still have a neat pair of slippers or go to Dollar Tree and get another Wall Art for $1.25 and make another unique look. 🙂 I then used bits and pieces left over and made another Wall Art pair. I did not apply wax to these as they are removable anyway. Both turned out very cute.
But, as I mentioned earlier, the rub on transfers are my favorite!!!! Which te unique do you like best?
#1 – I have a French Country look going on in this first thrifted find – a bird cage item which needed some repair and a metal basket. I painted a Dollar Tree peat pot and decoupaged with tissue paper.
The metal finial on the birdcage was just hot glued on and popped right off after I got it home. Not only was hot glue alone not good idea but there was hardly any surface area for gluing. I used E6000 and hot glue to attach a small wood round to the birdcage and I painted it white. Then I used E6000 and hot glue to attach the finial. I added jute around the wood round where I had glued it together. I also stuck my hot glue inside and upside down dropped some hot glue along the inside. It is on for good now.
The birch round came from a fallen branch and that cute bird I found in a thrift store. The faux flowers came with the birdcage.
I love putting this kind of thrifting together.
#2 – Next up is this awesome cutting board/serving board. I love cutting and charcuterie boards. When I found this wine bottle shaped bamboo cutting board, I knew immediately that I wanted to add a stencil to one side for decor purposes. The other side could still be used as a cutting board or both sides could be a specialty charcuterie tray that would make a beautiful cheese and fruit spread serving board.
I stenciled just a part of the board and then seasoned both sides with food safe Howard Cutting Board 0il.
Dimensions approx. 21″ x 7″ x 1/2”
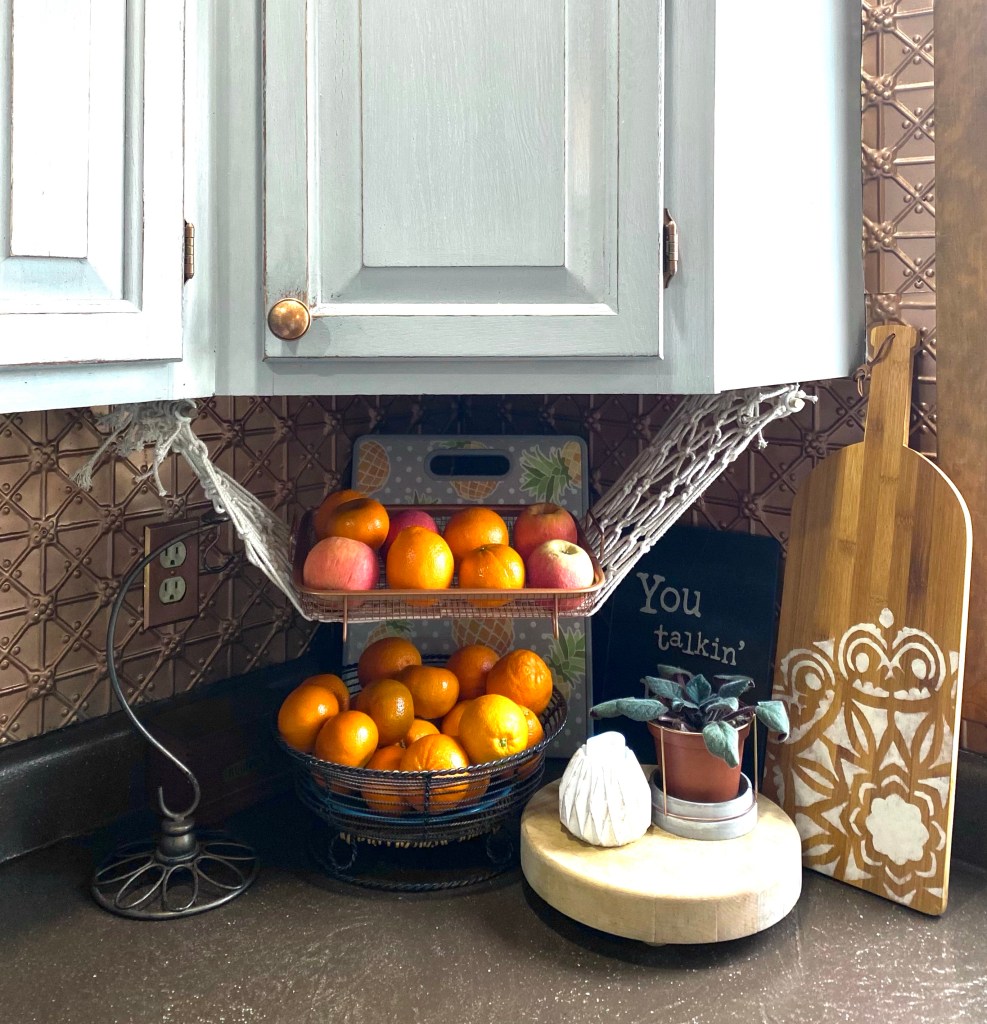
#3 – I like thrifting, but I really like it when I find something just for me. I don’t have a lot of storage space in my pantry so things like cereal and crackers and chips, etc. always seem to end up on top of the refrigerator.
I found these awesome Harry and David copper colored metal baskets at Goodwill yesterday for $7.87 each. I knew they would go perfectly with the copper colored tin on the wall behind them. The one on the left holds snacks and the one on the right, cereal and crackers.
I saw them listed online anywhere from $14 – $46 each so these were a pretty good price. Yay!
#4 My final thrifted item project for the week came about because of the stalk of dried wheat I found at Goodwill. They had just put out several bunches of these. I only bought one bunch but now wish I had gotten more. I used several pieces in this beautiful tall vase a friend gave me. It will be going on the floor next to my fireplace. I do have enough left over for several future projects. so that’s good.
That’s all for now. I thrifted more things, but haven’t decided yet how I will use them. So keep checking back. I will be sharing when the inspiration comes.
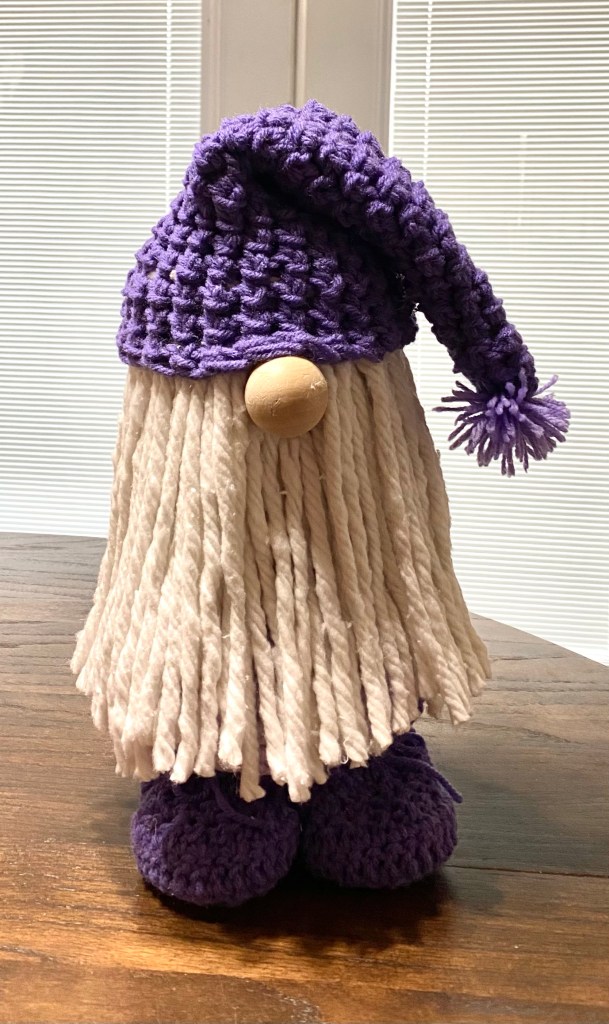
A friend saw the picture I posted of a gnome I made a couple of years ago and wanted one, do I crocheted a hat, body covering, and boots for it in her favorite color – purple. A Dollar Tree mop head became his beard.
I hot glued the body covering over a large water glass with lid from Dollar Tree. I made wood forms for his feet and stuck them in the crocheted boots I made and glued them to the lid of the glass, using hot glue and super glue. Then added more hot glue all around the wood.
I cut the strands off the mop head and applied two layers of them all around the edge of the glass bottom. Then hot glued the hat on and added a wood nose. He stands about 12” high.
Gnomes are still popular. Anytime I make one, it sells quickly. So the other day, a friend sent me a link for making one around a wooden ring with the hat being created with yarn around a piece of toilet paper holder. So, of course I had to make one. My ring was a little bigger so I improvised and added purple yarn around it and glued the hat to the ring. I added a little pink heart. I also glued the whole thing to a Dollar Tree stand up frame to display him.
Still busy creating so I haven’t had time to post how we did some of these projects. Here they are, though, for inspiration for you.
This is a vignette I put together for winter decor. I had a Christmas transfer on one side of this pitcher and a winter one on the other. I turned it around and added some branches from a tree in my yard then added lights. I made the snowman last year and added the Winter sign I’ve had for a long time.
Danny cut this cute gnome out of a scrap piece of plywood, drew the details and painted and sealed him. He added some stakes so we can put him in the pot’s dirt.
I crocheted another bunch of hats to sell to a friend’s daughter. She adds them to the baskets of herbal remedies she sells.
And more crochet… which begat more crochet that I’m still working on. I made a couple of gnome towel rings. I had made some boho type ones for a couple of friends and then decided to find a pattern for making more. I’ve sold 10 so far of them.
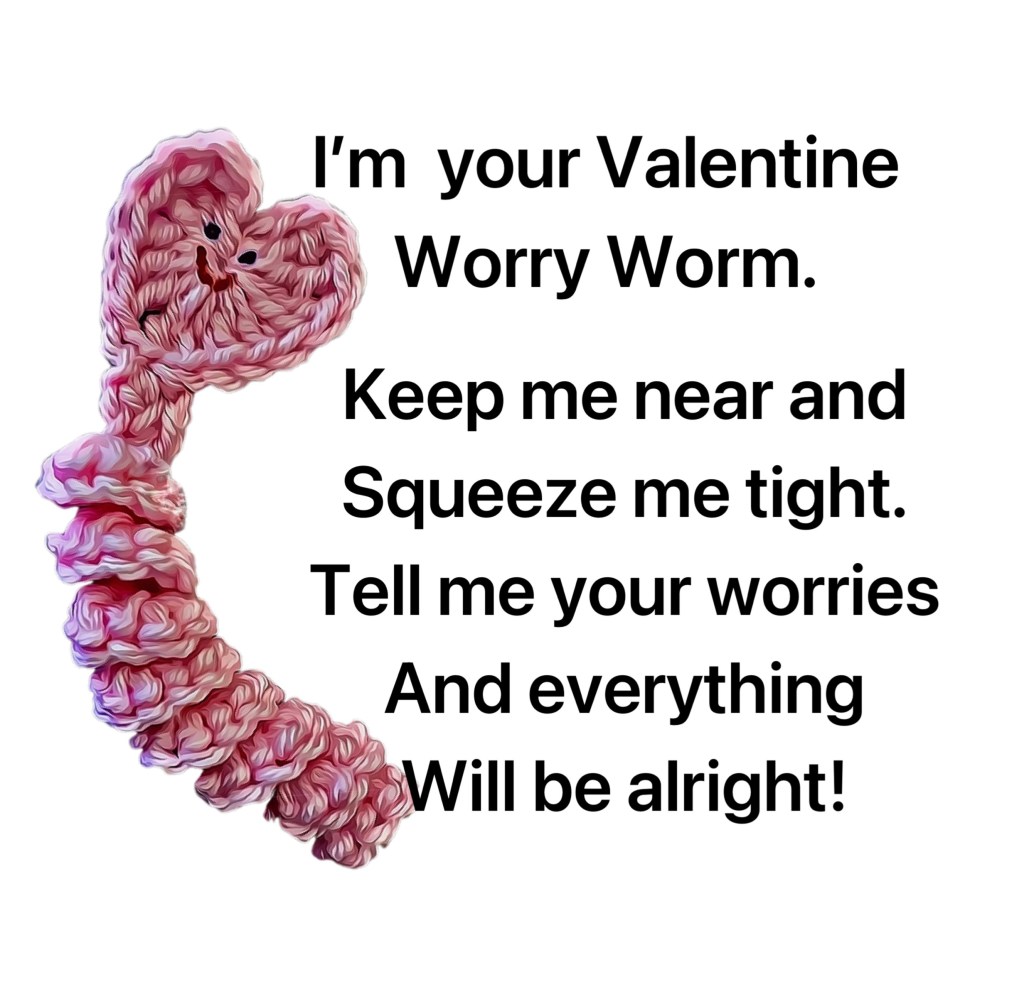
And then I saw a post for a group called Random Acts of Crochet Kindness and cute little worry worms to make and spread around town so I had to make some of those. I plan on making more later on. But I figured out a way to make a cute Valentine one for kids and ended up with 86 orders. Still working on those.
Then my cousin sent me a video of someone crocheting a woven heart. I had to find the tutorial and make one. Then I saw a video on making a heart with wine corks so I had to do that, too. And then someone else told me about decoupaging on a candle with wax paper. Yep! I had to do that, too. I’ve used the hot iron method with parchment paper before, but not on a candle. Worked like a charm. And the little tag- I wrote love on it with a s or h marker and burned it and then painted it. That worked, too.
Whew! I’m getting tired just typing all we’ve done so far this month. But wait! There’s more!
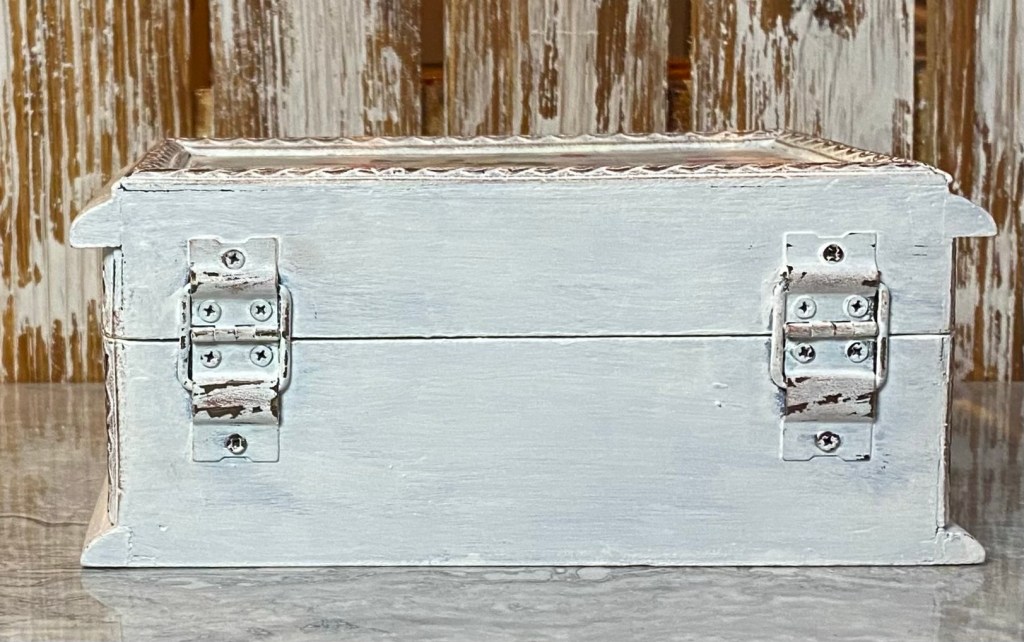
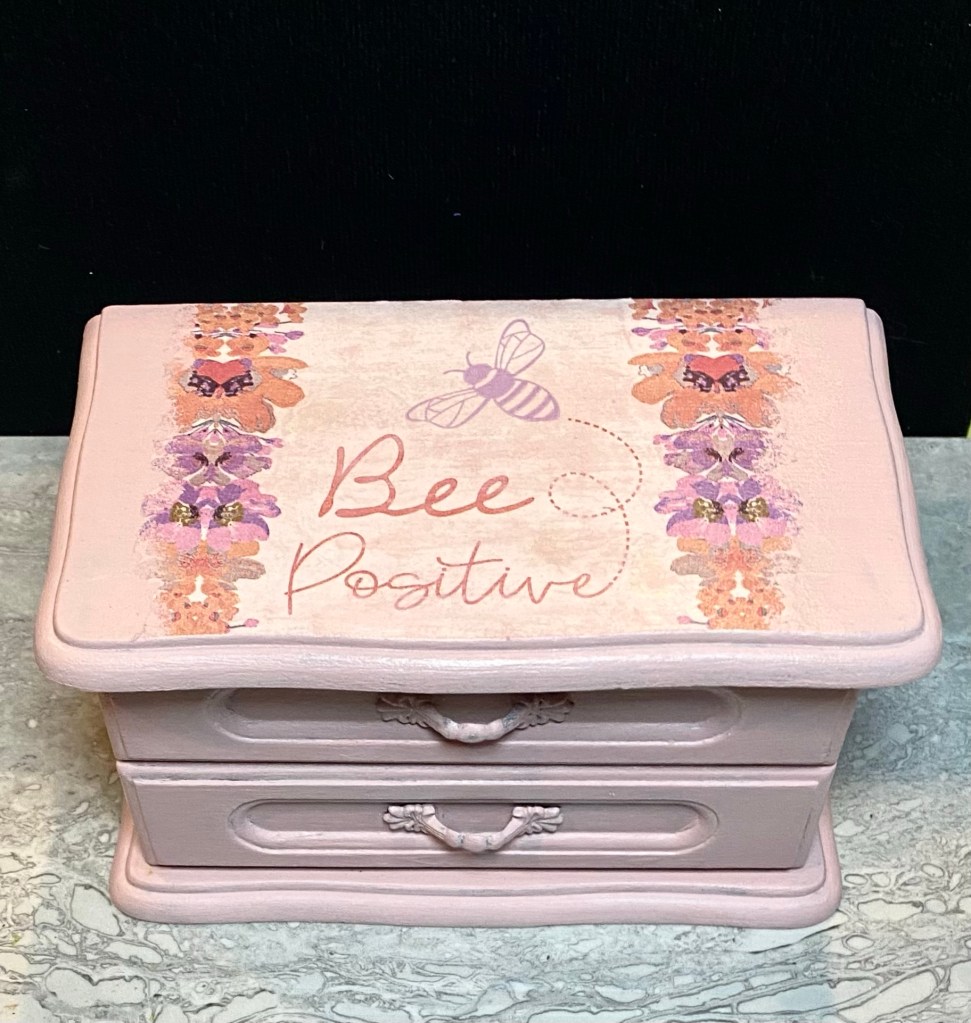
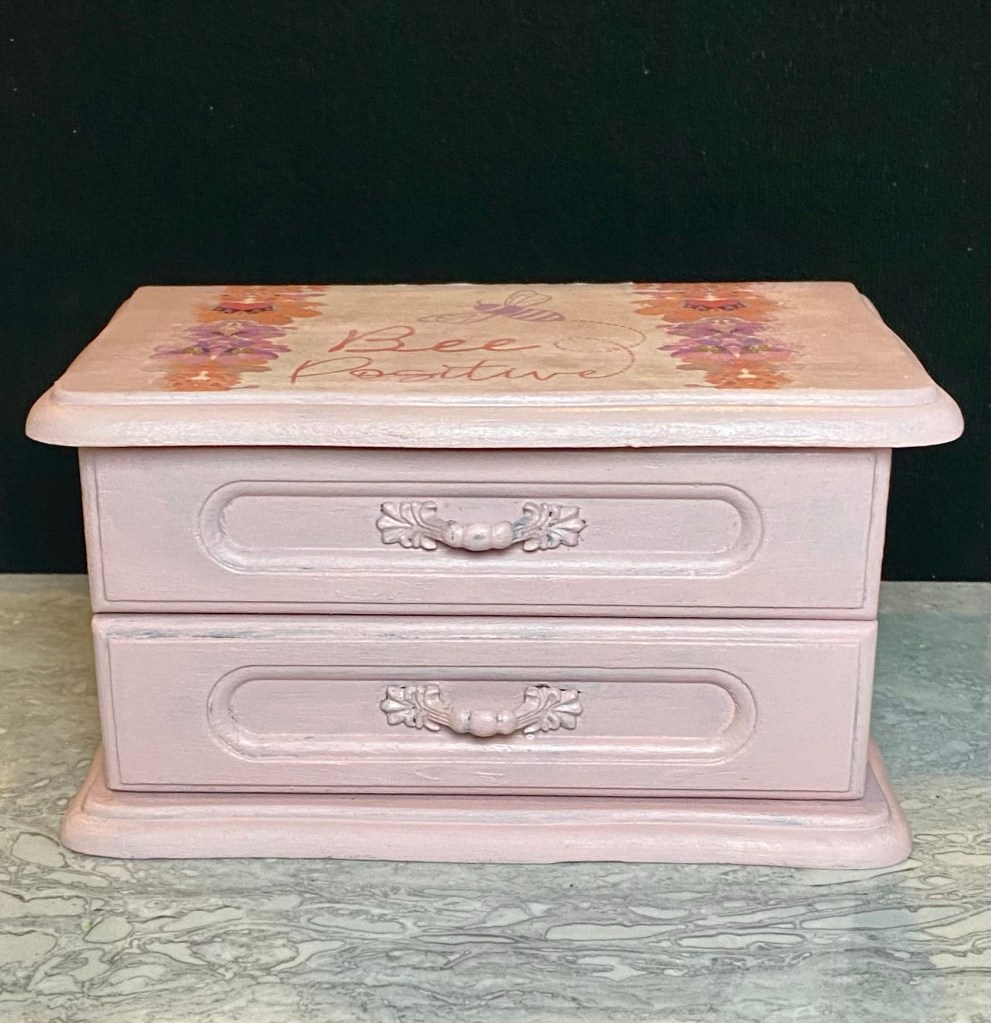
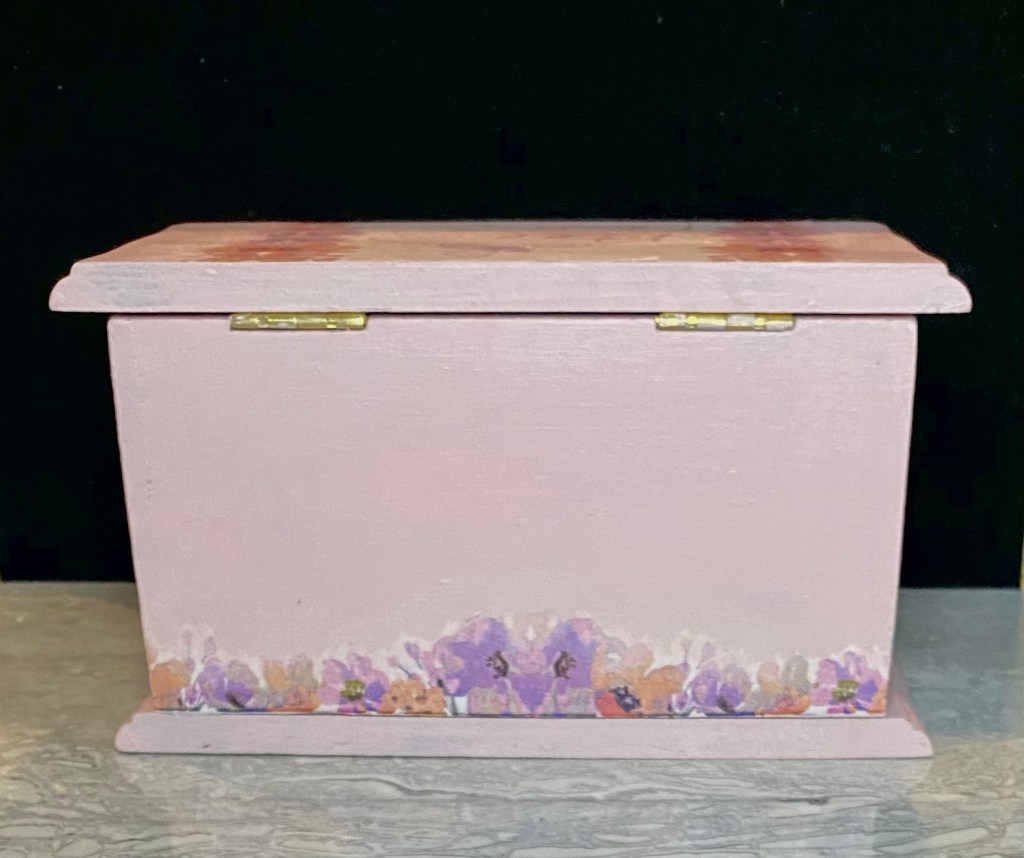
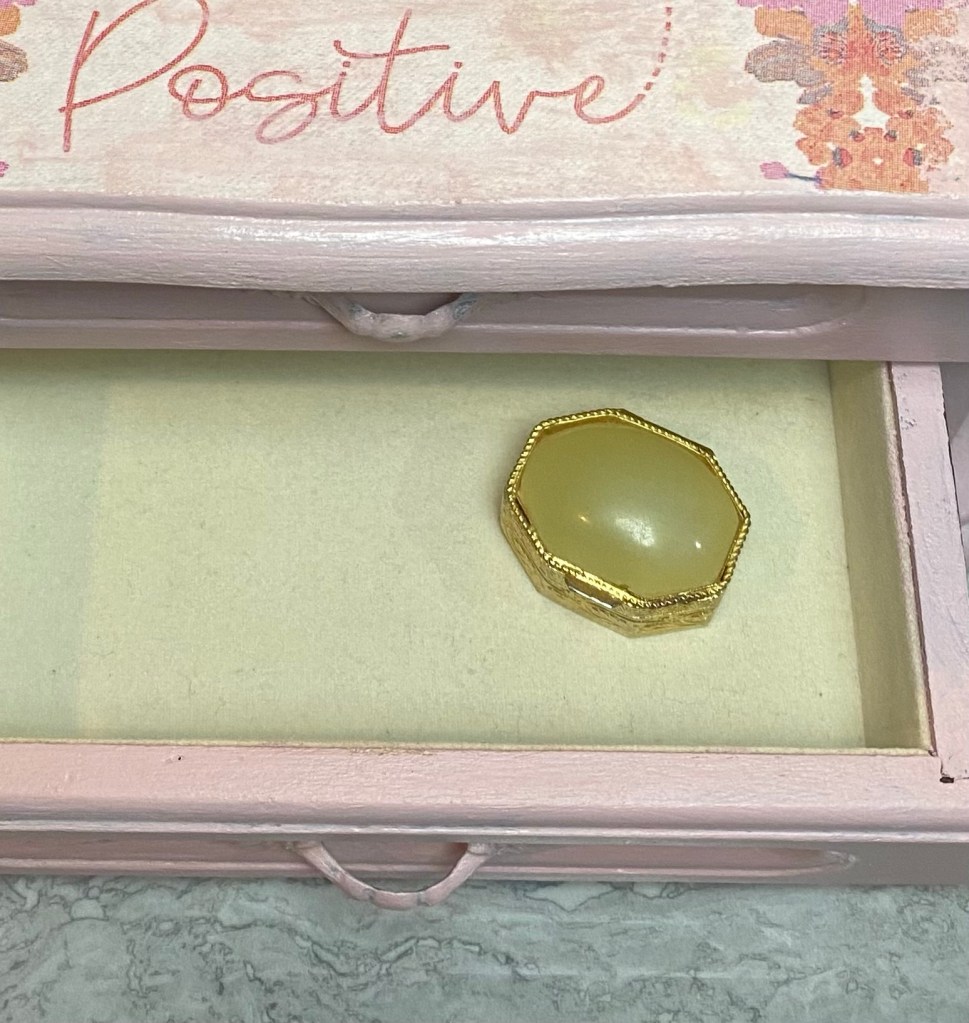
And then came a couple of jewelry boxes. I have a huge stash of them but haven’t painted any in awhile. These sold quickly so plan on painting ring more soon.
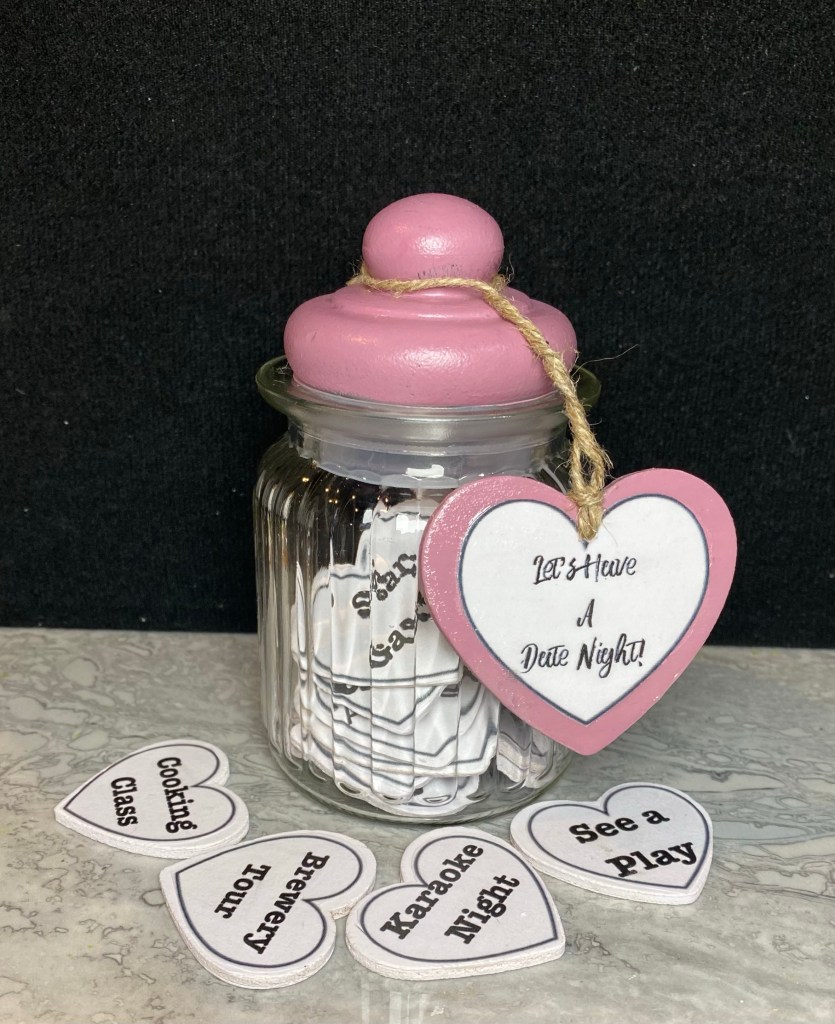
I saw an idea for a date night jar on Pinterest. This is my version. Jar from Dollar Tree. I painted the glass lid. If you spray glass with a clear sealer first, chalk paint will adhere well.
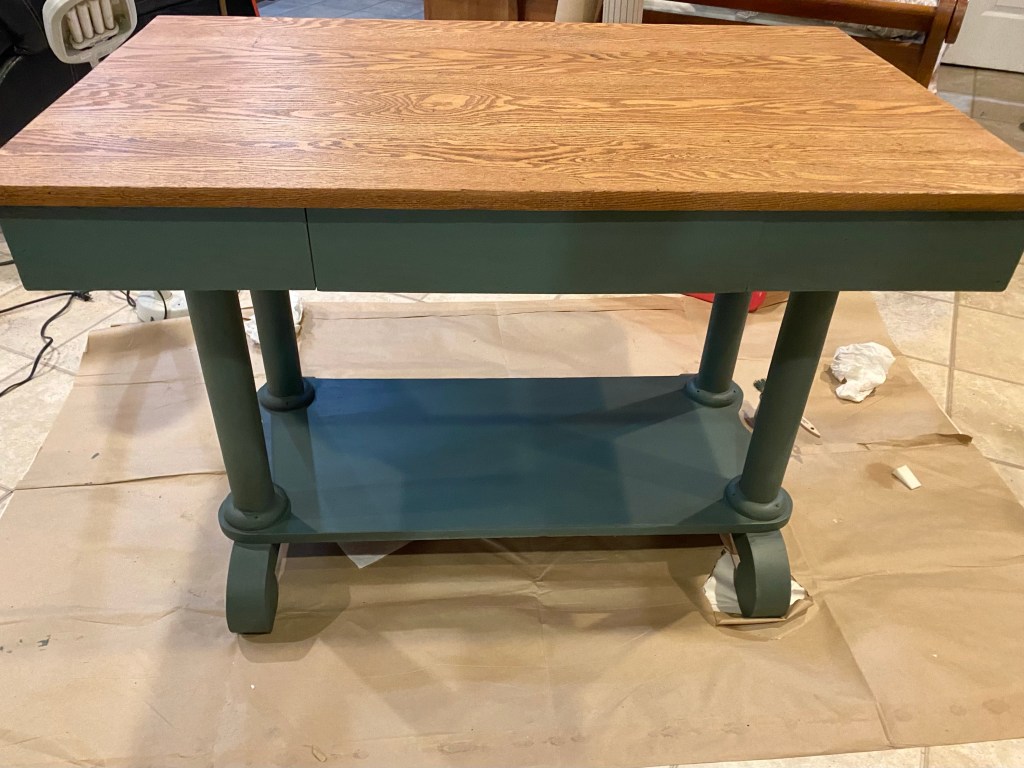
I don’t have staged pics of this beautiful library table. It is going to one of our booths this week. Danny sanded the top. I stained it with a w at teenaged stain. It has five coats of Varathane Crystal Clear Water based polyurethane in matte finish. The rest is painted with our Missouri Limestone Paint Company “Cupboard Green” and sealed. I love how it turned out.
Danny created this white washed hanging rack from a vintage ladder.
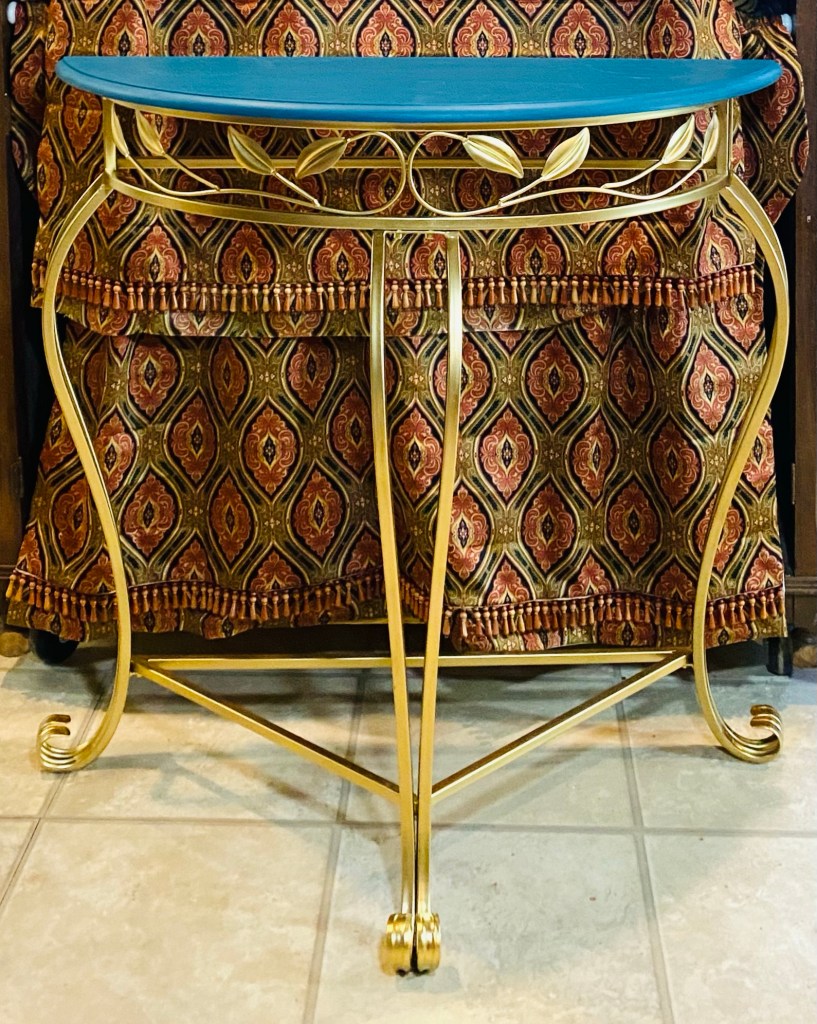
Another project is this gorgeous half table console. This is a long description but hopefully will inspire those who like boho with some ideas. I think this is one of my most favorite projects ever. I had so much fun with it.
We’ve had this table (and matching lamps) since soon after we built our house in 1985. Holy cow! That was 38 years ago!! The other day, I decided we didn’t need them anymore so decided to paint them. Danny suggested painting the top with our Missouri Limestone Paint Company “Bourbon Street”, a dark teal color. I thought Rustoleum metallic gold on the metal legs would look good with the teal. I also painted the metal on the lamps with it. They all turned out gorgeous!
Then, when I showed the table to a friend, she said I should style it as a boho piece. I agreed.
So pretty much all day today, I have been creating items for it to sell from things I have in my supplies:
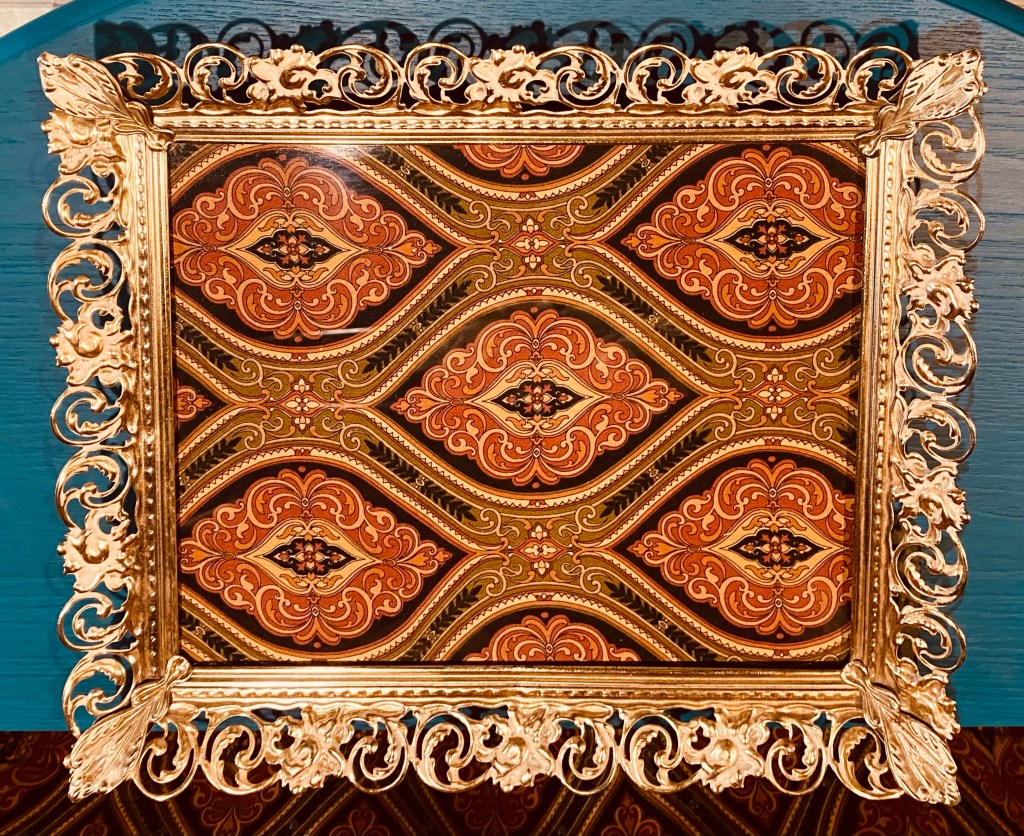
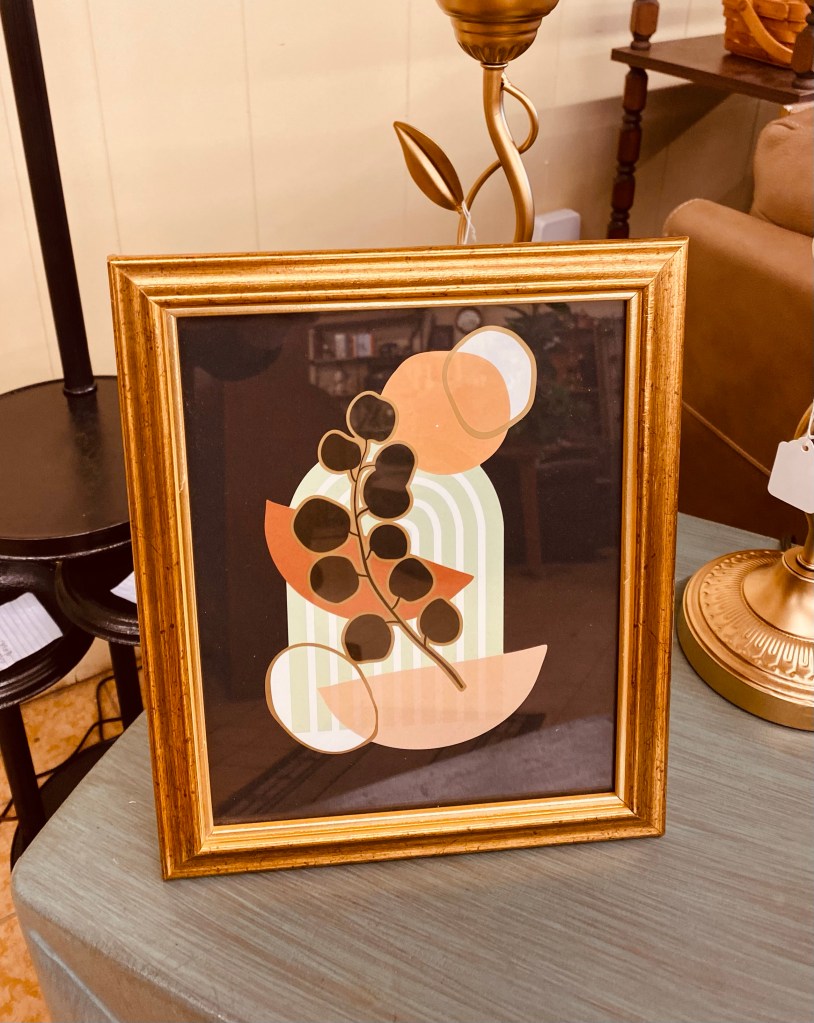
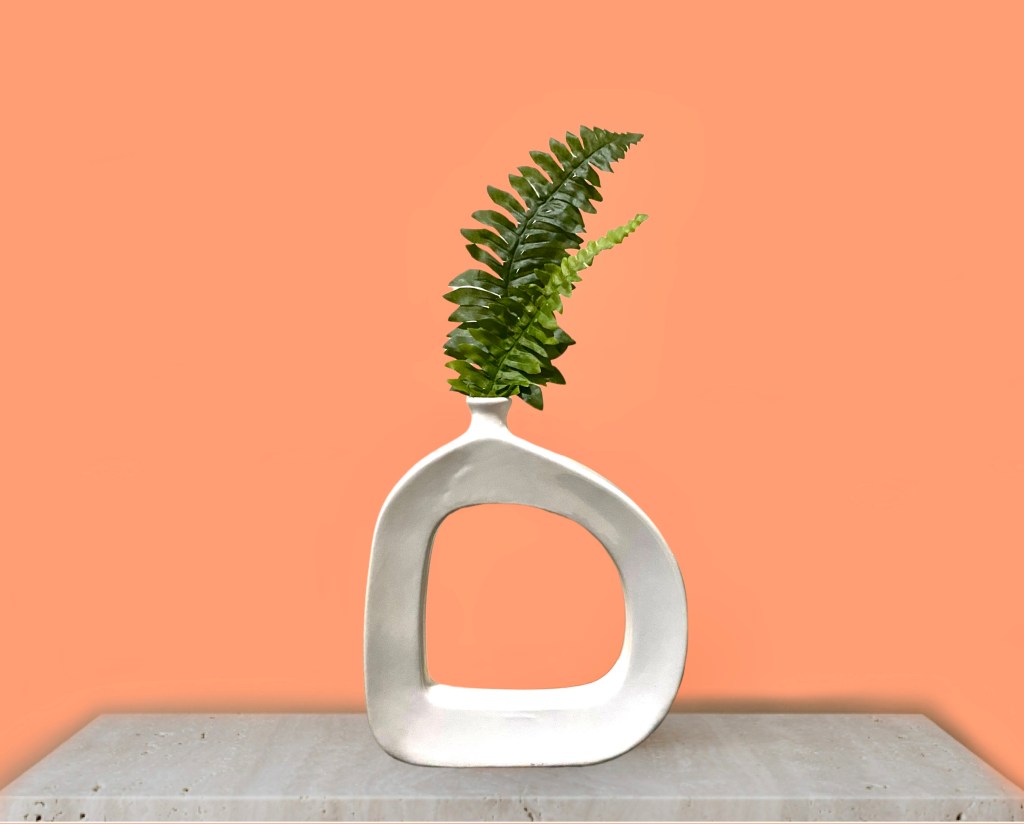
1) Picture frame: gifted by a neighbor- funny thing, my mom had our pictures in frames almost exactly like this growing up. The back is velvet. It can still stand up, but it makes a great tray, too. This frame is old! 2) This awesome fabric which was once valances with bead trim, was gifted by a friend. I’ve already used it as a curtain, as you can see, to hide Danny’s power tools and to create a little boho hanging. Lol I simply put a piece of the fabric under the glass of the picture frame for an instant boho tray! 3) A bowl of boho goodness. I had all the ingredients including this cute wood bowl I thrifted. I just added the beads around it for a true boho style. It took me a good bit to figure out how to do it to look finished, then decided to rip it out (it was sewn in with nylon thread). But when I got it all out, it was attached to this beautiful piece of fabric tape in this awesome color! I just hot glued it around the bowl! 4) Picture frame: gifted by the same neighbor: I did a line drawing on the glass of similar leaves in the table and put a piece of scrapbook paper behind it in a coordinating color and now have a boho print! 5) Bottle of peacock feathers: the bottle I think came with fragrance oil and bamboo sticks at some point. I did paint the lid that sits around it metallic gold this morning. I’m pretty sure I picked up the peacock feathers at a yard sale.
And then, we came up with a few more boho accessories.
And when we found this mirror shopping, we knew we had to get it! Danny painstakingly covered all the mirrors. I painted it metallic gold and then he removed all the tape. I cleaned it and….it is just stunning!
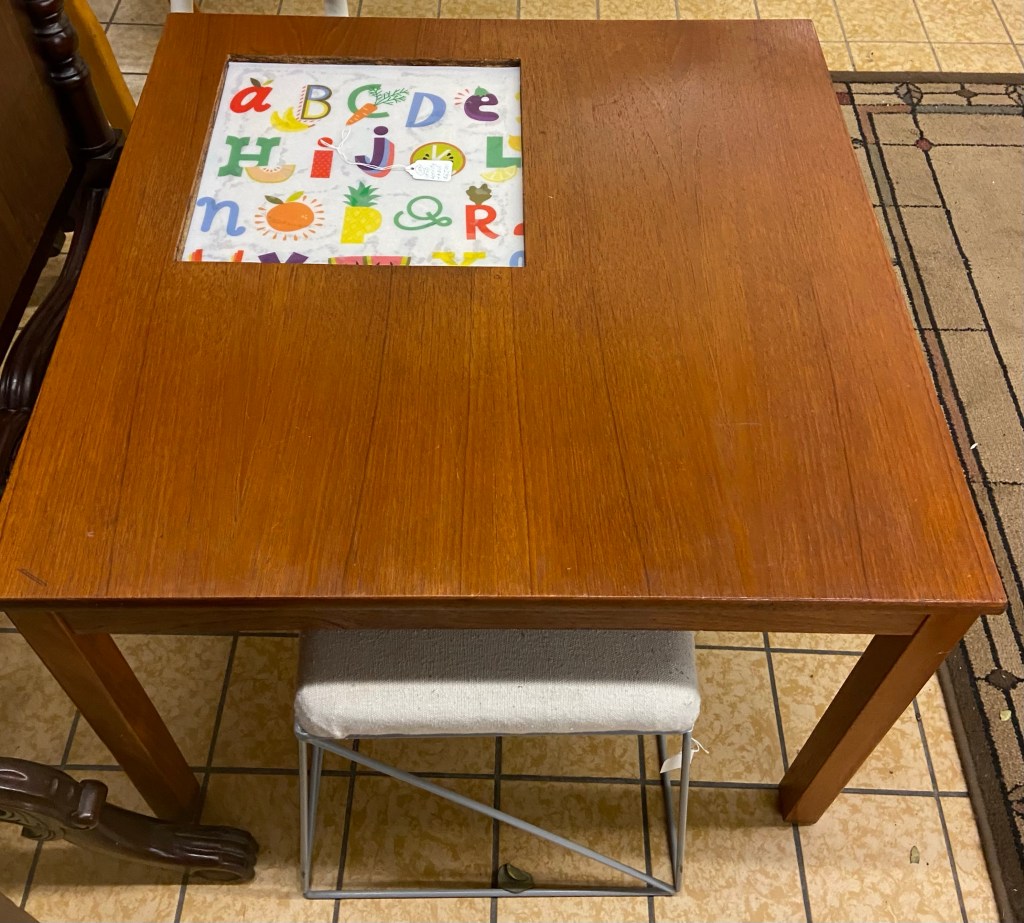
We also found this cute little kid’s drawing table. We added a couple of stools to it and took it to our booth at Sweet Repeats in Sullivan.
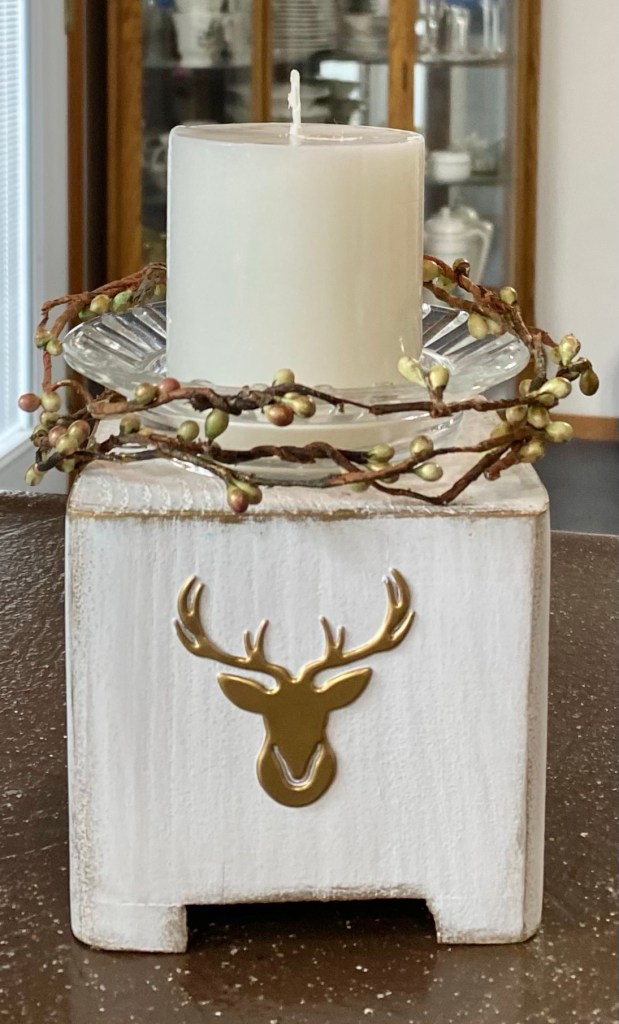
The wood base on this candle holder is a bed riser I turned upside down and painted. the dish for the candle is a vintage ashtray.
Coming up…. Danny is working on a new project. We are busy figuring out a way to make a table top for it. Stay tuned!
You probably wouldn’t want to use both lamps on the table, but maybe in the same room would be perfect!
Another morning project. I paid more than I usually do for a thrifted item, but this piece was in perfect condition.
This book stand is perfect for propping your phone, your iPad, the book you are reading, or an old fashioned cookbook.
I added the Dollar Tree stencil, using a light gray chalk paint. One trick for getting crisp lines with no bleeding is to use a clear sealer first. Let that dry and then paint over the stencil with your color of choice. The front is sealed with Wise Owl Salve.
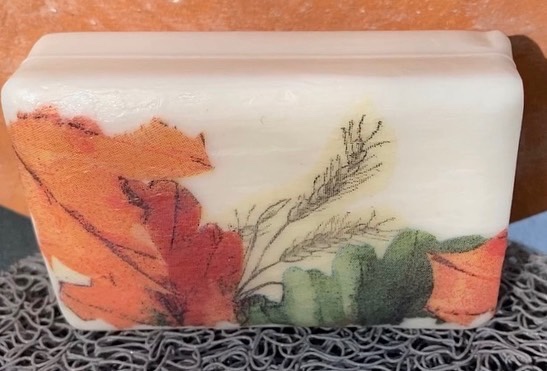
I tried decoupaging a napkin on Dollar Tree Dial soap and it worked perfectly. The soap suds from the bottom, leaving the sealed napkin side intact.
I then decided I was going to make several of them and sell them at a Christmas Open House at the Antique Mall where we have a booth. The owner is very kind and is allowing me to have a small space to sell my smaller crafts that day. We’ve not worked out the details yet, but now I need to get busy with stocking stuffers and small gifts and Christmas decor.
I went in search of more bars of the small hypoallergenic Dial Soap carriers but wasn’t finding it. I looked online and they weren’t selling it online either. As I read more it sounds like Dial quit making it. Darn. I was able to find the last 8 bars at my local store so I happily got them.
Any soap that has at least one flat side will work. I just liked the size of these. And they fit perfectly into the little bags Dollar Tree sells in the wedding section. If you are a hoarder of the little soap bars from hotel stays, they might possubly be an option, too.
But then, I wondered if the rub on transfers would work. After a trial and error of trying to apply the transfer to just the soap and the transfer wouldn’t rub off, I decided it might work if I applied a layer of decoupage medium first. I used a water-based sealer (in this case the Wise Owl clear one hour enamel, but any water-based top coat would work). That did it! The rub on transfers worked perfectly then. I used a variety of rub ons I had. Some were just left over from other projects. I’m sure left over pieces of the high end rub ons would work also.
I sealed each bar with two coats of sealer and they fit perfectly in the little bags. I also noticed Dollar General sells the bags, too, but they are an off white. I like the white color of the Dollar Trees ones better. I plan on selling them for $4 each.
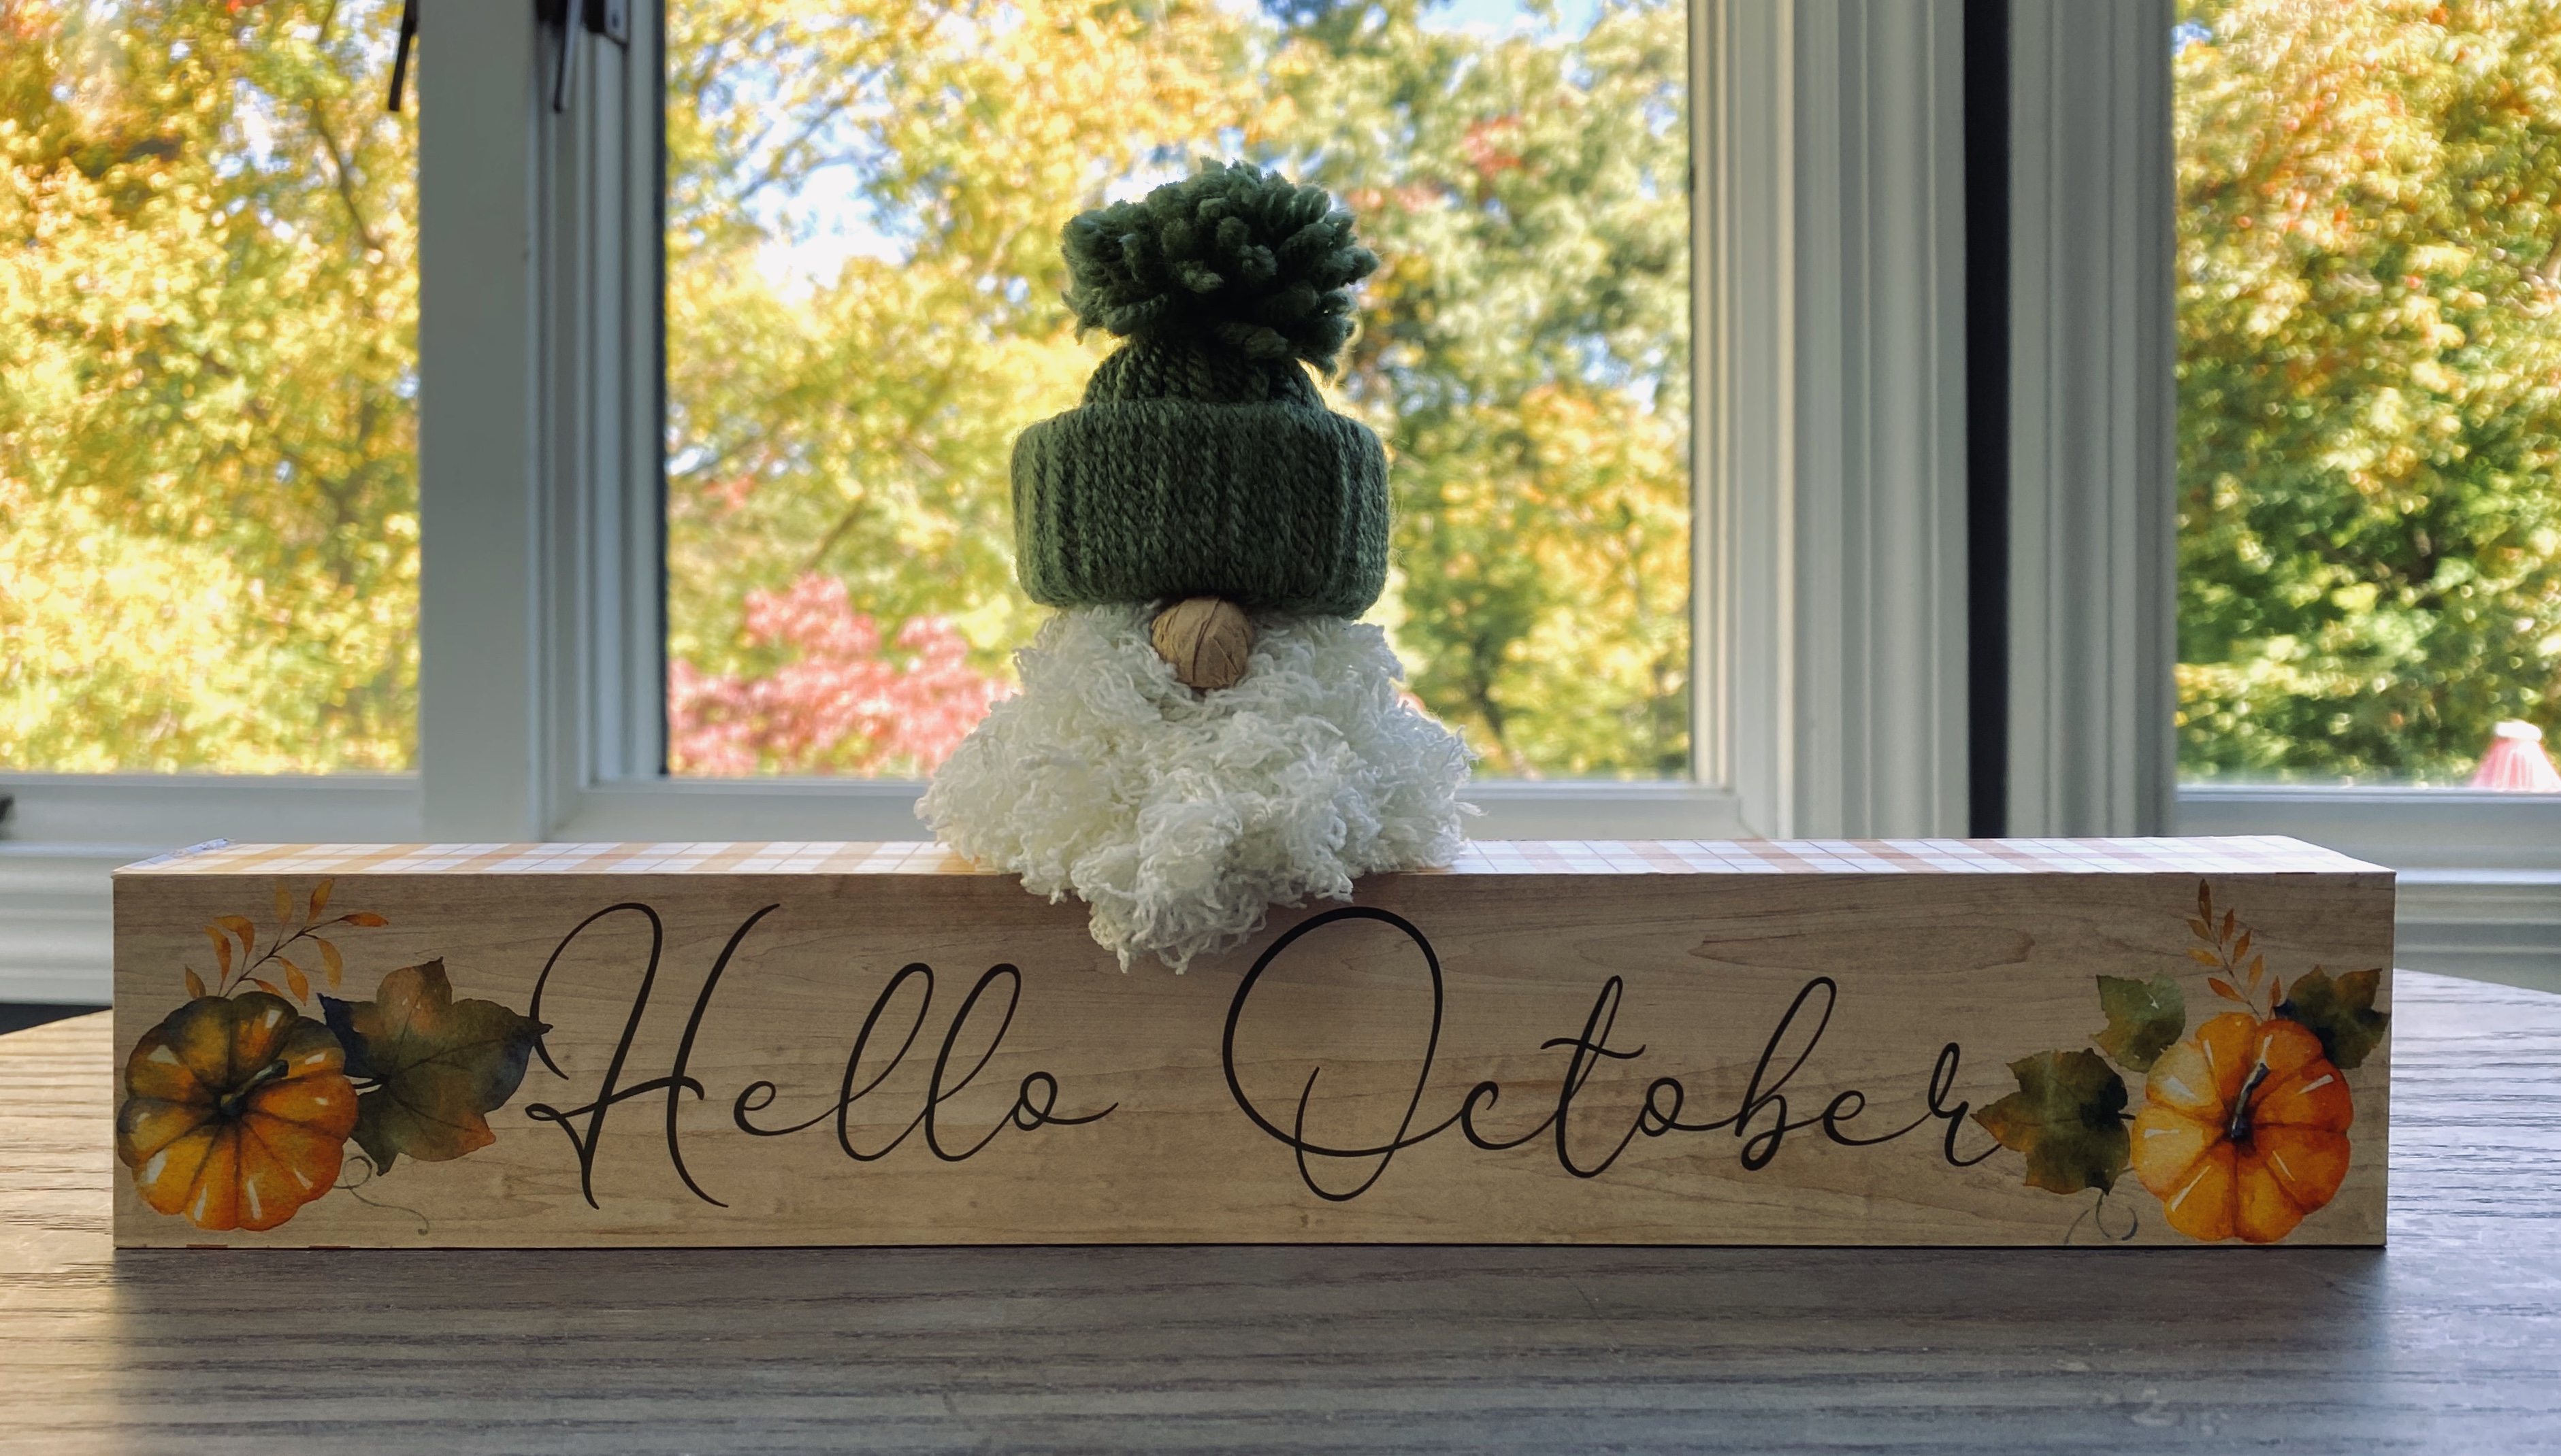
Sometimes Dollar Tree finds are just too cool to change unless you make a gnome to sit on top of the perfect little sign which stands on its own or can be hung on a wall.
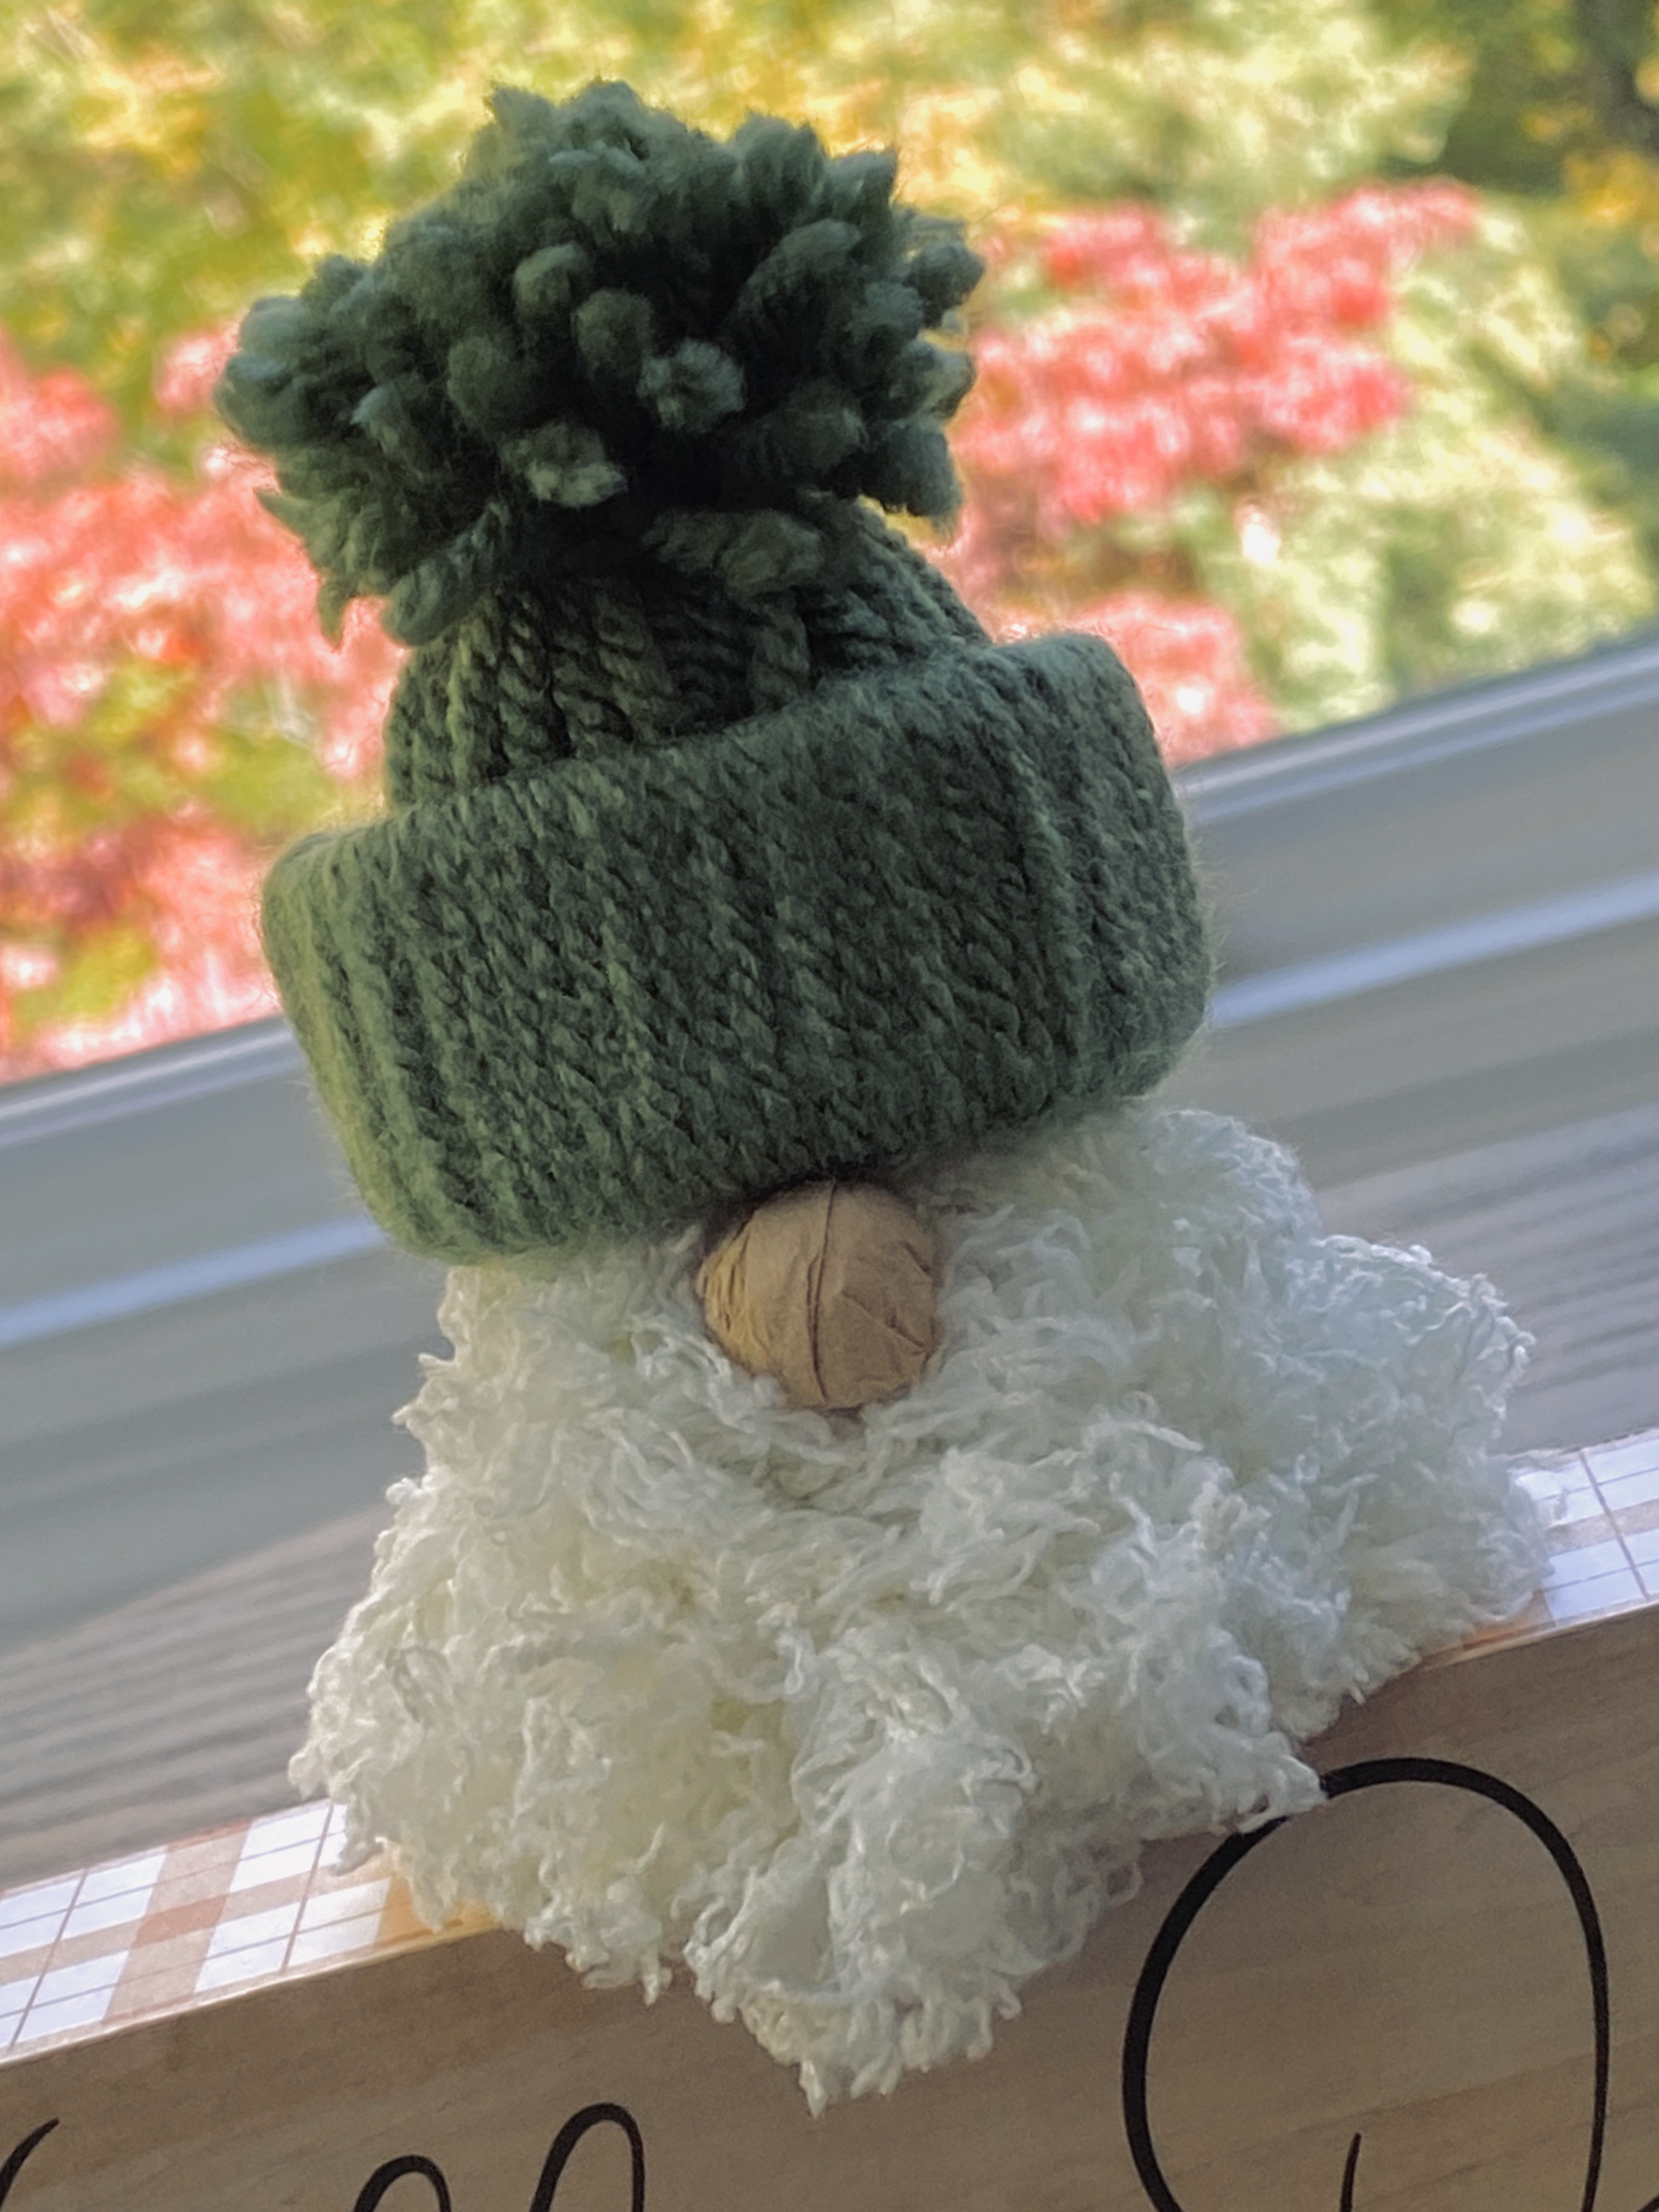
Someone reminded me of these little gnomes. I made some last year. Looks like I might make more this year. They are too cute! The hat is made from lengths of yarn wrapped around a slice from a toilet paper tube, then turned inside out, tied together, and trimmed. The beard is that stringy, fluffy type yarn I made into a pompon.
I had to play with something waiting for my grandson to wake up this morning. (Yes, I brought supplies to babysit.) It’s nice when my charge is 10 years old. Lol
His nose is wadded up piece of brown coffee filter. I forgot to bring small beads for noses. 😁