I’m always trying to find ways to use the Oui yogurt jars. This idea was inspired after seeing someone do something similar with a mason jar using string. Any type of jar will work with beautiful results.
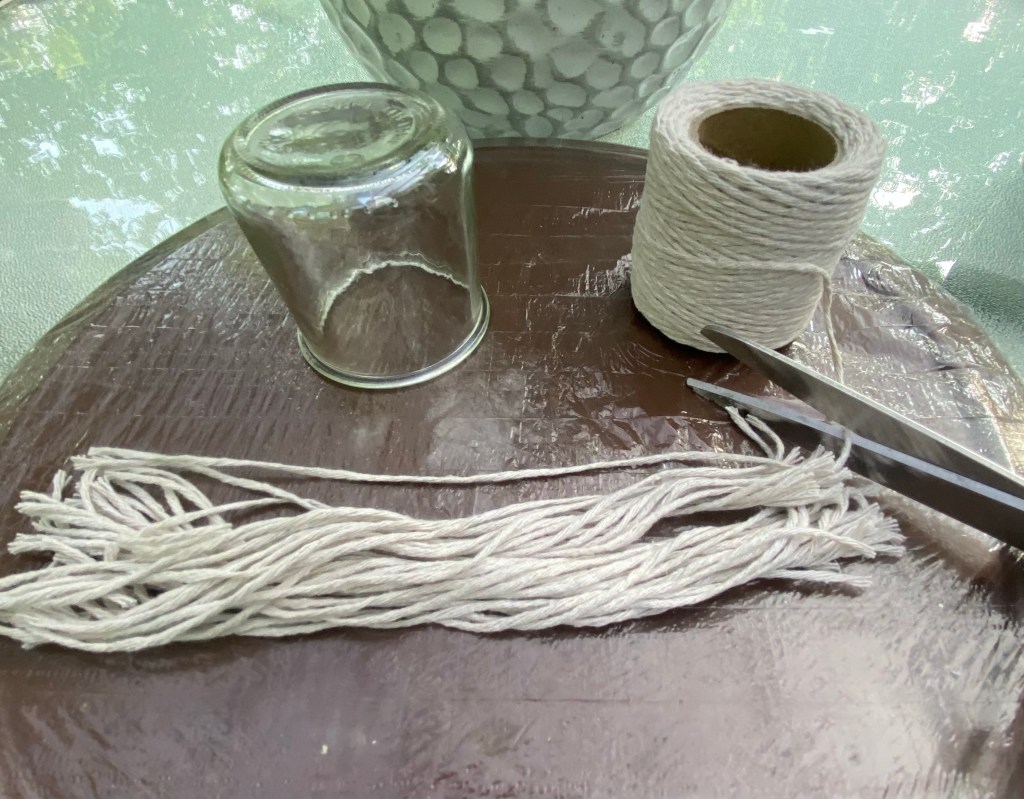
So I gathered up my supplies and went to work on this quick and easy project.
I took the ball of string I bought at Walmart and cut maybe 50 12” lengths of string. I might have used more or less, so you could cut less and then cut more as you go.
I then folded the pieces of string in half and hot glued them around the bottom edge of the Oui jar, side by side.
The results look like the photo below.
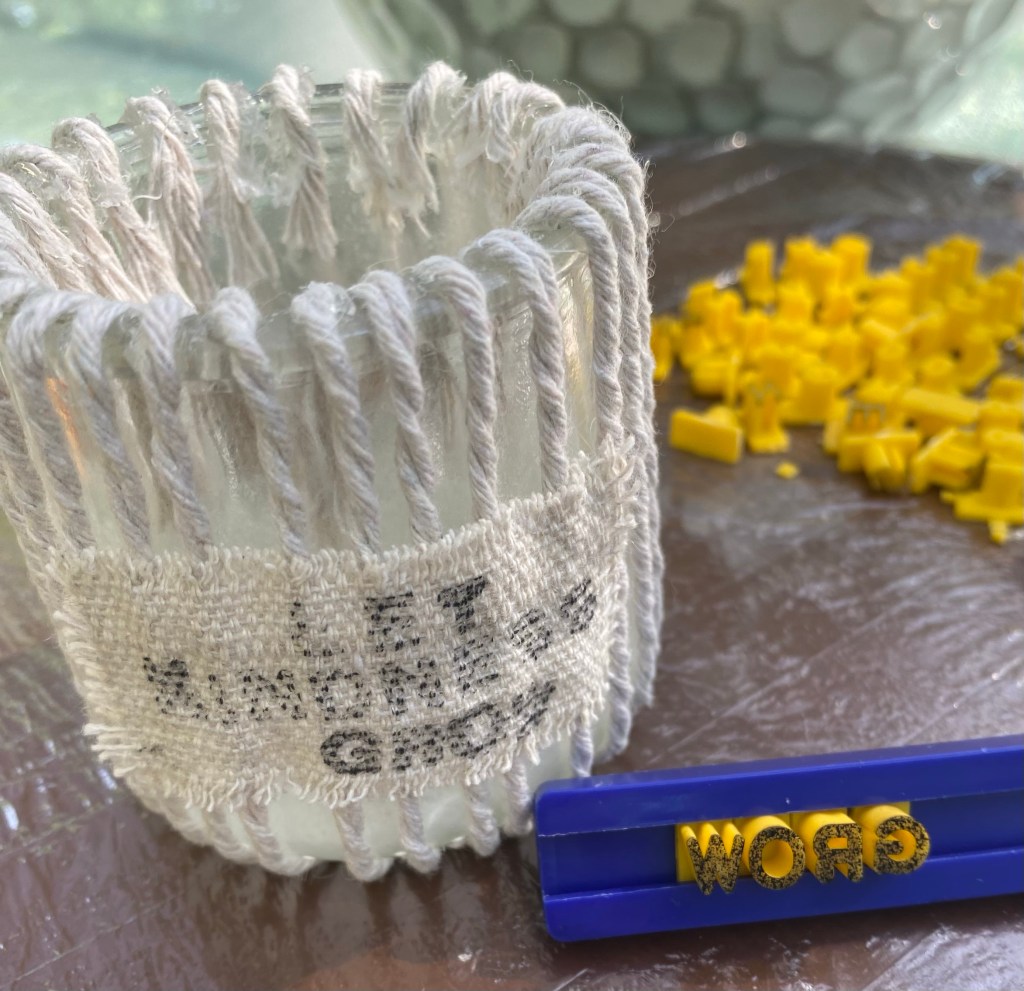
I then turned the jar over and fanned the strings out. I then twisted each set of 2 strings and brought them straight up and over the top edge and glued them to the inside.
I was now ready to make a label. I cut a piece of dropcloth and frayed the edges then used a number/letter alphabet stamper I bought on Temu and inked the words I made. I then stamped them onto the label. I really like the small stamper as you can do an entire word or words and keep them straight to stamp.
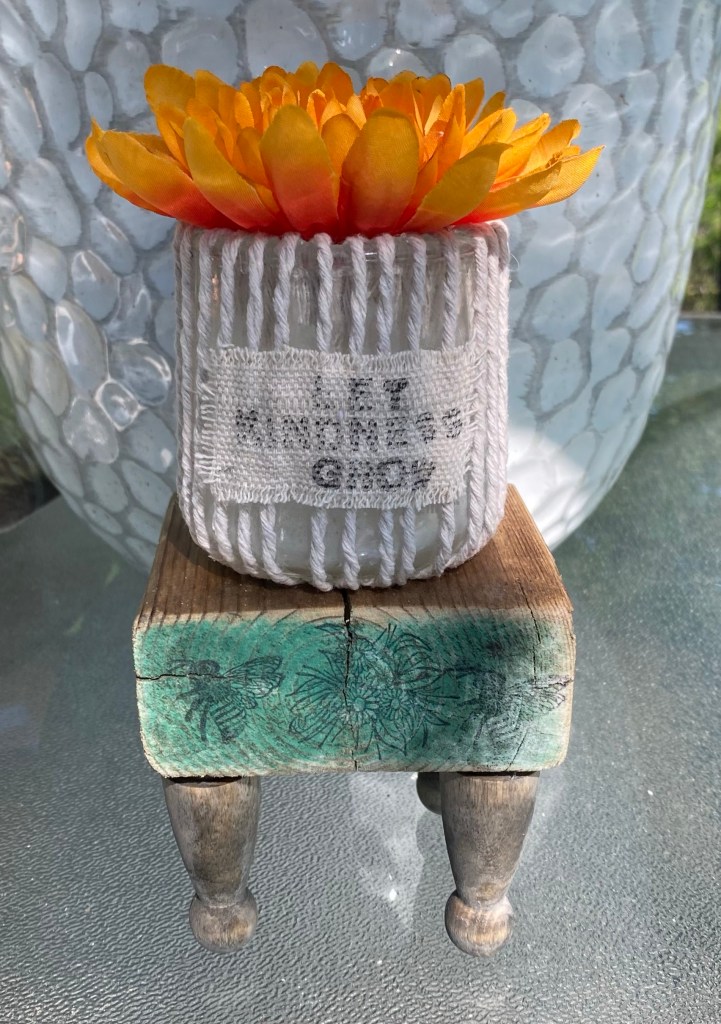
I also made a little riser using an end piece of an old 2×4. I loved the original green end so just distressed it a bit with sandpaper and added legs (Woodpecker peg dolls) I stained. I stamped a couple of designs across the front.
In no time at all I had a beautiful little decorated jar I can use in so many different ways. I just added a faux flower bloom for this one.
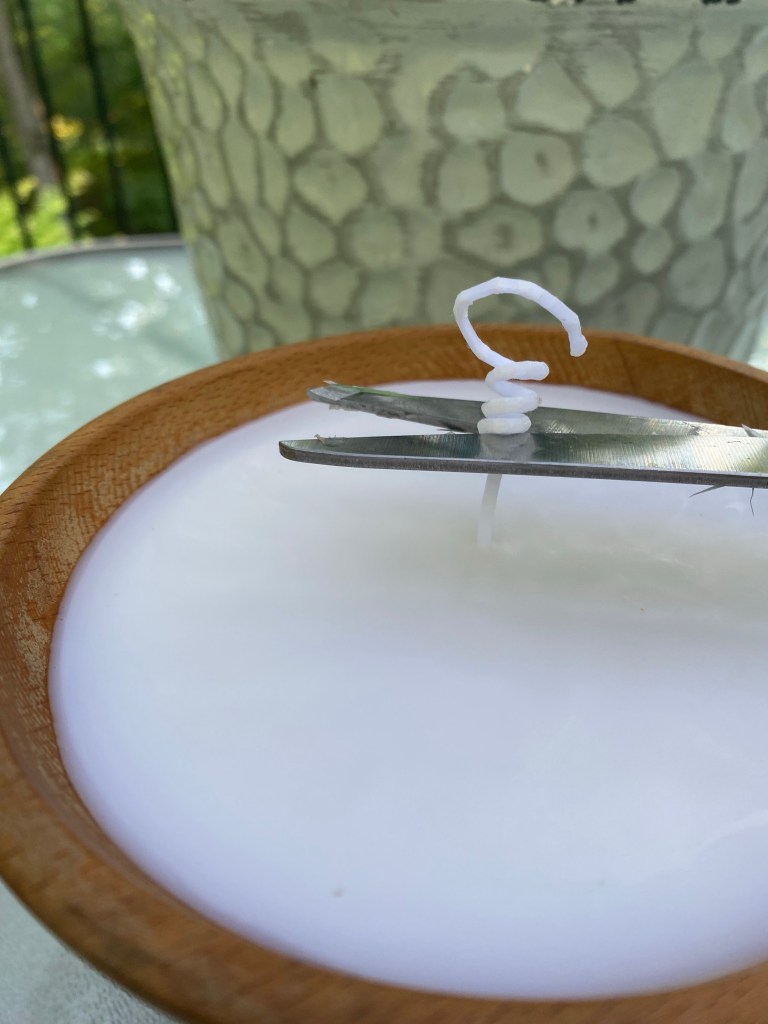
I’ve been seeing crafters use the tall Dollar Tree candles and melt them to create new candles in pretty containers. I had everything I needed to try this out. I am thrilled with the results. In fact, I shared the one I made for myself on my Facebook page and already have a request to make another.
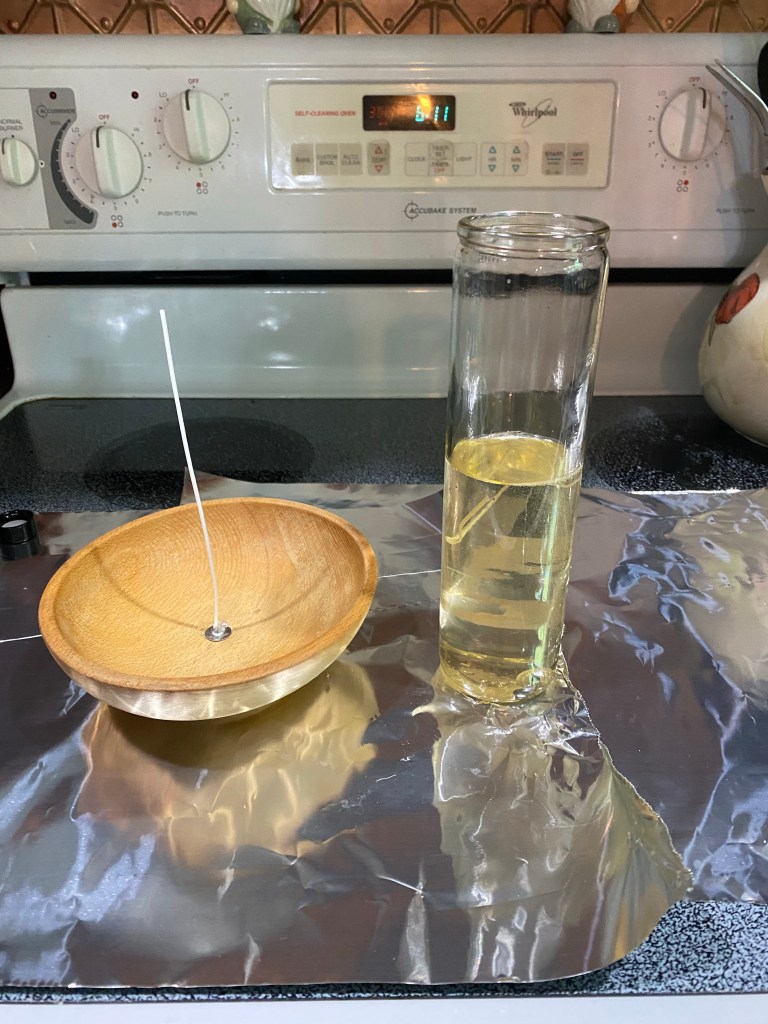
The candle in the glass holder is from Dollar Tree. I ordered wicks from Temu and I had this wooden bowl. I love thrifting wooden bowls so I had several to choose from. The fragrance oil is “Egyptian Musk”. I love the fresh clean smell. I found it on Amazon.
I had seen many crafters stand the candle in a pan of water and put it on the stove on low until it melted. Today, though, I saw a technique of placing the candle on a cookie tray in the oven at 300°. It took about 18 minutes to melt mine.
I hot glued the wick to the bottom of the bowl while the candle was melting and got it ready for the wax.
It is ready to pour.
After I poured the wax into the bowl, I added two capfuls of my fragrance oil and stirred it around a bit with another skewer.
I should have curled the extra wick around a skewer and laid it on top of the bowl to keep the wick upright, but didn’t remember to do that until after I poured the wax. Next time I will do that before pouring.
I then let it cool and trimmed the wick.
I love how my candle turned out! I can’t wait to make more!
Still busy creating so I haven’t had time to post how we did some of these projects. Here they are, though, for inspiration for you.
This is a vignette I put together for winter decor. I had a Christmas transfer on one side of this pitcher and a winter one on the other. I turned it around and added some branches from a tree in my yard then added lights. I made the snowman last year and added the Winter sign I’ve had for a long time.
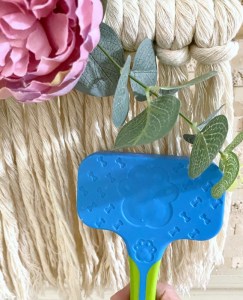
Danny cut this cute gnome out of a scrap piece of plywood, drew the details and painted and sealed him. He added some stakes so we can put him in the pot’s dirt.
I crocheted another bunch of hats to sell to a friend’s daughter. She adds them to the baskets of herbal remedies she sells.
And more crochet… which begat more crochet that I’m still working on. I made a couple of gnome towel rings. I had made some boho type ones for a couple of friends and then decided to find a pattern for making more. I’ve sold 10 so far of them.
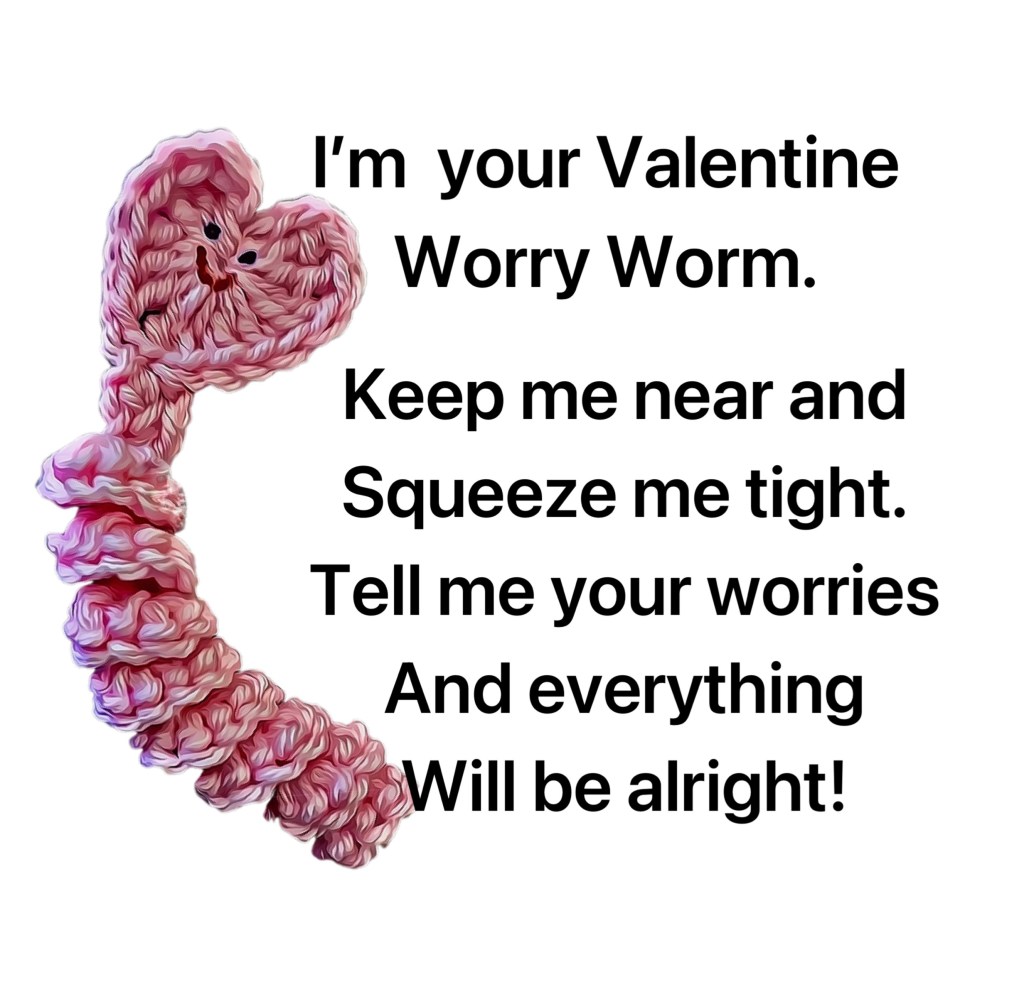
And then I saw a post for a group called Random Acts of Crochet Kindness and cute little worry worms to make and spread around town so I had to make some of those. I plan on making more later on. But I figured out a way to make a cute Valentine one for kids and ended up with 86 orders. Still working on those.
Then my cousin sent me a video of someone crocheting a woven heart. I had to find the tutorial and make one. Then I saw a video on making a heart with wine corks so I had to do that, too. And then someone else told me about decoupaging on a candle with wax paper. Yep! I had to do that, too. I’ve used the hot iron method with parchment paper before, but not on a candle. Worked like a charm. And the little tag- I wrote love on it with a s or h marker and burned it and then painted it. That worked, too.
Whew! I’m getting tired just typing all we’ve done so far this month. But wait! There’s more!
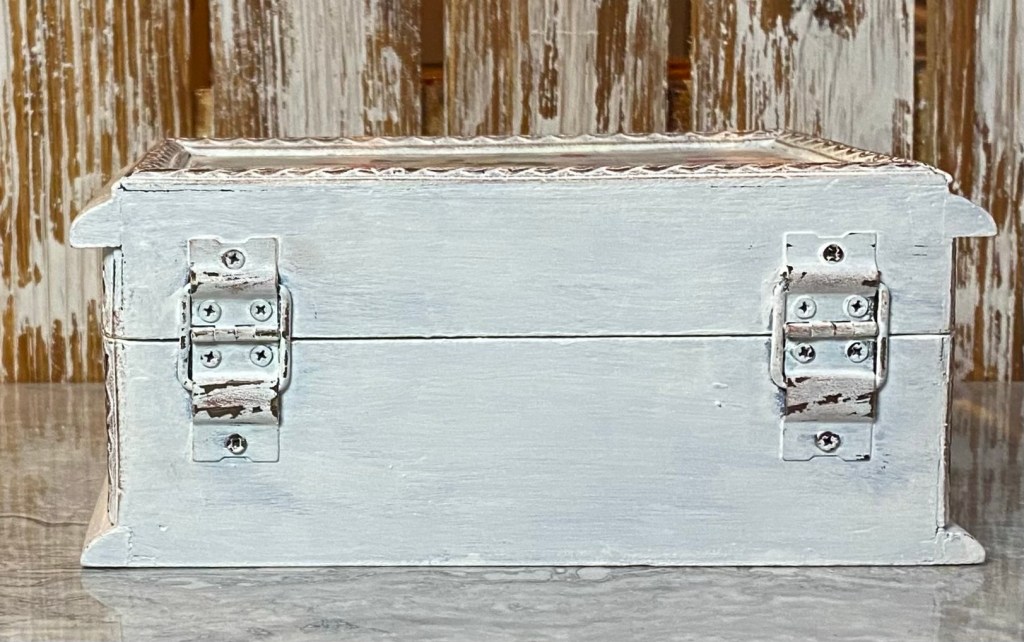
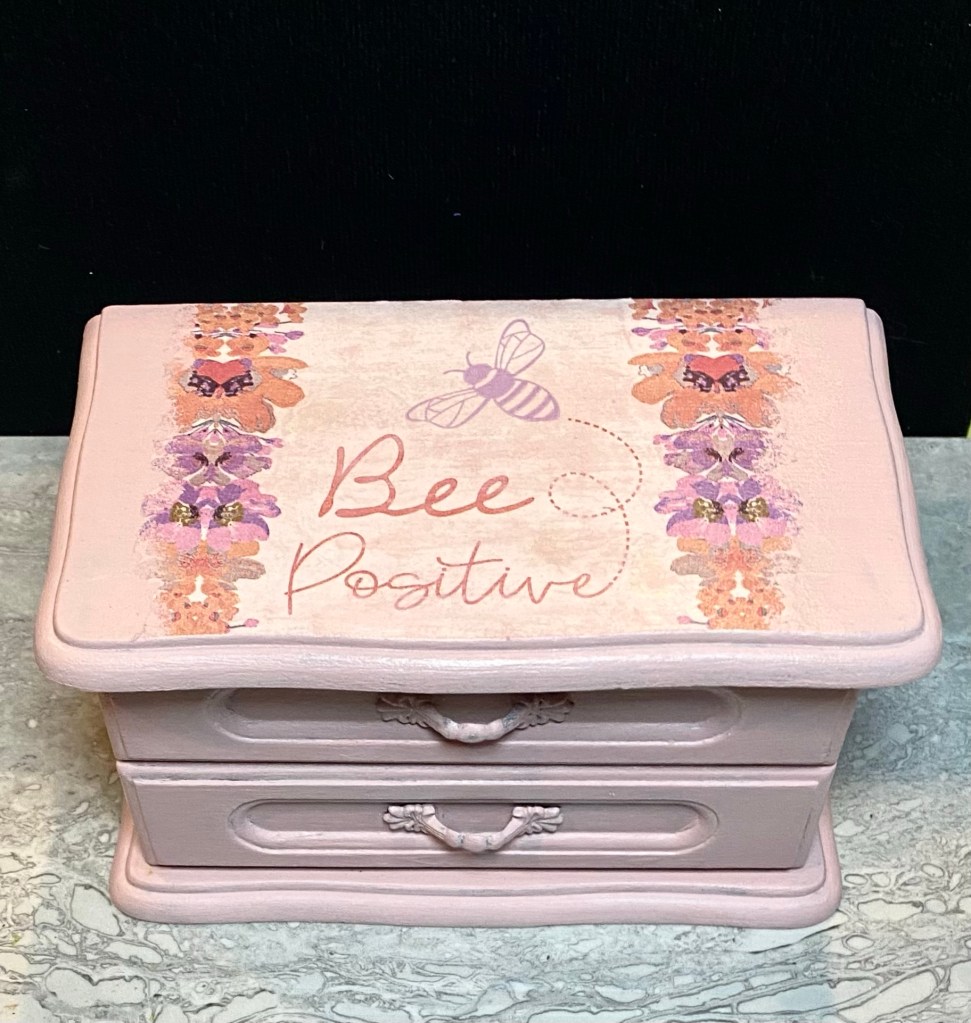
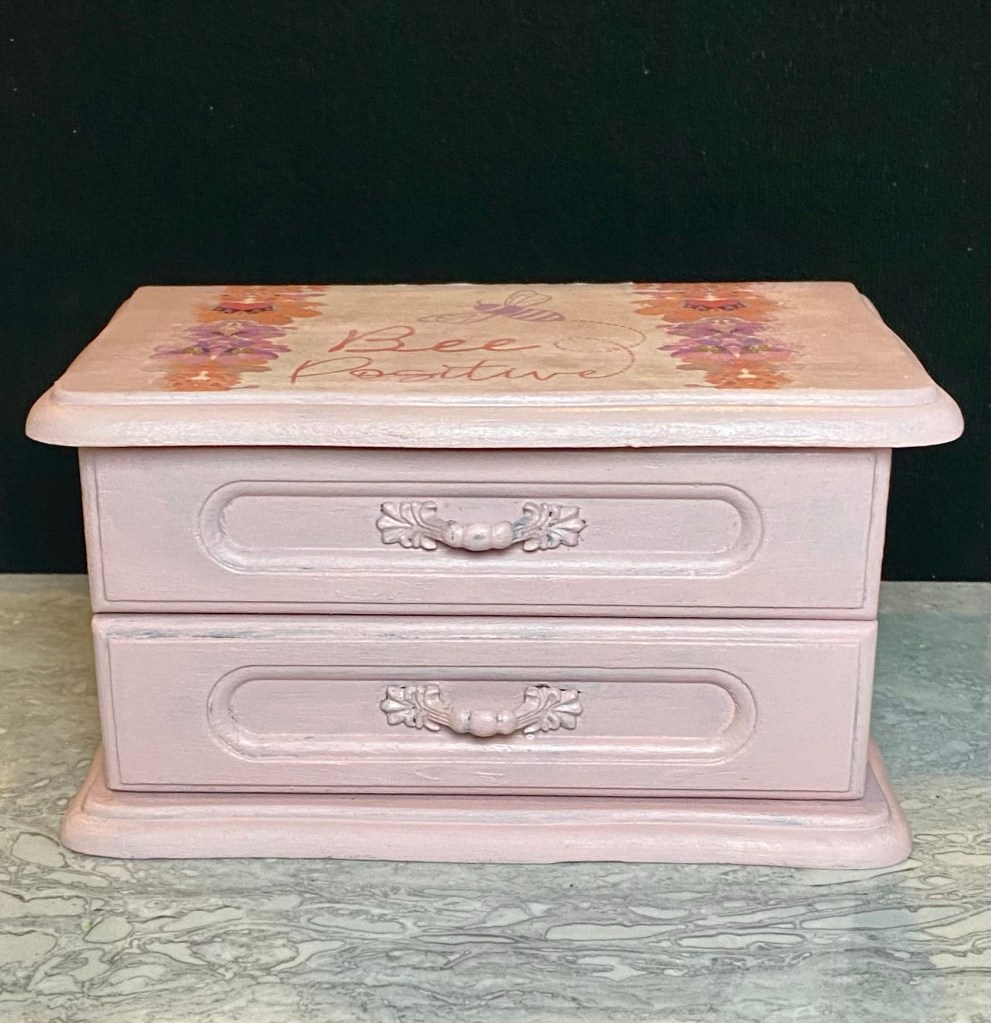
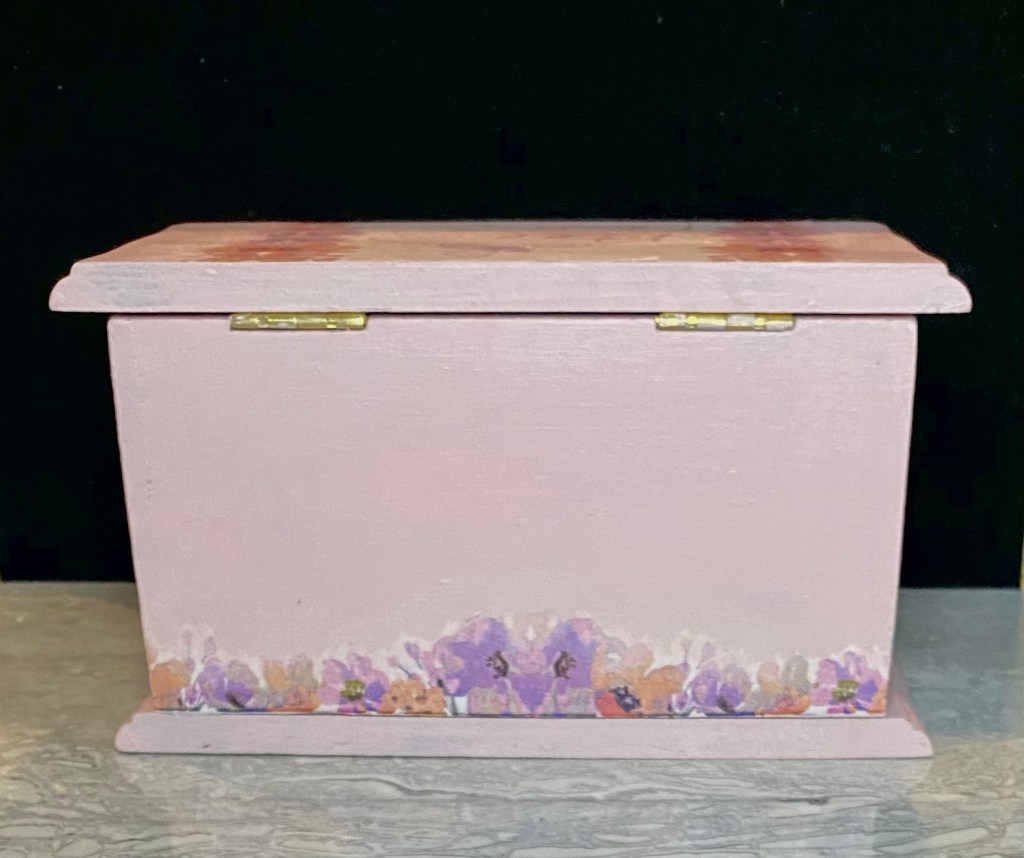
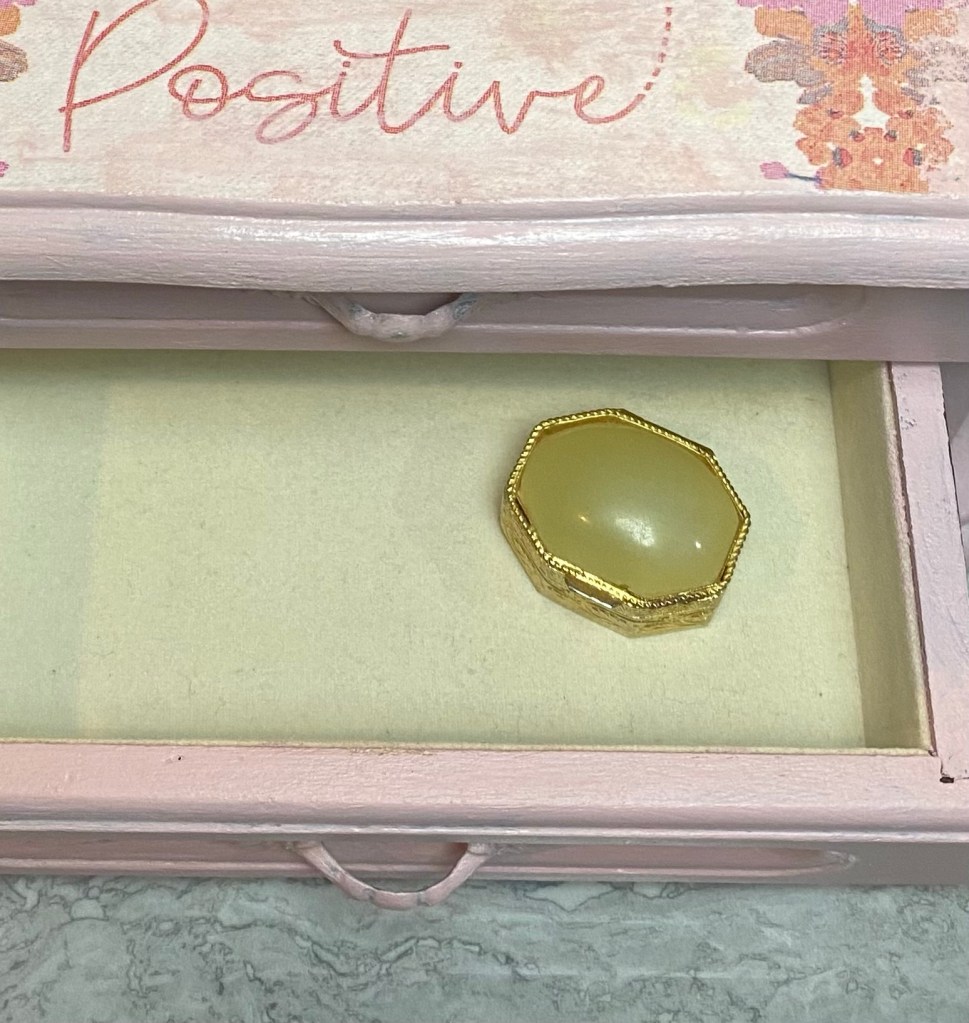
And then came a couple of jewelry boxes. I have a huge stash of them but haven’t painted any in awhile. These sold quickly so plan on painting ring more soon.
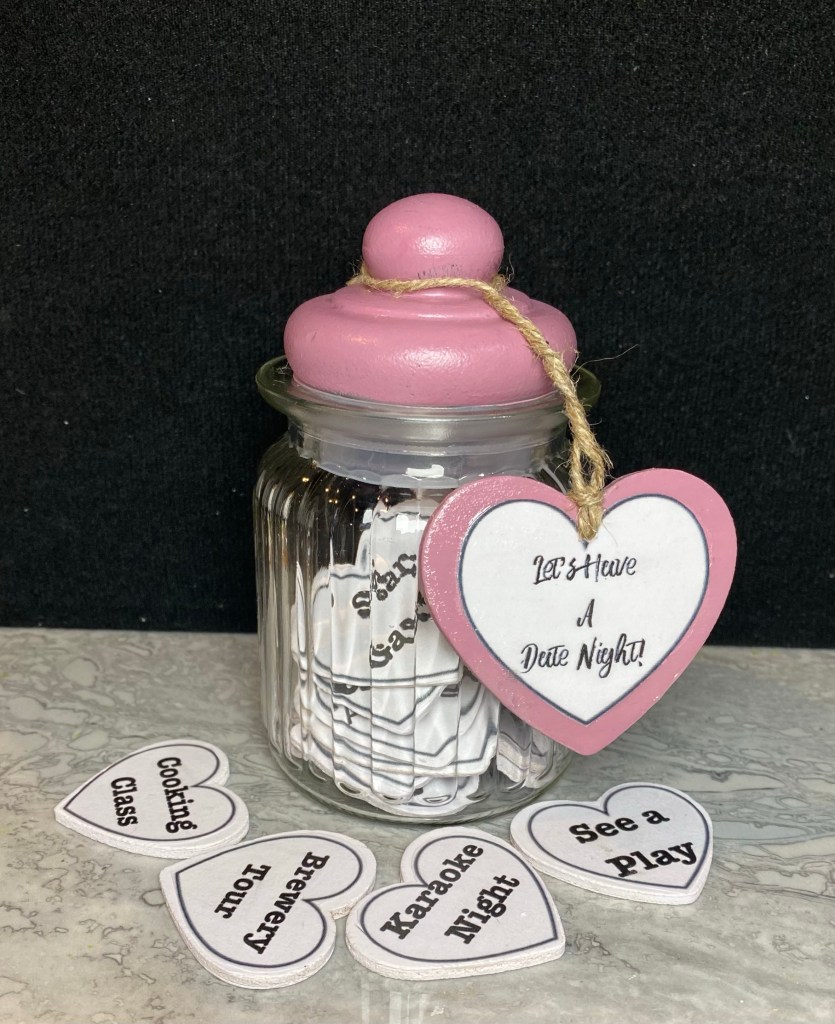
I saw an idea for a date night jar on Pinterest. This is my version. Jar from Dollar Tree. I painted the glass lid. If you spray glass with a clear sealer first, chalk paint will adhere well.
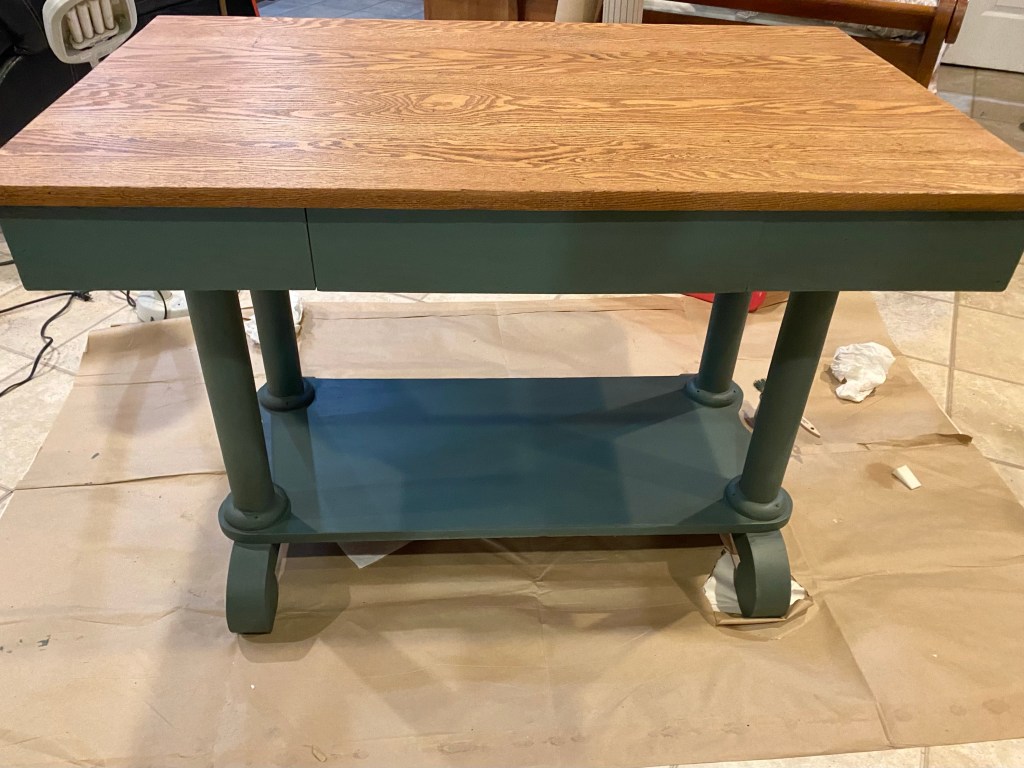
I don’t have staged pics of this beautiful library table. It is going to one of our booths this week. Danny sanded the top. I stained it with a w at teenaged stain. It has five coats of Varathane Crystal Clear Water based polyurethane in matte finish. The rest is painted with our Missouri Limestone Paint Company “Cupboard Green” and sealed. I love how it turned out.
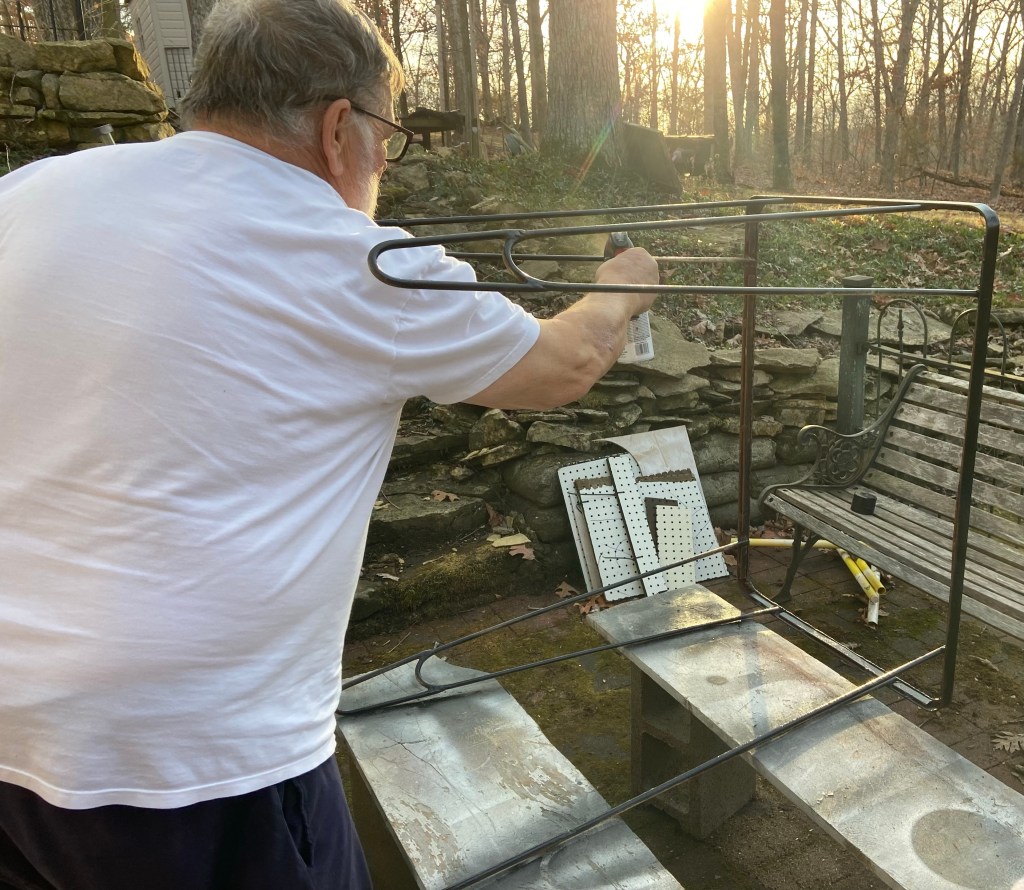
Danny created this white washed hanging rack from a vintage ladder.
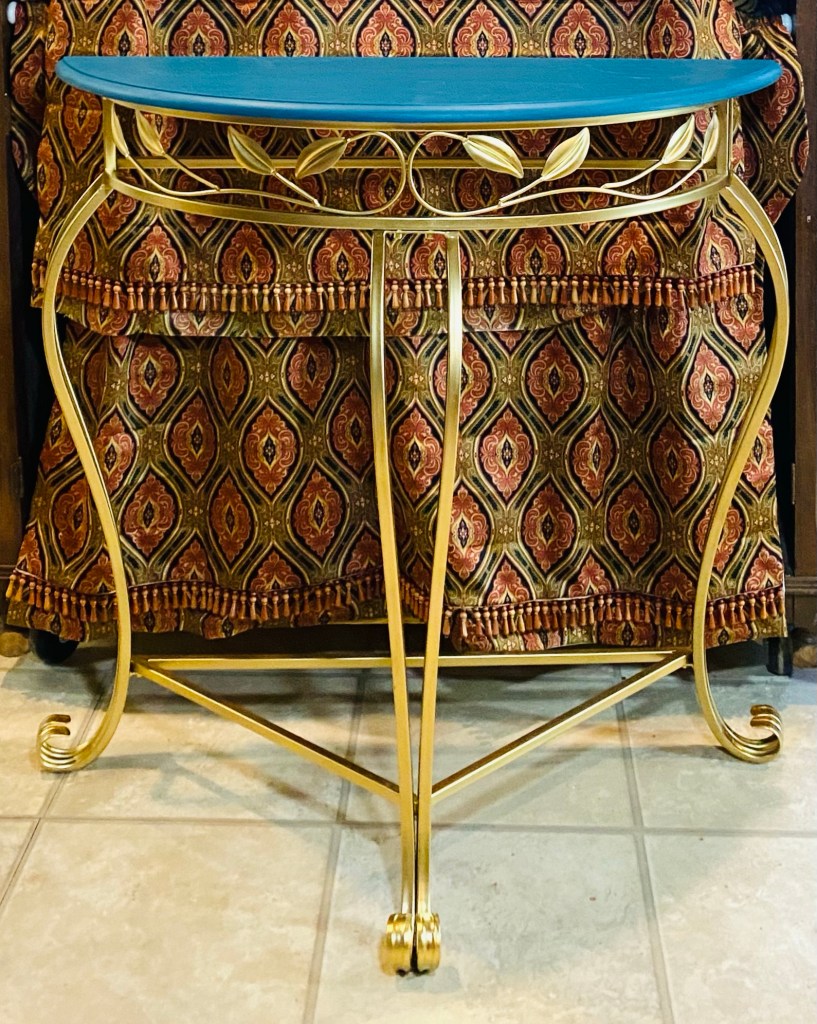
Another project is this gorgeous half table console. This is a long description but hopefully will inspire those who like boho with some ideas. I think this is one of my most favorite projects ever. I had so much fun with it.
We’ve had this table (and matching lamps) since soon after we built our house in 1985. Holy cow! That was 38 years ago!! The other day, I decided we didn’t need them anymore so decided to paint them. Danny suggested painting the top with our Missouri Limestone Paint Company “Bourbon Street”, a dark teal color. I thought Rustoleum metallic gold on the metal legs would look good with the teal. I also painted the metal on the lamps with it. They all turned out gorgeous!
Then, when I showed the table to a friend, she said I should style it as a boho piece. I agreed.
So pretty much all day today, I have been creating items for it to sell from things I have in my supplies:
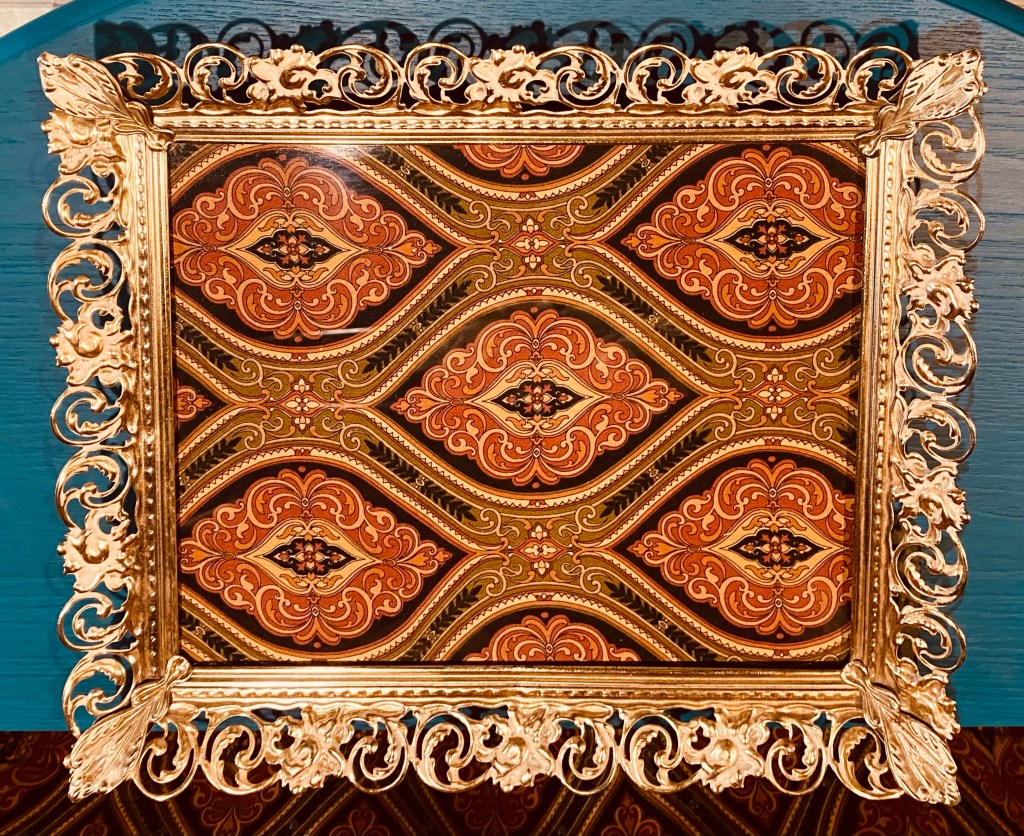
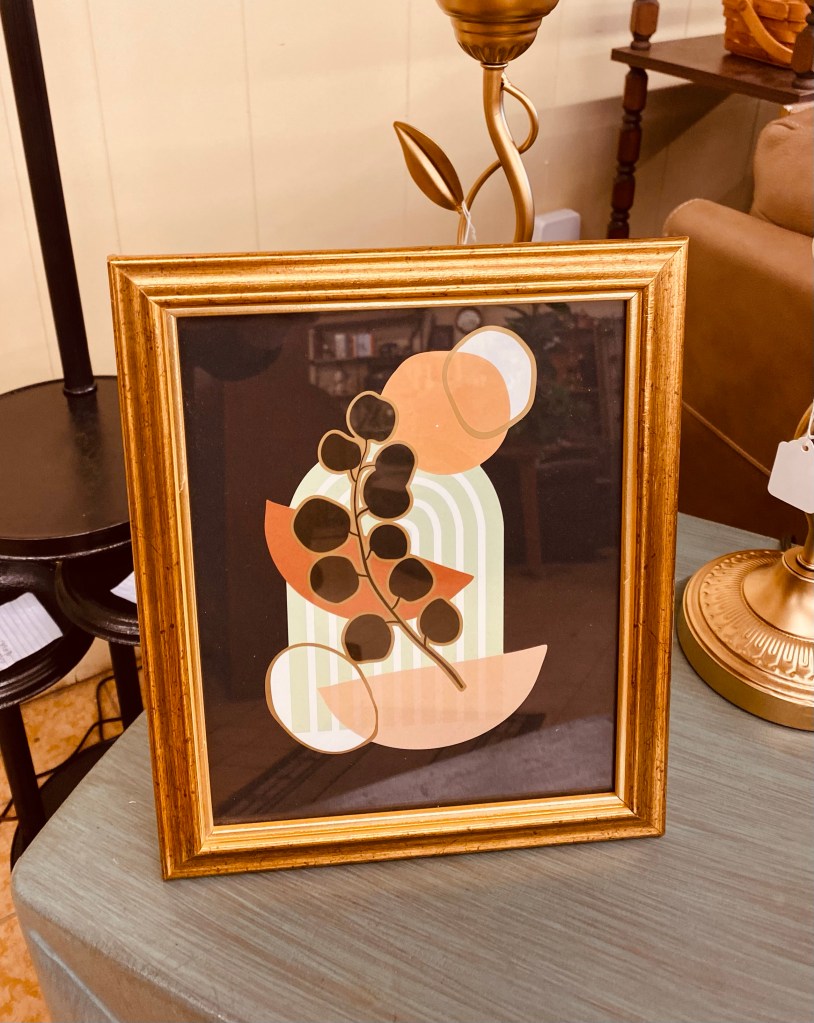
1) Picture frame: gifted by a neighbor- funny thing, my mom had our pictures in frames almost exactly like this growing up. The back is velvet. It can still stand up, but it makes a great tray, too. This frame is old! 2) This awesome fabric which was once valances with bead trim, was gifted by a friend. I’ve already used it as a curtain, as you can see, to hide Danny’s power tools and to create a little boho hanging. Lol I simply put a piece of the fabric under the glass of the picture frame for an instant boho tray! 3) A bowl of boho goodness. I had all the ingredients including this cute wood bowl I thrifted. I just added the beads around it for a true boho style. It took me a good bit to figure out how to do it to look finished, then decided to rip it out (it was sewn in with nylon thread). But when I got it all out, it was attached to this beautiful piece of fabric tape in this awesome color! I just hot glued it around the bowl! 4) Picture frame: gifted by the same neighbor: I did a line drawing on the glass of similar leaves in the table and put a piece of scrapbook paper behind it in a coordinating color and now have a boho print! 5) Bottle of peacock feathers: the bottle I think came with fragrance oil and bamboo sticks at some point. I did paint the lid that sits around it metallic gold this morning. I’m pretty sure I picked up the peacock feathers at a yard sale.
And then, we came up with a few more boho accessories.
And when we found this mirror shopping, we knew we had to get it! Danny painstakingly covered all the mirrors. I painted it metallic gold and then he removed all the tape. I cleaned it and….it is just stunning!
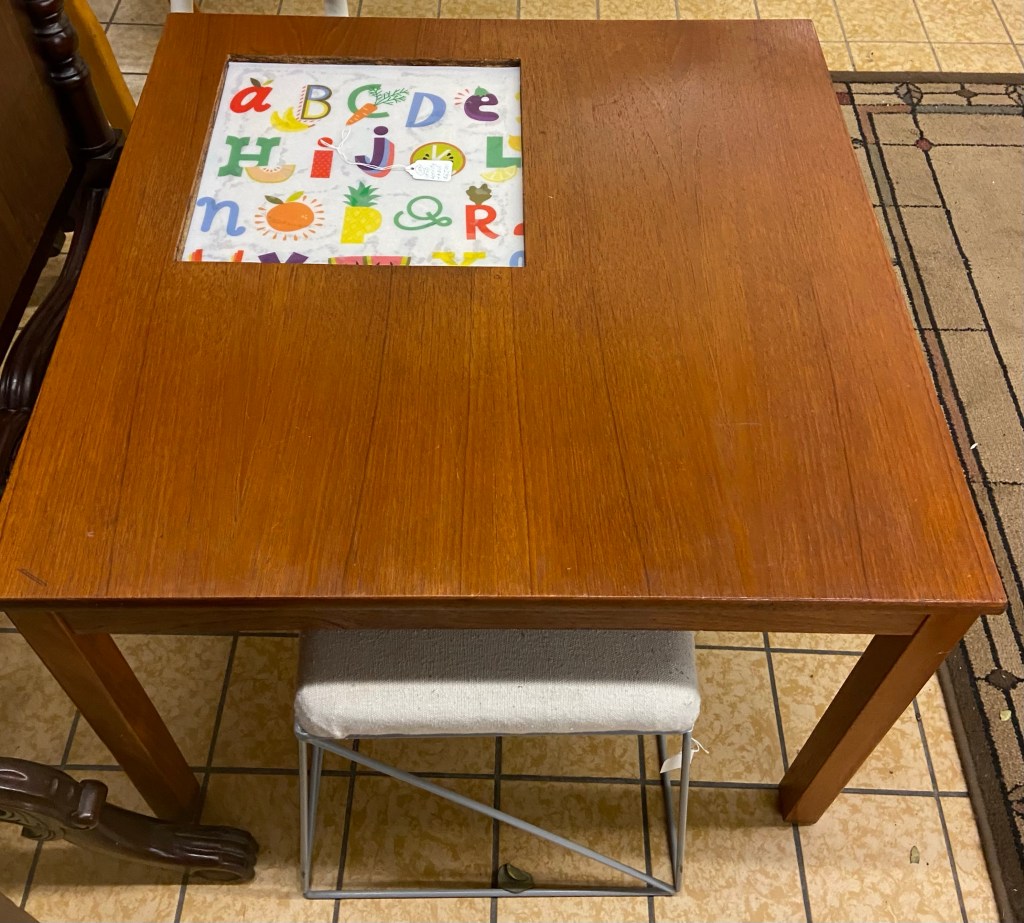
We also found this cute little kid’s drawing table. We added a couple of stools to it and took it to our booth at Sweet Repeats in Sullivan.
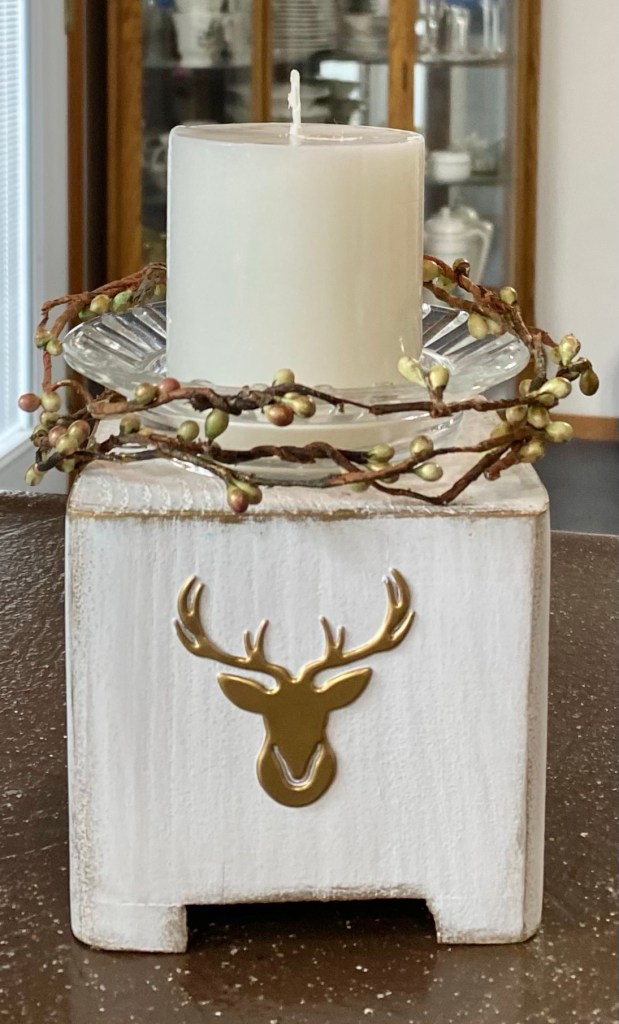
The wood base on this candle holder is a bed riser I turned upside down and painted. the dish for the candle is a vintage ashtray.
Coming up…. Danny is working on a new project. We are busy figuring out a way to make a table top for it. Stay tuned!
You probably wouldn’t want to use both lamps on the table, but maybe in the same room would be perfect!
I was starting to clean up my messes (and put a few bags of DT items away) 🙄 and had a bit of a new DT “plank look” rub on transfer from covering the coaster I made yesterday. I also had some pieces of boho looking transfer left from another project …. and a rock.
The DT coasters are actually really nice, but I thought the “plank” rub on transfer might tone this one down some and it did! You can still see the wording even after I sealed it with Mod Podge Pearlized Glaze sealer.
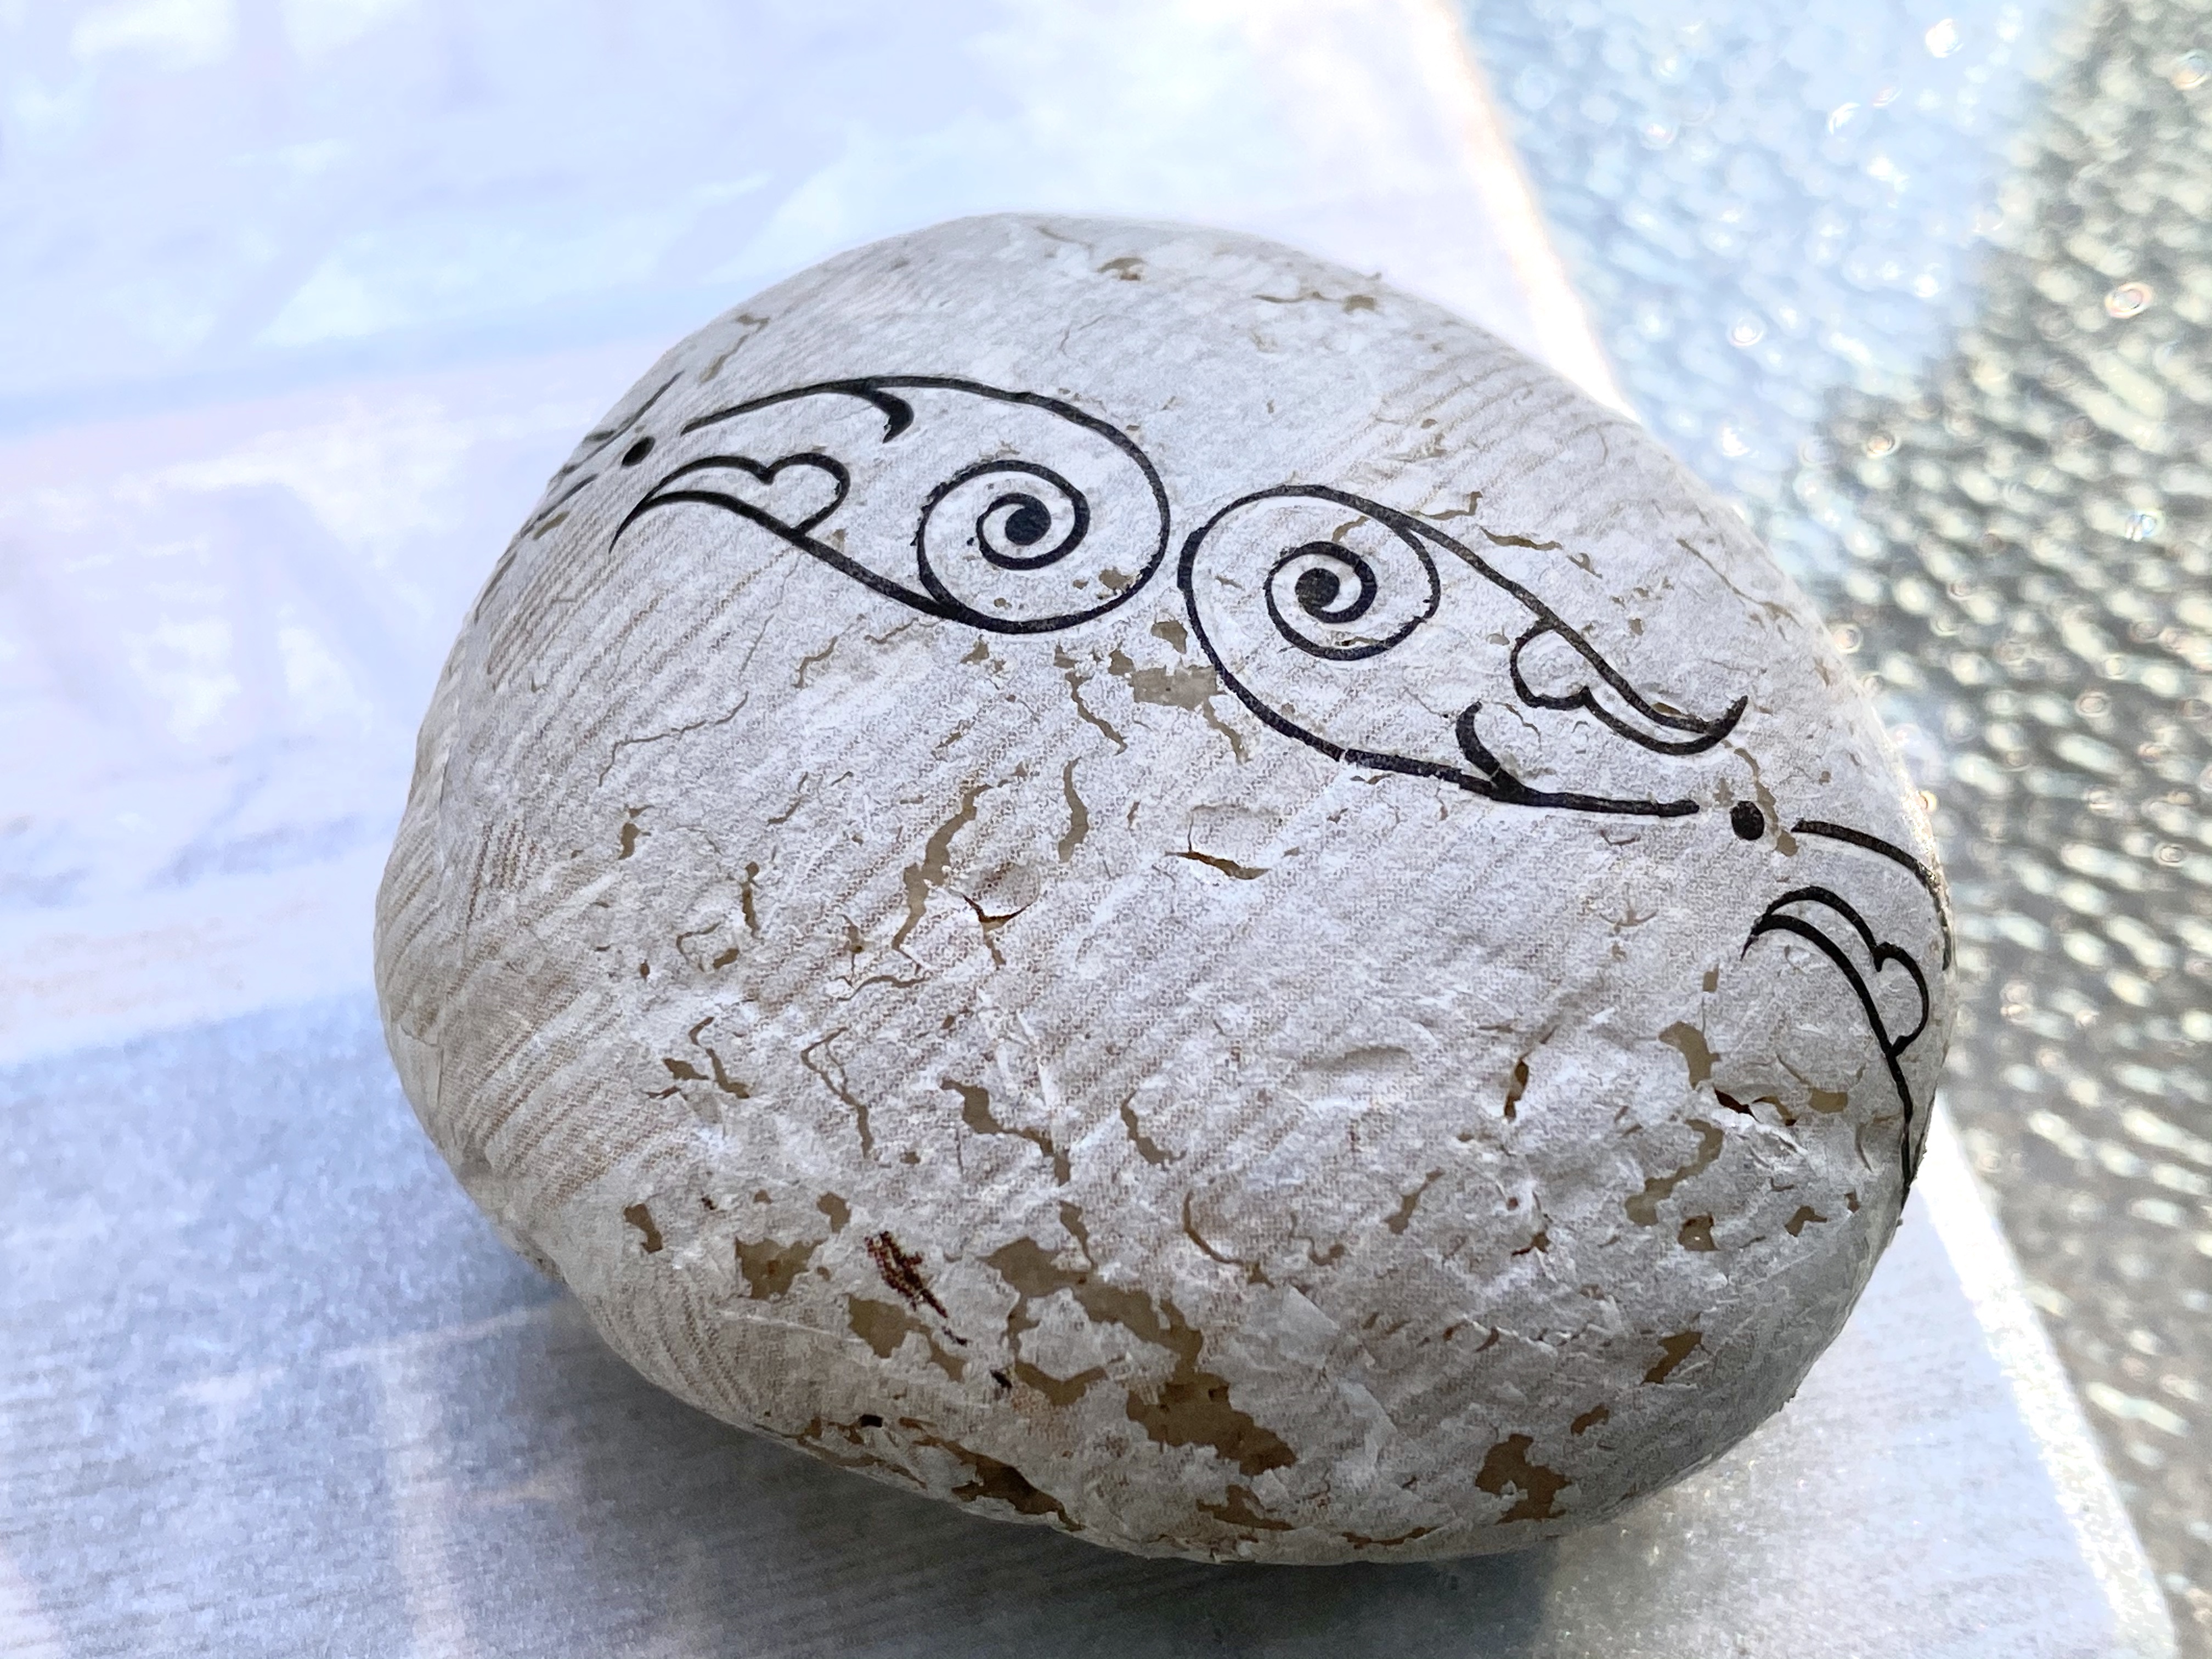
I had a rock and some of that transfer leftover. I looked at the rock, then looked at the transfer, then thought ….I wonder what would happen if I covered the rock with it? Wow! I love the look! I may never paint another rock! Well, as long as I can still find this transfer. Lol
So then, I added some of the boho looking fish transfers and ….Voila’! I had a beautiful little Zen display… and I had something beautiful and calming from practically nothing!
But I wasn’t finished yet!
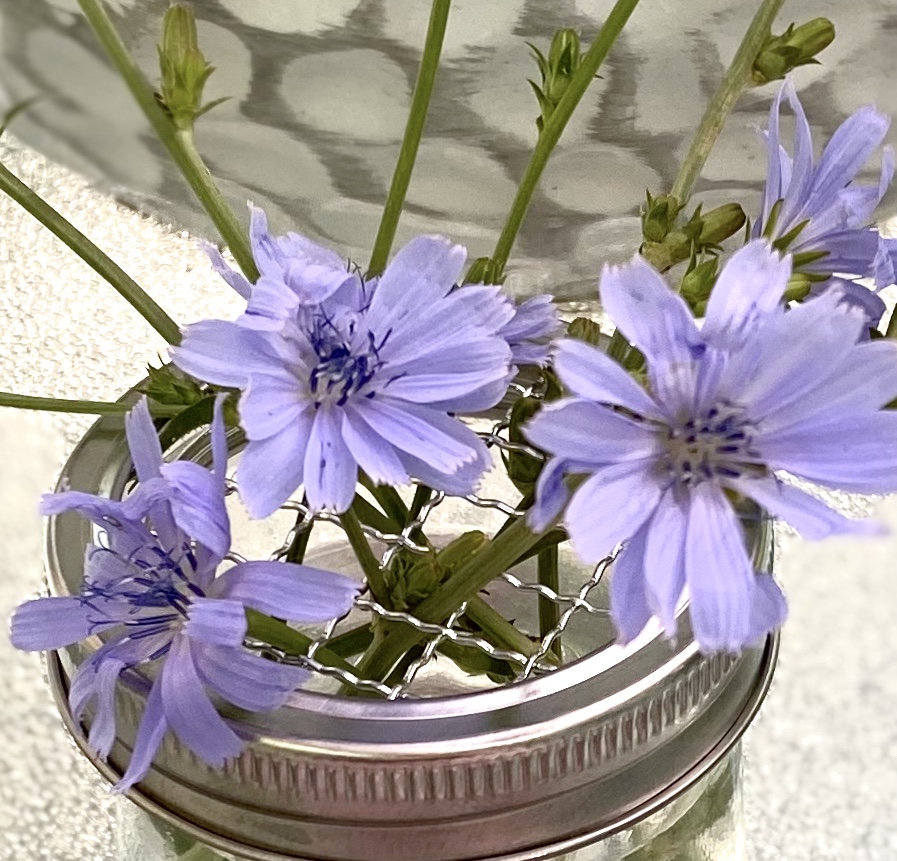
I’m also putting away some gifted Oui jars. But….the other day I found these wired canning jar lids at Dollar Tree. I wondered if they would fit over a Oui jar since I knew the seals did. Yes, they do. Like a charm!
So, I put into these little jars some of the beautiful Missouri Chicory that grows through cracks in the asphalt in the grassy areas along our roads. I knew the blooms/buds would be mowed down soon, so I cut some. I also had a beautiful goblet I had thrifted the clay “frog” I made the other day and put some blooms/buds in it.
They turned out so pretty! Can you image a big display of different size glass jars and bottles for blooms? You could easily buy a bouquet of real flowers at the grocery store or use blooms from your own garden and do the same.
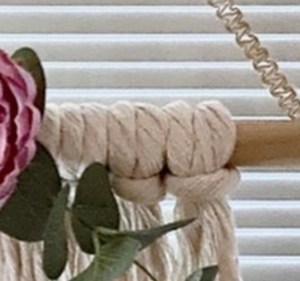
Last night I made a simple macrame boho wall hanging….while I watched TV. It was fairly time consuming so I recommend TV watching while you do this. 🙂
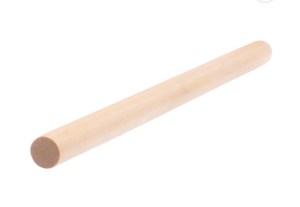
I had a dowel 16” long by 3/4” diameter. A slightly smaller one would work as well. A cut down plunger handle from Dollar Tree would be perfect.
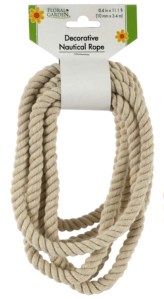
I unraveled the whole nautical rope from Dollar Tree. It made 3 strands. Then I cut those strands in half and I had 6. Then I cut those in half and I had 12.
I know had 24 strands to unravel. The time consuming part was unraveling all the strands until I got the look you see in the photos. Take your time and do just a few strands at a time or you will get it all knotted at the end. Trust me… I know. I did use a dog brush I bought at Dollar Tree for macrame projects and brushed the strands out as much as possible after I separated them. Then I trimmed the bottom a little trying to go at angles toward the center.
I attached a flower and foliage with hot glue. I bought four flower pots with a variety of high end flowers and foliage through an online auction for just $8.50 for all four after fees. They were originally priced at $10 each! What a bargain! If you haven’t tried online auctions, you should!
I then used some of the burlap trim from Dollar Tree to make the hanger. I wrapped some around a small metal book ring from Dollar Tree, hot gluing it as I went around. I took the length of one of the pieces in the package and cut it in half. I wrapped one end of the piece completely around the dowel rod, securing it with hot glue. I did the same for the other side. Then I brought the ends together, put them through the covered ring and hot glued them to the ring on the back side. I did that twice to make them very secure.
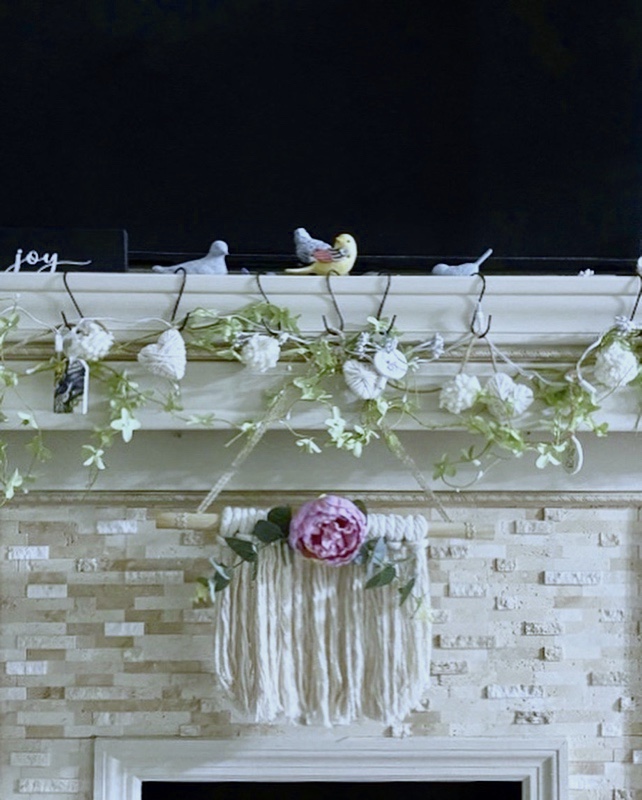
I took photos hanging from my fireplace and French Door. I especially love how it looks hanging from a fireplace for summer!!
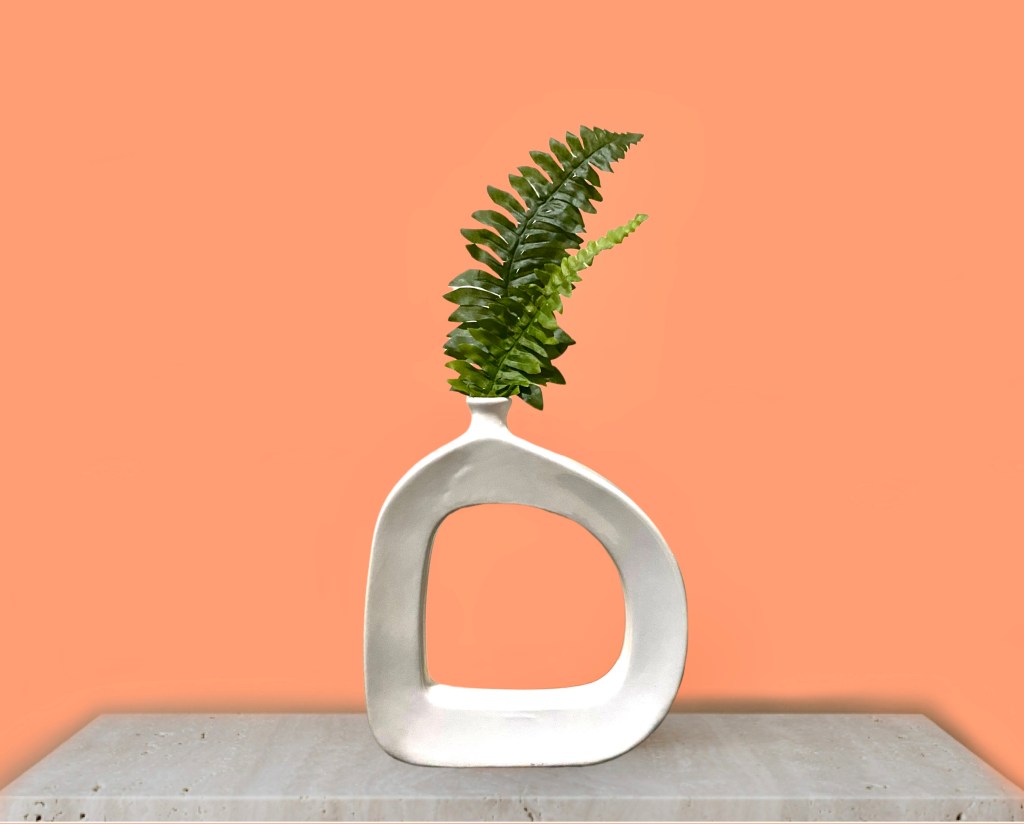
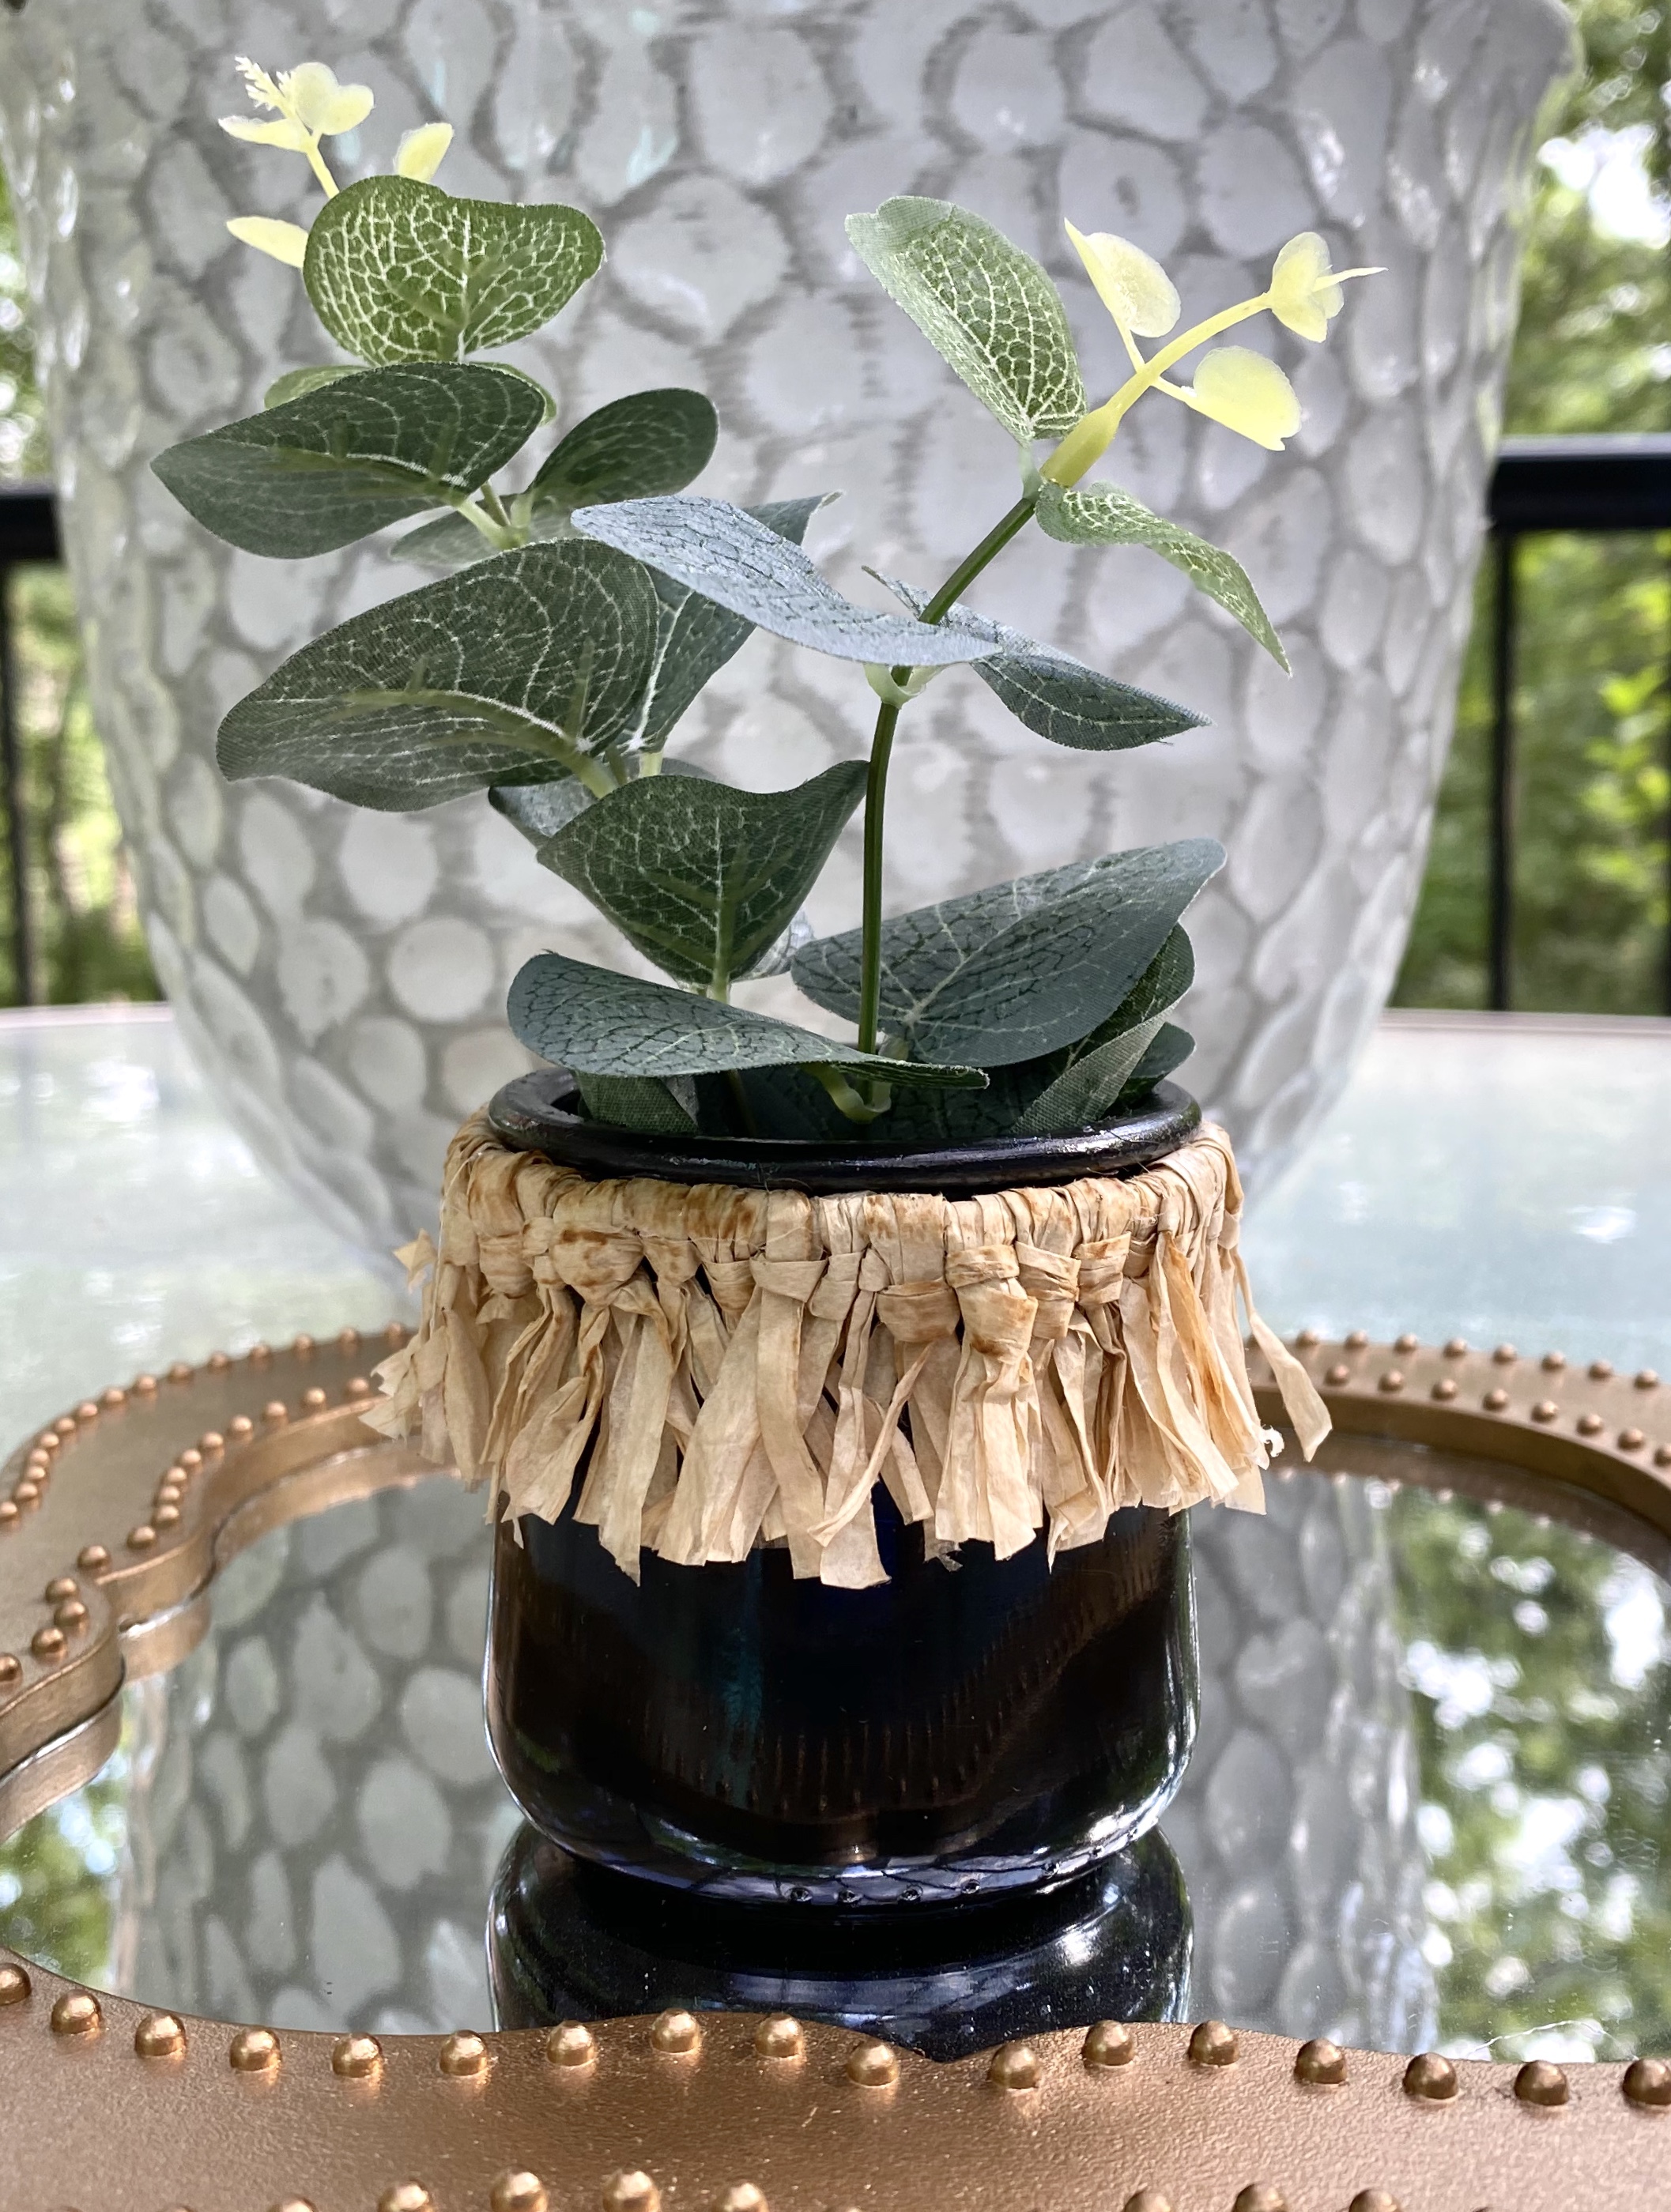
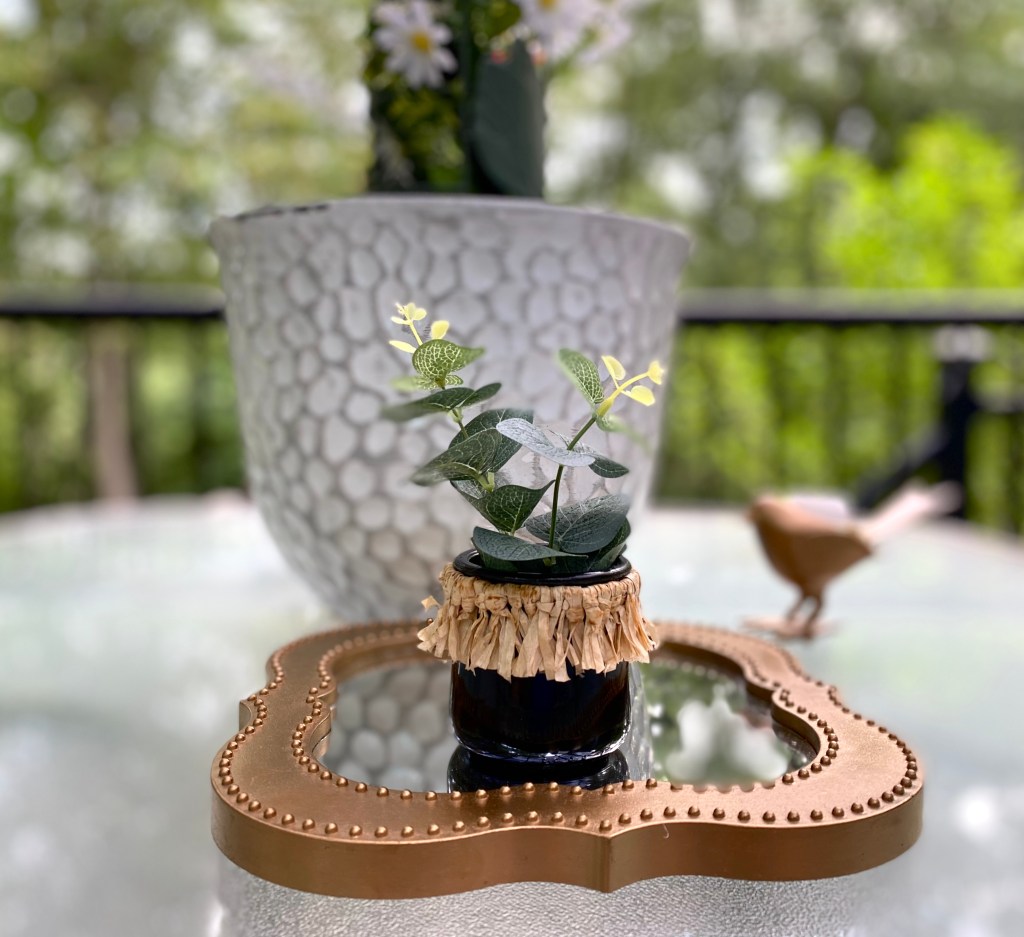
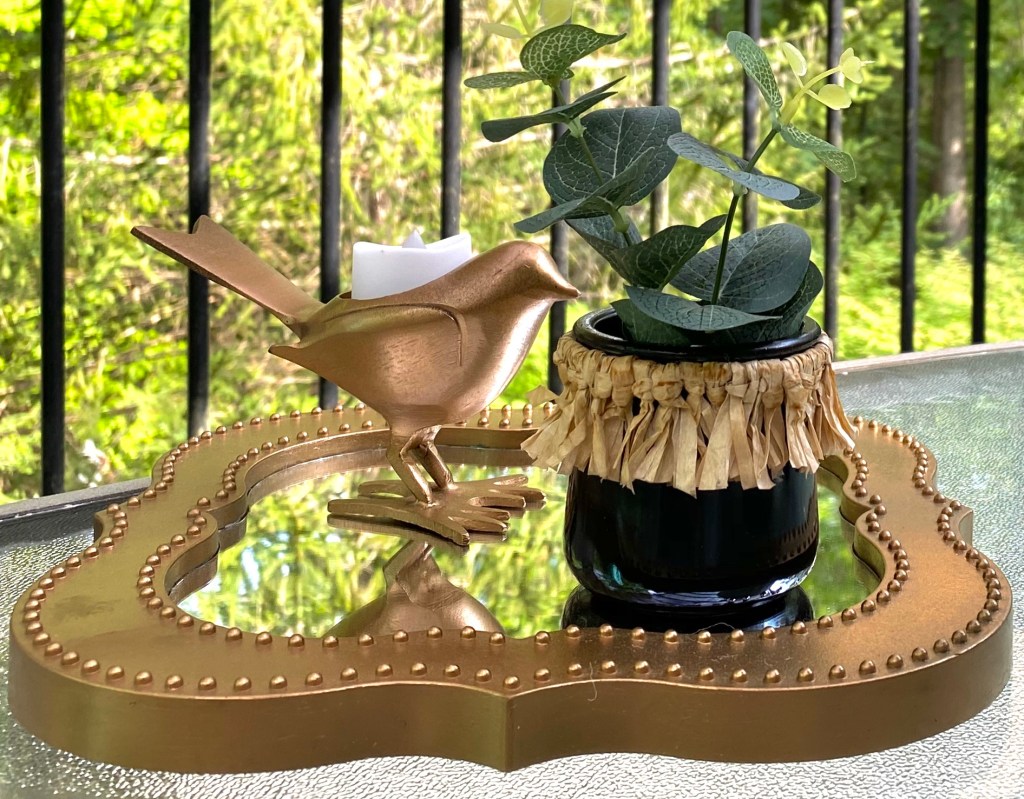
This beautiful boho greenery arrangement is just another way I have found to use a Oui yogurt jar.
I sprayed the inside of the jar and the top edge black.
I cut a styrofoam ball in half and then trimmed down the edges and glued to the bottom inside of the jar.
The boho fringe was a left over piece of a Dollar Tree hula skirt, trimmed to fit the jar and glued in place. The original hula skirt was too yellow for me, so I dyed it with coffee grounds. Love the color now. *I cut two stems of high end greenery and stuck them into the styrofoam.
I love taking photos of the projects I do outside on sunny days.
A very early morning project – I can still hear a rooster crowing in the distance and I live in the city limits. Lol
I made these big clay beads for a friend yesterday. They dried quickly in the hot sun. This morning I painted them, dried the paint and added white wax and rubbed it in. I strung them on jute rope. This will still need to fully cure a few more days.
You can find anything on Google. It worked perfectly.
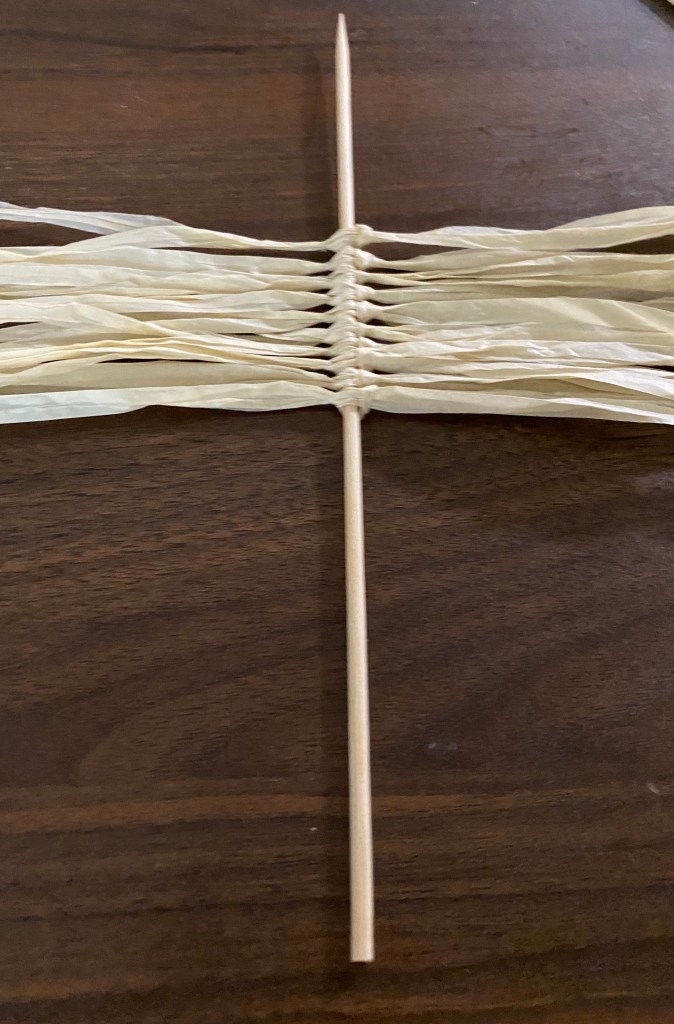
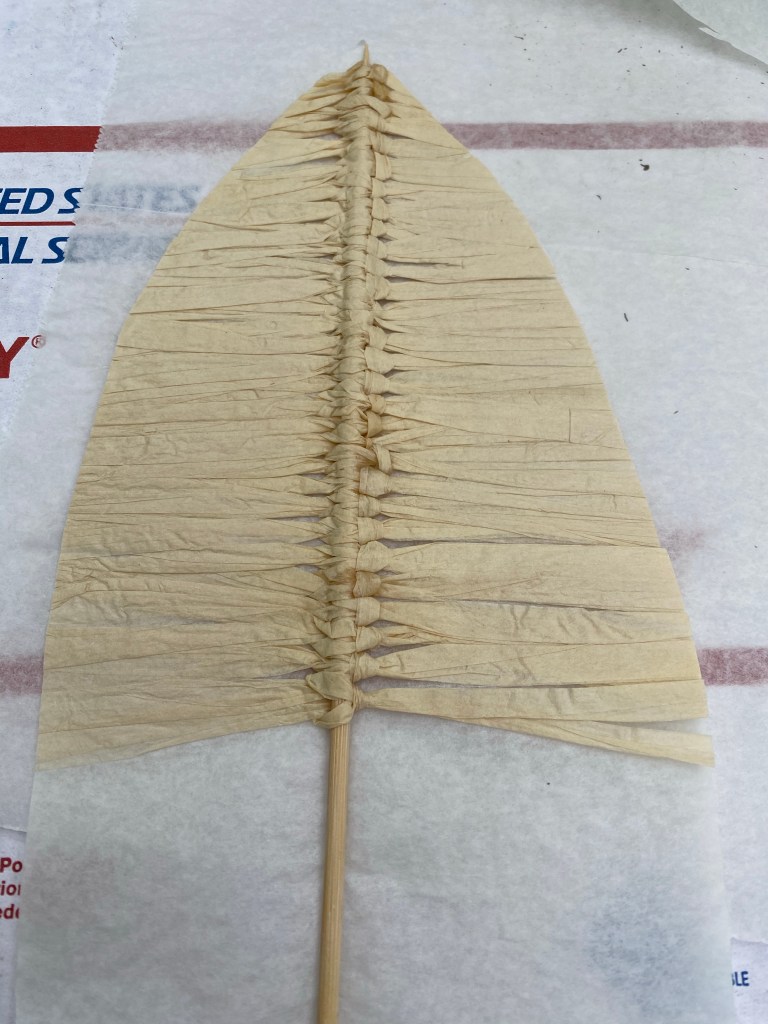
I cut off strips from the hula skirt. The idea video above explains how to attach the strips.
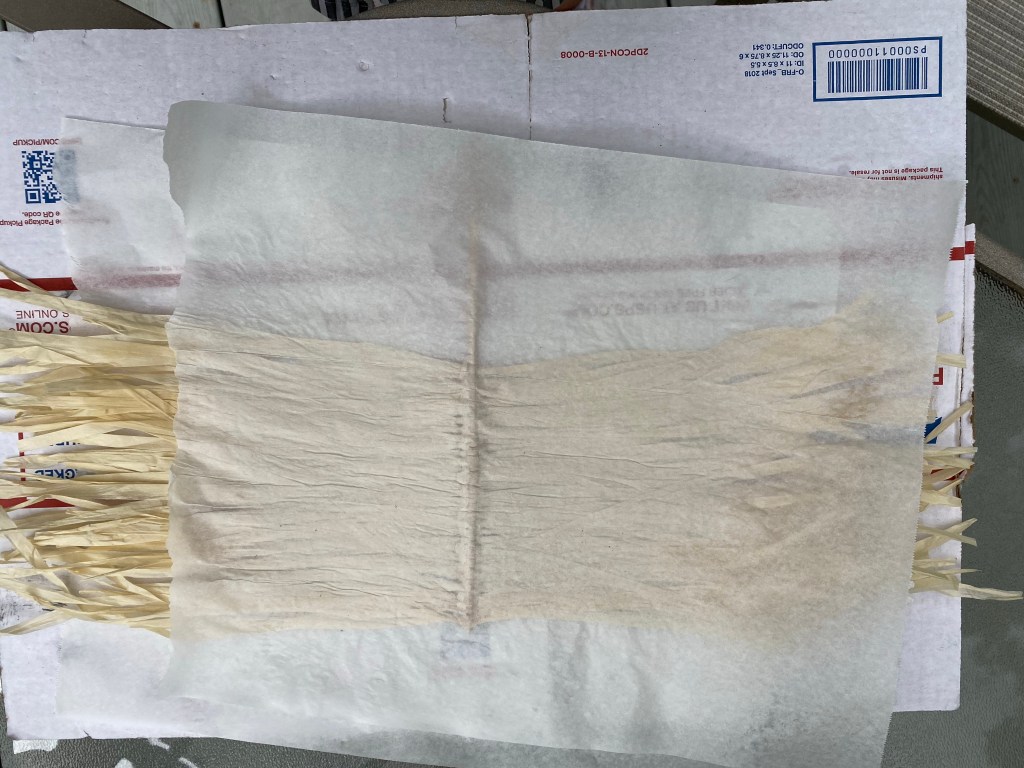
Once I had enough strips tied on, I put down a sheet of parchment paper, placed my piece on it, sprayed it with my homemade starch, then added another piece of parchment paper, and ironed it dry.
It came out nice and stiff. I was able to peel off the top piece of parchment paper easily. I left the back piece on at that point because I thought it would be easy to cut the shape of the feather with it attached. And it was!
I then used glue. The gluing isn’t shown here but I spread tacky glue on the back across the top and bottom and down the seam to hold all the strips together and so they wouldn’t shift up and down.
One it was cut out, I peeled each piece apart as they were all stuck together from the starch.
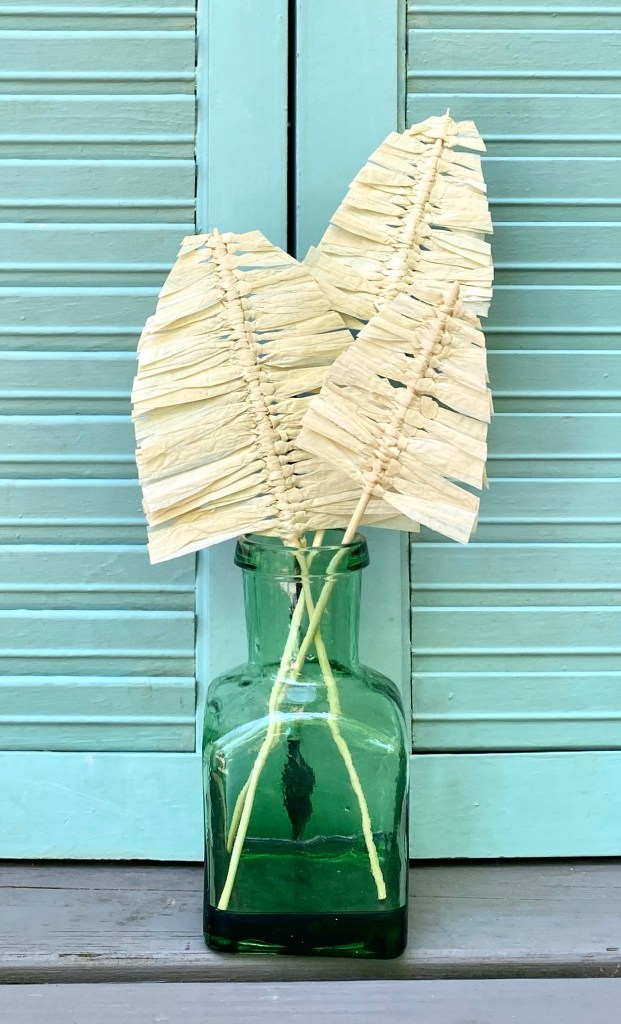
I will say this wasn’t a quick project, but it was easy to do. And I made it outside in this beautiful weather we are having!
And that green glass vase! I thrifted it long ago. I never knew how I would use it until now.
This is line art I created on glass – by tracing a print out with a metallic paint pen . 🙂 This YouTube channel video has many great ideas that think fit right in with this modern boho style. This project I saw on the video, by Katie Bookser, in particular caught my eye.
I printed an image from the site of free images she shared and placed it under the glass of the photo frame I was using. Then with a white metallic paint pen from Dollar Tree, I simple traced the image.
Once the paint was dry, I turned it face down on a unique piece of blue scrapbook paper I placed in the frame. In the close ups, you can see a bit of writing on the paper. With the painting face down, you can easily clean the glass.
This 8”x 12” frameless photo frame is very unique. The glass and contents pop in and out from the front. You press on the edges to release them. There is also a fun surprise under the scrapbook paper. I used a snowflake picture I made this winter. Repurposing are its finest. 🙂
Photos were a little challenging due to glass reflection.
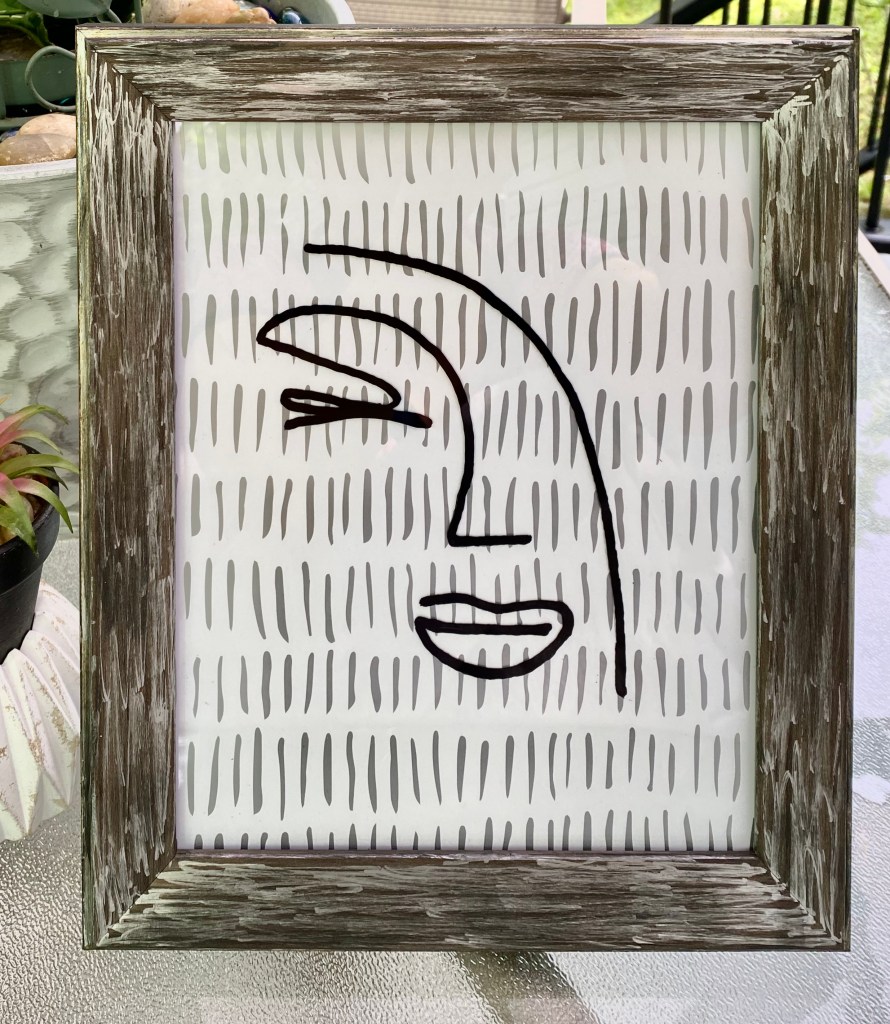
I had so much fun with tracing line art on glass yesterday, I just had to play around with another one this morning. I’ve discovered I love to do this!
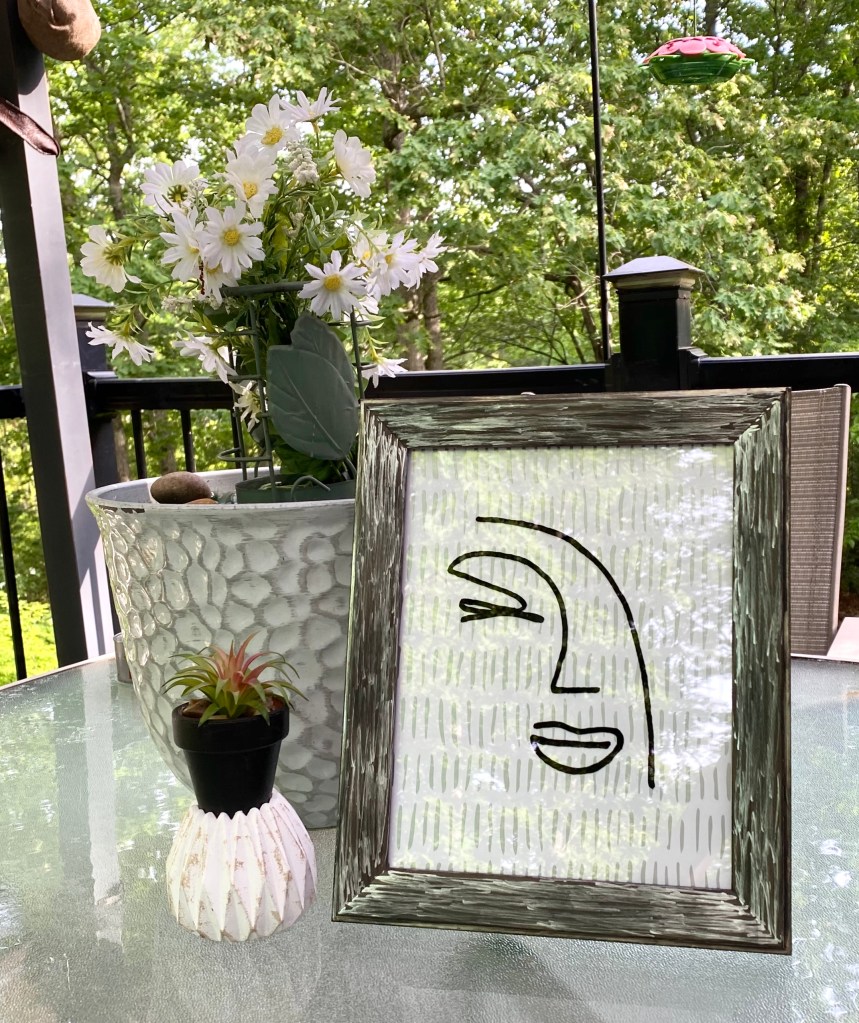
The graphic is from a free vector site called vecteezy. I did a search for face line art. I traced this graphic on glass with a black permanent ink Sharpie.
The tribal peel and stick wallpaper came from Dollar Tree. The nice solid frame is a Hobby Lobby one I thrifted from somewhere.
I painted the lines on the front with a silver metallic pen and the sides with black chalk paint.
This one is true bohemian style. So cool!
I was fighting reflections on the glass, but I actually love the reflection of the leaves in the first photo. And it’s a beautiful morning on the deck for taking photos. Honeysuckle must be blooming because I can catch a whiff of it every now and then.☺️
It was a rainy day yesterday and since rainy days are made for crafting, I had a couple more projects in me.
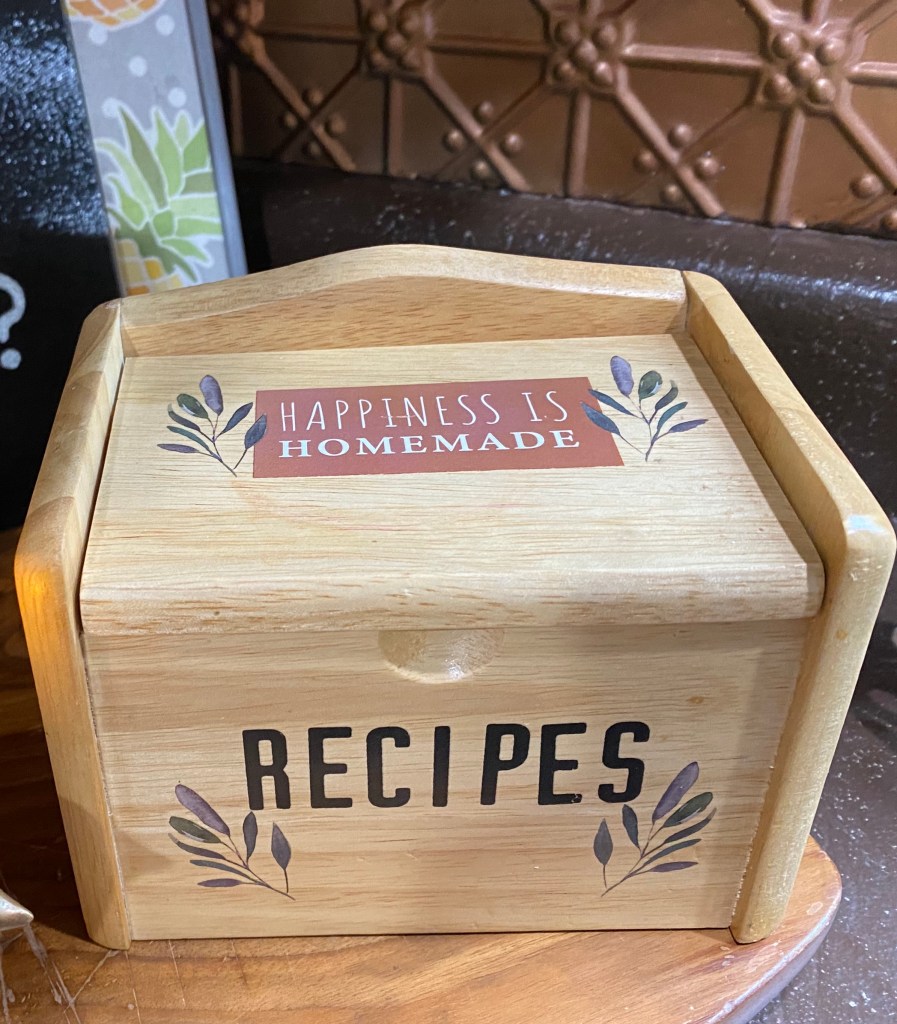
I was in Danny’s workshop area and happened to see this cute recipe box I thrifted so long ago I didn’t even remember it. Who knows why it was in there. 🤷🏼♀️
I opened it up and the lid has a little shelf inside to hold a recipe card. How cool is that! The wood was natural and I decided it was the perfect thing for a modern boho decor as well as many other styles.
I immediately knew I was adding some transfers to it and knew just which ones to use from some small ones I got at Dollar Tree.
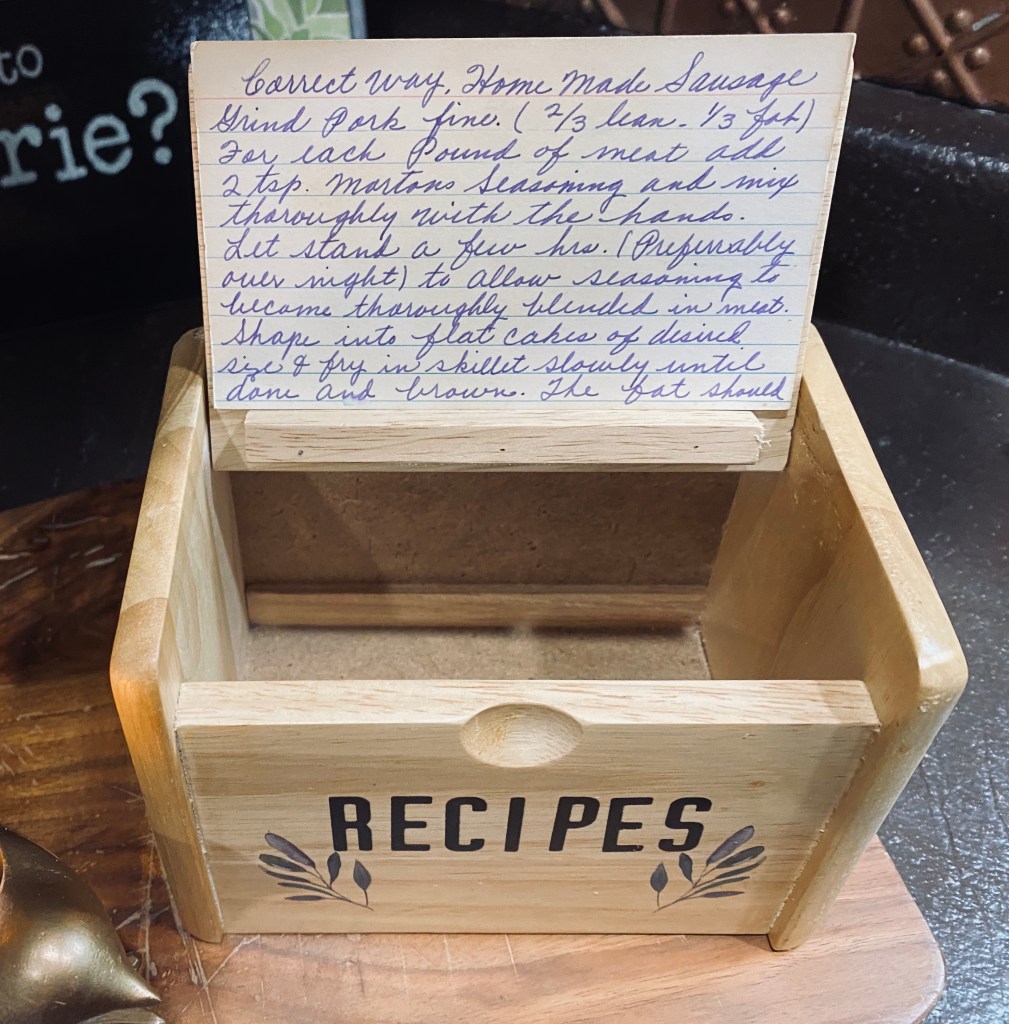
Aunt Ada’s recipe card for homemade sausage seemed like the perfect recipe to display. I love how she titled it “Correct Way” and how beautiful her handwriting was. 🥰
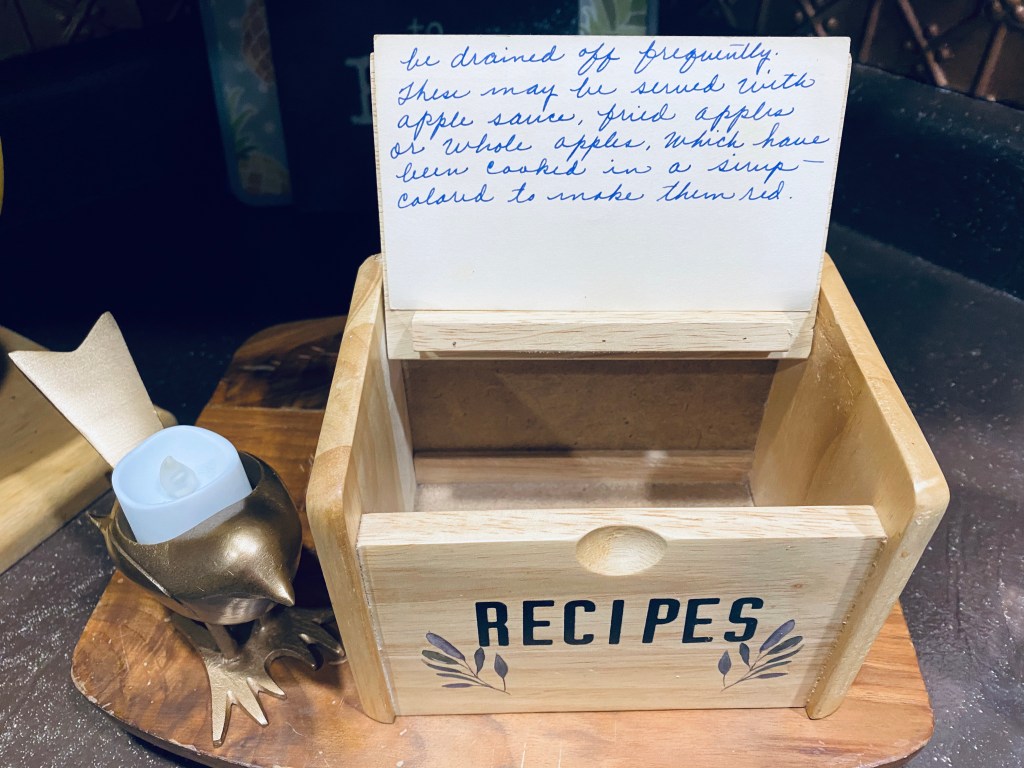
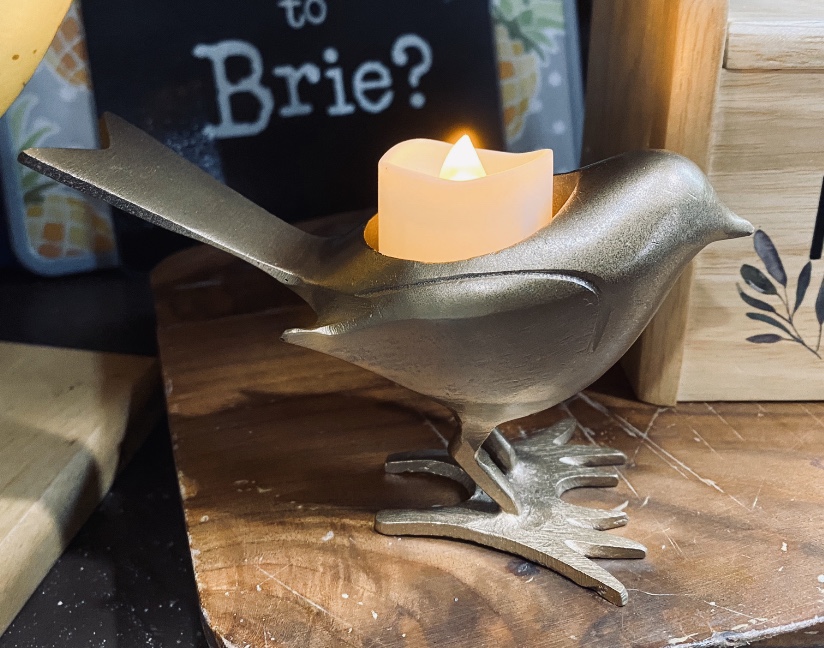
I also recently thrifted this solid metal bird tea light candle holder. After immersing myself in modern boho decor, I knew I had to spray paint him metallic gold. 🙂
Yesterday was definitely “A good day to have a good day!” And it quit raining, and the sun is shining, so today looks like it’s going to be a good day, too!
I’ve been seeing a lot of the “boho” (bohemian) style lately! As I looked into it more, I have come to the conclusion that I really like the contemporary boho style, also known as modern boho or boho chic. I love the eclectic feel of using many different styles together. Although my Beatles themed guest room has that vintage bohemian look that I love.
I think I have been leaning toward the contemporary (modern, chic) bohemian style for awhile now with my love of natural colors, wood, elements of nature, and color. I just didn’t know it had a name.
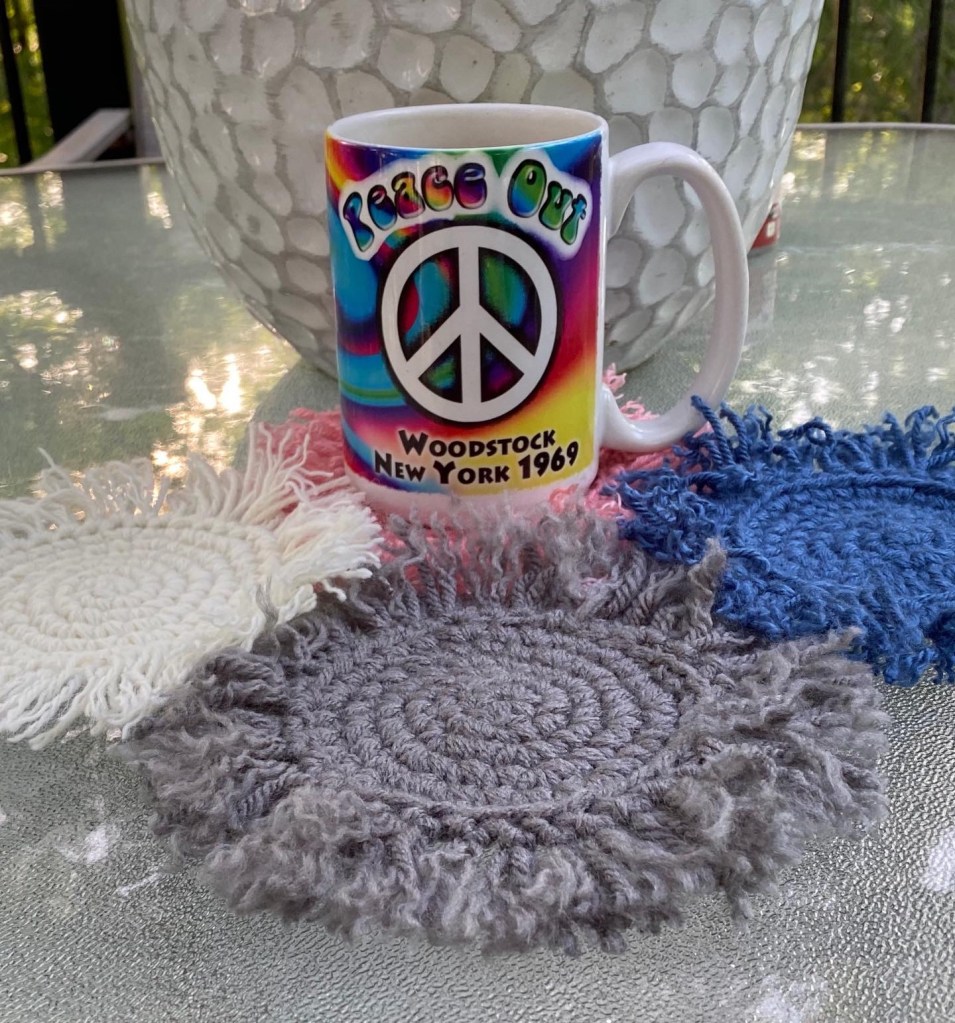
As a result of my research, I’m beginning to create some modern boho style projects in the coming days. I love that macrame and crochet is trending so I’m definitely going to making some coasters for sure.
This lady also explains boho really well. I think it is becoming very popular.
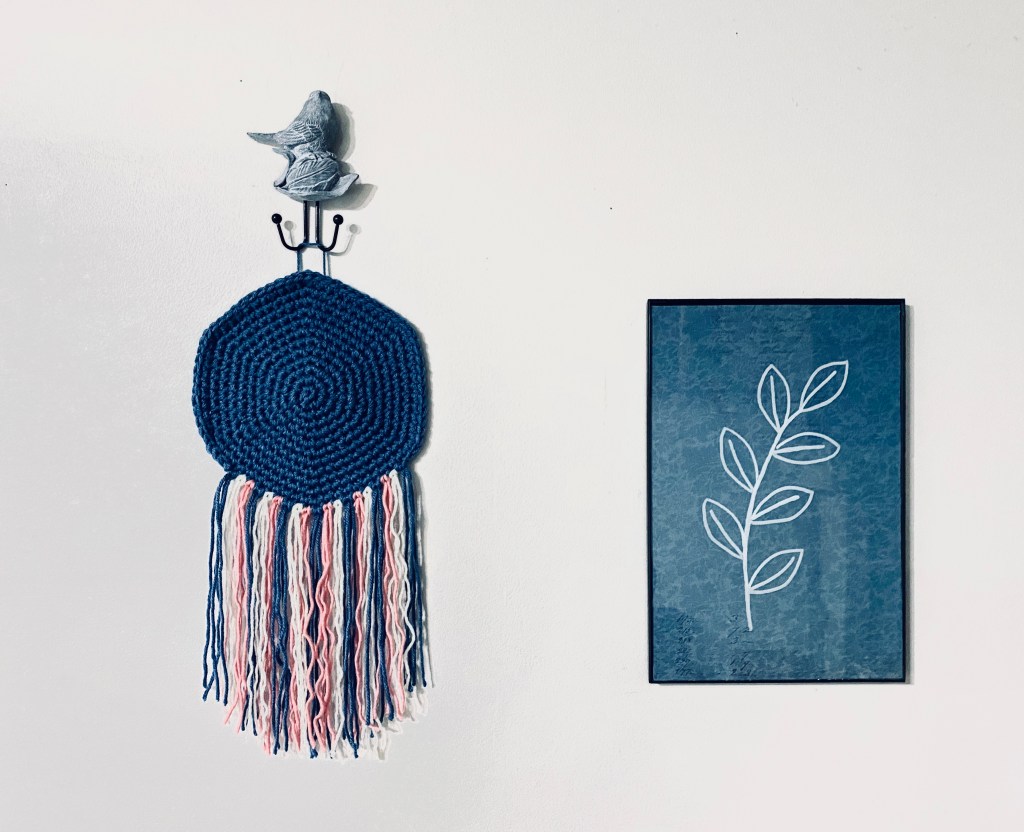
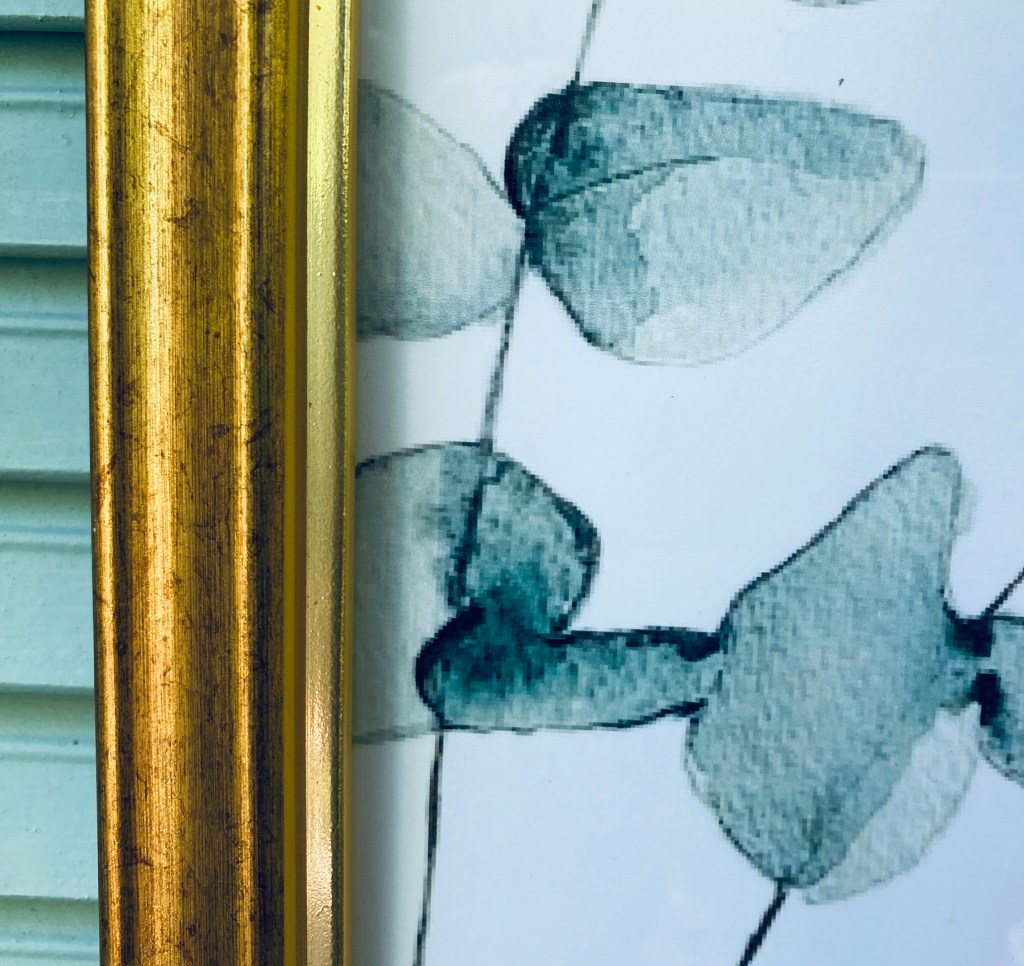
She gives away a free 8×10 print so I printed it out this morning and put it in a gold frame. Simple to do.
I printed her 8×10 botanical watercolor image and put it in a gold metallic frame. A simple project that will look great with any style, but especially with the modern boho (bohemian) Look I’m going for.
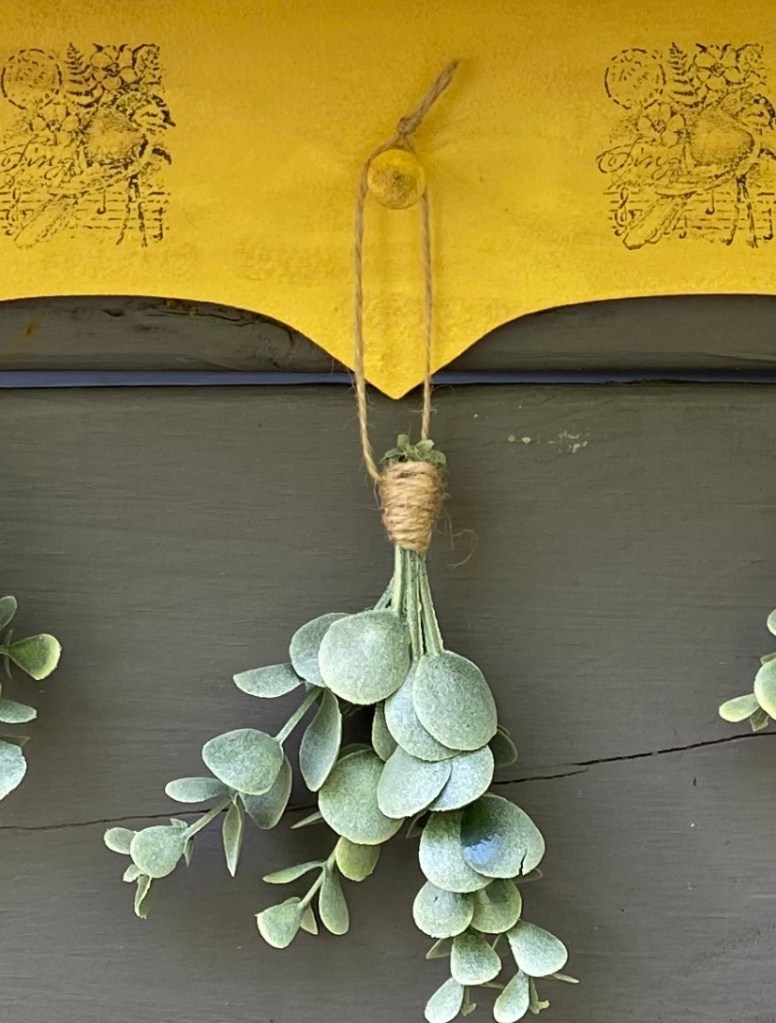
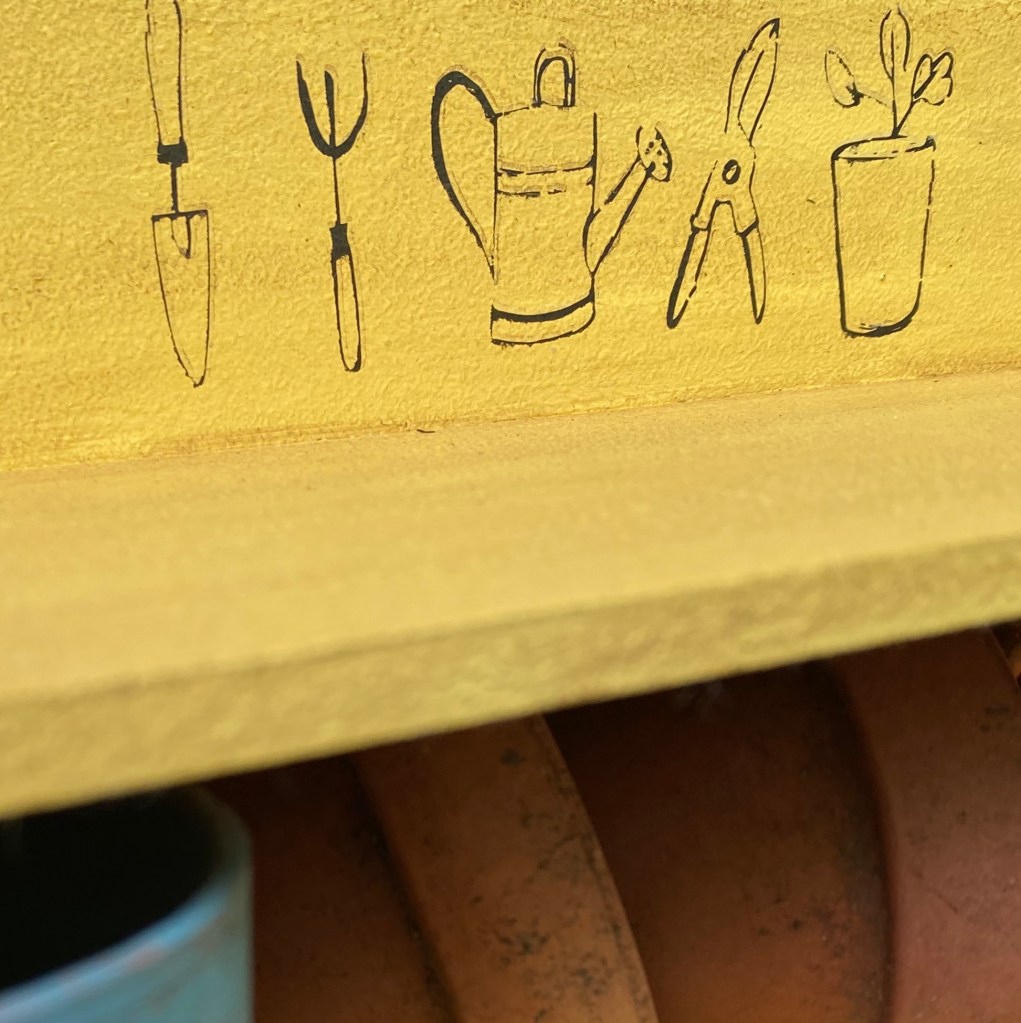
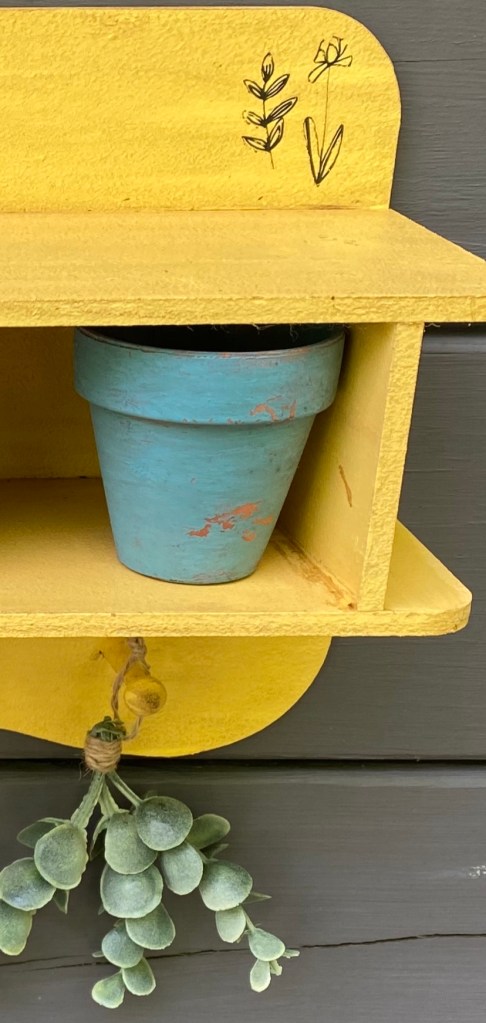
A garden shelf display that shouts “SUMMER”! This could easily fit in boho decor or any style.
Dimensions: 15” wide x 15” high (with greenery) x 5” deep
Transfers and bird stamps were applied to this cute yellow shelf. Stain was applied for a distressed vintage look. Small, well worn clay pots fit inside the 12” wide 3” high and 4” deep inside shelf. Faux greenery hangs from the pegs.
I had started painting these 3 storage cases with metal trim some time ago but was not sure how I wanted to finish them. When I realized they would make the perfect Boho display, I knew what to do.
I painted them lightly with black and distressed them. The top I opened and filled with greenery, a beautiful green silk sunflower and a cloche I made earlier from a light fixture. I added some boho looking transfers and put a coral rose inside. I also added a crocheted coaster for color.
As I was crocheting boho coasters, I thought making a bigger one would look pretty cool as a wall hanging. So, that’s what I did.
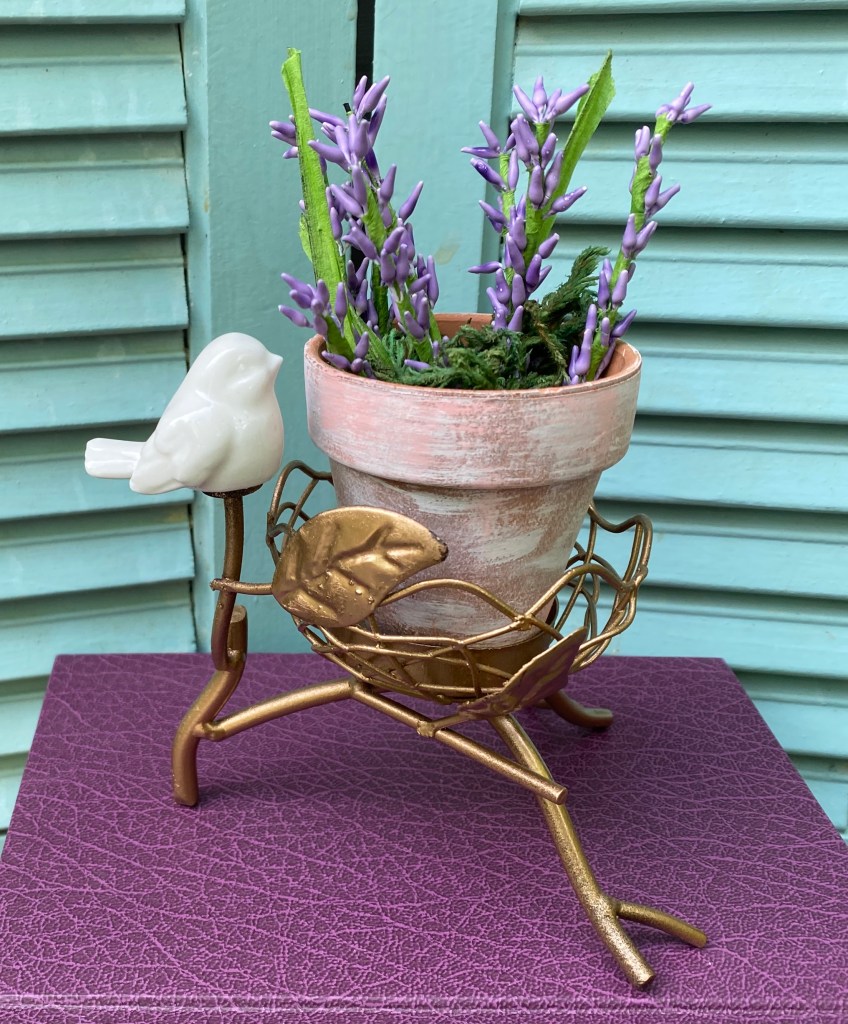
I had also thrifted a little votive holder with a tiny ceramic bird. Keeping in mind the boho look likes metallics, I spray painted the base a metallic gold and added a little clay pot with faux lavender.
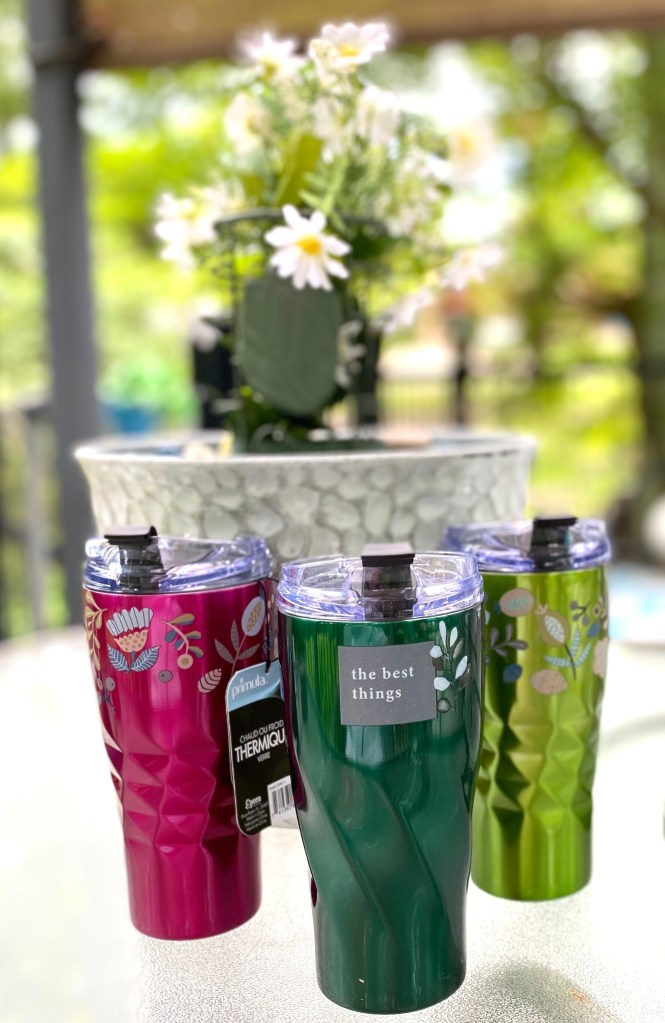
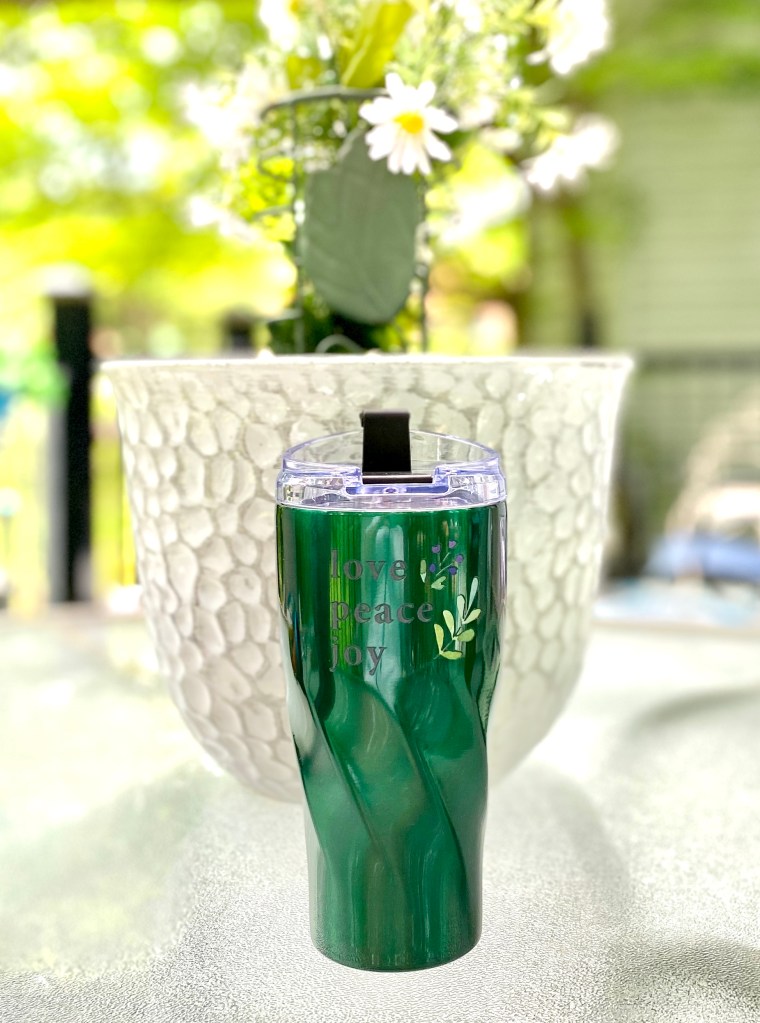
Yep, I’m obsessed with boho. I have 3 new Primula hot/cold tumblers. I had to boho them up a little with some transfers from Dollar Tree (sealed for protection). After all they are metallic and colorful!
That’s all for now. I’m sure I will have more coming up.