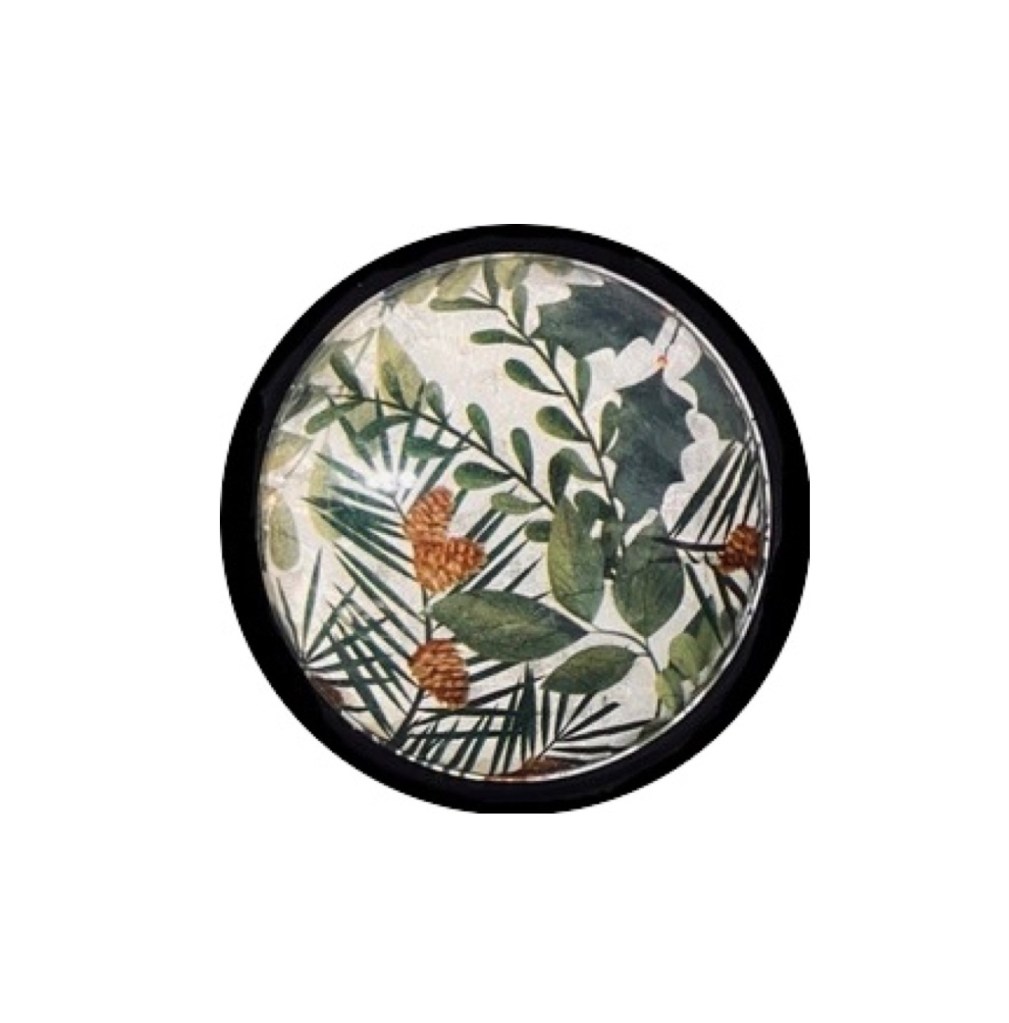
I thrifted a mantle clock awhile back, thinking I would paint it and update it a bit. The clock mechanism was broken and I didn’t want to buy a new one, so I decided to turn it into a somewhat neutral winter decoration. Mine looked similar to this one.
The first thing I did was remove the plastic clock face. I cleaned it well, then decoupaged printed tissue paper onto the back instead of the front. This will help keep the tissue nice and make the front easy to keep clean.
Once the tissue paper was dry, I sealed the back with Mod Podge and let that dry. Then I painted over the tissue with white chalk paint to give a white background that would make the design stand out. I let that dry. I missed getting a picture of that and I was afraid to try to pop it back out of its frame after decoupaging. I thought it might tear the paper. But just know that one coat of paint over the dry tissue is all you need.
I then cleaned the clock with Windex and my idea was to dry brush white chalk paint over it. That looked terrible as the base was way too dark. So I let that dry, then drybrushed over the white with a green called “Cupboard Green”.
To drybrush you get a little paint on a brush (I use a chip brush you can get at Dollar Tree, Walmart, etc.)
Then using a paper towel, I dabbed most of the paint off, then I went over the piece, a little thicker than I did the white. This allowed some of the white and the original dark brown to show through for a beautiful distressed result.
I placed it on top of my china cabinet with some vintage looking snowmen and the “book vase” I made from 3 of my childhood story books. They are just tied together so they aren’t damaged at all. It is now holding a small Christmas tree. I love changing what it holds for the different seasons and to be able to see these books on display.
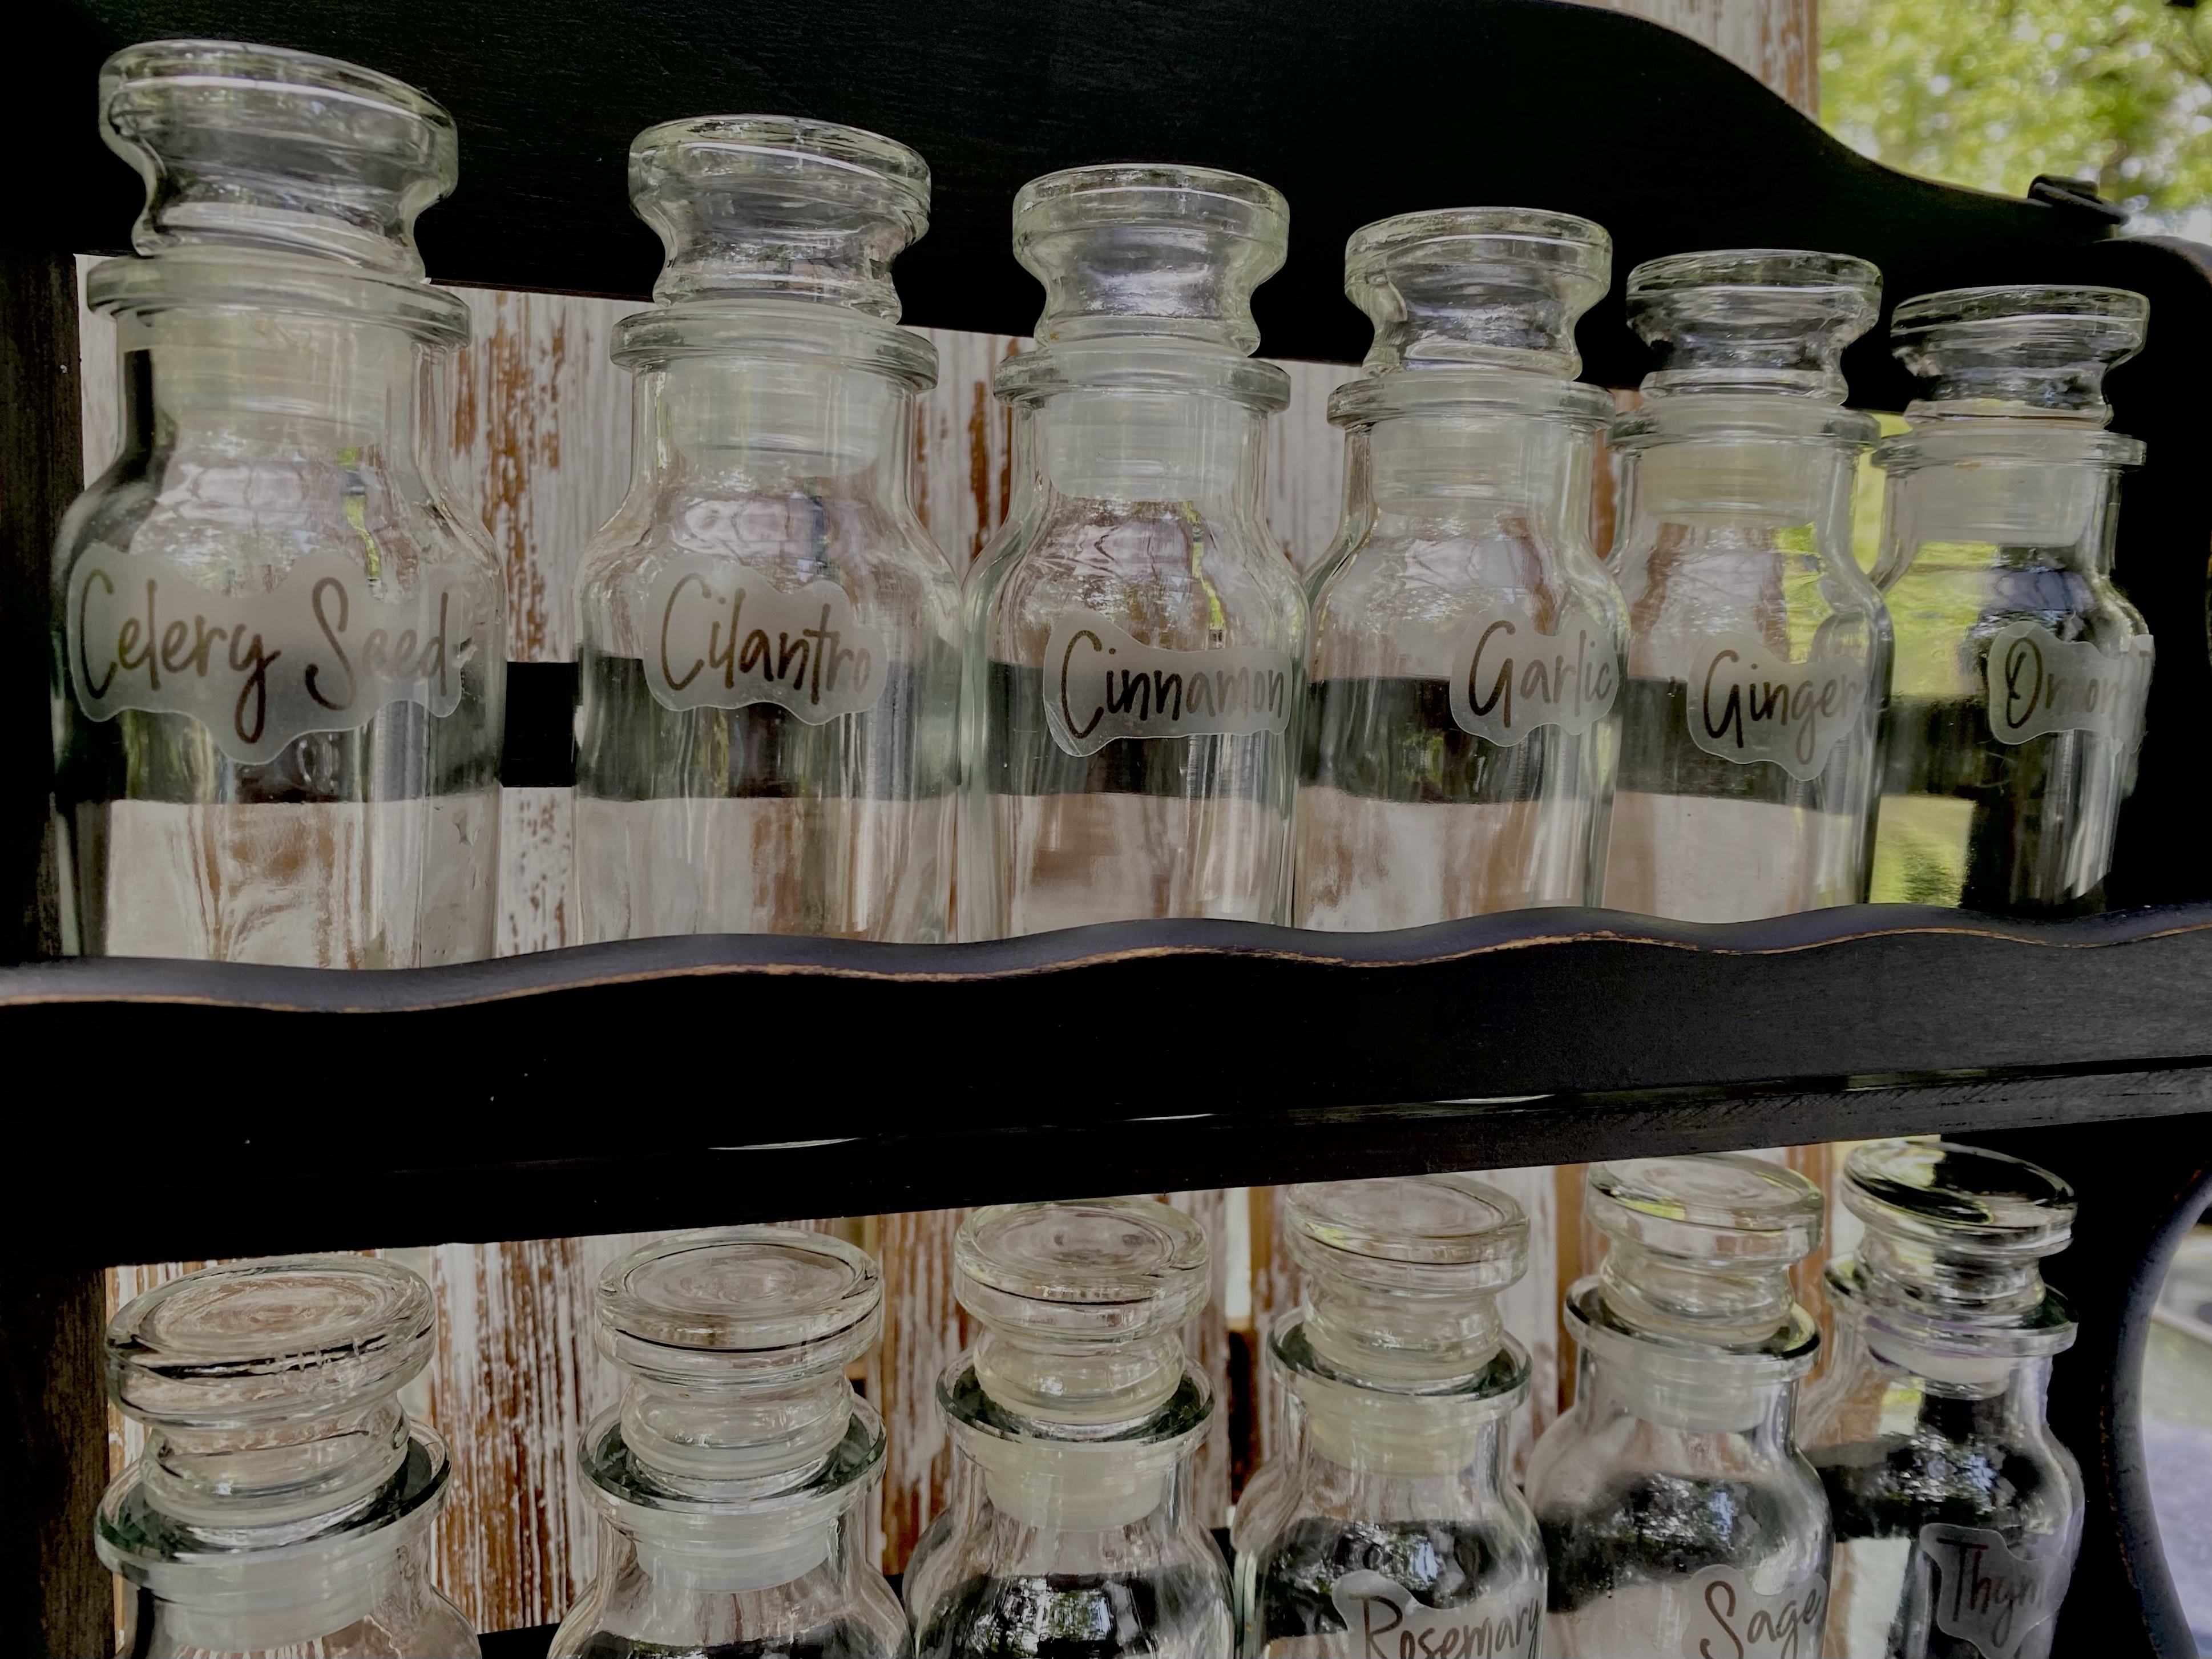
I thrifted a vintage spice rack at an estate sale awhile ago. It was in great shape and I don’t think the jars had ever been used. I knew I could update it and make it work for today’s kitchen decor and be functional as well.
I also ordered some spice jar labels from Temu for it. They arrived, so it was time for this makeover.
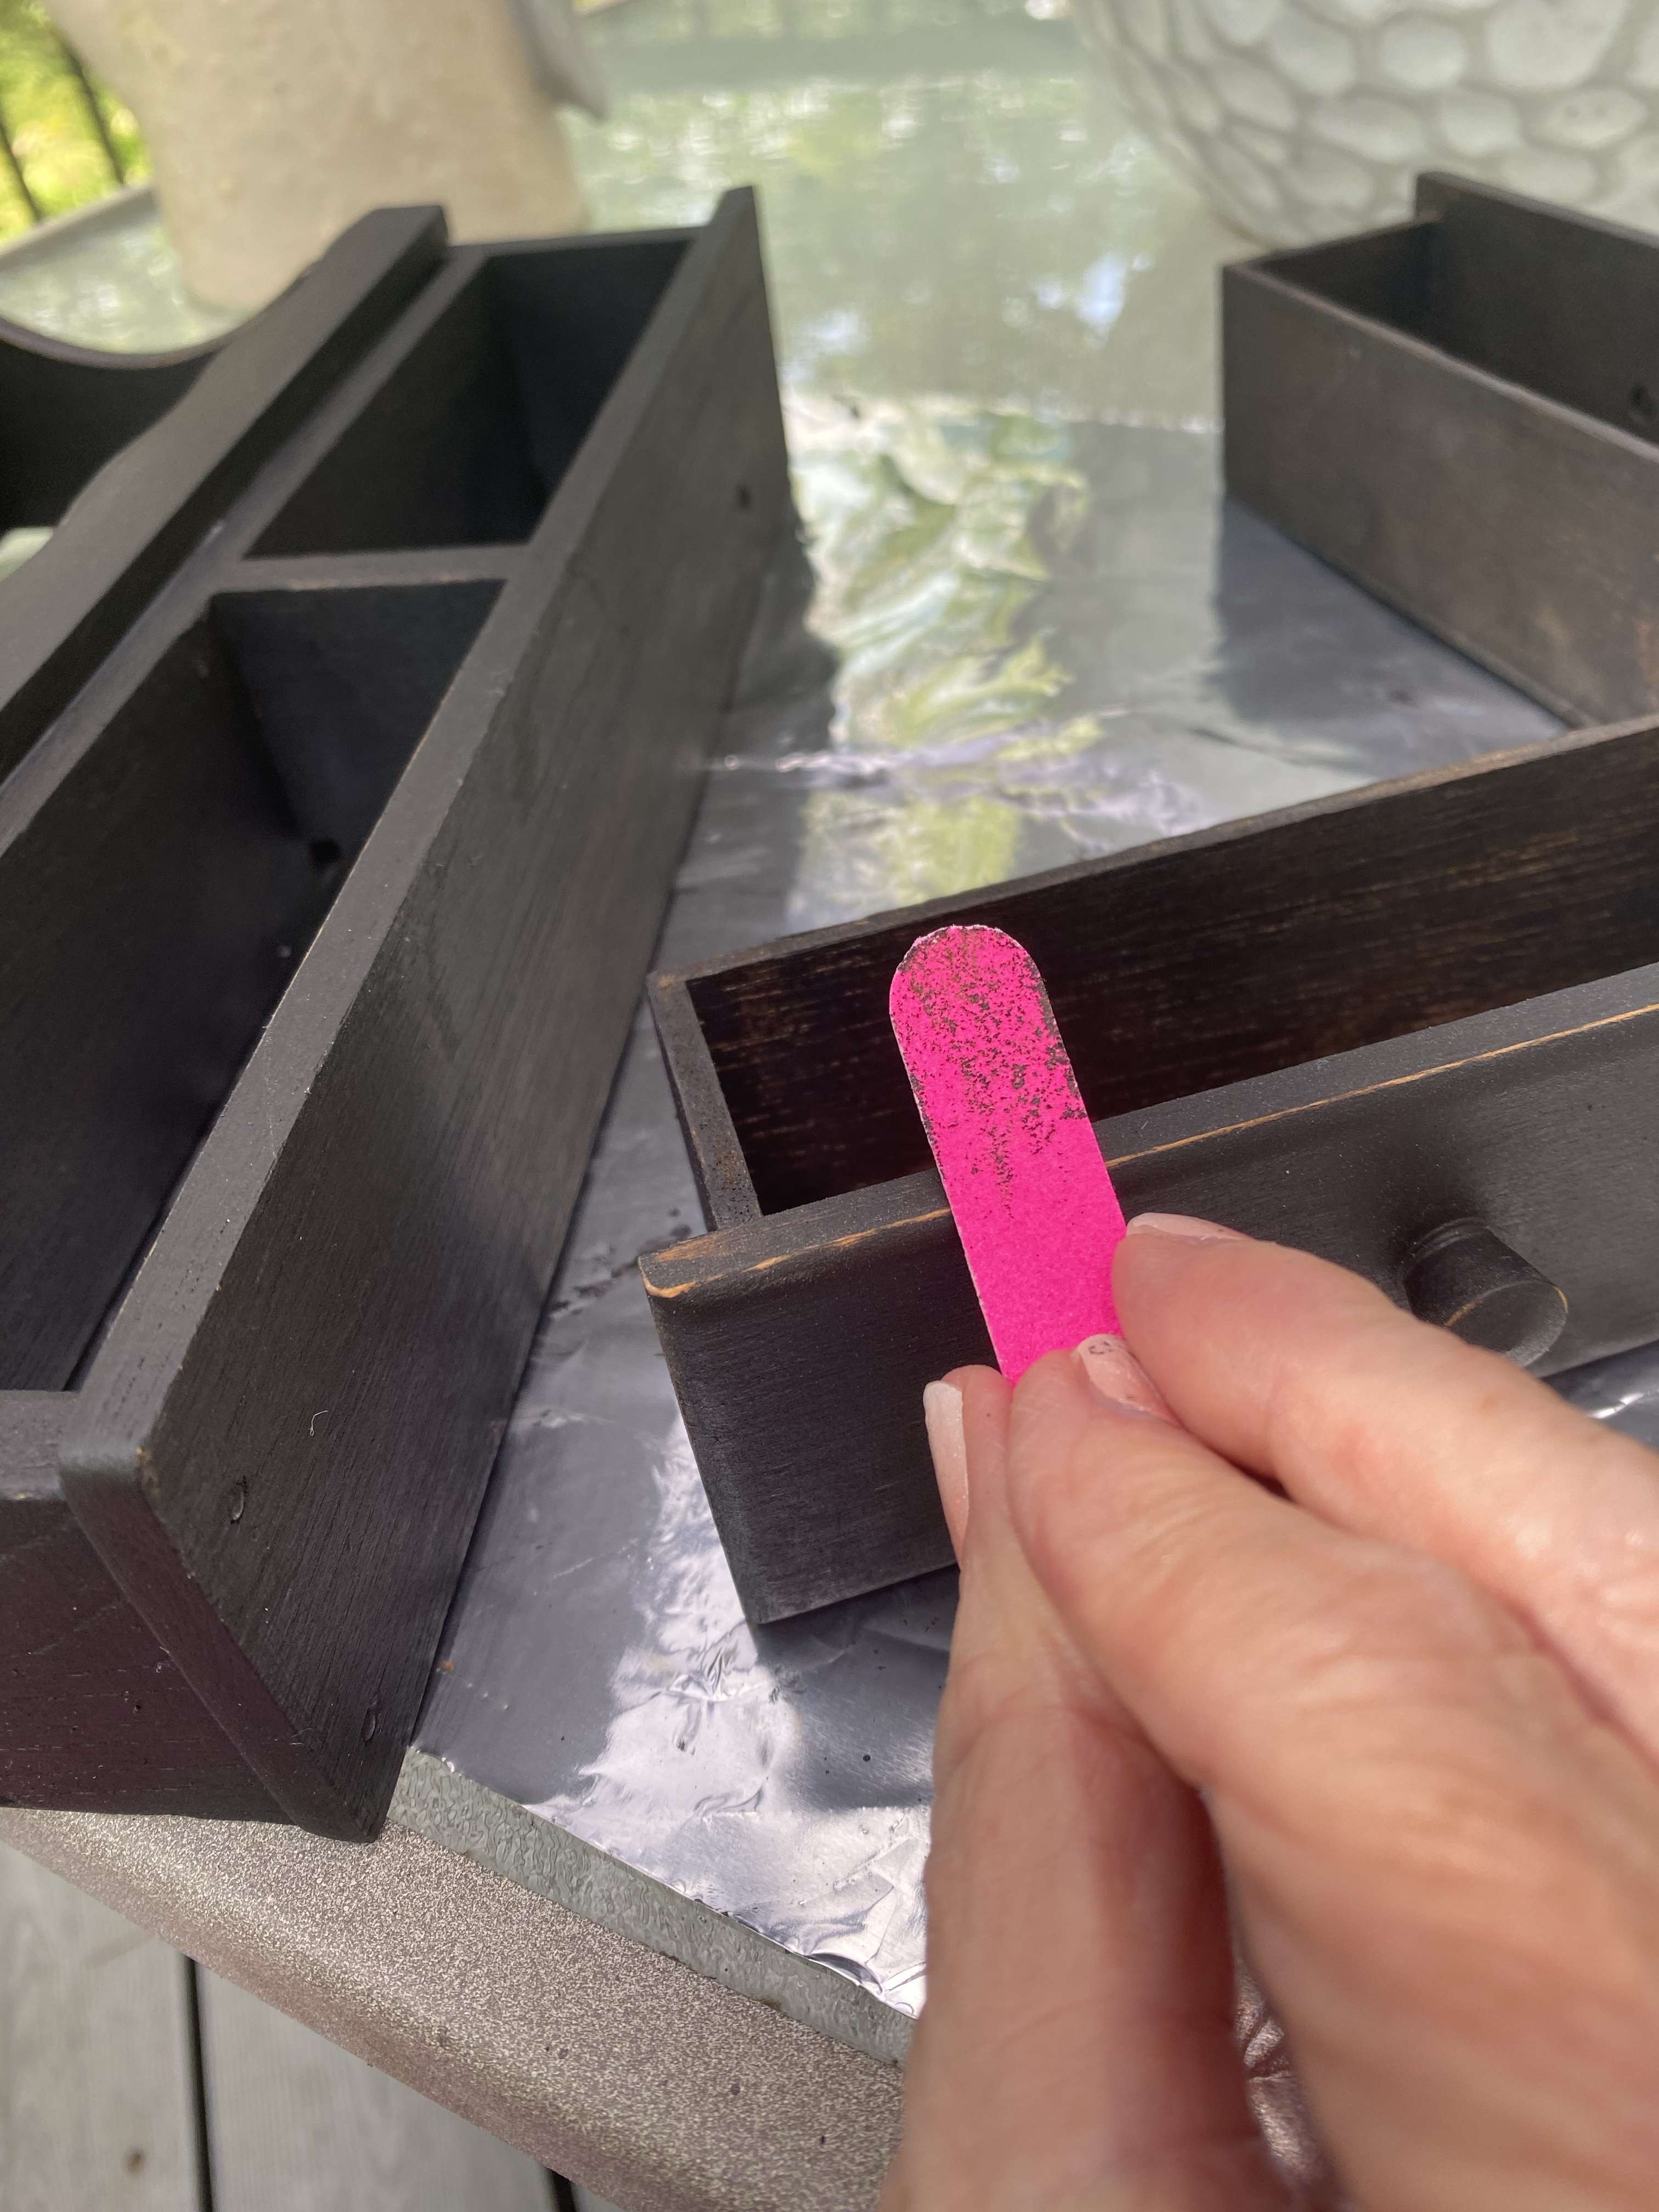
Today, I cleaned the spice rack well, took off the eagle and stars and painted the spice rack with black chalk paint (3 coats), then distressed it. A friend from one of my groups collects eagles, so I am sending the little eagle to her for her collection.
The secret for no brush strokes with the chalk paint I use is thin coats.
Even an emery board will lightly distress wood.
I then sealed it with Wise Owl Salve.
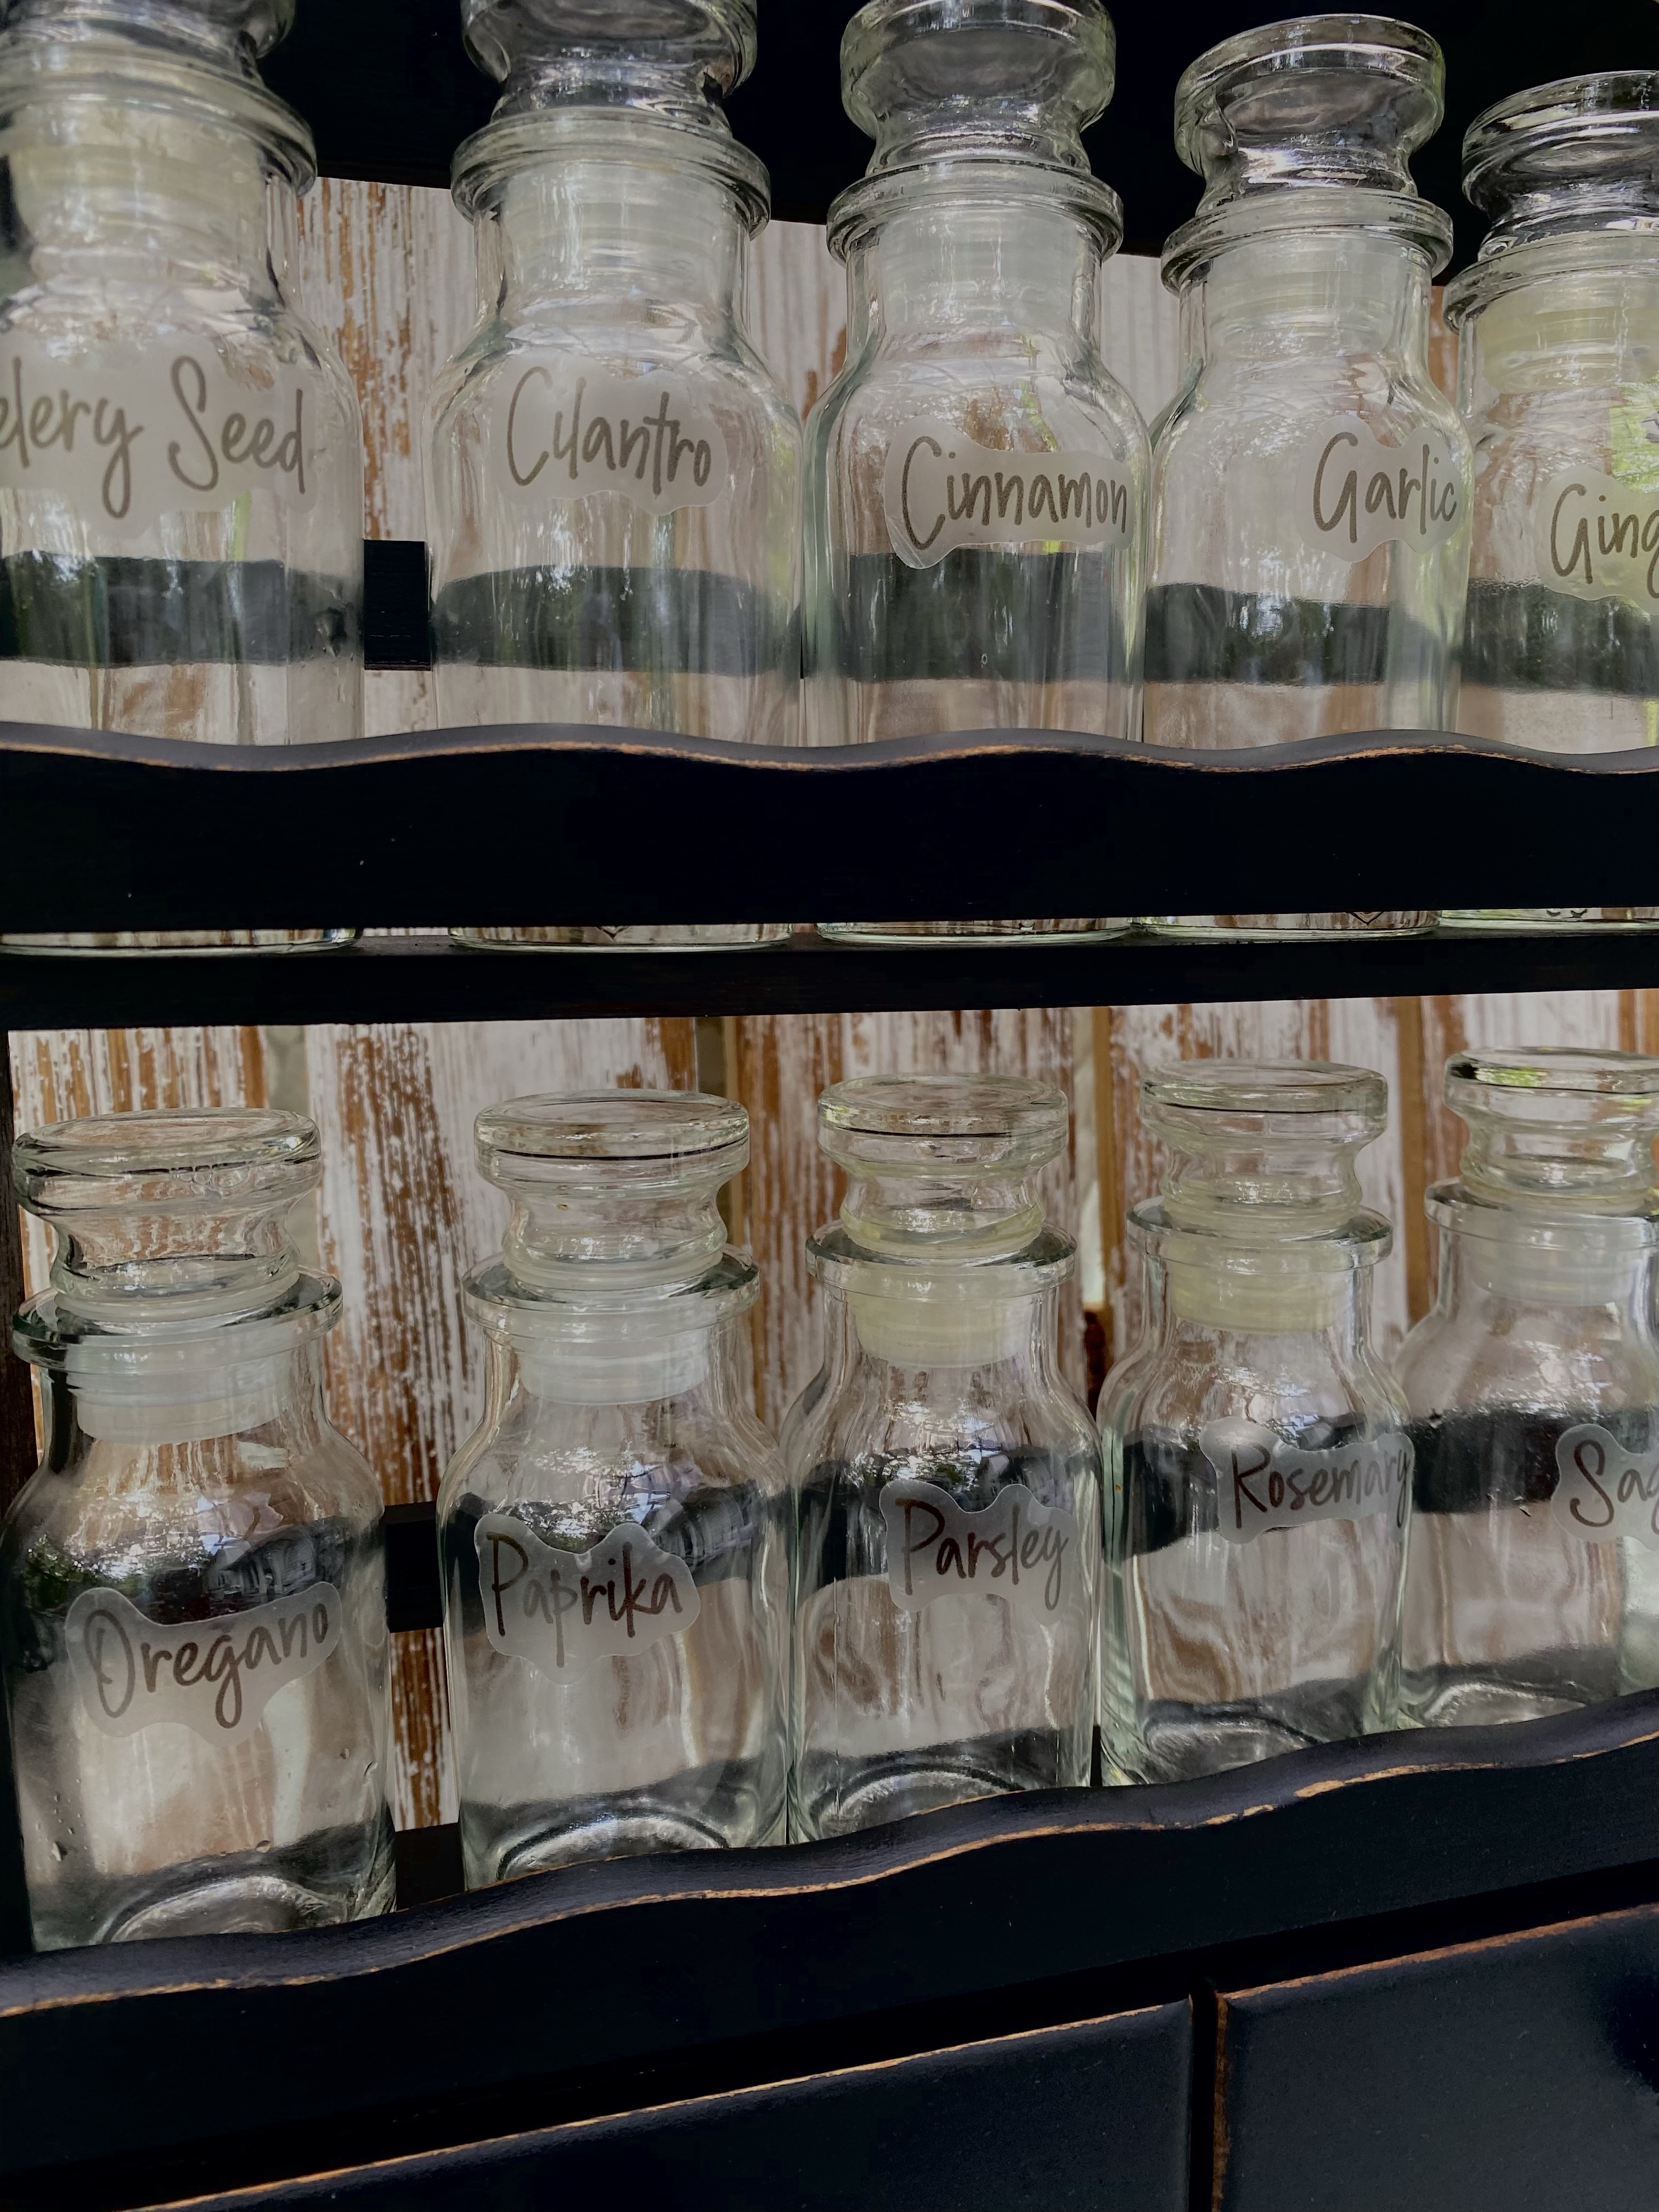
I took the old labels off the jars. They all, except for two of them easily slid off by soaking them in hot, soapy water. Only two required a little scrubbing. I then applied the labels I thought people would use most often.
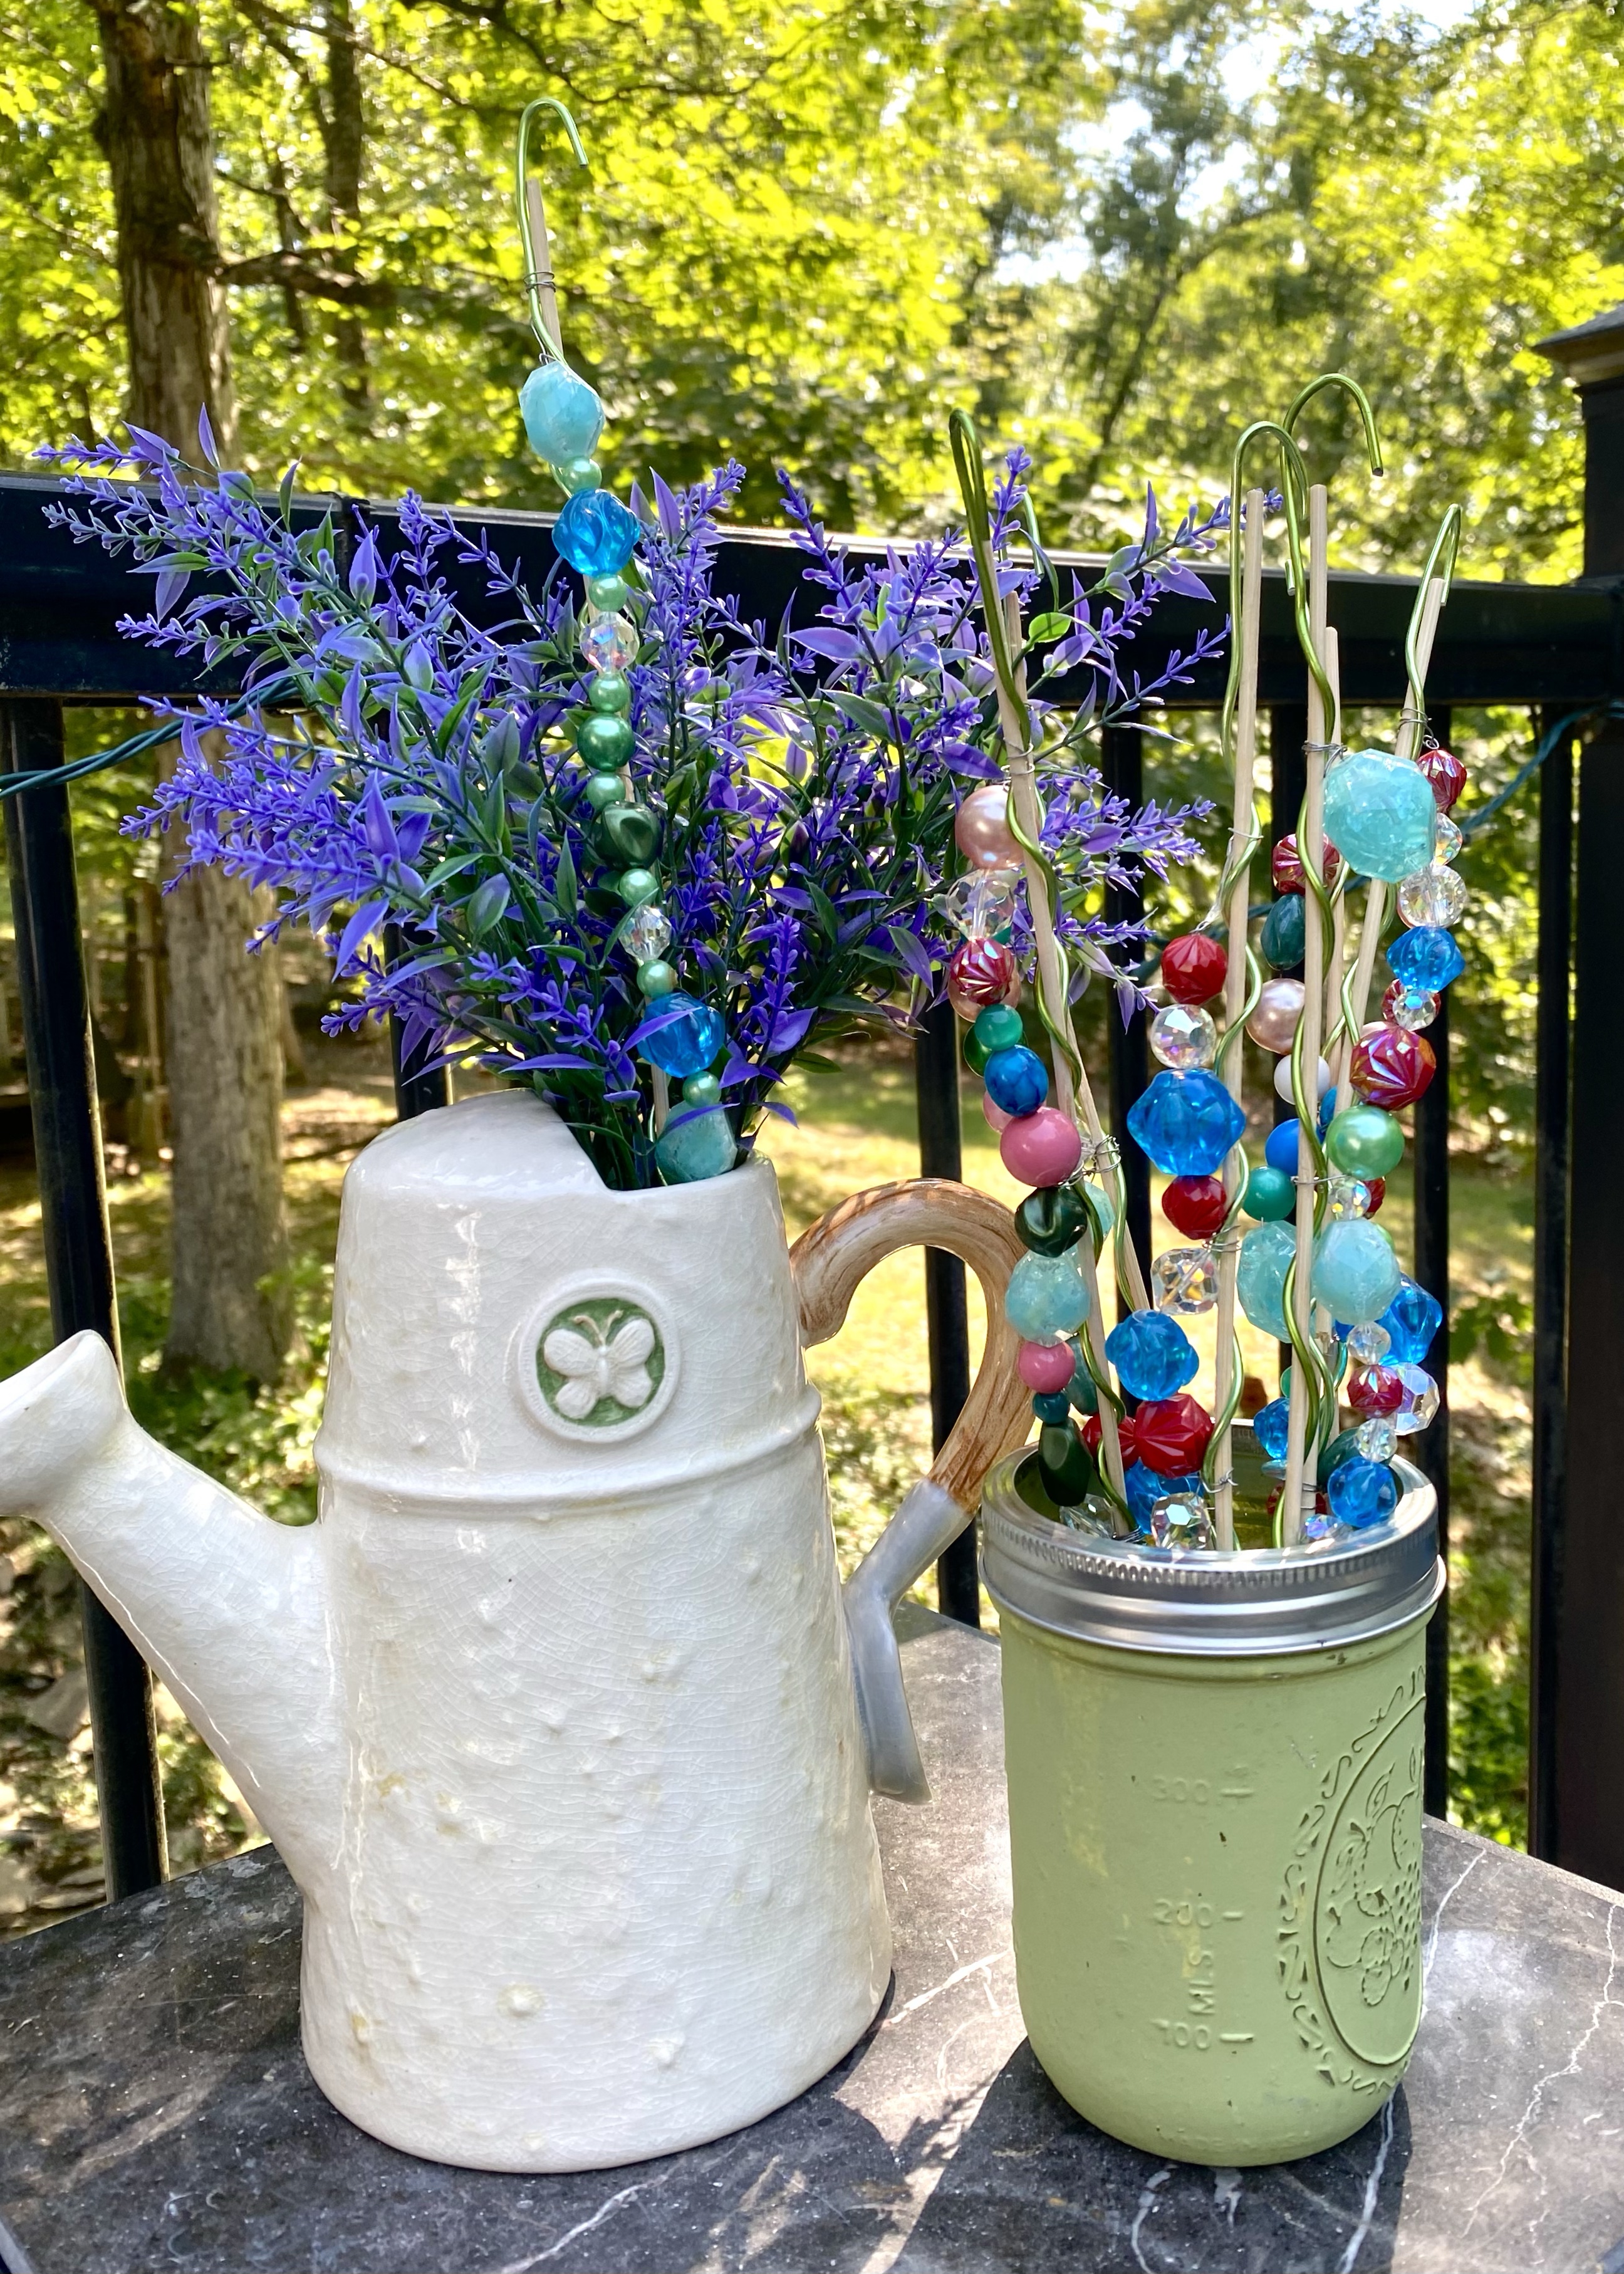
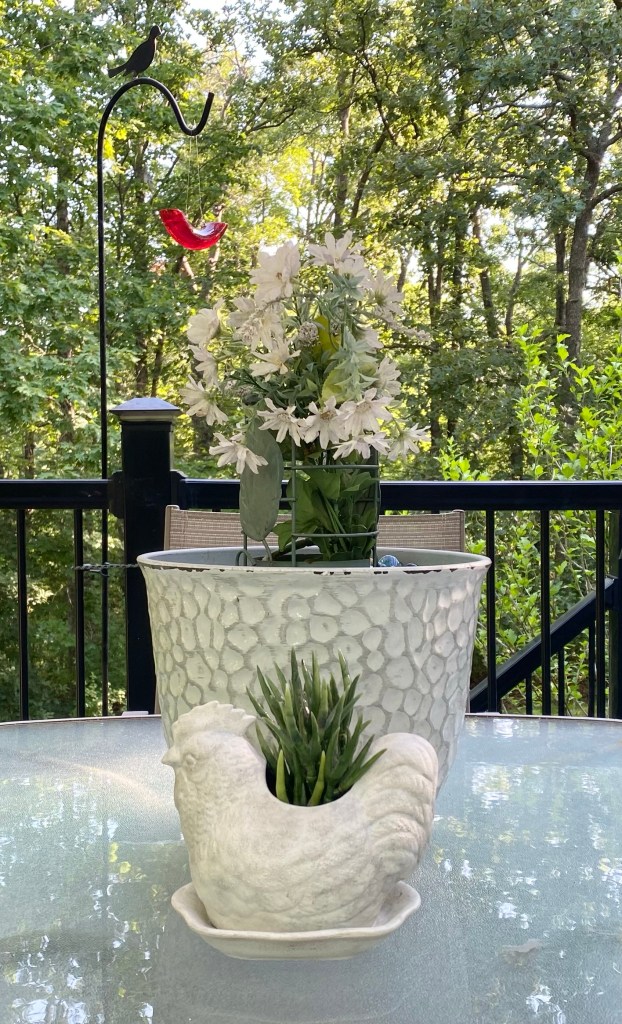
These “bling sticks” dress up potted plants or flower arrangements. I used green wire I think I got from Dollar Tree (it was very bendable and soft to work with). I threaded all kinds of beads from old necklaces, etc. to the green wire and then wired the bling to a skewer from Dollar Tree with thin wire for support.
One of them looks so pretty in the ceramic watering can full of faux purple flowers on my deck.
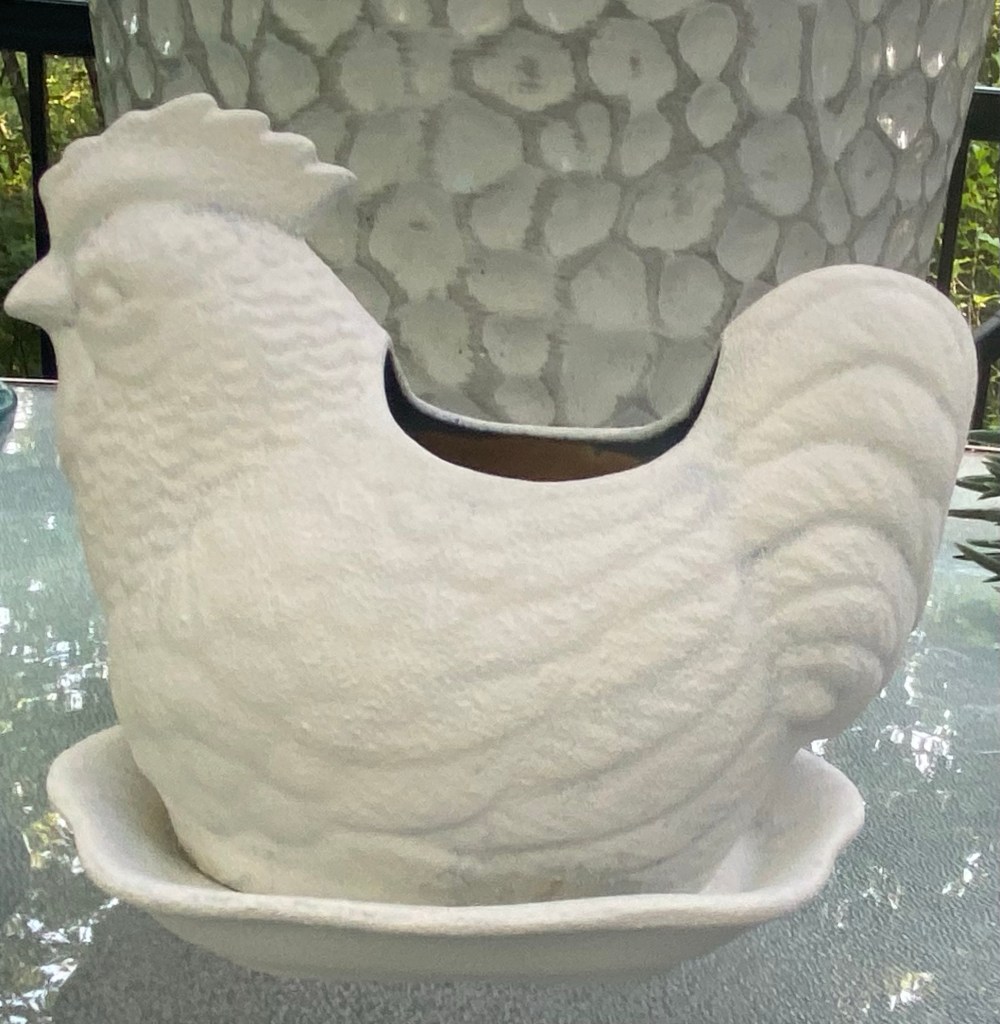
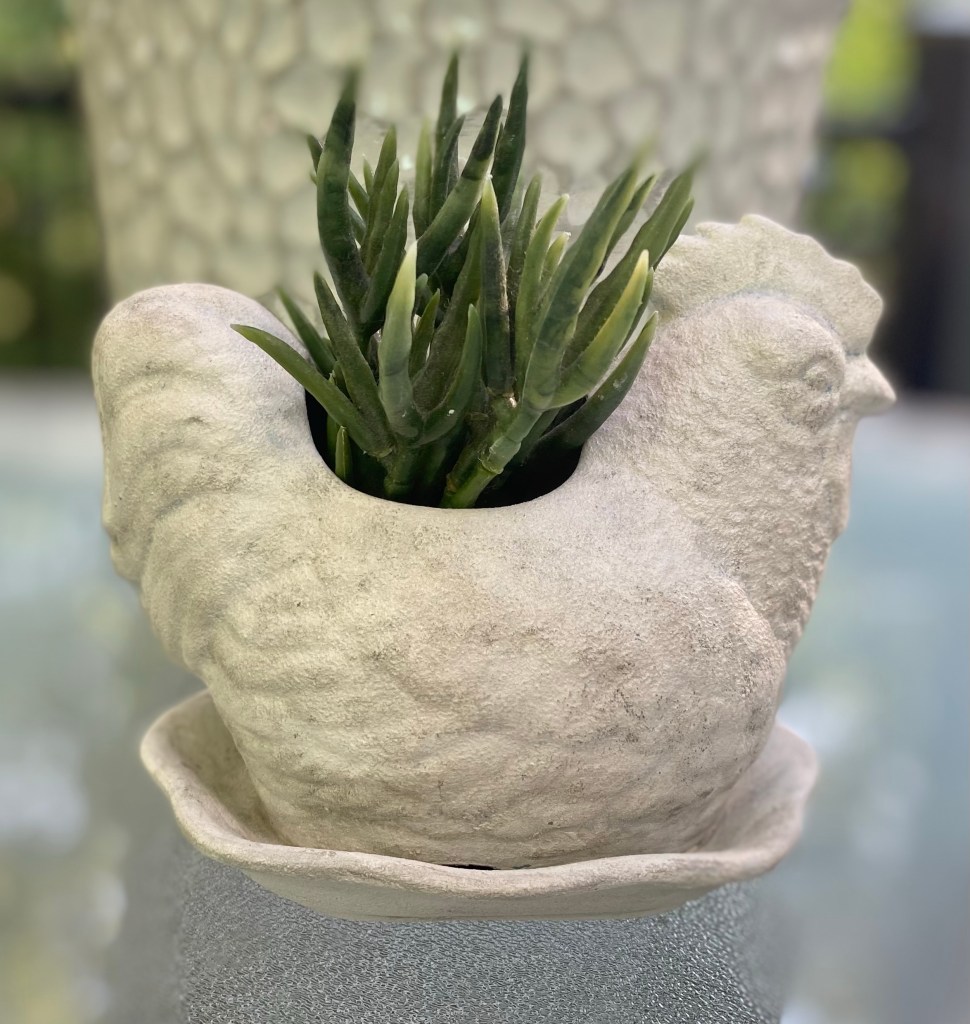
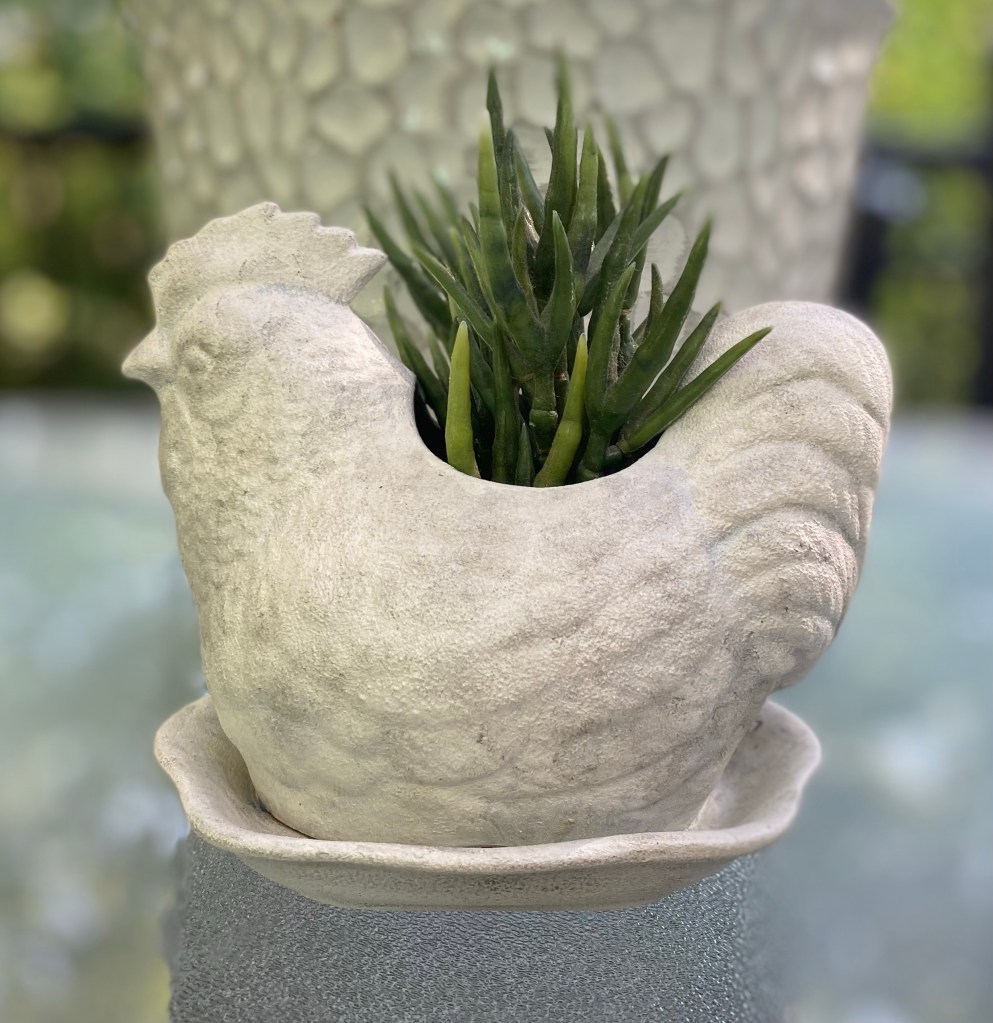
I found a chicken planter and a rooster that would hold a vase at two different thrift stores in the last few weeks. I decided they both needed updating using a concrete look technique.
The first thing I did with the chicken was spray him with Mod Podge pearlized glaze. Any sealer would work or even spray paint. I sprayed it to help the paint adhere well since the pottery was a bit shiny.
Next, I mixed chalk-style paint with baking soda and began daubing it on all over. This gives it a nice texture and no brush strokes. I gave it two coats, letting it dry in between.
After two coats of the baking soda and chalk paint mixture. I don’t have a photo, but I sprayed it with a coat of Mod Podge. This will help keep the antique look I’m giving it from soaking in which would make it hard to remove if needed.
Next, I did a little dry brushing with the gray paint. I would daub it on and use a baby wipe to blend where needed.
That’s it. I now have a chicken planter with a concrete look.
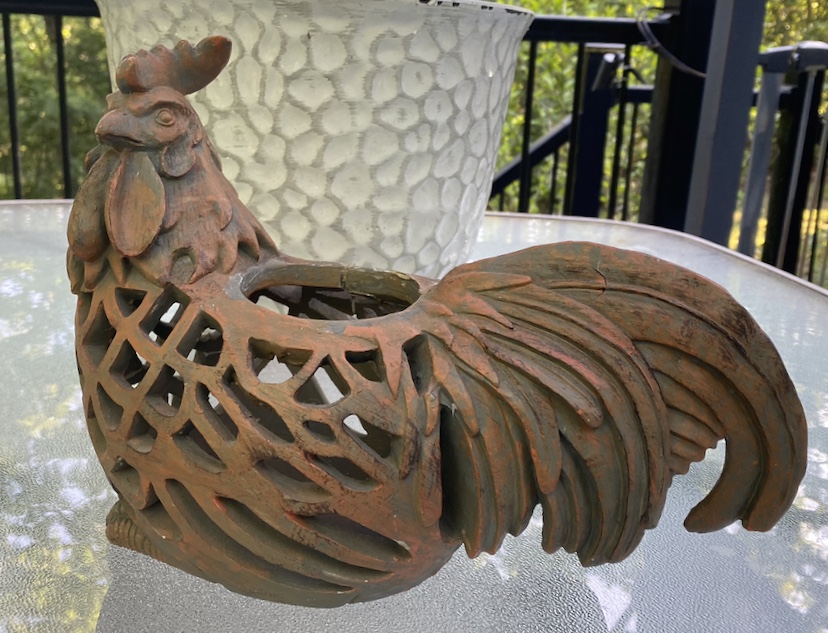
Now, for the rooster – I finished him much in the same way using the baking soda and white chalk- style paint mixture with a little different type of antiquing.
I learned the rooster was made of resin. I knew it wasn’t metal or wood. I had someone tell me to scratch off a bit of the bottom and if it was white underneath, it was resin…it was white!
I daubed the white chalk paint all over him. I only used one coat and wasn’t worried about full coverage because I liked the colors underneath and didn’t mind them coming through a bit.
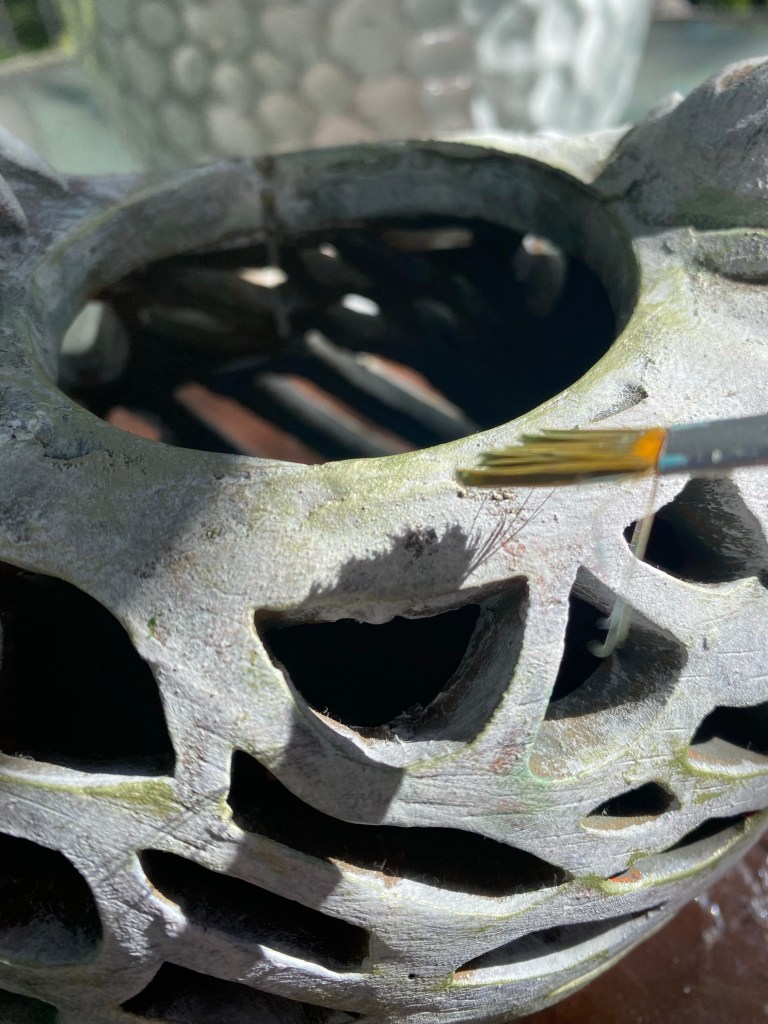
Once dry, I used sprayed the rooster with this clear chalky spray. This will help me when I apply the glaze and will let me remove excess.
I applied the metallic green glaze to make it look like the rooster had been outside in the weather for years and had moss growing on it at one point.
I also applied a bit of turquoise paint for some patina.
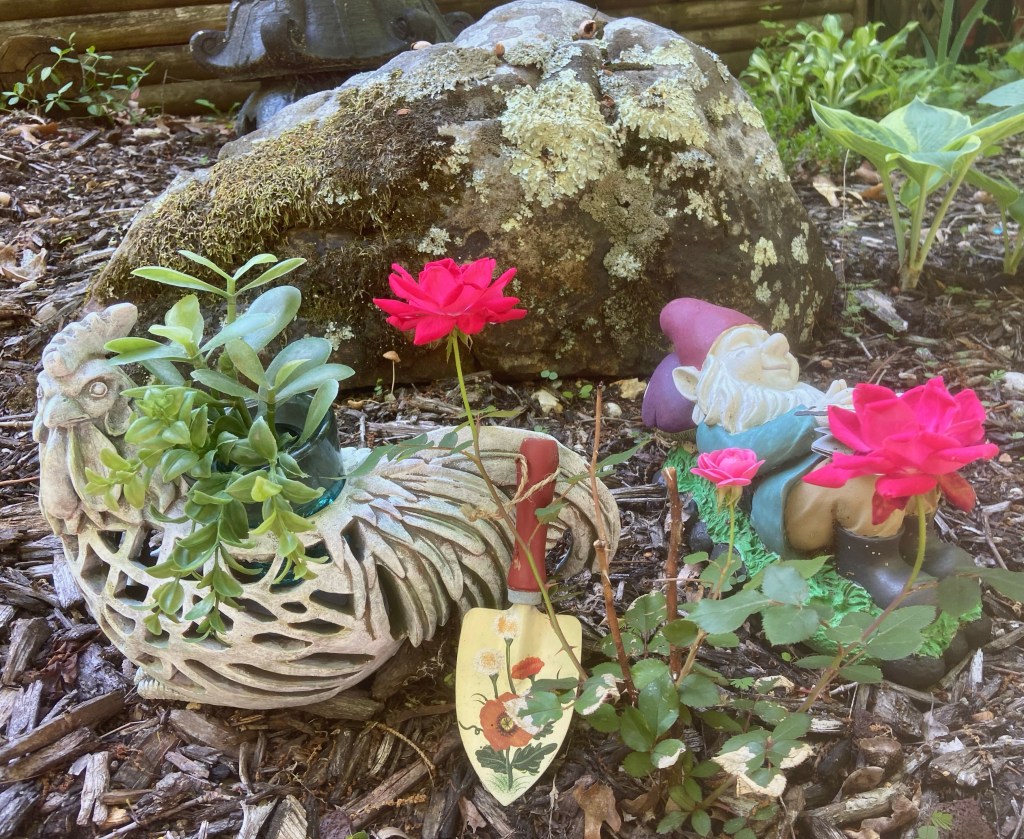
The rooster was now ready to be added to a garden display.
One more little craft, then taking a short break for our 50th anniversary coming up on the 28th! Hoping to see some beautiful fall foliage and an eagle 🦅 or two.
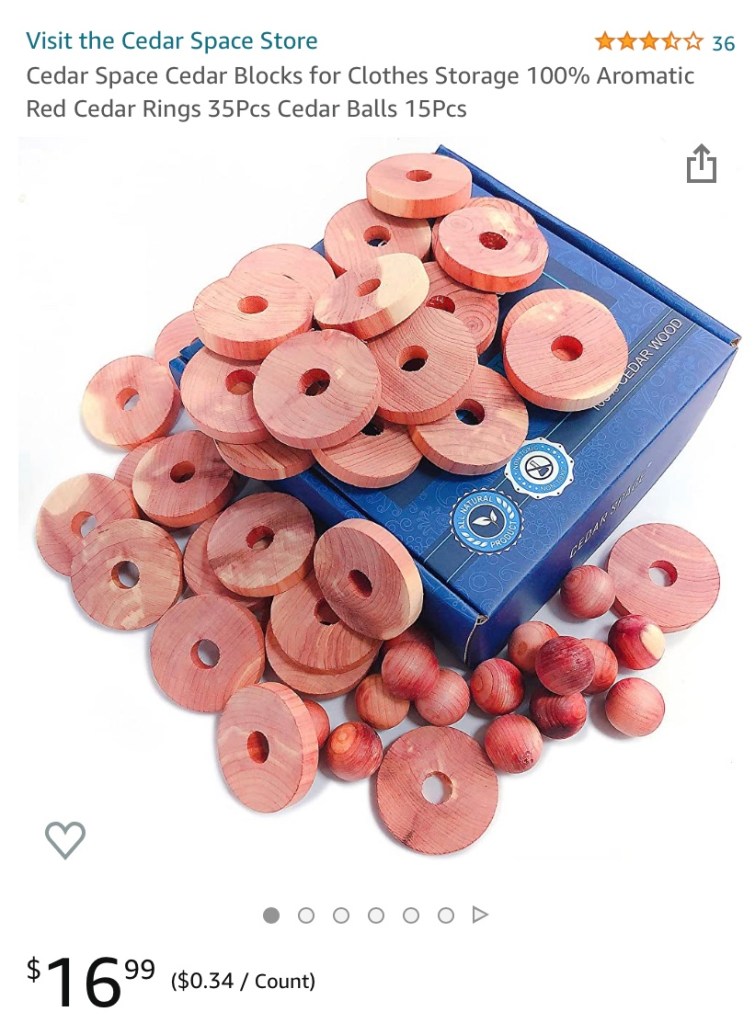
We found a bunch of these cedar rounds thrifting.
Amazon
I’ve already made a snowman’s hat, a stand for my teeny tiny snowmen, and now I’ve used one for a small 5” high cedar tree.
I had these faux cedar pieces I bought after Christmas last year. They were attached to a table runner. 🙂 And… since these are cedar rounds, I thought why not make it an air freshener, too? I just happen to have Young Living’s Cedarwood essential oil to use on it. 🙂
I love the smell of this Cedarwood. P.S. It freshens up furniture drawers, too! I think I will put a couple of the rounds with a drop of Cedarwood in the dresser I just finished!
I have been a bit busy the last few days creating fall decor. Some days are just like that. You can’t stop. We’ve had some beautiful fall days in Missouri this week so I took advantage of the weather. It felt good to be outside working on my projects.
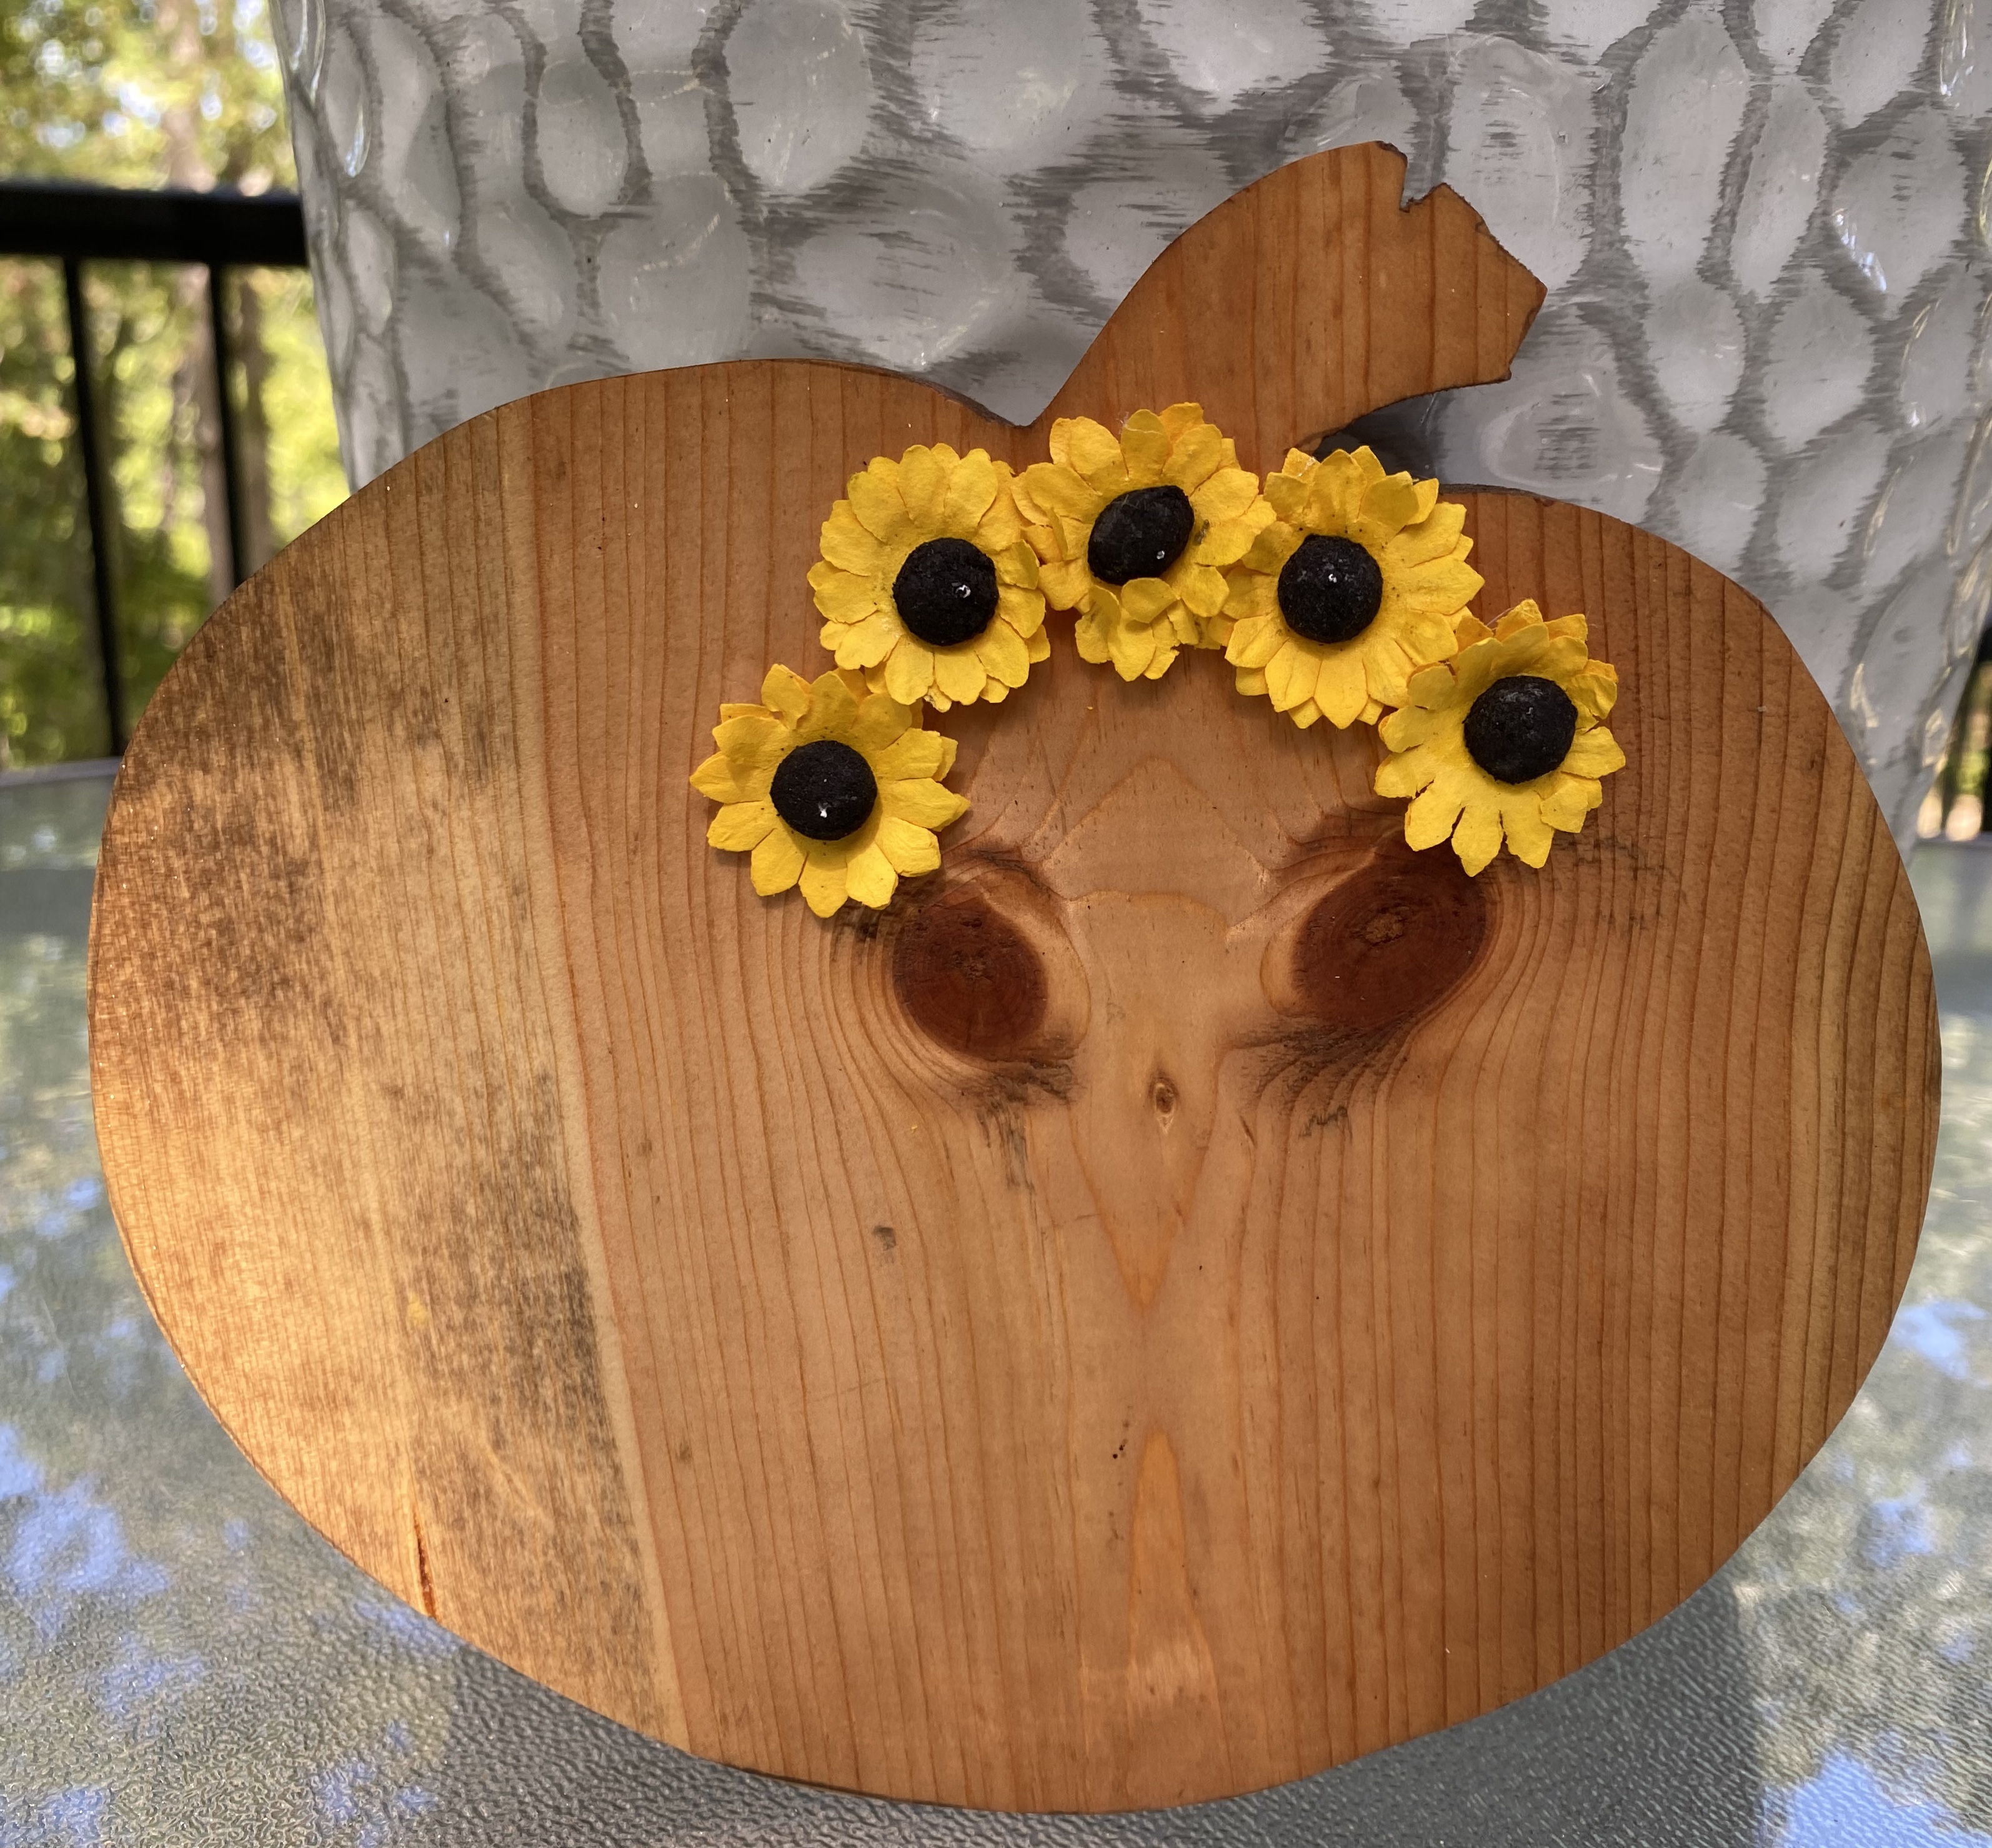
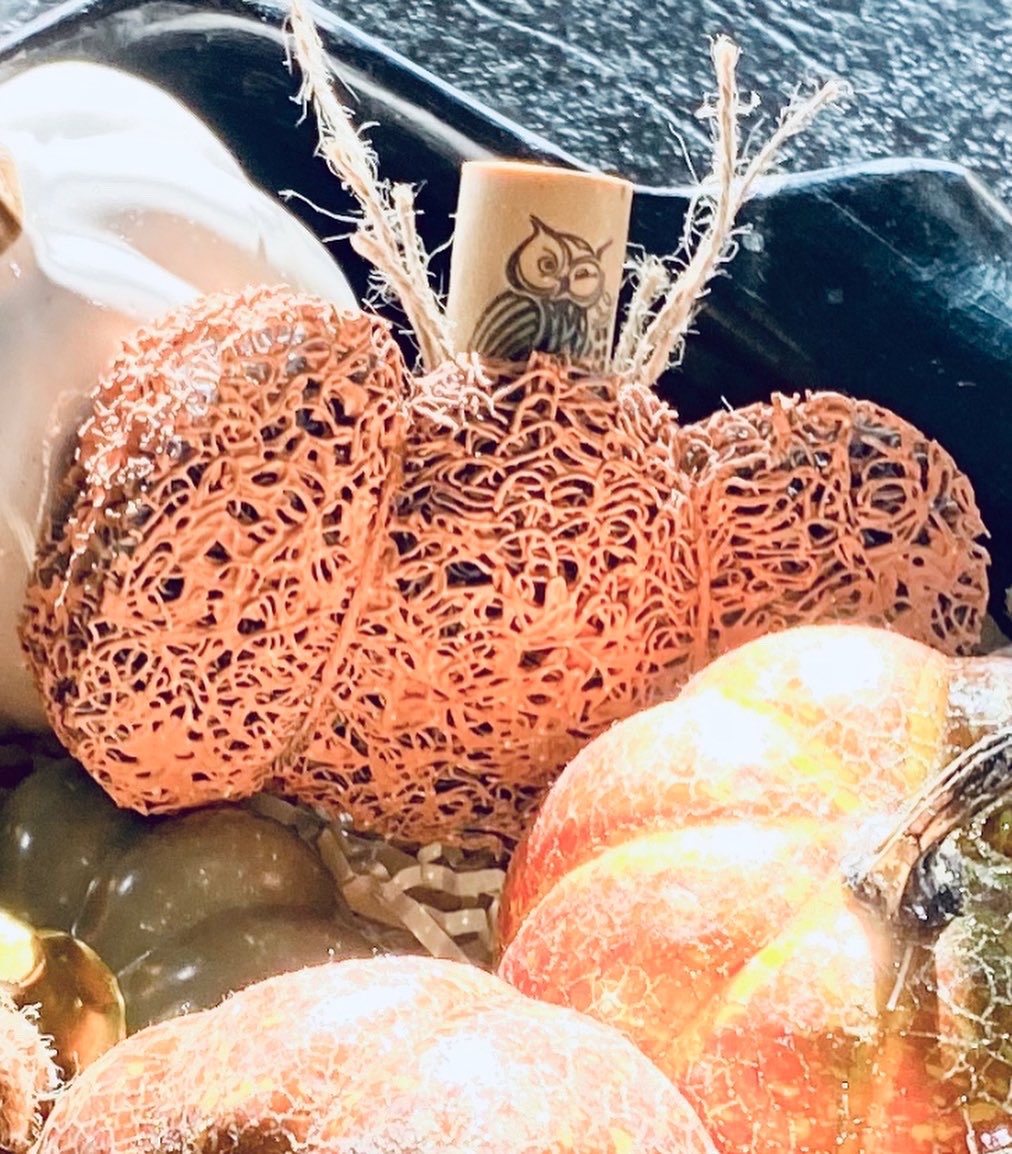
First up…. I was going through my fall decor boxes and ran across a box with a bunch of wood cut outs I hadn’t seen since I stored them. It was a jackpot of pumpkins, ghost, cats, and a few other goodies. One pumpkin had a very unique wood grain on the front and back. I just saw someone posted one very similar. It looked like an ostrich! I could see an ostrich in this one, too! Not only that, I saw an owl on the back!
I wasn’t sure what to do with it, but finally settled on using Howard’s Restore-a-Finish to bring out the grain and then I sealed it with Wise Owl salve. I named the Ostrich in a Pumpkin Woodette and the owl Woodsy. Soooo cute!
Then my friend, Midge, had an idea: flowers, a tiara, or crown for Woodette. I happened to have some small sunflowers and with just a dab of glue, they will come right off. I can change them out for each season! I think I might need to make Woodette a princess for Halloween and find a little crown for her.
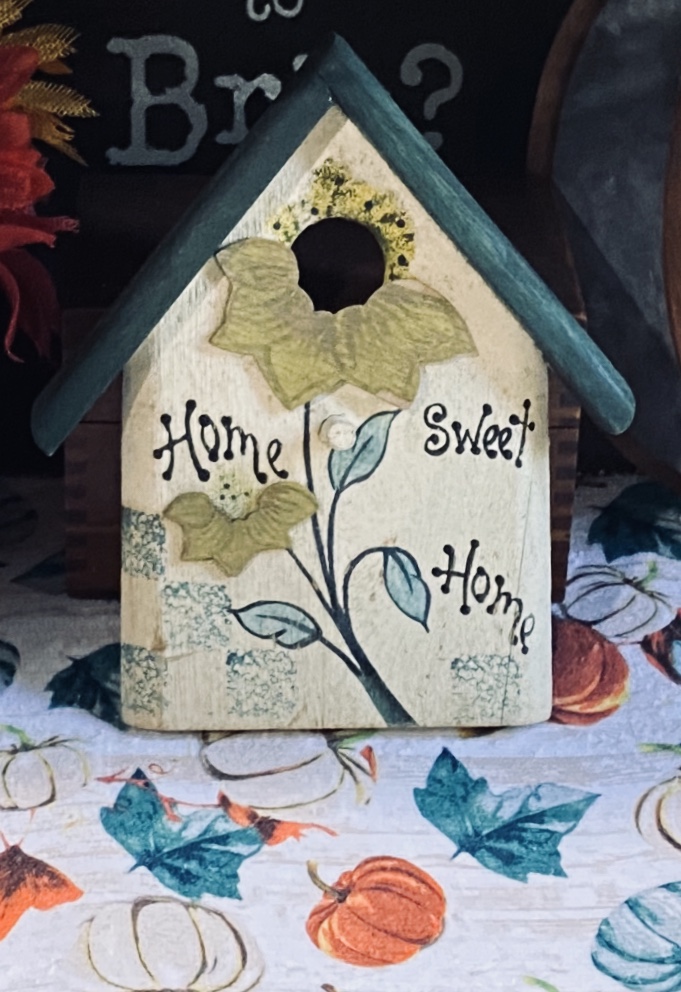
In the same box as my Ostrich in a Pumpkin, I ran across this little shelf sitter or hanger. I passed over it at first, thinking….Wow! The 80s!
But then, I got this fall dish drying mat out of the Dollar Tree bag I just purchased. I realized some of the colors went so well with it and the other fall things I have in the corner of my kitchen. So..now, it is out of the box and in the corner of my kitchen counter. 🙂
Oh no! Another gnome …. after I said no gnomes this year! But the Gnome and Backyard lady had this idea I couldn’t resist. She made a quick and easy gnome out of the small plastic ghosts from Dollar Tree. I spray painted one for the hat with a copper color because that’s what I had on hand and added tiny Dollar Tree sunflowers for embellishment. The other I left white and glued it upside down to the hat. I gassed a wooden bead for his nose. I bought two big ghosts, too, to make a larger gnome.
I spray painted a Dollar Tree wire pumpkin form white with a green stem and attached my cute little gnome to it with jute twine and now have a cute fall door hanger for my front door. He hangs from a magnetic hook on my stork door by the stem
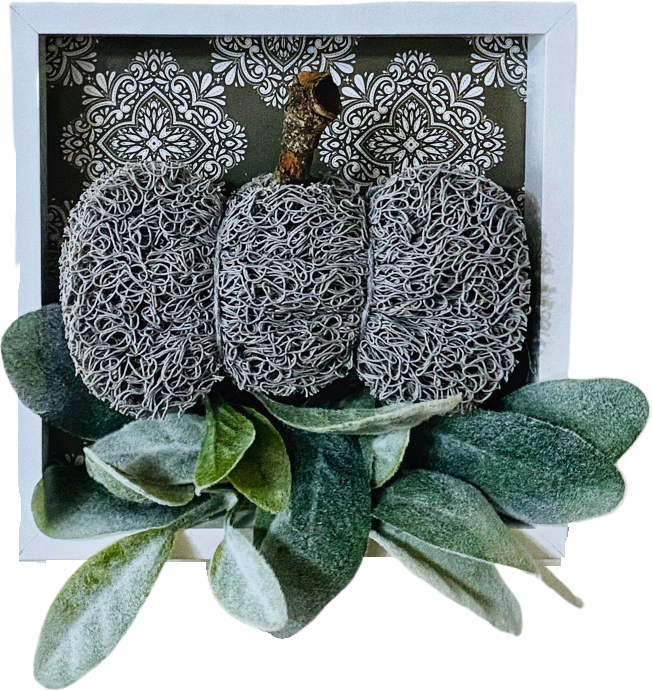
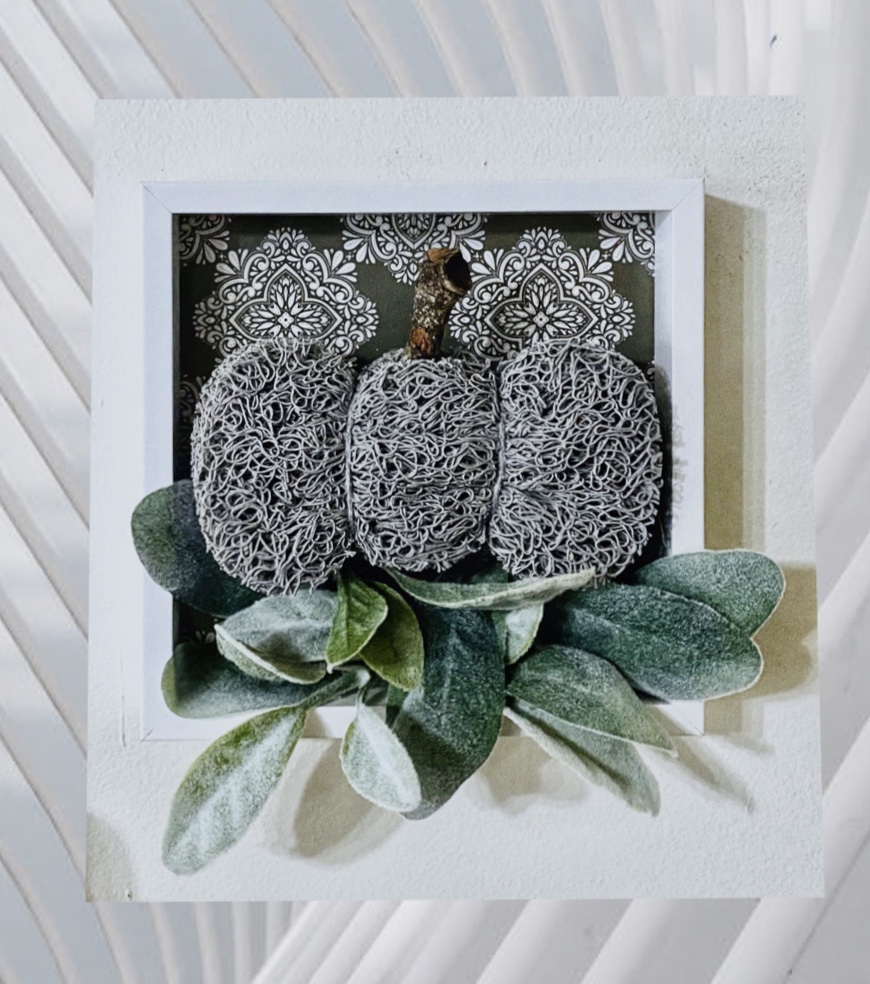
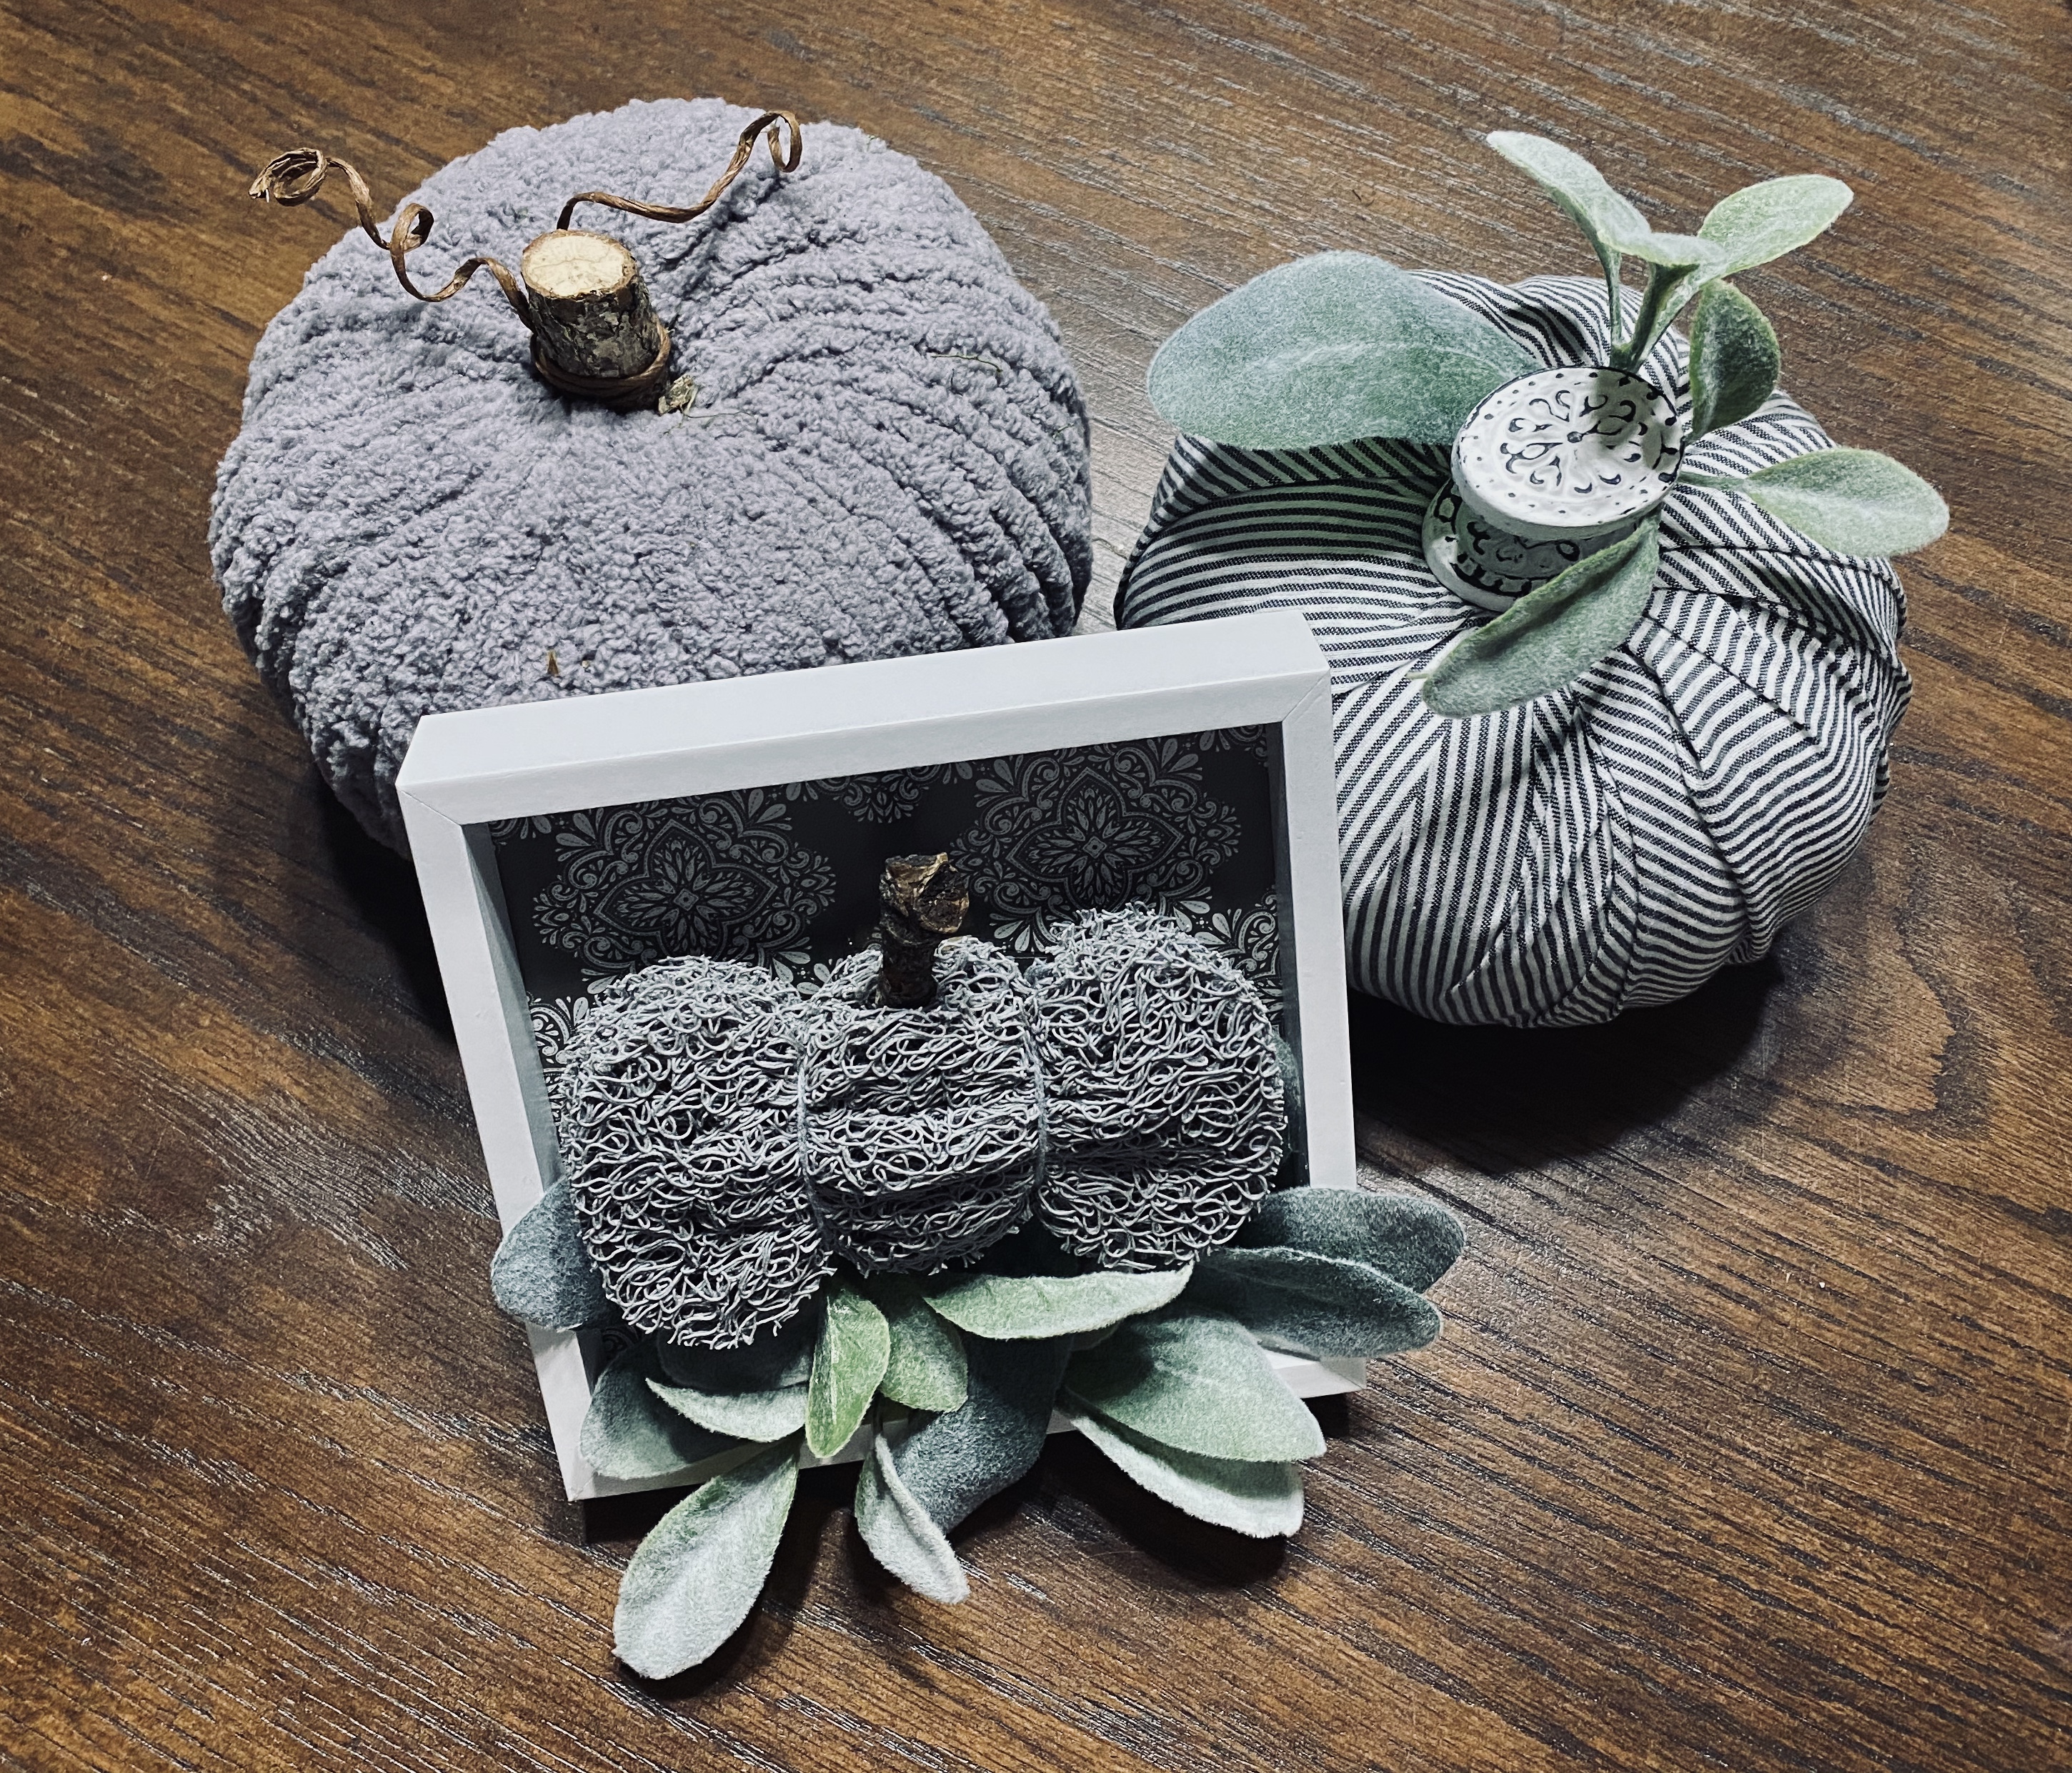
This awesome creator also had a tutorial for making a pumpkin out of a Dollar Tree soap saver. What? Check it out! https://fb.watch/fOIcejAF2x/
Of course I had to make one, too. This one I left gray and put it inside a Dollar Tree shadow box. It looks so cute with my gray pumpkins I made (the striped fabric came from DT), but I bought a few more to paint! 🙂
I still hadn’t gotten to my other pumpkin cut outs, so onto more decor!
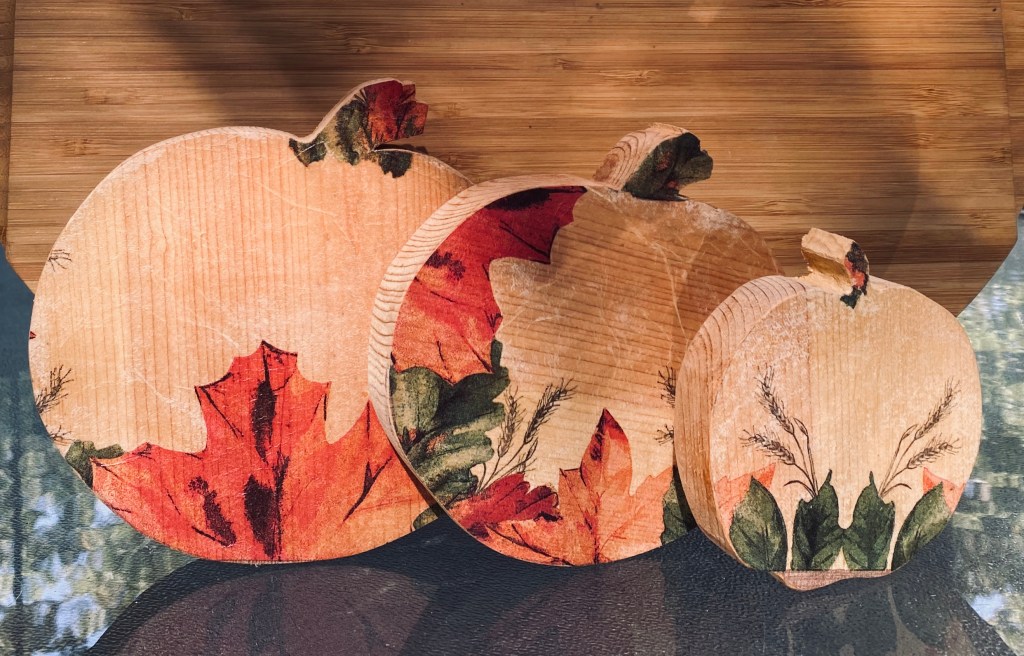
I made this arrangement in three different sizes and used a Dollar Tree napkin decoupage technique. I was going to add embellishments but I love the rustic vintage look of them just as they are. They stand up on their own and are perfect for shelf sitters or tiered trays.
I also decoupaged a little 3 1/4” square natural wood trinket box. I made the little leaf ladder tall last year. It goes perfectly with this arrangement.
This next project is one of the larger pumpkin cut outs and will stand alone. I glued one of the Dollar Tree faux tin panels to it.
For this finish I did a kind of an aged terra-cotta color I’ve been seeing others do. I painted it with a color I mixed and added just a bit of baking soda to it. Then I sprinkled more baking soda on it while still tacky. After the paint dried I blended the baking soda on with a bit more paint then sealed with a matte sealer. I used a bit of the napkin I was using earlier on the stem.
So pretty! I really enjoy creating a more neutral look for fall decor.
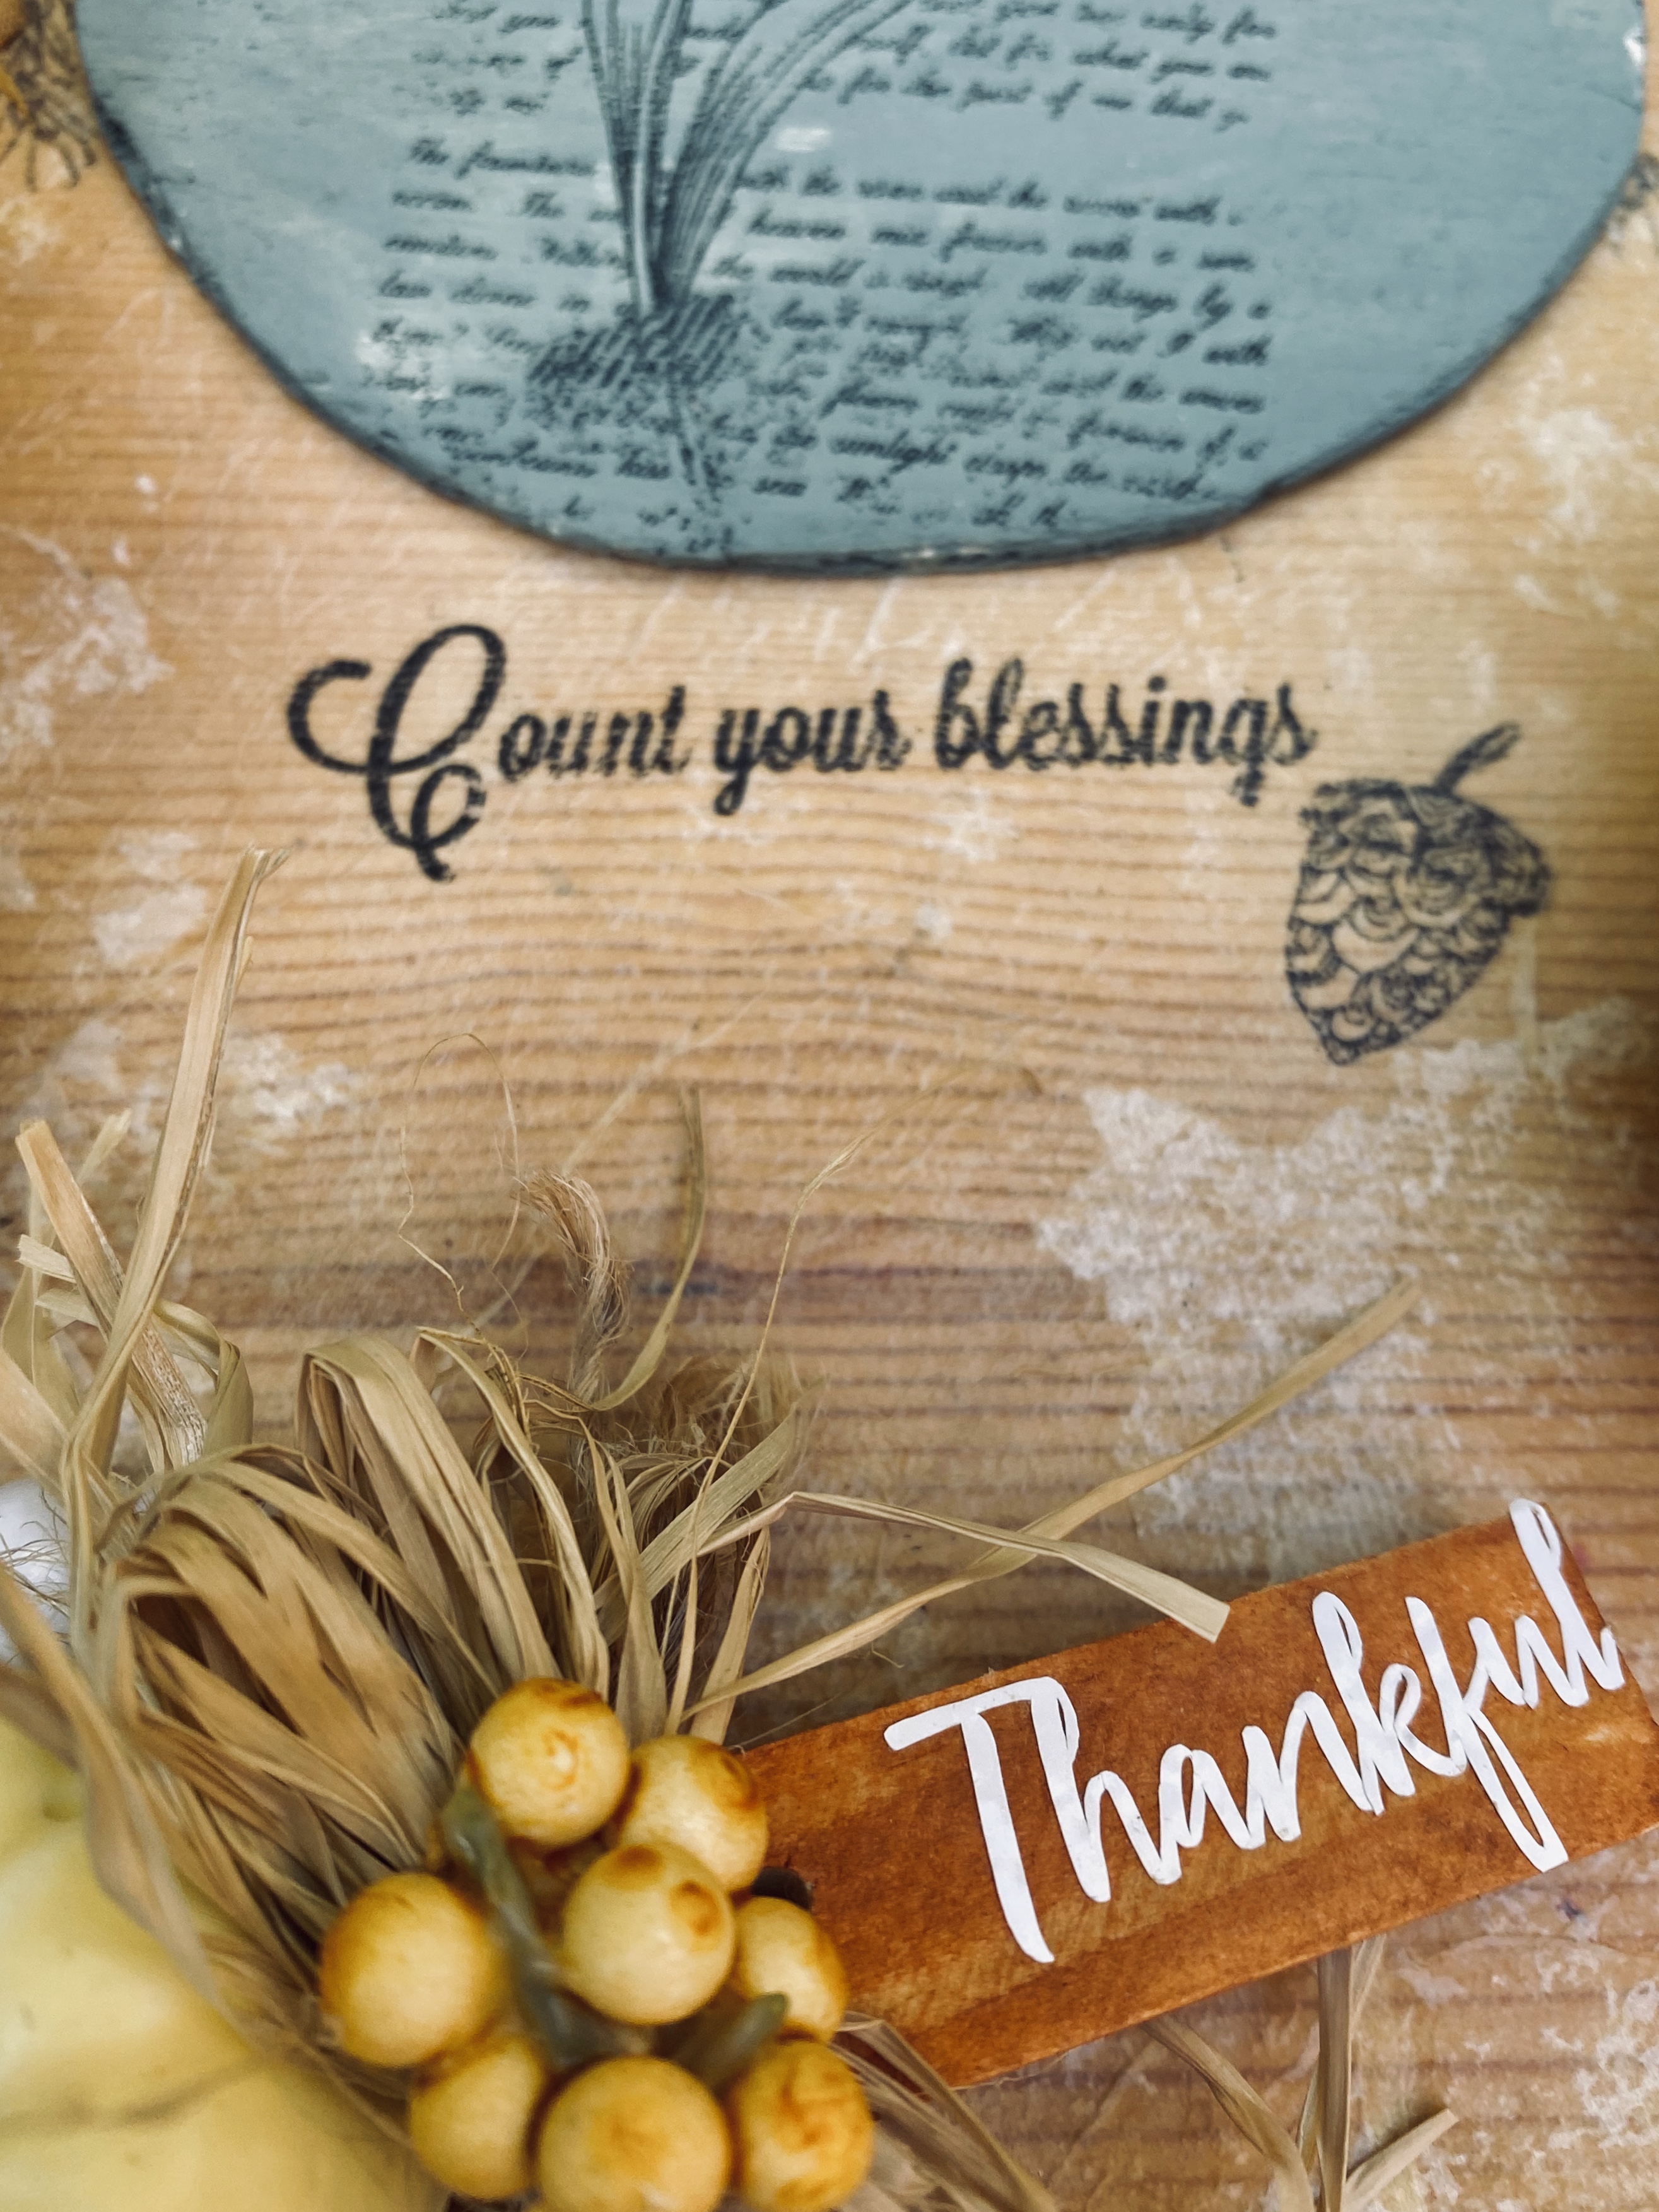
And finally, I ended my marathon crafting this morning. Maybe. Lol I started this project last night and finished today. I still had more pumpkin cut outs in 3 different sizes so painted the face of each with the terra-cotta color I mixed. I used a bit of left over napkin for the stems.
I distressed them a bit with sandpaper and then used the new Dollar Tree brown parchment paper rub on transfers on them. I apologize in advance for finding more of these transfers in different designs. They are so hard to find, but I found these in the same store I found the others in Ballwin, MO on Manchester Road. But, oh how I love working with them and hope they make more. I’ve not seen them online yet, either.
That’s not all! I’m now working on a natural wood napkin decoupage riser and it should be finished soon! 🤷🏼♀️
Update: The last of this grouping is complete. 🙂
I had this 12” round wooden plate. I had the fall napkins. I had the decoupage medium. I had some little rub on transfers and the wood beads from the foot exerciser I bought a couple of weeks ago at a yard sale to use for feet. I have items to display.
I am always amazed at the things people can create. I often wonder if they just walk around Dollar Tree thinking how they can turn say….a couple of soap savers (never even knew they had these but there they were back in the back with the bath things) paint them, then turn them into pumpkins.
So…had to do it. I decided to just leave this one gray. And, you know what? It turned out pretty darn cute.
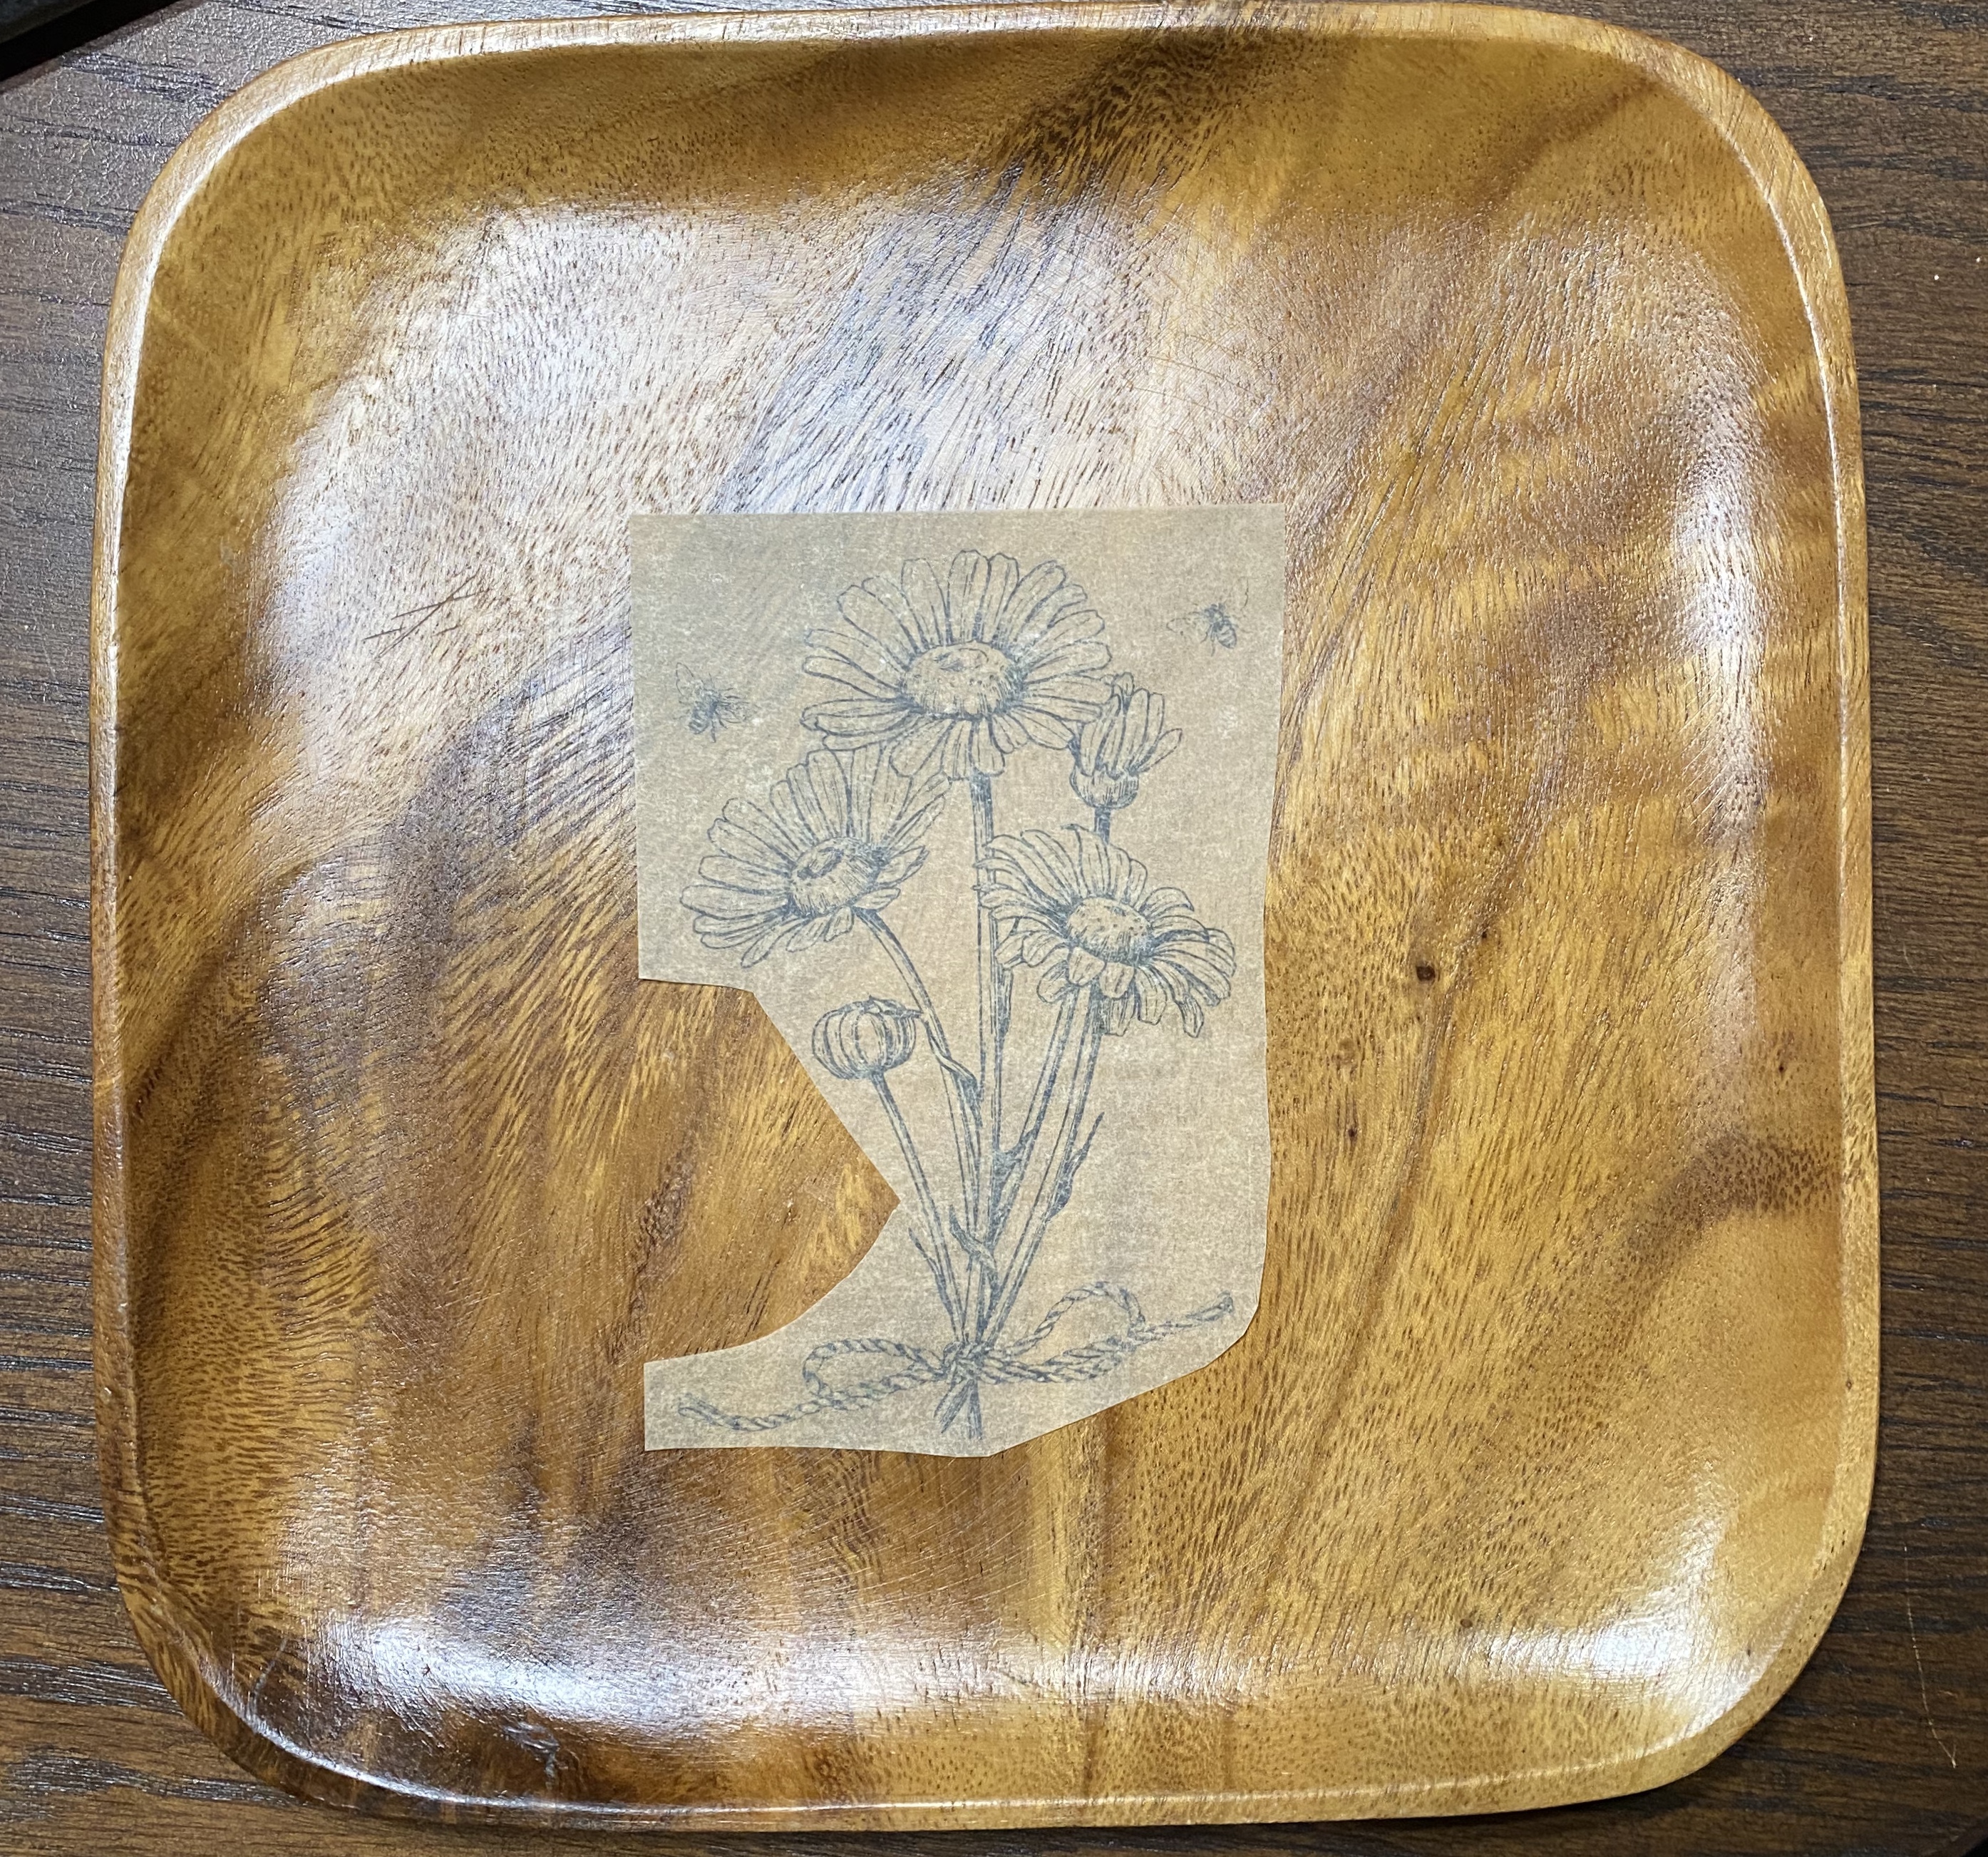
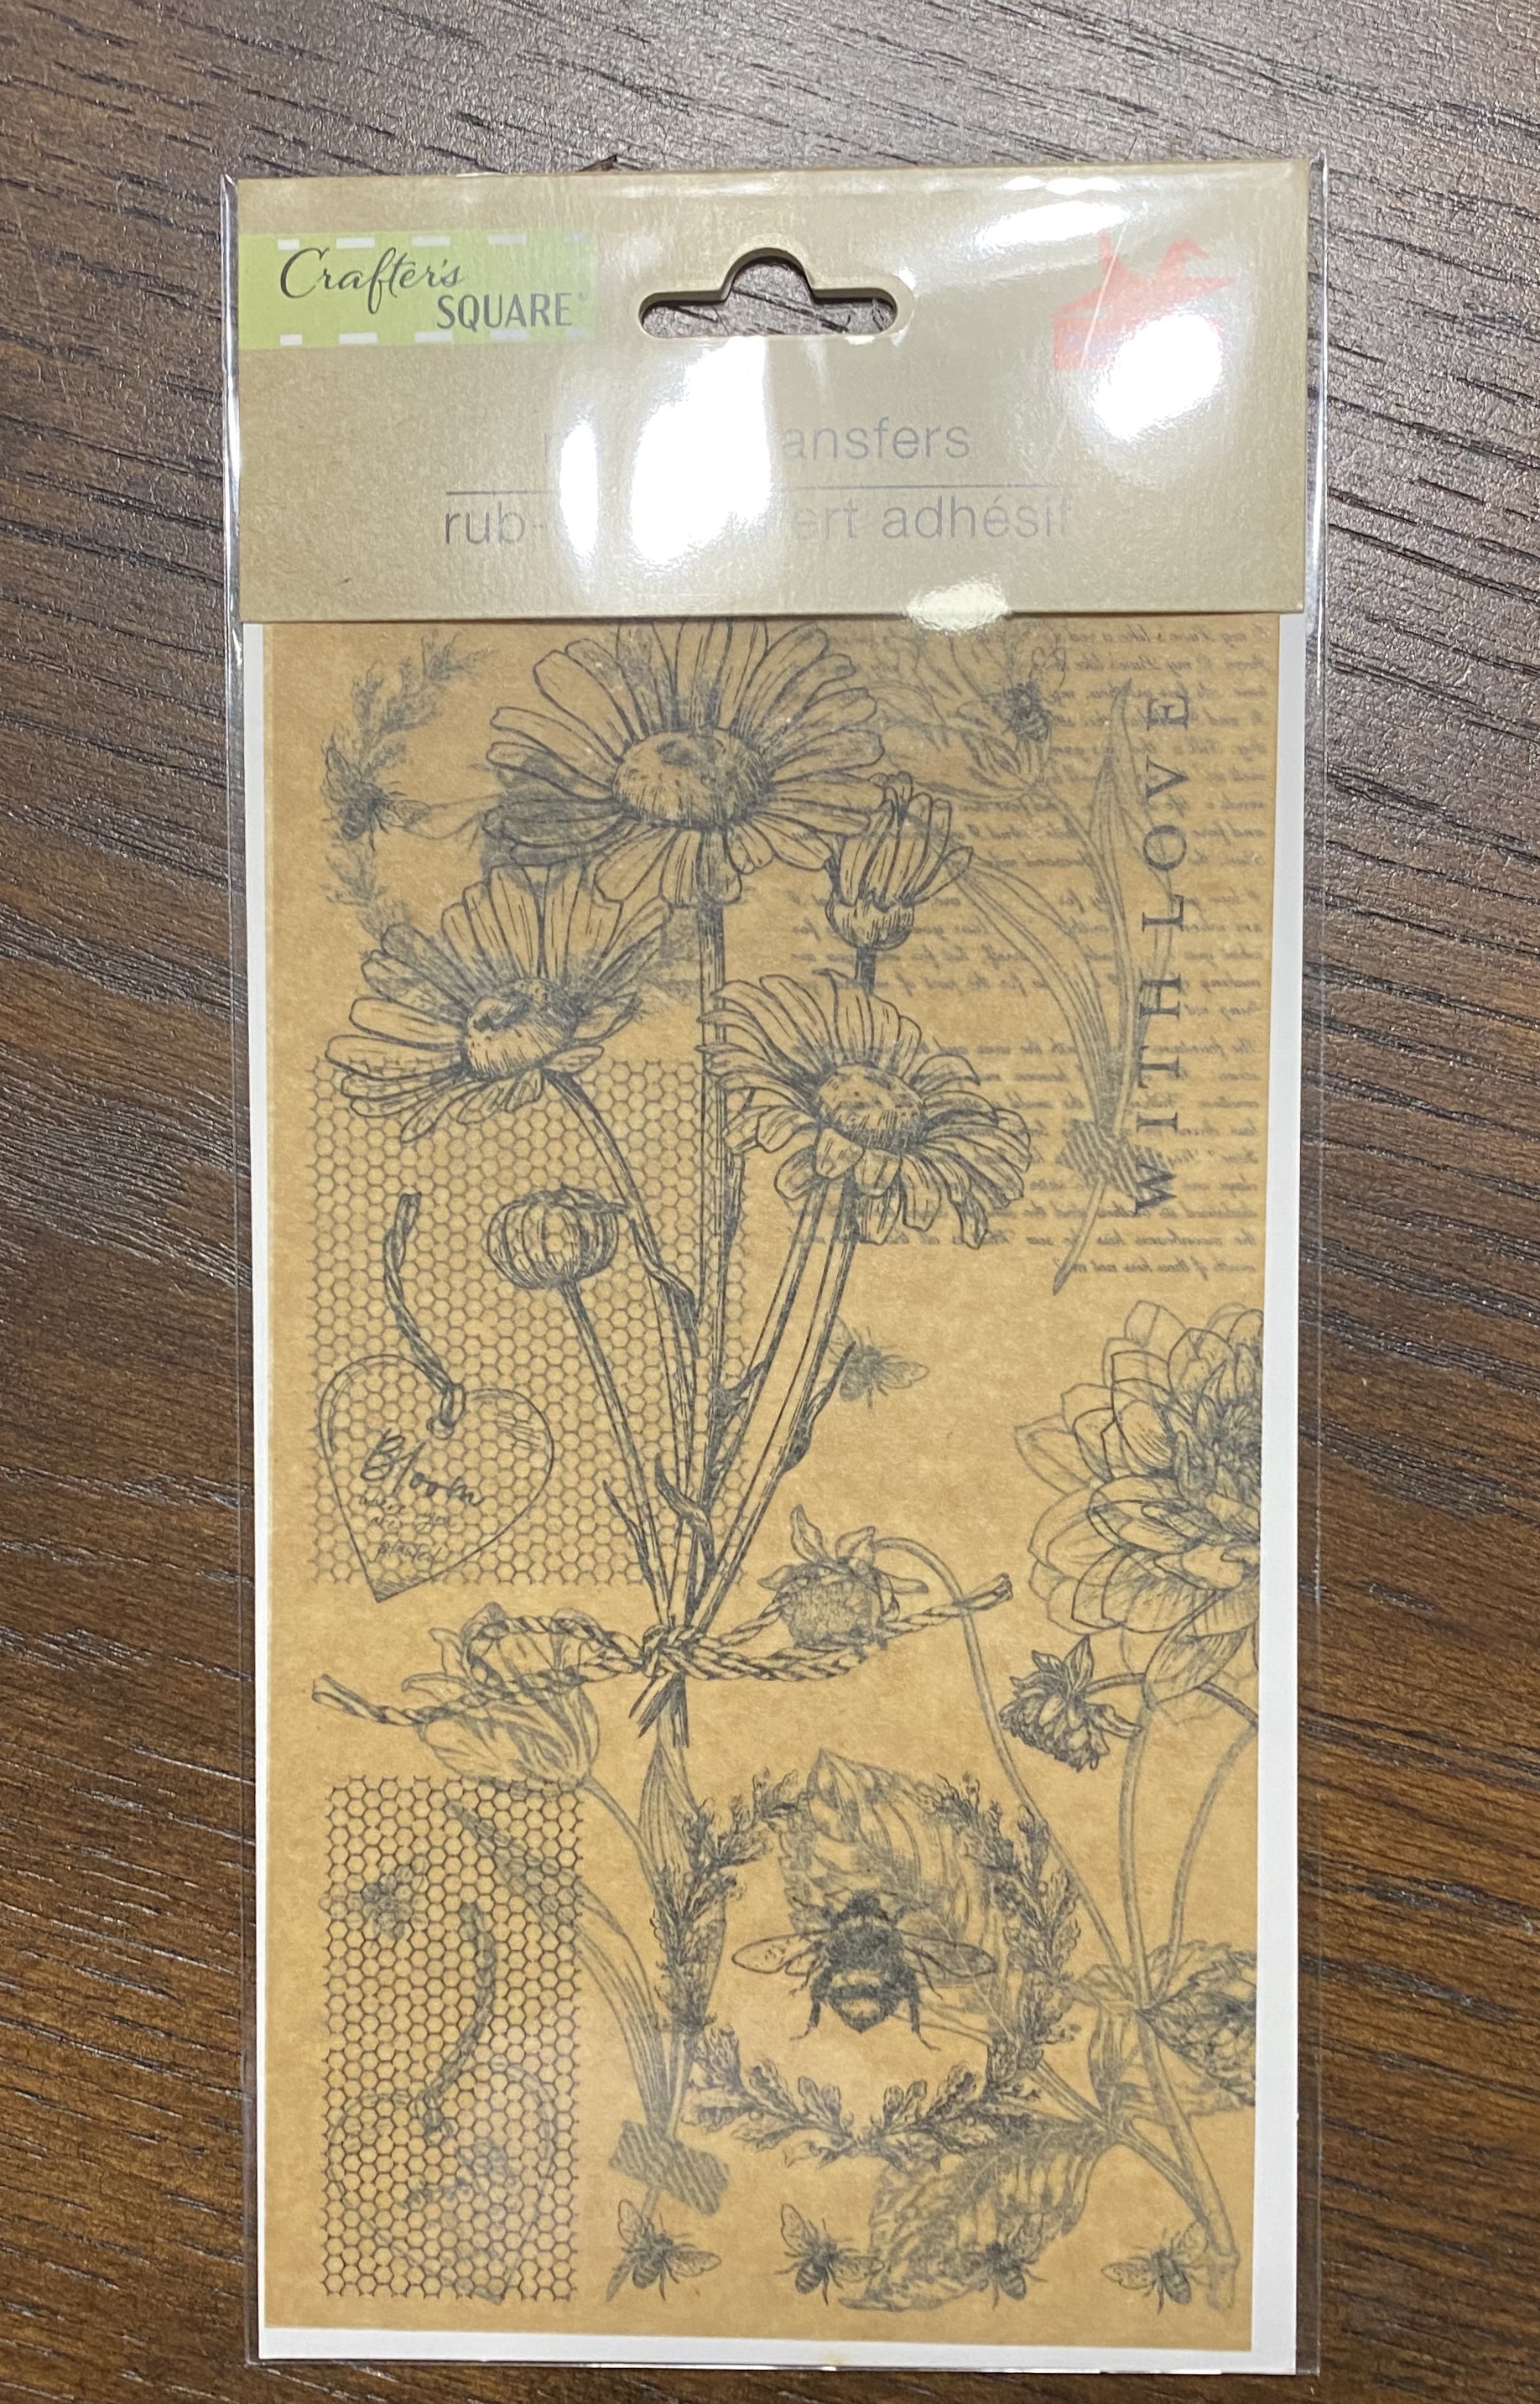
Yesterday, I found a new kind of rub on transfer at Dollar Tree. It is on parchment paper. You rub off just like the other type. I do think, though, after using it, it is more like transferring ink.
I used the sunflower bouquet and transferred it to this Monkeypod plate I thrifted. It is beautiful and so easy to use.
Note: 😳 Do not try to apply wax to seal it. The wax removed the transfer!! I had transferred a whole sheet. 😳 I removed the whole thing, cleaned it well, then just did the bouquet. Maybe it needed to dry or something first, but now I’m afraid to use wax. I think I will just leave it as for about 24 hours and test a little bit on the underside and spray with lacquer.
I follow an awesome lady on YouTube….Teresa Greene from Our Greene Acres. She has excellent tutorials. Most of her ideas are shabby chic/farmhouse. They are not always my style, but the things I make from her tutorials usually sell well around my area of Missouri. This one sold within minutes after posting it in my personal Facebook page.
Basically, all you need to make the sunflowers are some type of fabric (the one above is drop cloth for the petals and burlap for the center). You will also need scissors, a little poly fill for the center, some hot glue, and ….. a canning jar lid and ring. This one was a regular mason jar size.
I’m not going to recreate the wheel here for making the sunflower. I will just share Teresa’s tutorial. This project starts at the 16:48 mark. https://m.youtube.com/watch?v=8wzvB-seb3I&t=616s I will share how I made the stem of mine below.
I wanted to make a sunflower with a long stem but wouldn’t flop over. I wasn’t sure how I would do this so started looking around. Invention truly is the mother of necessity.
I had some faux tulips from Michaels that had long green flexible hollow stems.
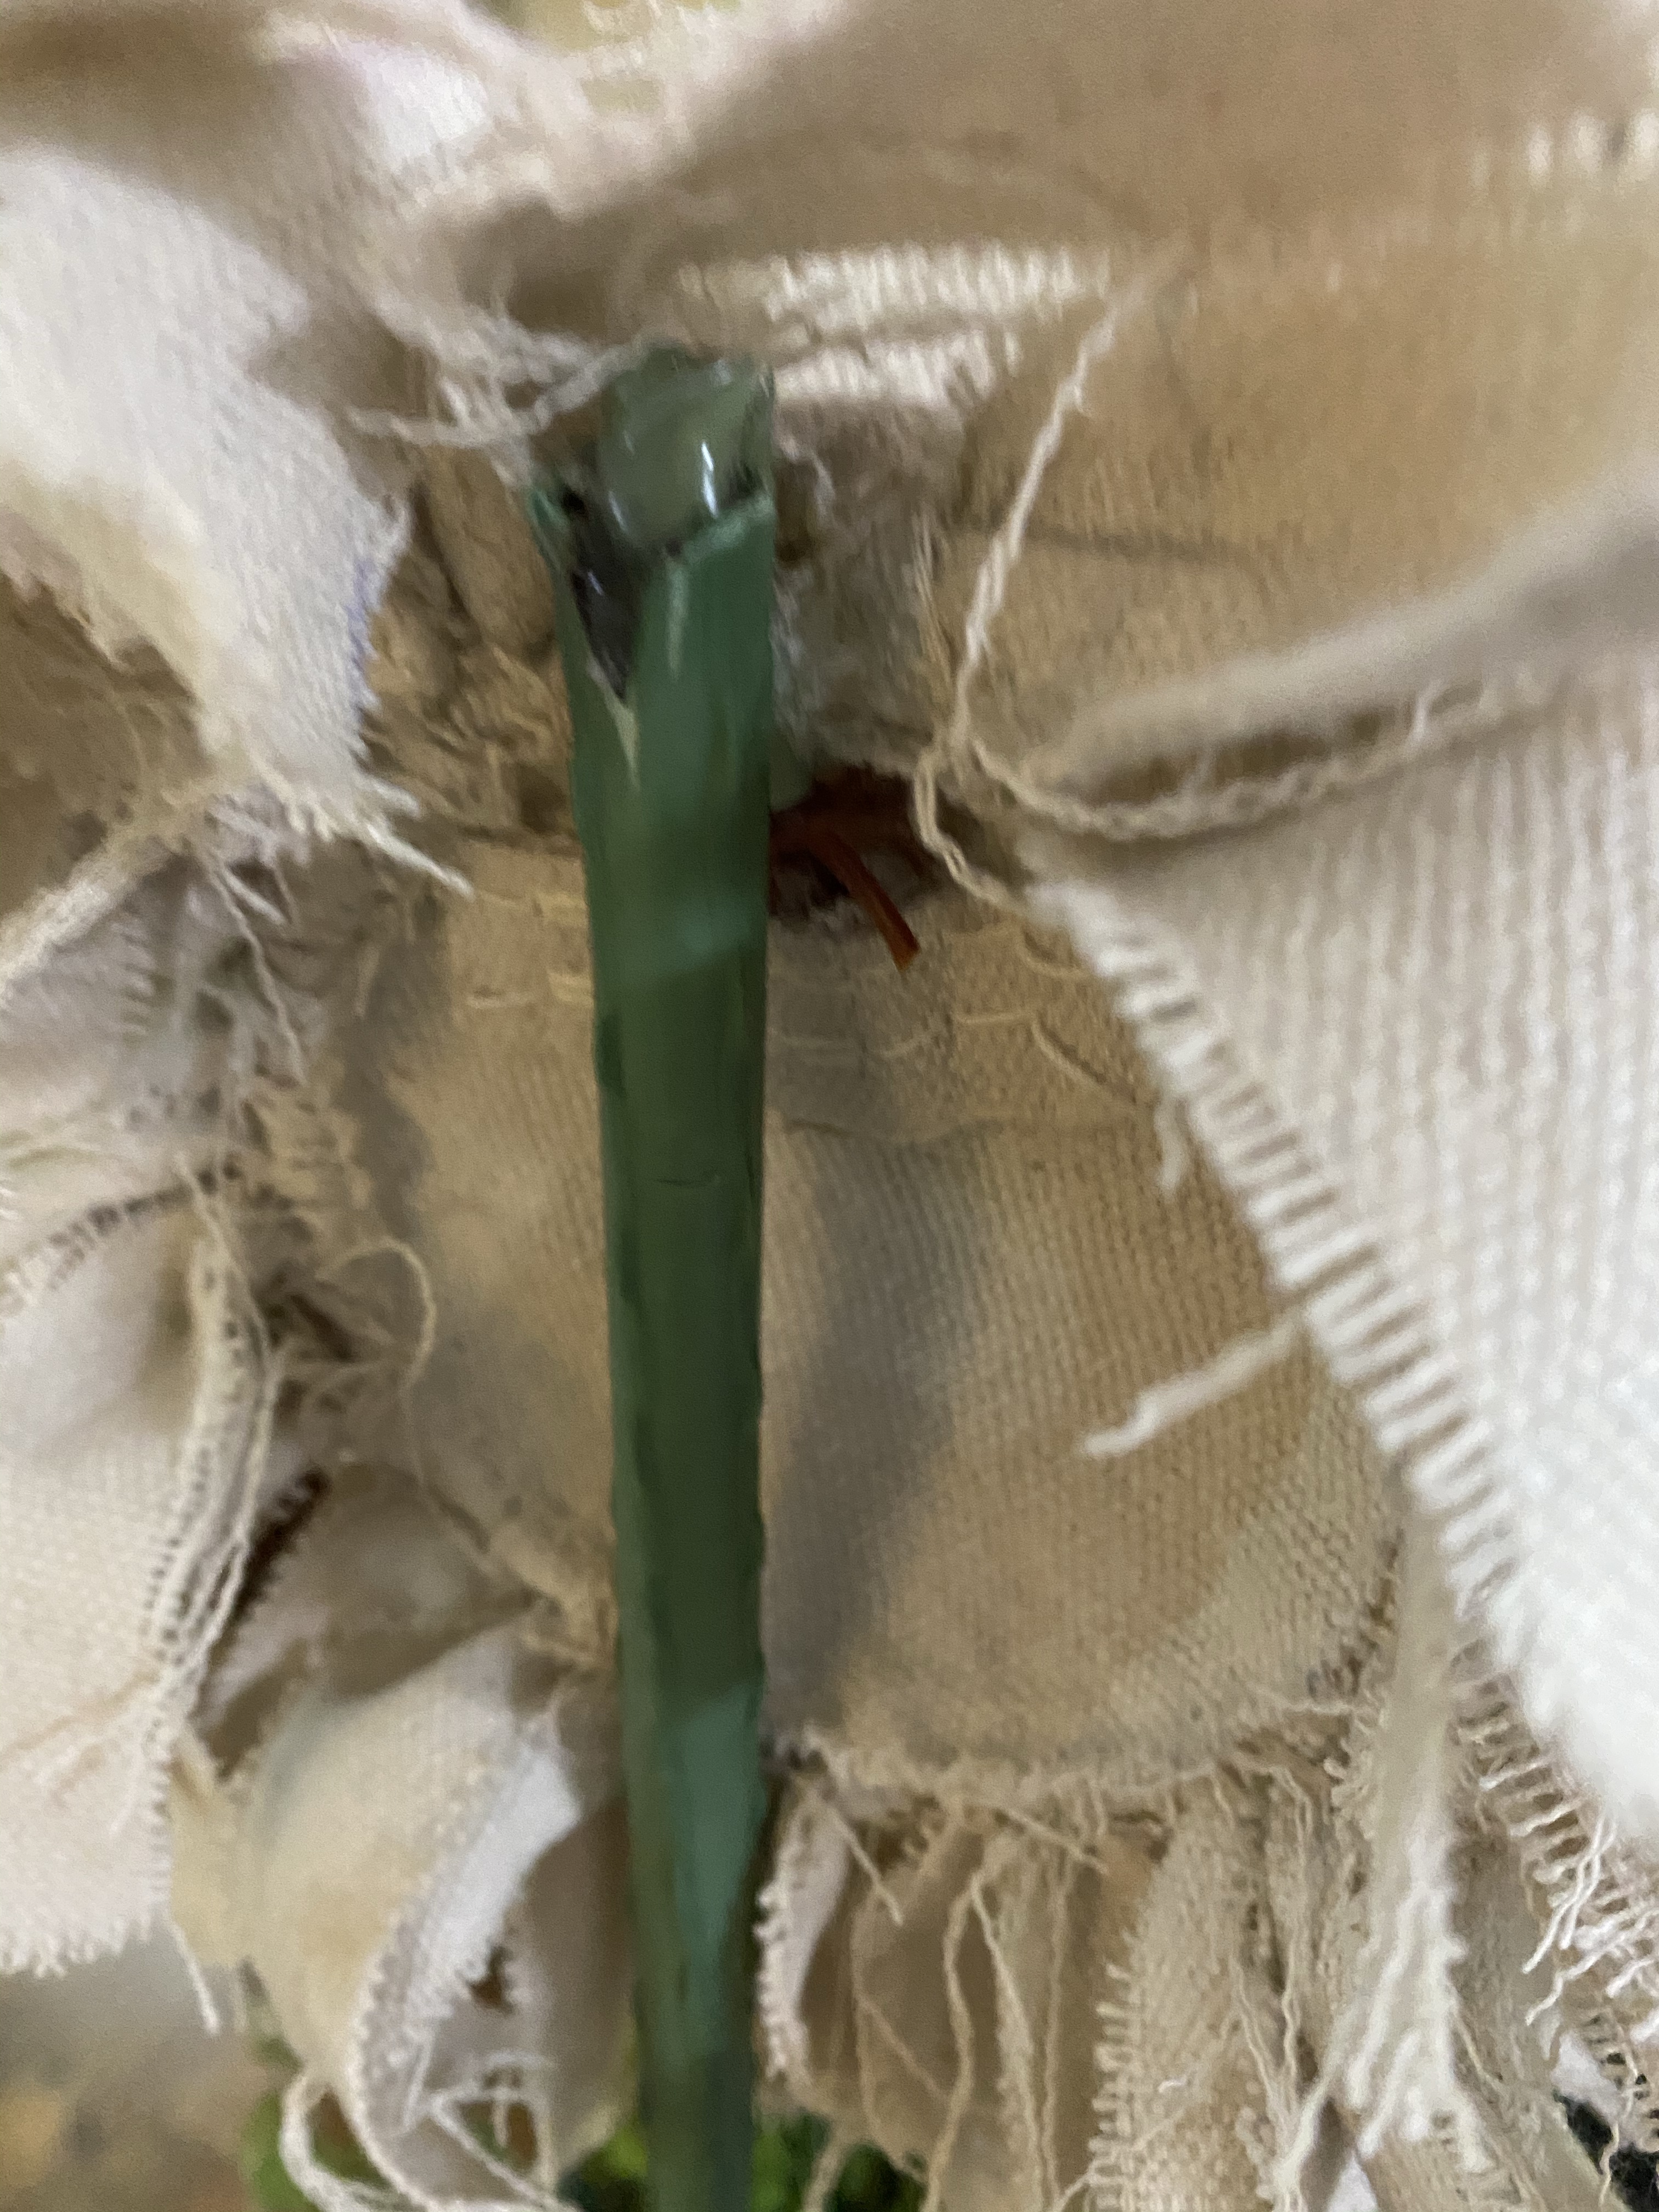
I took one of the tulips off and removed the little plastic thing that went into the stem. After finishing my flower, I hot glued it to the back and then hot glued a strip of fabric over it so it would stay in place. I just needed a stick to go inside so I remembered the whittling my dad used to do (I specifically remember him making whistles). So I just whittled the stick to size. Lol
I pushed the stick through the tulip stem (I used two of the hollow stems and pushed them together. I left a little room at the top so I could fold it over and glue it down to the flower.
That still wasn’t strong enough. Then I remembered these green metal hollow sticks I used around my rose bush. One was broken so I broke it off all the way and I had a sturdy stem. I think I originally got them at Lowe’s. They are stakes made to look like stems of plants so they blend in.
I then dropped the stick covered with the tulip stem down the green tube and hot glued it in place. I then folded over the stem at the top and glued it down. That worked just fine. The drop cloth was strong enough that the sunflower didn’t flop too much.
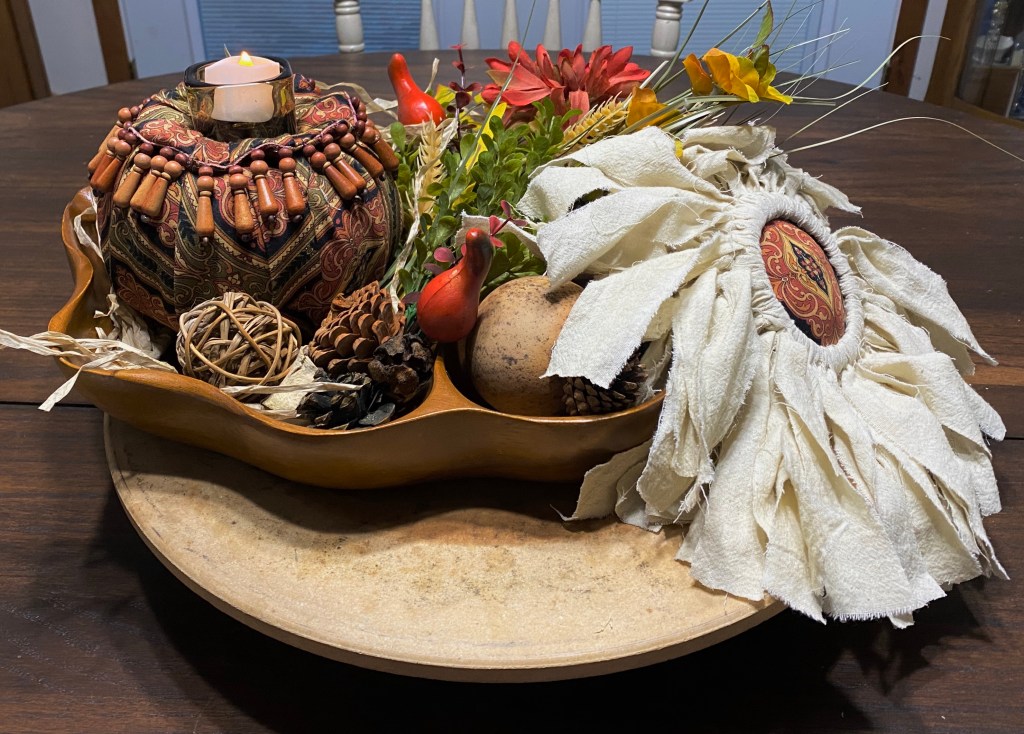
I had this very strange pitcher/mug thing I thrifted several years ago because it was cool and I loved the color. It was perfect for my one long stemmed sunflower. I filled it with left over burlap and added some greenery and wedged my sunflower in place. I love how it all came together!!
The first sunflower I made from Teresa’s tutorial was a hanging one. I used flour sack cloth (from Walmart Craft department) I dyed with left over coffee for the petals and fabric from an old valance for the center to match a pumpkin I had made earlier (another Teresa tutorial). I love how it turned out and how it looks in a fall centerpiece I put together.
I was starting to clean up my messes (and put a few bags of DT items away) 🙄 and had a bit of a new DT “plank look” rub on transfer from covering the coaster I made yesterday. I also had some pieces of boho looking transfer left from another project …. and a rock.
The DT coasters are actually really nice, but I thought the “plank” rub on transfer might tone this one down some and it did! You can still see the wording even after I sealed it with Mod Podge Pearlized Glaze sealer.
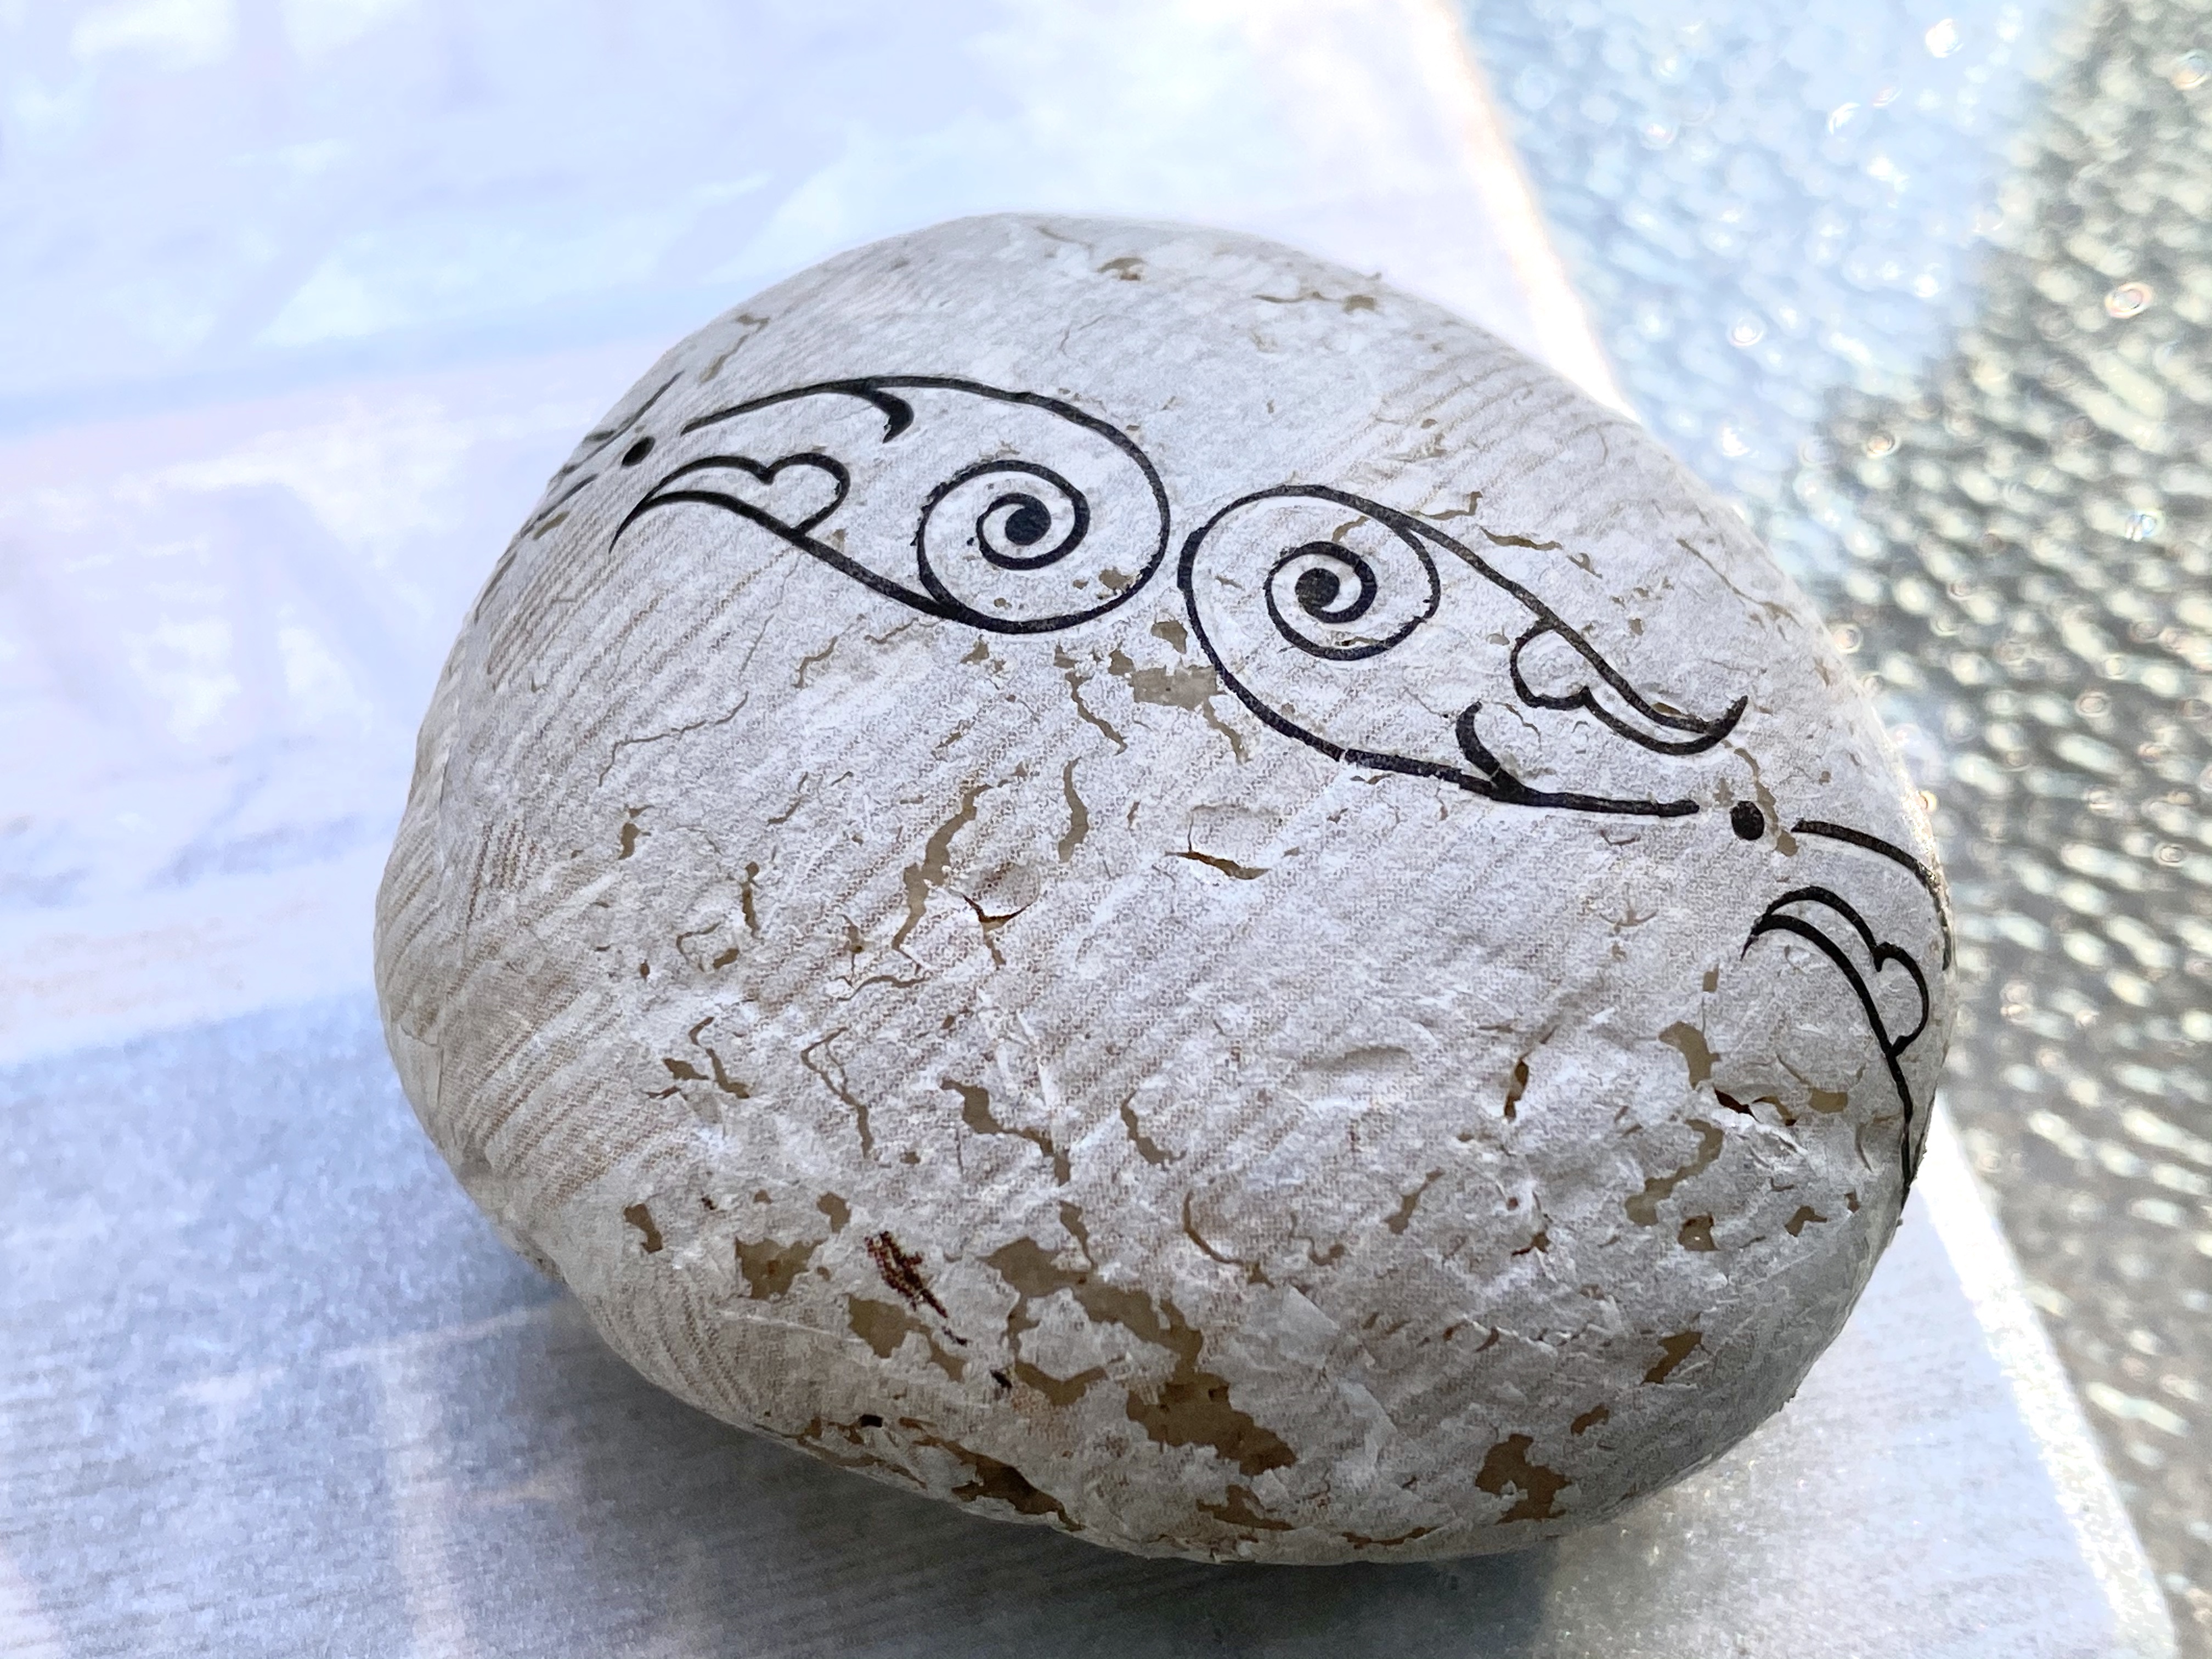
I had a rock and some of that transfer leftover. I looked at the rock, then looked at the transfer, then thought ….I wonder what would happen if I covered the rock with it? Wow! I love the look! I may never paint another rock! Well, as long as I can still find this transfer. Lol
So then, I added some of the boho looking fish transfers and ….Voila’! I had a beautiful little Zen display… and I had something beautiful and calming from practically nothing!
But I wasn’t finished yet!
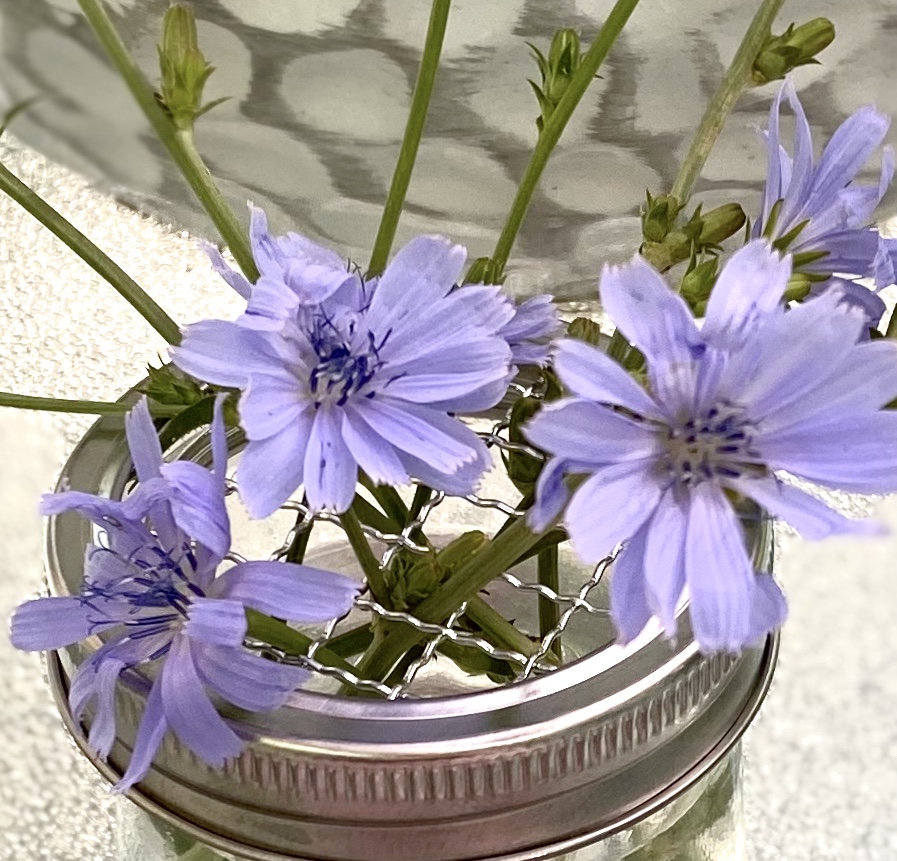
I’m also putting away some gifted Oui jars. But….the other day I found these wired canning jar lids at Dollar Tree. I wondered if they would fit over a Oui jar since I knew the seals did. Yes, they do. Like a charm!
So, I put into these little jars some of the beautiful Missouri Chicory that grows through cracks in the asphalt in the grassy areas along our roads. I knew the blooms/buds would be mowed down soon, so I cut some. I also had a beautiful goblet I had thrifted the clay “frog” I made the other day and put some blooms/buds in it.
They turned out so pretty! Can you image a big display of different size glass jars and bottles for blooms? You could easily buy a bouquet of real flowers at the grocery store or use blooms from your own garden and do the same.