Decoupage with Fire? Who knew?

I happened upon a video tutorial that shared the technique of decoupaging with fire. Really? So of course I had to try it.

Here’s the original tutorial shared by Studio MD. I suggest you watch it before trying this technique. https://youtu.be/75b6NXJ0FIMhttps://youtu.be/75b6NXJ0FIM

My experiment kind of worked, but I think it would have worked better if I had used a glue stick or a decoupage medium, but I didn’t have a glue stick. I decided to give it a try on this little Dollar Tree photo frame. I painted the front of the flower with our paint brand Missouri Limestone Paint Company chalk-style paint, color “January” first to help make the print of my napkin stand out. I think the napkin I used was also from Dollar Tree.

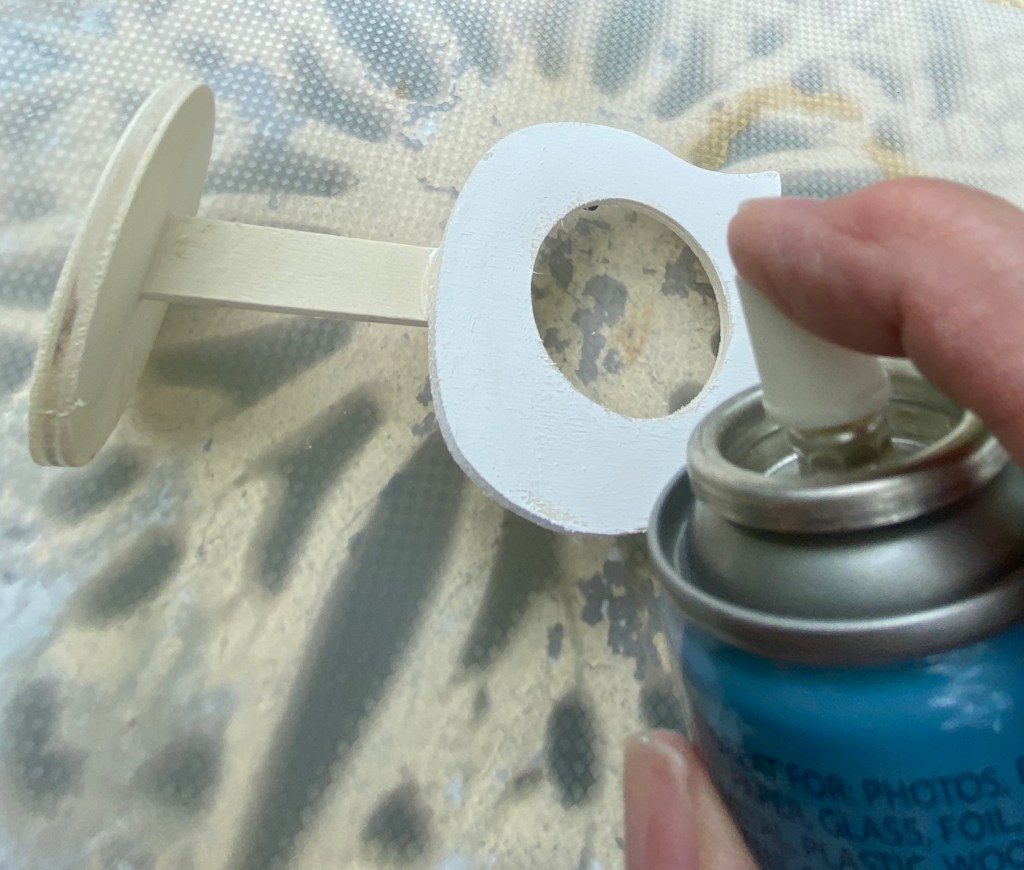
DO NOT DO THIS! Instead of the glue stick I, unfortunately, used Dollar Tree spray adhesive. I should have known better. I haven’t found it to work on anything I’ve tried. I think it got the paper too damp and I had to keep relighting it as my fire would go out almost immediately.

The lady in the video showed using this technique on several cut out letters. I think her technique worked great on them.

One more time….decoupage with fire

I salvaged my project, though I needed to sand the edges. I had no idea what to do with the little Dollar Tree photo frame, but then decided to turn it into a pin cushion. It’s kind of cute and functional, too!

Front
Back

What did you say?

It’s a thrill a minute in a house with retired people. Take this morning, for example.

After reading this PSA, stay tuned. The YouTube tutorial I was watching before being interrupted was very interesting and I am going to try it.

So, sit back and prepare to be entertained.

We interrupt our regular every day routine for this PSA.

Danny…..as the tv is blaring and I am concentrating on listening to a you tube tutorial on my phone…..

Danny: Dhofar fffgg gi~<> bvb fgg gggf gggh?

Me: Huh?

Danny: Do you know what will date you? (Meaning that I’m old, not that a serial killer or something would be thinking of dating me.)

Me: No.

Danny: Dhofar fffgg gi~<> is 100 years old today.

Me: Who? I leaned in to pay more attention to him.

Danny: Winnie the Pooh is 100 years old today.

Me: Oh. I thought you said Juanita Pool.

Danny: Who’s Juanita Pool?

Me: 🤦🏼‍♀️ I went back to my YouTube tutorial. But, Happy Birthday, Winnie the Poo!

Drop Cloth Cover for Flower Pots

I used a left over piece of Redesign with Prima transfer this morning on a little “bag” vase I made with painters drop cloth. (6” w x 8” h with the faux lambs ear plant added)

I hot glued the sides and bottom of the drop cloth to make the bag and turned it inside out. I took out strings along the top for the fringe. And stuffed any extra fabric inside the jar. I added a jam jar I had and a sprig of lamb’s ear from Walmart.

I then added a bit of stuffing along the sides and back (a trick I learned from a video) to make it look more like a slouchy bag. I didn’t add any under the transfer side as I wanted the transfer to stand out.

I decided not to seal the transfer as I burnished it into the cloth really well and it won’t be handled much.

The possibilities for these bags are endless!

Pottery Barn Inspired Metallic Gold Cloche and Pot

I decided I would go shopping in my basement this morning. I found some treasures, so I created a little cloche covering a pot of flowers.

1) I had a shade from a fan light. The beveled glass in it is beautiful. I left it metallic gold because I’ve been seeing metallic gold trending lately.

2) I also had this little white tea light holder so I gave it a little metallic gold paint here and there (just like Pottery Barn would) and added a few faux flowers.

3) I had a plastic lid that fit perfectly on the shade, but it was white, so I painted it a metallic gold to match.

4) The lid needed a knob to lift the cloche, so I found the perfect knob in my collection that coordinated with the flowers. I super glued it to the lid then super glued the lid to the shade.

And there you have it…my Pottery Barn inspired cloche and pot. Place the cloche over the pot of flowers, or if you don’t want to display flowers, just remove them and add a battery operated tea light or votive. I wouldn’t use a real candle since this is enclosed and the lid is a plastic.