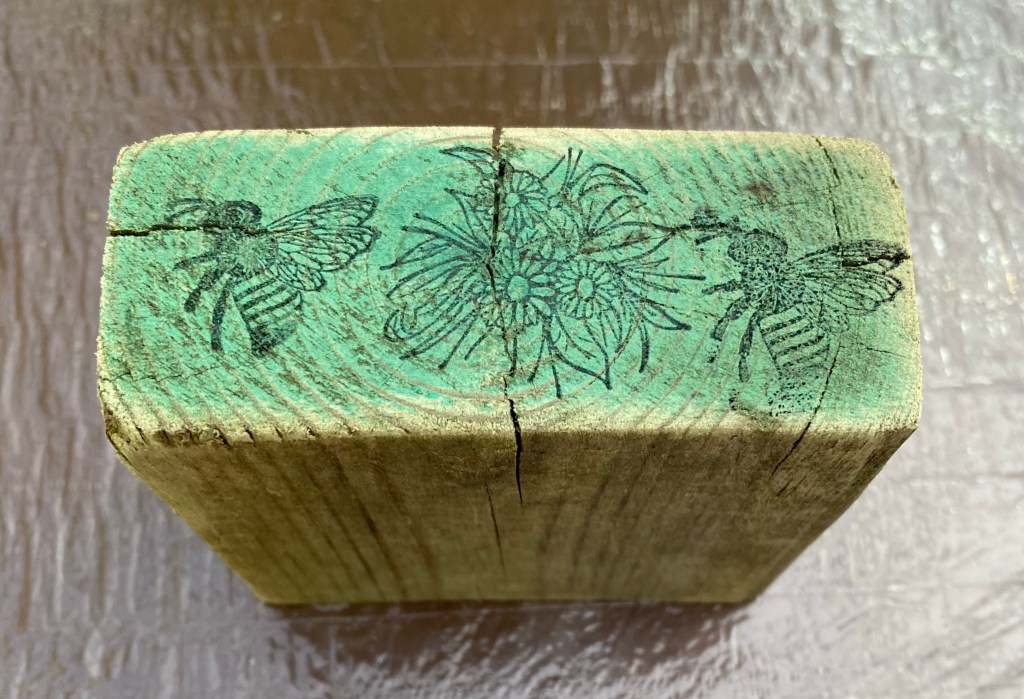
I’ve been seeing risers made from blocks of scrap wood so thought I’d make one, too. My 3.5” x 1.5” square block of scrap wood had one end that was painted green. I didn’t want to cut it off so I just made it the front of my project.
I did sand the block well, including the green part and that lightened it up a bit.
I like to work on this lazy susan. I bought 100 disposable shower caps on Amazon and stretched one over the lazy susan to protect it. These work great and I just throw them away when finished.
I gathered up my supplies and got started.
Step 1: I used black ink and stamped flowers and bees on the green side of my block. I put it aside to dry.
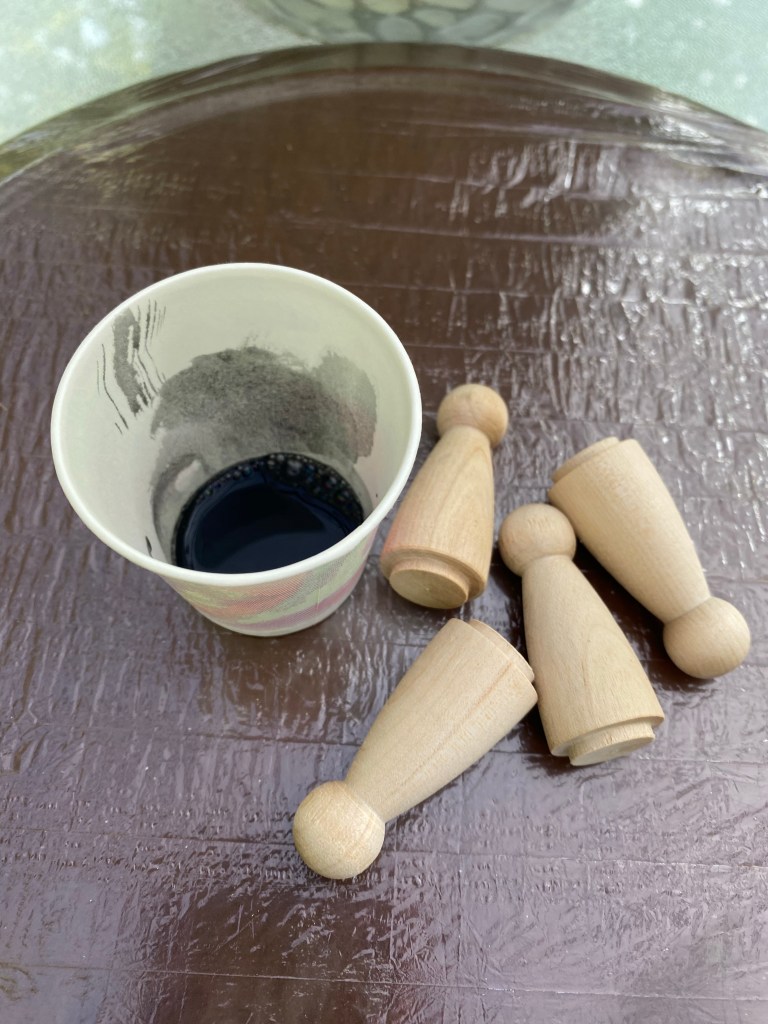
Step 2: I purchased wood peg dolls from Amazon to use as feet. I watered down a bit of our Missouri Limestone Paint Company chalk-style paint (Coal Shovel) and covered the feet I would be attaching to the block. This will give them a rustic look similar to the block. I wiped the excess away and put them aside to dry.
Step 3: I wrapped the block with a paper towel only leaving the green inked part exposed. I sprayed that part with the Krylon spray matte sealer. I believe I got it at Lowes. This sealed the ink to make sure it wouldn’t smear when I applied wax to it later.
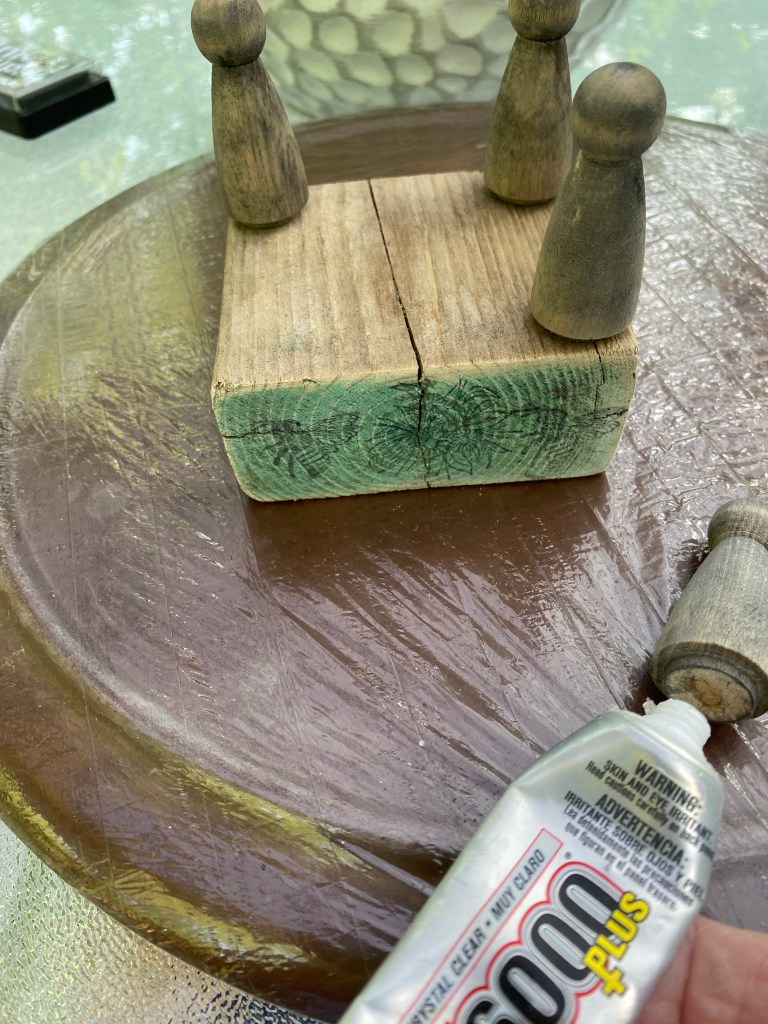
Step 4: It was time to glue on the legs. I used a combination of E6000 for permanent hold and hot glue for immediate hold.
Step 5: Once the hot glue set up, I applied Wise Owl Salve (ordered from a retailer) to the whole piece.
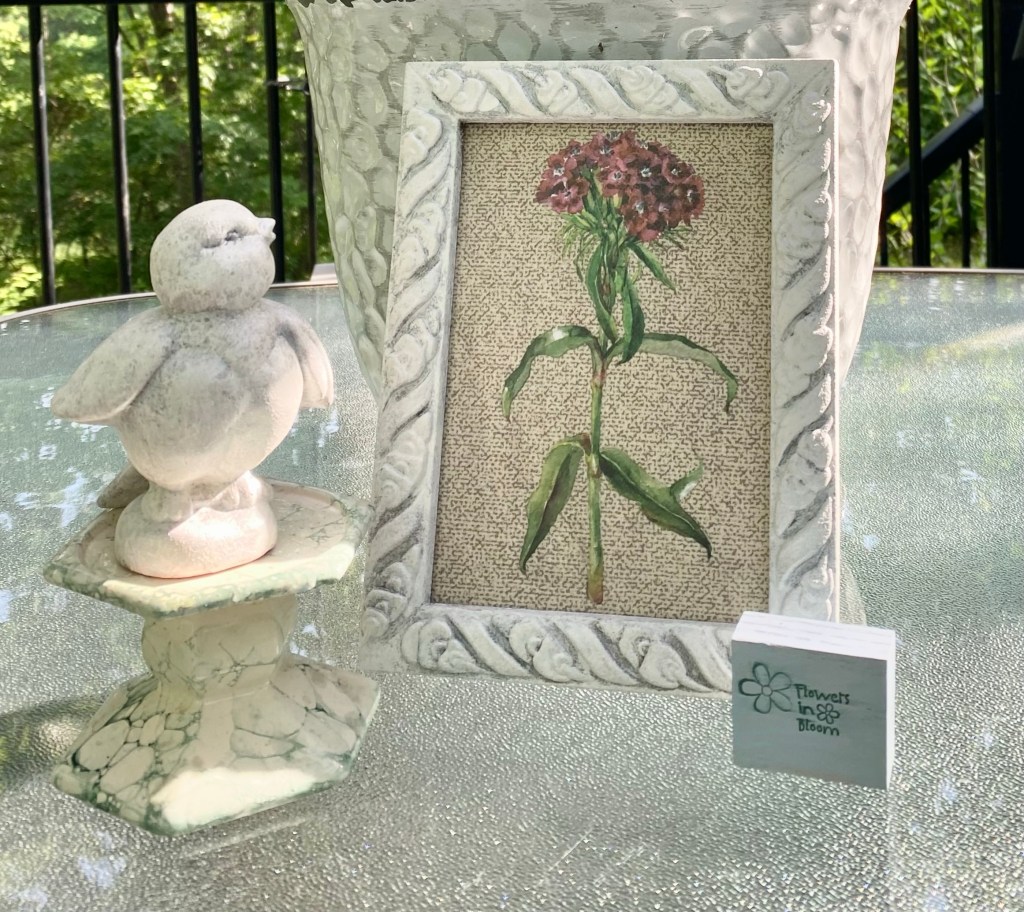
My rustic riser was now complete. I added a small painted terra cotta pot I had applied Dollar Tree rub on transfers to, added faux flowers, and displayed it on my rustic wood block riser.
I love how it now looks like the whole riser has been outside in the weather for years!
For today’s project I am up-cycling an old gold frame and adding a Redesign with Prima transfer from the Floral Collection. The transfer is applied to a unique background – a piece of one of Dollar Tree’s storage bins.
Cutting apart a Dollar Tree storage bin
The material is kind of a paper/fabric with cardboard in between layers. I cut off a piece to use as background for the transfer.
I cut the cardboard to fit the frame.
I used a glue stick to glue the material onto the cardboard.
I then trimmed the material to the size of the cardboard.
It was time to paint the frame. I mixed a little baking soda with a littler chalk paint to achieve the texture of stone.
It took two coats. On the first coat I used a brush to pounce the paint/baking soda mixture on so I didn’t get brush strokes. For the second coat I used a foam dauber. I love the distressed shading this technique produced. I set it aside to dry well.
Once dry, I gave it two coats of Mod Podge Pearlized Glaze Spray to seal it.
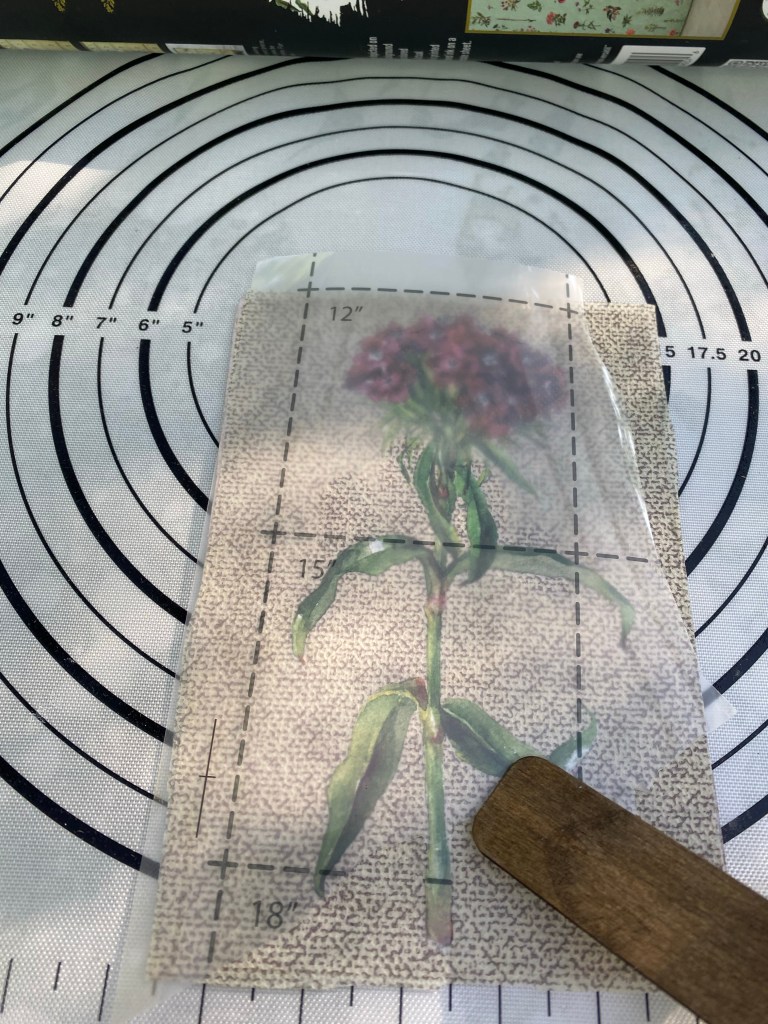
It was then time to apply the transfer to the material I had adhered to the piece of cardboard. I didn’t seal it as it is a decor piece and will not be handled much.
The sheet underneath is a silicone baking sheet I use to work on. Paint does not adhere well to silicone, so it is easy to clean after I finish a project.
I added the transfer to the frame. You could add the glass back in but I did not use the glass.
The final reveal – The material under the transfer looks almost like a piece of linen. It makes a very nice background.
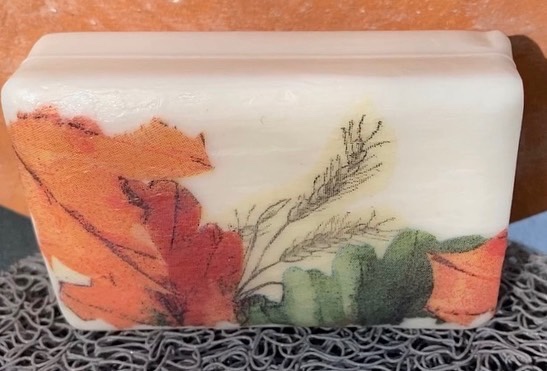
I tried decoupaging a napkin on Dollar Tree Dial soap and it worked perfectly. The soap suds from the bottom, leaving the sealed napkin side intact.
I then decided I was going to make several of them and sell them at a Christmas Open House at the Antique Mall where we have a booth. The owner is very kind and is allowing me to have a small space to sell my smaller crafts that day. We’ve not worked out the details yet, but now I need to get busy with stocking stuffers and small gifts and Christmas decor.
I went in search of more bars of the small hypoallergenic Dial Soap carriers but wasn’t finding it. I looked online and they weren’t selling it online either. As I read more it sounds like Dial quit making it. Darn. I was able to find the last 8 bars at my local store so I happily got them.
Any soap that has at least one flat side will work. I just liked the size of these. And they fit perfectly into the little bags Dollar Tree sells in the wedding section. If you are a hoarder of the little soap bars from hotel stays, they might possubly be an option, too.
But then, I wondered if the rub on transfers would work. After a trial and error of trying to apply the transfer to just the soap and the transfer wouldn’t rub off, I decided it might work if I applied a layer of decoupage medium first. I used a water-based sealer (in this case the Wise Owl clear one hour enamel, but any water-based top coat would work). That did it! The rub on transfers worked perfectly then. I used a variety of rub ons I had. Some were just left over from other projects. I’m sure left over pieces of the high end rub ons would work also.
I sealed each bar with two coats of sealer and they fit perfectly in the little bags. I also noticed Dollar General sells the bags, too, but they are an off white. I like the white color of the Dollar Trees ones better. I plan on selling them for $4 each.
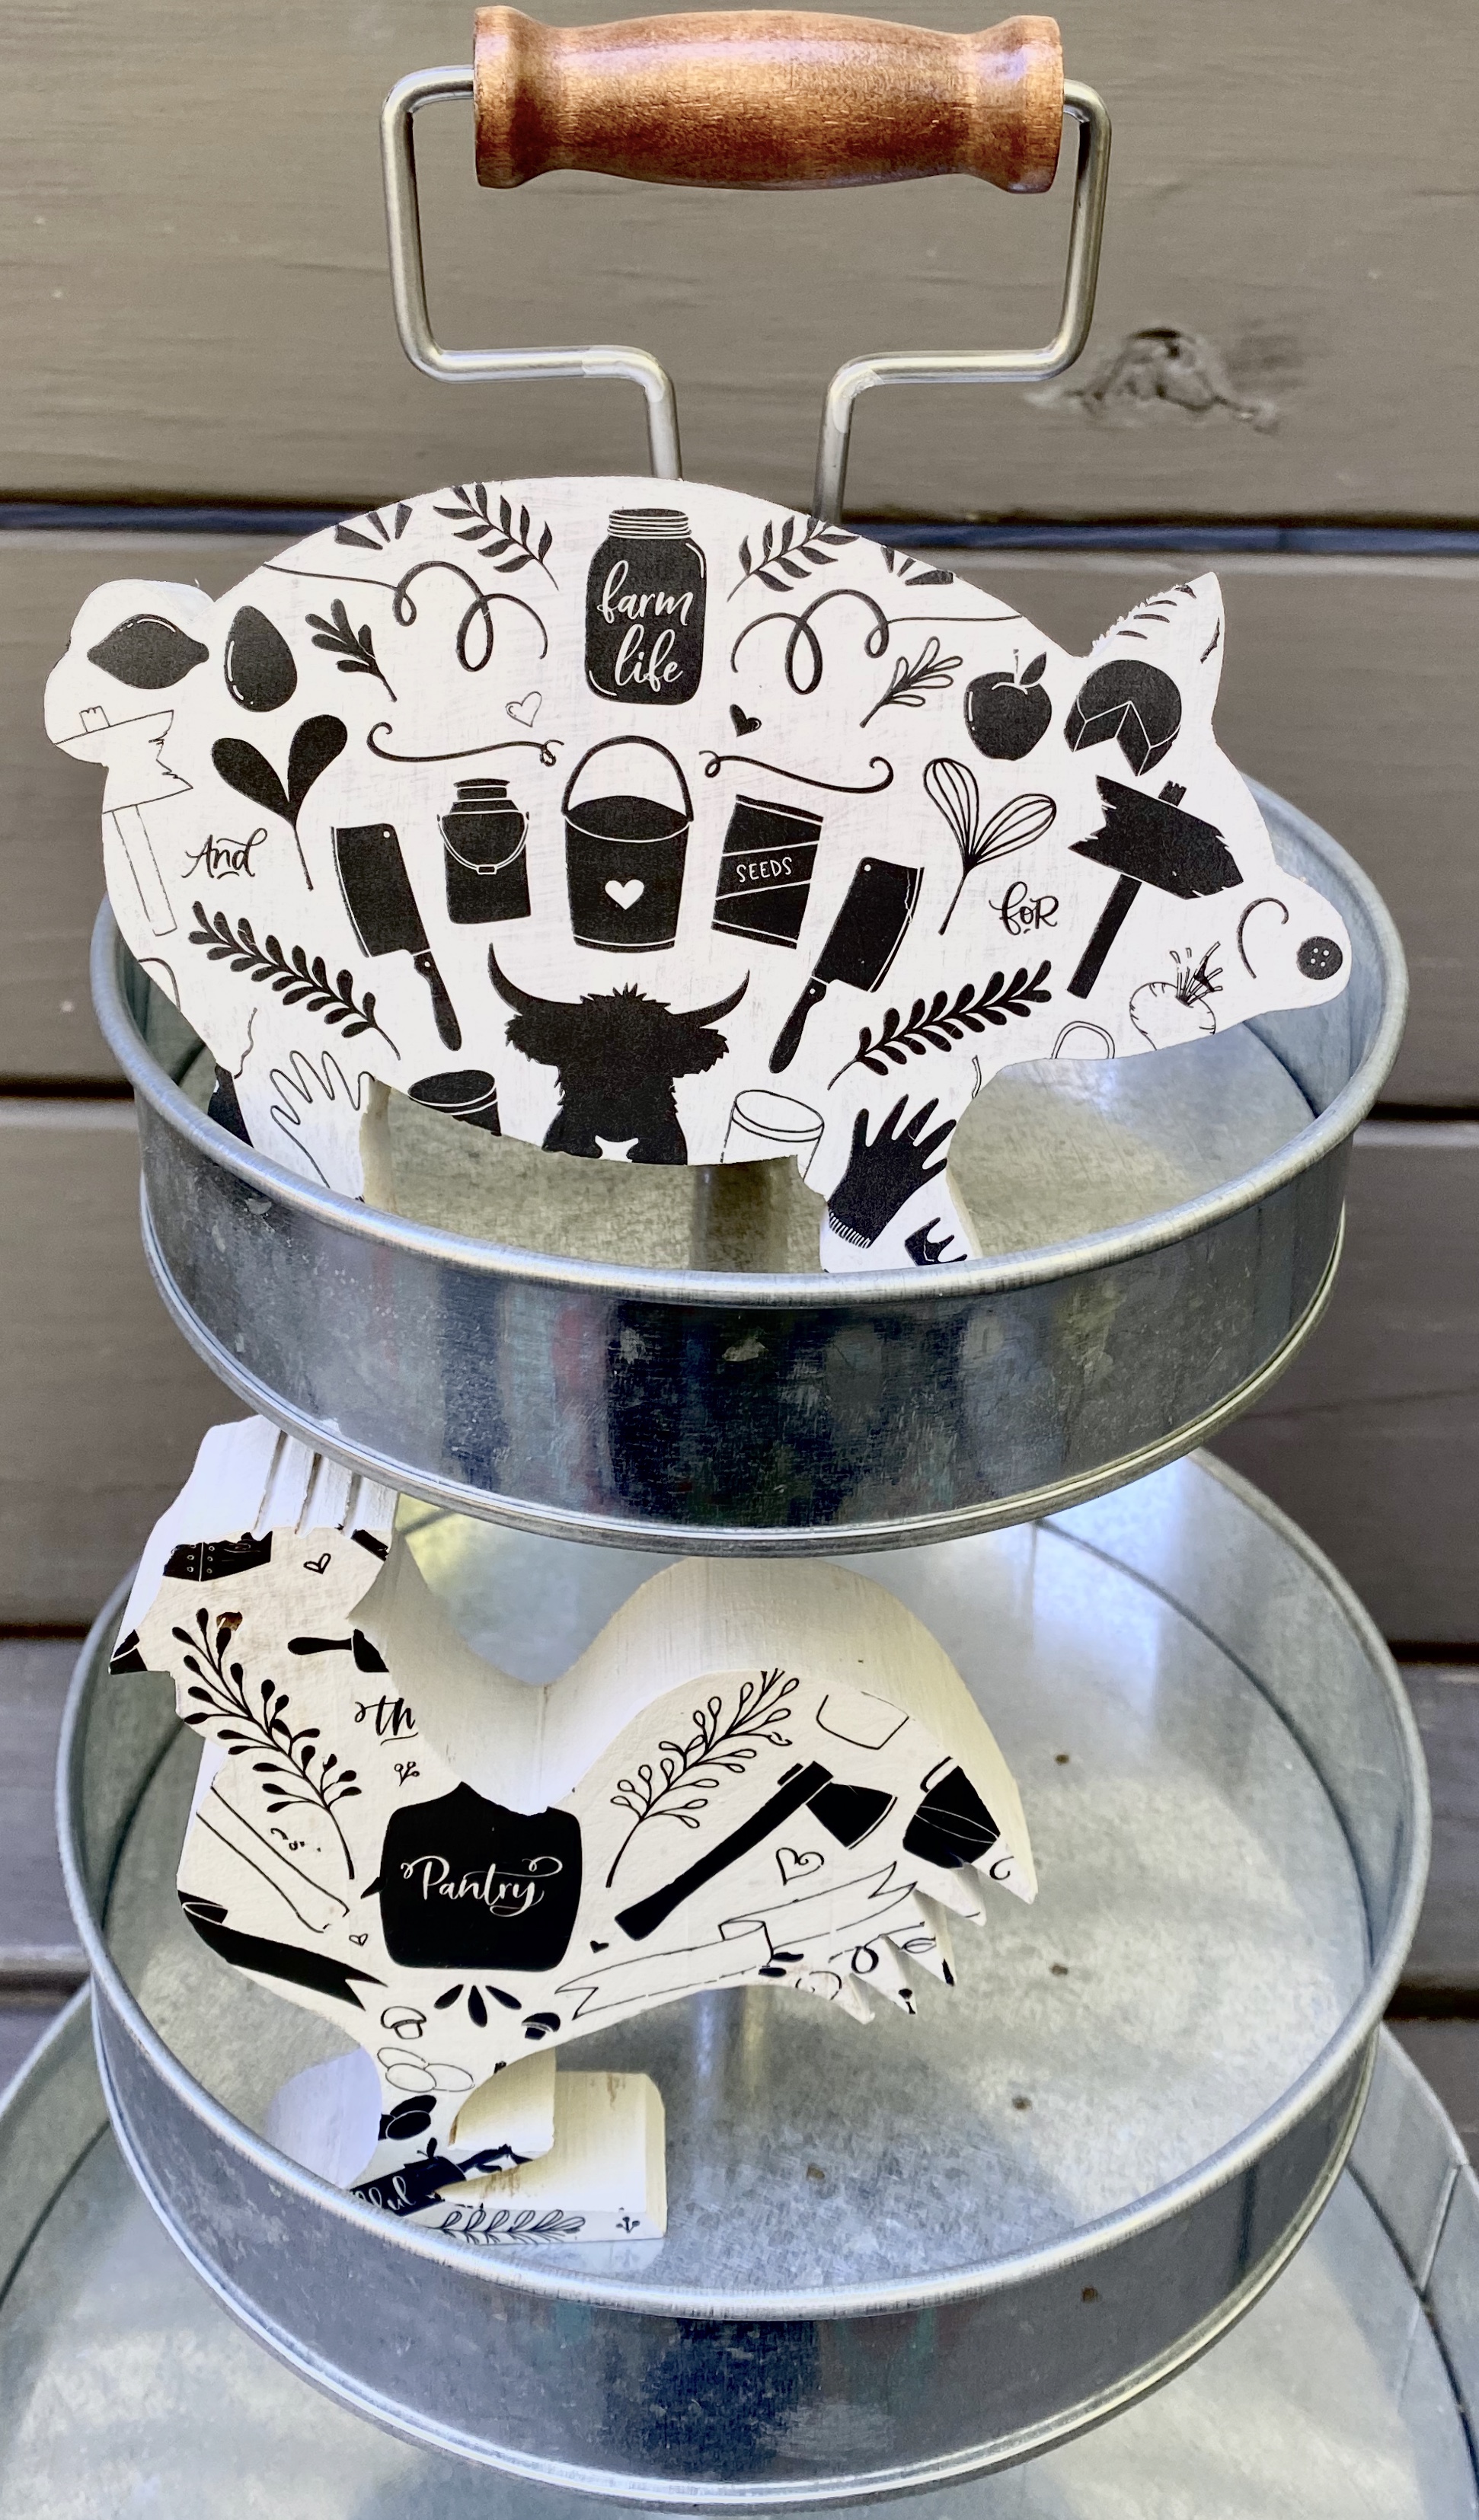
I had a bit of a brainstorm this morning. I was inspired by a YouTube video where someone decoupaged napkins on animal cut outs.
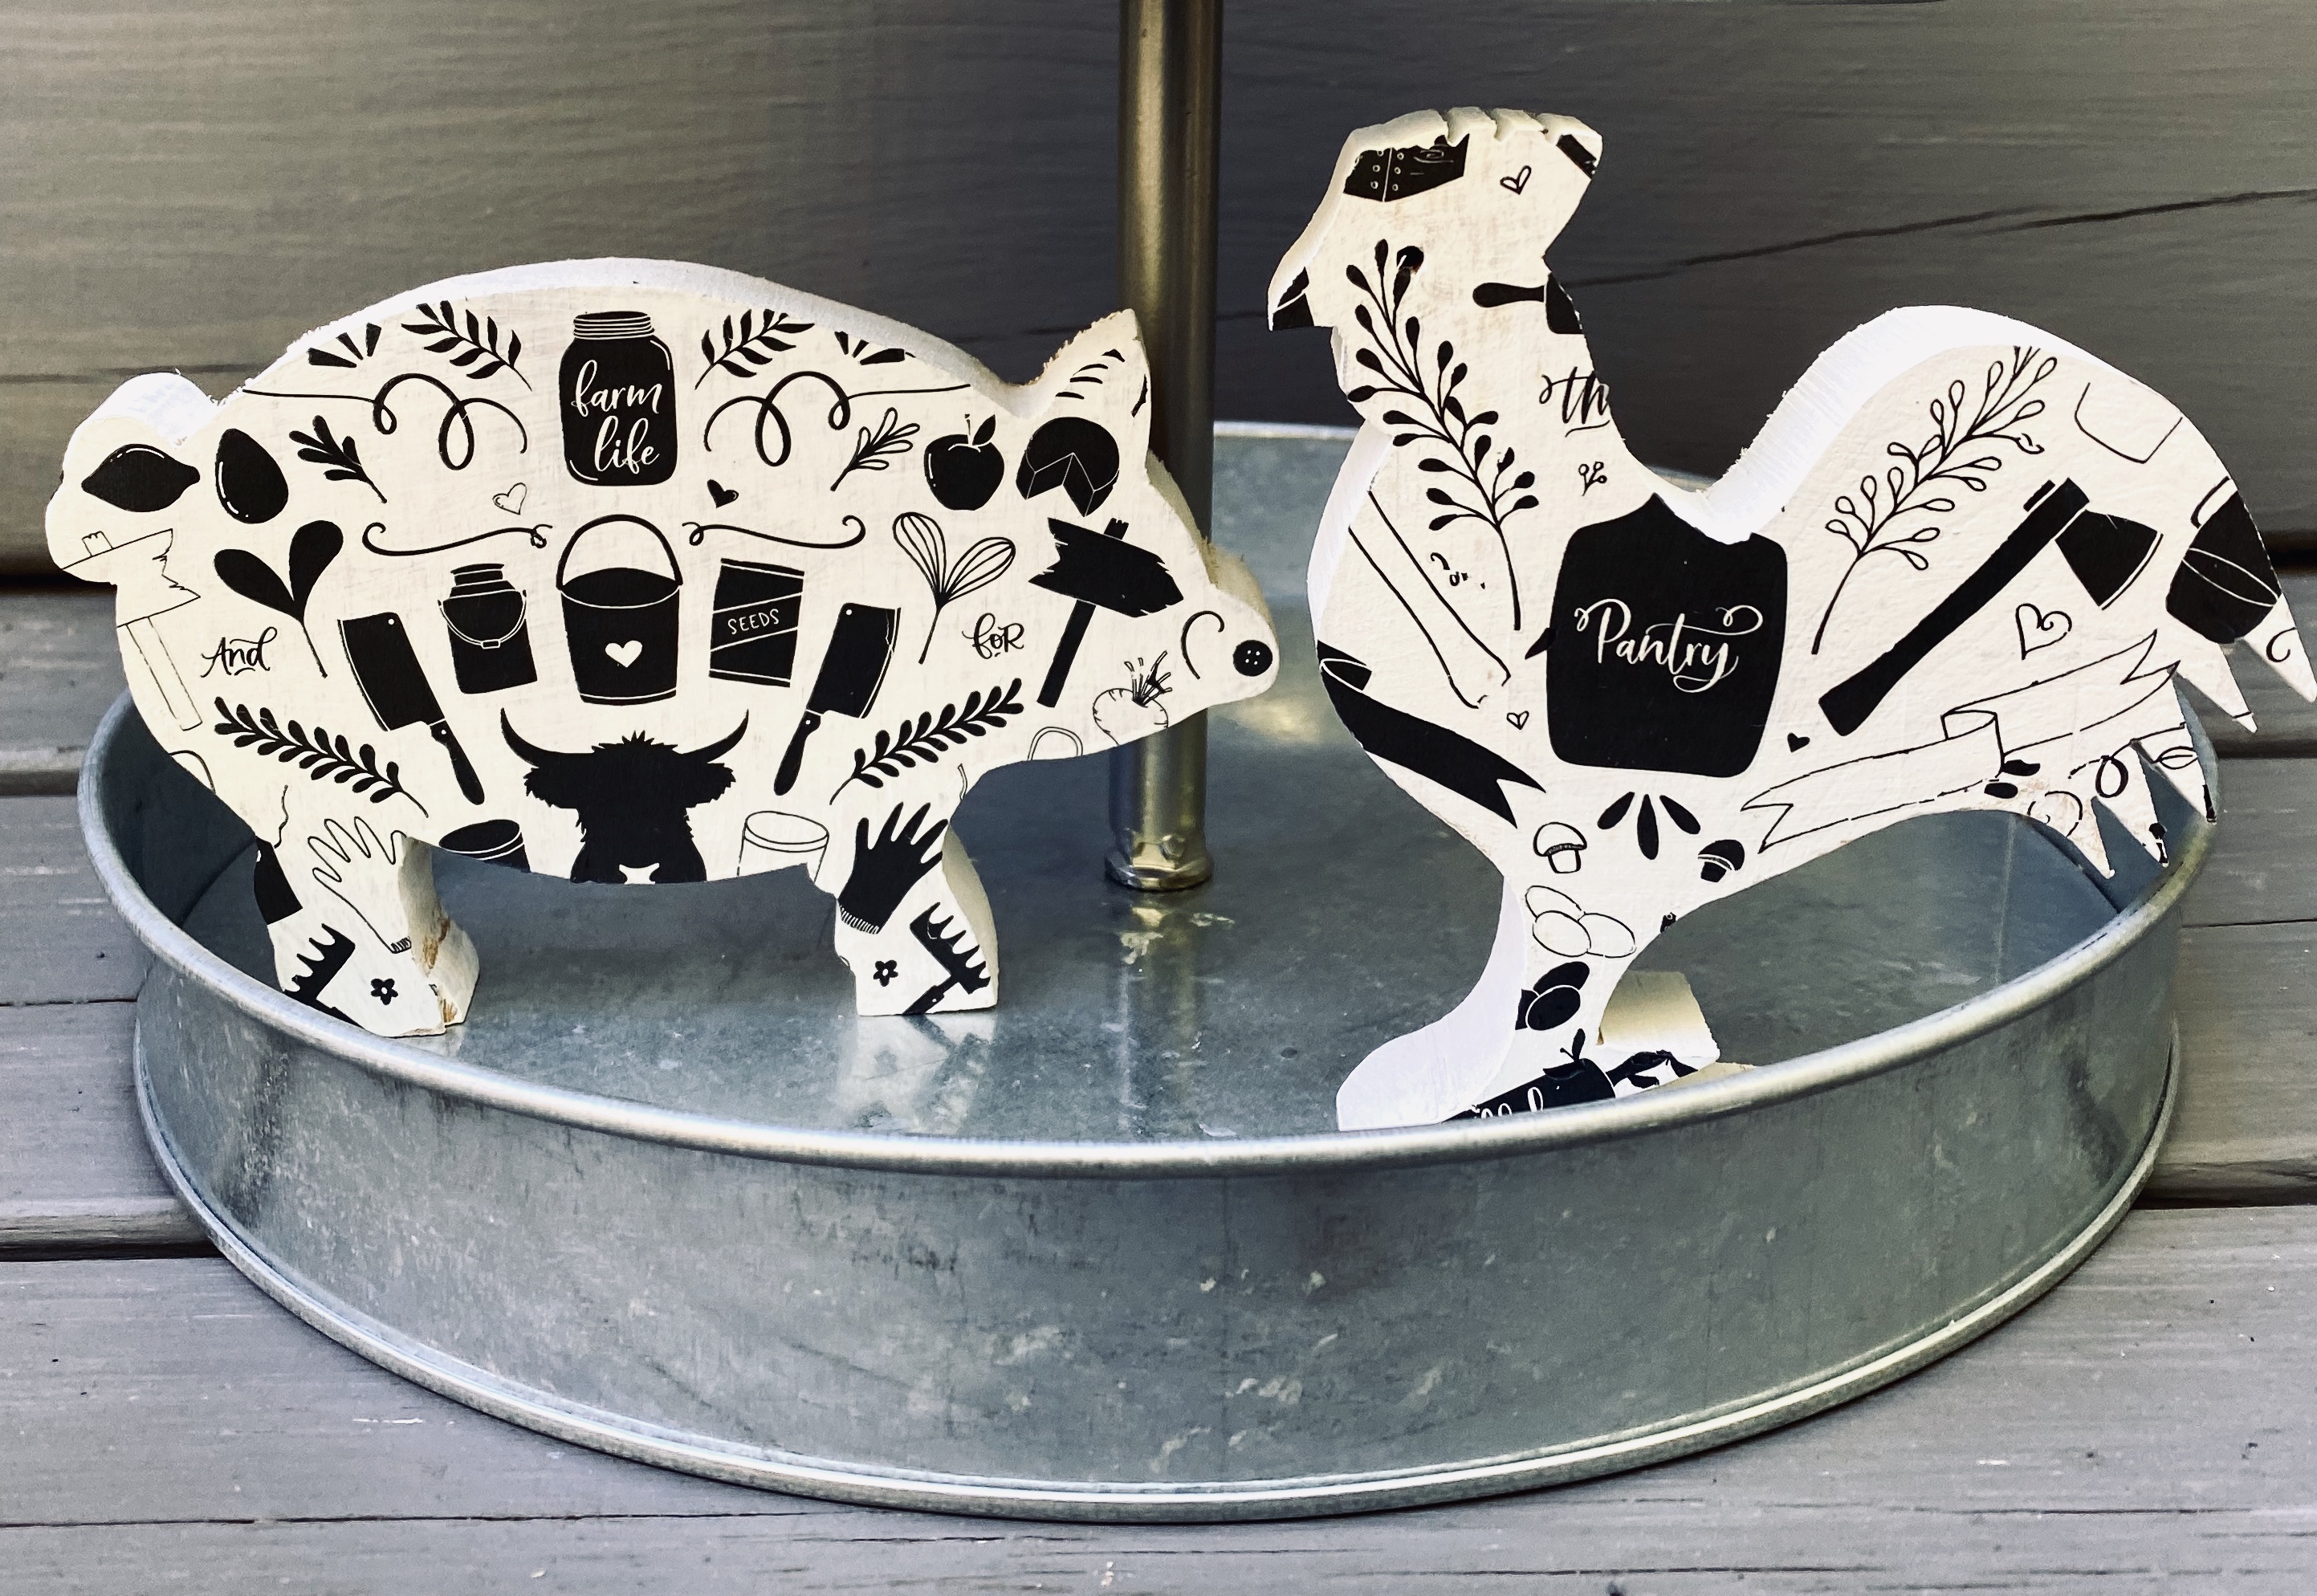
I had these cool pig and rooster wood cut outs. They stand alone. The rooster is 4 3/4“ tall x 4 1/2” w. The pig is 4” tall x 5 3/4” w.
I also had a sheet of Dollar Tree rub on transfers with farmhouse images.
So….. I gave them a coat of white paint so the transfers would stand out and then applied the transfers as they were on the sheet and filled in where needed. They are protected with Mod Podge matte spray. Sorry, forgot to get a pic of spraying them.
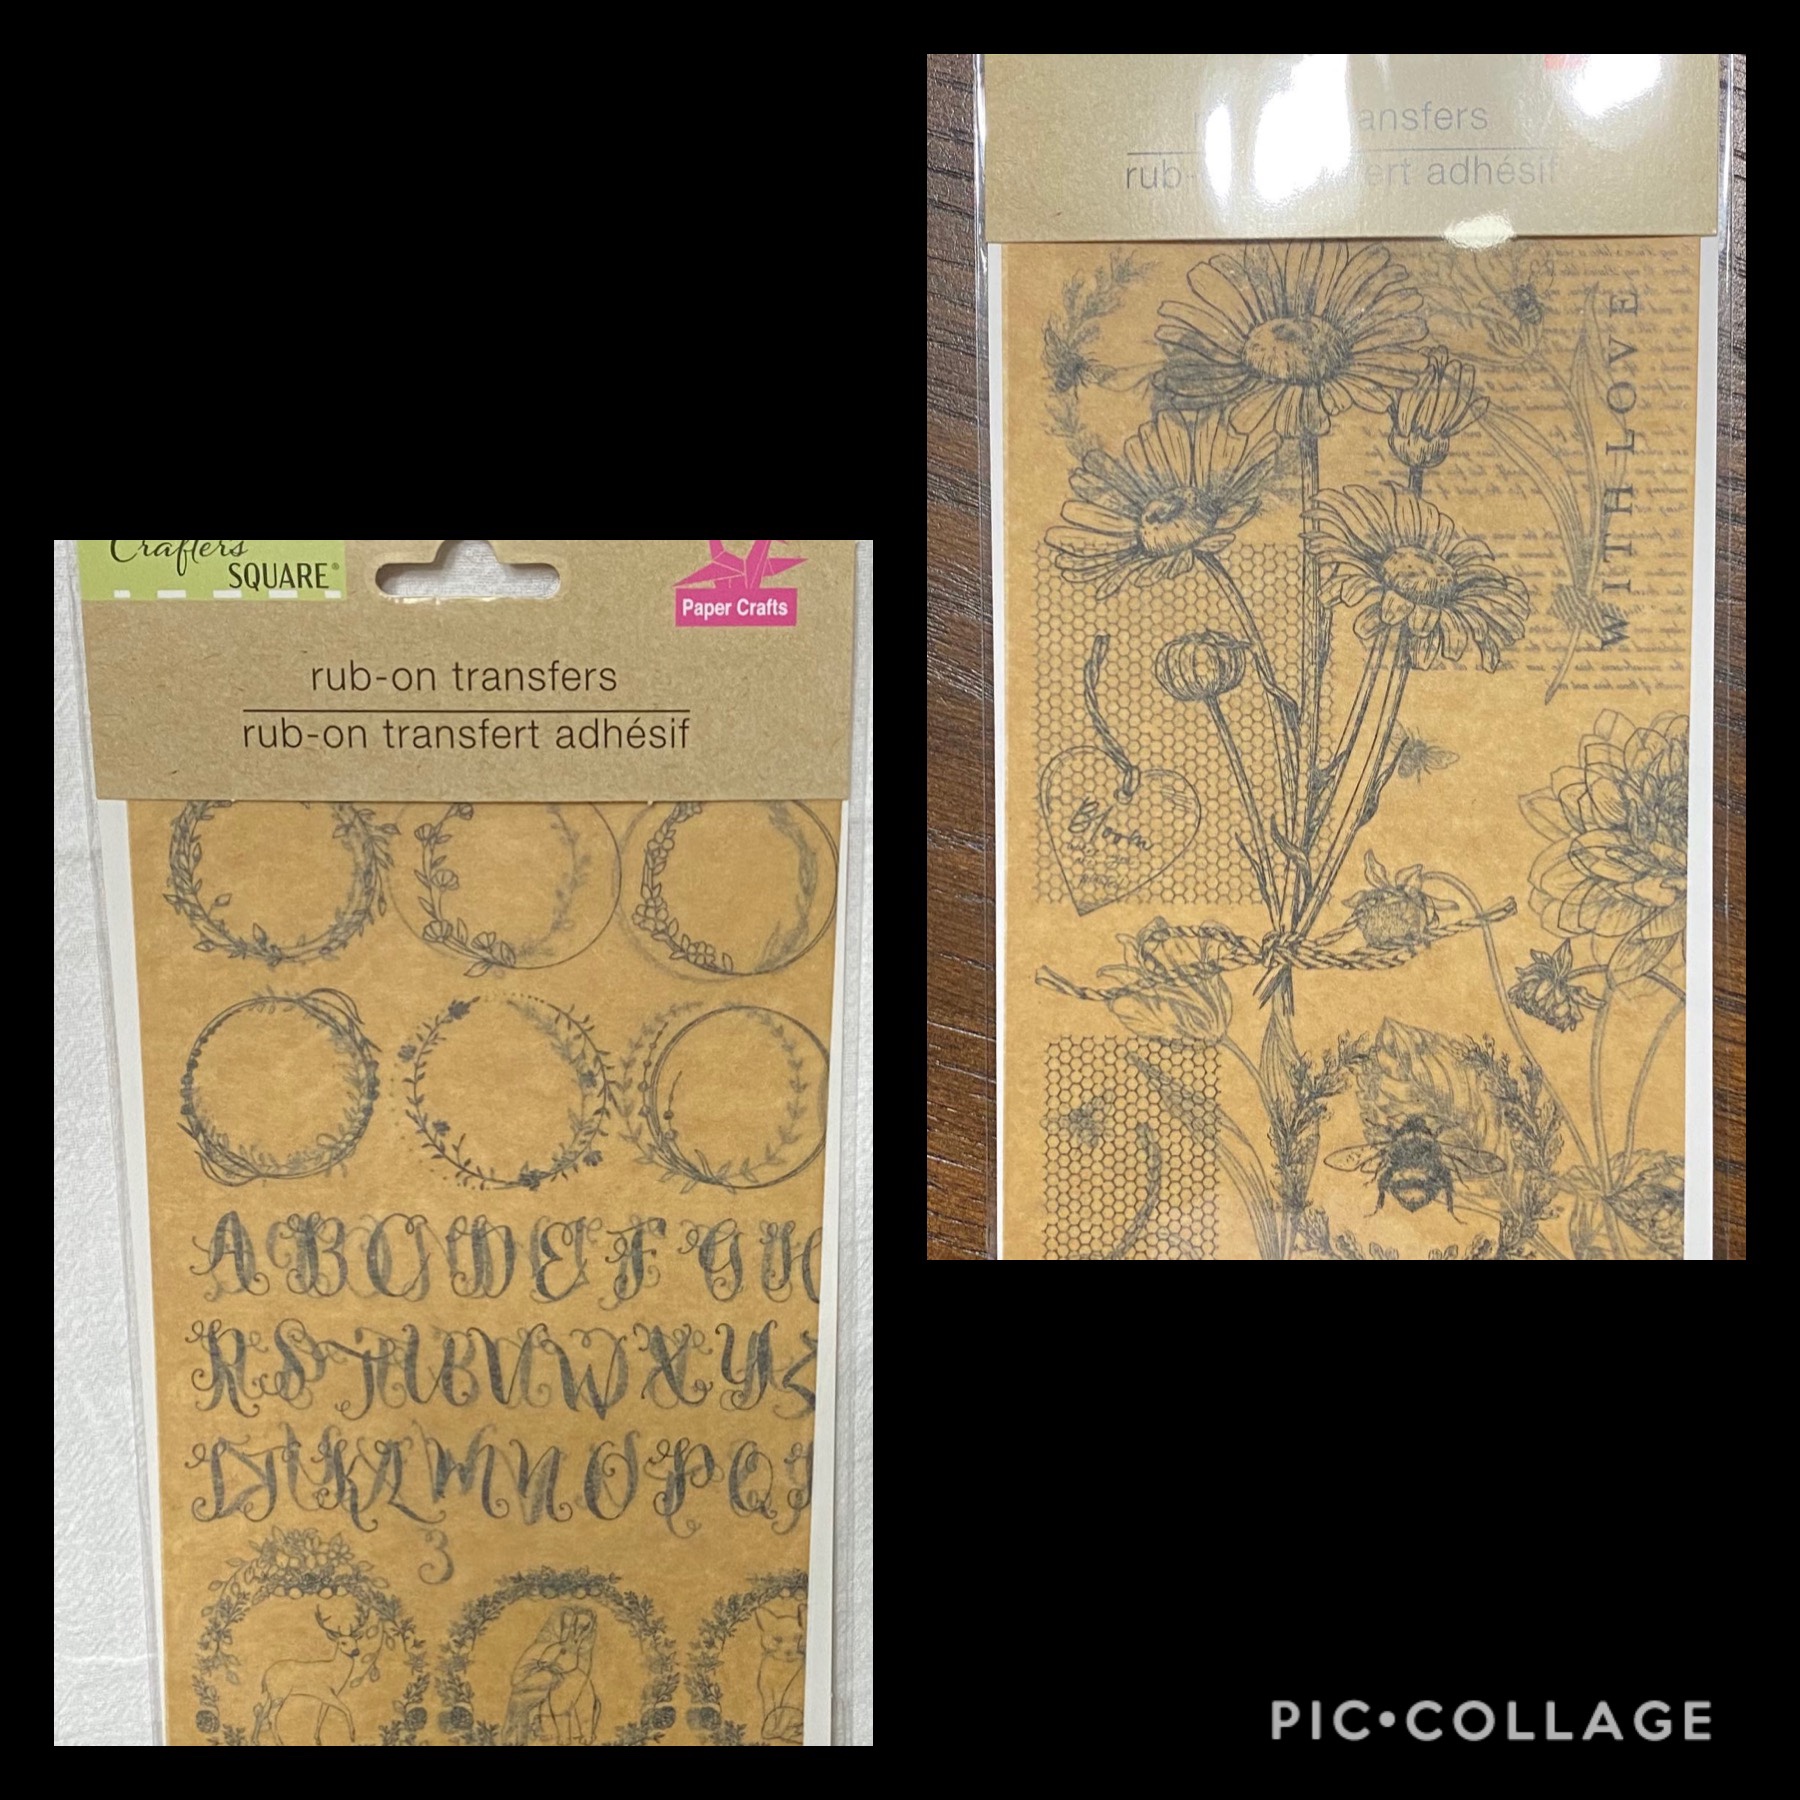
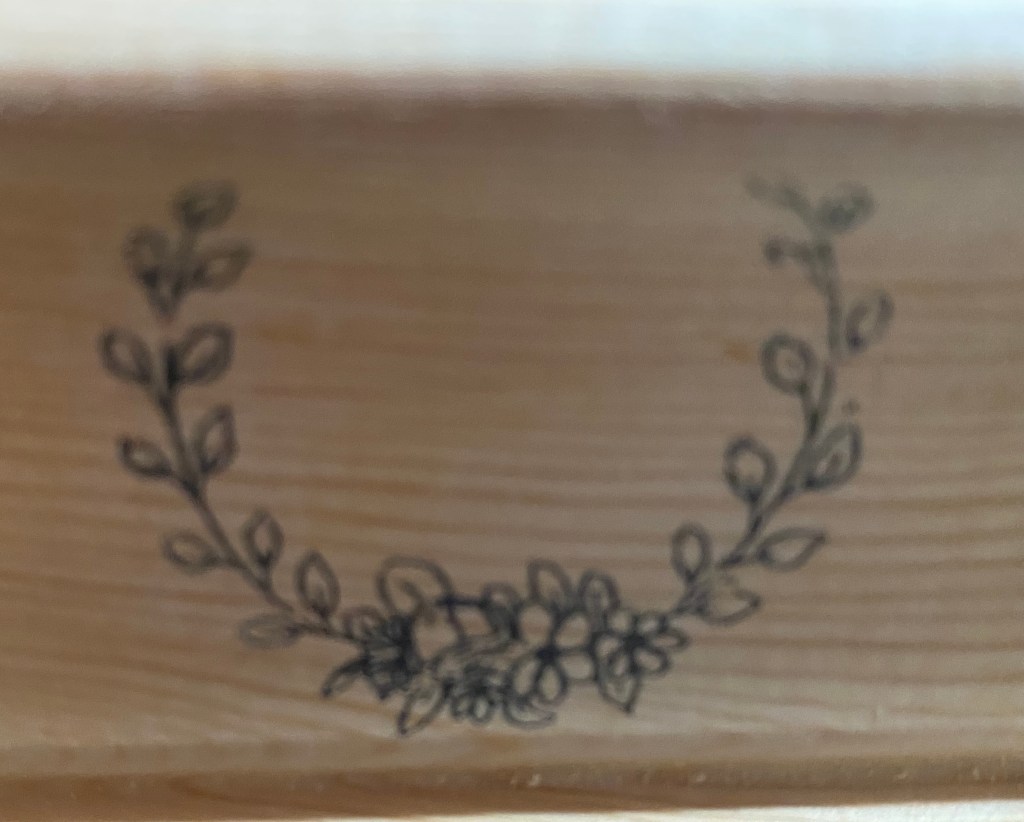
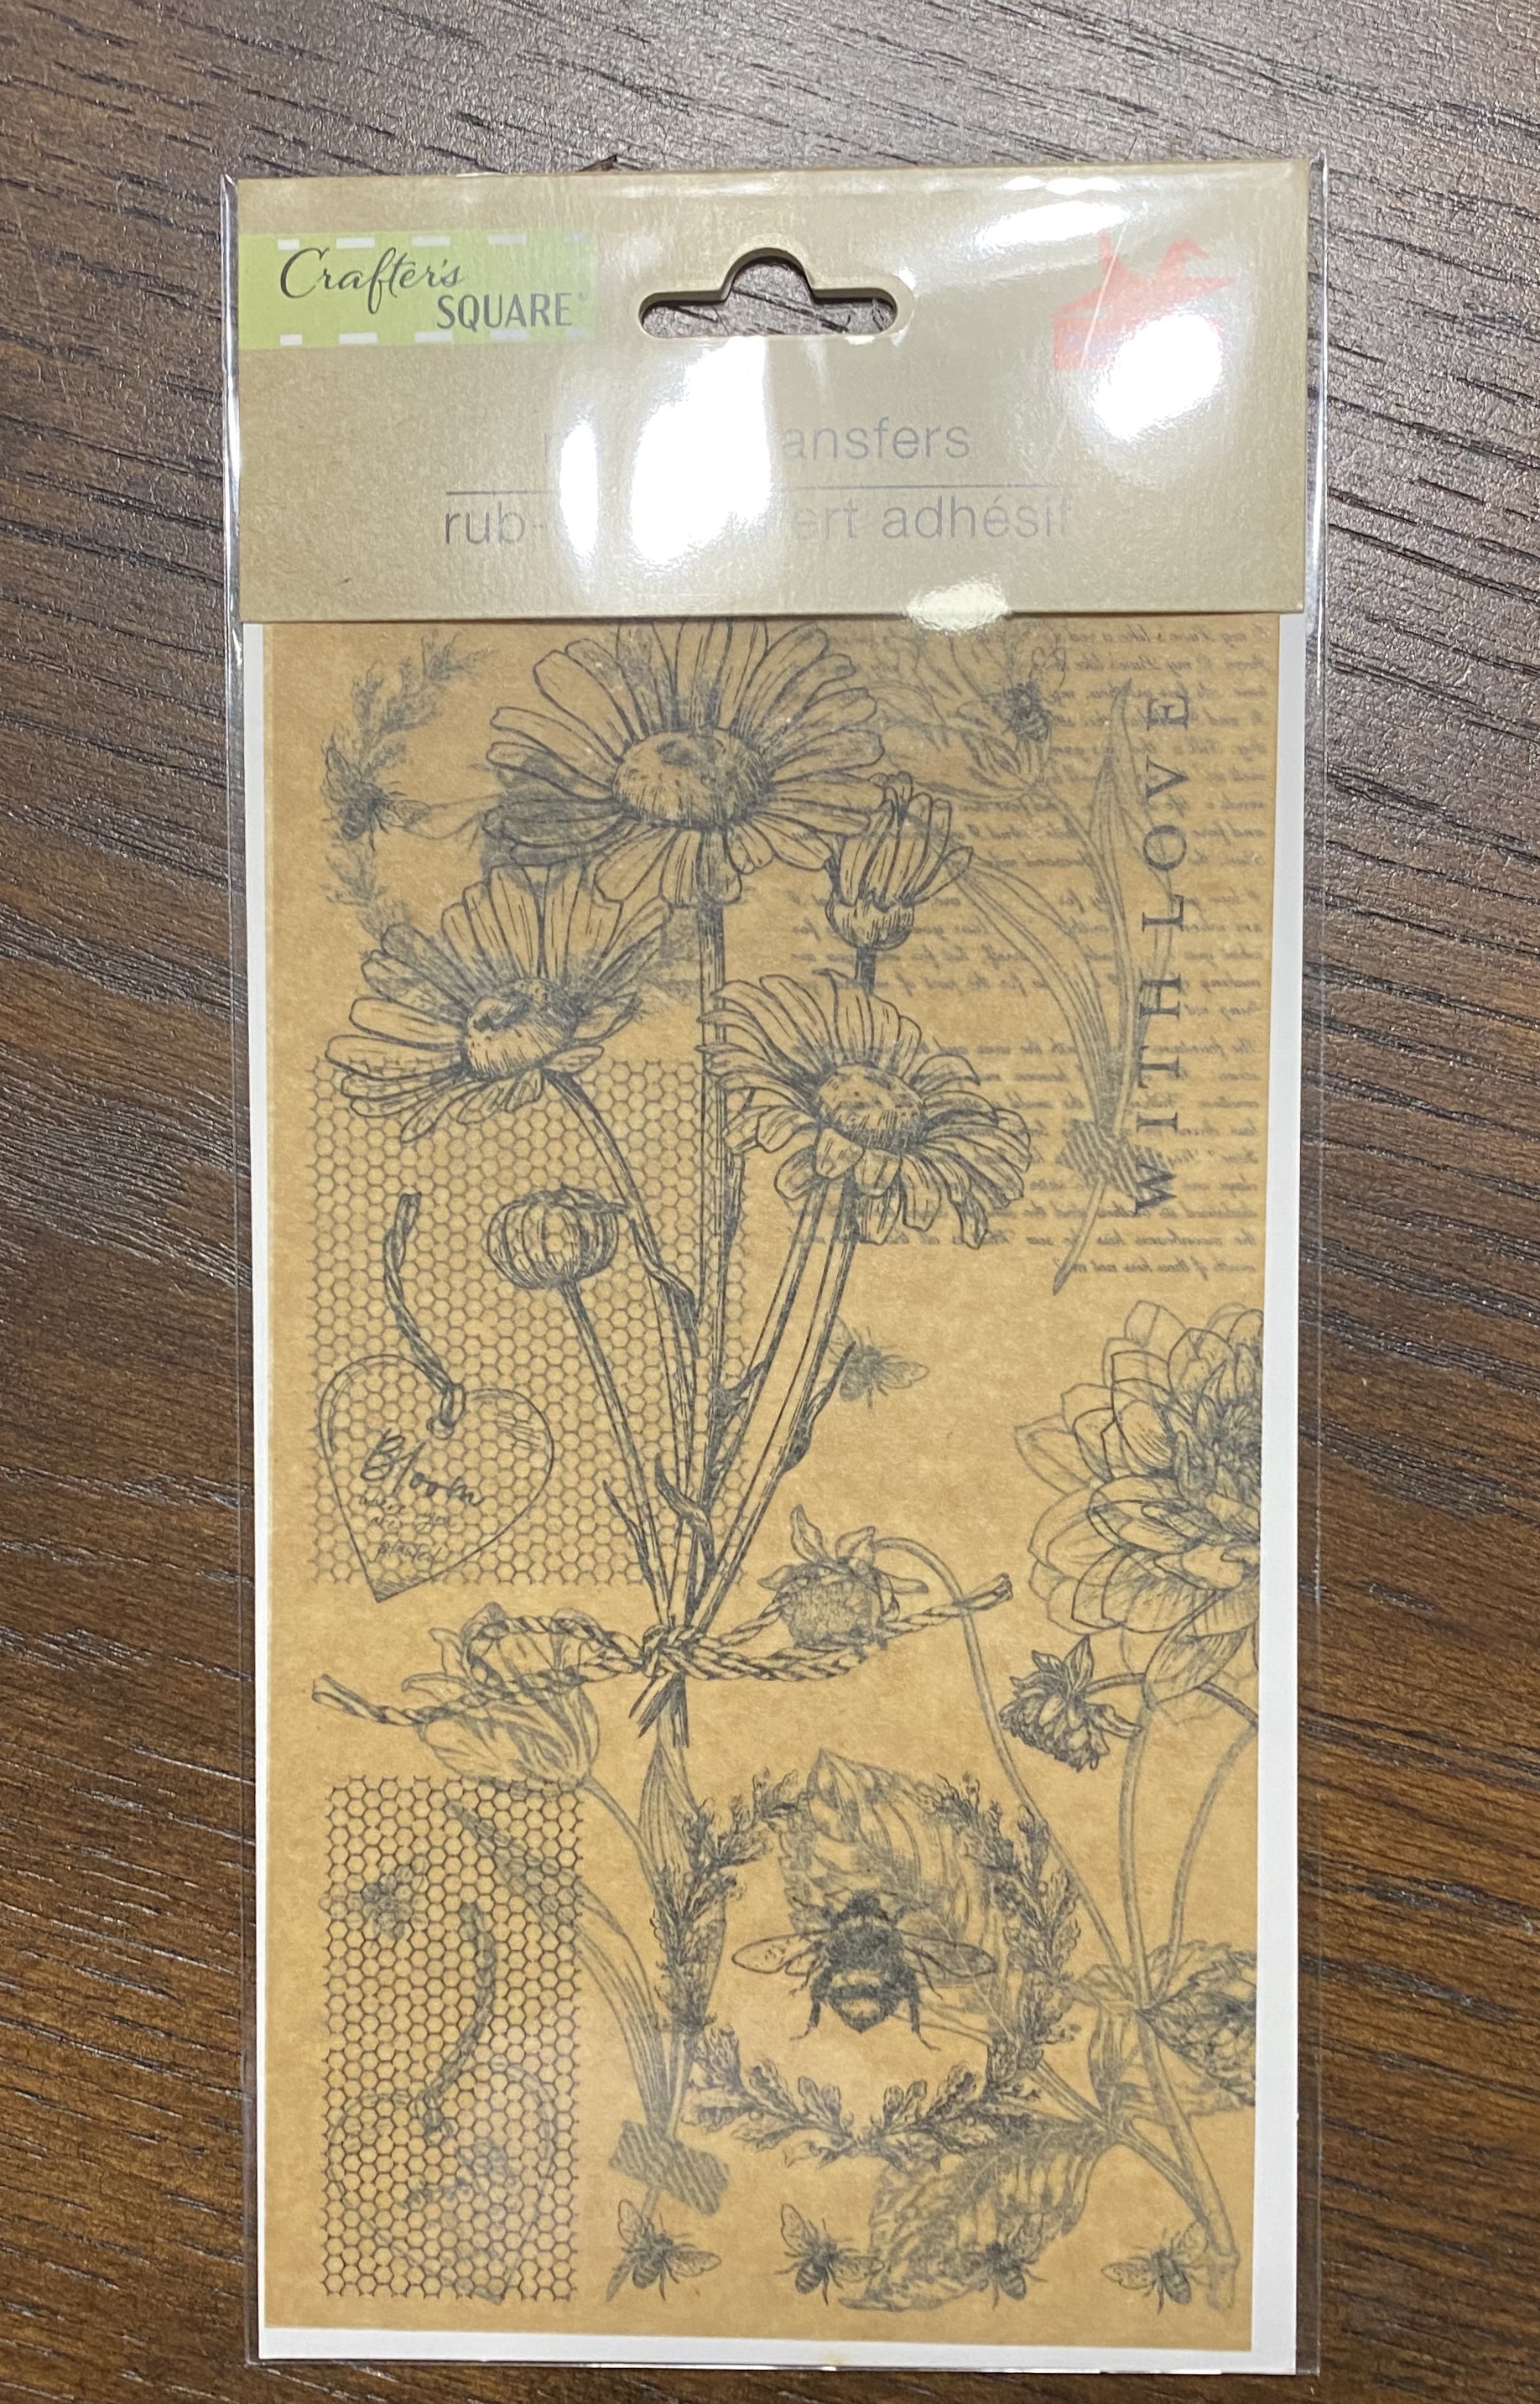
I sure wish these Dollar Tree parchment paper rub on transfers were more widely available. They have several designs. I liked the two shown below. I am having so much fun trying them on a variety of surfaces. I have found out once thoroughly dry, you can seal them with Mod Podge. I did try wax and it removed the ink. It could have been that the ink was still wet, but I didn’t want to try it again. For little things I like the Mod Podge matte spray.
They basically work like the other rub on transfers. Sometimes you need to rub hard and lift up and rub again to get every little last bit off. Sometimes, I taped them down, other times I just held them down.
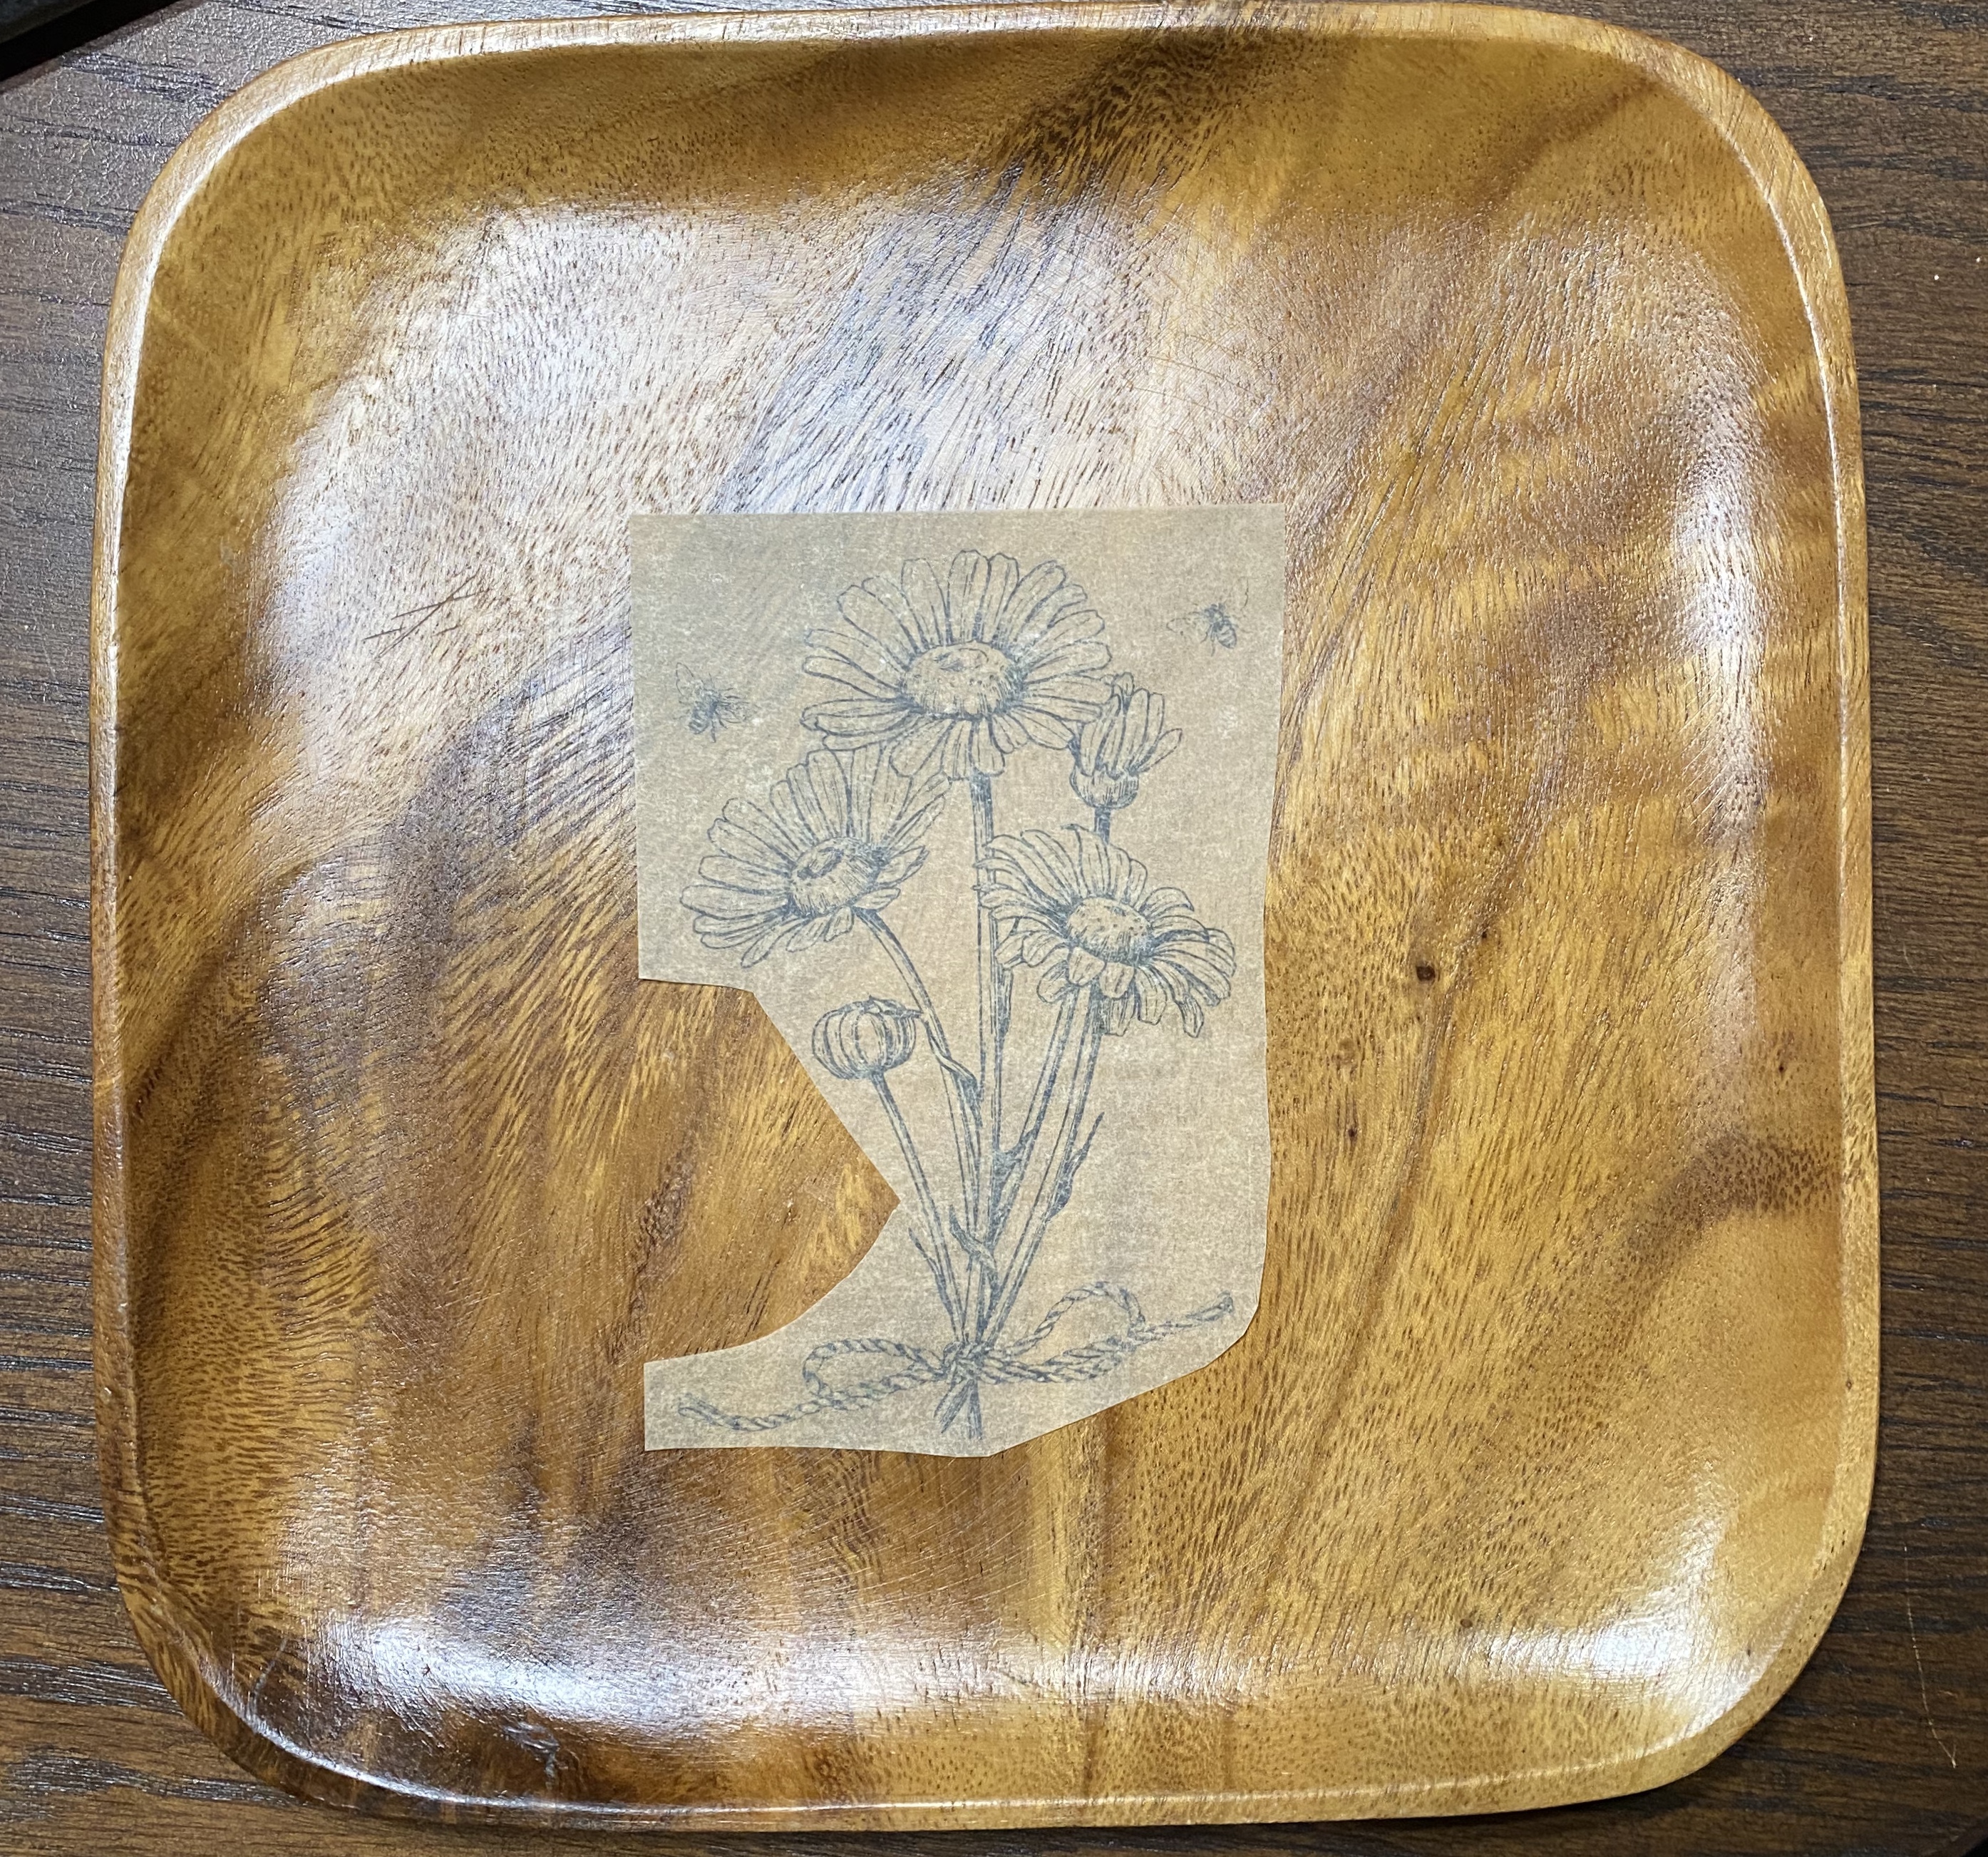
Yesterday, I found a new kind of rub on transfer at Dollar Tree. It is on parchment paper. You rub off just like the other type. I do think, though, after using it, it is more like transferring ink.
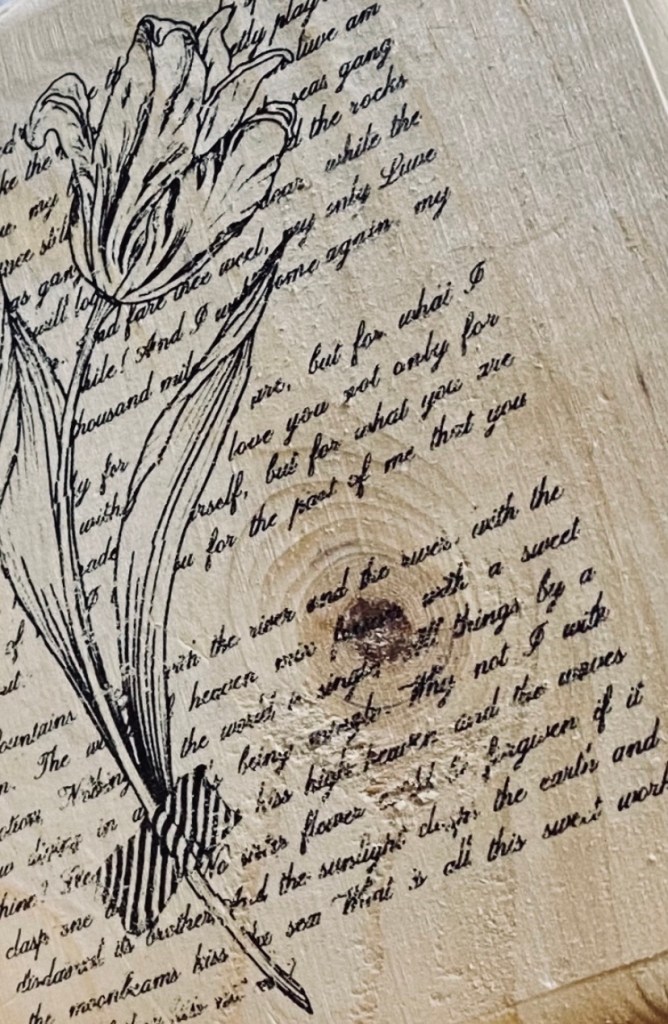
I used the sunflower bouquet and transferred it to this Monkeypod plate I thrifted. It is beautiful and so easy to use.
Note: 😳 Do not try to apply wax to seal it. The wax removed the transfer!! I had transferred a whole sheet. 😳 I removed the whole thing, cleaned it well, then just did the bouquet. Maybe it needed to dry or something first, but now I’m afraid to use wax. I think I will just leave it as for about 24 hours and test a little bit on the underside and spray with lacquer.
I’ve been seeing a lot of the “boho” (bohemian) style lately! As I looked into it more, I have come to the conclusion that I really like the contemporary boho style, also known as modern boho or boho chic. I love the eclectic feel of using many different styles together. Although my Beatles themed guest room has that vintage bohemian look that I love.
I think I have been leaning toward the contemporary (modern, chic) bohemian style for awhile now with my love of natural colors, wood, elements of nature, and color. I just didn’t know it had a name.
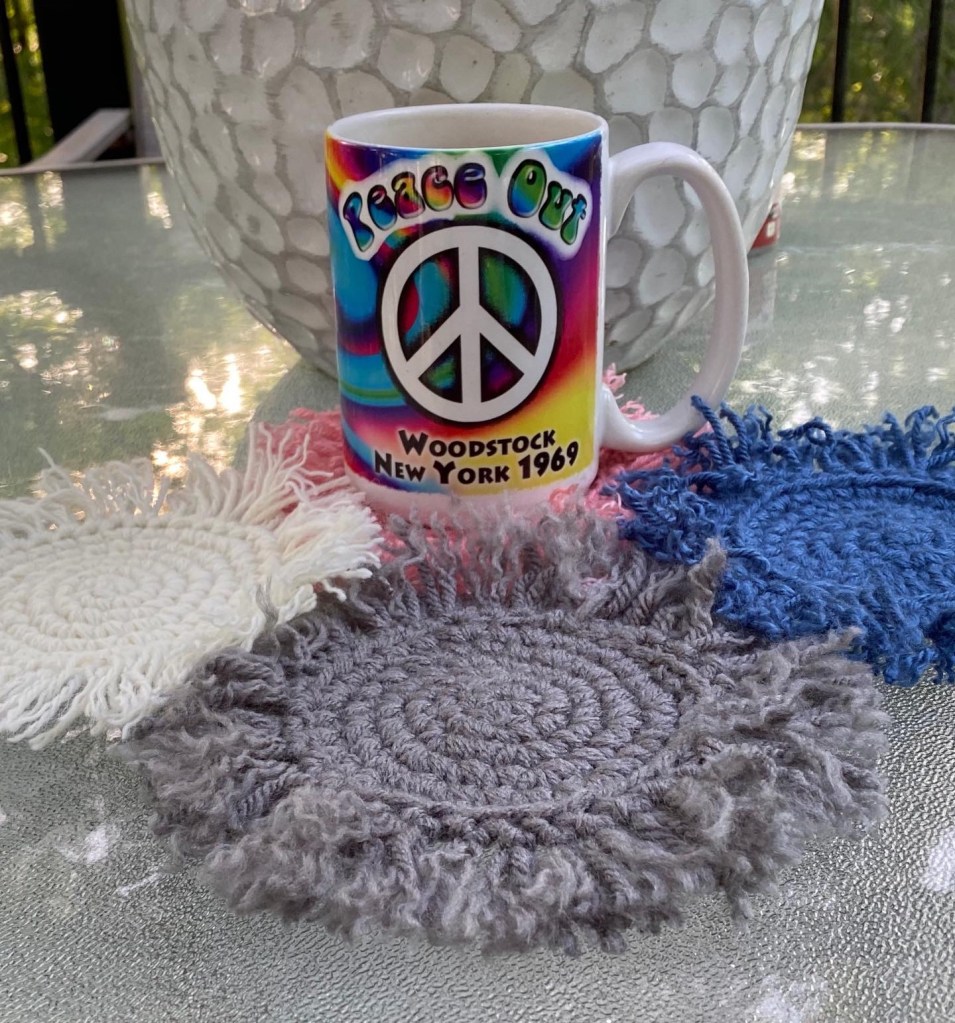
As a result of my research, I’m beginning to create some modern boho style projects in the coming days. I love that macrame and crochet is trending so I’m definitely going to making some coasters for sure.
This lady also explains boho really well. I think it is becoming very popular.
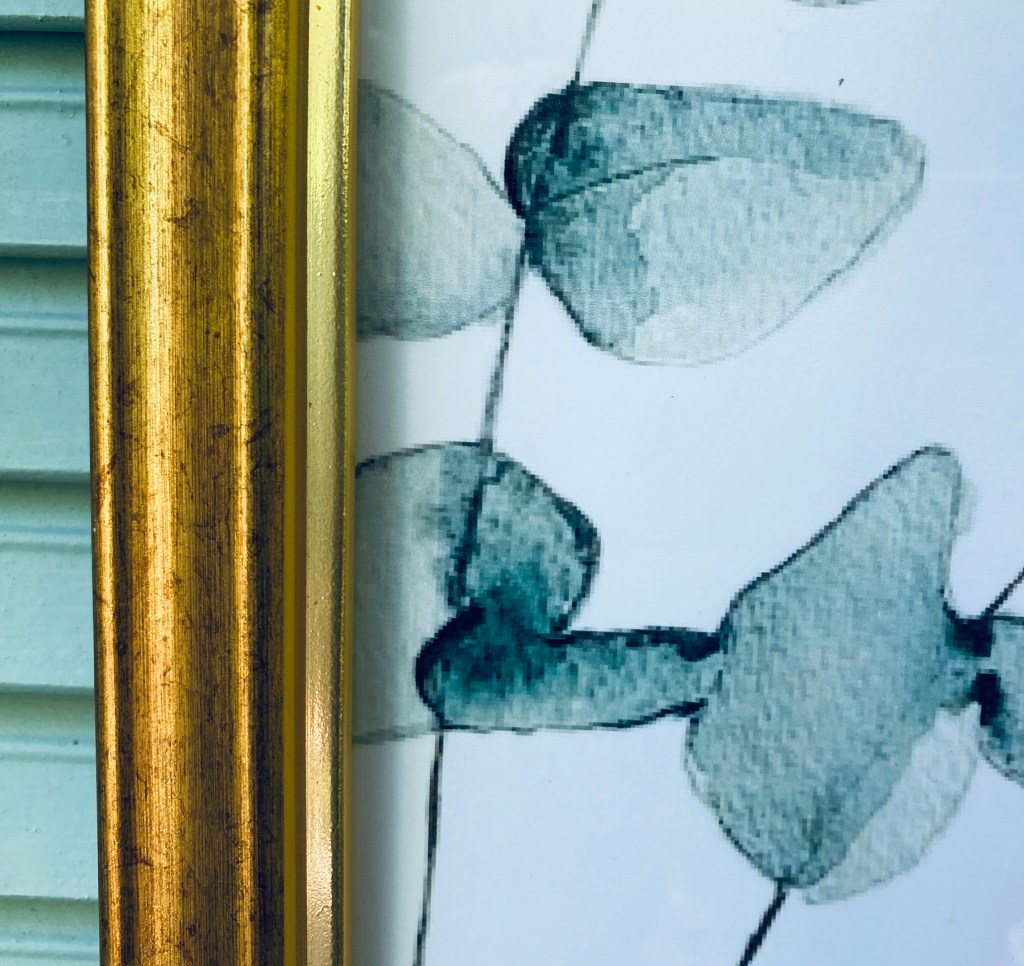
She gives away a free 8×10 print so I printed it out this morning and put it in a gold frame. Simple to do.
I printed her 8×10 botanical watercolor image and put it in a gold metallic frame. A simple project that will look great with any style, but especially with the modern boho (bohemian) Look I’m going for.
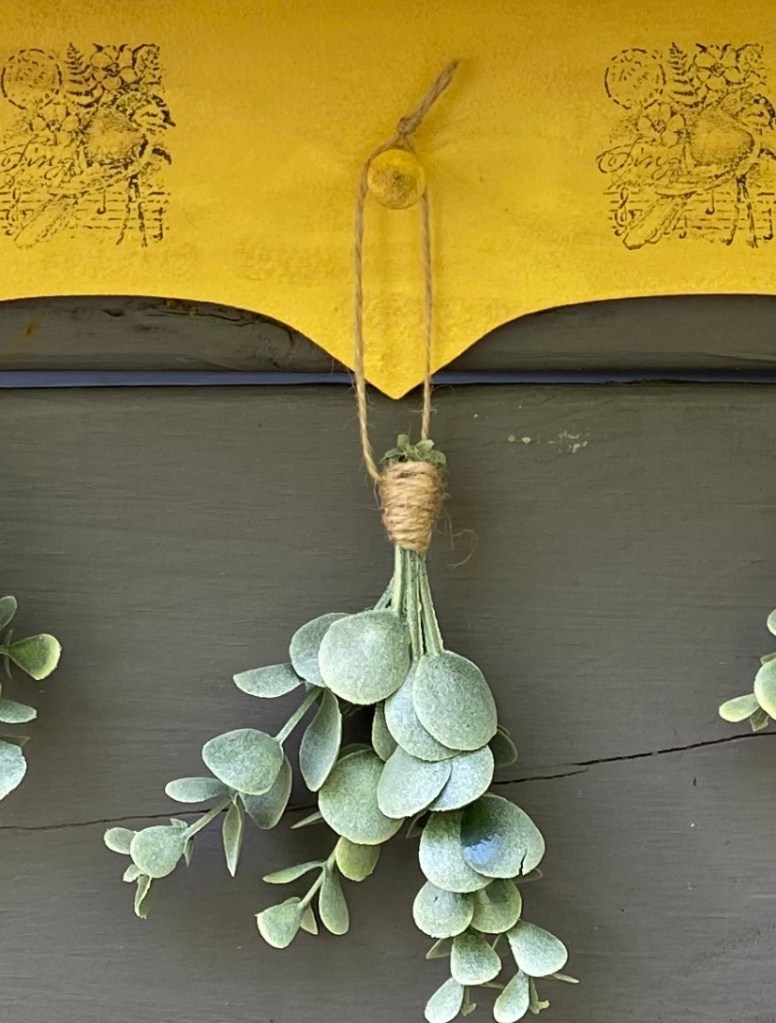
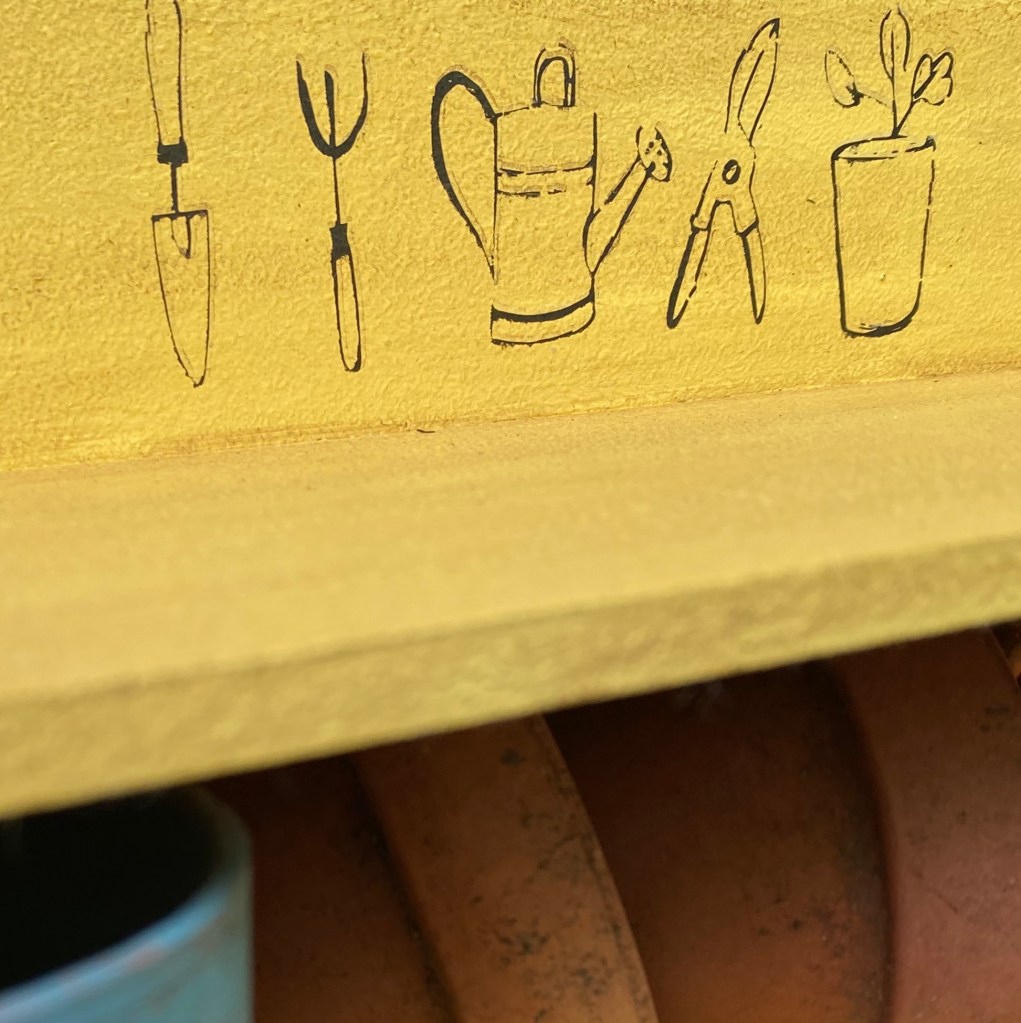
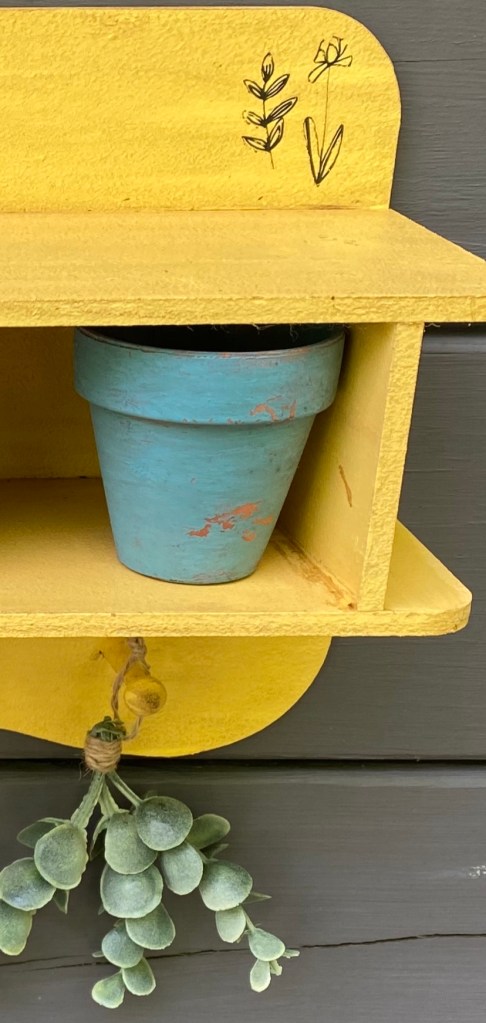
A garden shelf display that shouts “SUMMER”! This could easily fit in boho decor or any style.
Dimensions: 15” wide x 15” high (with greenery) x 5” deep
Transfers and bird stamps were applied to this cute yellow shelf. Stain was applied for a distressed vintage look. Small, well worn clay pots fit inside the 12” wide 3” high and 4” deep inside shelf. Faux greenery hangs from the pegs.
I had started painting these 3 storage cases with metal trim some time ago but was not sure how I wanted to finish them. When I realized they would make the perfect Boho display, I knew what to do.
I painted them lightly with black and distressed them. The top I opened and filled with greenery, a beautiful green silk sunflower and a cloche I made earlier from a light fixture. I added some boho looking transfers and put a coral rose inside. I also added a crocheted coaster for color.
As I was crocheting boho coasters, I thought making a bigger one would look pretty cool as a wall hanging. So, that’s what I did.
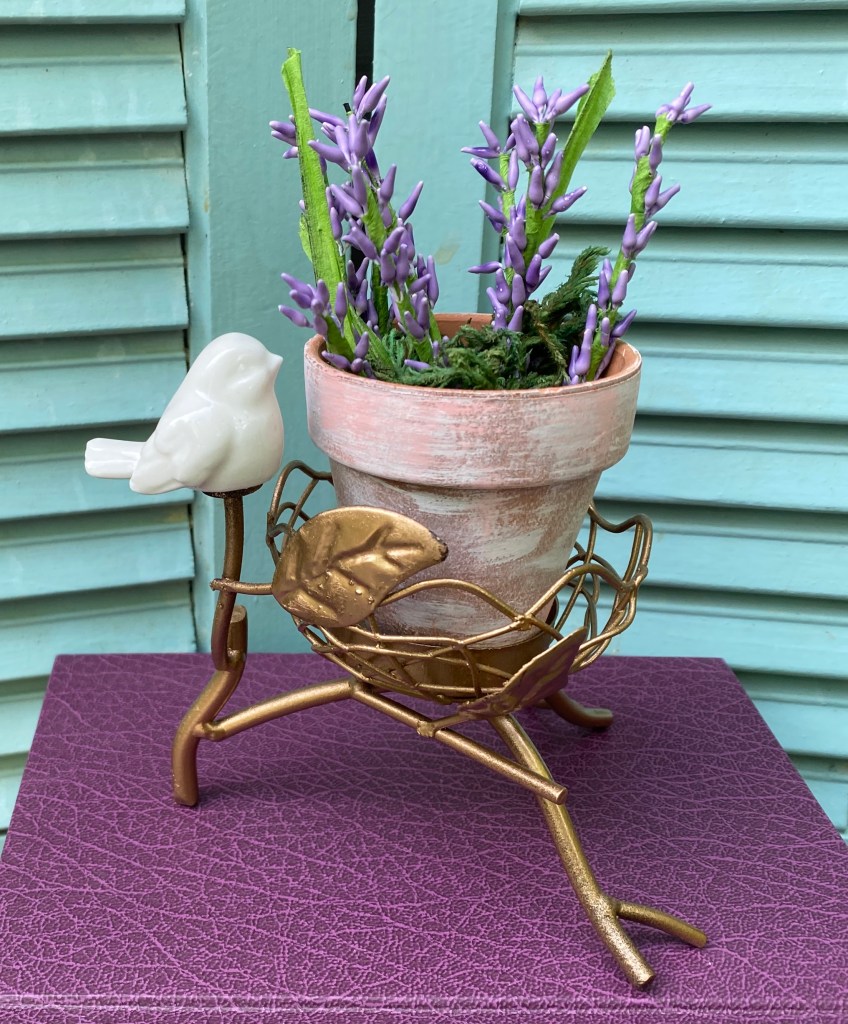
I had also thrifted a little votive holder with a tiny ceramic bird. Keeping in mind the boho look likes metallics, I spray painted the base a metallic gold and added a little clay pot with faux lavender.
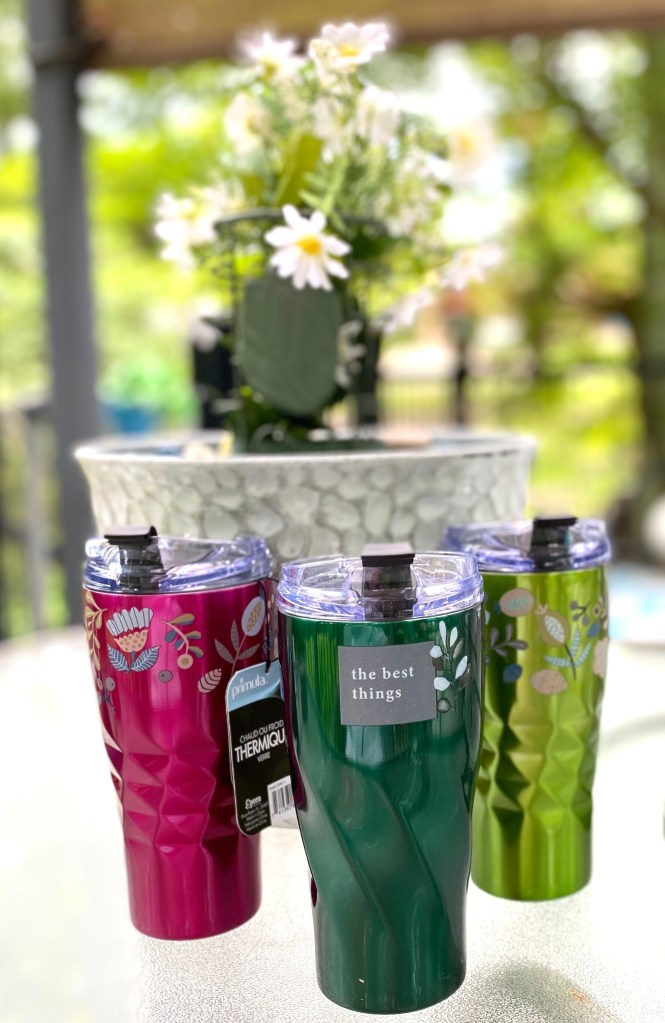
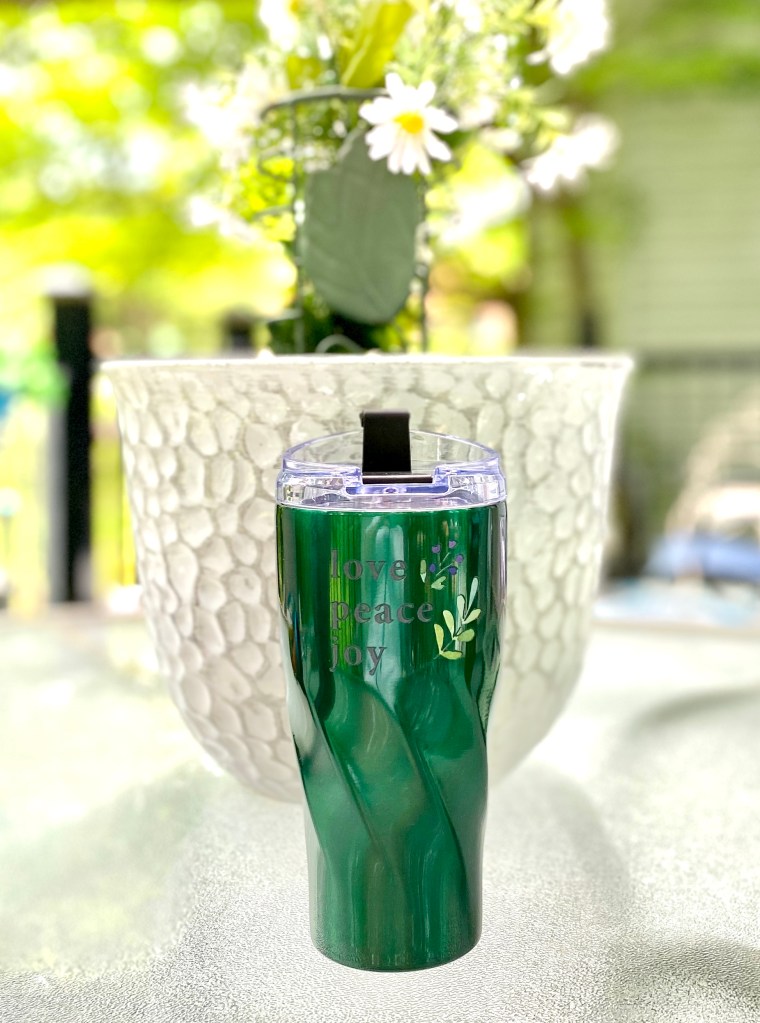
Yep, I’m obsessed with boho. I have 3 new Primula hot/cold tumblers. I had to boho them up a little with some transfers from Dollar Tree (sealed for protection). After all they are metallic and colorful!
That’s all for now. I’m sure I will have more coming up.
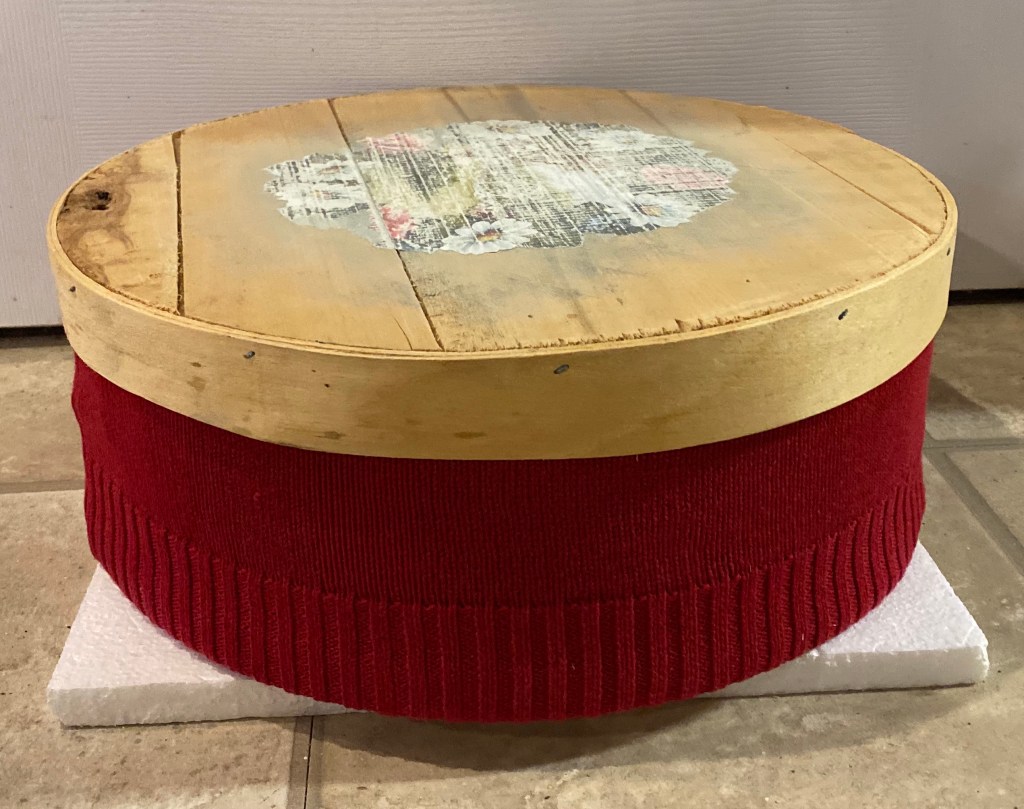
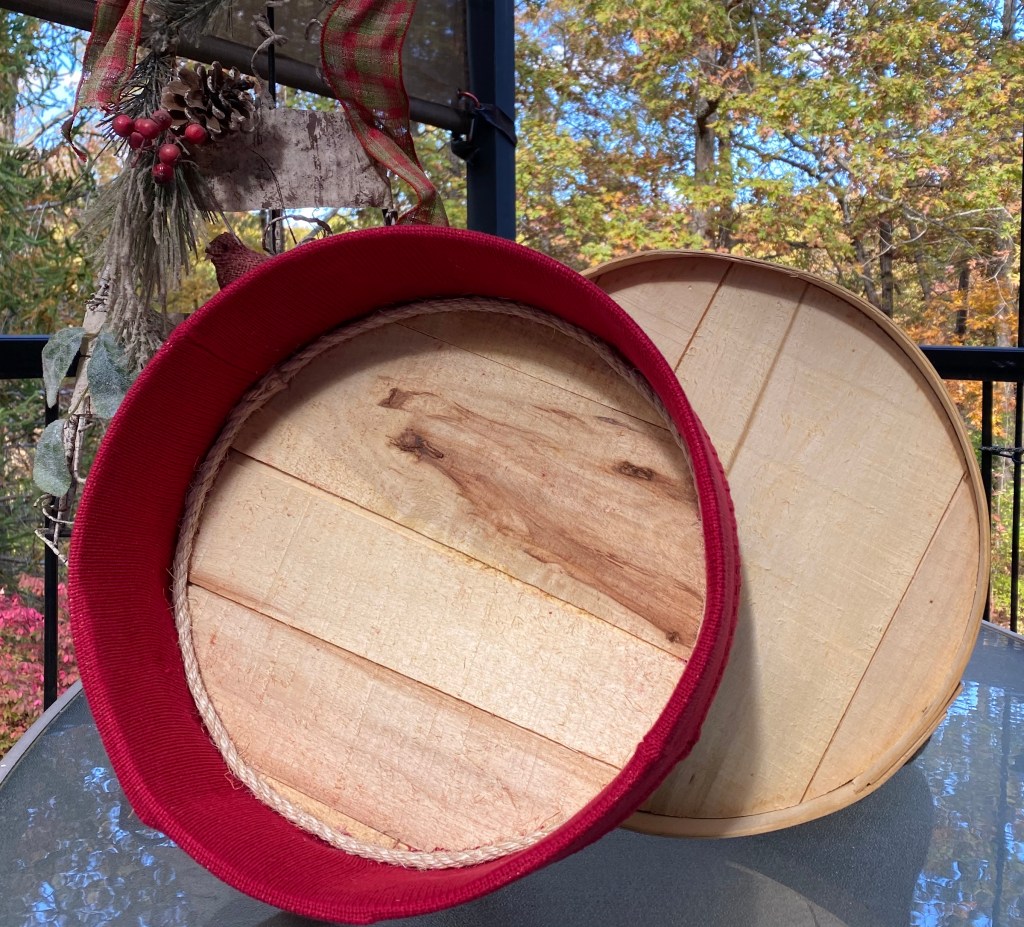
I found this cheese box (15” round x 5 1/2” tall) when thrifting this summer while on vacation. I knew the glued on flowers had to go, but hadn’t decided how I was going to upcycle it….until today.
It’s getting cold out and that cheese box needed a sweater. I just happened to have a new red sweater that came in an Ugly Sweater kit I thrifted last year.
The first thing I did was sand off those flowers as much as I could and then I cut the sweater in half about 4” below the armpits. Then I covered the outside of the box and down the inside. The lid still fits fine around the sweater.
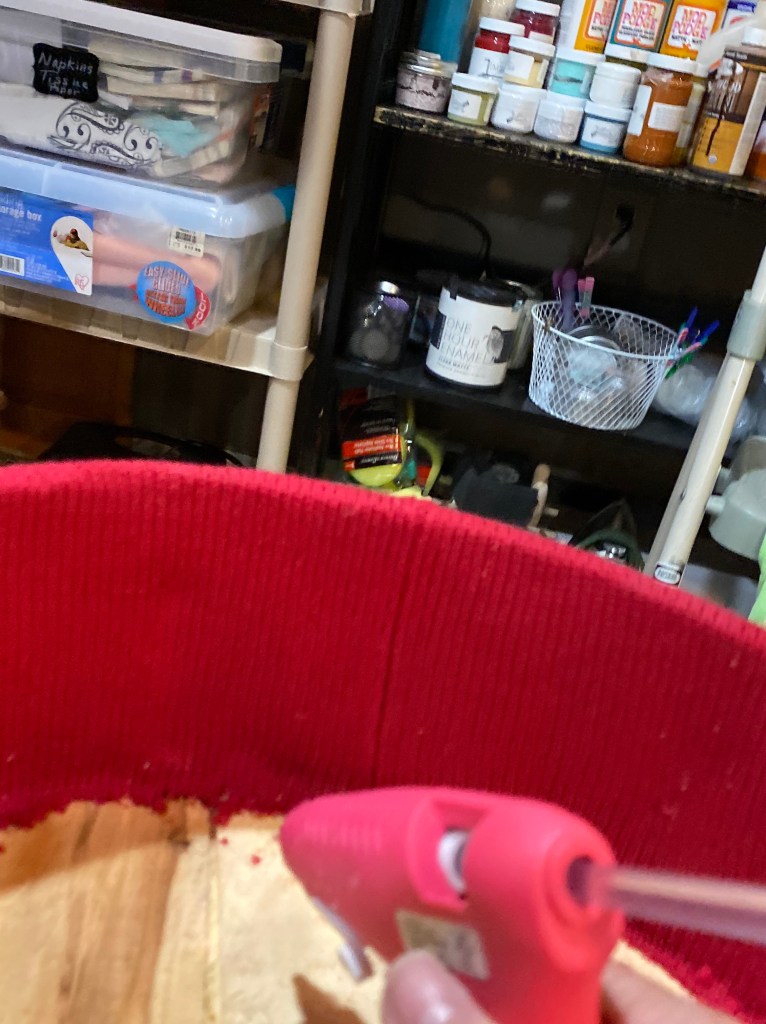
I glued the seams first, inside, outside, and underneath. Then I glued all around, securing the sweater to the box.
I was left with a lot of fuzz, which was hard to remove on that rough wood. I didn’t want to get out a vacuum, so I used rolled up masking tape to pick it up. It worked like a charm.
Next, I finished the rough edges by gluing sisal rope around the sides and bottom.
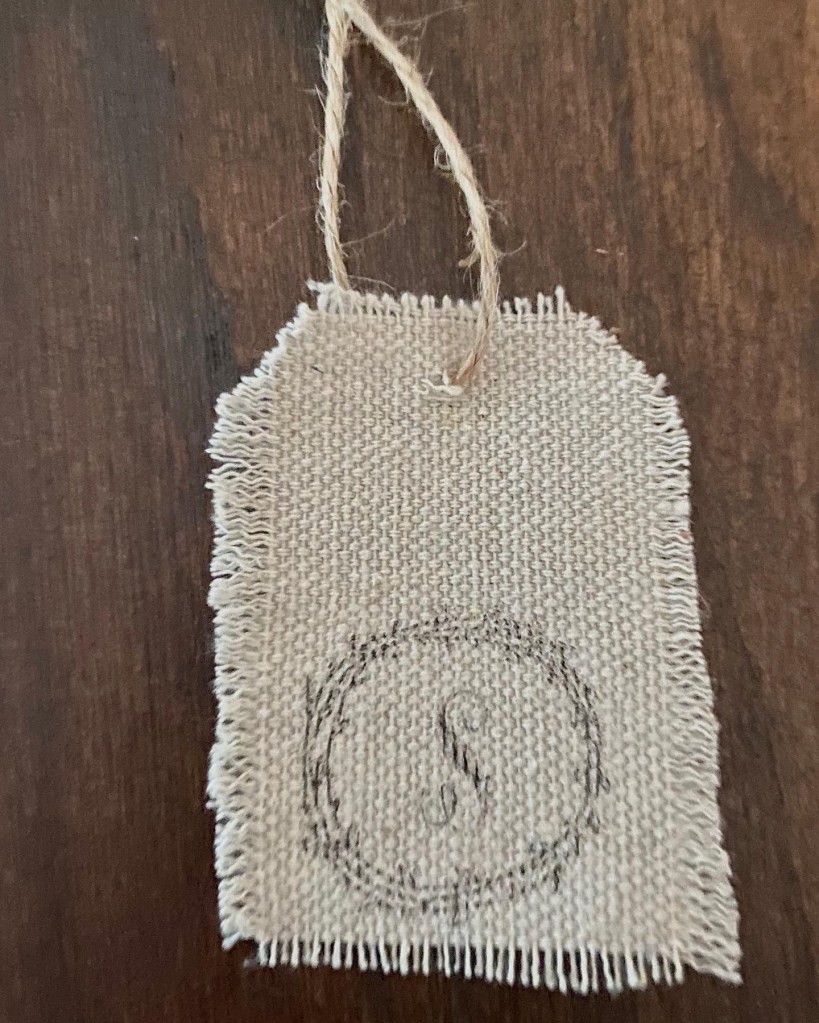
And then came the image I downloaded and adapted to cover up the old flowers I had mostly sanded away. This is a technique I’ve used several times now. I found this image, free on The Graphics Fairy Site. I had to do several things to get it the way I wanted, though. First, I had to make the image transparent and I cut it into a round shape using the free app Pro Knockout. But I wanted it to have a more vintage look so I uploaded it to the free website Lunapic and saved it as a pen drawing.
All of this is free, so I’m sharing my image I created here. Please credit The Graphics Fairy and this blog post if you do use it. Thanks.
Pen drawing created in Lunapic.com from a free image found on The Graphics Fairy.
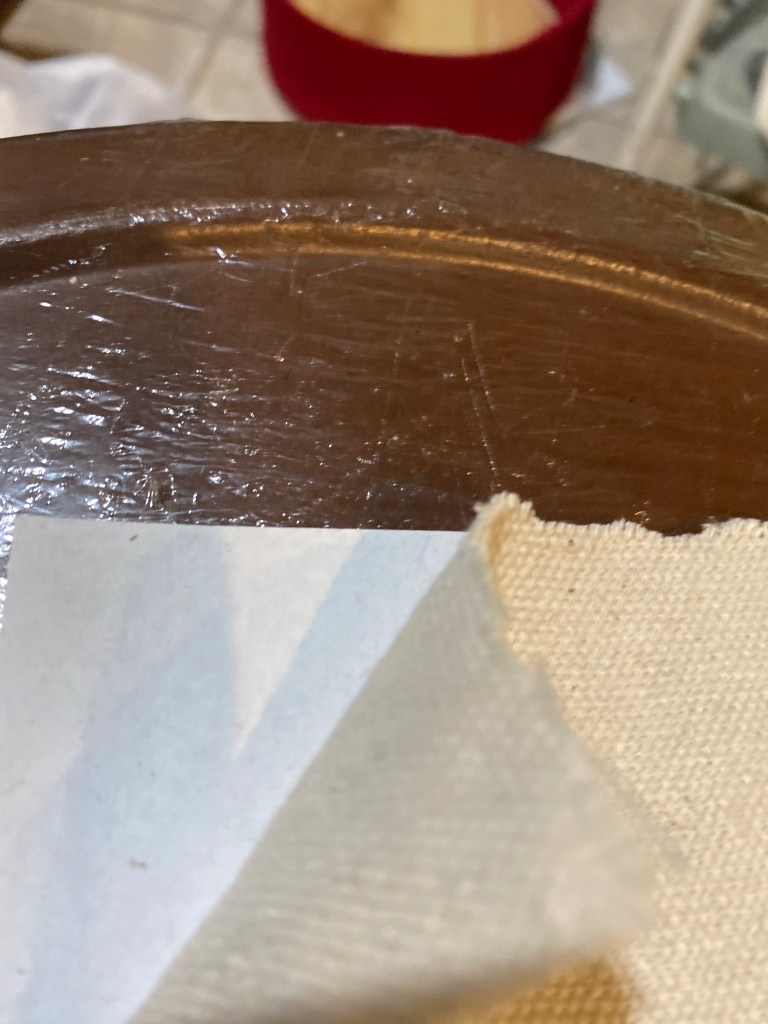
I then inserted the image into a Google Document, enlarged it to fit the paper, and saved it as a pdf file. Next, I used a product called Pixi Spray to temporary adhere a piece of drop cloth to a sheet of printer paper. I trimmed the drop cloth to the size of the paper, then printed it on my personal black and white laser printer.
I am always blown away how cool this look is on drop cloth. I cut around the circle and adhered the image to the box using Elmer’s Craft Bond.
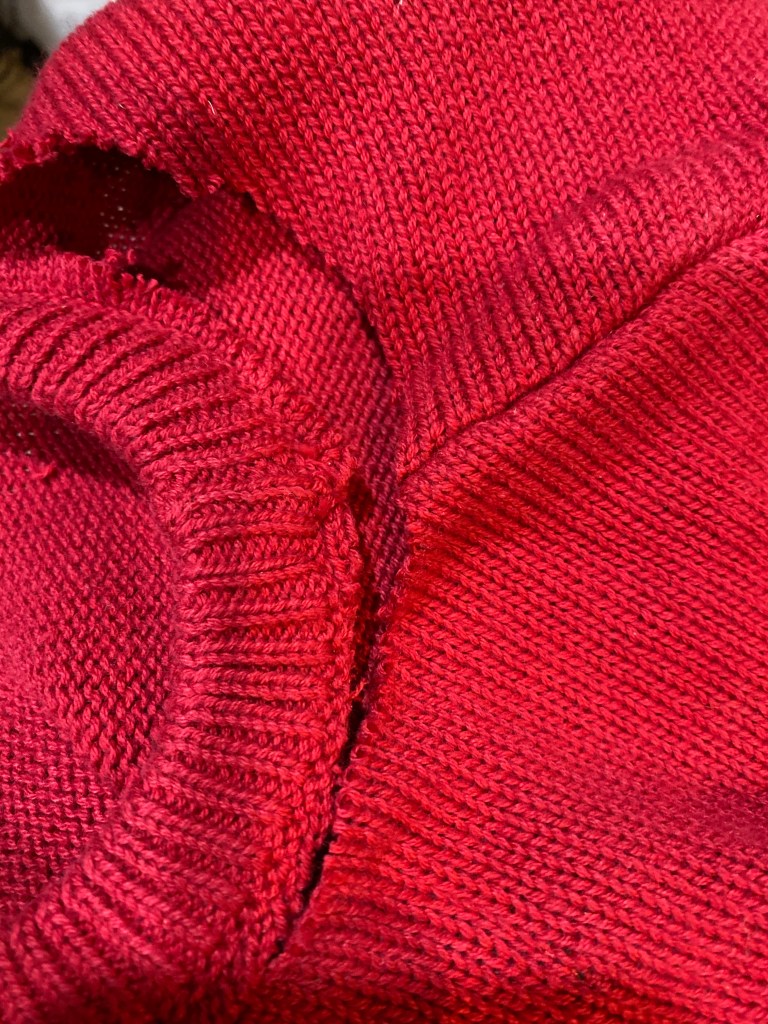
I cut the neck off and used what I learned from the wise words of all mothers, “Don’t pull on the neck of your sweater, you will stretch it out!” They are right! I pulled and pulled and stretched it enough so that it would fit around my image and then hot glued it in place. It is on there forever. 🙂 And while I was at it, I used a red paint pen and colored in the berries on his hat for just a bit of color.
This finished my cheese box. I posted it for sale on my Facebook page and it sold almost immediately!
Now, what to do with the sweater arms?? I’m thinking my early morning project will be dressing a few Oui yogurt jars. 🙂
Sometimes I will do anything to keep from cleaning the house…..so I went in search of projects on Pinterest.
One that caught my eye was using flowers to create art. I kept reading and knew I had to try this. it involved pounding the flowers with a hammer. 😳
Yes, my vase is a black antique doorknob painted a navy blue and distressed. The flowers are a type of miniature petunia called Millionbells.
I actually saw two different tutorials. One was to use watercolor paper and wax paper. The other was to use a piece of fabric and tape. They used a white paper-like tape. The only thing I had was wax paper and packing tape. And no watercolor paper or fabric that would work.
I started looking around and my eyes fell on some storage boxes I bought at Dollar Tree. Those collapsible fabric type ones. I’m not sure they are exactly fabric, but I figured they would work to practice with. I didn’t have white tape, but I did have some packing tape, so I thought I’d try it, too.
The storage container had two different weights of material, so I thought I would try both.
I have to say straight up, my practice became art. I am so amazed! I wish I had known about this at the beginning of summer. Anyway….on with the tutorial.
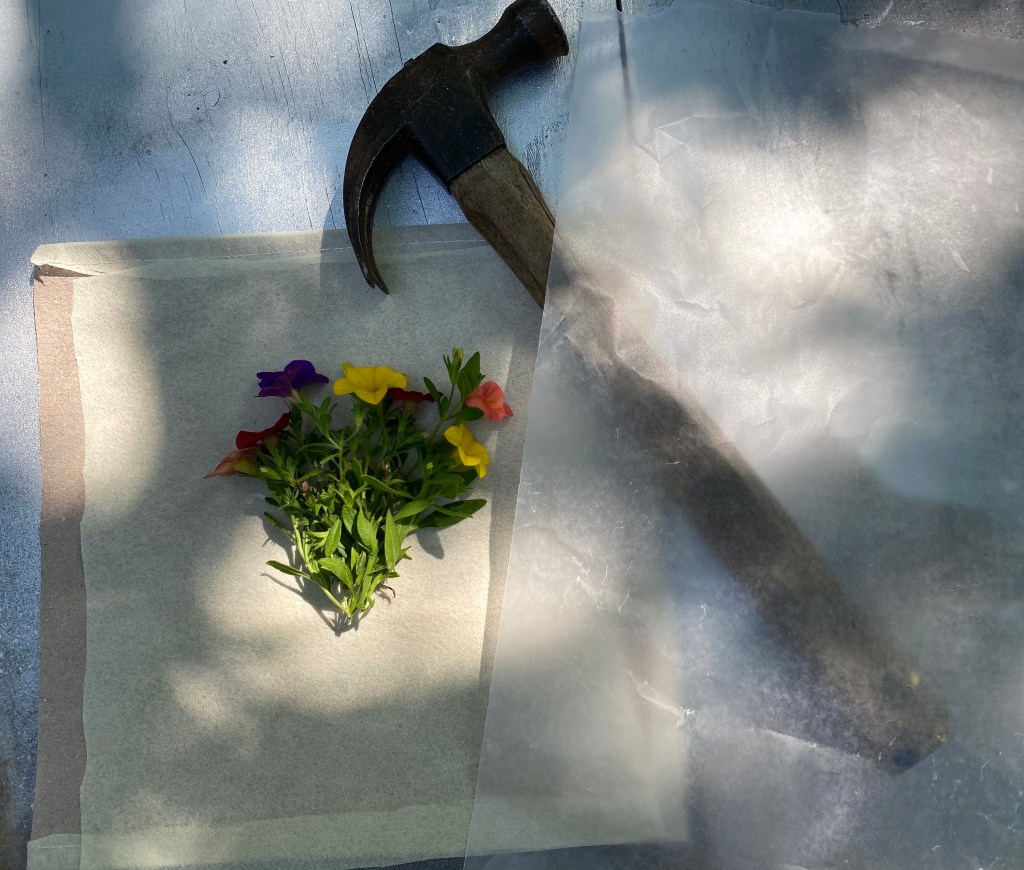
I gathered my supplies, including a hammer.
For my first try I used wax paper, the lighter weight material, and a bunch of flowers and stems.
I covered the flowers with the waxed paper and turned it over so I would be pounding on the material itself.
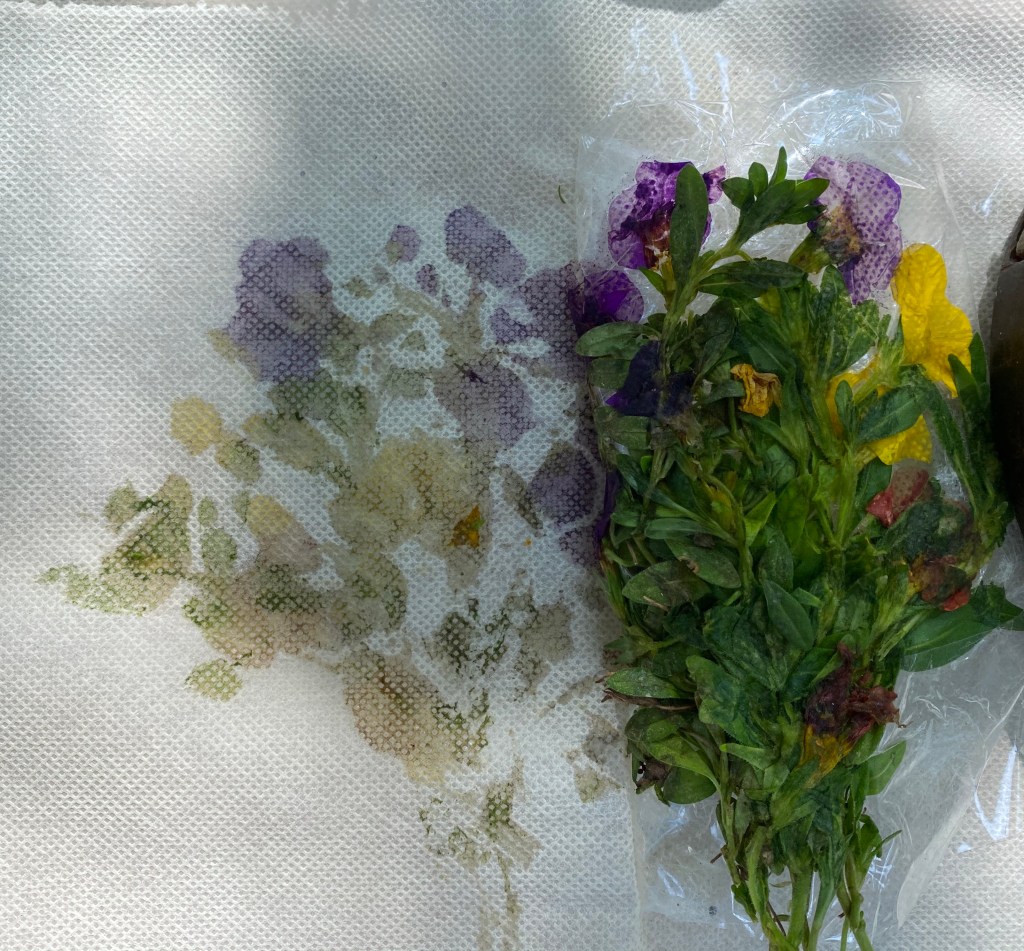
When finished, I removed the wax paper and the flowers and let it dry. It was like a beautiful, muted watercolor.
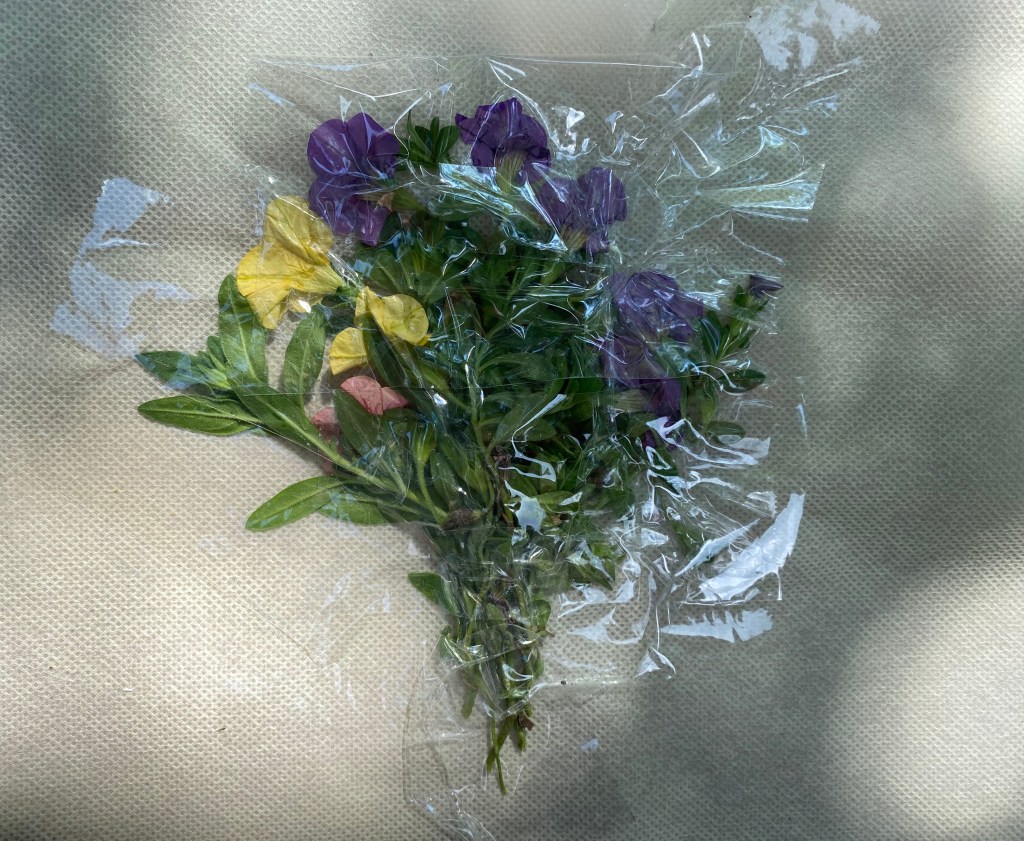
I then used the heavier material and this time used the packing tape and taped the flowers to material, trying to make sure the flower head was face down as much as possible. I then turned it over and started pounding again. I pounded until it looked like I got most of the flowers and stem.
The photo above shows what it looked like when I turned it back over and started removing the tape. Beautiful!
Shiny tile from Home Depot
So then I had to figure out what to do with them. I cut around the flowers on the first one and decoupaged it to a tile. When dry I sprayed it with a couple of coats of spray matte lacquer. I can display it or use it as a coaster. For the other one, I framed it in a vintage frame I had. It looks like it has always been in that frame. It looks so vintage!
Close up of the framed printClose up of the tiled print
My house is still not cleaned, but now my curiosity is satisfied, I am ready to tackle it ….. tomorrow.
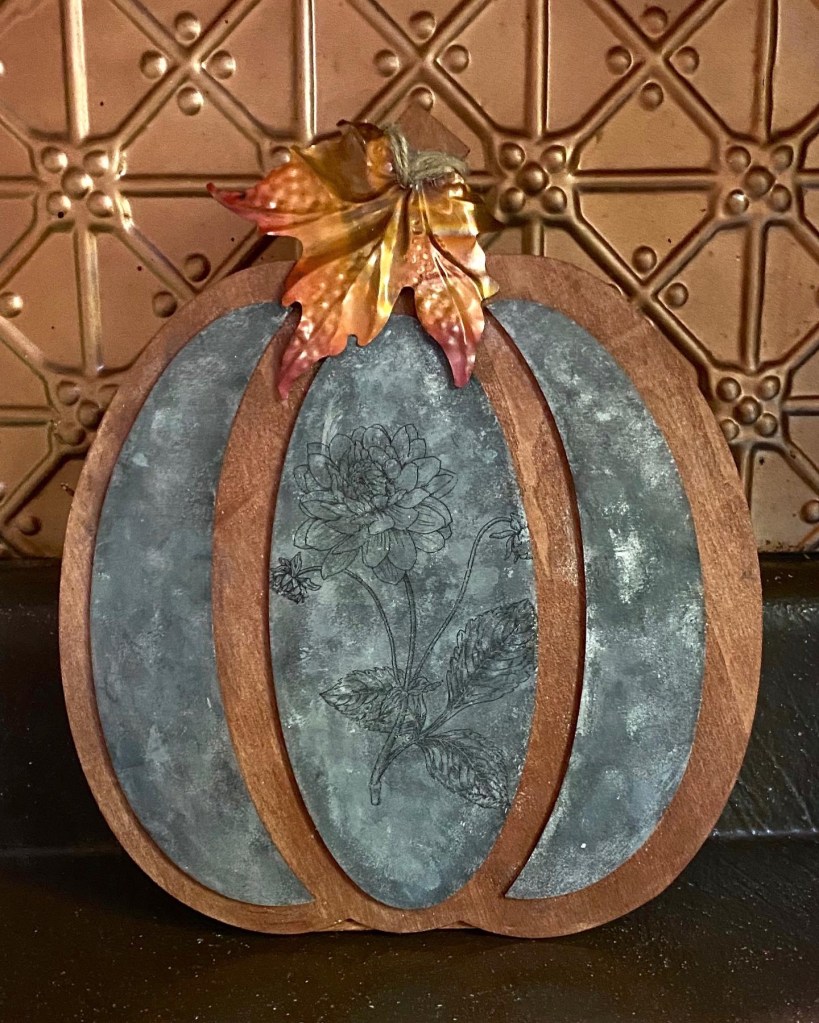
I’ve been on a kick creating stencils lately of farm animals on my Silhouette machine. My latest project has become my favorite! 🙂 I also tried a new staining technique on this one. I will definitely be using this technique again.
I started with a plain new pine board. Danny, my husband and partner in our world of painting and creating, had previously cut a long pine board into 9 x 11 1/2” boards, sanding and rounding the edges. Some we will make into cutting boards, but this one I wanted to make a tray that could also hang up and be used as a wall decoration.
This worked well to darken the wood and bring out the grain. I would have liked for the wood to have been a little darker. When this dried, and after 3 coats, I still thought it would be a little darker but it was fine. I let the solution sit for 24 hours after I mixed it. The next time, I think I would let it sit several days.
After drying, the board was ready for the white wash, I mixed our brand of chalk-style paint Missouri Limestone Paint Company (MLPC) “January” with a little water, painted it on, then used a damp rag to rub it in and wipe it off. I let that dry well and it was ready to stencil.
I really liked the look of the end result – I will be using this technique on a small table top next.
I uploaded the SVG file to my Silhouette machine, traced it and cut it out, using Contact paper. I find this is a cheap and easy way to cut stencils. The Contact paper adheres nicely and is easy to remove. I also use clear Contact paper to transfer the stencil to my project. Press n Seal will also work as a transfer.
Then I did all the “weeding” (picking out the areas of vinyl) for the dark area of the skull. I stenciled those areas with MLPC “French Roast”, a dark brown.
For the flower area, I decided the best way to finish that would be to hand paint it, so that’s what I did. I am no artist, but I did learn to pretty much stay in the lines when coloring in elementary school. ☺️
The MLPC colors used: Crepe Myrtle, Farmhouse Green, Cornflower, Radio Flyer, Sour Green Apples, English Bluebells, and MO Buttercup.
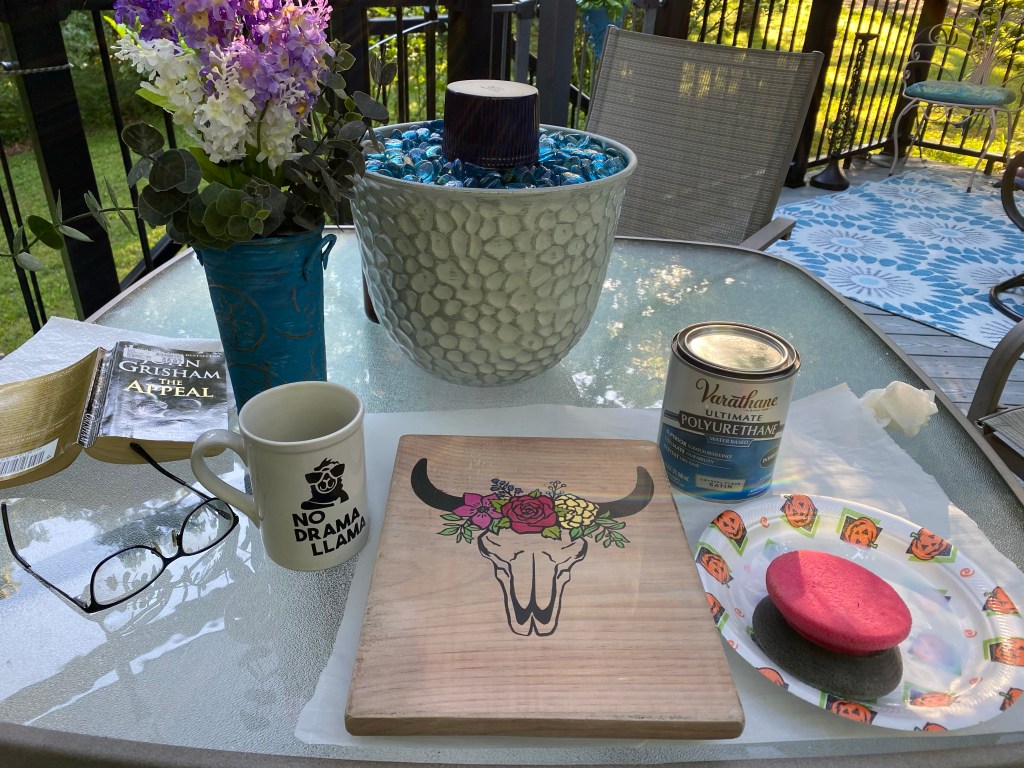
Once all the flower area was dry I sealed front, back, and sides with Varathane water-based Crystal Clear Polyurethane in Satin Finish. I used 5 thin coats for durability. This piece may be used as a tray so I wanted it to stand up to hard use. (It was so pretty out I did the sealing on my deck. I had my book and coffee handy and read while my sealer dries. It only took about 10 minutes for each on this day.)
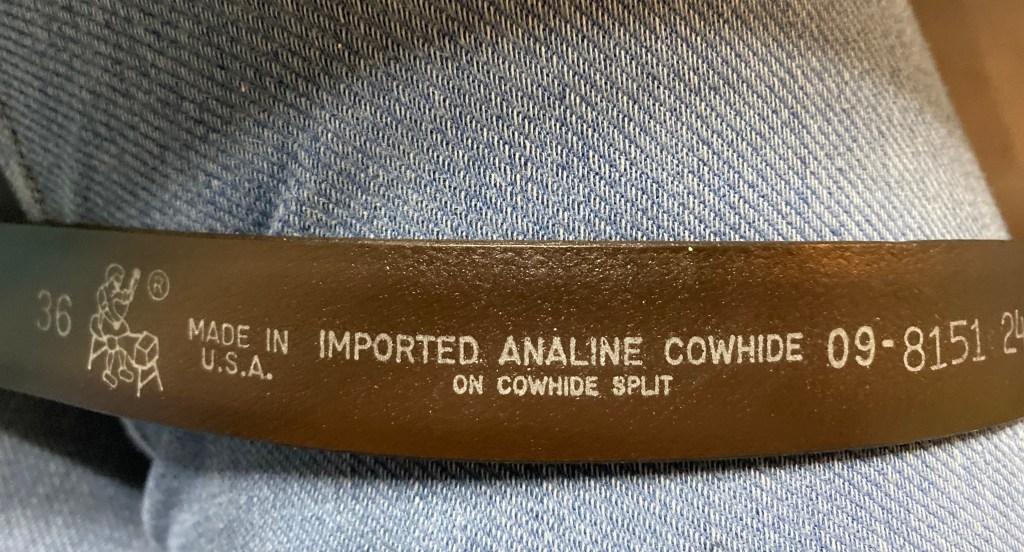
Now it was time for the handles. I remembered seeing a DIY on Pinterest for creating handles out of strips of leather. I happened to have the perfect belt made of genuine cowhide that I thought would be perfect! I had purchased it at Goodwill some time ago to create handles for a suitcase dresser, so used it for this project instead. I cut two strip of 8” each and we attached them to the edges of the top and bottom of the board using vintage wood screws.
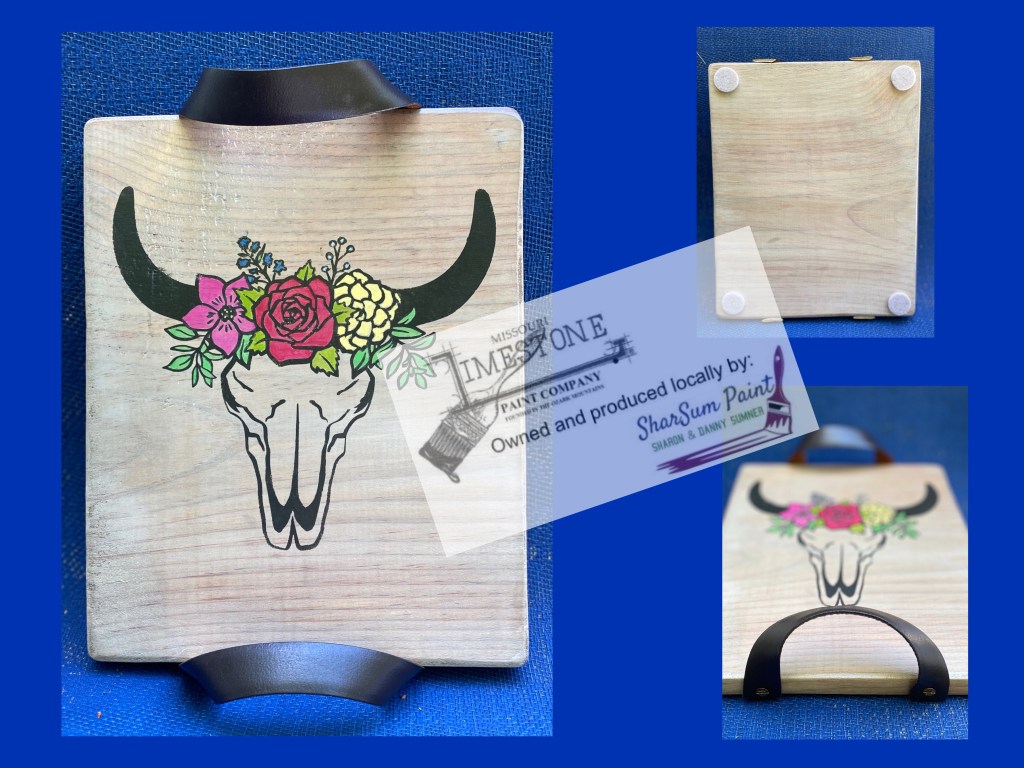
This beautiful, floral cow skull tray/ wall hanging decoration is now complete! I absolutely love how it turned out!
Here are the other projects I have recently completed.