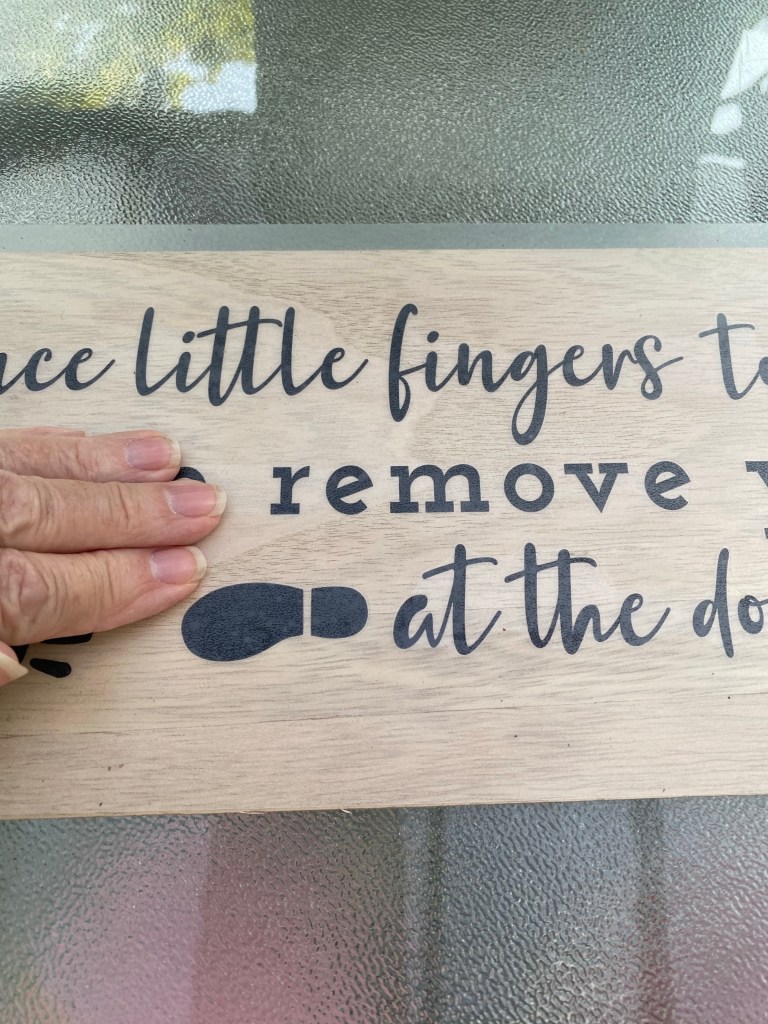
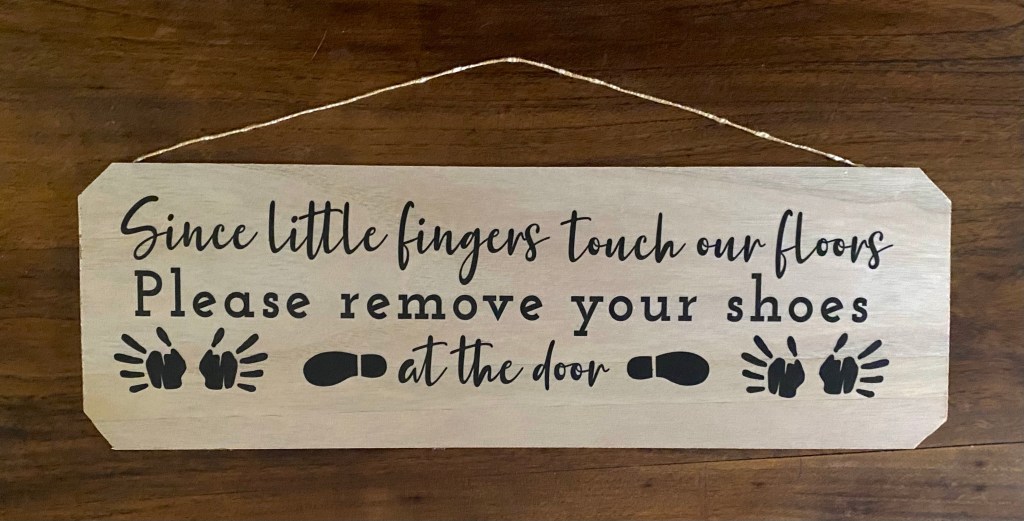
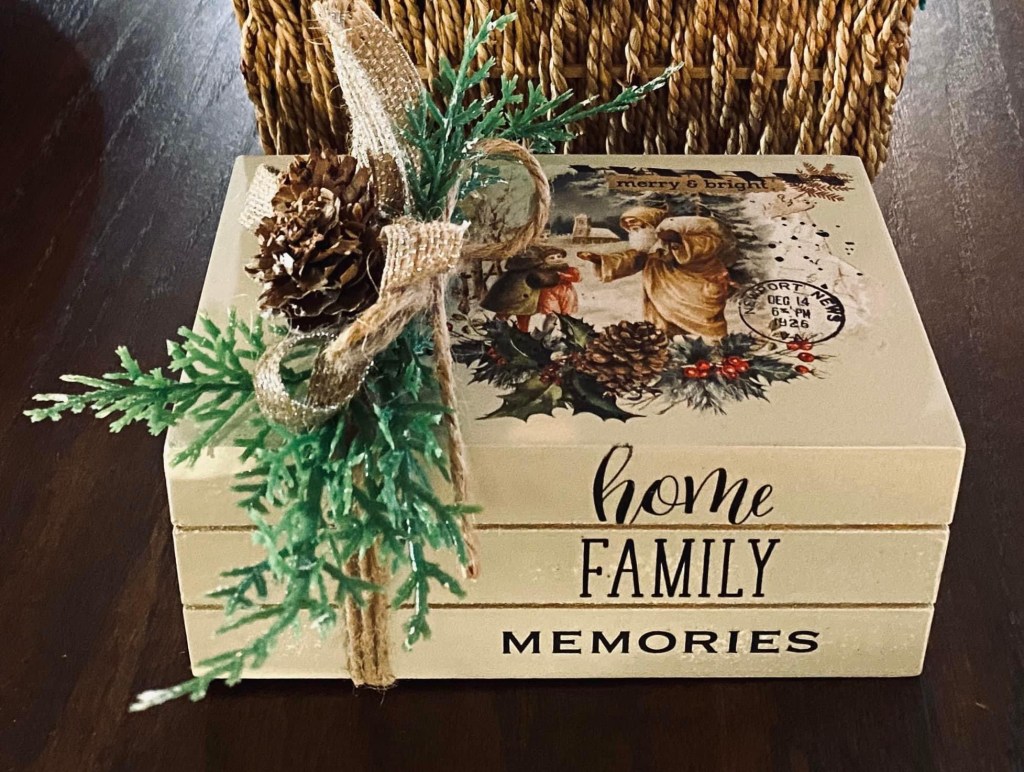
Many people take their shoes off at the door. It seems as though Dollar Tree has noticed this and has started stocking Wall Art politely asking visitors to do the same.
If this is something you practice, I have taken their Wall Art and applied it to a piece of one of their MDF thin boards with a natural wood look.
This board had a pumpkin cut out on it. I measured how long it needed to be and removed the pumpkin area. I scored it with a box cutter and broke it off, then sanded the edges.
I removed the extra vinyl on the wall art and then used transfer paper to pick up the words and images.
I notched the edges of the board using a pair of scissors for a more decorative look and added a decorative string to hang it.
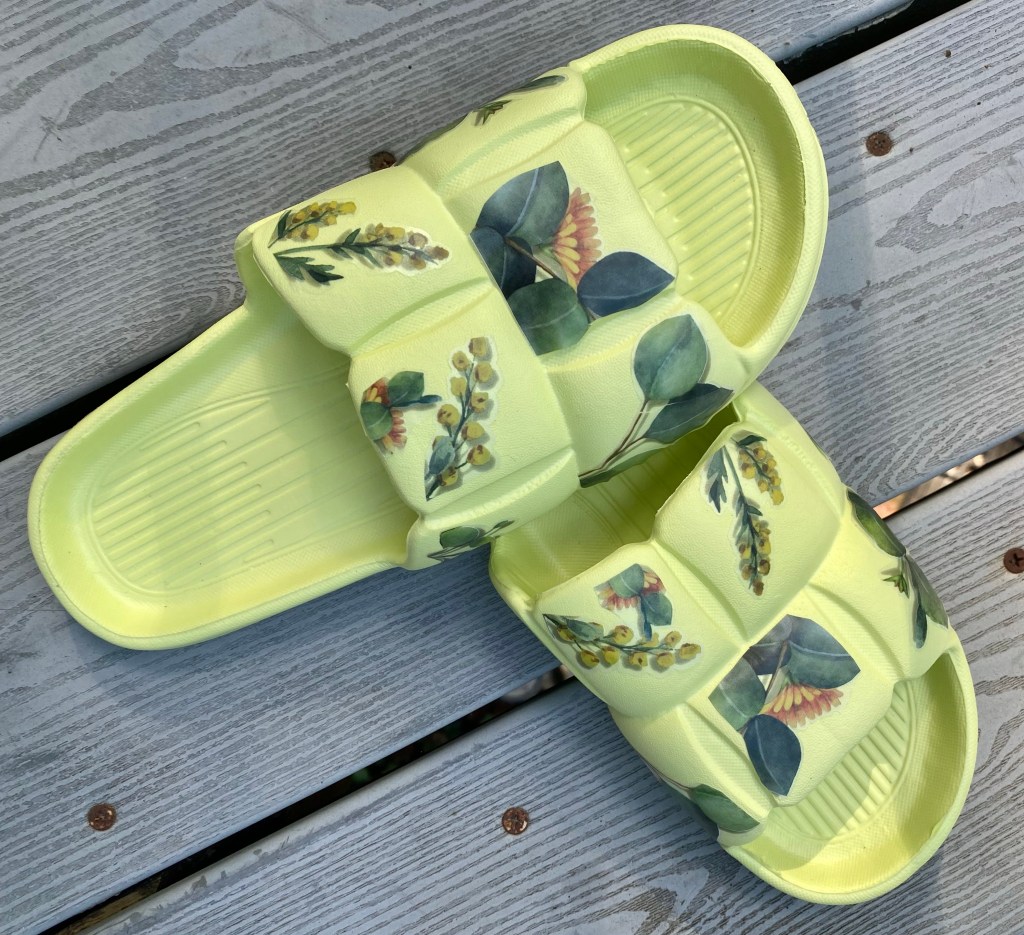
I have been experimenting with adding designs on some rubber bath slippers I bought on the Temu app. These were a great buy, but I am also seeing these at Dollar Tree, Walmart, Hobby Lobby, etc. Today’s experiment is applying rub on transfers to them. This has become my favorite way to give bath slippers a unique look.
Today, I’m highlighting the rub on transfer technique because I love how they turned out and I believe this to be the most durable method. I did seven pairs this way, once I did the first pair using the rub on transfers. I used Dollar Tree rub on transfers and a set from Temu, but any brand should work just as well.
I know they are super durable because I applied one of the transfers where I didn’t want it on one pair and I couldn’t remove it. I tried scraping and picking it off with my fingernail and tried using soap and water. I couldn’t budge it. So, I ended up applying another transfer over it. I actually like the shadowed look it made. 🙂
These are really easy to apply, especially if you have used rub on transfers before. If you haven’t, they remind me of the type of stickers when I was young that you would lay down on a piece of paper and they rub over the top plastic piece with a pencil and the image would transfer to the paper. That’s it!
I like to keep all the bits and pieces of the rub on transfers I don’t use on a project and use them another time. Today was that time. I picked out the ones I wanted to use and a pair of pink slippers and then started applying them to the different sections on these slippers.
I cut the first piece I wanted away from the sheet. It has a white backing on it to protect the transfer. You don’t want to remove that white backing yet as you don’t want the transfer sticking to anything until you are ready to use it or you will ruin it.
Then I removed the white backing, placed the transfer where I wanted it and used a flat stick I had that came with another type of transfer and rubbed on the plastic until the image released. A popsicle stick or even your fingernail would work, After it releases, I then used the plastic sheet to “burnish” it into the rubber, meaning rubbing it in to make sure it adhered well.
That’s all there is to it! I continued adding transfers to each section. I applied a little Wise Owl Salve (or any clear wax would work) to protect the transfer, but I really don’t think it is needed.
Examples are below of my other experiments…. decoupaging napkins (I did another blog post on that technique) and using Dollar Tree Wall Art.
The first experiment was with decoupaging napkins. They were pretty and turned out nice and I wear the pairs I made myself around the house all the time. They were fun to make and fun to wear. They do not slip off your feet at all. Here’s a link to my blog post on them.
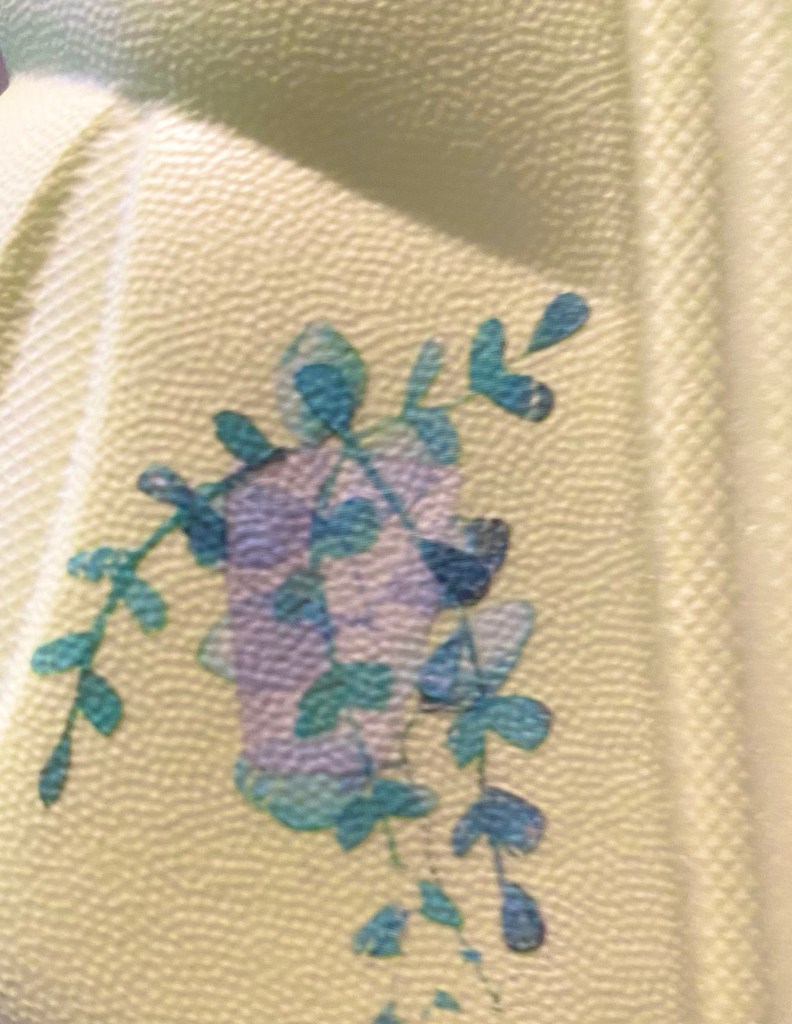
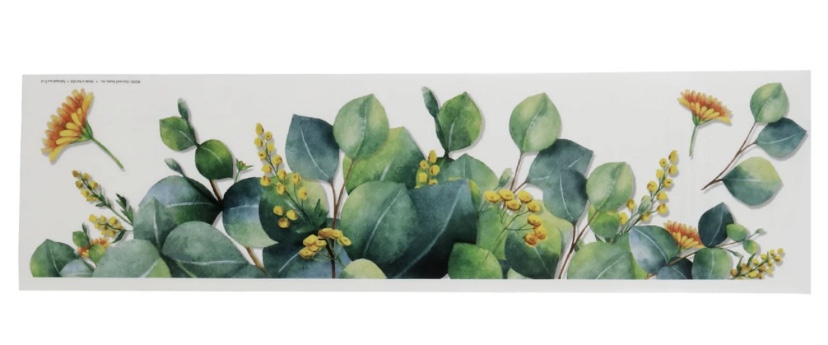
The other experiment was using Dollar Tree Wall Art. I found a beautiful flower and foliage design and cut it to fit a different type of slipper. I love how it looked on this blue slipper. This Wall art is removable, so…. If it starts coming off after a bit, simple remove it and you’ll still have a neat pair of slippers or go to Dollar Tree and get another Wall Art for $1.25 and make another unique look. 🙂 I then used bits and pieces left over and made another Wall Art pair. I did not apply wax to these as they are removable anyway. Both turned out very cute.
But, as I mentioned earlier, the rub on transfers are my favorite!!!! Which te unique do you like best?
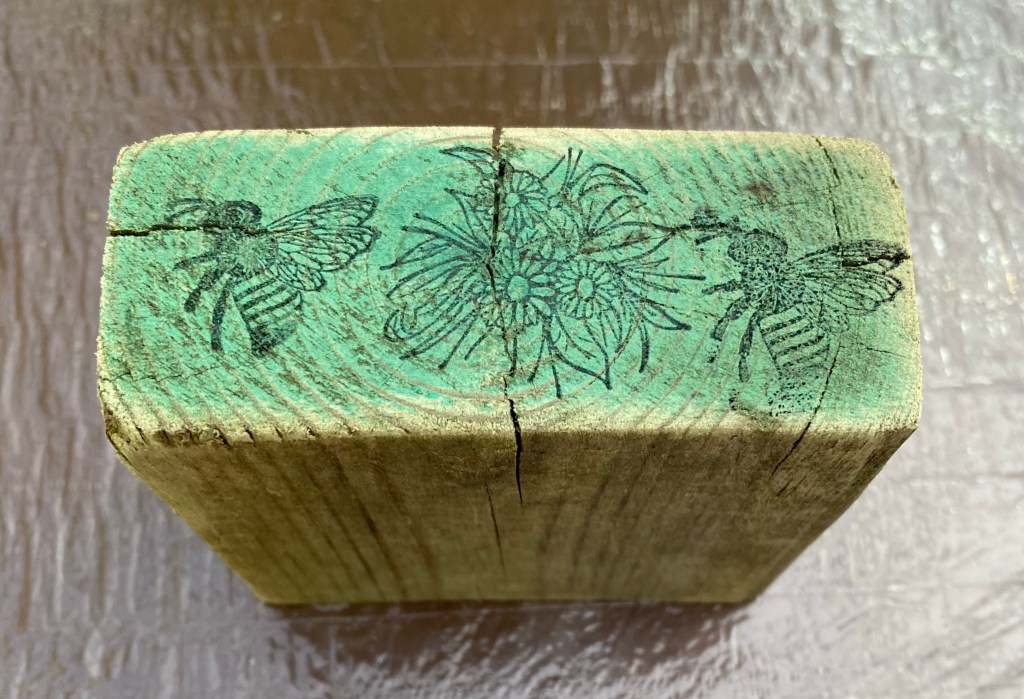
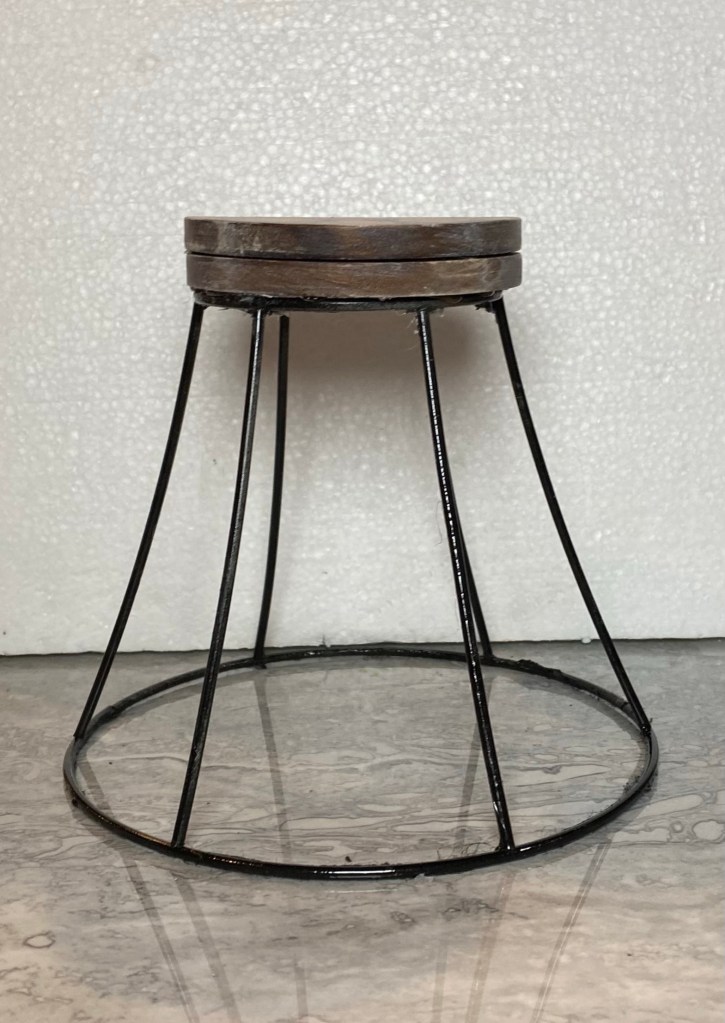
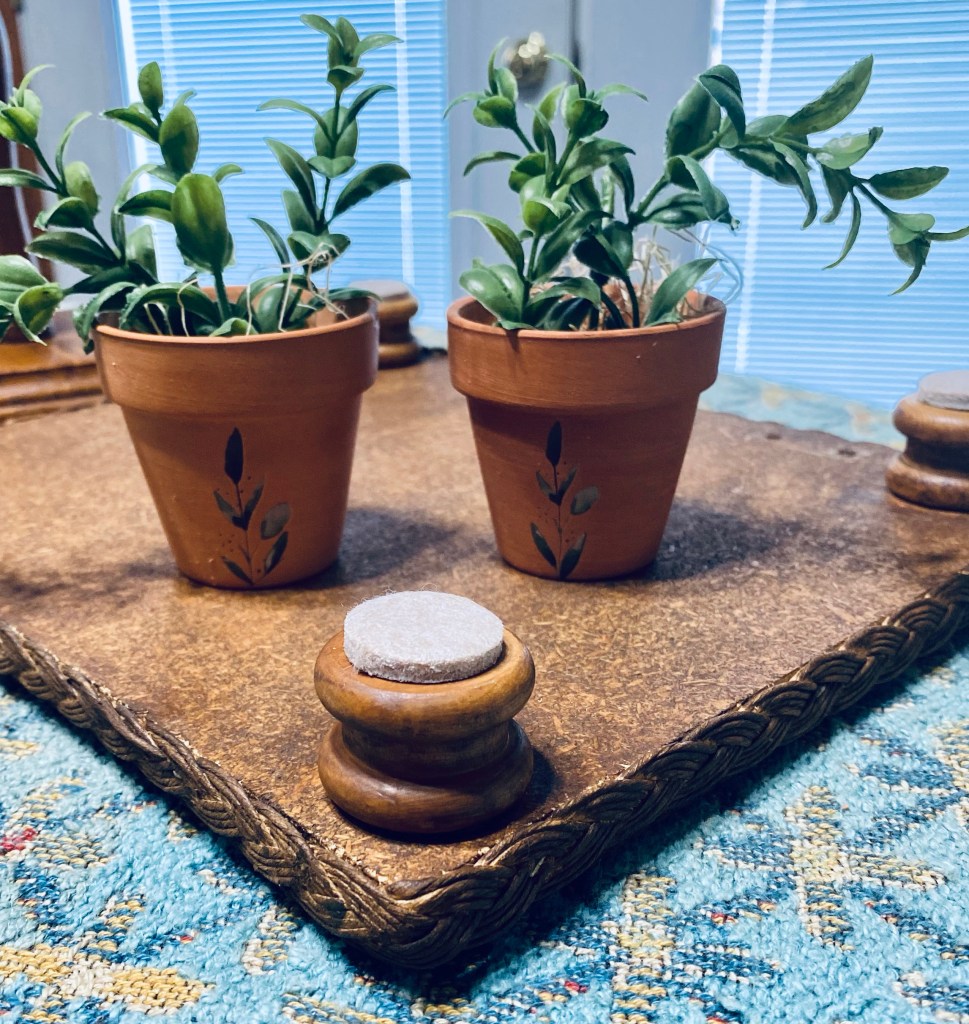
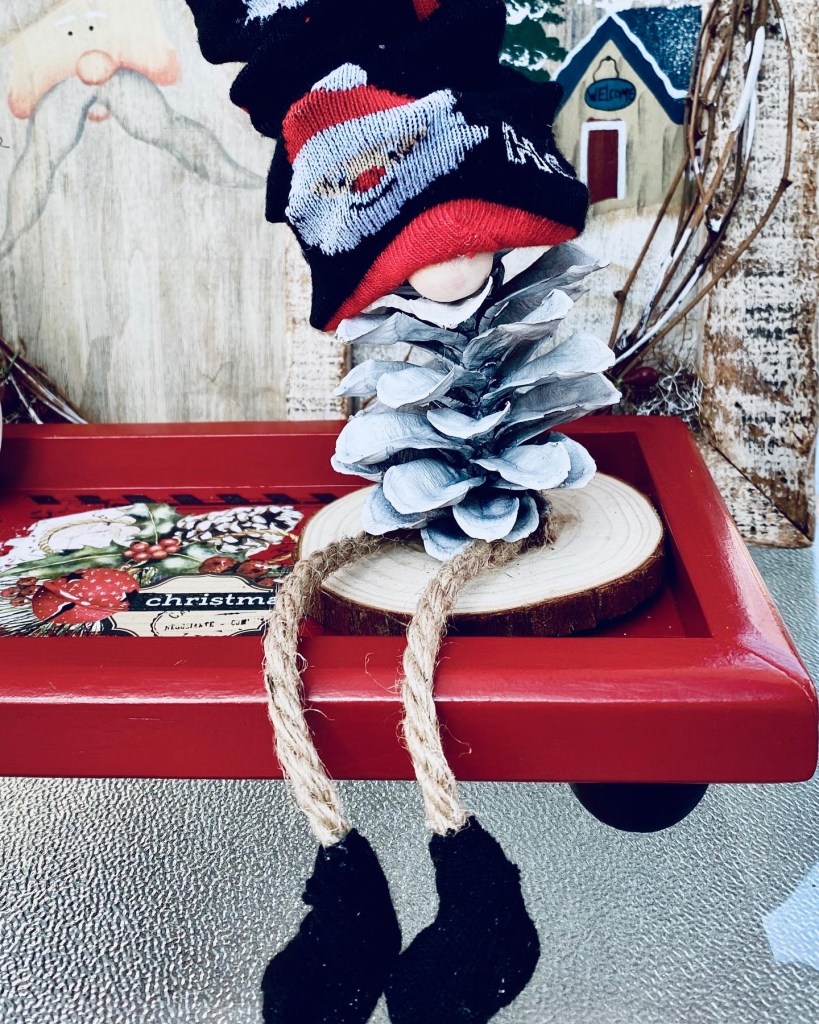
I’ve been seeing risers made from blocks of scrap wood so thought I’d make one, too. My 3.5” x 1.5” square block of scrap wood had one end that was painted green. I didn’t want to cut it off so I just made it the front of my project.
I did sand the block well, including the green part and that lightened it up a bit.
I like to work on this lazy susan. I bought 100 disposable shower caps on Amazon and stretched one over the lazy susan to protect it. These work great and I just throw them away when finished.
I gathered up my supplies and got started.
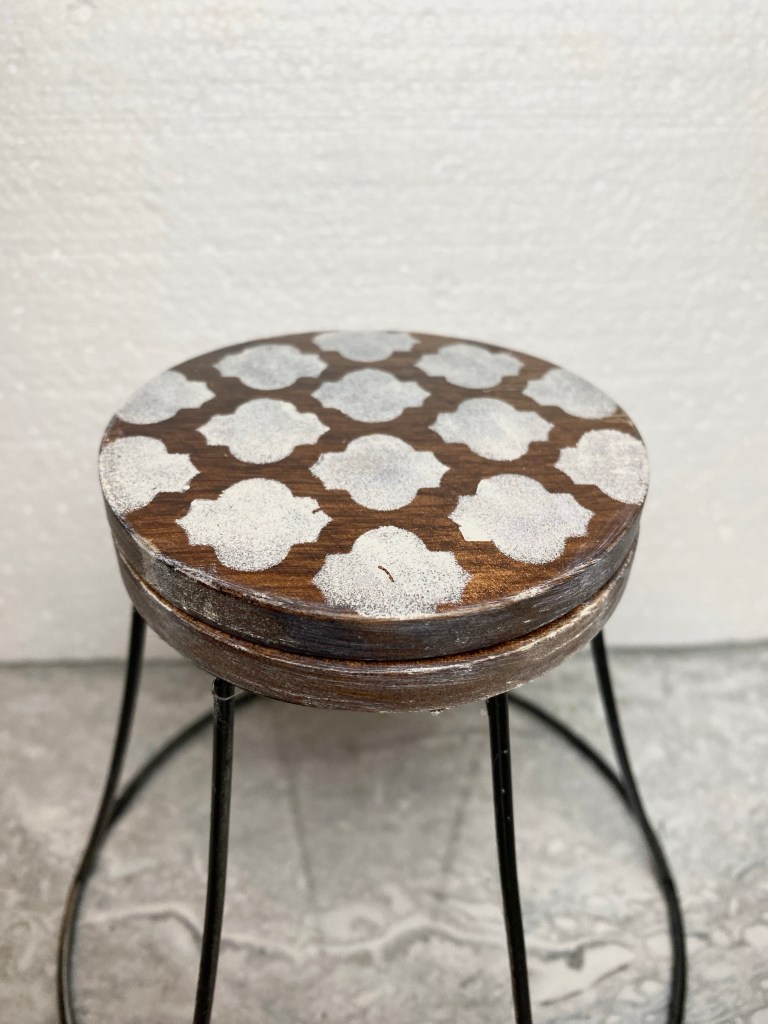
Step 1: I used black ink and stamped flowers and bees on the green side of my block. I put it aside to dry.
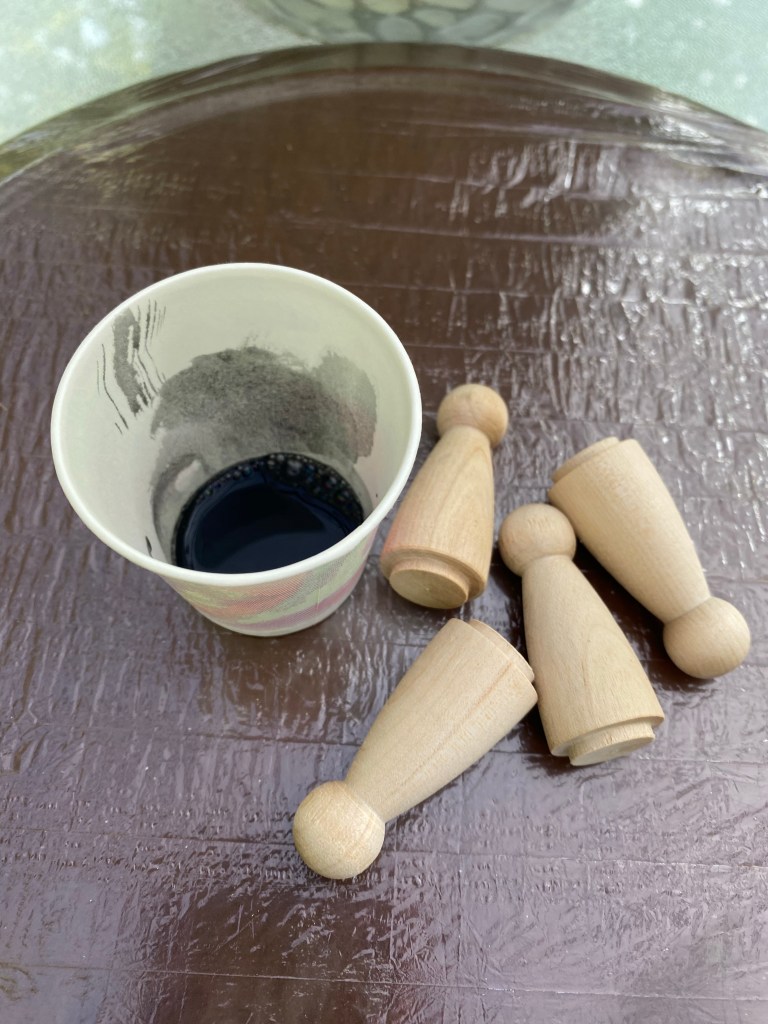
Step 2: I purchased wood peg dolls from Amazon to use as feet. I watered down a bit of our Missouri Limestone Paint Company chalk-style paint (Coal Shovel) and covered the feet I would be attaching to the block. This will give them a rustic look similar to the block. I wiped the excess away and put them aside to dry.
Step 3: I wrapped the block with a paper towel only leaving the green inked part exposed. I sprayed that part with the Krylon spray matte sealer. I believe I got it at Lowes. This sealed the ink to make sure it wouldn’t smear when I applied wax to it later.
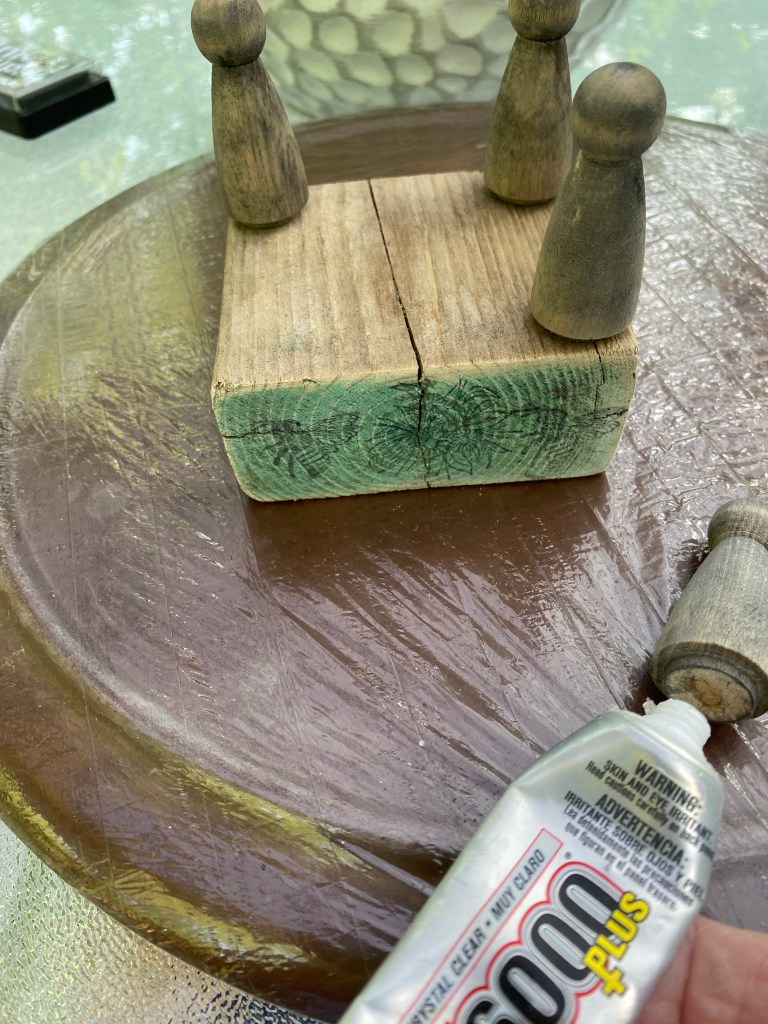
Step 4: It was time to glue on the legs. I used a combination of E6000 for permanent hold and hot glue for immediate hold.
Step 5: Once the hot glue set up, I applied Wise Owl Salve (ordered from a retailer) to the whole piece.
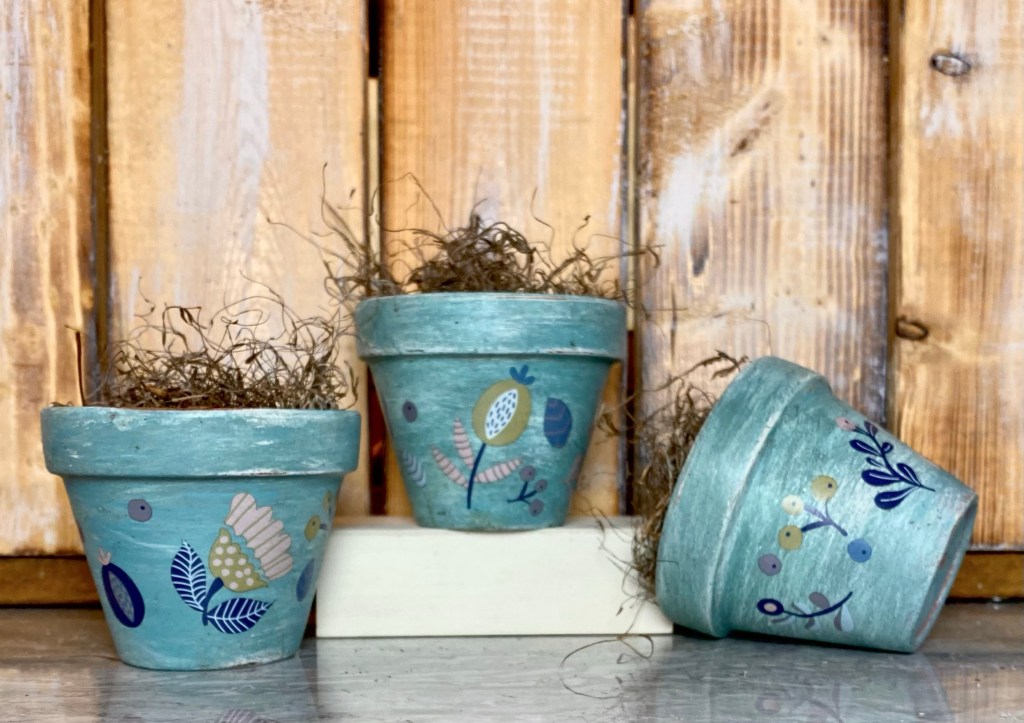
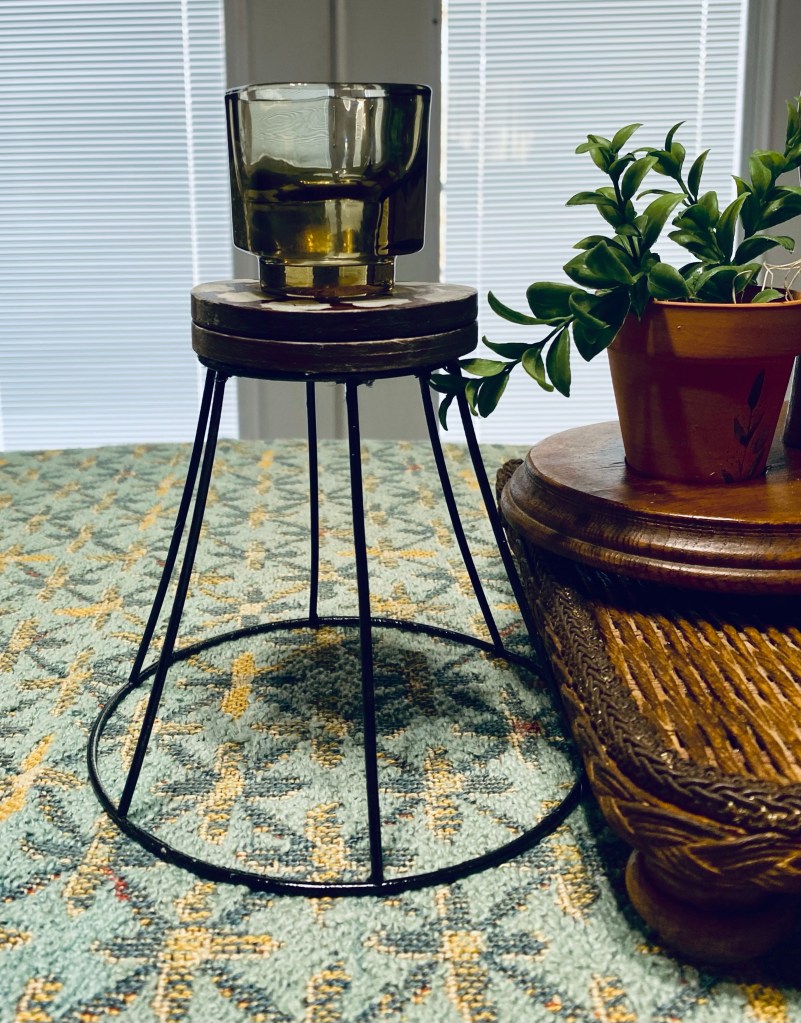
My rustic riser was now complete. I added a small painted terra cotta pot I had applied Dollar Tree rub on transfers to, added faux flowers, and displayed it on my rustic wood block riser.
I love how it now looks like the whole riser has been outside in the weather for years!
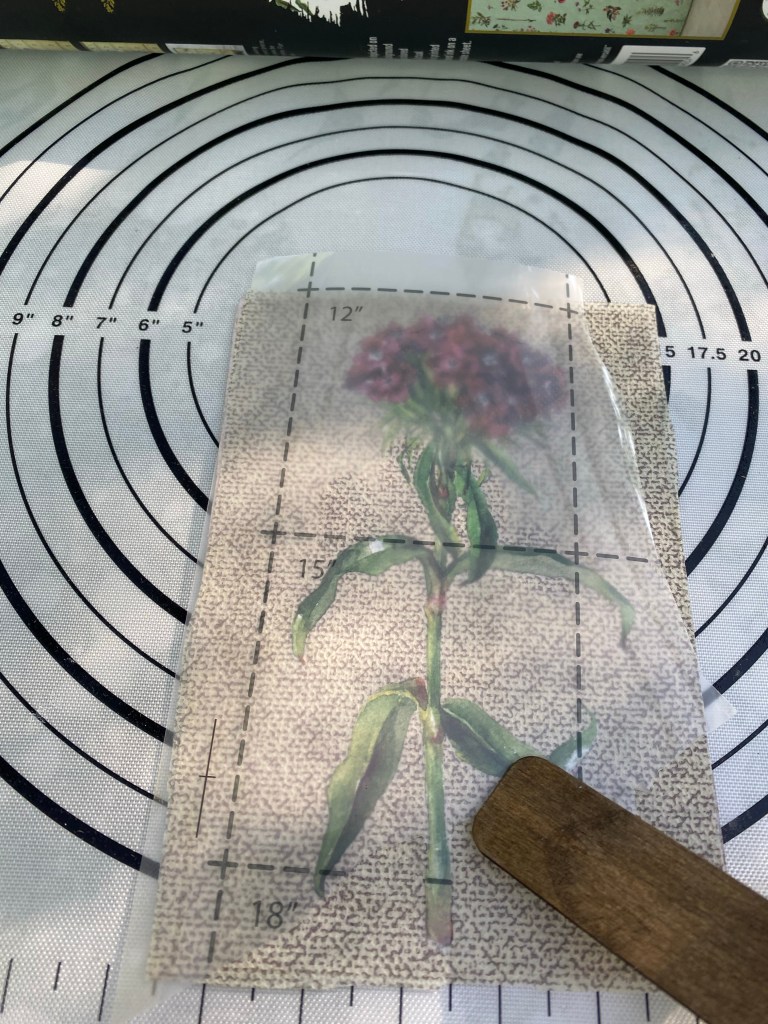
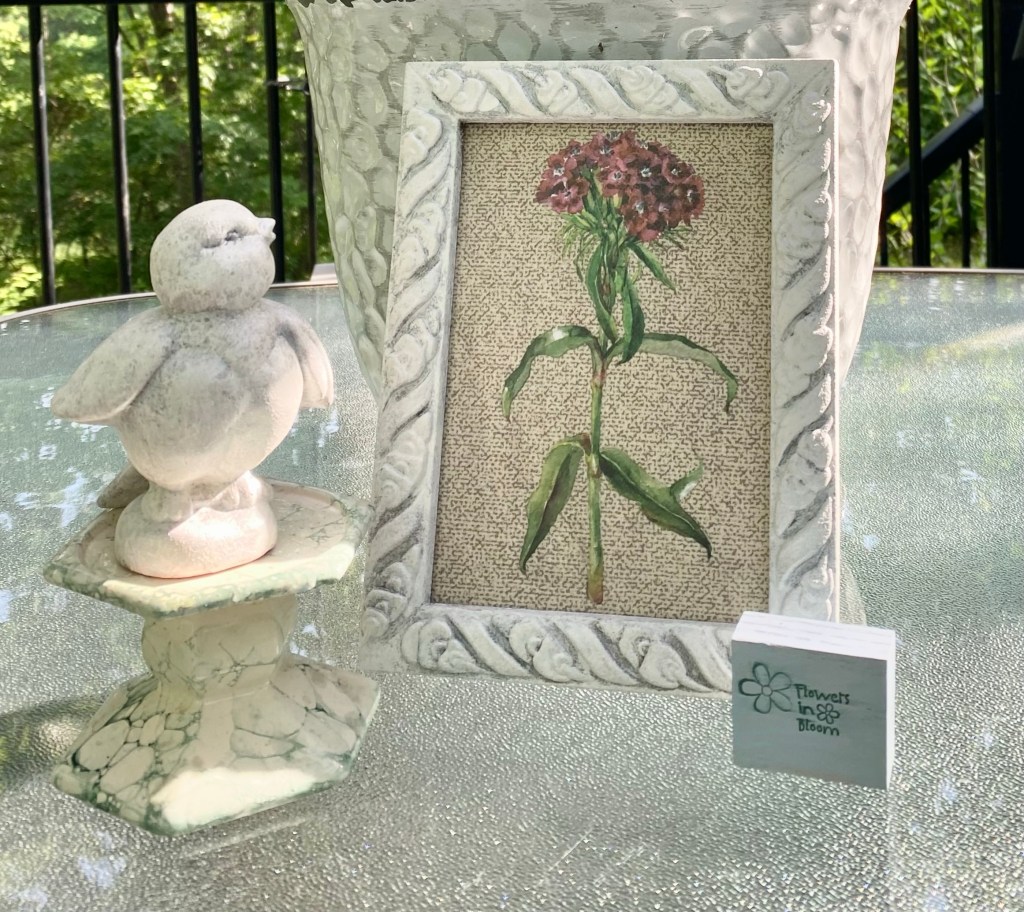
For today’s project I am up-cycling an old gold frame and adding a Redesign with Prima transfer from the Floral Collection. The transfer is applied to a unique background – a piece of one of Dollar Tree’s storage bins.
Cutting apart a Dollar Tree storage bin
The material is kind of a paper/fabric with cardboard in between layers. I cut off a piece to use as background for the transfer.
I cut the cardboard to fit the frame.
I used a glue stick to glue the material onto the cardboard.
I then trimmed the material to the size of the cardboard.
It was time to paint the frame. I mixed a little baking soda with a littler chalk paint to achieve the texture of stone.
It took two coats. On the first coat I used a brush to pounce the paint/baking soda mixture on so I didn’t get brush strokes. For the second coat I used a foam dauber. I love the distressed shading this technique produced. I set it aside to dry well.
Once dry, I gave it two coats of Mod Podge Pearlized Glaze Spray to seal it.
It was then time to apply the transfer to the material I had adhered to the piece of cardboard. I didn’t seal it as it is a decor piece and will not be handled much.
The sheet underneath is a silicone baking sheet I use to work on. Paint does not adhere well to silicone, so it is easy to clean after I finish a project.
I added the transfer to the frame. You could add the glass back in but I did not use the glass.
The final reveal – The material under the transfer looks almost like a piece of linen. It makes a very nice background.
We have a problem. I see an idea. I ask Danny if he can make it. He says he can. So….. here we are again with another project and putting off other things we need to do.
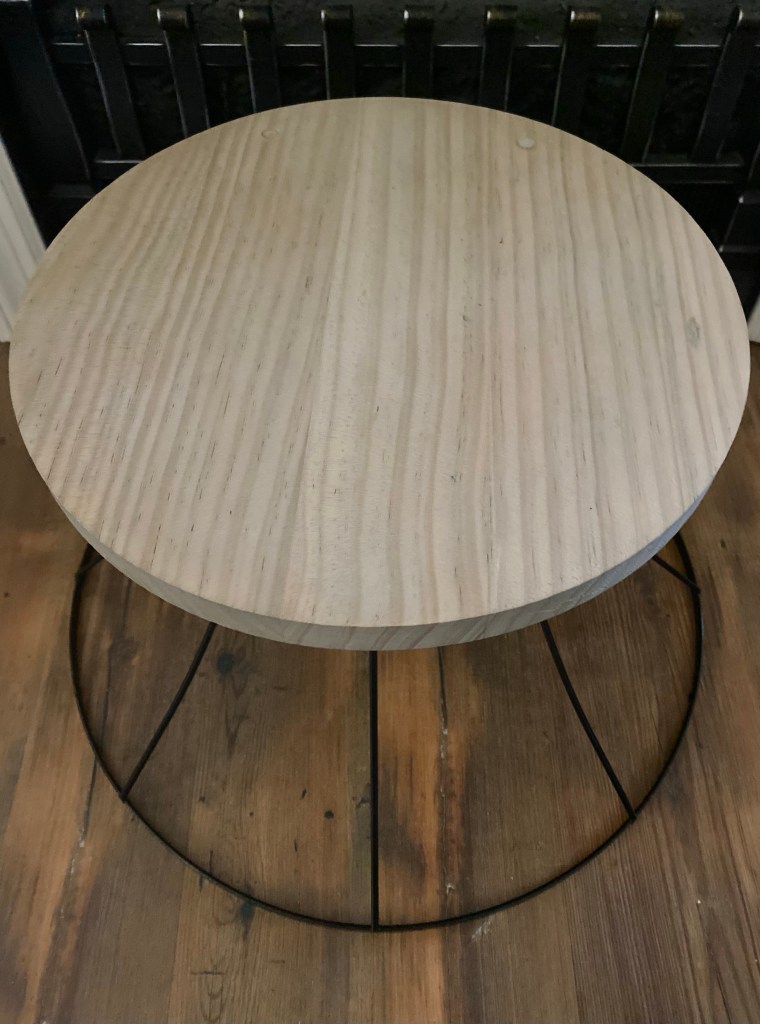
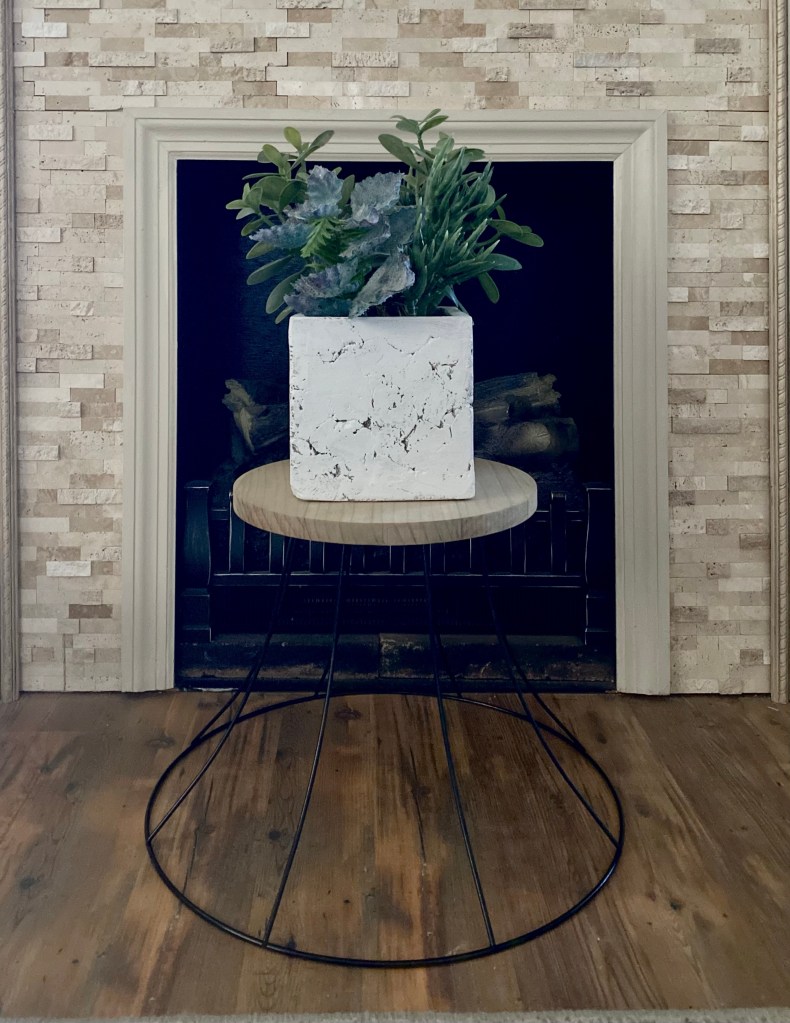
Would you believe these plant stands are all upcycled lampshades? Danny took off the fabric on each and spray painted the metal black.
We then bought 3 wood rounds. He sanded them and added a dowel on the bottom of each to fit down into the shades.
I used a driftwood weathering compound on each round that brings out the grain and weathers it a bit. I still need to seal them with a matte top coat.
They are lightweight but very sturdy. The cut crystal vase filled with glass beads and faux tulips is quite heavy.
These plant stands (minus the decor) will be going to The Gray Wall soon, so if you are local and wanting one or all for porch pickup, now’s your chance.
I had this piece of barn wood. My husband cut it into two pieces for me.
I painted them with a heavy dry brush of white pretty much where I was going to apply the transfers.
Then I applied the transfers.
It was a very rough surface and slow going. It wasn’t easy to apply but in the end it all applied and adhered perfectly. I sealed everything with Wise Owl Salve.
In hindsight, it would have helped to seal the painted area first, but I just took my time and at times actually used my finger underneath the plastic sheet to get over a particularly rough spot and it worked out fine.
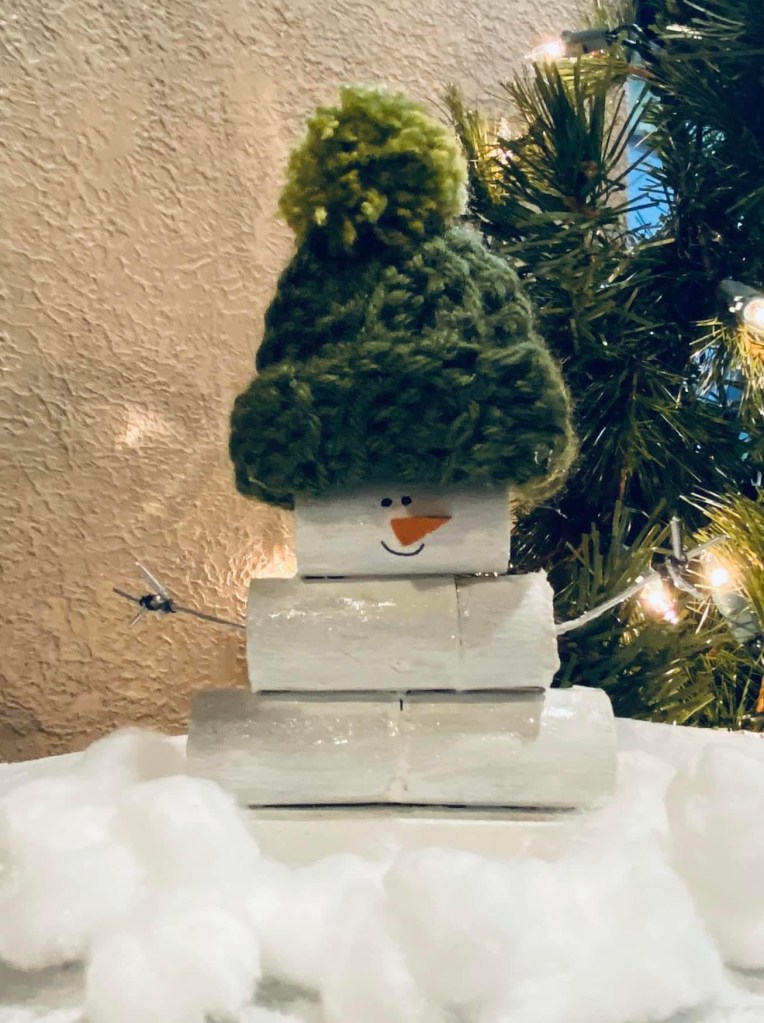
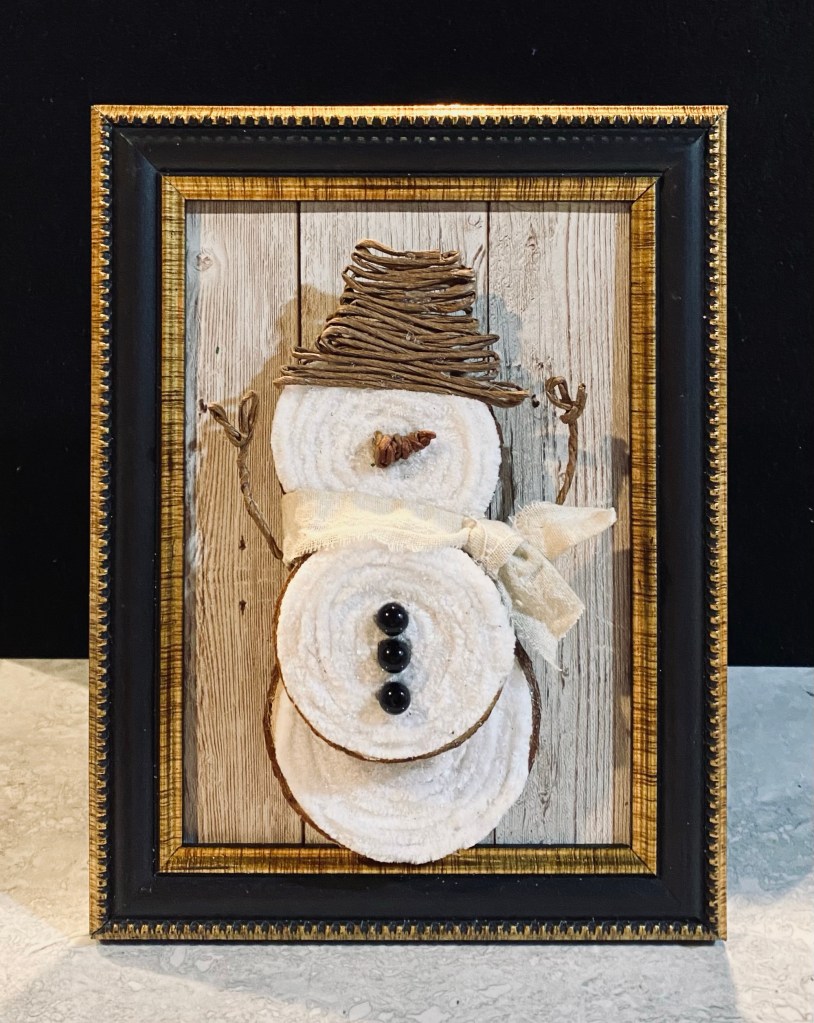
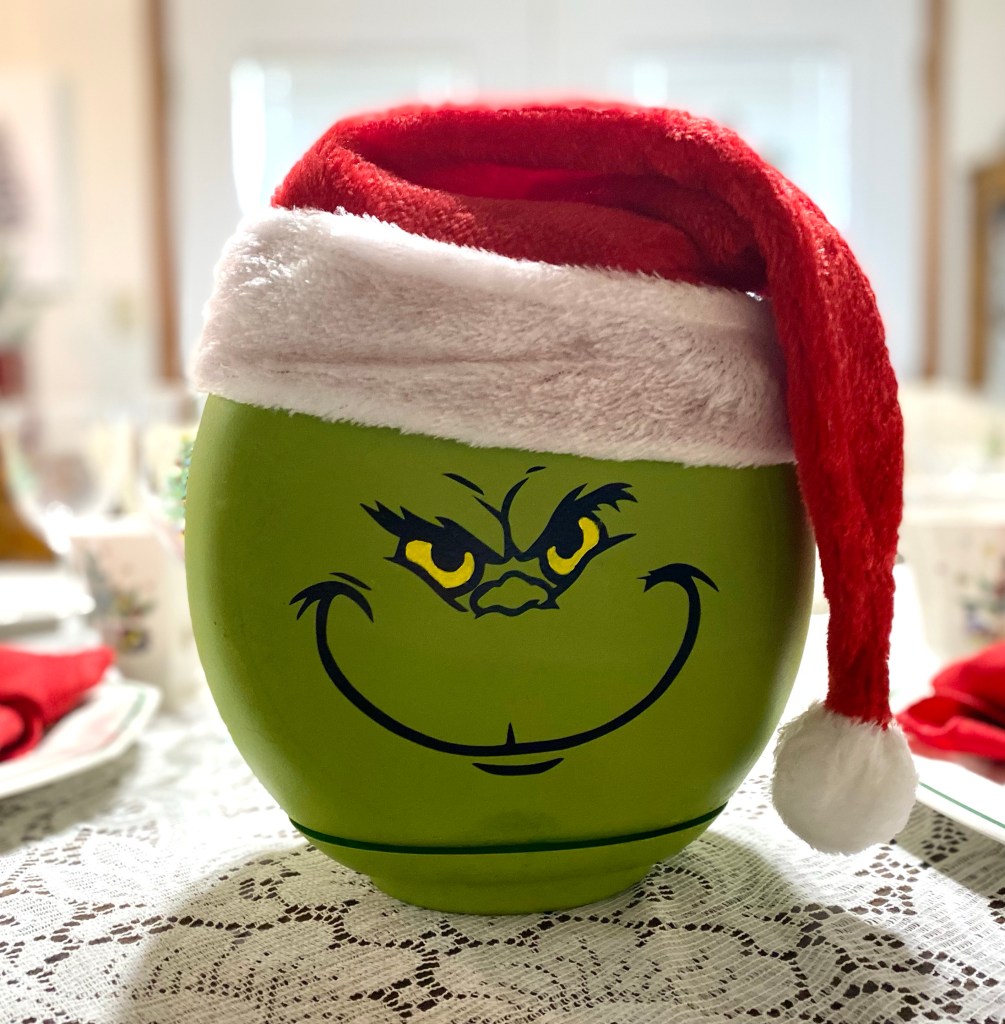
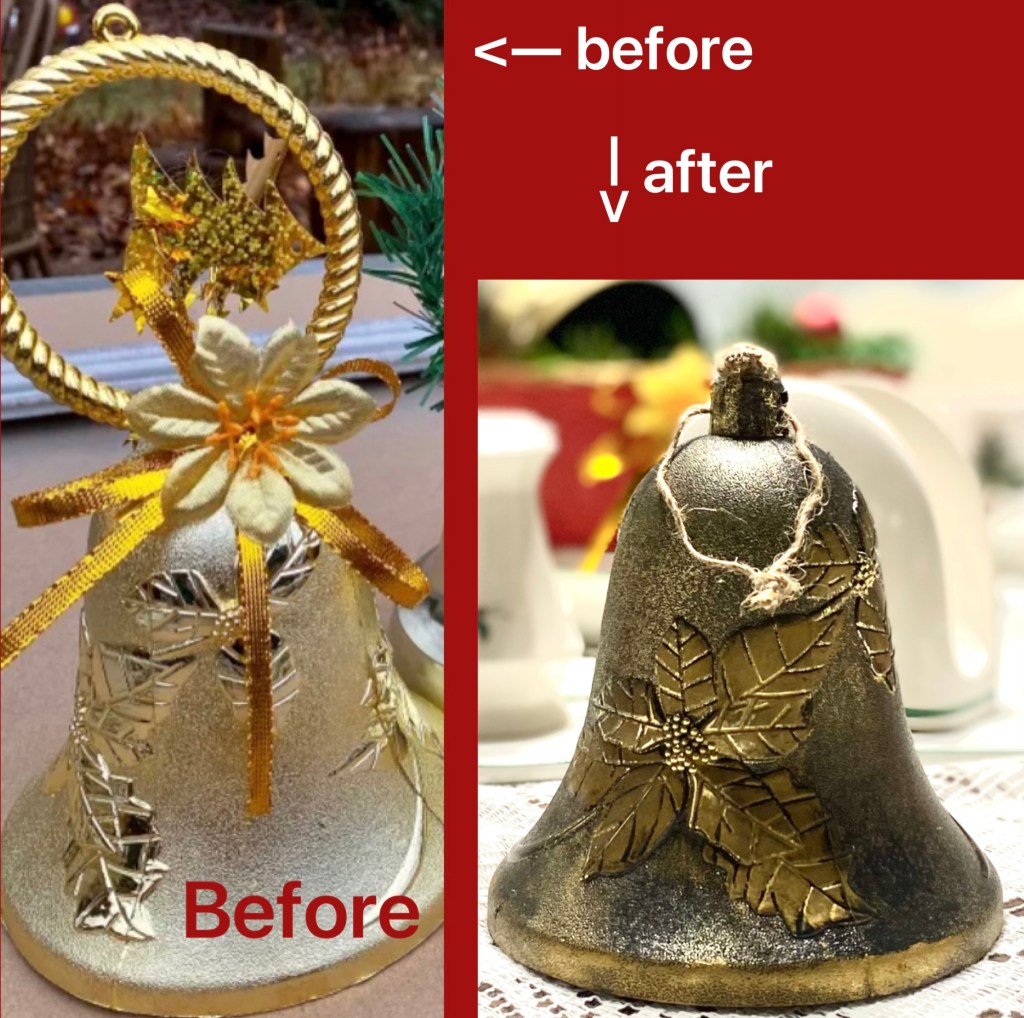
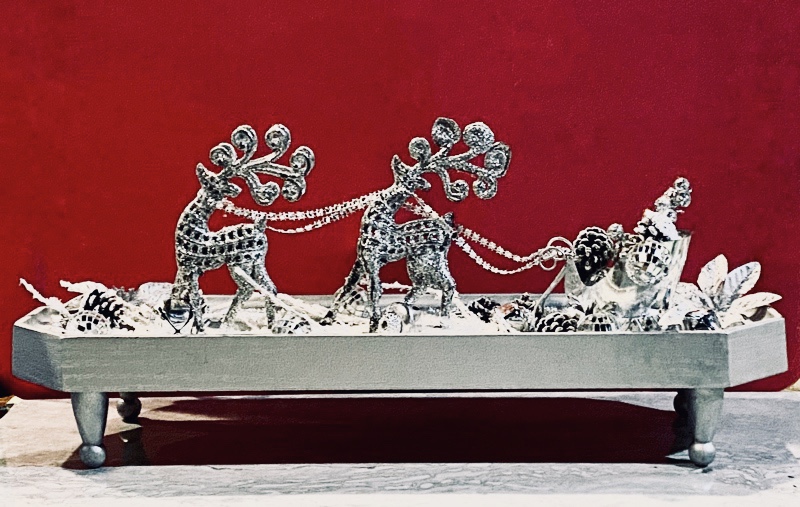
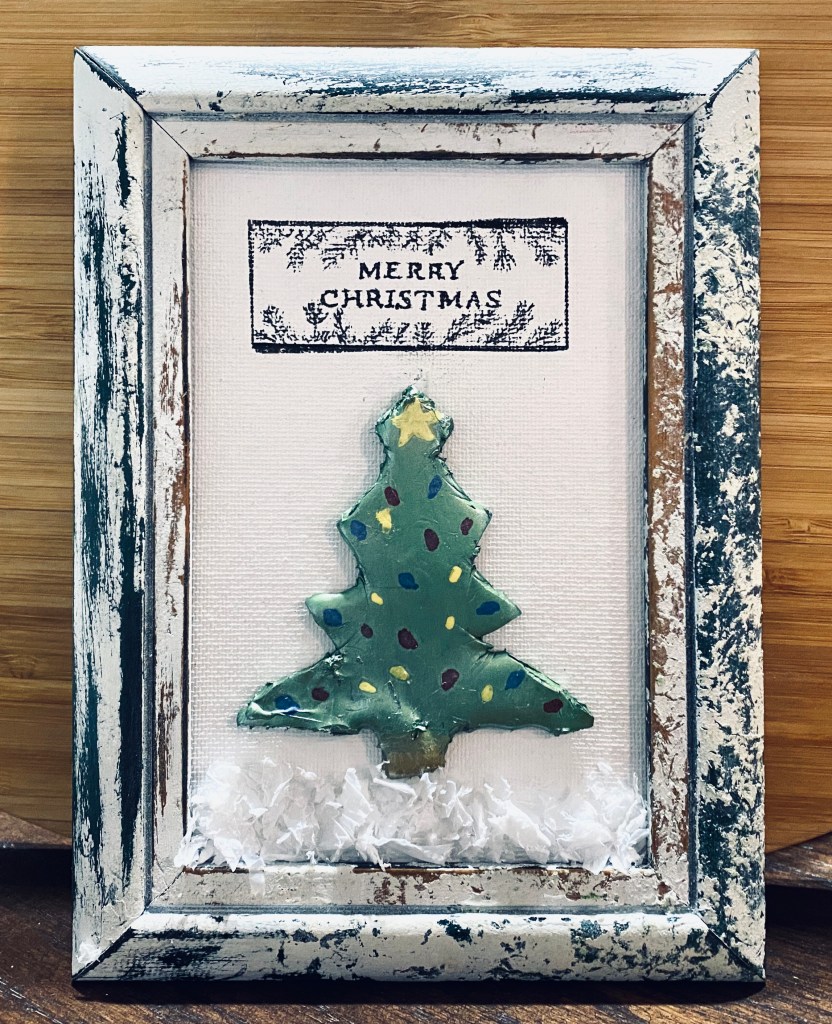
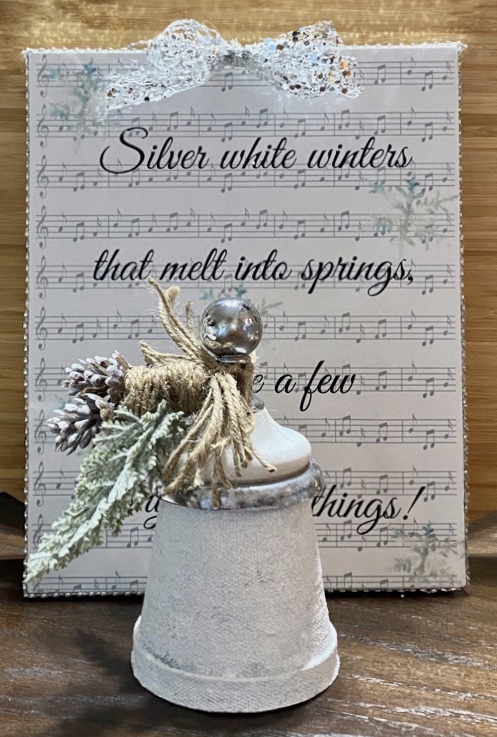
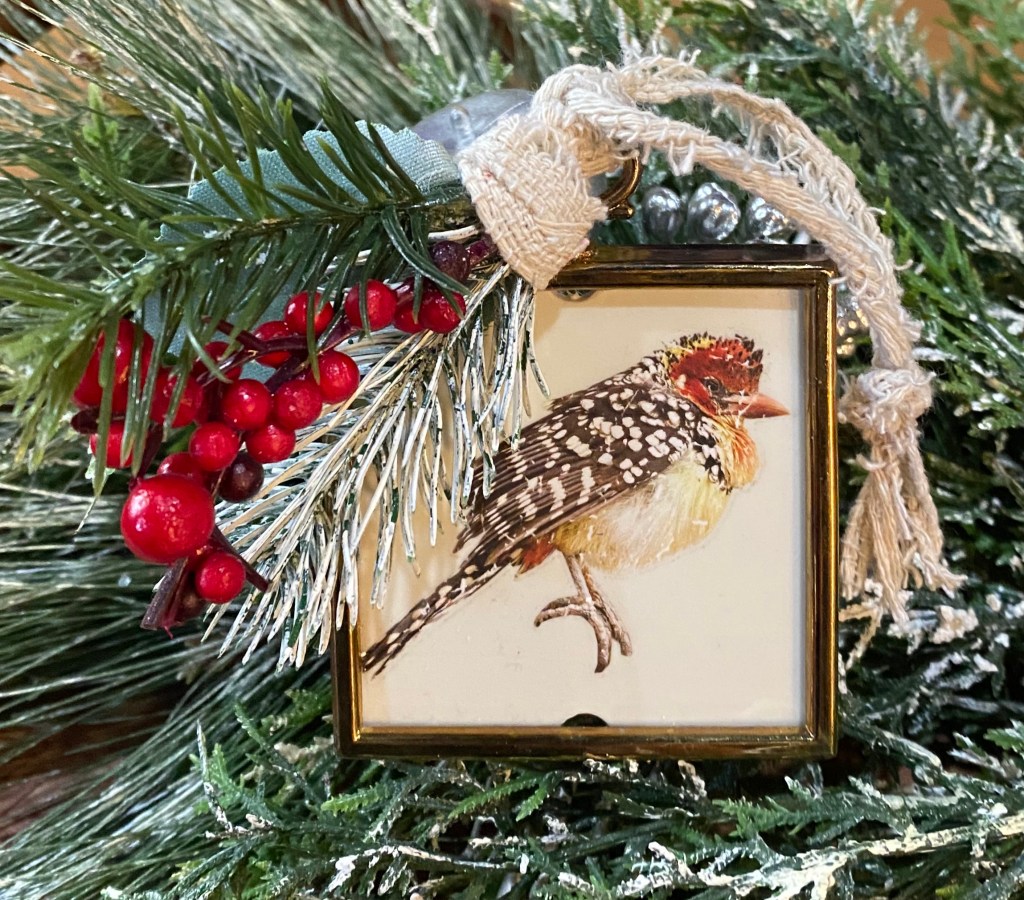
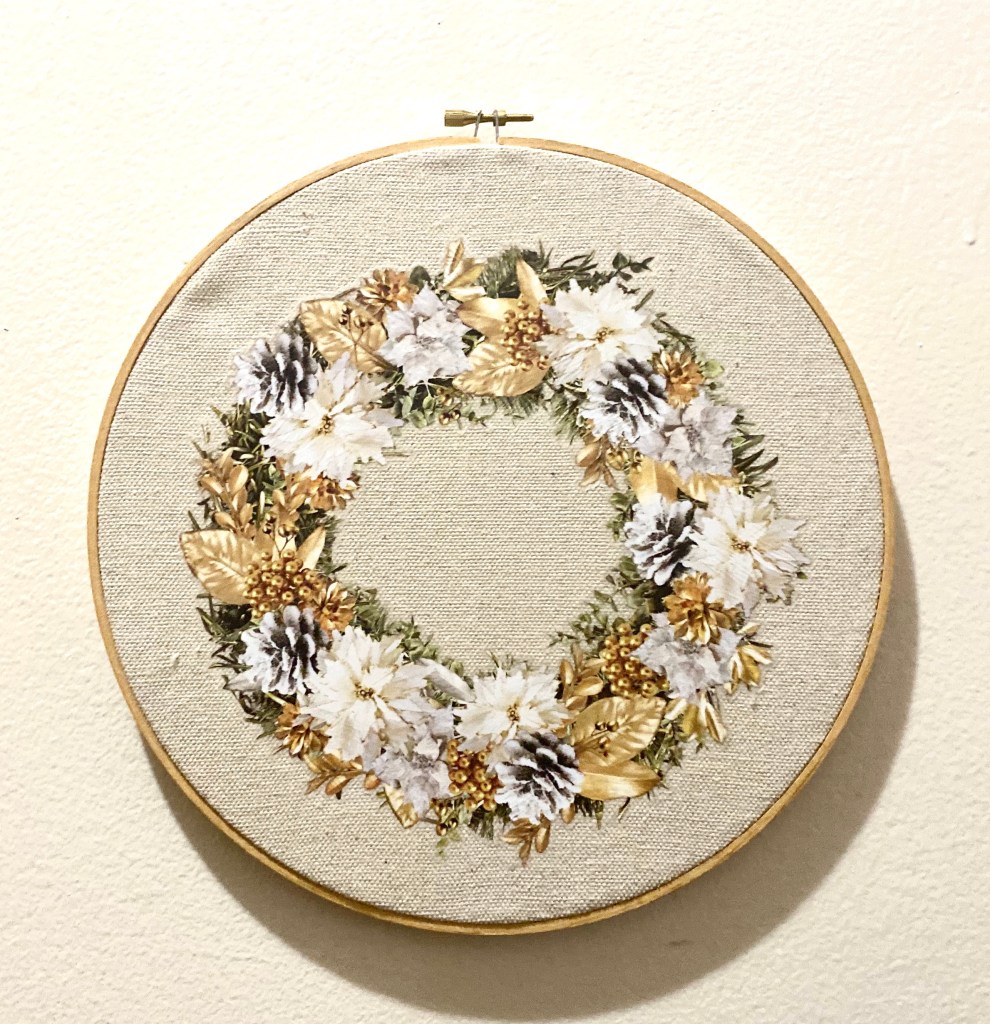
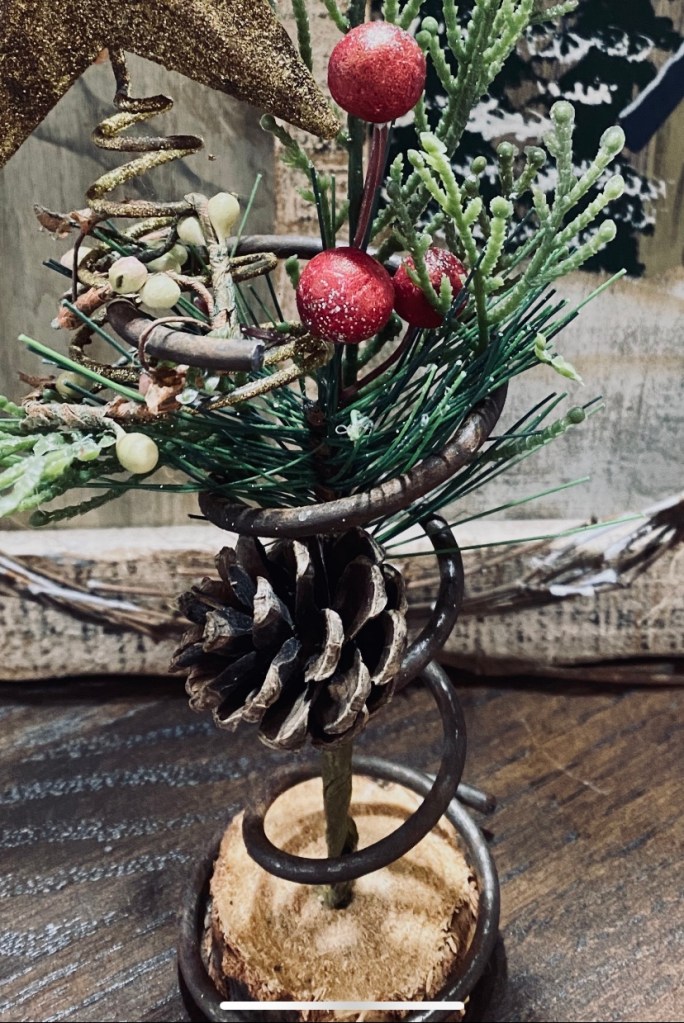
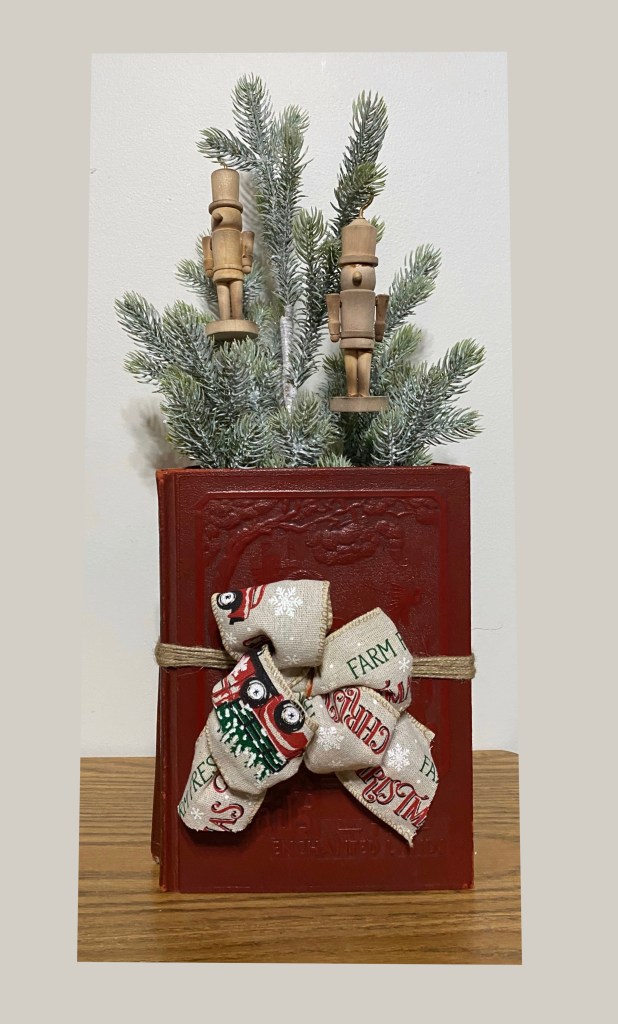
I’ve been so busy crafting, I haven’t been posting lately. So doing a photo dump here of many of the projects I, or my husband and I, have been working on lately.
You will find details on some of these projects by following my Instagram page. I try to explain there on how some of them were created. https://instagram.com/sharsumpaint
For now, I have to go clean and reorganize my craft area before Christmas. Wish me luck!
Update: Jan. 12, 2023
It seems Christmas got in the way and every time I sat down to try to add photos, I couldn’t. But, I did get my craft area cleaned and organized! I finally figured out that I was missing permissions for WordPress to access my photos. Most of the projects are on Instagram, but here’s few of my favorites. Maybe you can save some ideas for next year.
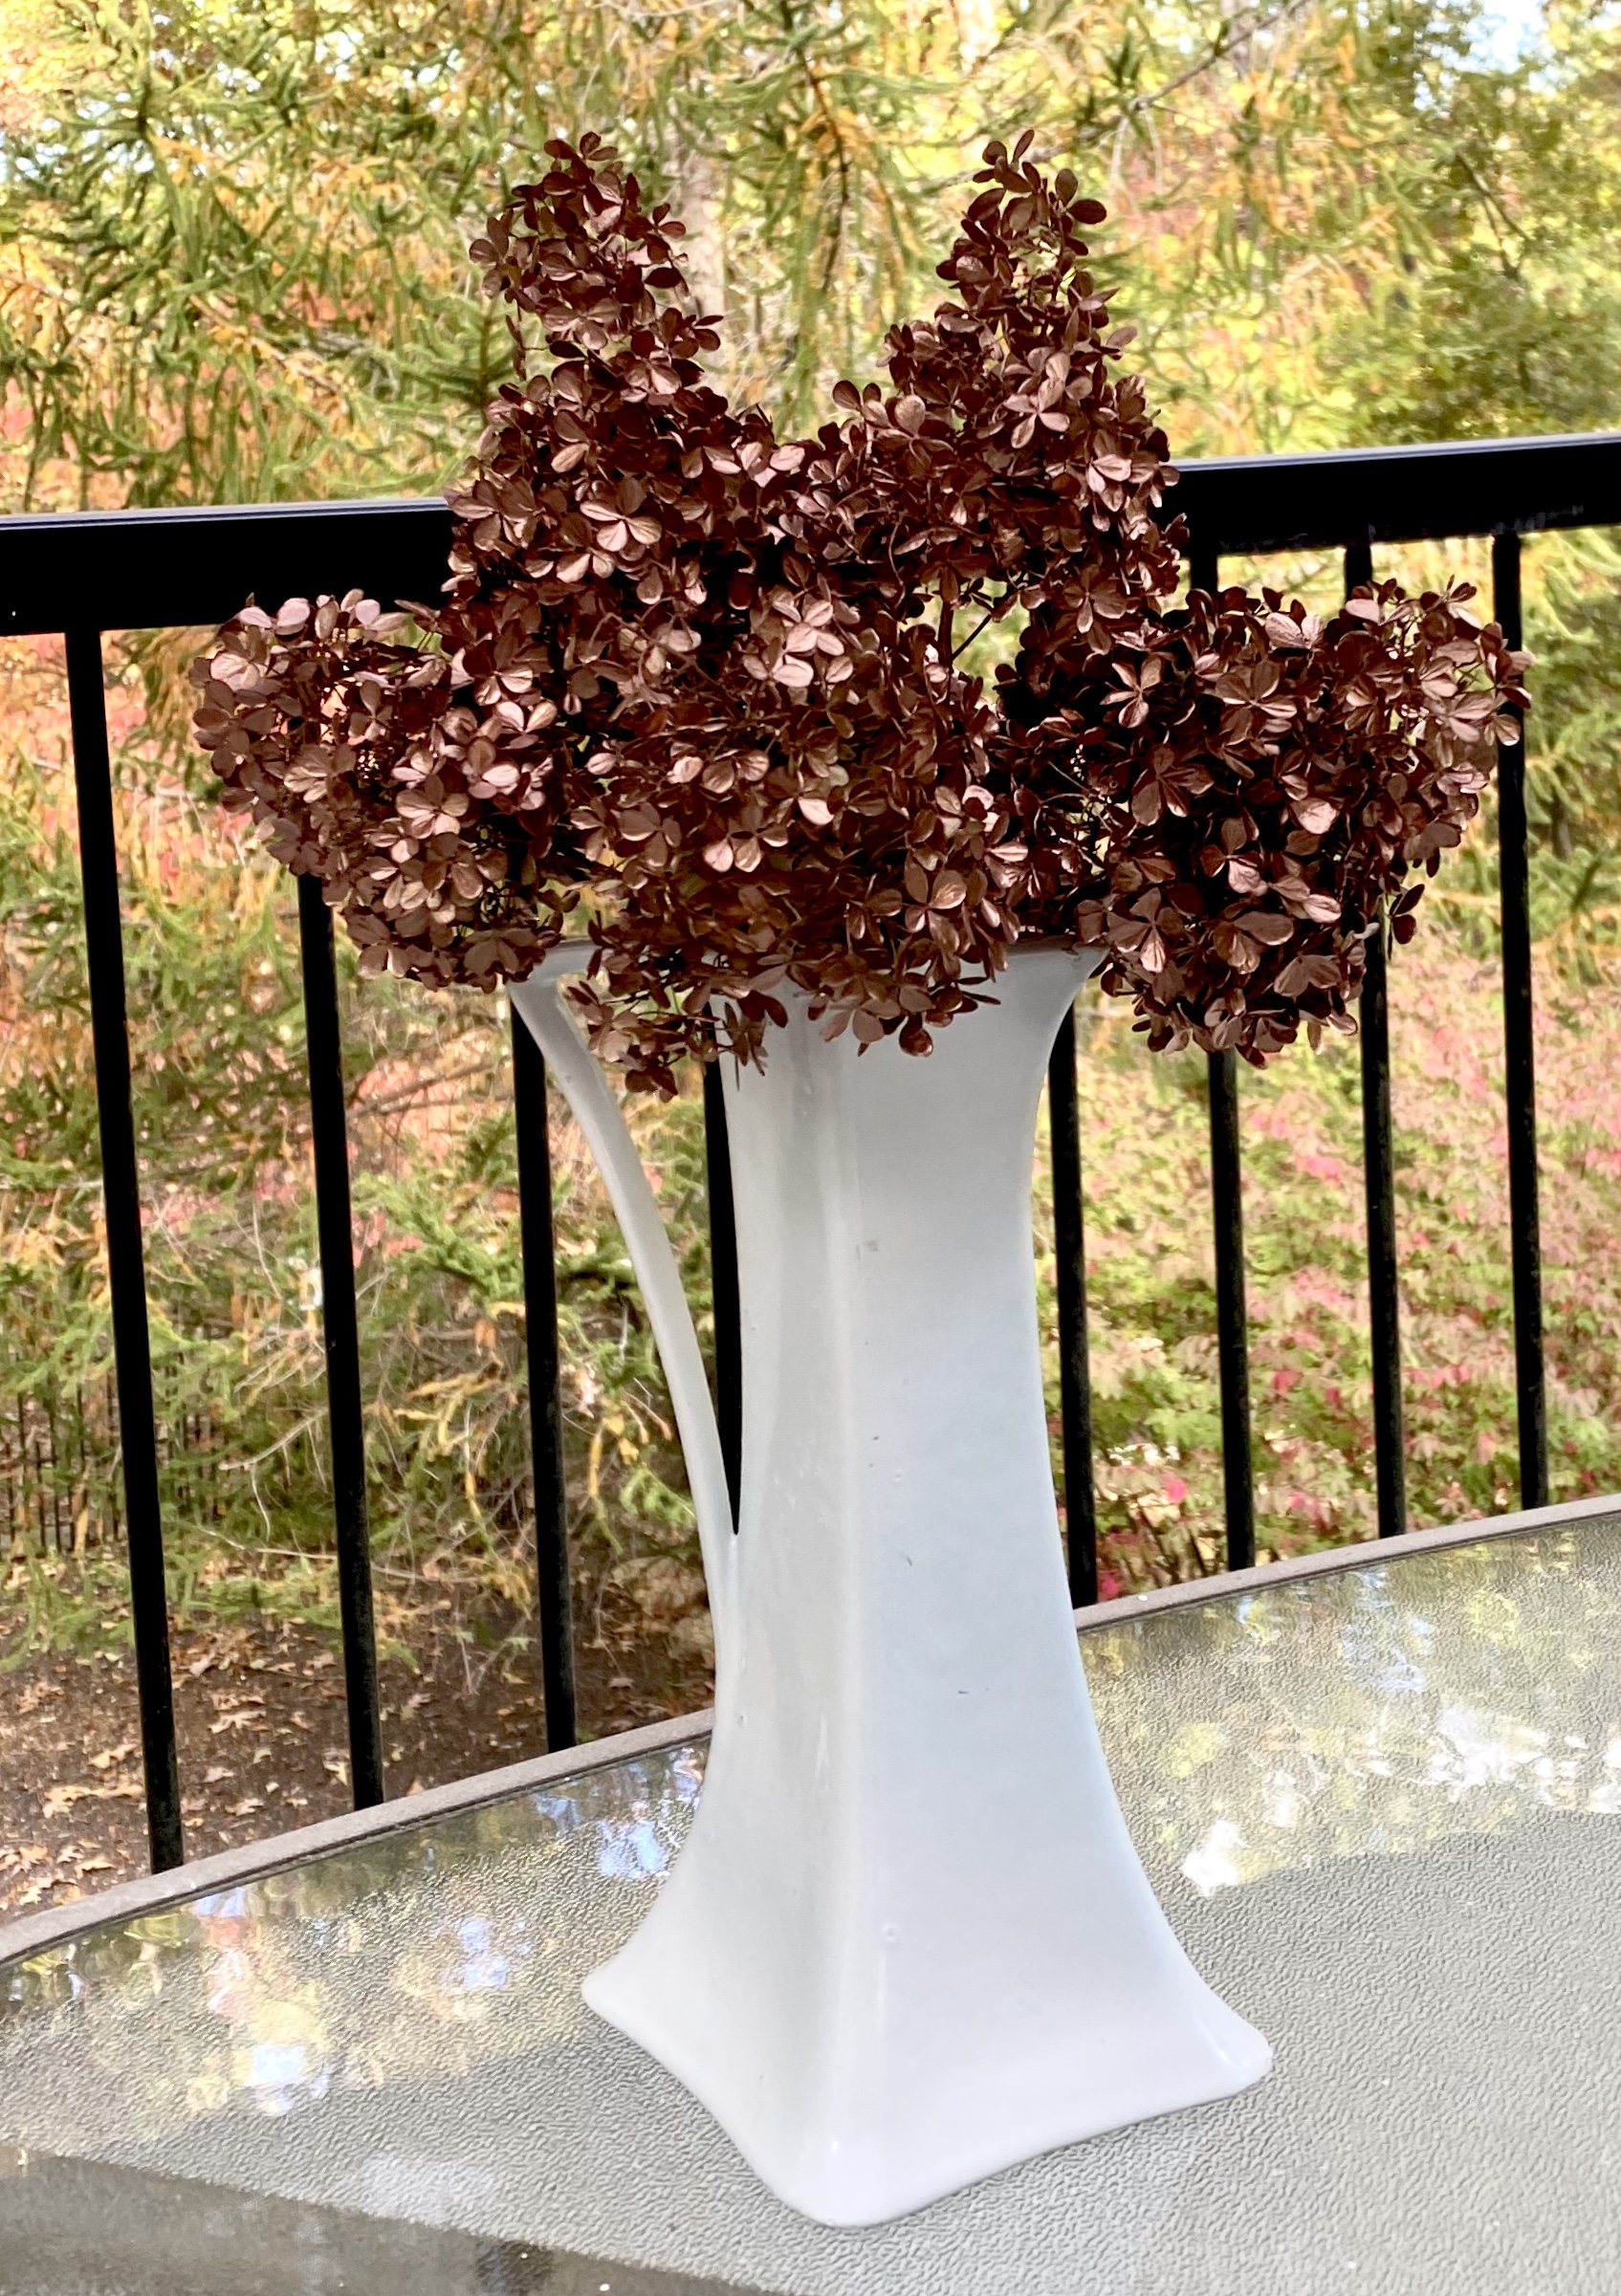
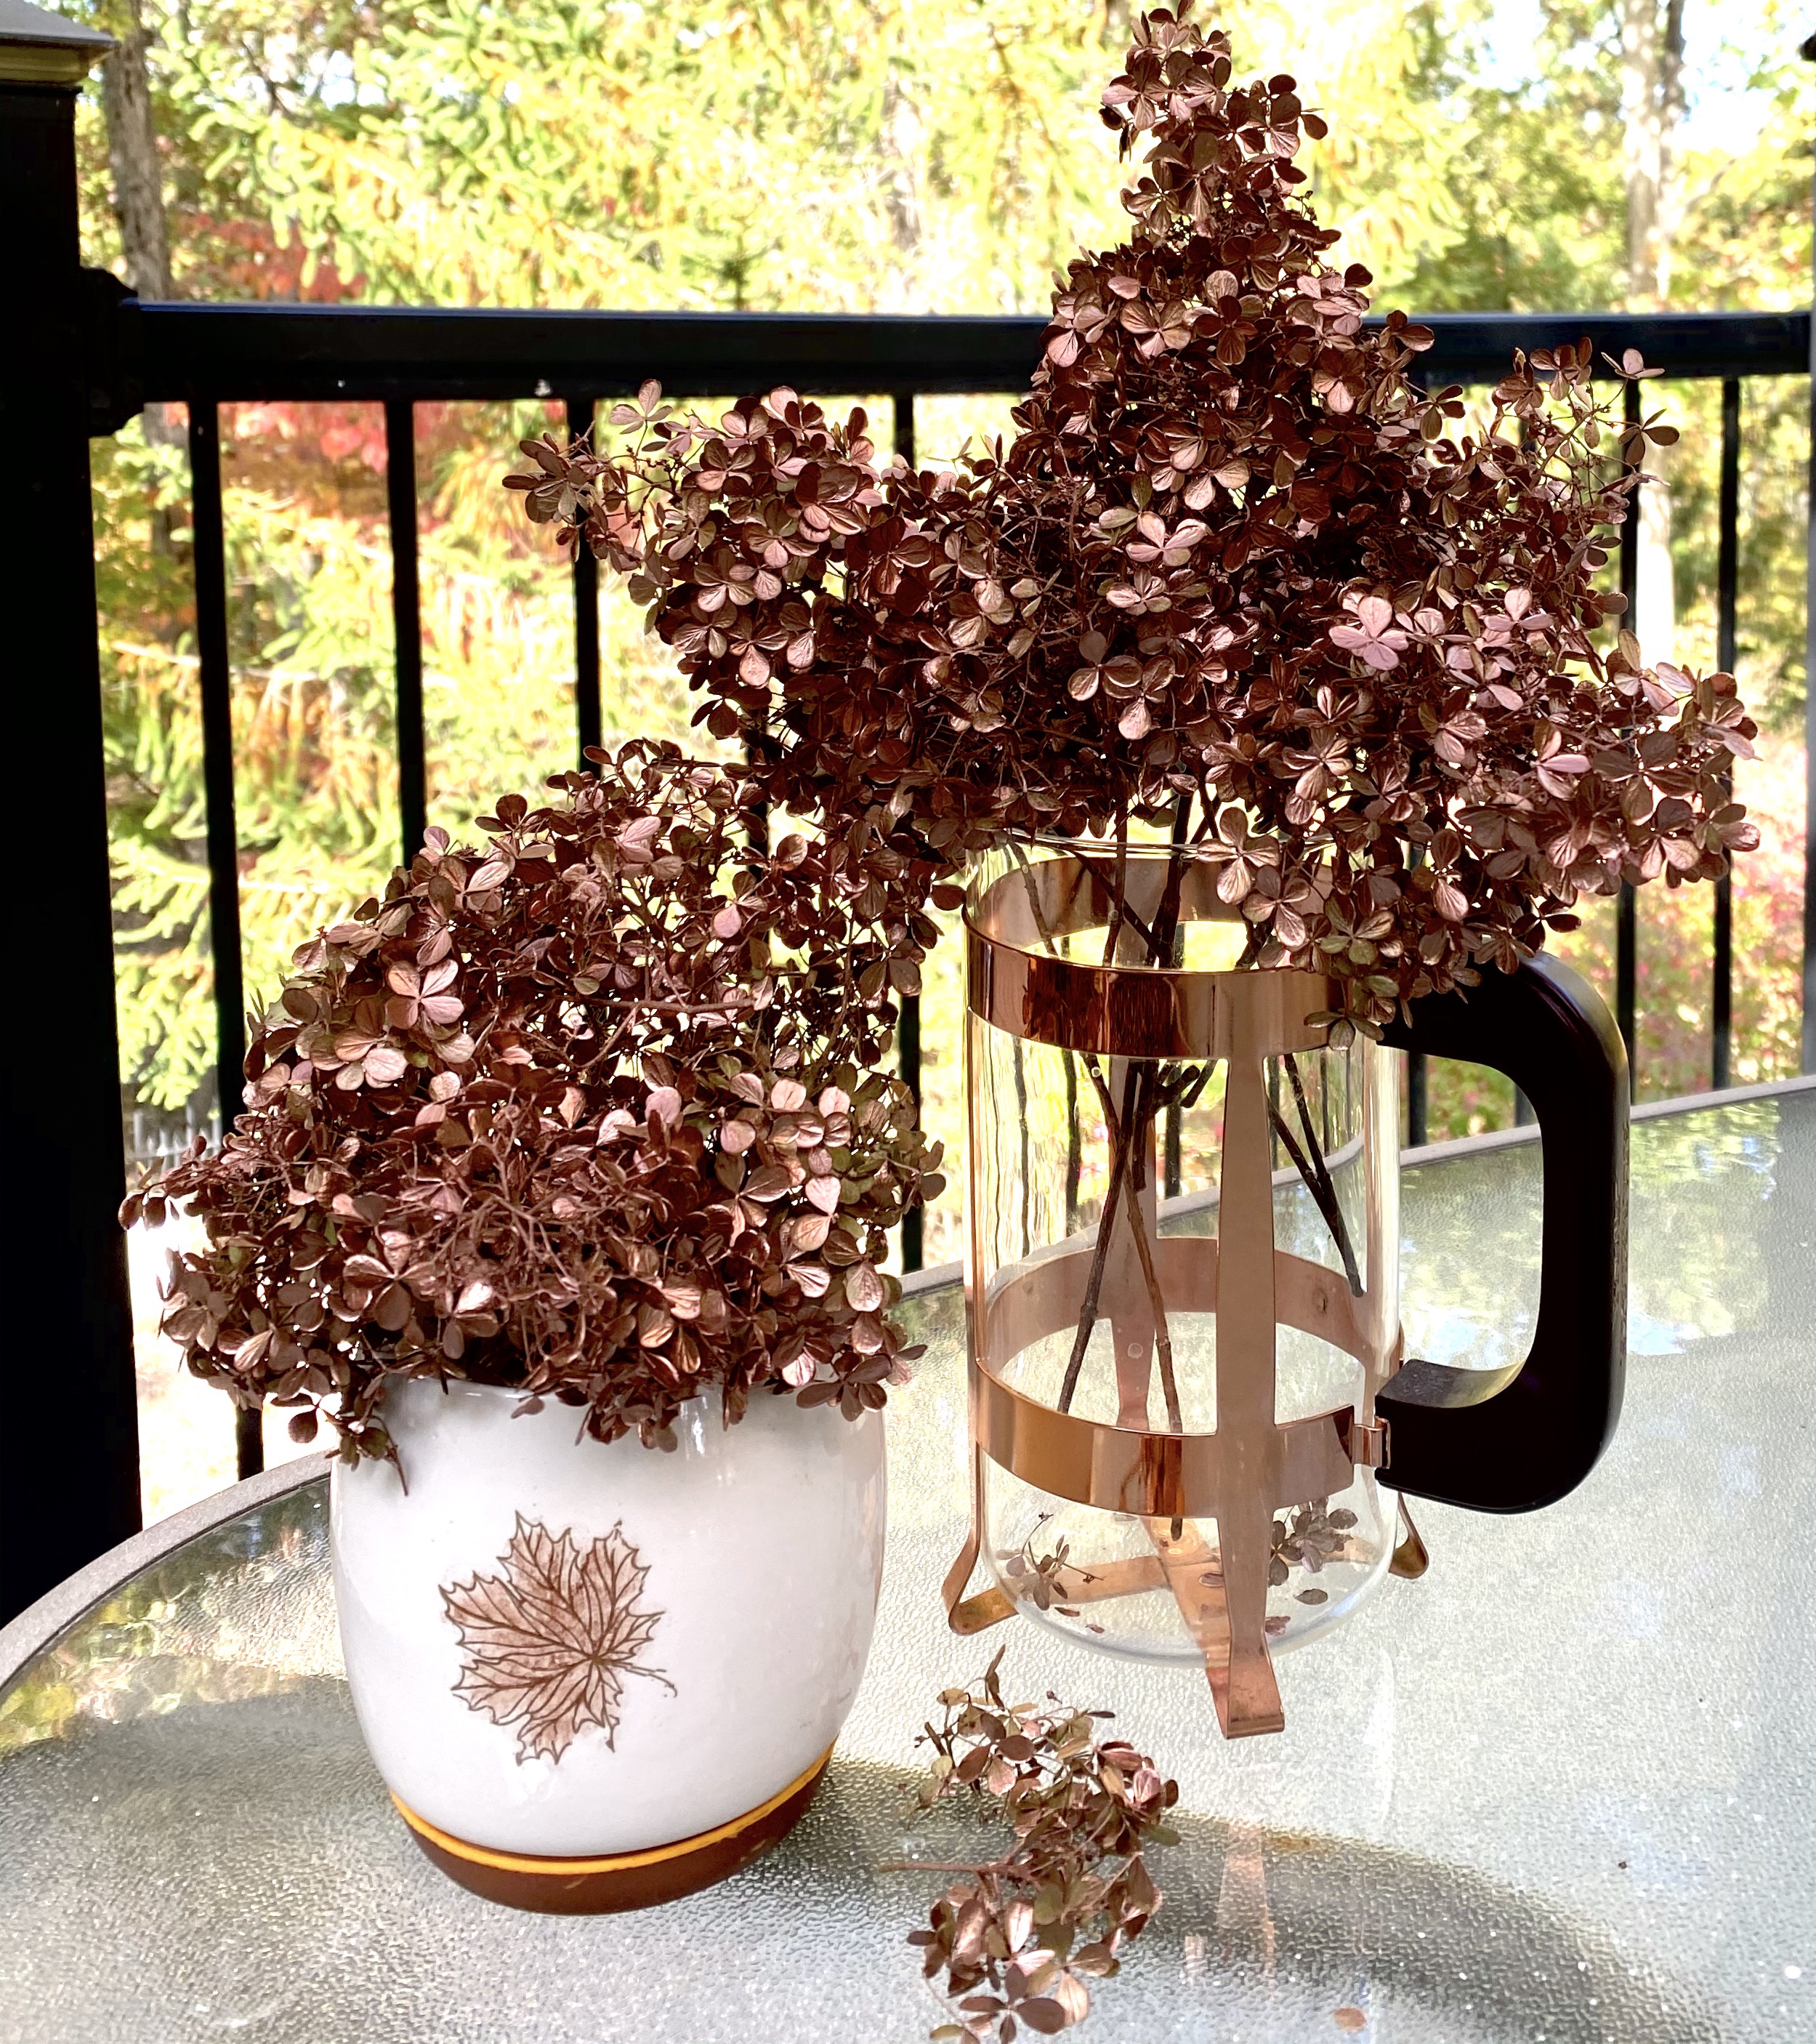
I saw this idea and had to try it. I had leftover hydreangas I had dried for a wreath I made. Someone suggested spraying them with metallic copper so….
I finally got some metallic copper spray paint. They are gorgeous. Every once in awhile a little of the green I missed peeks through. I decided I liked it like that. Even prettier in person.
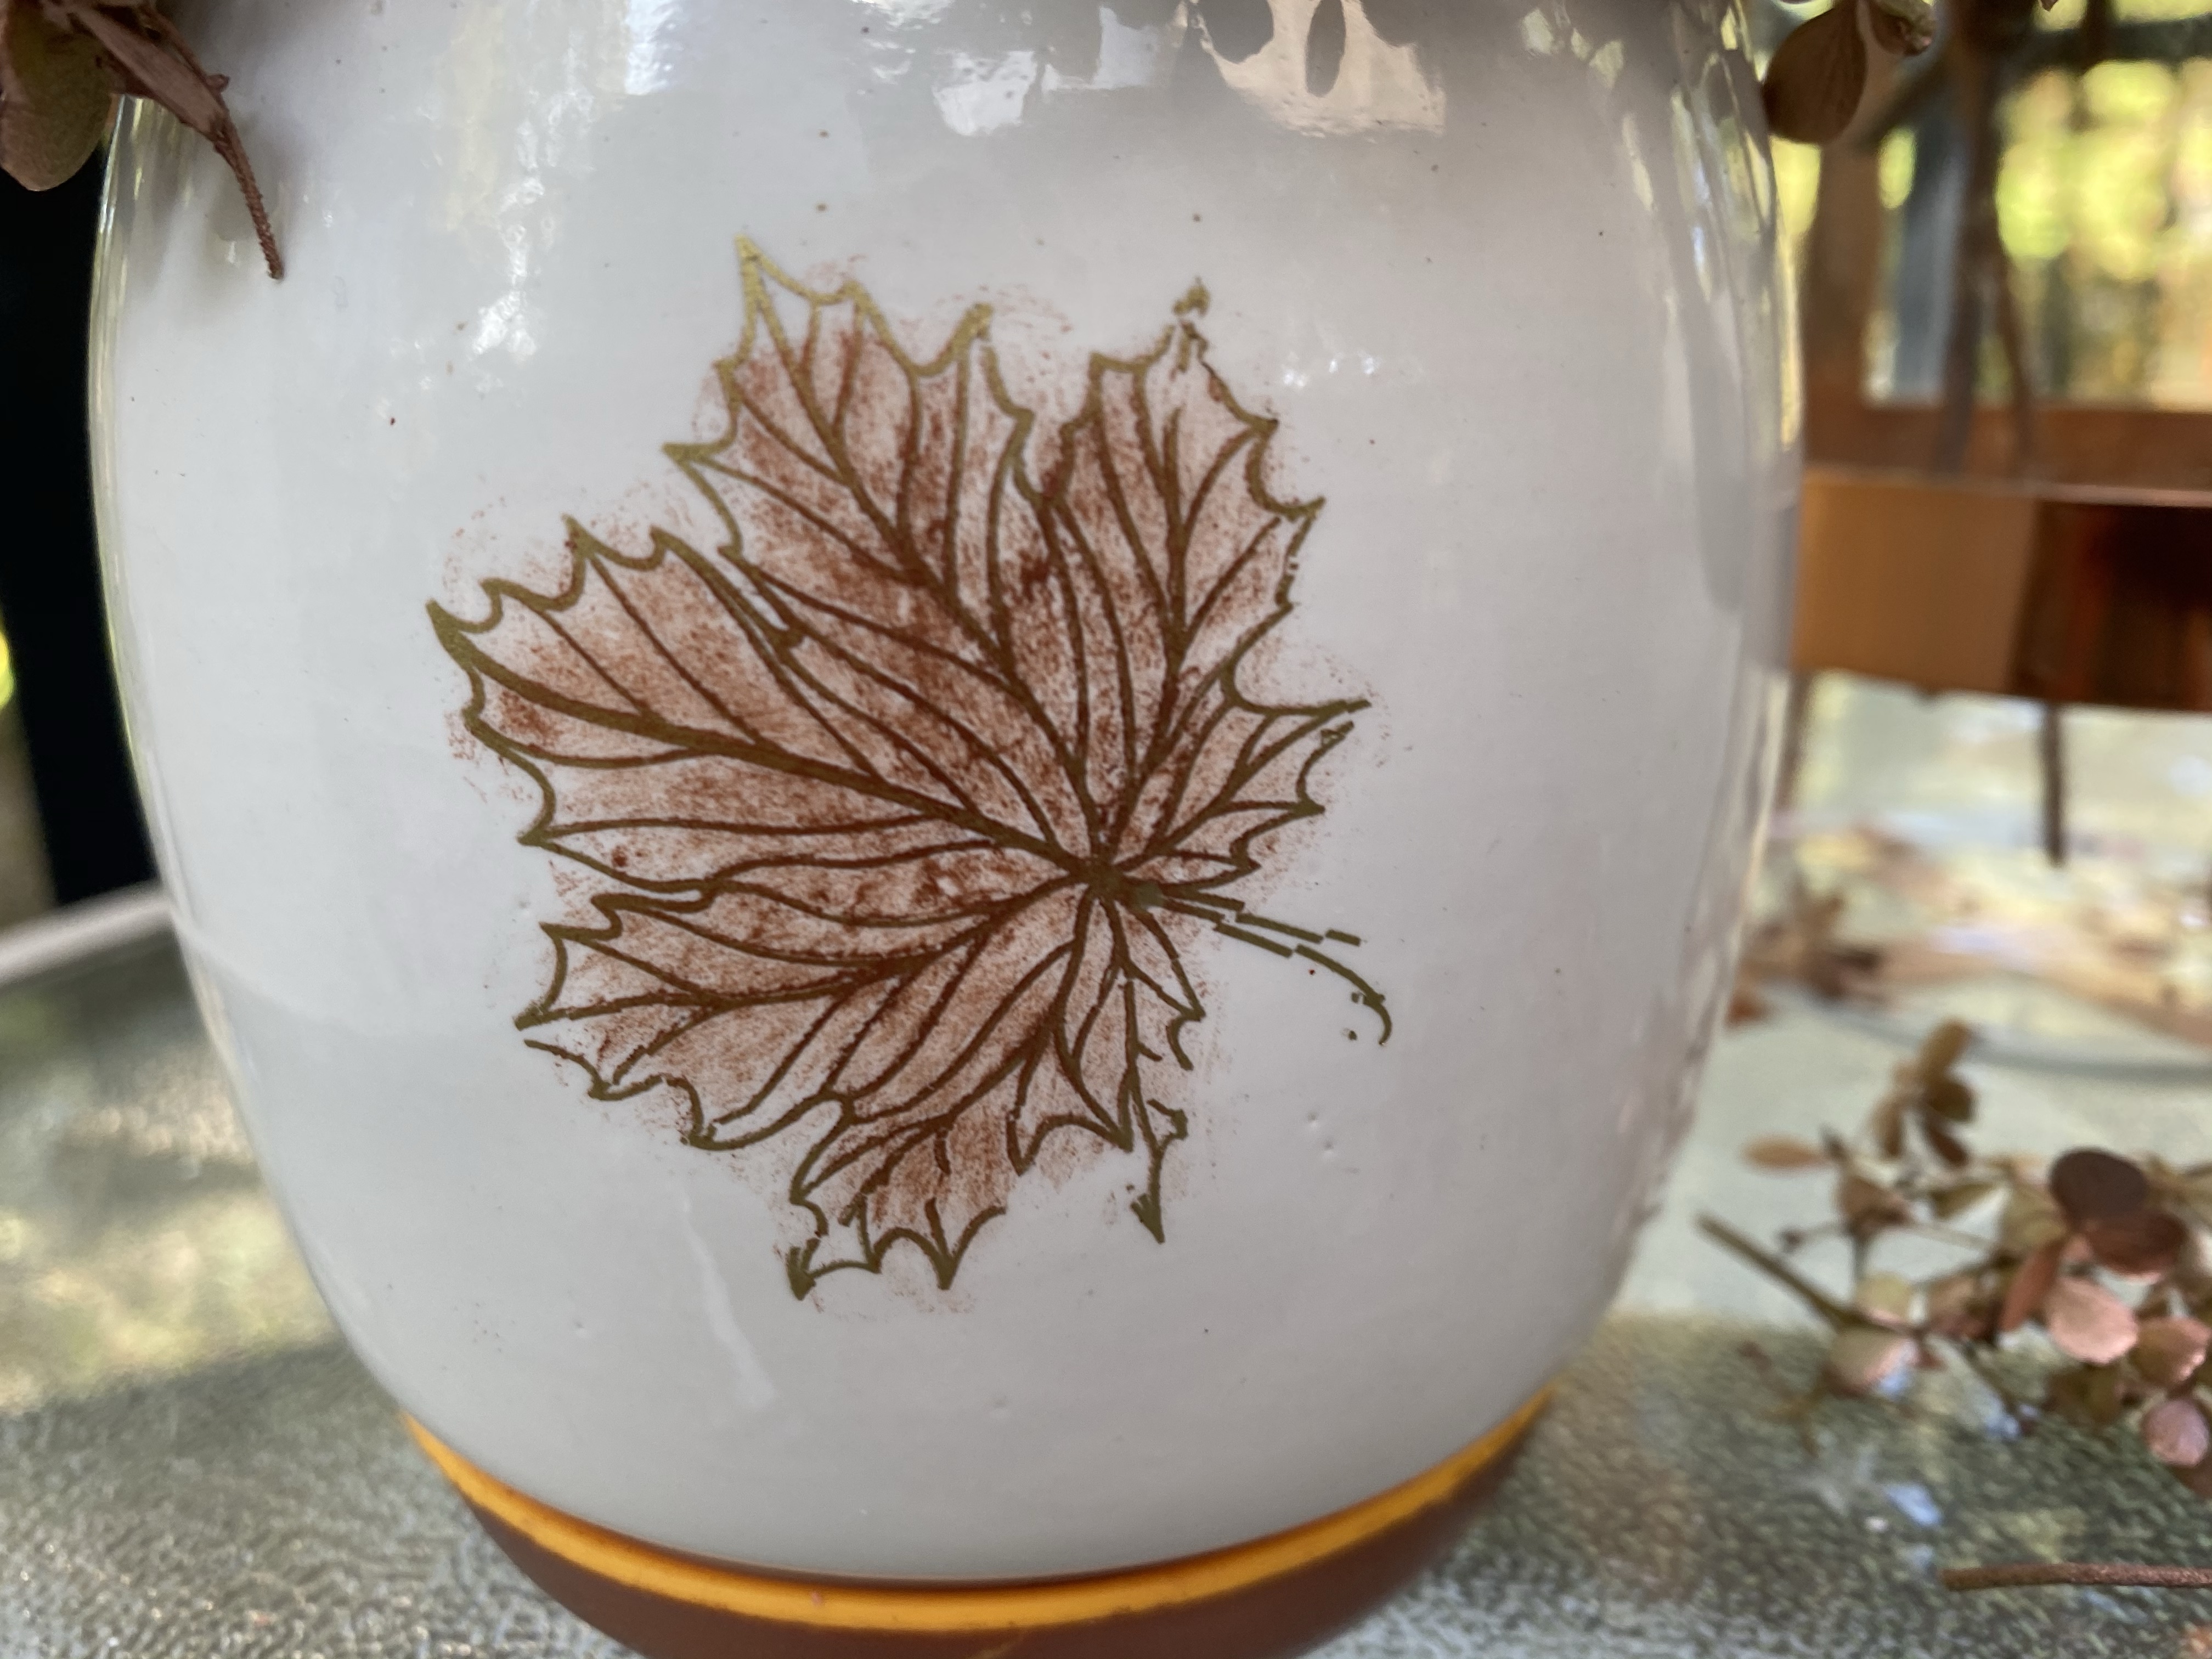
I had two more containers. A copper coffee press from Starbucks I’ve had for years and this little ceramic pot I thrifted. It was some kind of an egg cooker. It had an orange silicone bottom. I put copper wax over the bottom. I also added a gold leaf rub on from Dollar Tree then used my finger and daubed copper wax over it.
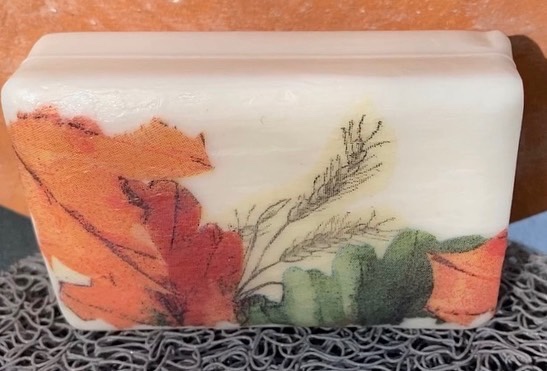
I tried decoupaging a napkin on Dollar Tree Dial soap and it worked perfectly. The soap suds from the bottom, leaving the sealed napkin side intact.
I then decided I was going to make several of them and sell them at a Christmas Open House at the Antique Mall where we have a booth. The owner is very kind and is allowing me to have a small space to sell my smaller crafts that day. We’ve not worked out the details yet, but now I need to get busy with stocking stuffers and small gifts and Christmas decor.
I went in search of more bars of the small hypoallergenic Dial Soap carriers but wasn’t finding it. I looked online and they weren’t selling it online either. As I read more it sounds like Dial quit making it. Darn. I was able to find the last 8 bars at my local store so I happily got them.
Any soap that has at least one flat side will work. I just liked the size of these. And they fit perfectly into the little bags Dollar Tree sells in the wedding section. If you are a hoarder of the little soap bars from hotel stays, they might possubly be an option, too.
But then, I wondered if the rub on transfers would work. After a trial and error of trying to apply the transfer to just the soap and the transfer wouldn’t rub off, I decided it might work if I applied a layer of decoupage medium first. I used a water-based sealer (in this case the Wise Owl clear one hour enamel, but any water-based top coat would work). That did it! The rub on transfers worked perfectly then. I used a variety of rub ons I had. Some were just left over from other projects. I’m sure left over pieces of the high end rub ons would work also.
I sealed each bar with two coats of sealer and they fit perfectly in the little bags. I also noticed Dollar General sells the bags, too, but they are an off white. I like the white color of the Dollar Trees ones better. I plan on selling them for $4 each.