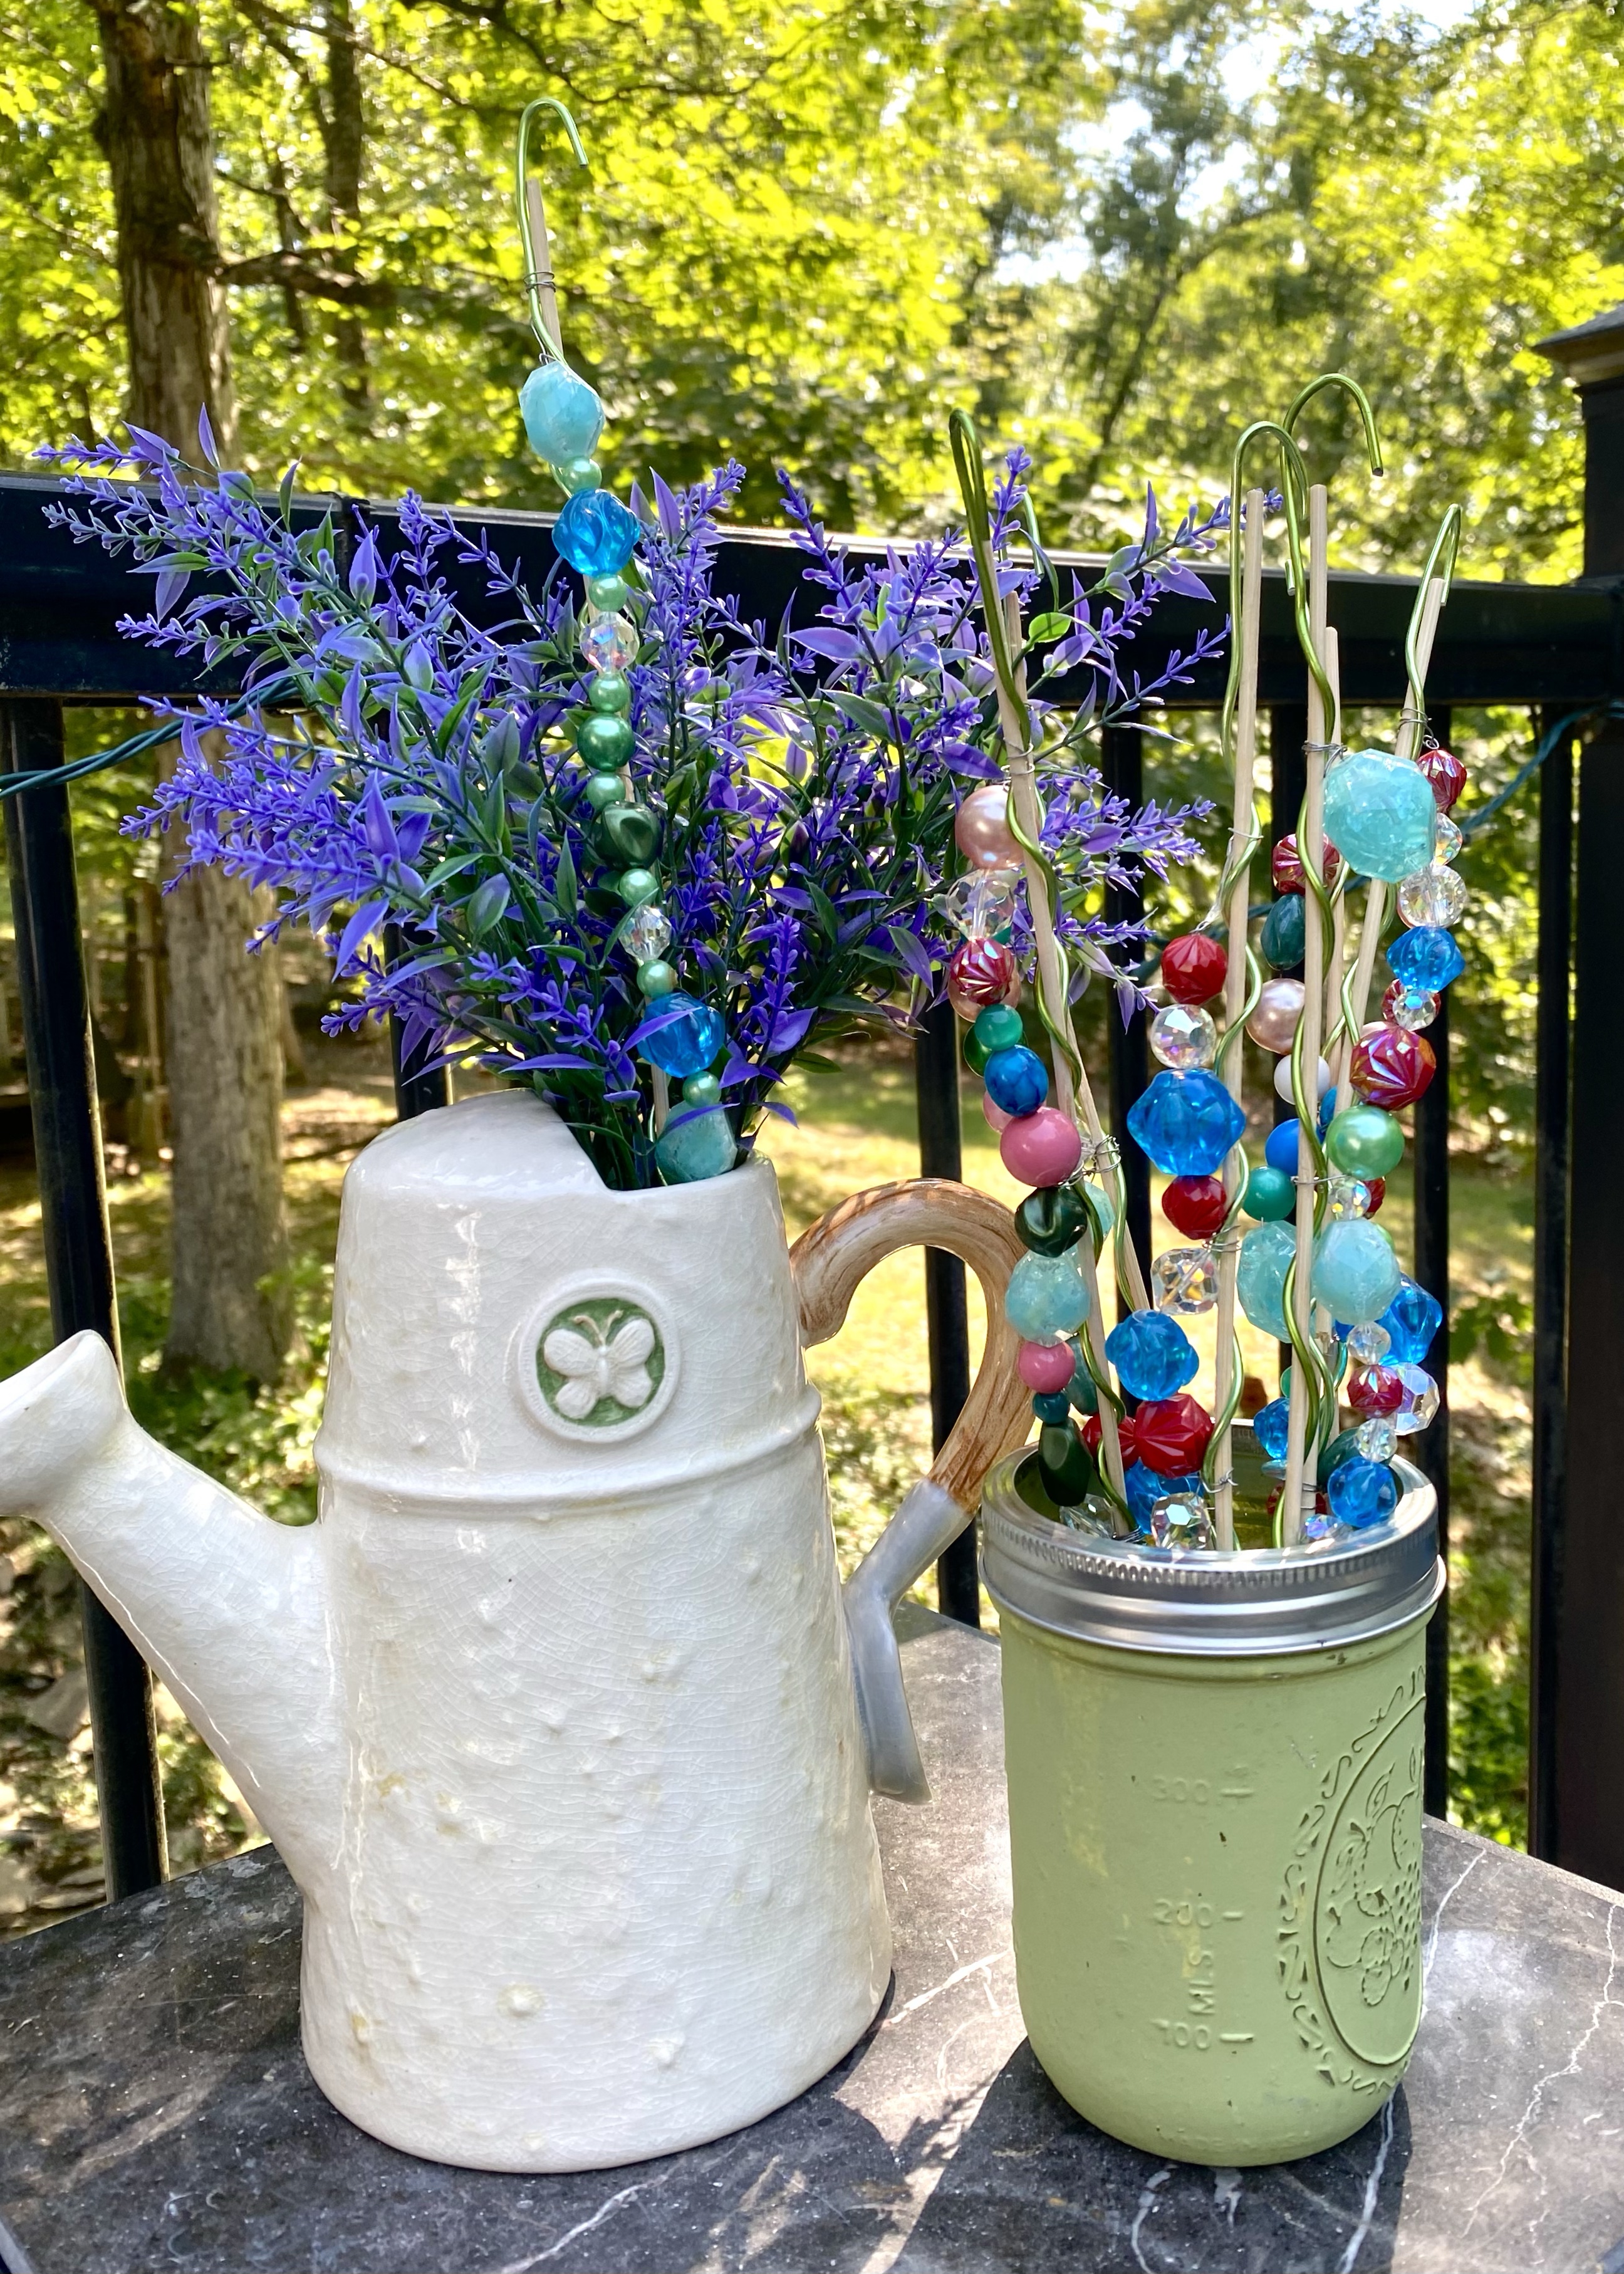
These “bling sticks” dress up potted plants or flower arrangements. I used green wire I think I got from Dollar Tree (it was very bendable and soft to work with). I threaded all kinds of beads from old necklaces, etc. to the green wire and then wired the bling to a skewer from Dollar Tree with thin wire for support.
One of them looks so pretty in the ceramic watering can full of faux purple flowers on my deck.
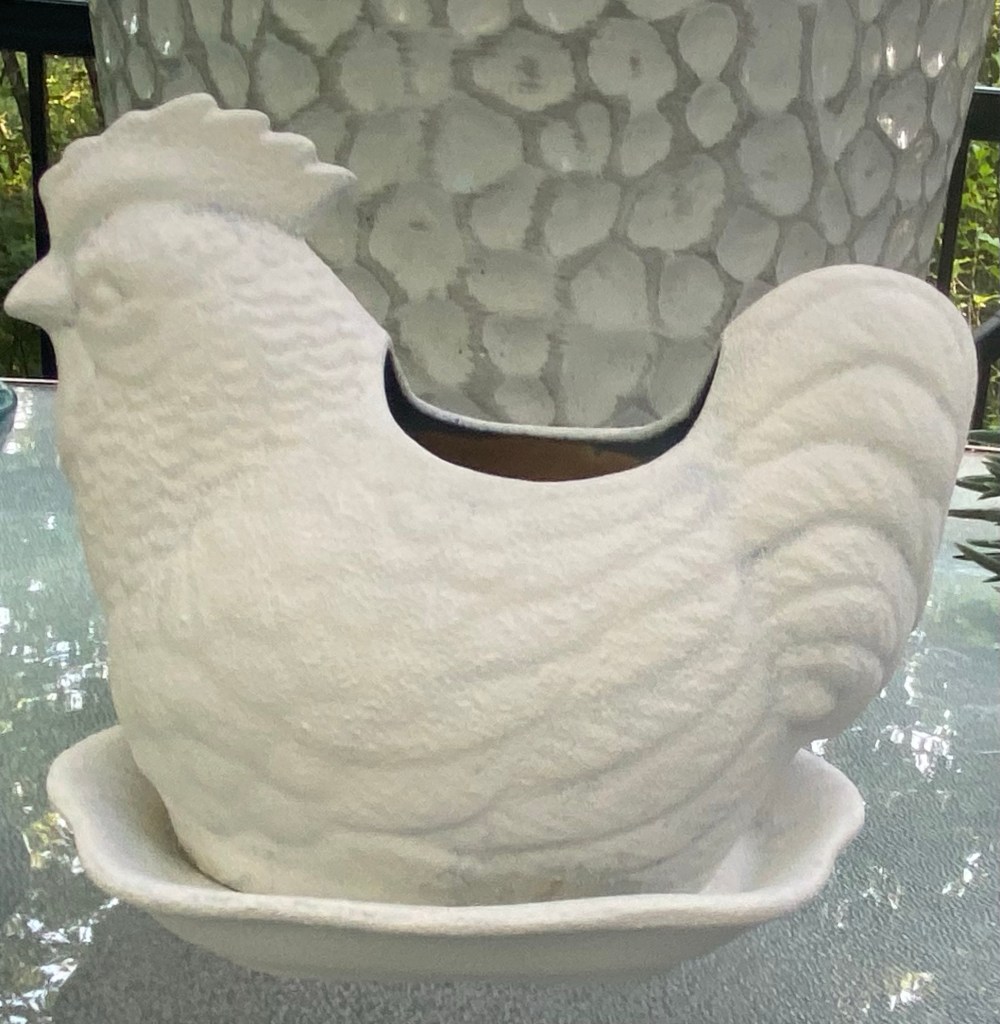
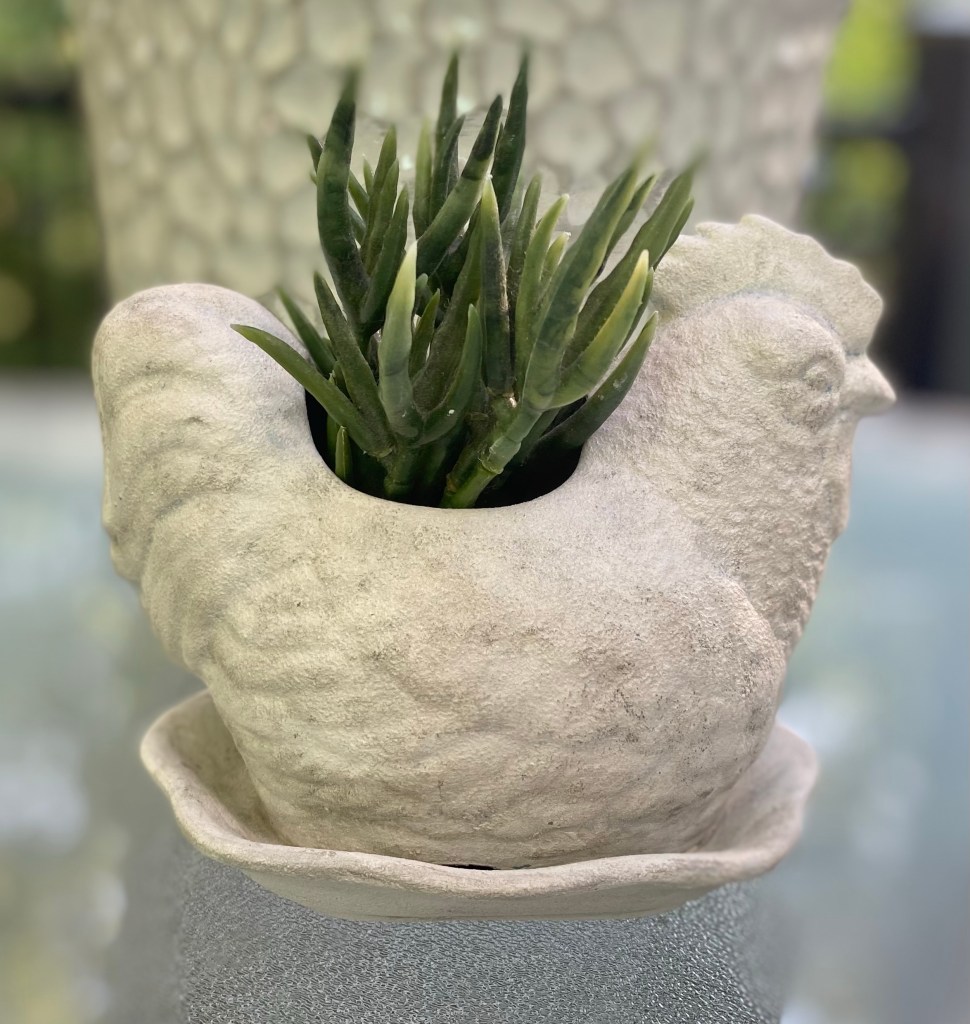
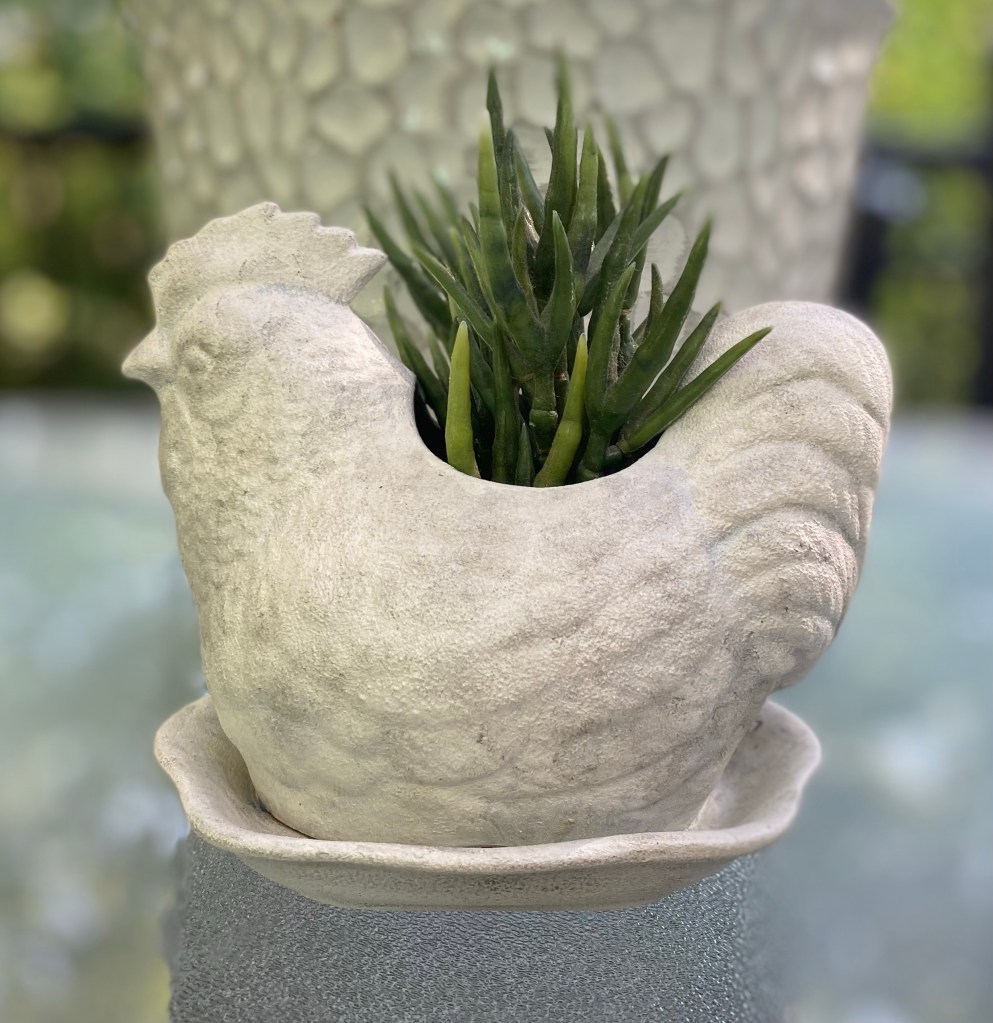
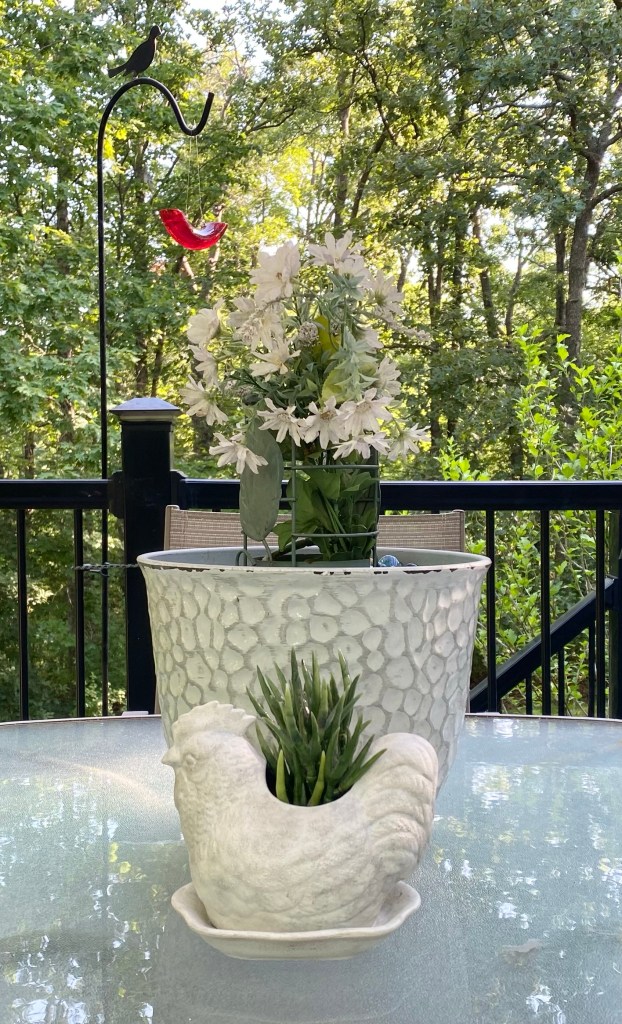
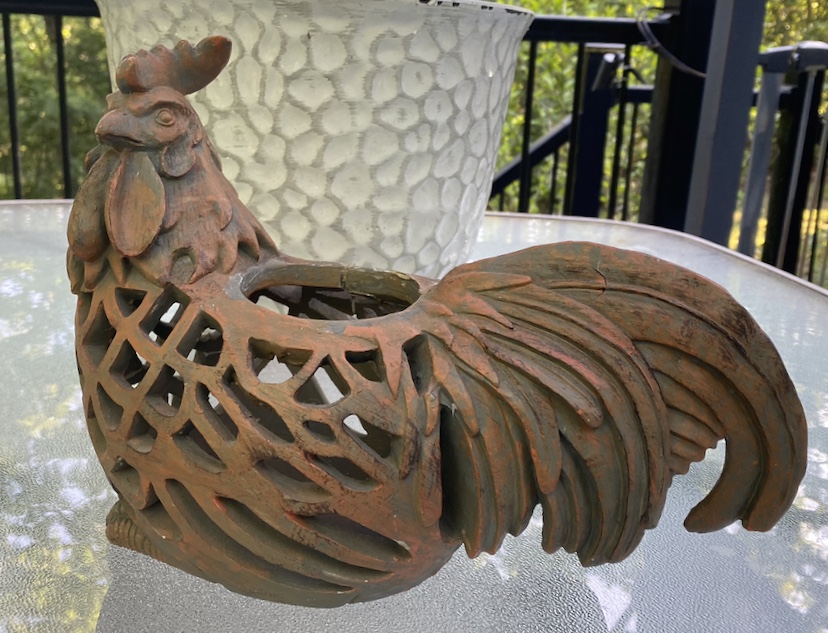
I found a chicken planter and a rooster that would hold a vase at two different thrift stores in the last few weeks. I decided they both needed updating using a concrete look technique.
The first thing I did with the chicken was spray him with Mod Podge pearlized glaze. Any sealer would work or even spray paint. I sprayed it to help the paint adhere well since the pottery was a bit shiny.
Next, I mixed chalk-style paint with baking soda and began daubing it on all over. This gives it a nice texture and no brush strokes. I gave it two coats, letting it dry in between.
After two coats of the baking soda and chalk paint mixture. I don’t have a photo, but I sprayed it with a coat of Mod Podge. This will help keep the antique look I’m giving it from soaking in which would make it hard to remove if needed.
Next, I did a little dry brushing with the gray paint. I would daub it on and use a baby wipe to blend where needed.
That’s it. I now have a chicken planter with a concrete look.
Now, for the rooster – I finished him much in the same way using the baking soda and white chalk- style paint mixture with a little different type of antiquing.
I learned the rooster was made of resin. I knew it wasn’t metal or wood. I had someone tell me to scratch off a bit of the bottom and if it was white underneath, it was resin…it was white!
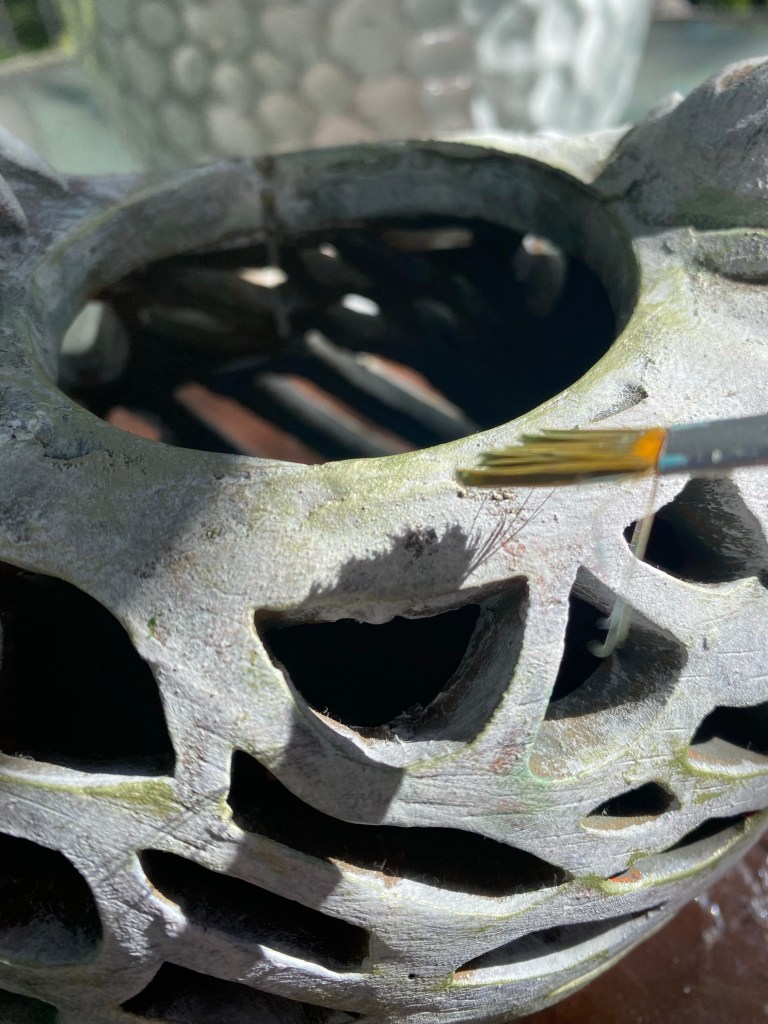
I daubed the white chalk paint all over him. I only used one coat and wasn’t worried about full coverage because I liked the colors underneath and didn’t mind them coming through a bit.
Once dry, I used sprayed the rooster with this clear chalky spray. This will help me when I apply the glaze and will let me remove excess.
I applied the metallic green glaze to make it look like the rooster had been outside in the weather for years and had moss growing on it at one point.
I also applied a bit of turquoise paint for some patina.
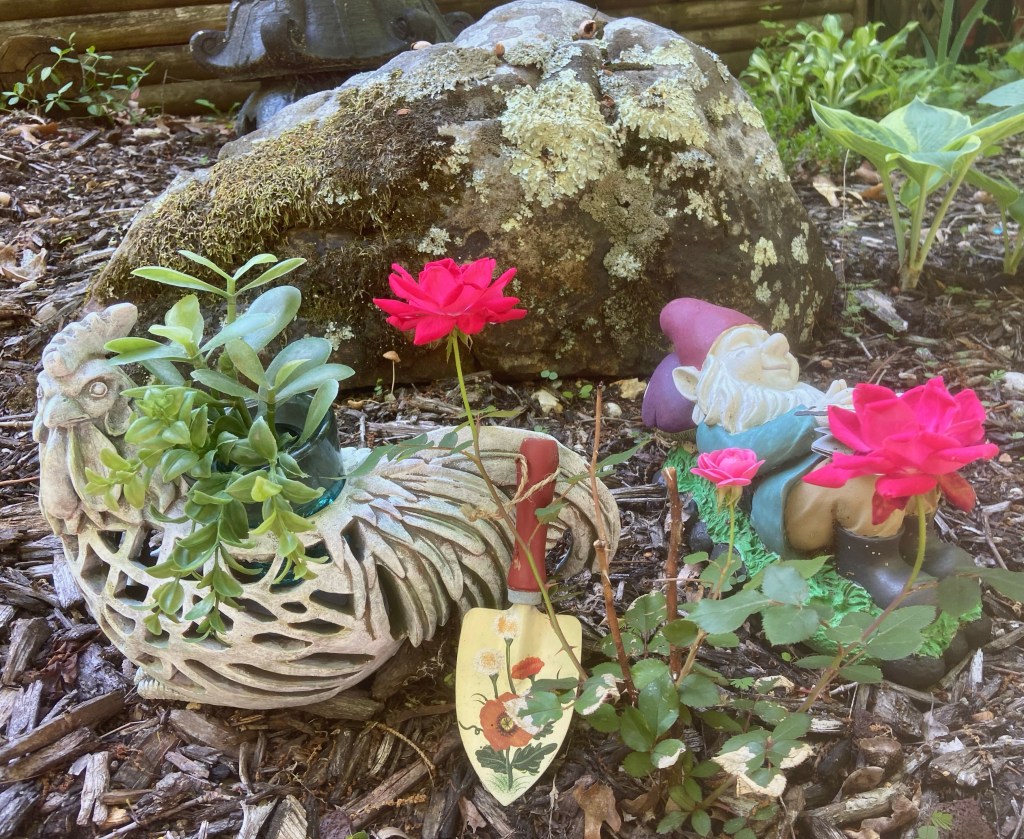
The rooster was now ready to be added to a garden display.
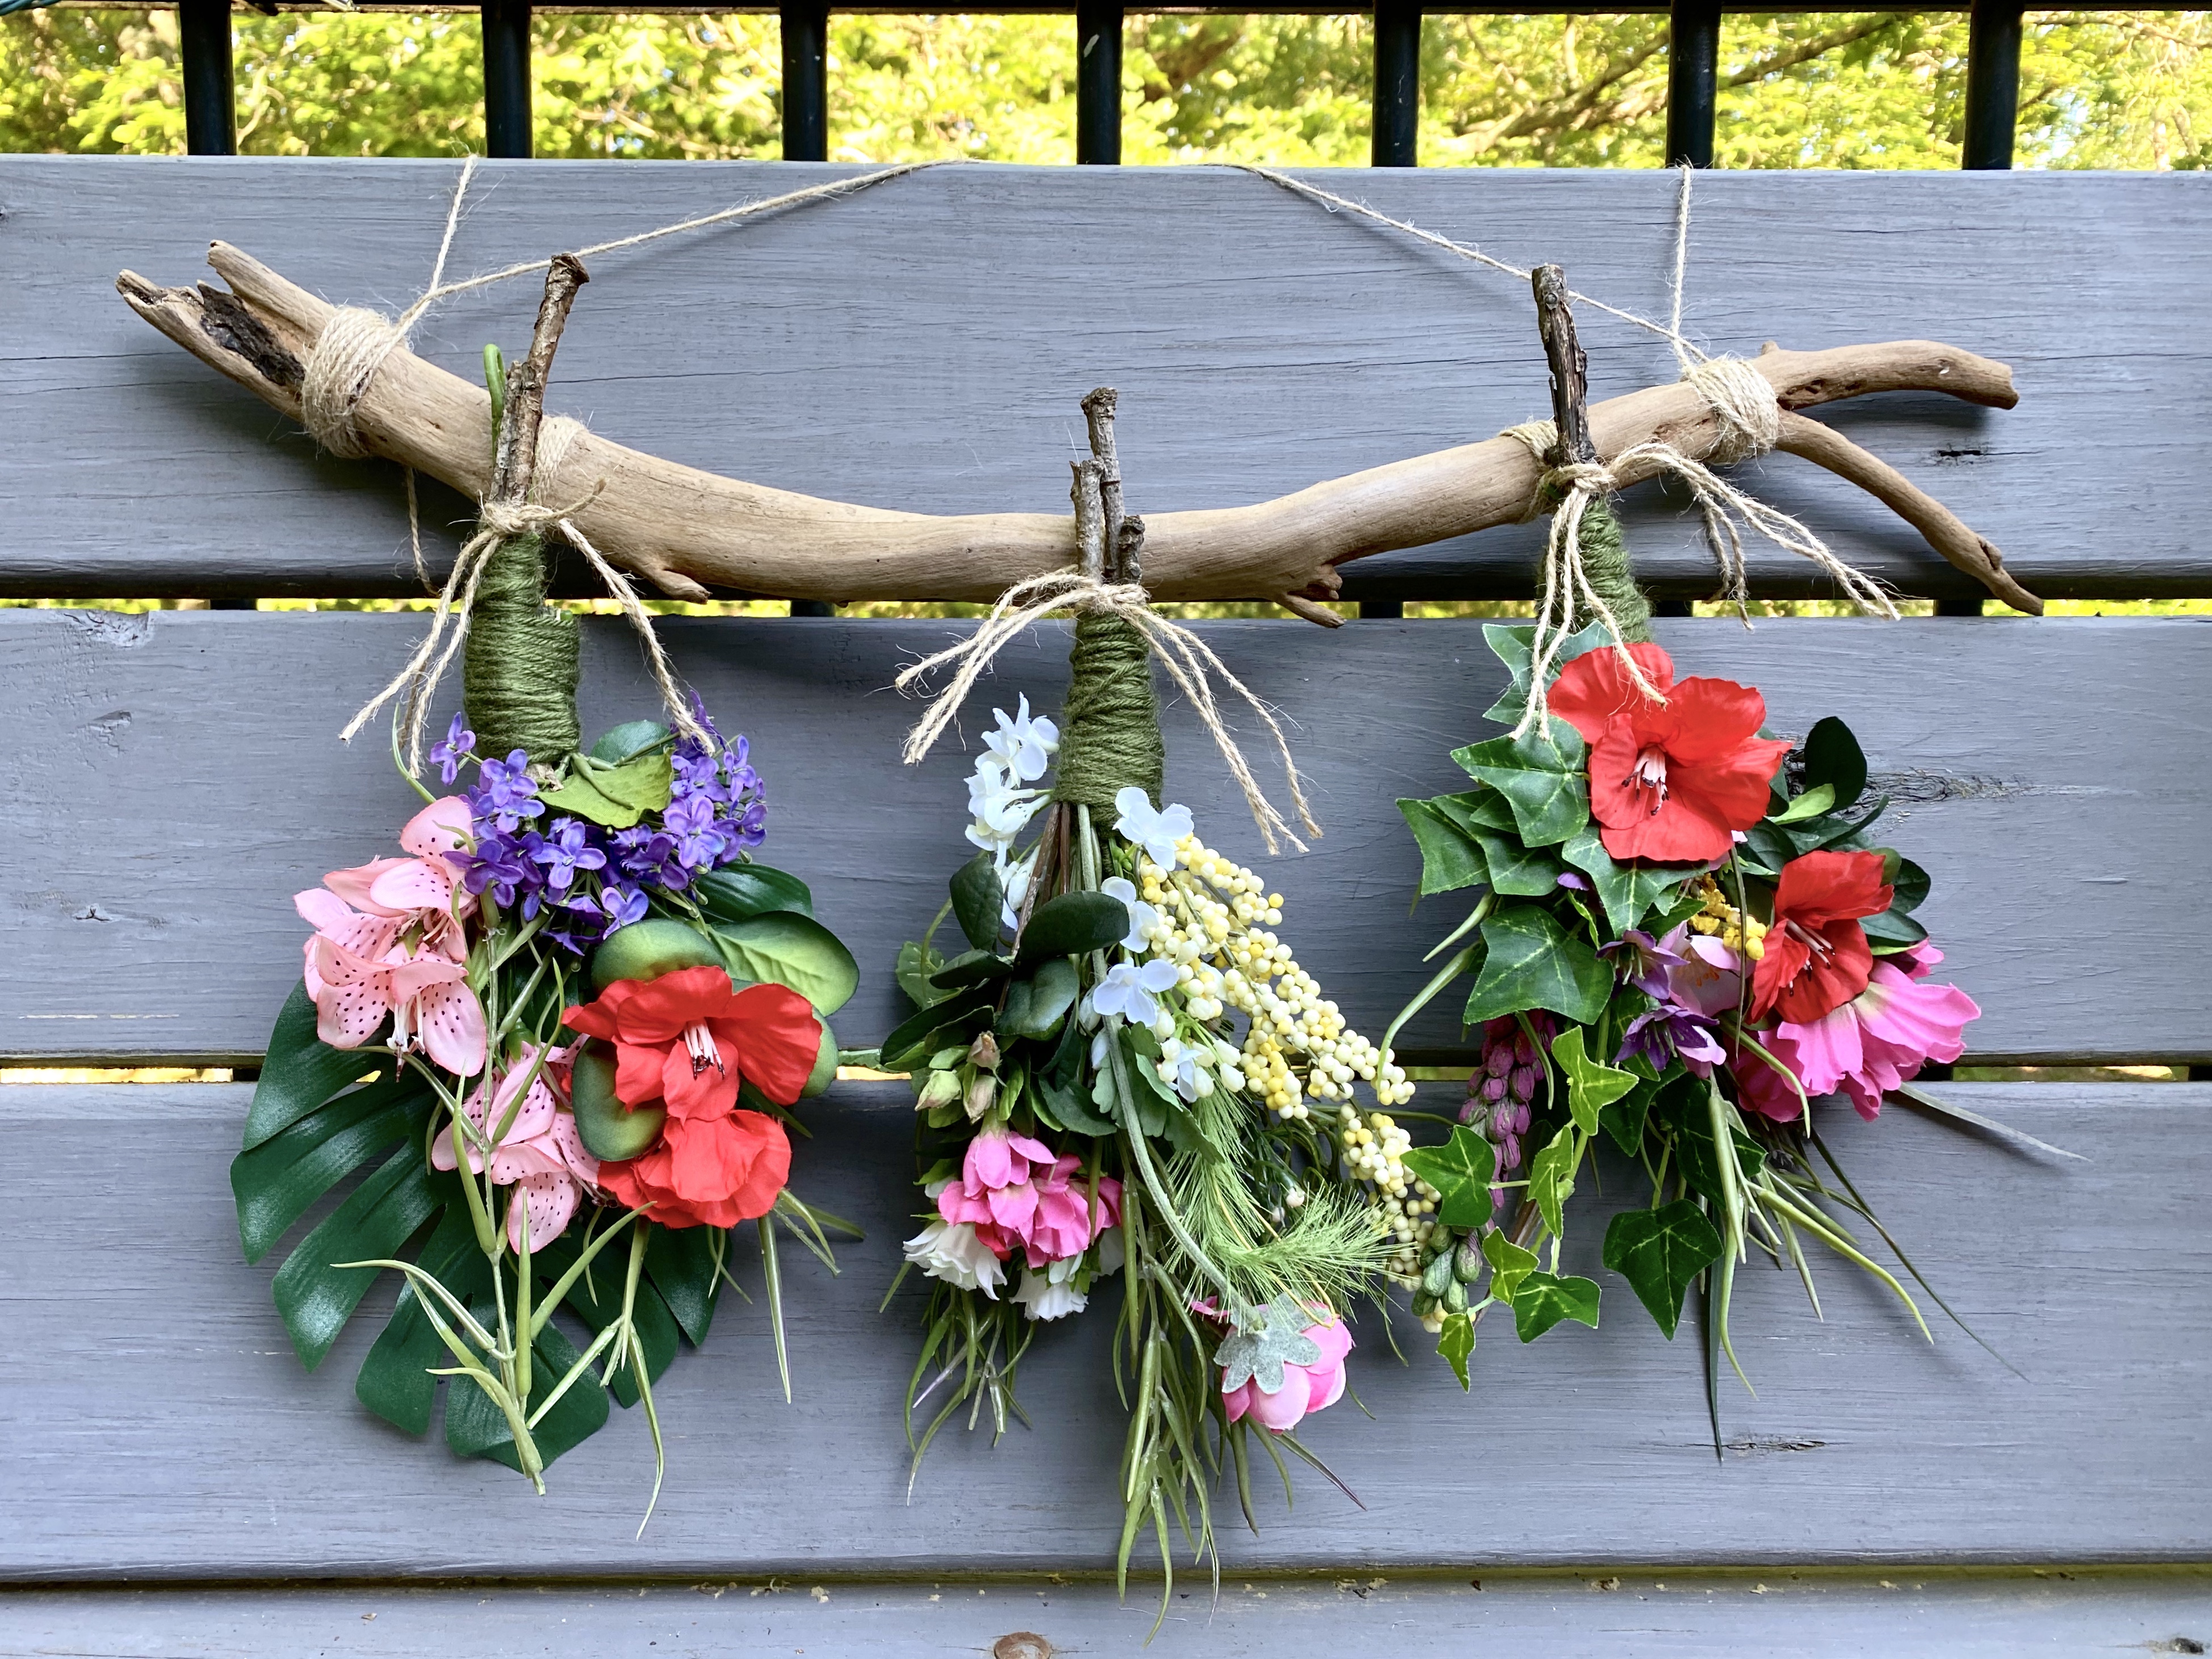
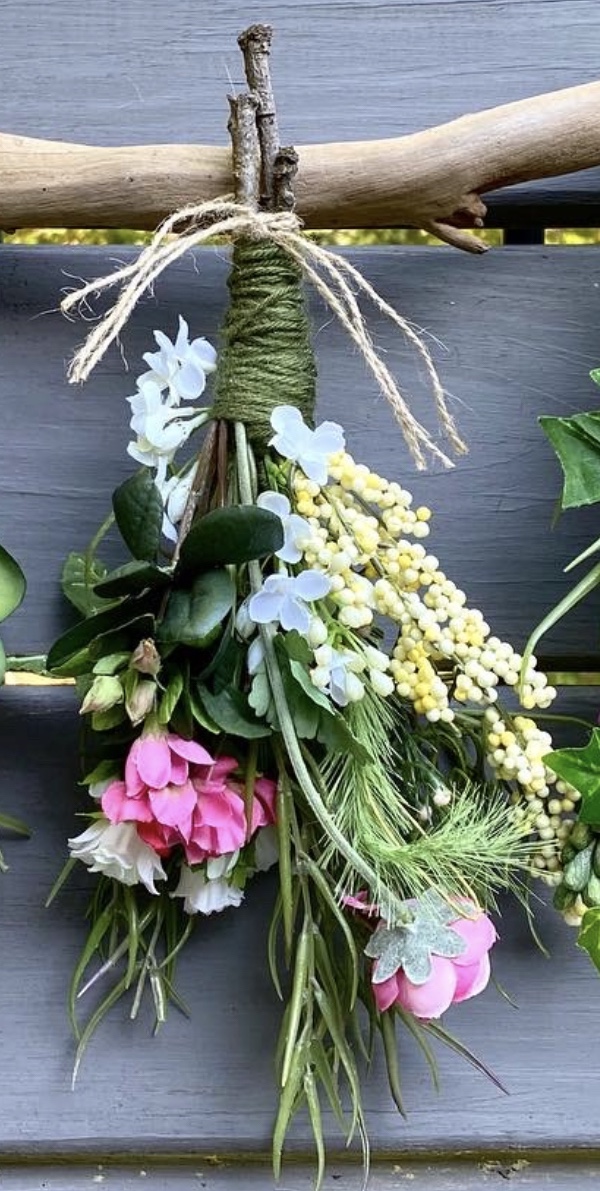
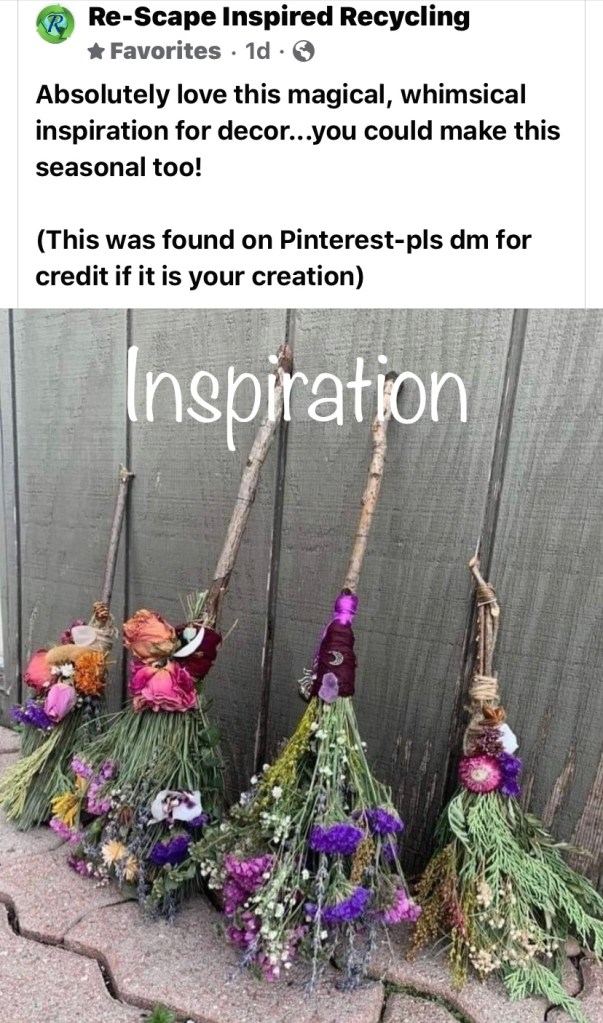
I have a huge tub of faux flowers and foliage and a piece of driftwood we found on our Florida vacation last year. I was inspired by an image that came up on Facebook.
So….I made this last night and this morning. I just have it hanging on the back of a bench with the jute rope, but it could be hung many different ways. I think it would look great hung on the wall on a patio or deck.
Meet Agatha, my yard angel. After making some other yard decor yesterday and seeing some cute angels in a garden group I’m in, I knew I had to have one. So I made her this morning…. all by myself …. with materials I had here and my husband’s power tools. Ok … his battery drill with a screwdriver bit. But “power tools” sounds better.
Head and neck: a thrifted cutting board Halo: a grapevine wreath from Dollar Tree Hair: bed springs he cut off an old mattress he found on trash pick up day awhile ago. It kept him busy for two days cutting them off. 👍🏻 Necklace: I made gold bells out of big pill bottles for a wreath I made at Christmas. Agatha wanted them for a necklace. Body: a wonderfully rustic shutter a friend gifted me. Arms: braces from an old chair Wings: leftover pieces from my son’s new deck. They were already triangles. Bag of flowers: tote bag from our trip to Amsterdam several years ago. Flowers from Dollar Tree. I will be changing that out to a watering can soon but I wanted a photo before the rain and the watering can is In my booth for sale right now. Lol
I gave her wings and arms a touch of paint to blend them in.
I screwed the pieces on (I even found that metal stuff with holes in it to attach the wings) and placed her on the hill by the pond.