Today’s early morning project: I created an “Ear of Harvest Corn with Wooden Beads”
I only had enough beads for one ear. I had wire here, but if I do any more I would get copper jewelry wire. I believe the beads came from Dollar General and the raffia is from the hula skirt from Dollar Tree.
This was a fun and quick project and would look great mixed in with your other fall decor. I love the Fall natural look.
There was no need for me to make a tutorial on this, because the tutorial I used from Hammons Nest was excellent and easy to follow.
I did a mini tutorial on this earlier, but since I’m making 36 wooden acorns for my cousin’s Thanksgiving table, I thought I’d take more photos as I worked and explain in more detail.
The drop cloth I already had and the sticks to make stems came from my yard.
I cut the drop cloth into 36 5” squares. It seems to go faster when you precut the drop cloth.
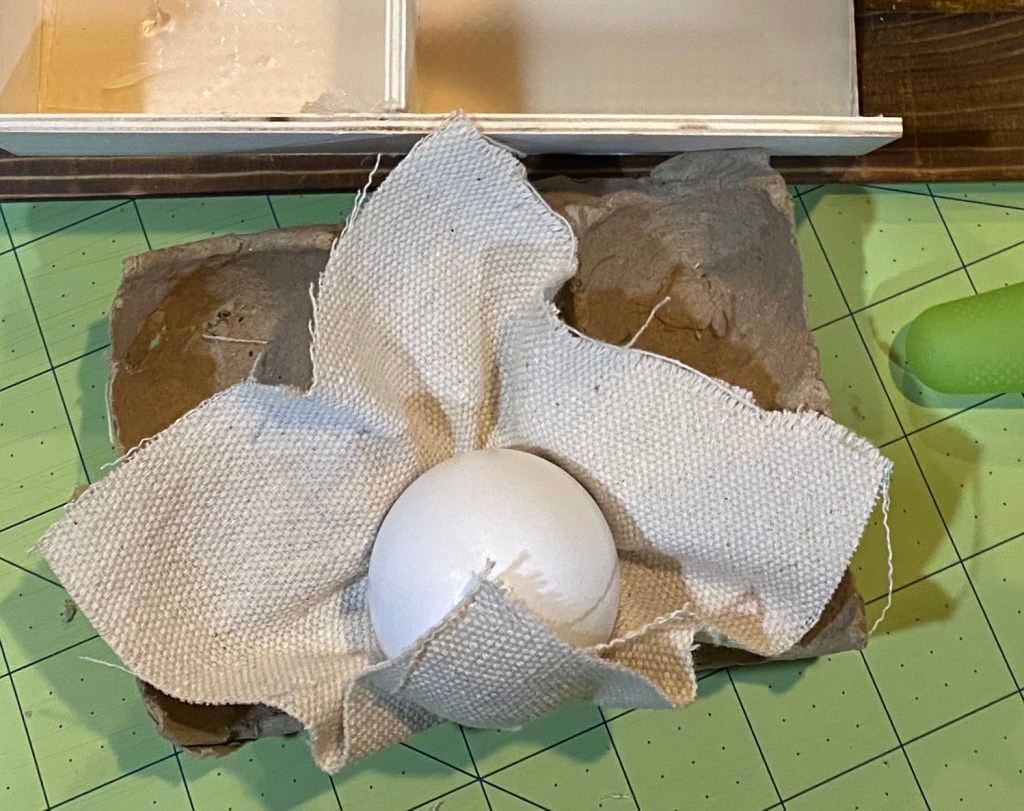
I had a section of an egg carton I used. I laid the drop cloth piece at an angle and placed the egg in the center. That seemed to work well as I applied glue and pressed and smoothed the cloth on all 4 edges.
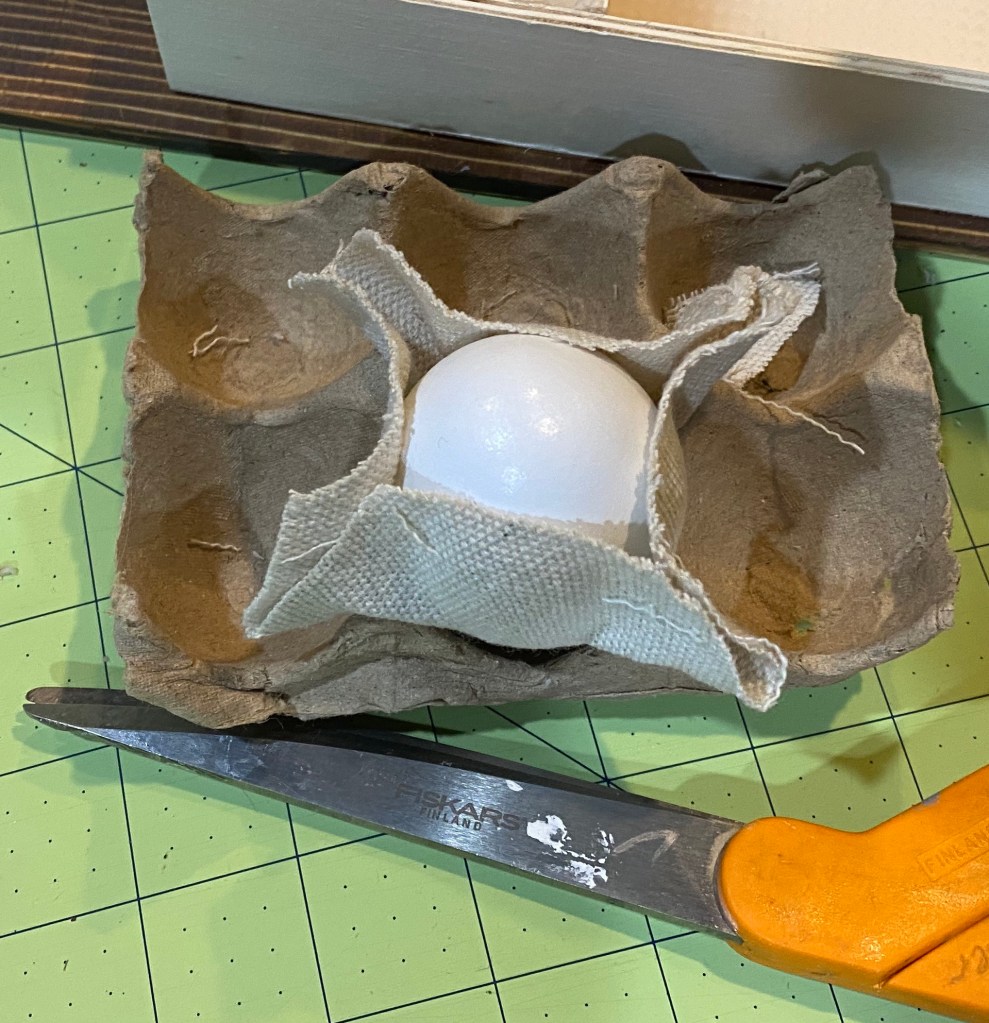
I then trimmed away the excess fabric.
Next, I tucked in and glued the sides.
I then trimmed and glued down the drop cloth.
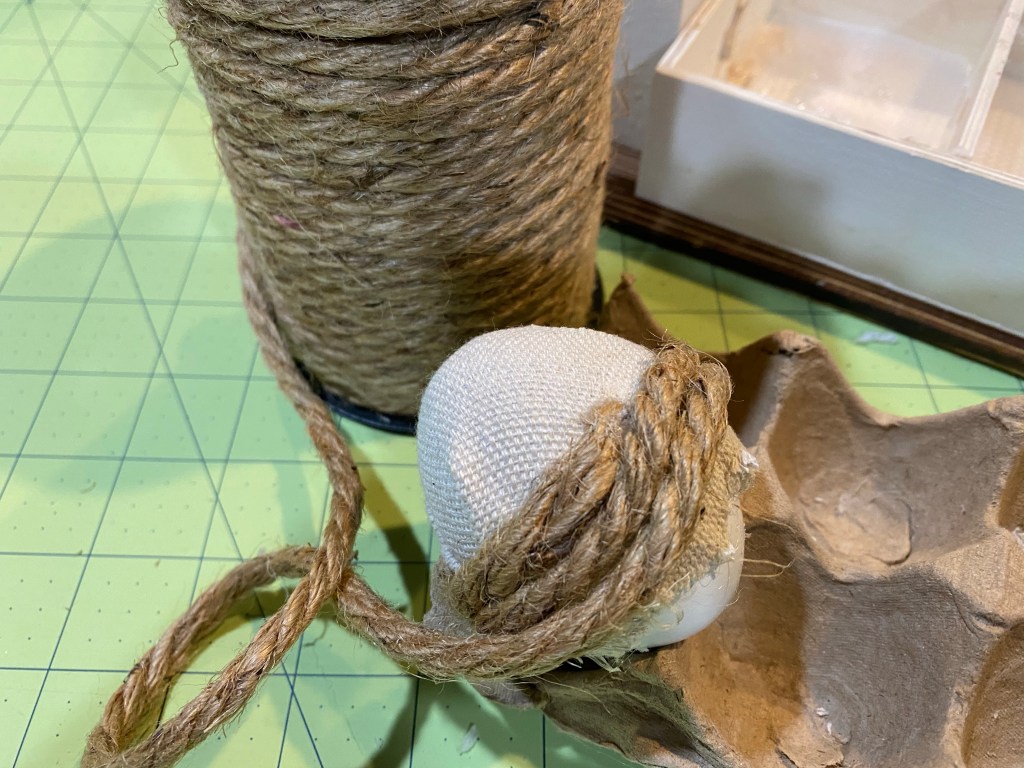
Next, I started gluing and wrapping the jute all around.
When I got to the top, I used the stem I cut with my hand miter cutter. I also purchased it from Amazon. I glued the stem to the top, letting it set up. Then I finished wrapping and gluing until I finished where I started out. I cut the rope and glued it down.
My acorn was complete.
I now have 12/36 acorns completed.
A friend, when I posted these, said she loved the natural canvas acorns but was surprised I hadn’t painted them with our paint. Well, since I was working on acorns anyway, here is one of the natural wood eggs I have paint stained with our Missouri Limestone Paint Company “Sour Green Apples” and sealed with spray lacquer. Very cute. So ok…..I will be making some more of these in other Fall colors. Thanks for the suggestion, Debbie Carter!
My cousin loved the painted ones, too, so I made 18 drop cloth and 18 painted ones. 🙂
Today’s early morning project: More napkin rings, this time with white napkins. These are available and I do have more napkins.
I had fun making napkin rings for some green napkins, so when I saw this Pinterest idea for some made with card stock and ribbon, https://www.onsuttonplace.com/thanksgiving-napkin-rings-free-printable/I knew I had to make these. Yes, I had everything I needed in my “extensive private craft supply collection.”
Slip the napkin in and slip it out. You can save these to use again next year.
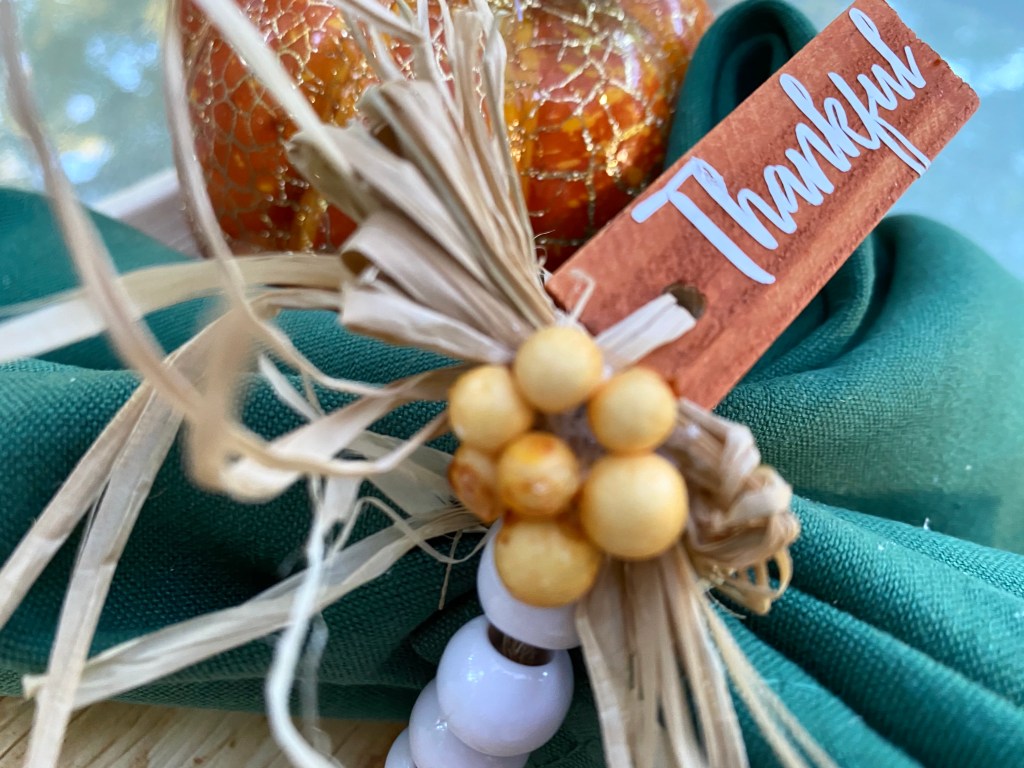
*wired jute for rings – Dollar Tree *jenga blocks paint stained with holes drilled – Dollar Tree *beads cut off and saved from a beaded basketball net – thrifting 🤷🏼♀️ 🙂 *raffia – Dollar Tree *vinyl words cut on Silhouette. *small clusters of berries – Dollar Tree *folded napkins – searched google for a tutorial on folding napkins a like a leaf
I threaded twelve beads onto a length of wired jute and left enough on the ends to tie a knot and have about 3 inches left over. Then I stripped the jute off one end of the wire and threaded it through the jenga block and twisted both ends tightly to hold it in place.
I cut the thankful words on my Silhouette and added to the jenga blocks.
I made small raffia bows and tied them on with some of the wire that was still left on from the jenga block.
Then I ran a piece of raffia through the block and around the bow to hide the wire. I added a little cluster of berries with hot glue.
You could use these through the fall season and through Thanksgiving.