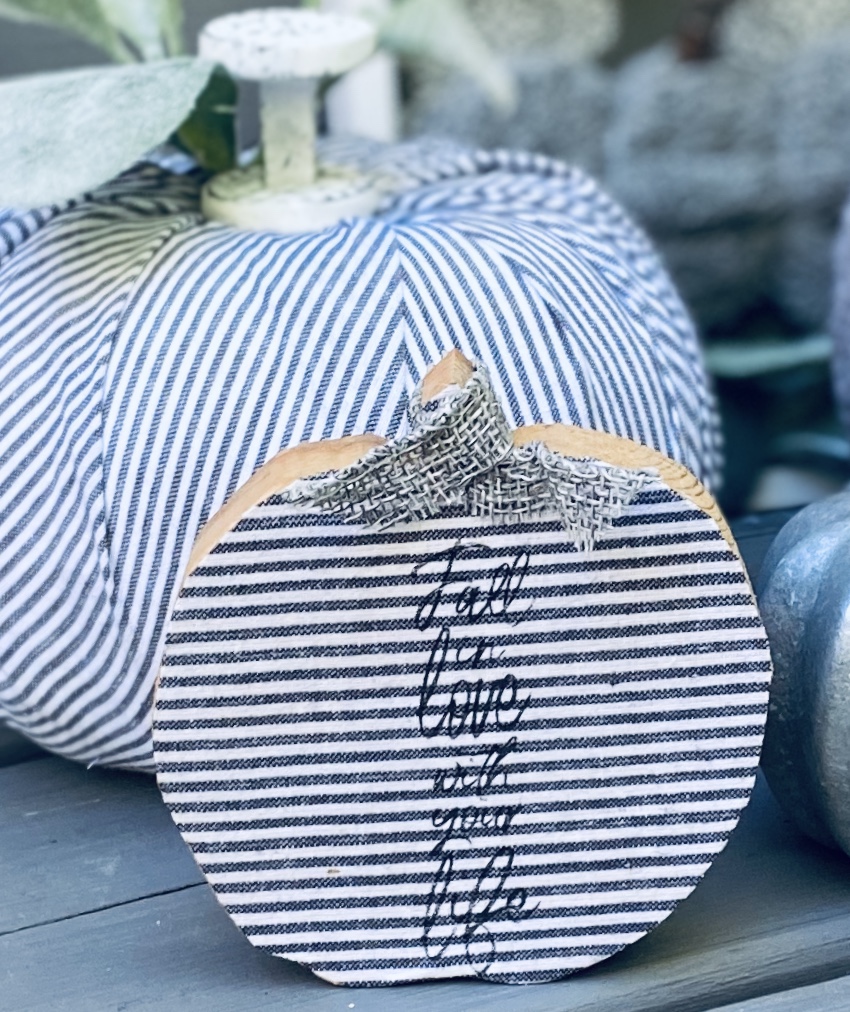
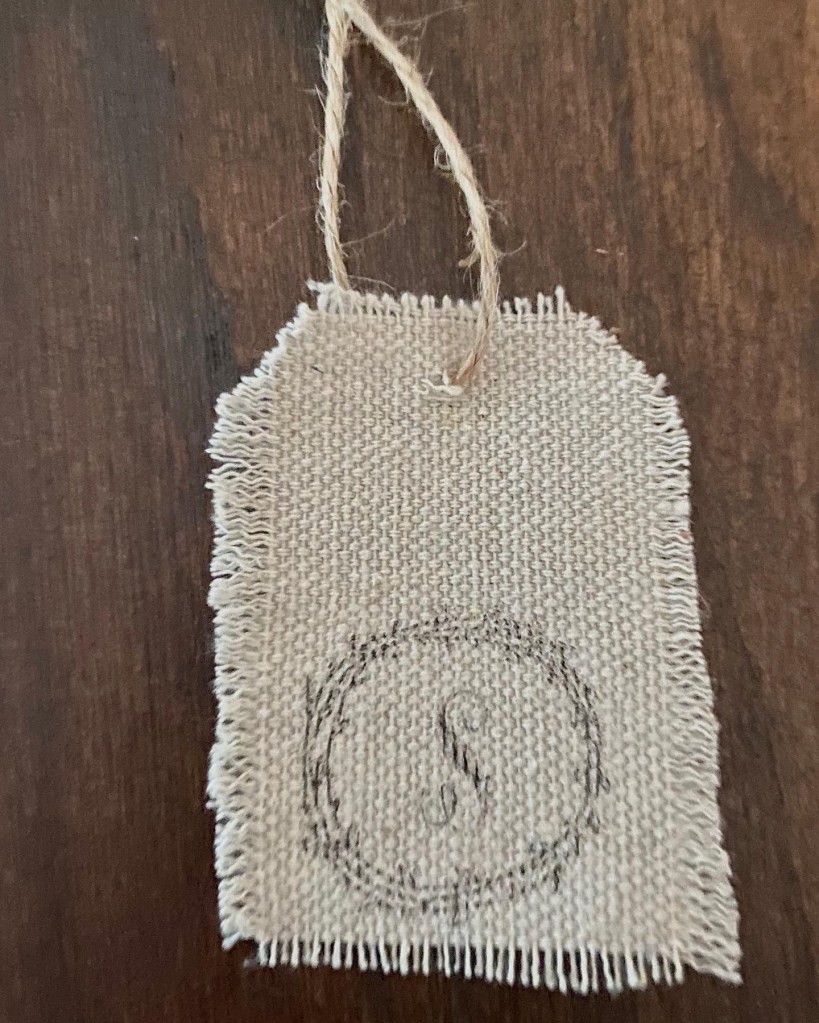
I may have gotten a little carried away on the gray pumpkin decor. 🤪 And yes. I decoupaged fabric (from Dollar Tree) onto a small wood pumpkin cut out and used one of the Dollar Tree brown parchment paper rub on transfers on it. 🤷🏼♀️

I may have gotten a little carried away on the gray pumpkin decor. 🤪 And yes. I decoupaged fabric (from Dollar Tree) onto a small wood pumpkin cut out and used one of the Dollar Tree brown parchment paper rub on transfers on it. 🤷🏼♀️

I have been a bit busy the last few days creating fall decor. Some days are just like that. You can’t stop. We’ve had some beautiful fall days in Missouri this week so I took advantage of the weather. It felt good to be outside working on my projects.
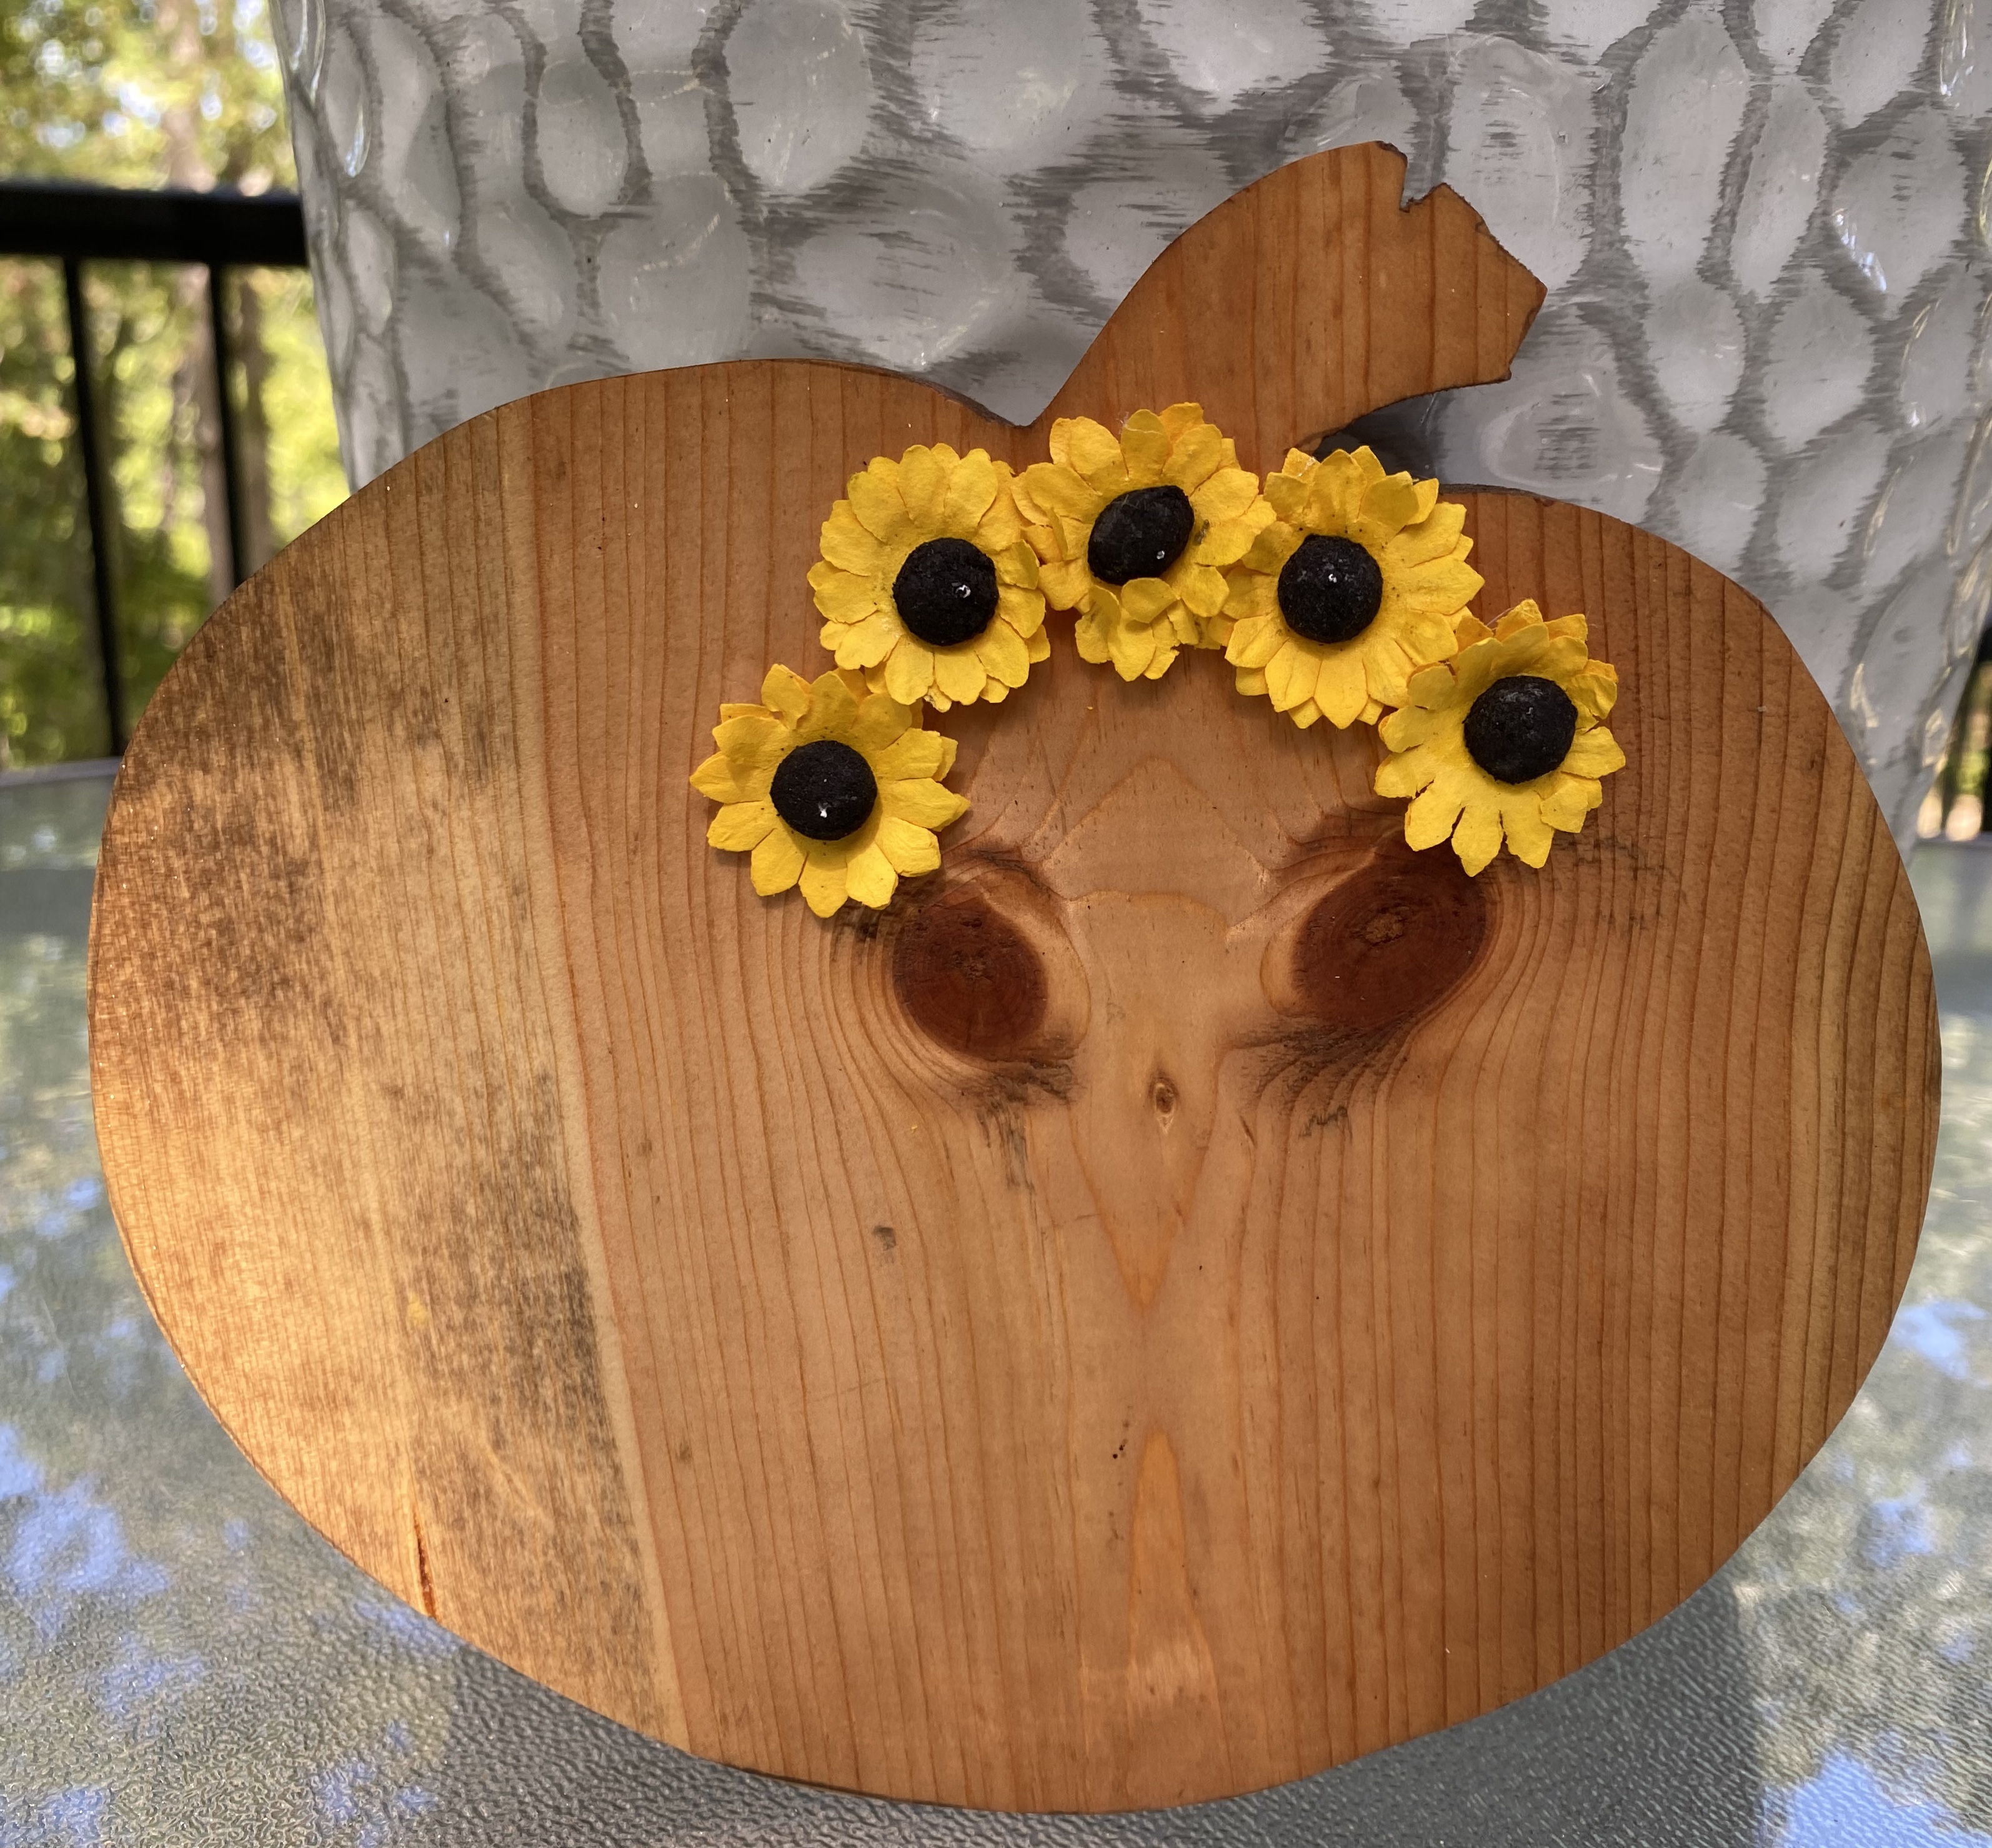
First up…. I was going through my fall decor boxes and ran across a box with a bunch of wood cut outs I hadn’t seen since I stored them. It was a jackpot of pumpkins, ghost, cats, and a few other goodies. One pumpkin had a very unique wood grain on the front and back. I just saw someone posted one very similar. It looked like an ostrich! I could see an ostrich in this one, too! Not only that, I saw an owl on the back!
I wasn’t sure what to do with it, but finally settled on using Howard’s Restore-a-Finish to bring out the grain and then I sealed it with Wise Owl salve. I named the Ostrich in a Pumpkin Woodette and the owl Woodsy. Soooo cute!

Then my friend, Midge, had an idea: flowers, a tiara, or crown for Woodette. I happened to have some small sunflowers and with just a dab of glue, they will come right off. I can change them out for each season! I think I might need to make Woodette a princess for Halloween and find a little crown for her.
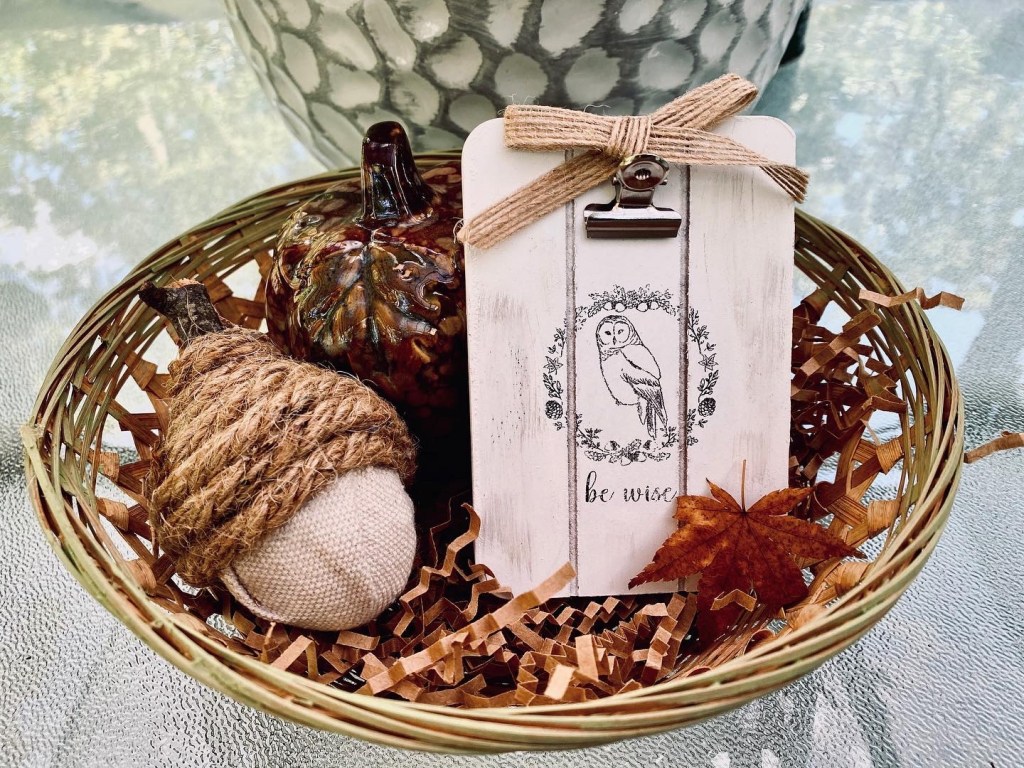
In the same box as my Ostrich in a Pumpkin, I ran across this little shelf sitter or hanger. I passed over it at first, thinking….Wow! The 80s!
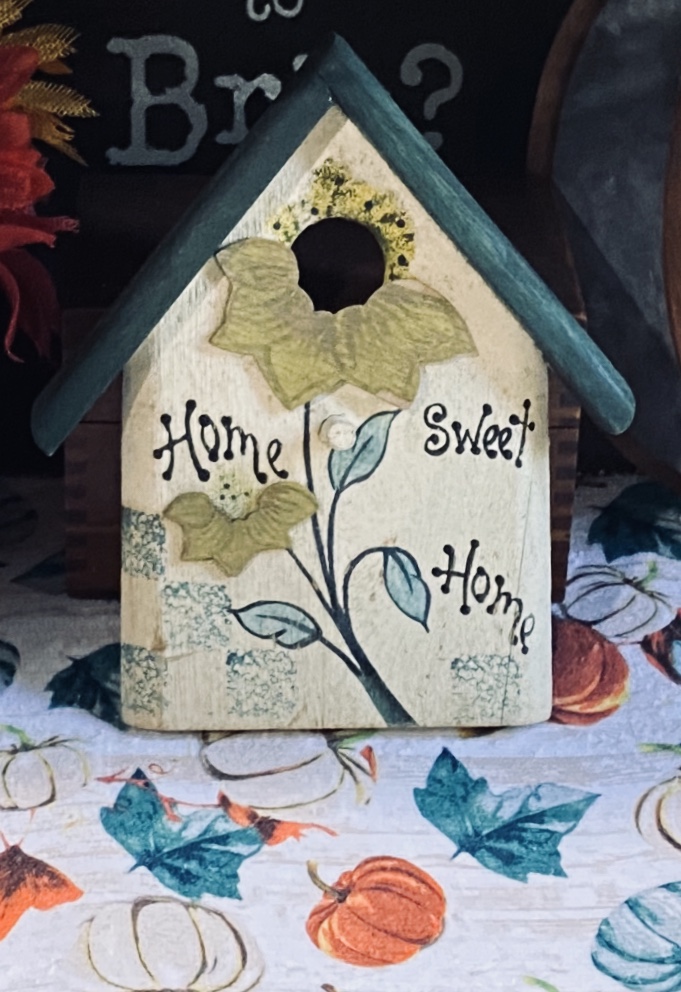
But then, I got this fall dish drying mat out of the Dollar Tree bag I just purchased. I realized some of the colors went so well with it and the other fall things I have in the corner of my kitchen. So..now, it is out of the box and in the corner of my kitchen counter. 🙂

Oh no! Another gnome …. after I said no gnomes this year! But the Gnome and Backyard lady had this idea I couldn’t resist. She made a quick and easy gnome out of the small plastic ghosts from Dollar Tree. I spray painted one for the hat with a copper color because that’s what I had on hand and added tiny Dollar Tree sunflowers for embellishment. The other I left white and glued it upside down to the hat. I gassed a wooden bead for his nose. I bought two big ghosts, too, to make a larger gnome.
I spray painted a Dollar Tree wire pumpkin form white with a green stem and attached my cute little gnome to it with jute twine and now have a cute fall door hanger for my front door. He hangs from a magnetic hook on my stork door by the stem


Here’s Gnome and Backyard’s tutorial!
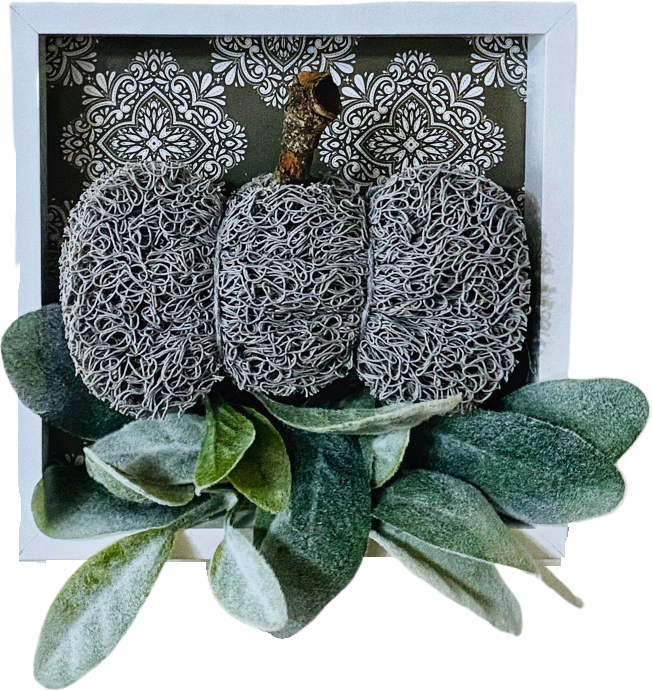
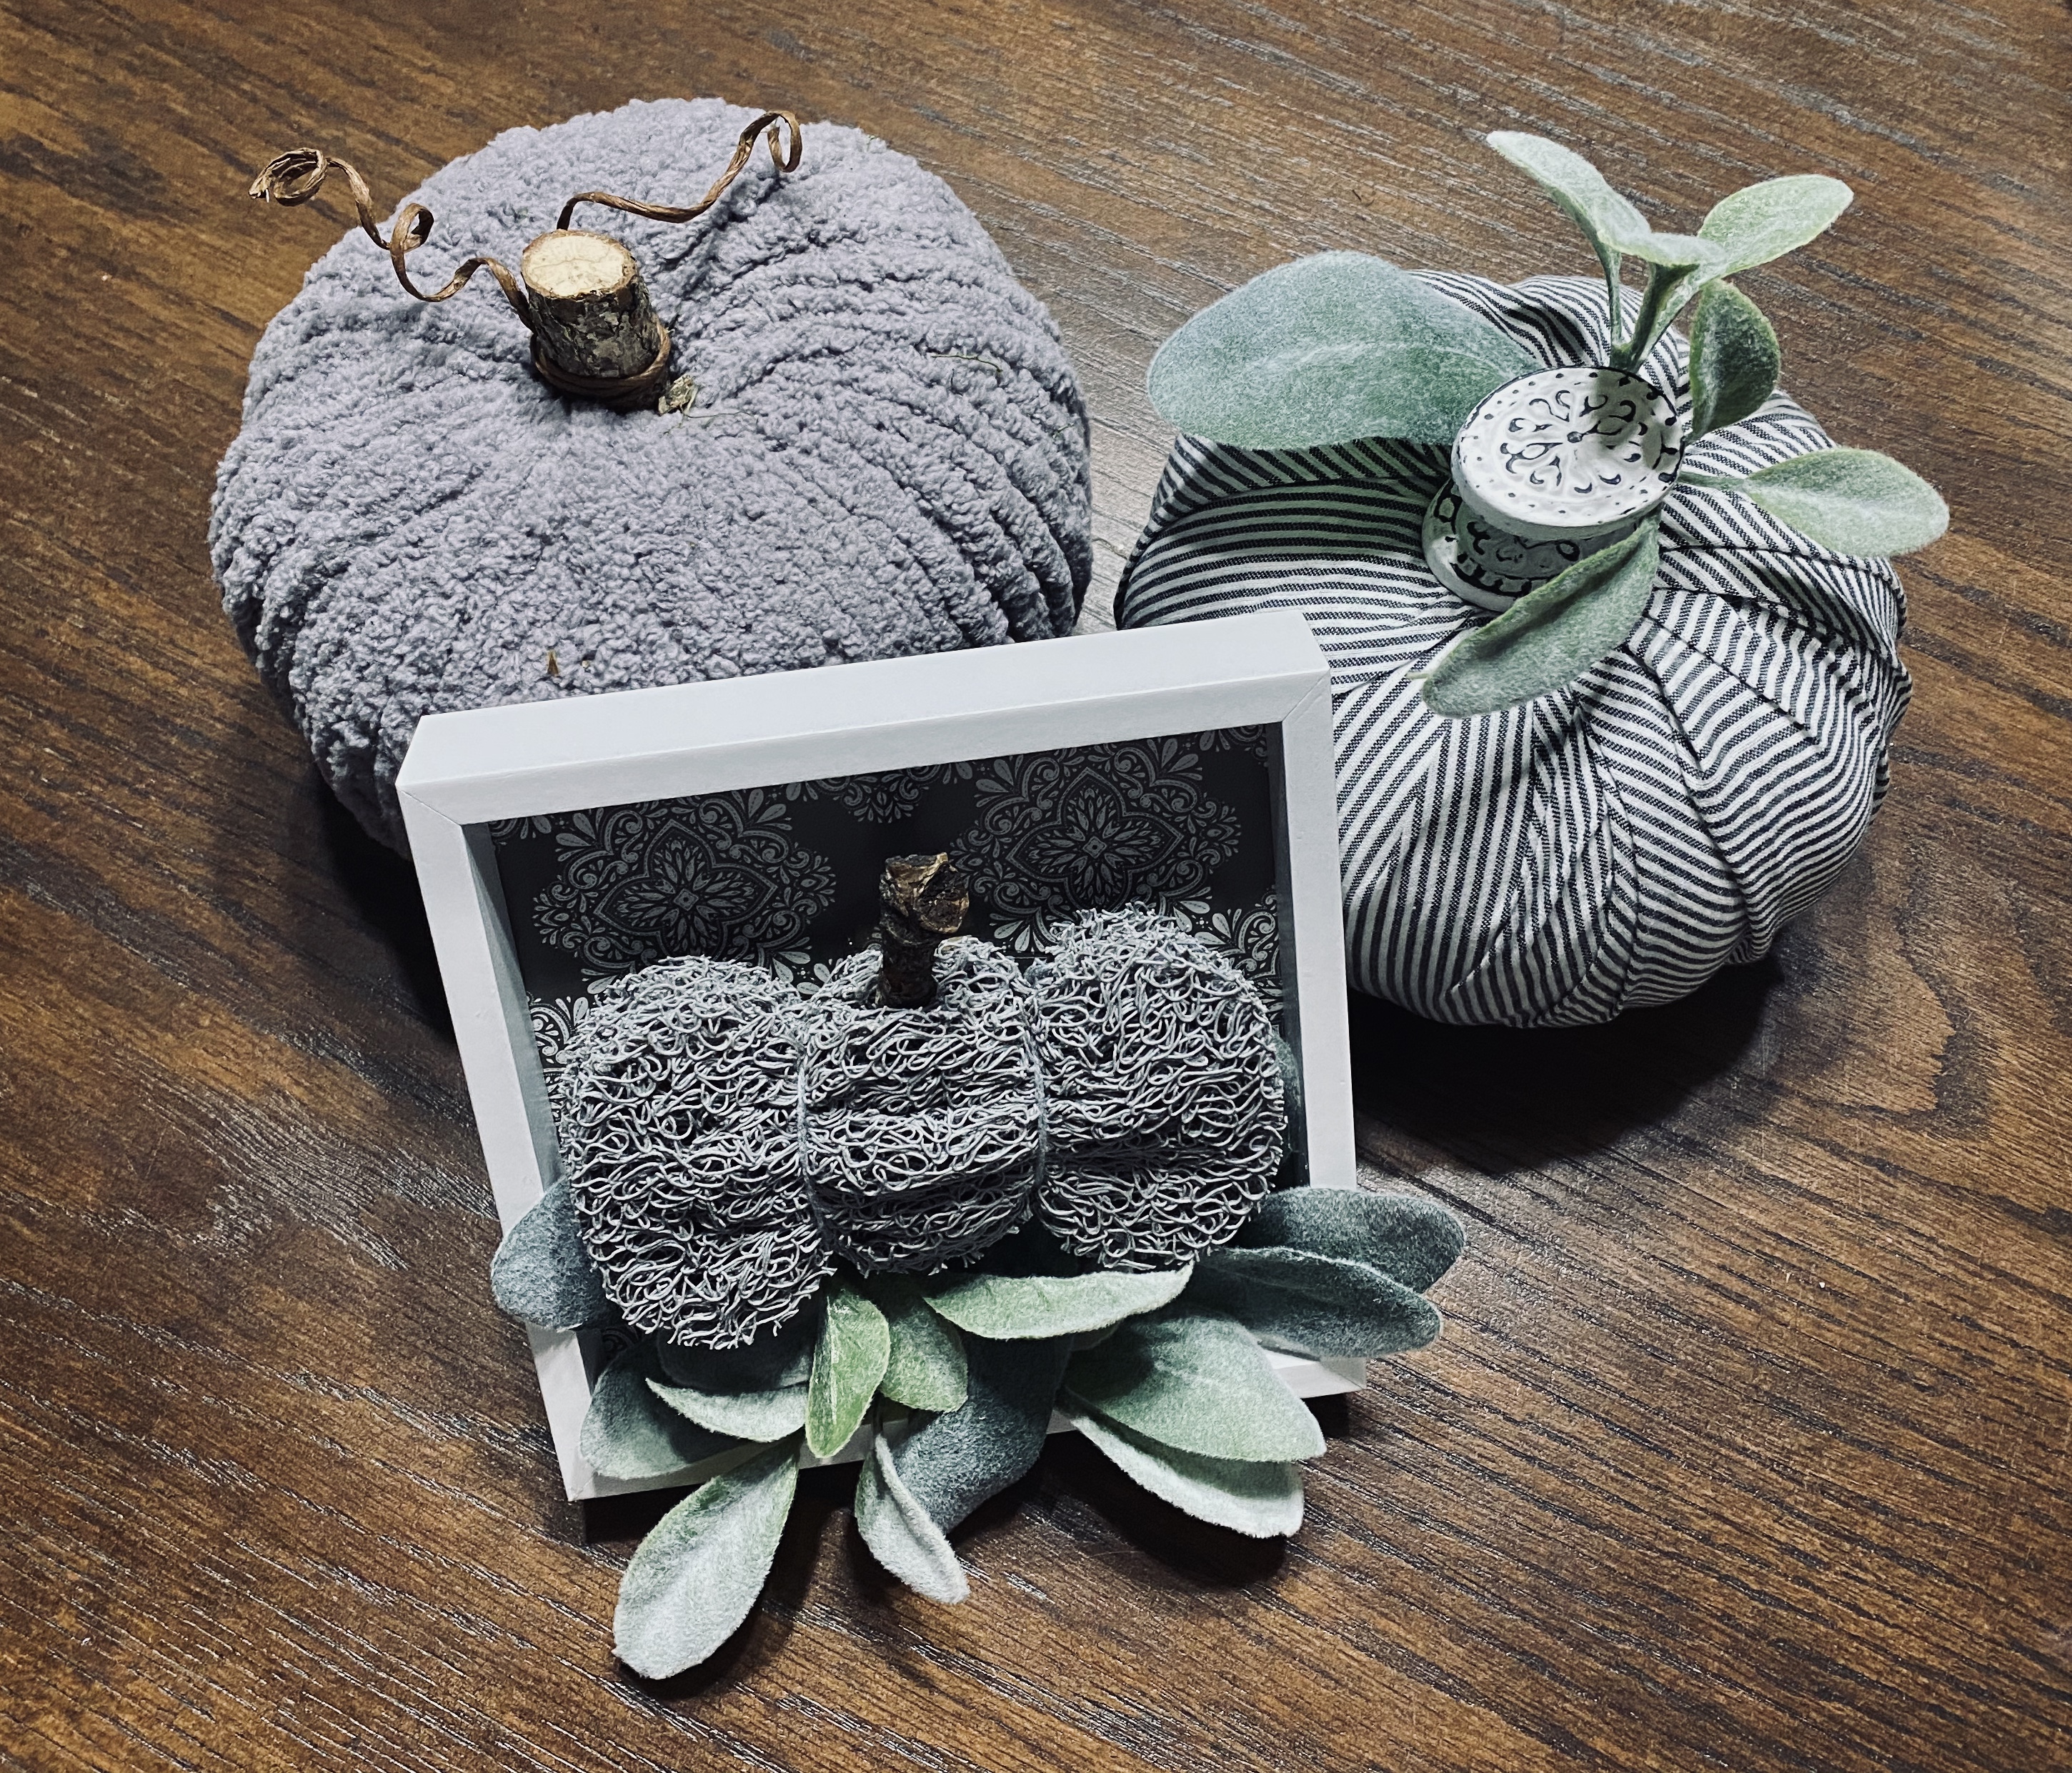
This awesome creator also had a tutorial for making a pumpkin out of a Dollar Tree soap saver. What? Check it out! https://fb.watch/fOIcejAF2x/
Of course I had to make one, too. This one I left gray and put it inside a Dollar Tree shadow box. It looks so cute with my gray pumpkins I made (the striped fabric came from DT), but I bought a few more to paint! 🙂

I still hadn’t gotten to my other pumpkin cut outs, so onto more decor!
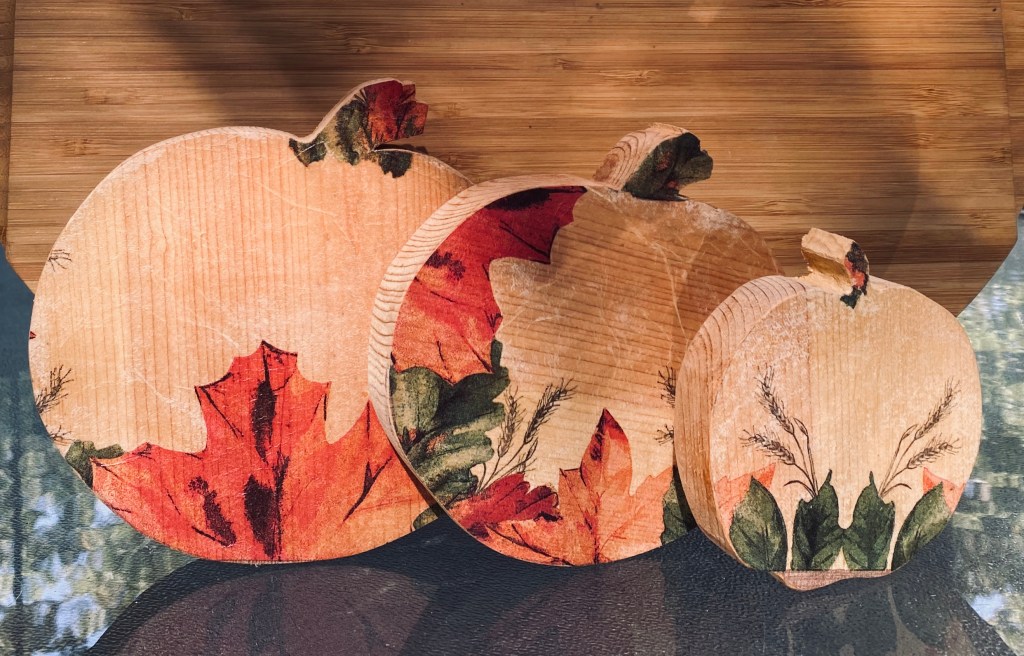
I made this arrangement in three different sizes and used a Dollar Tree napkin decoupage technique. I was going to add embellishments but I love the rustic vintage look of them just as they are. They stand up on their own and are perfect for shelf sitters or tiered trays.
I also decoupaged a little 3 1/4” square natural wood trinket box. I made the little leaf ladder tall last year. It goes perfectly with this arrangement.


This next project is one of the larger pumpkin cut outs and will stand alone. I glued one of the Dollar Tree faux tin panels to it.
For this finish I did a kind of an aged terra-cotta color I’ve been seeing others do. I painted it with a color I mixed and added just a bit of baking soda to it. Then I sprinkled more baking soda on it while still tacky. After the paint dried I blended the baking soda on with a bit more paint then sealed with a matte sealer. I used a bit of the napkin I was using earlier on the stem.
So pretty! I really enjoy creating a more neutral look for fall decor.


And finally, I ended my marathon crafting this morning. Maybe. Lol I started this project last night and finished today. I still had more pumpkin cut outs in 3 different sizes so painted the face of each with the terra-cotta color I mixed. I used a bit of left over napkin for the stems.
I distressed them a bit with sandpaper and then used the new Dollar Tree brown parchment paper rub on transfers on them. I apologize in advance for finding more of these transfers in different designs. They are so hard to find, but I found these in the same store I found the others in Ballwin, MO on Manchester Road. But, oh how I love working with them and hope they make more. I’ve not seen them online yet, either.


That’s not all! I’m now working on a natural wood napkin decoupage riser and it should be finished soon! 🤷🏼♀️
Update: The last of this grouping is complete. 🙂
I had this 12” round wooden plate. I had the fall napkins. I had the decoupage medium. I had some little rub on transfers and the wood beads from the foot exerciser I bought a couple of weeks ago at a yard sale to use for feet. I have items to display.
So I made a riser.


One day, I ran across a photo of a piece of wood someone posted. They asked if you could see the ostrich head in it. I thought it was so cool!
Just now, I got into a box of wood cut out pumpkins I had and …….
I just can’t cover this little guy up with paint! 🥰 Not sure what to do with him, though. 🙂

I am always amazed at the things people can create. I often wonder if they just walk around Dollar Tree thinking how they can turn say….a couple of soap savers (never even knew they had these but there they were back in the back with the bath things) paint them, then turn them into pumpkins.
So…had to do it. I decided to just leave this one gray. And, you know what? It turned out pretty darn cute.

Here’s the tutorial from “Gnome and Backyard.” https://fb.watch/fLfzdny7tj/
Loving my gray pumpkins!
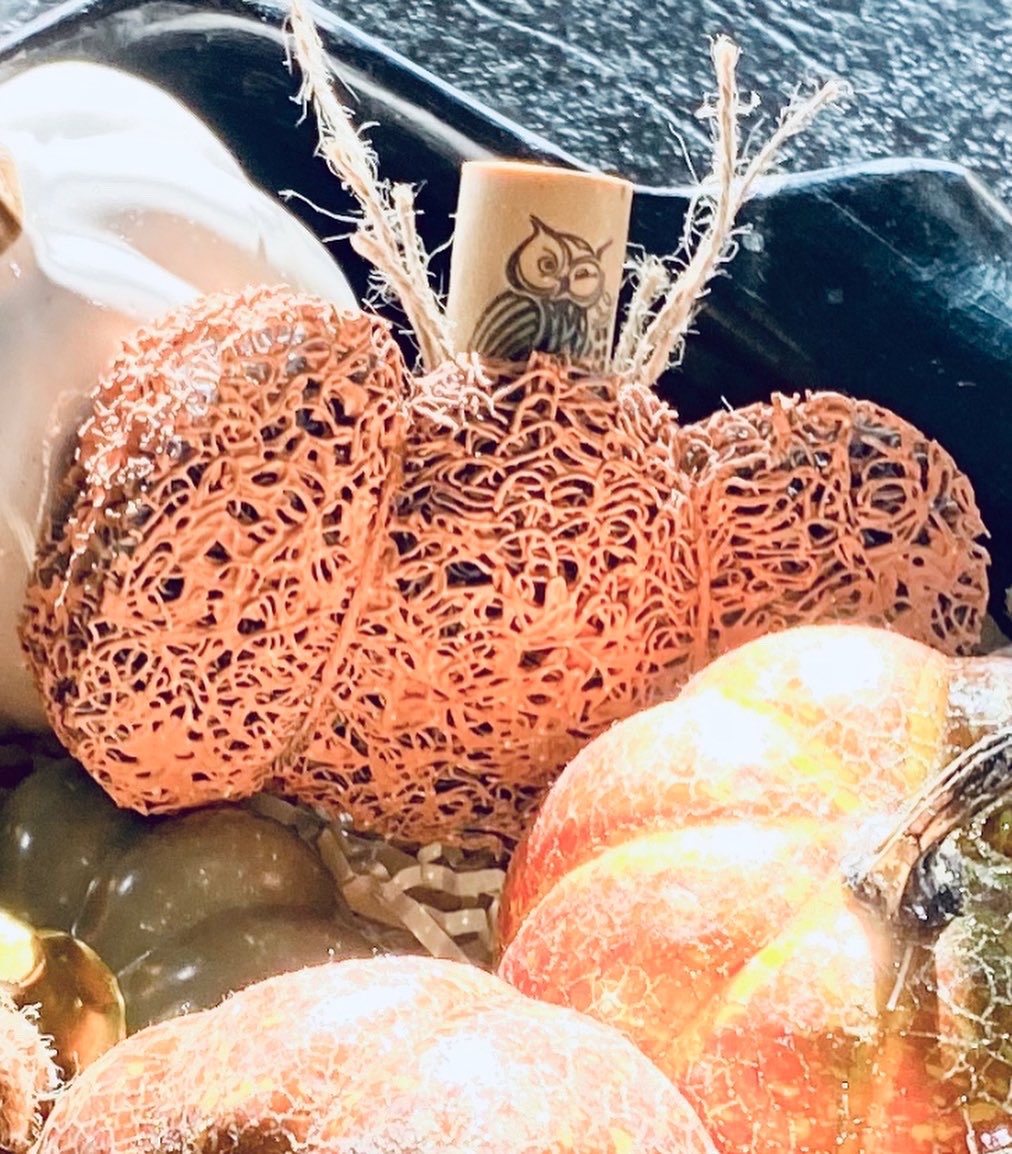
Update: I wasn’t finished yet! Later, I made another and painted it orange. Love his Winking Owl wine cork stem. Lol


What is Danny holding and why is it in his truck?

A mop handle you say?
Well, we do have a few of them lying around since I used the mop heads for crafting, mostly for gnome beards.
But…No, silly! It is an automatic door lock. When you are of a vintage age and your truck is older and has no automatic door locks and even has windows that actually roll up and down, it becomes harder to reach across the seat to lock and unlock the passenger door for your wife when she rides in the truck. So, you rig up something that will do it for you.
They say women marry their fathers. It is true. I married mine and his dad’s. I was doomed from the start. 😂😂

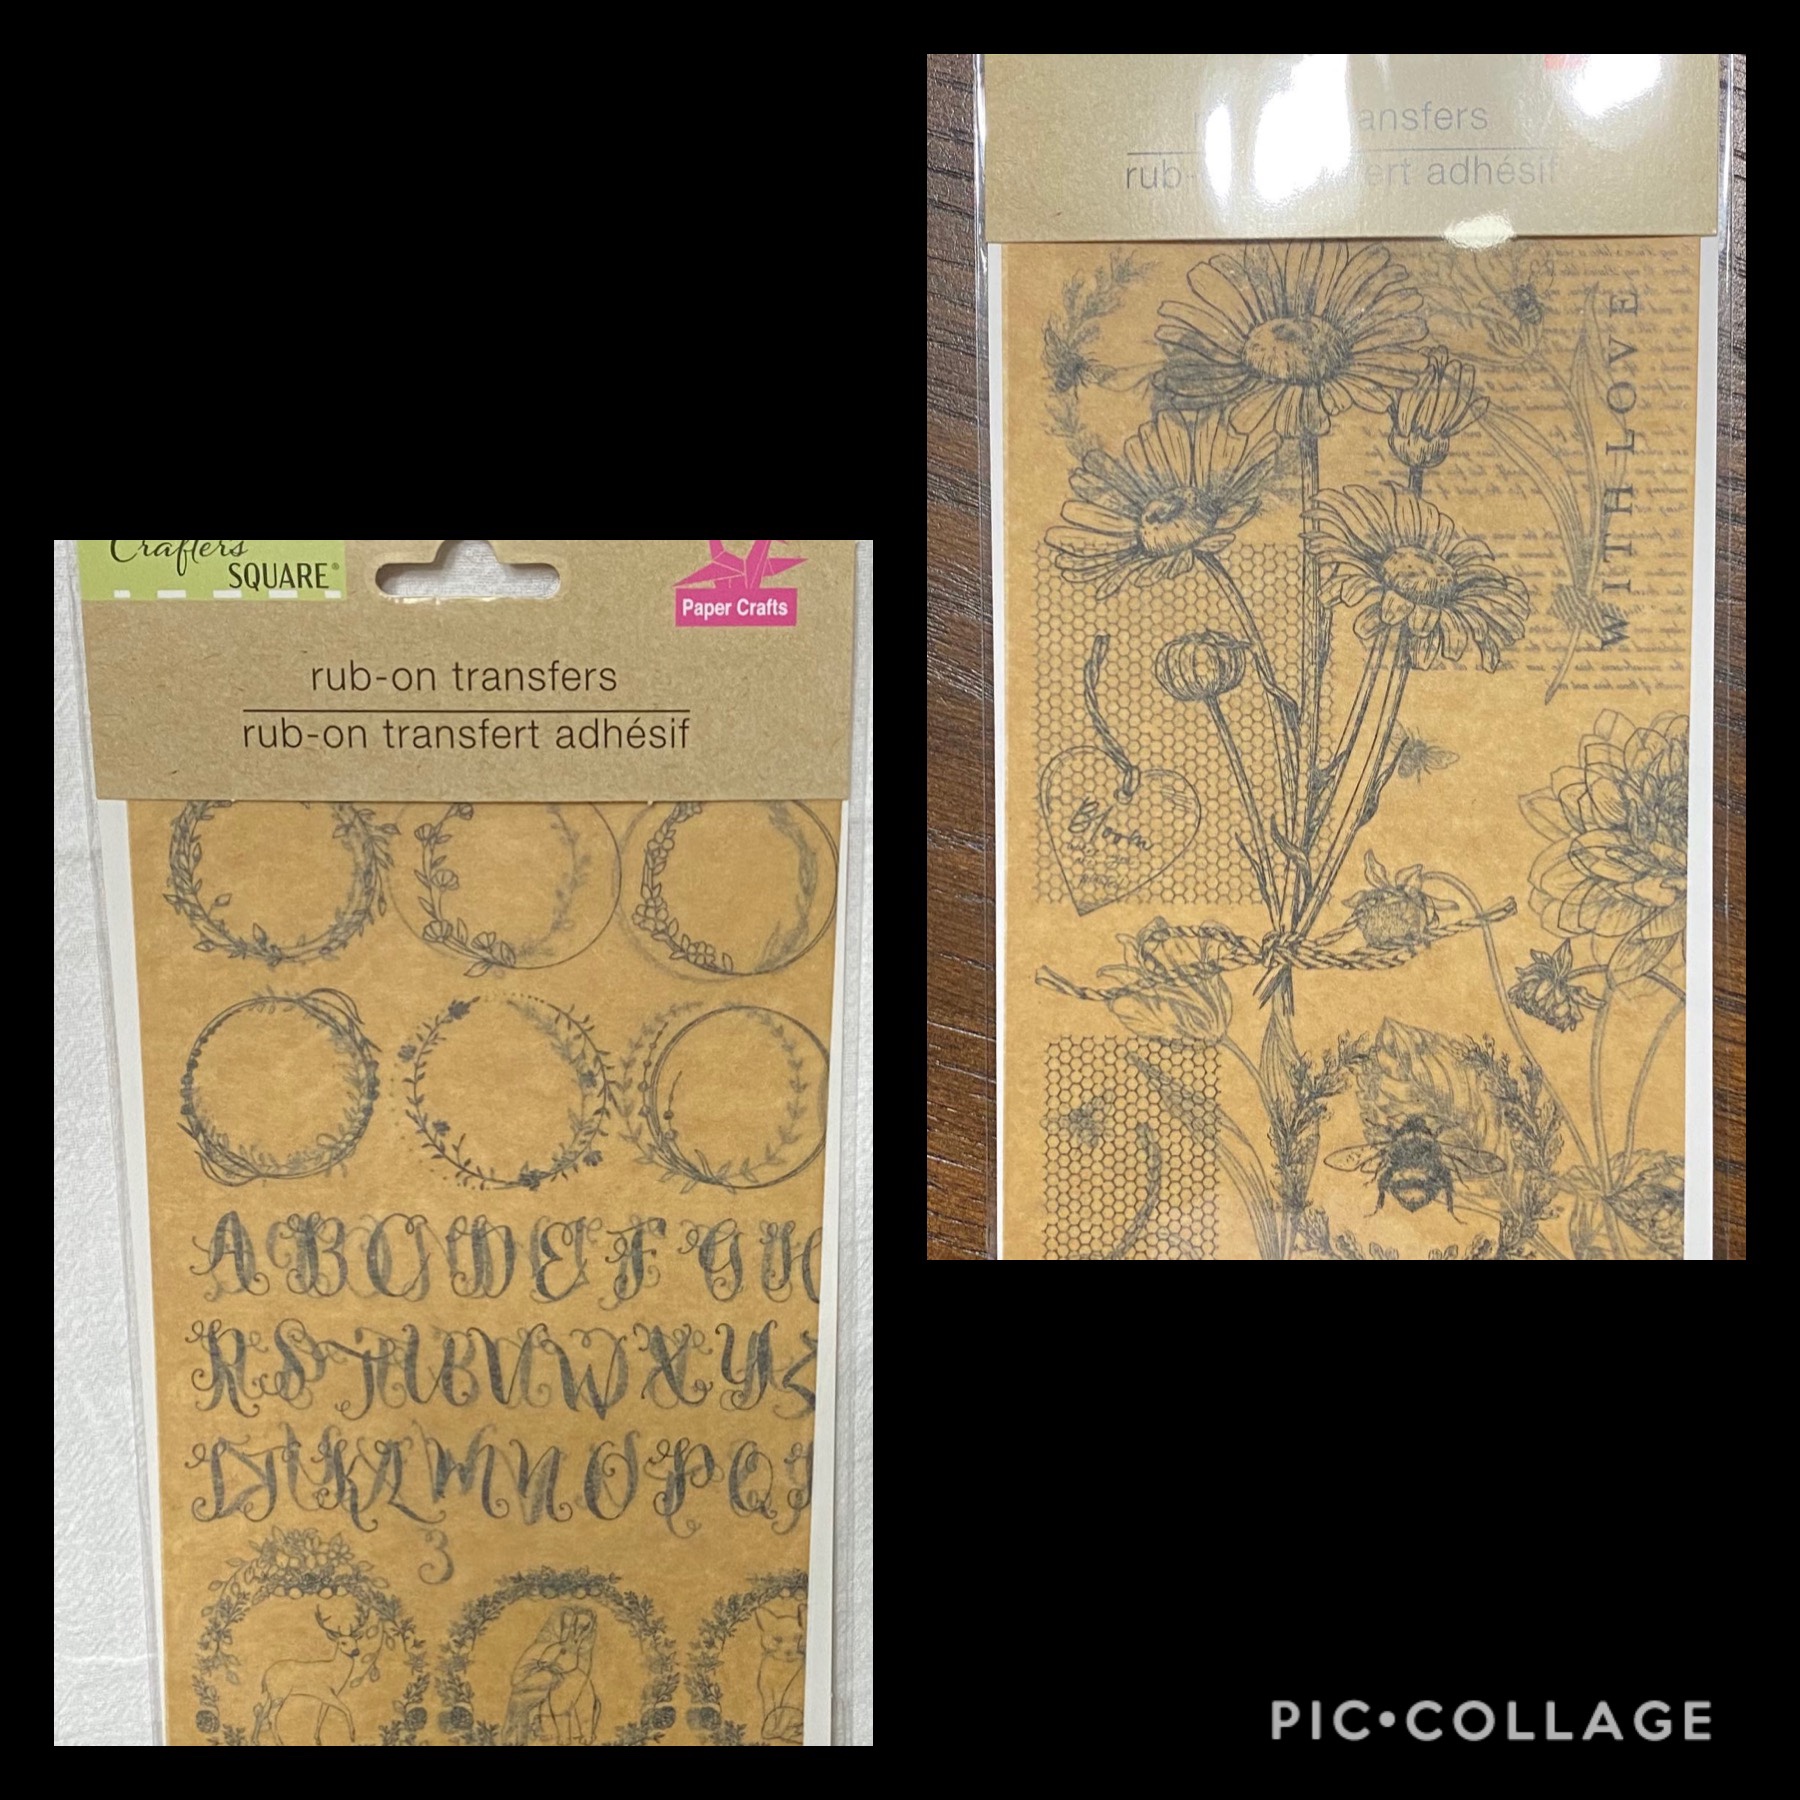
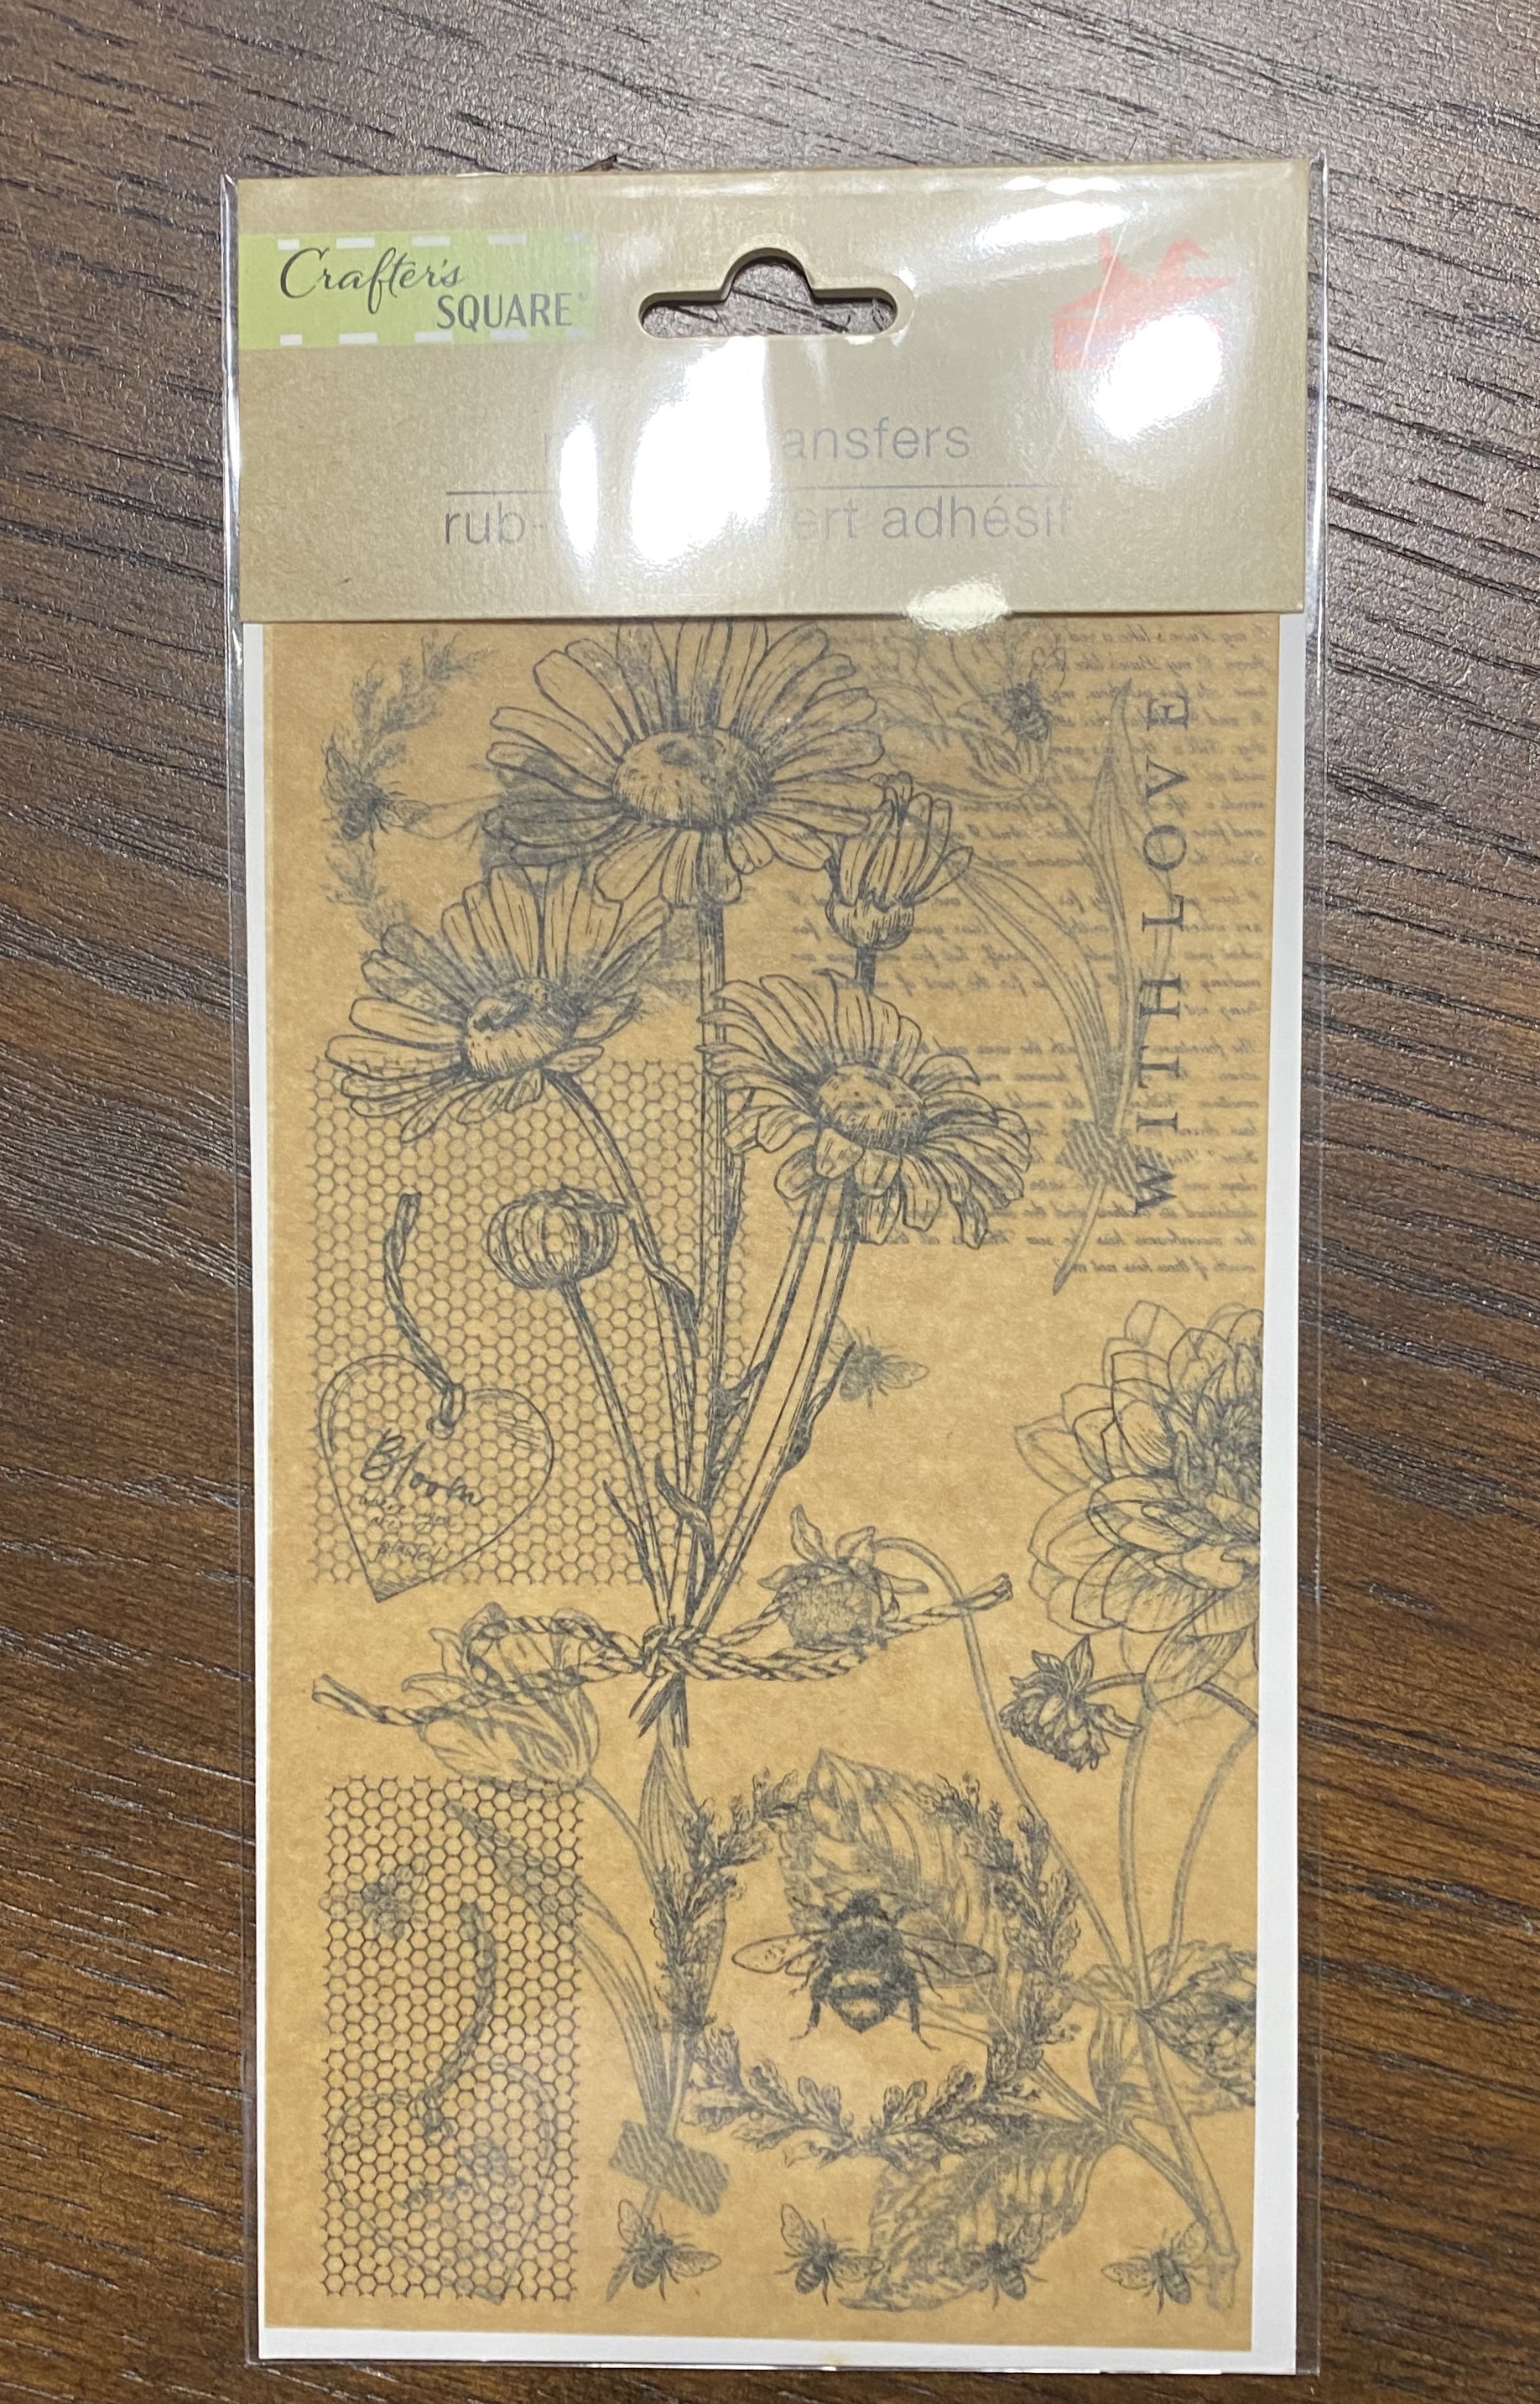
I sure wish these Dollar Tree parchment paper rub on transfers were more widely available. They have several designs. I liked the two shown below. I am having so much fun trying them on a variety of surfaces. I have found out once thoroughly dry, you can seal them with Mod Podge. I did try wax and it removed the ink. It could have been that the ink was still wet, but I didn’t want to try it again. For little things I like the Mod Podge matte spray.
They basically work like the other rub on transfers. Sometimes you need to rub hard and lift up and rub again to get every little last bit off. Sometimes, I taped them down, other times I just held them down.
As I do more, I will continue adding them.


I’m a little obsessed with the Dollar Tree parchment paper rub on transfers. They are a bit different than other transfers as they seem to rub on ink rather than vinyl. I’ve used them on several things, including drop cloth!

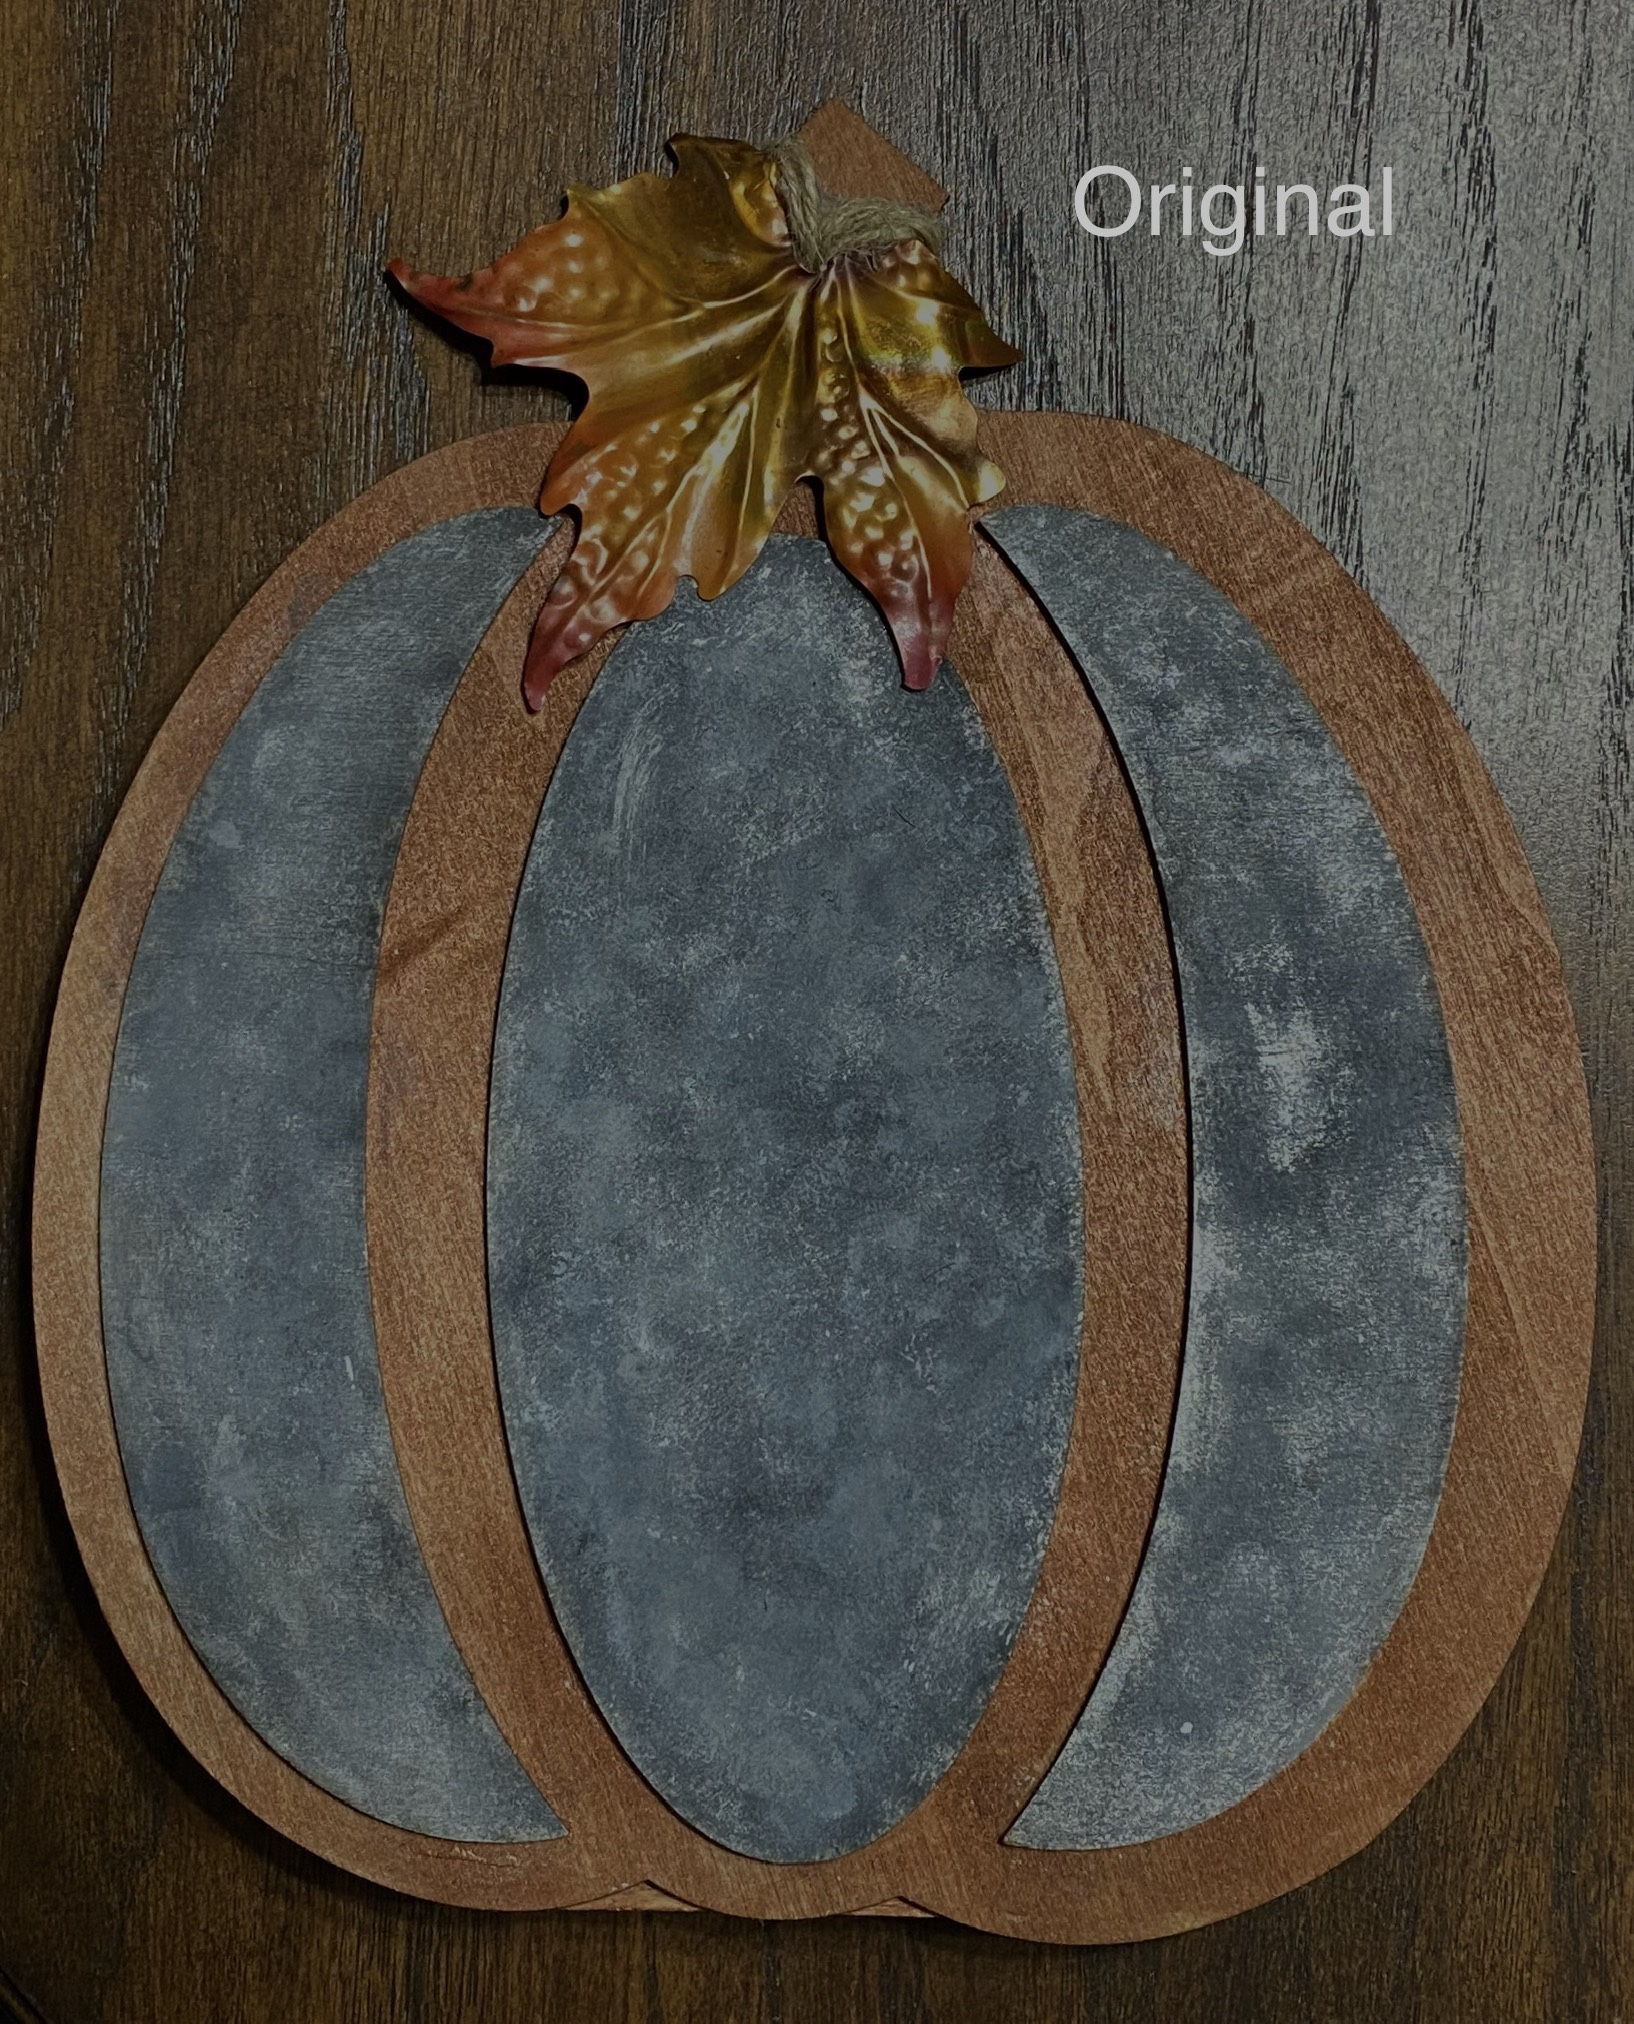
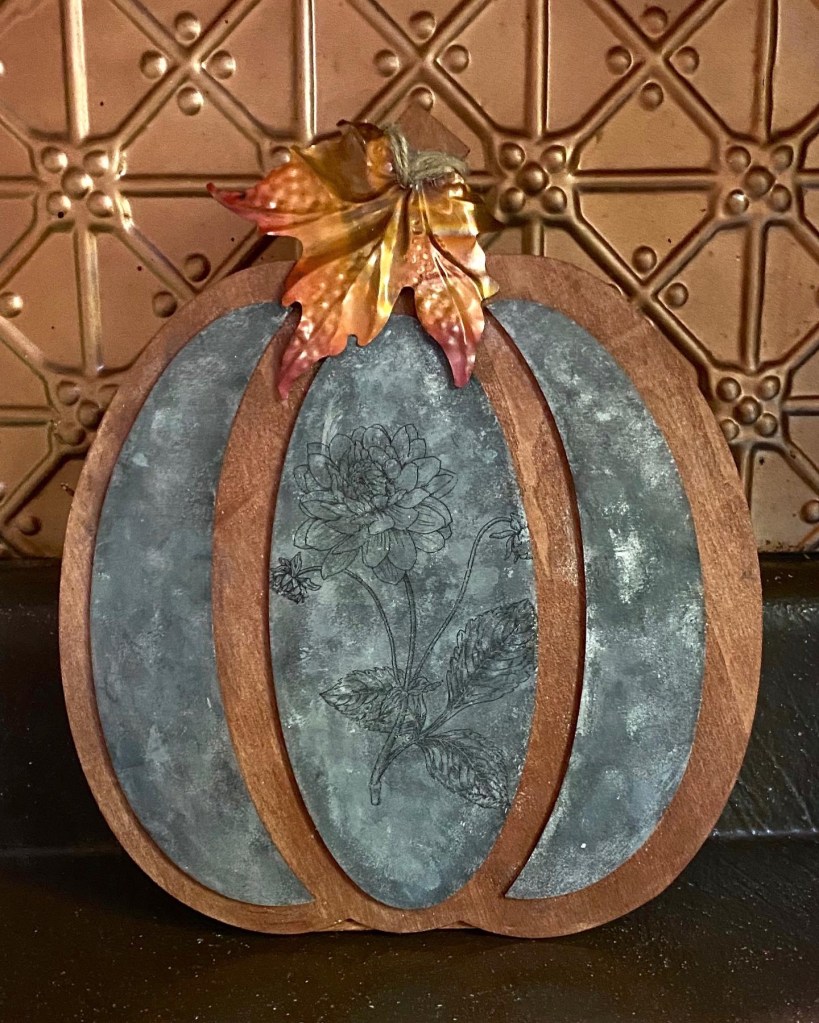
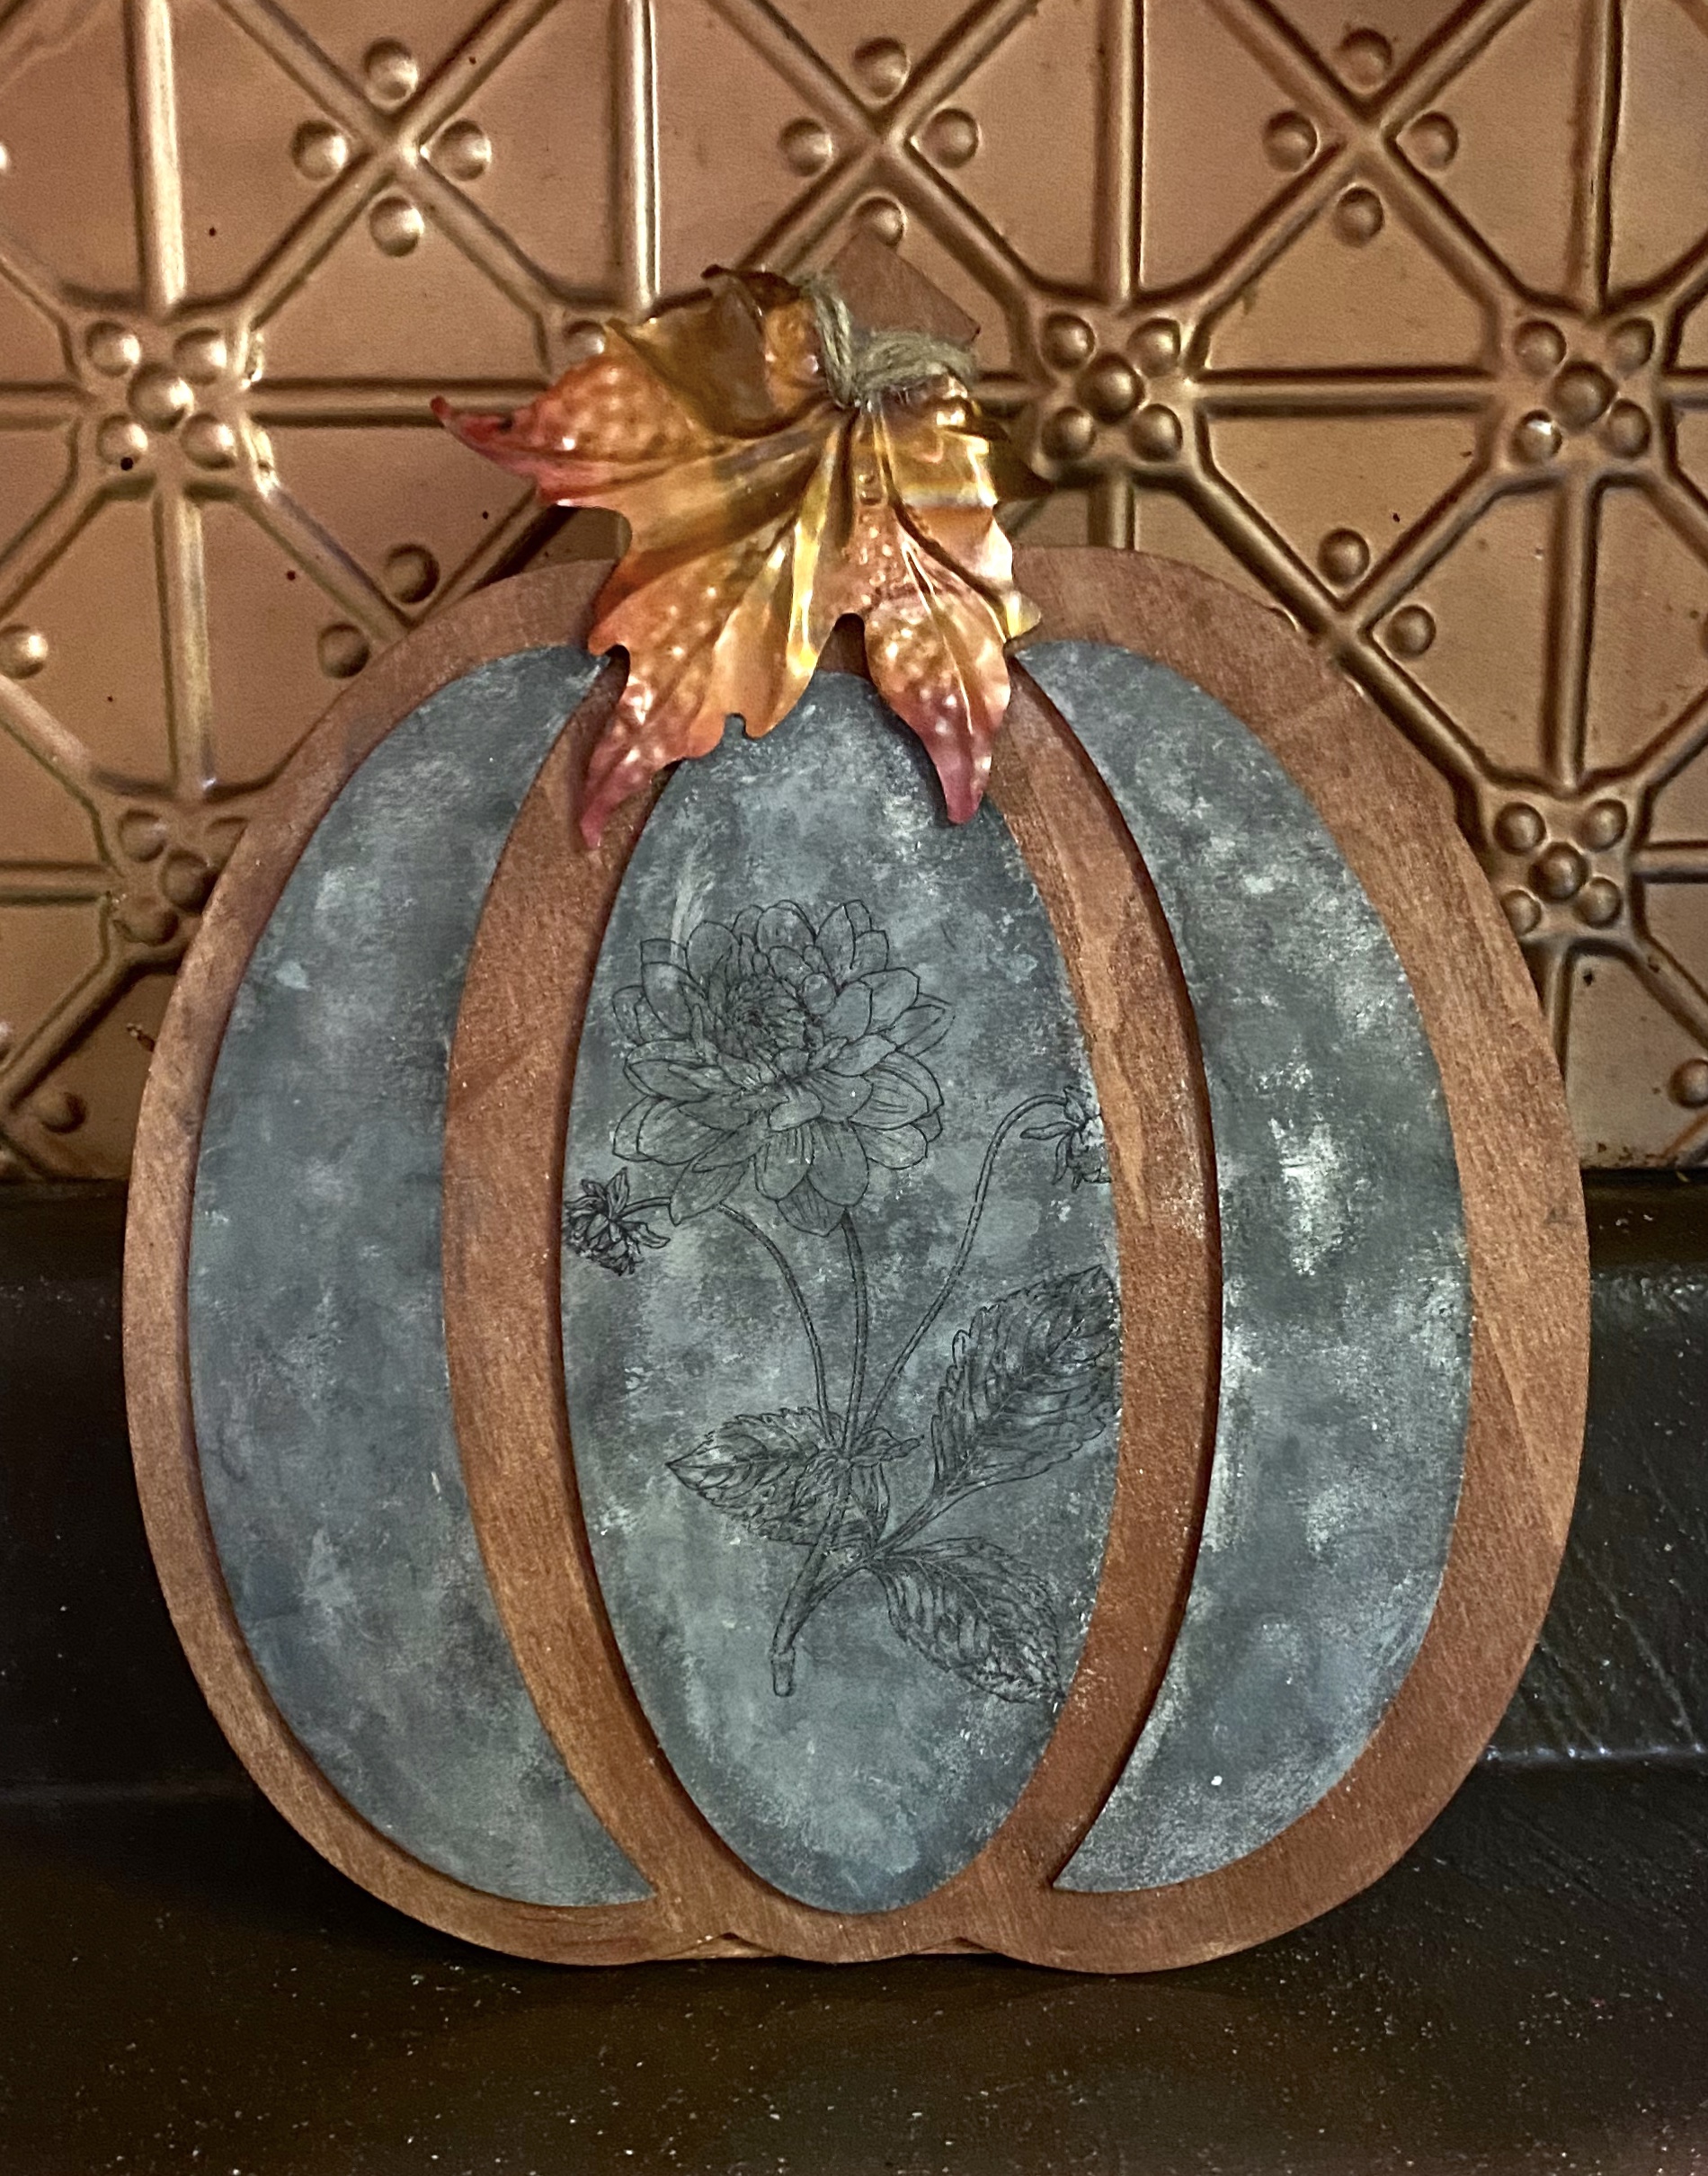
I painted this DT pumpkin last year to look like galvanized metal with copper to go with my copper kitchen tin backsplash. The copper leaf was from something I had thrifted.
This morning I applied this transfer. What a difference! I love it.

The last pic shows what one looks like on a drop cloth tag I made.

12” w x 12” high
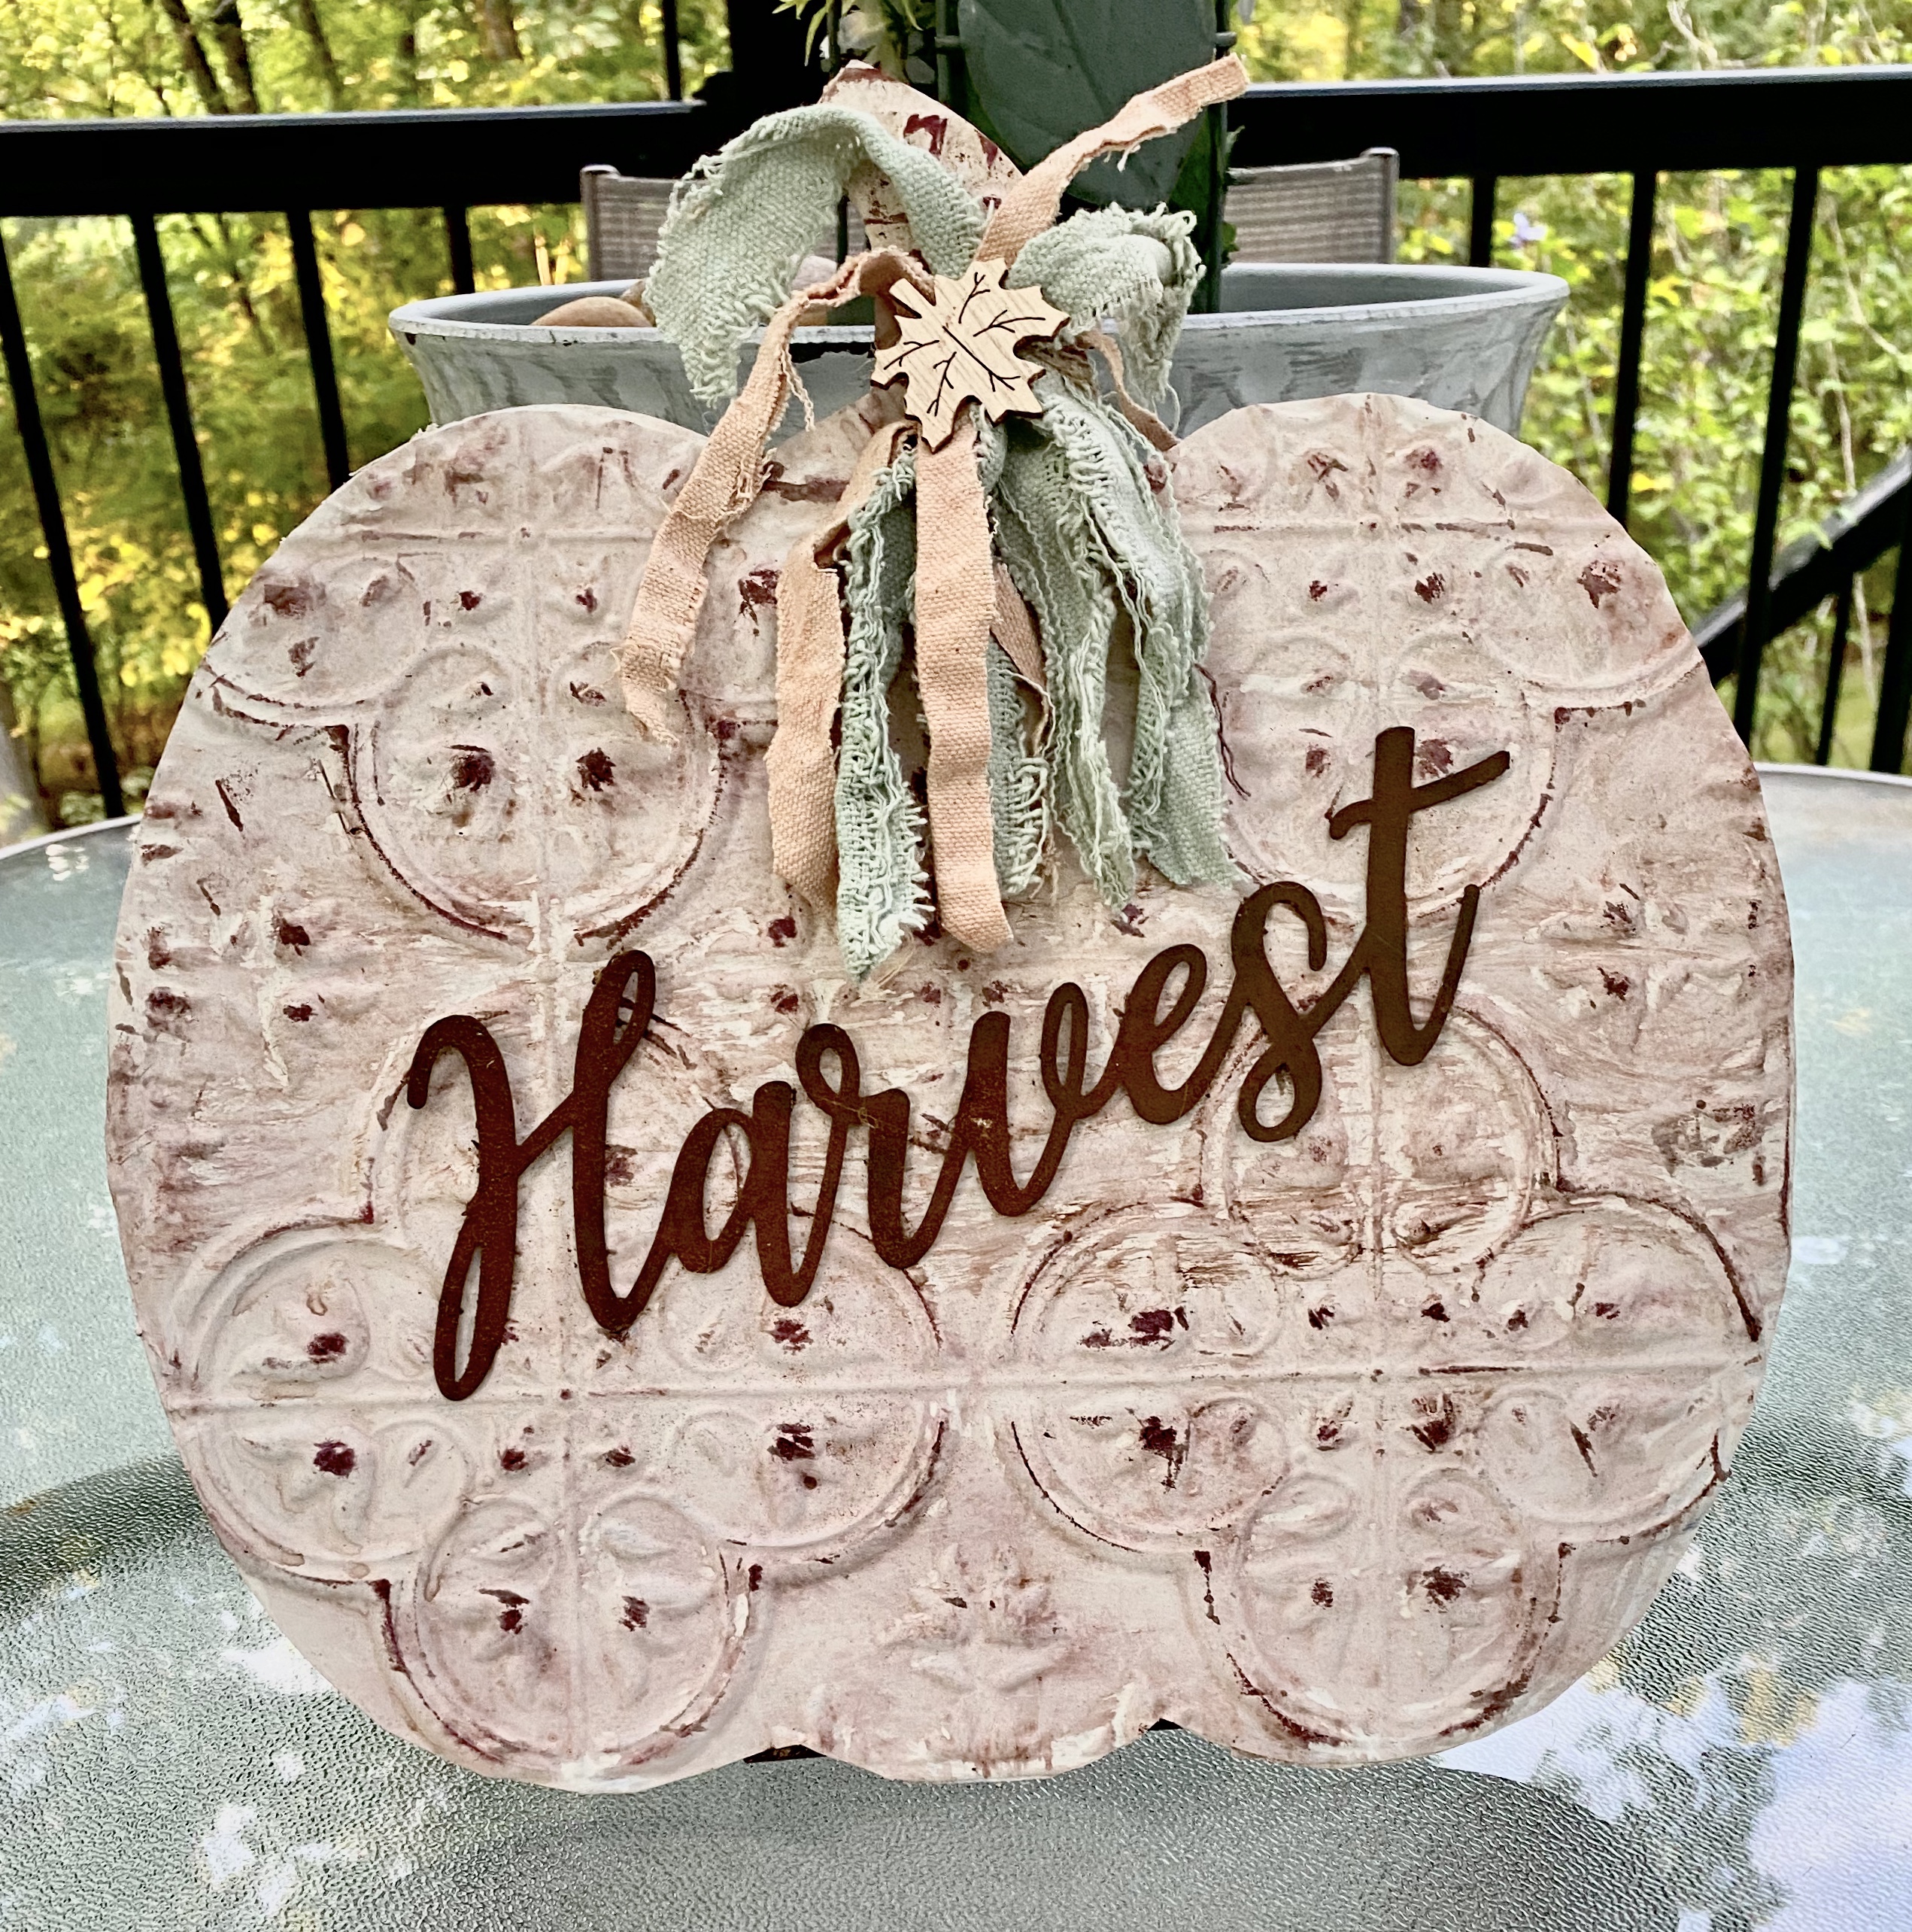
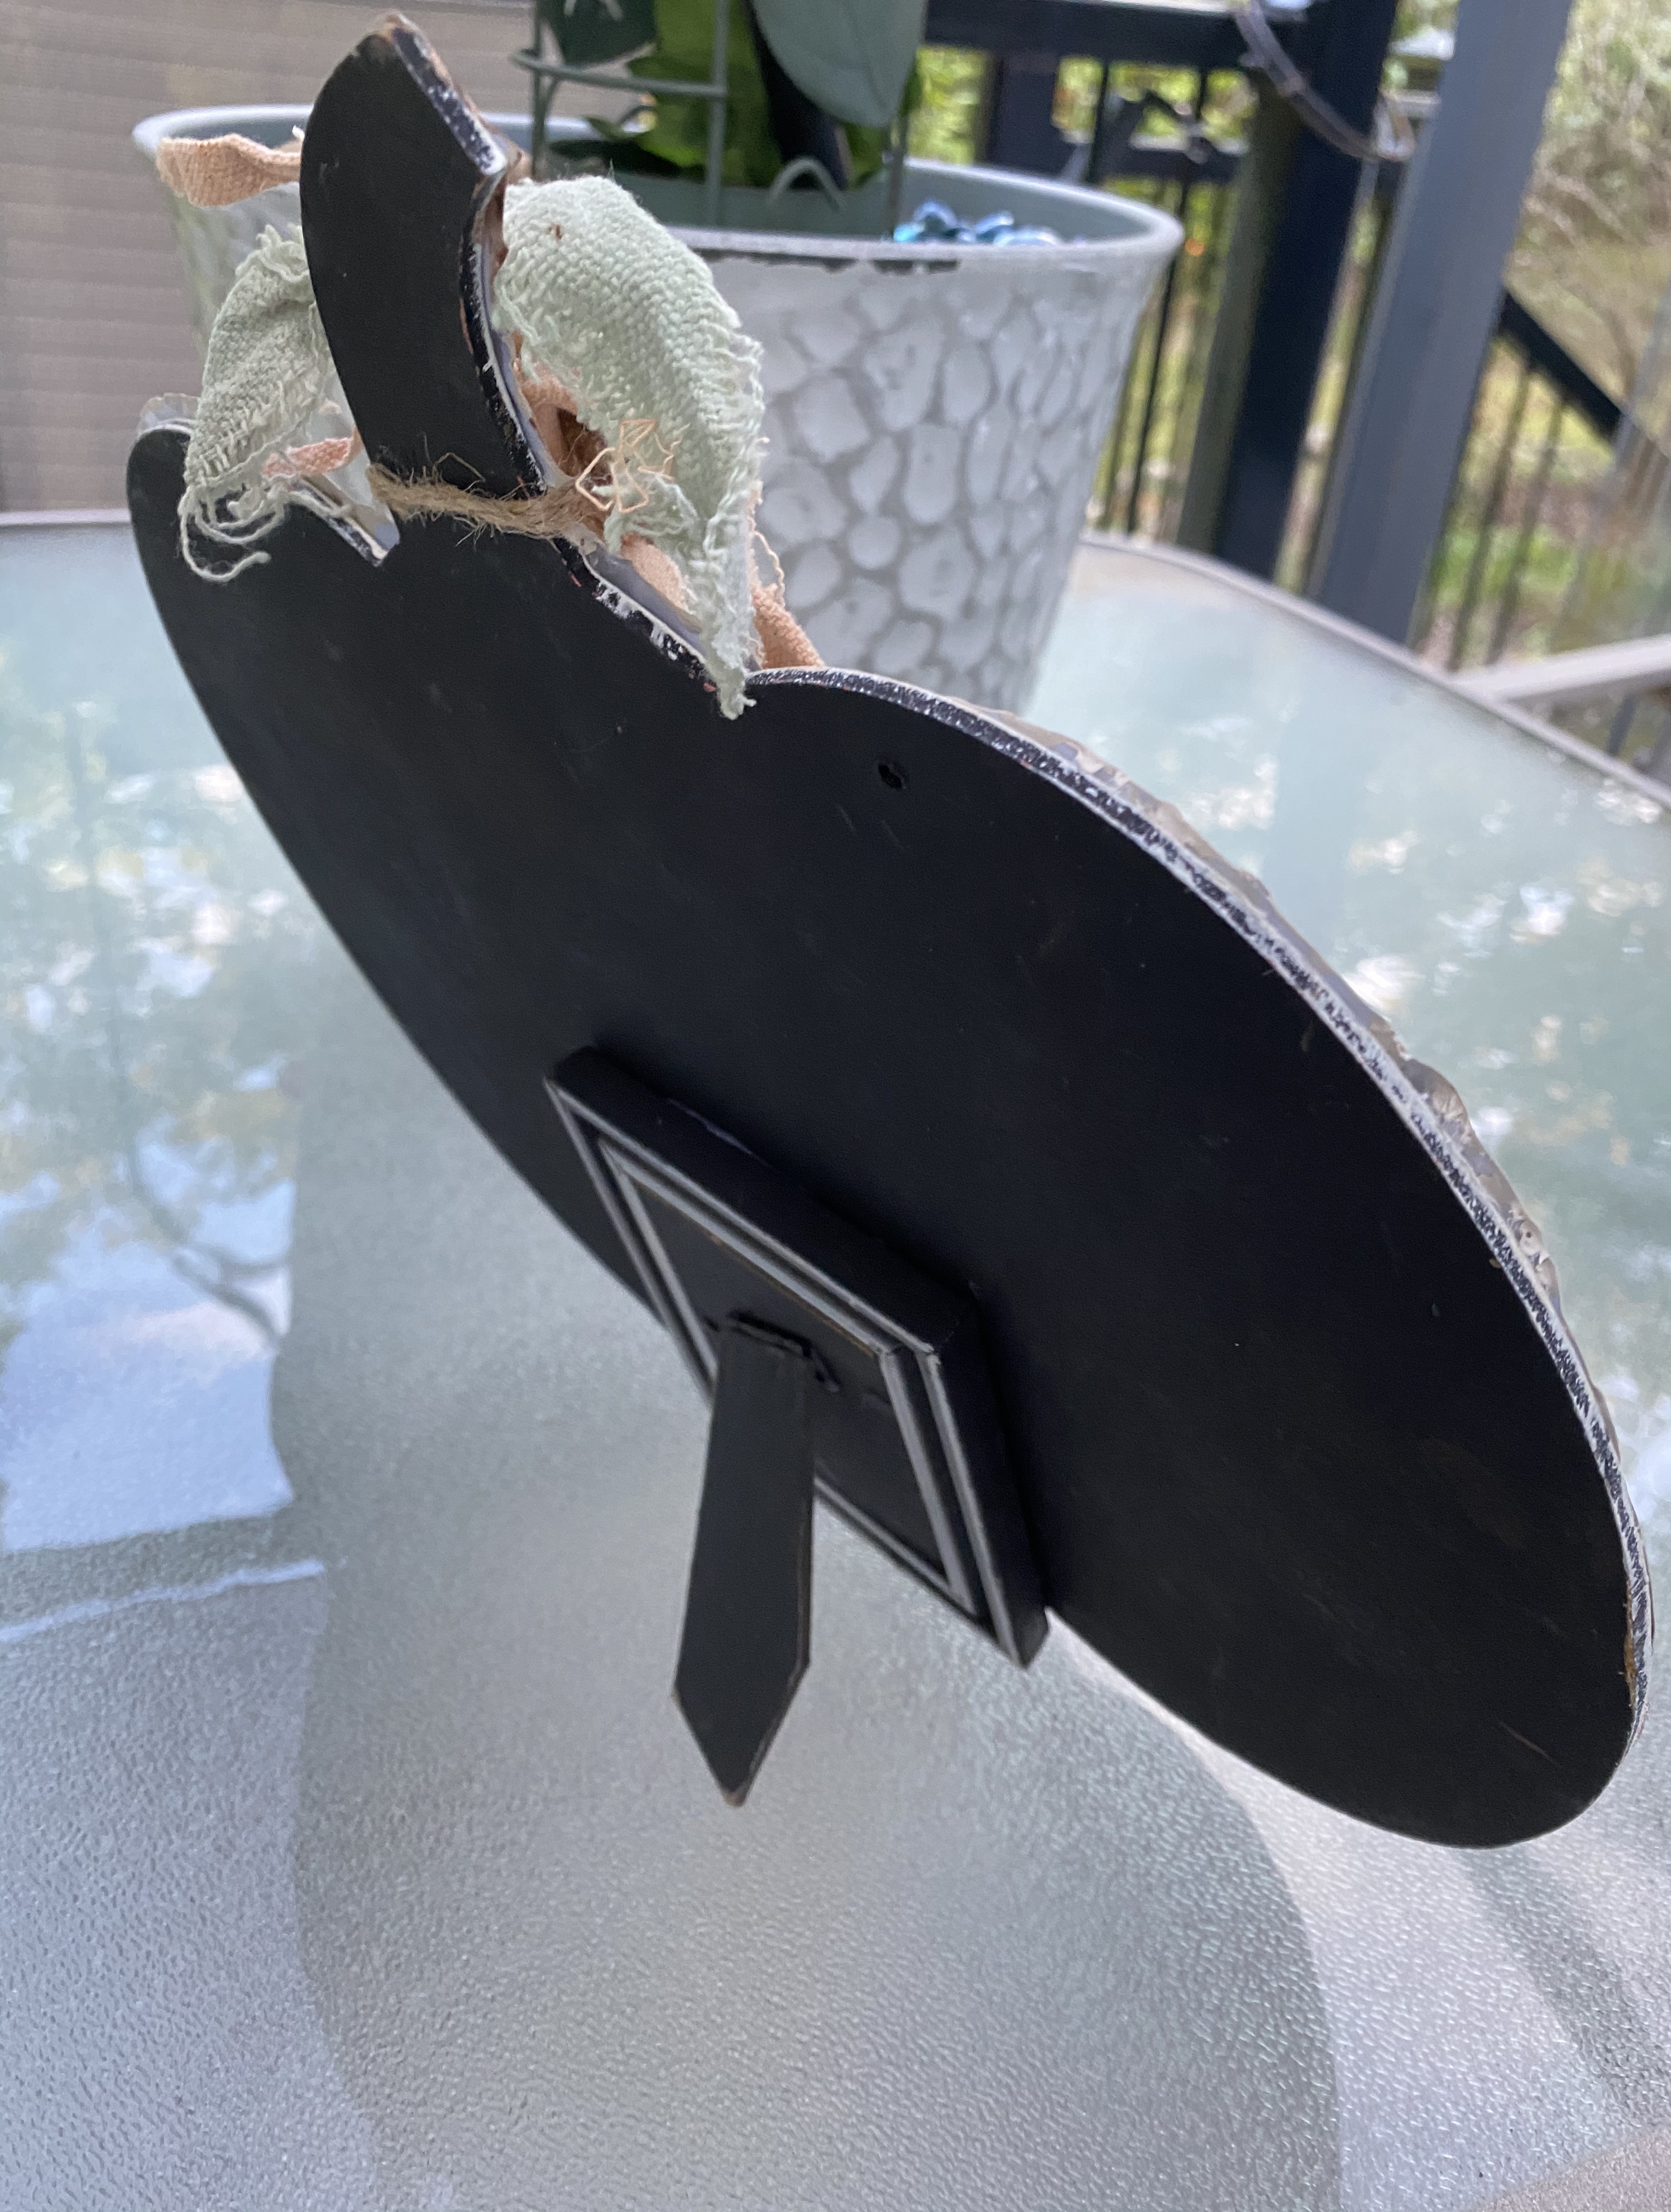
I transformed a wood cut out Dollar Tree Pumpkin by adding a Dollar Tree faux antique tin to it. I added a picture frame to the back so it would stand up.
I painted it a cream color then distressed it with watered down brown paint and a brown ink stamper.
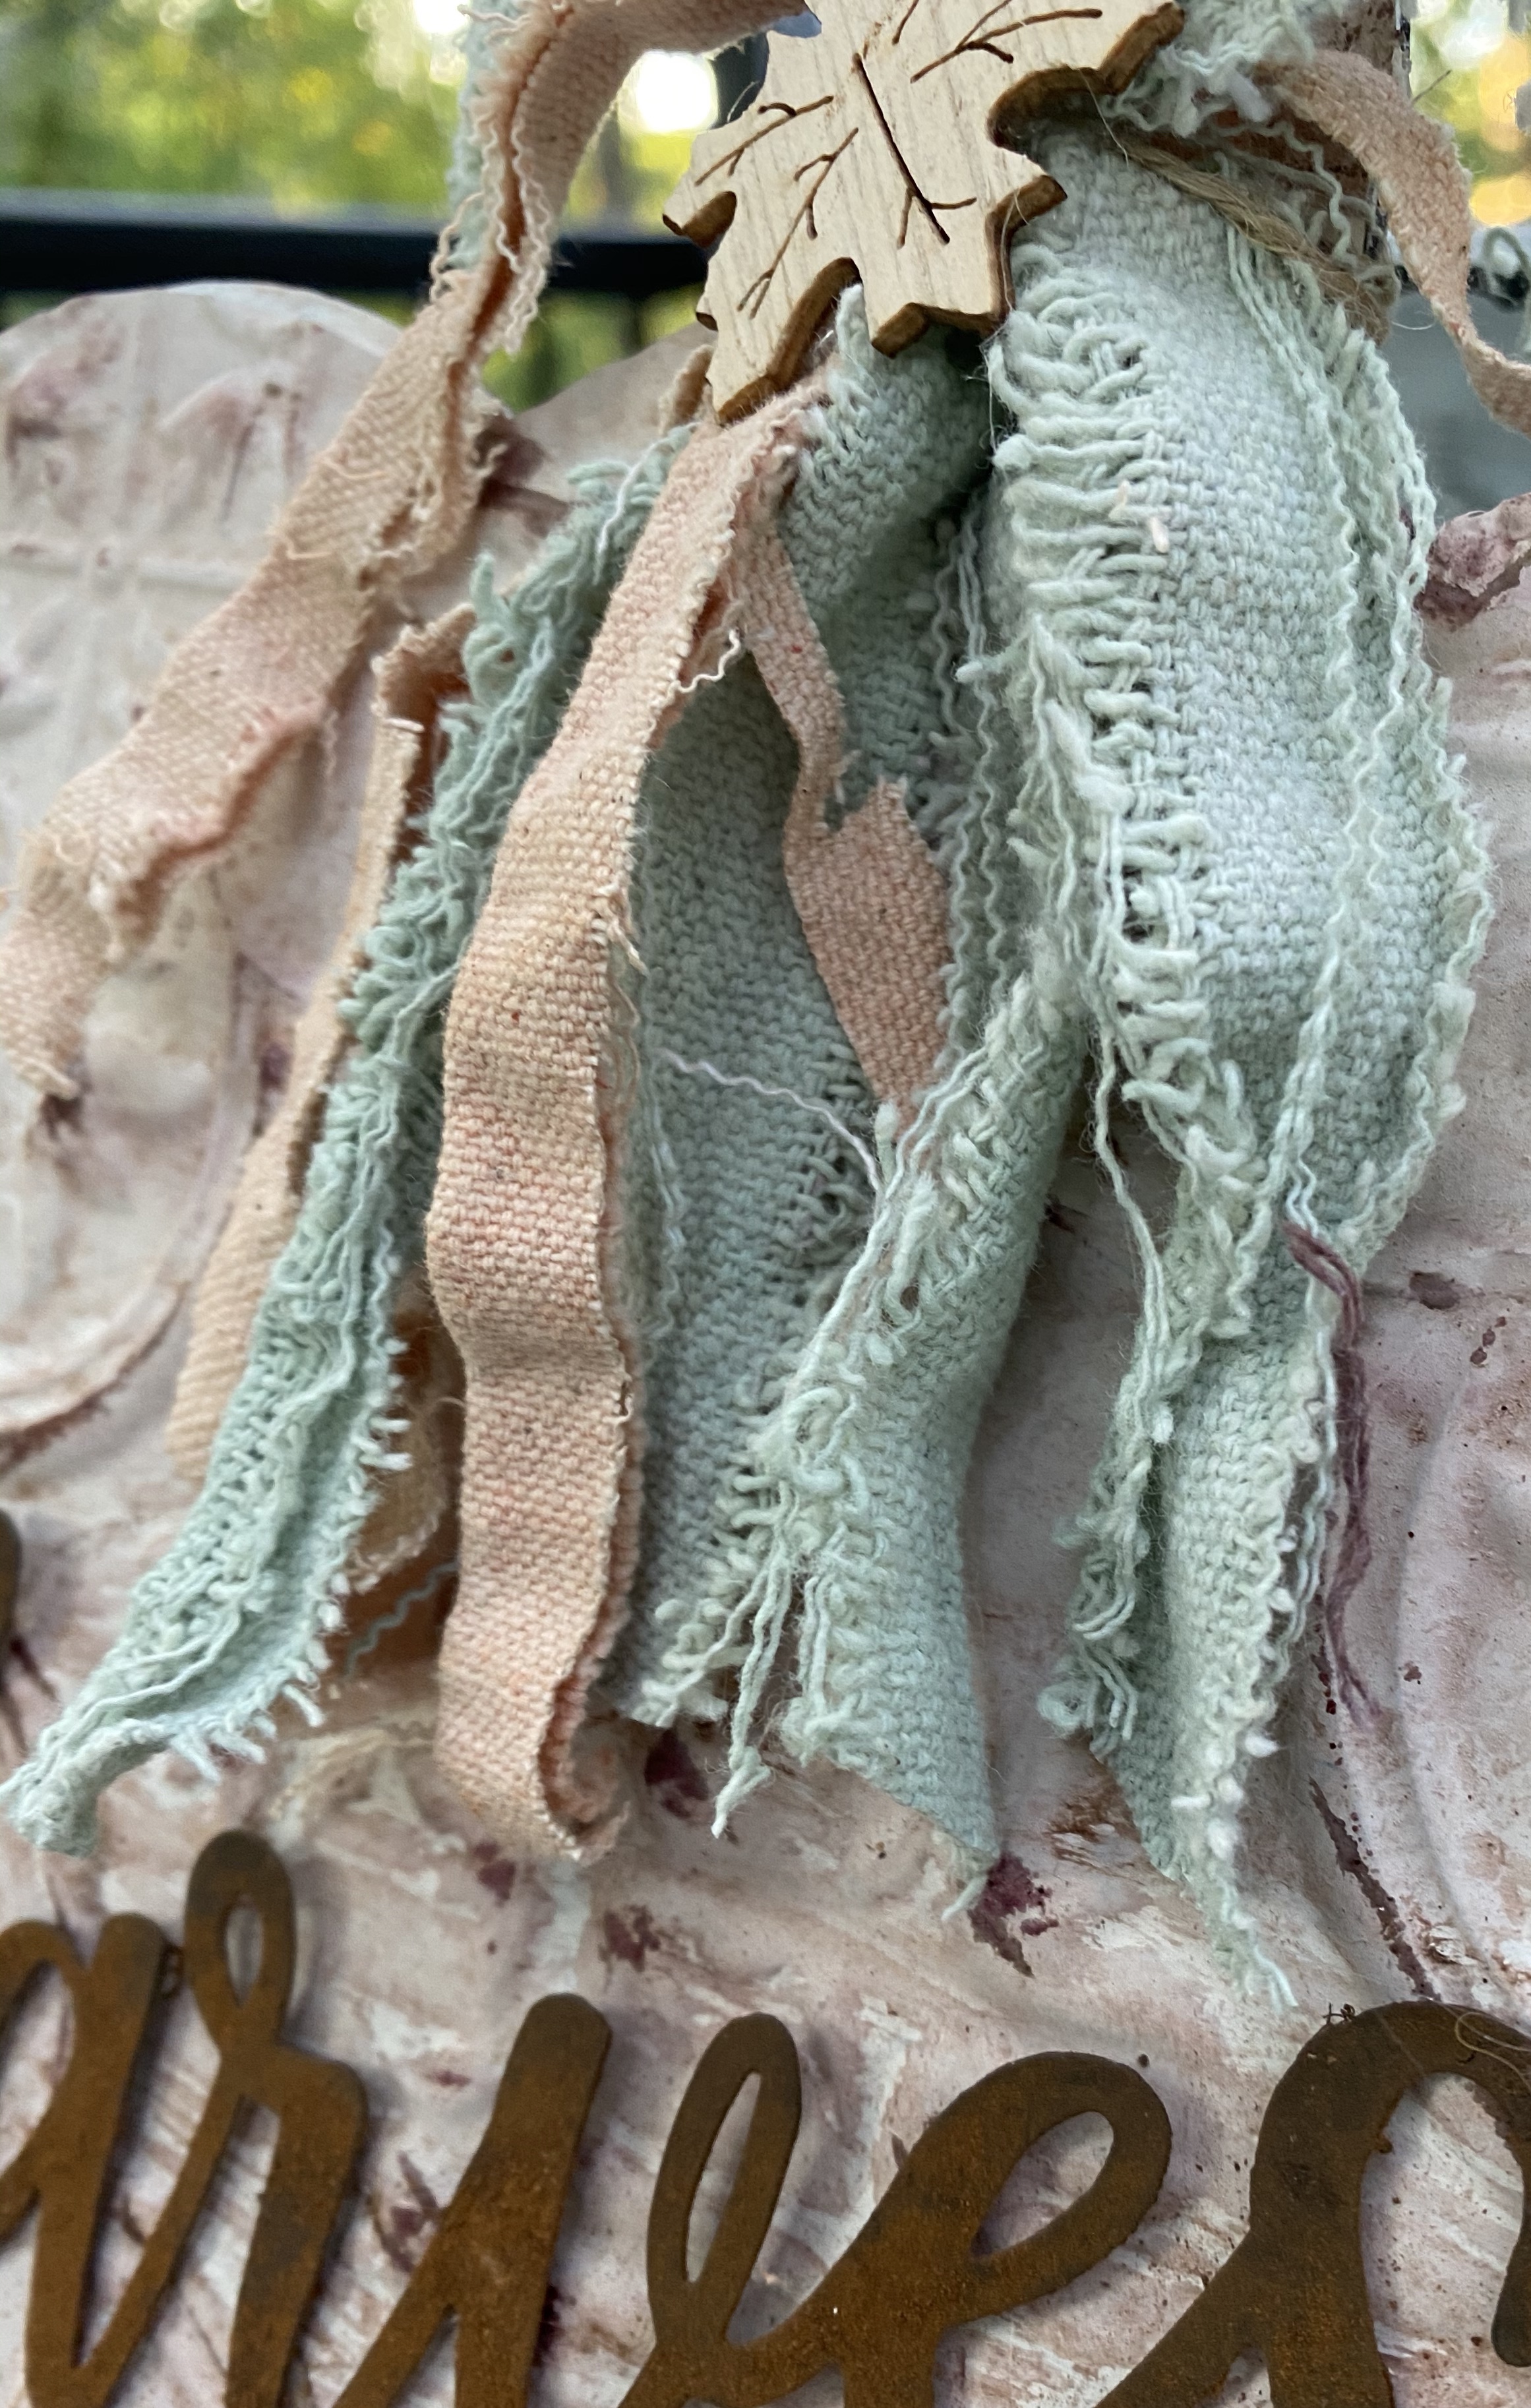
I added a messy bow made from paint dyed drop cloth strips with a wood leaf added to it.
I painted the metal Harvest wording brown and added cinnnamon while it was still wet to give it a rusty look.

#1 A remake of last year’s 8 1/2” w x 10” high wood pumpkin wall hanging with Dollar Tree parchment paper transfer

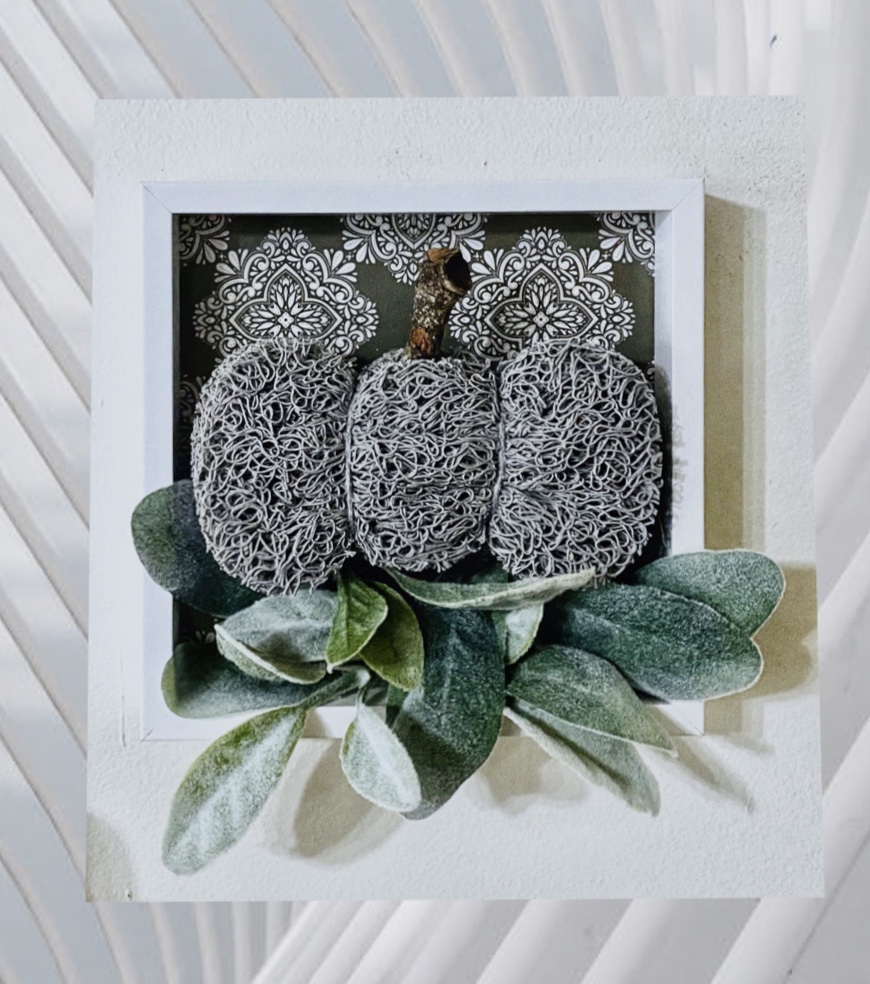
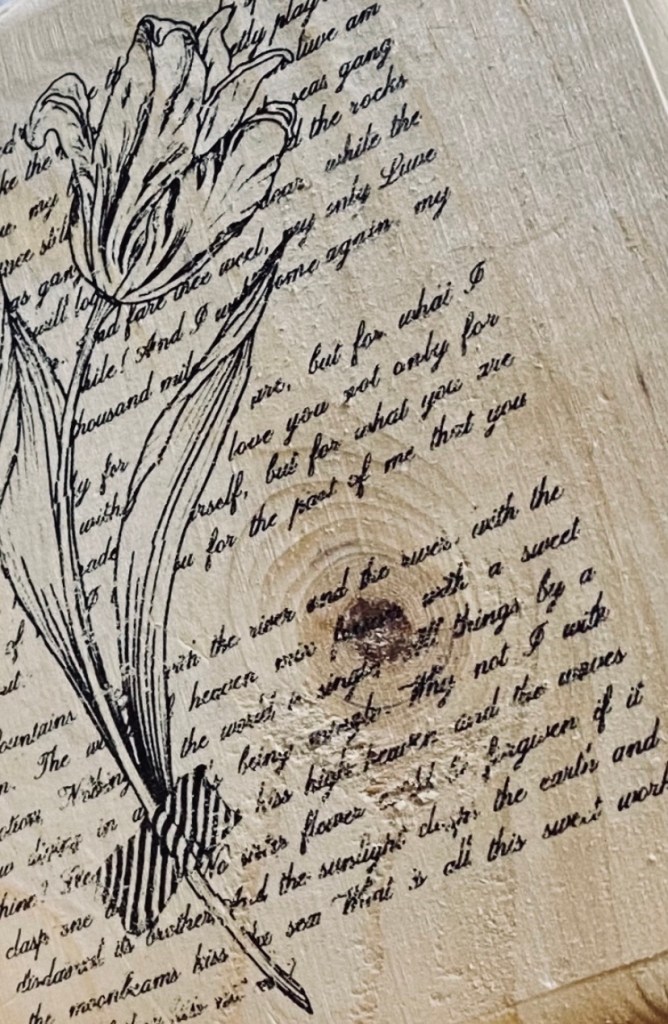
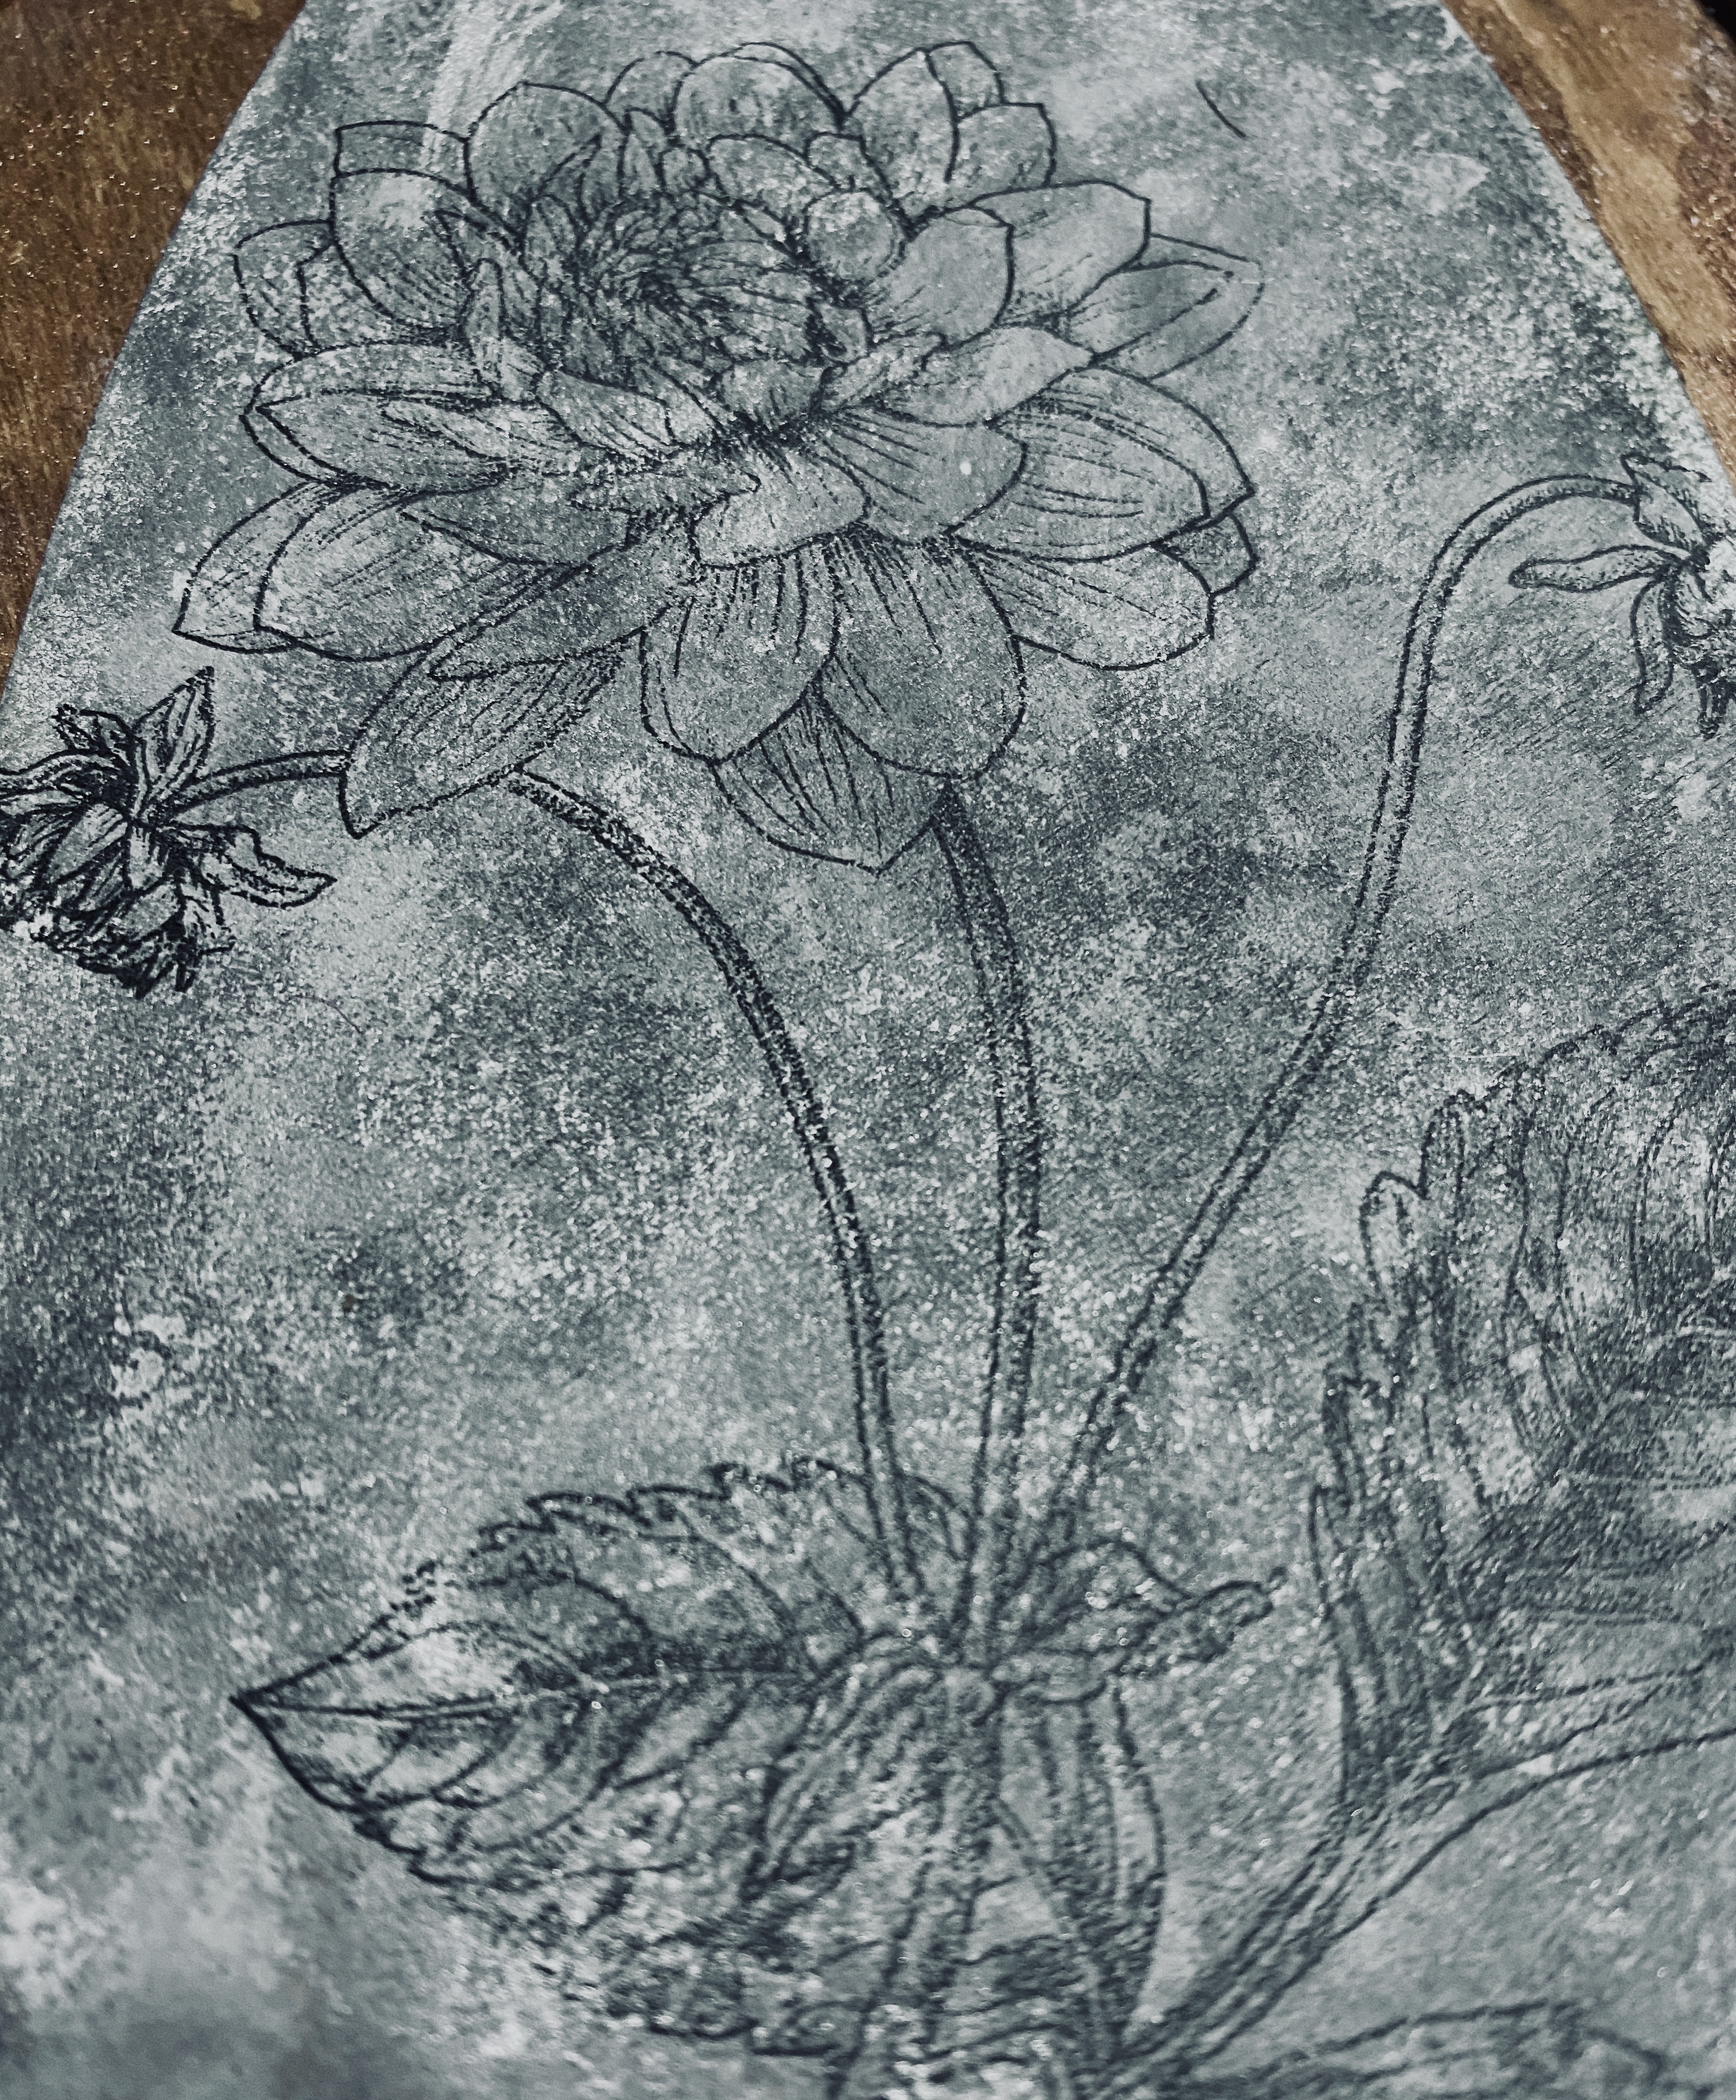
#2 This recycled 12×15” wood photo frame has a new life as a piece of fall decor. The print (61/2” x 10”) has had an artistic flair added along with a textured look. It is printed on card stock and framed with strips of ravelled canvas. The glass is the glare free kind.
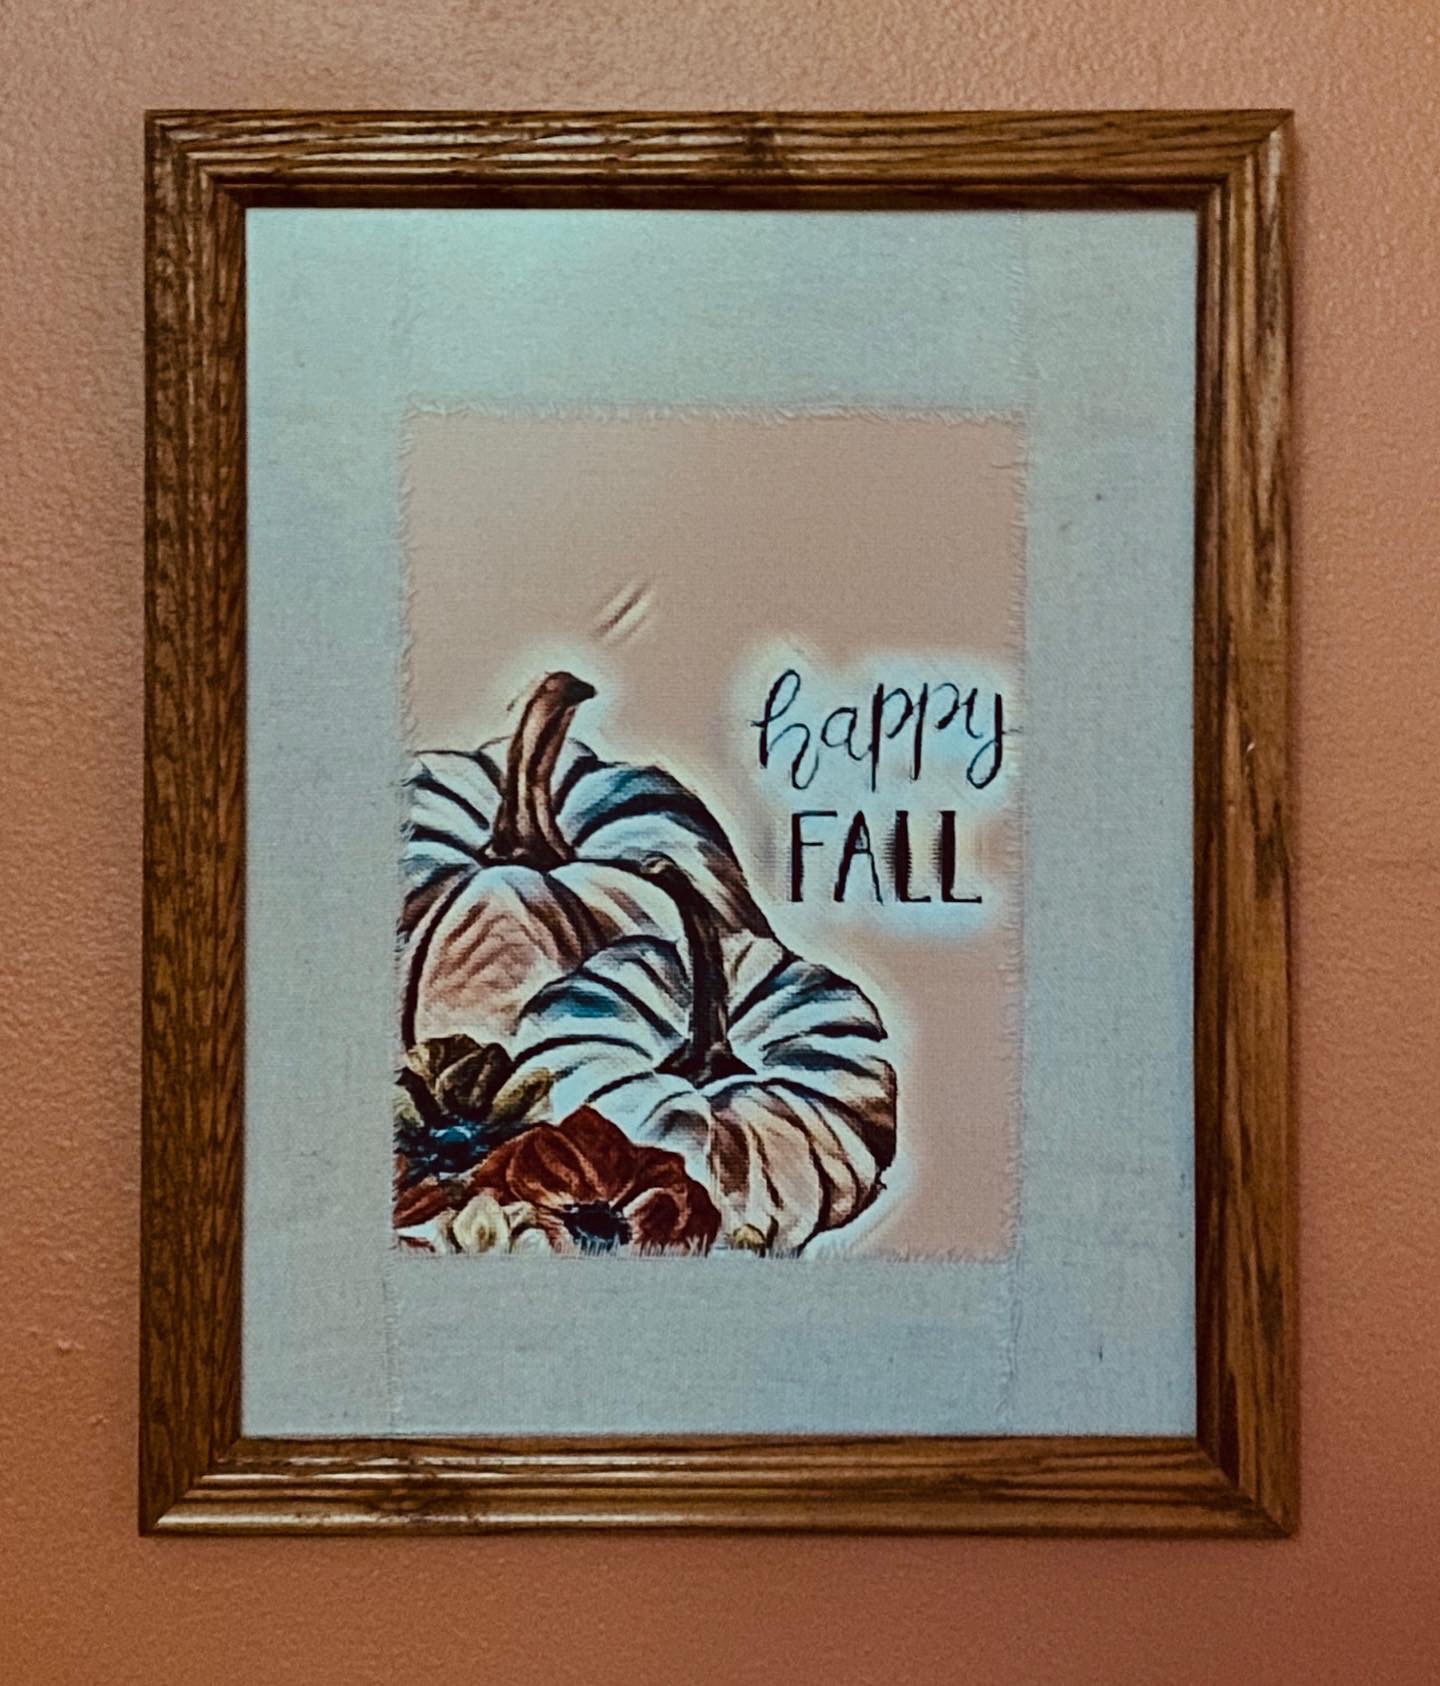
The closeup shows the look of the texture on the paper.
Original graphic courtesy of creativediypurpose.
6” wide x 12” high
#3 A cutting board wall decor – Hello Pumpkin
The text was a template from Canva. I used carbon paper and an embossed to transfer it to the board and colored it in with a pen.
Created a rag bow with strips of canvas and added a small painted styrofoam pumpkin.


Yesterday, I found a new kind of rub on transfer at Dollar Tree. It is on parchment paper. You rub off just like the other type. I do think, though, after using it, it is more like transferring ink.

I used the sunflower bouquet and transferred it to this Monkeypod plate I thrifted. It is beautiful and so easy to use.
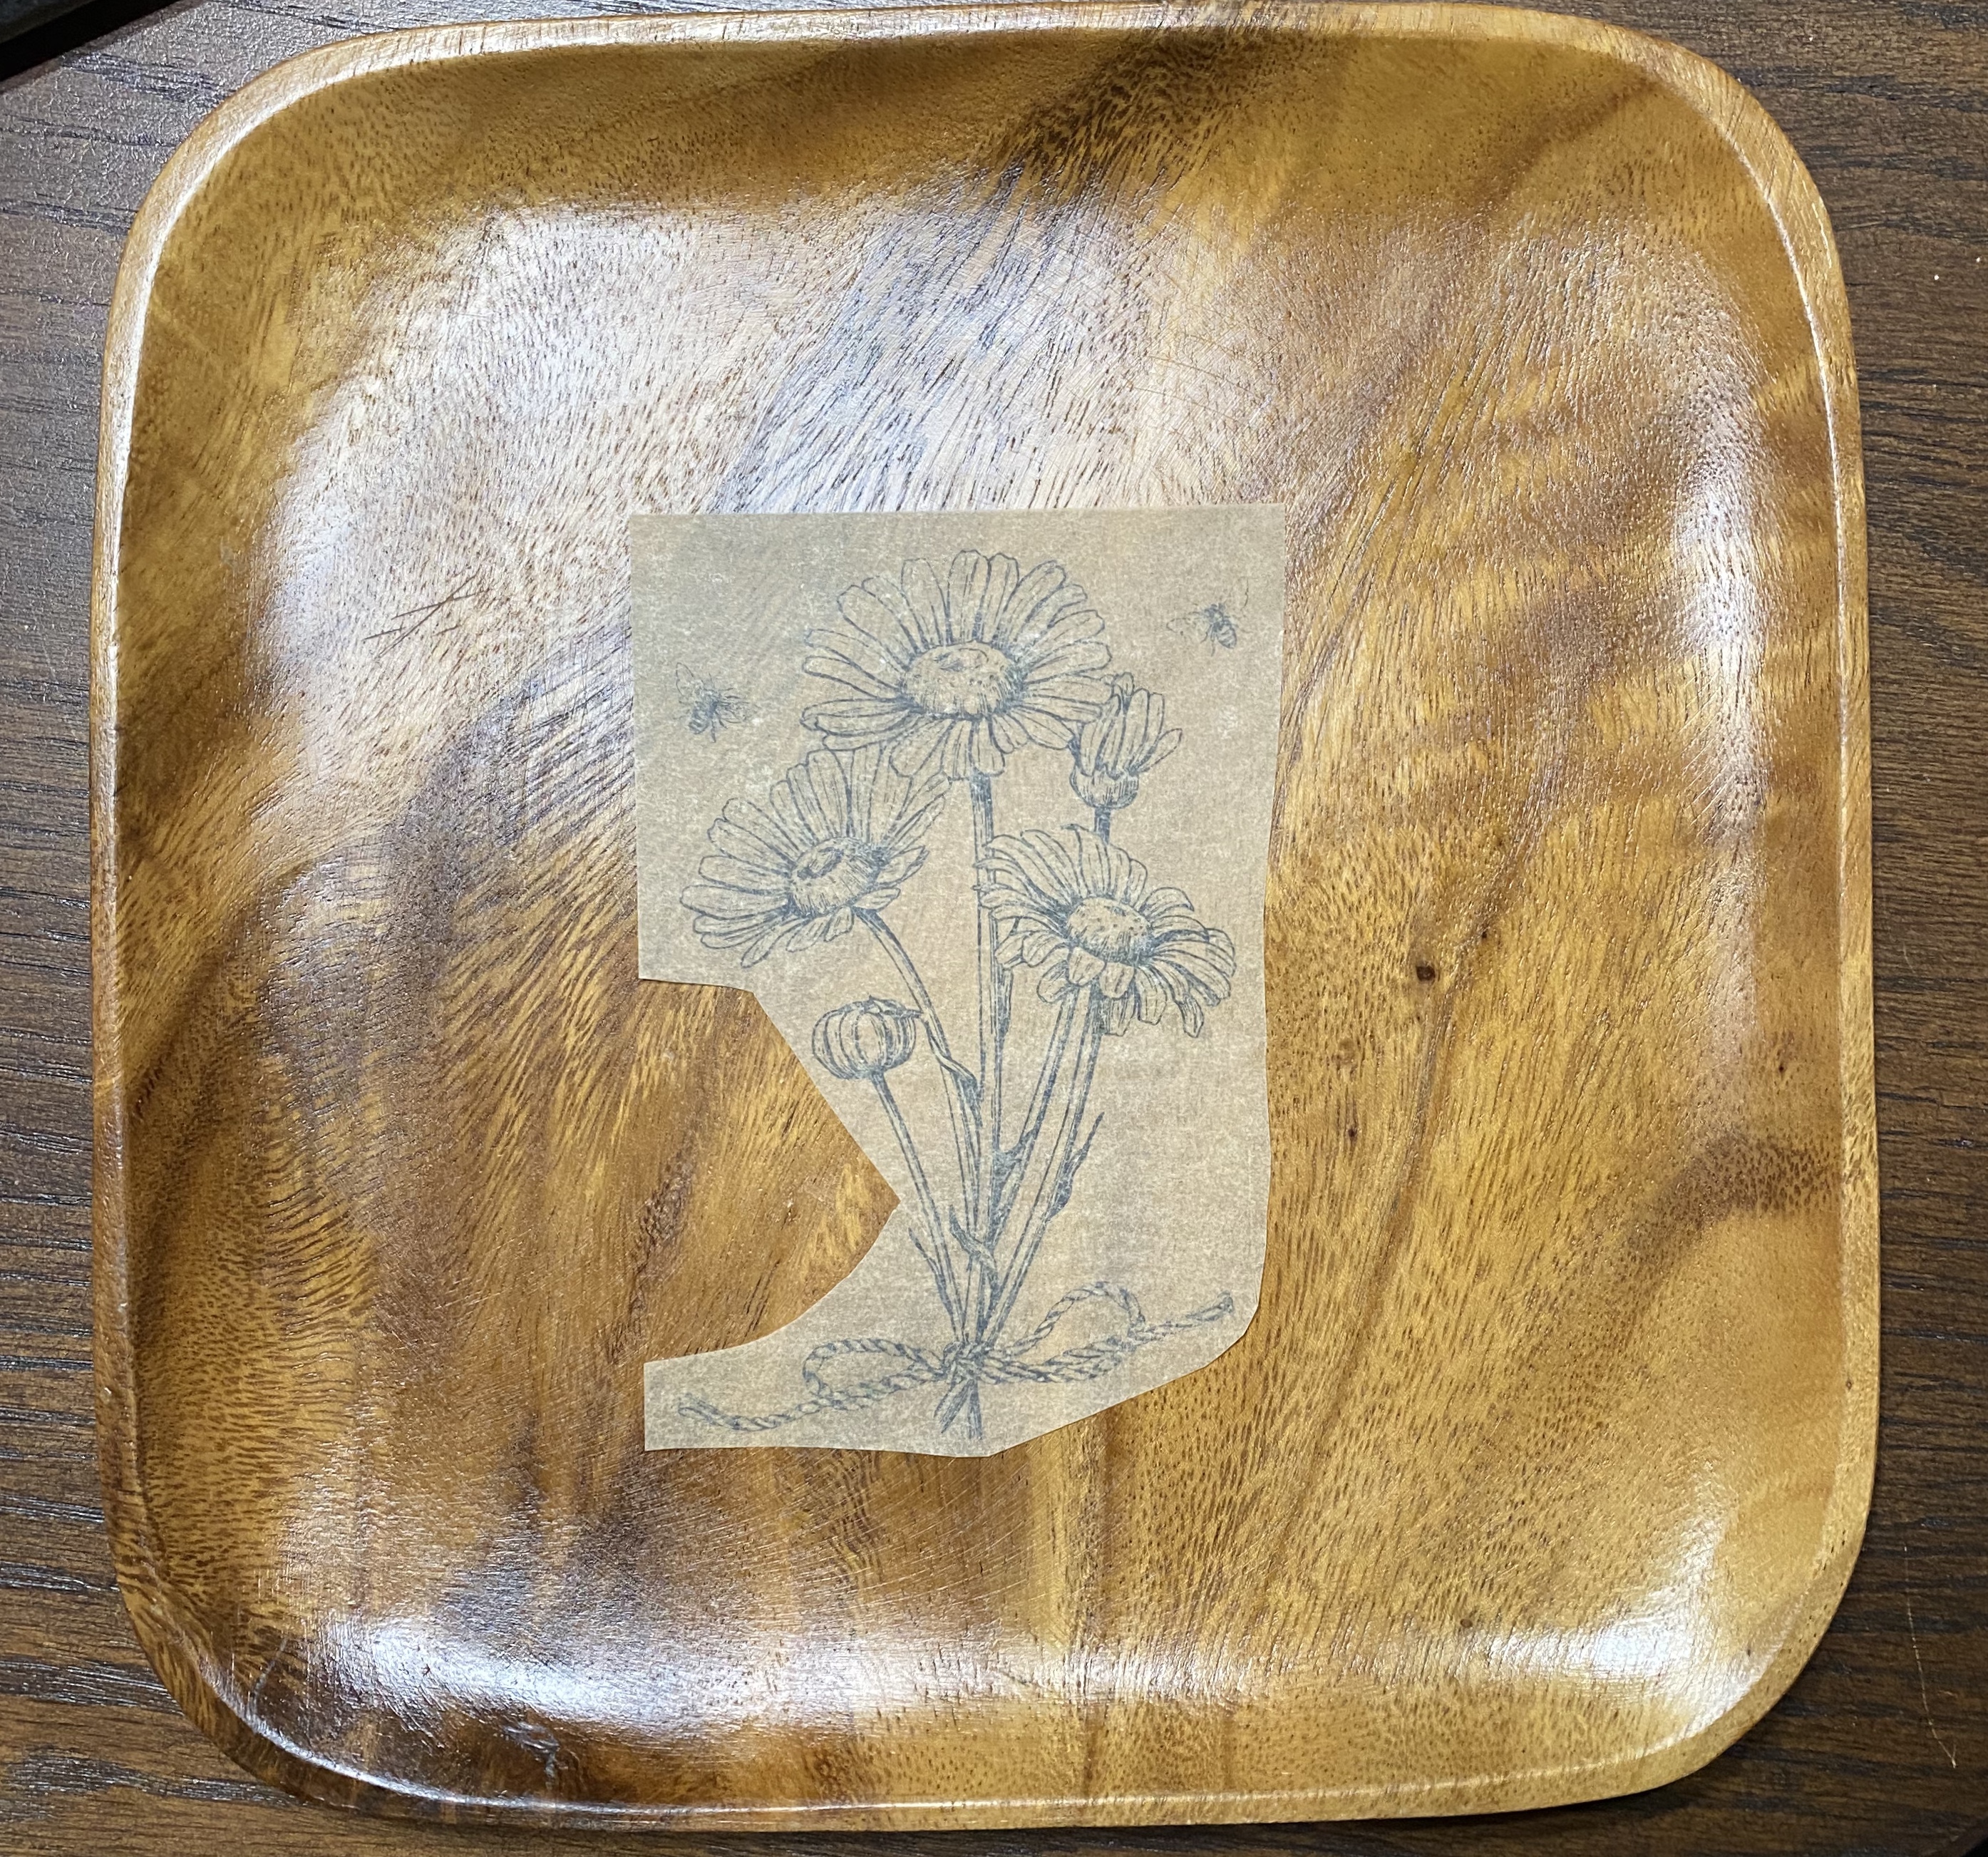

Note: 😳 Do not try to apply wax to seal it. The wax removed the transfer!! I had transferred a whole sheet. 😳 I removed the whole thing, cleaned it well, then just did the bouquet. Maybe it needed to dry or something first, but now I’m afraid to use wax. I think I will just leave it as for about 24 hours and test a little bit on the underside and spray with lacquer.
