Keep reading to see more of these cut outs I’ve completed.
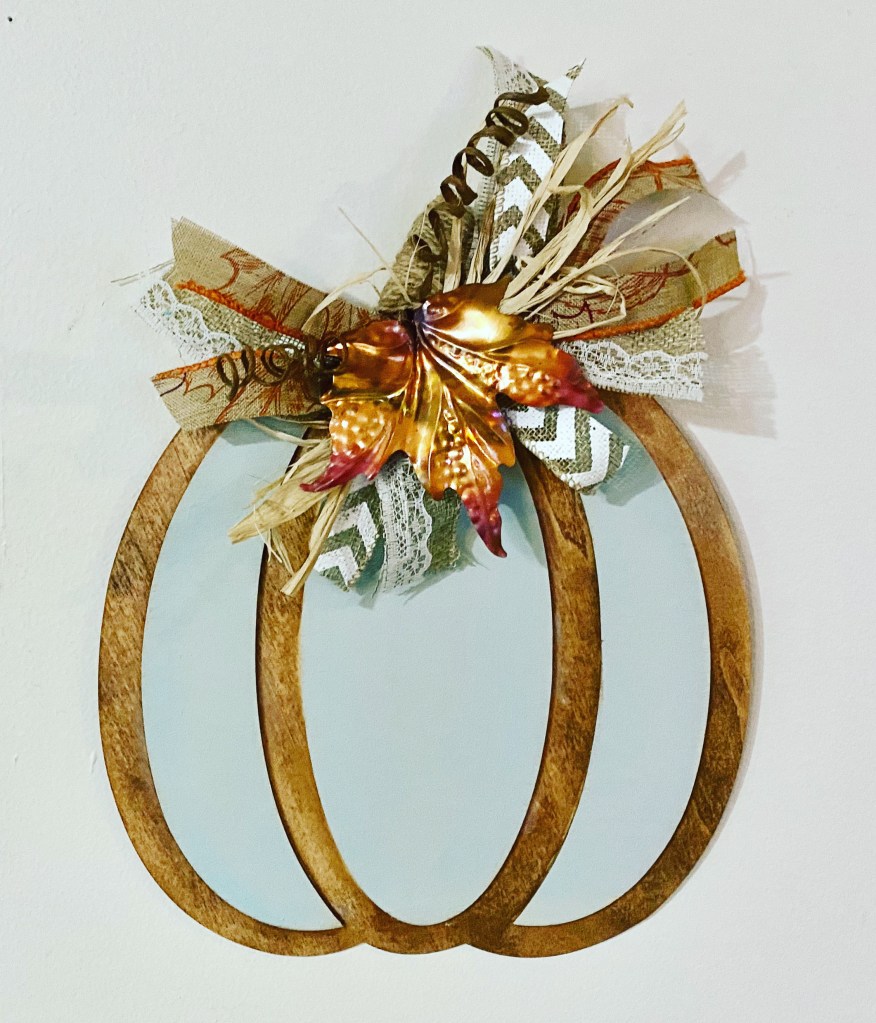
I made this pumpkin hanger from a Dollar Tree pumpkin wood cut out today. I loved how it turned out so much, I ran back up and bought 5 more before they were all gone. I did leave some there for others. 🙂
First I stained the outline. Then I painted the raised areas with our Missouri Limestone Paint Company chalk-style paint in “Soothing Sage”.
I wrapped the stem area with twine and created a messy bow with a variety of strips of ribbon and raffia, I wired them all together and attached them to the stem with more wire. I had a metallic leaf and super glued it to the stem. I also had some paper covered wire I twisted around a pencil and added it.
I added a twine hanger on the back . The pumpkin can hang on the wall or it can lean up against something else in a vignette.
I can’t wait to make more of these. I love how this one turned out.
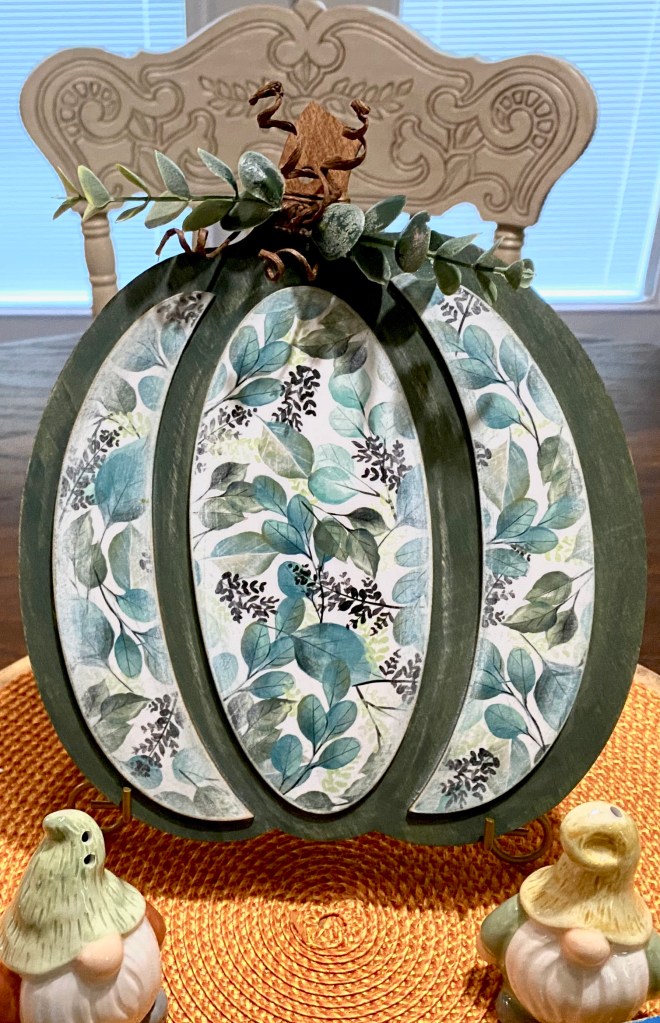
I am obsessed with these pumpkin cut outs. 🙂
I think this one might be my favorite – decoupaged scrapbook paper from Hobby Lobby.Wait! Maybe this one is my favorite. 🙂Love the muted orange of this one.The white with stain really stands out.
This post will be ongoing for awhile, so keep checking back. I’ve worked so hard already (about 30 minutes), I’m going to have to take about a week off and go on vacation. Literally. Lol
Decluttering for a crafter – it’s a process. Part of the process is organizing the clutter you are keeping.
For instance – many would see this broken vintage exerciser ?? as something to throw away. A crafter buys it, along with some neat wooden salad bowls, specifically at an estate sale to upcycle someday. However, they were just hidden away in a Walmart bag in a box.
So, I cut it apart and saved the goodies. Just look at those beads! They will make great legs for tiered trays or maybe even wooden bowls!
Not sure what the little sticks or handles will end up being. Open to ideas. 🤪
While waiting for my visiting grandson to wake up, I strolled around my basement wondering what I could declutter first. Then I happened upon a package of terry cloth coasters called “Thirsty Coasters”.
I bought several packages of these at one point, thinking I could do something with them sometime. Another time I bought several cool little coaster holders. Same. Lol
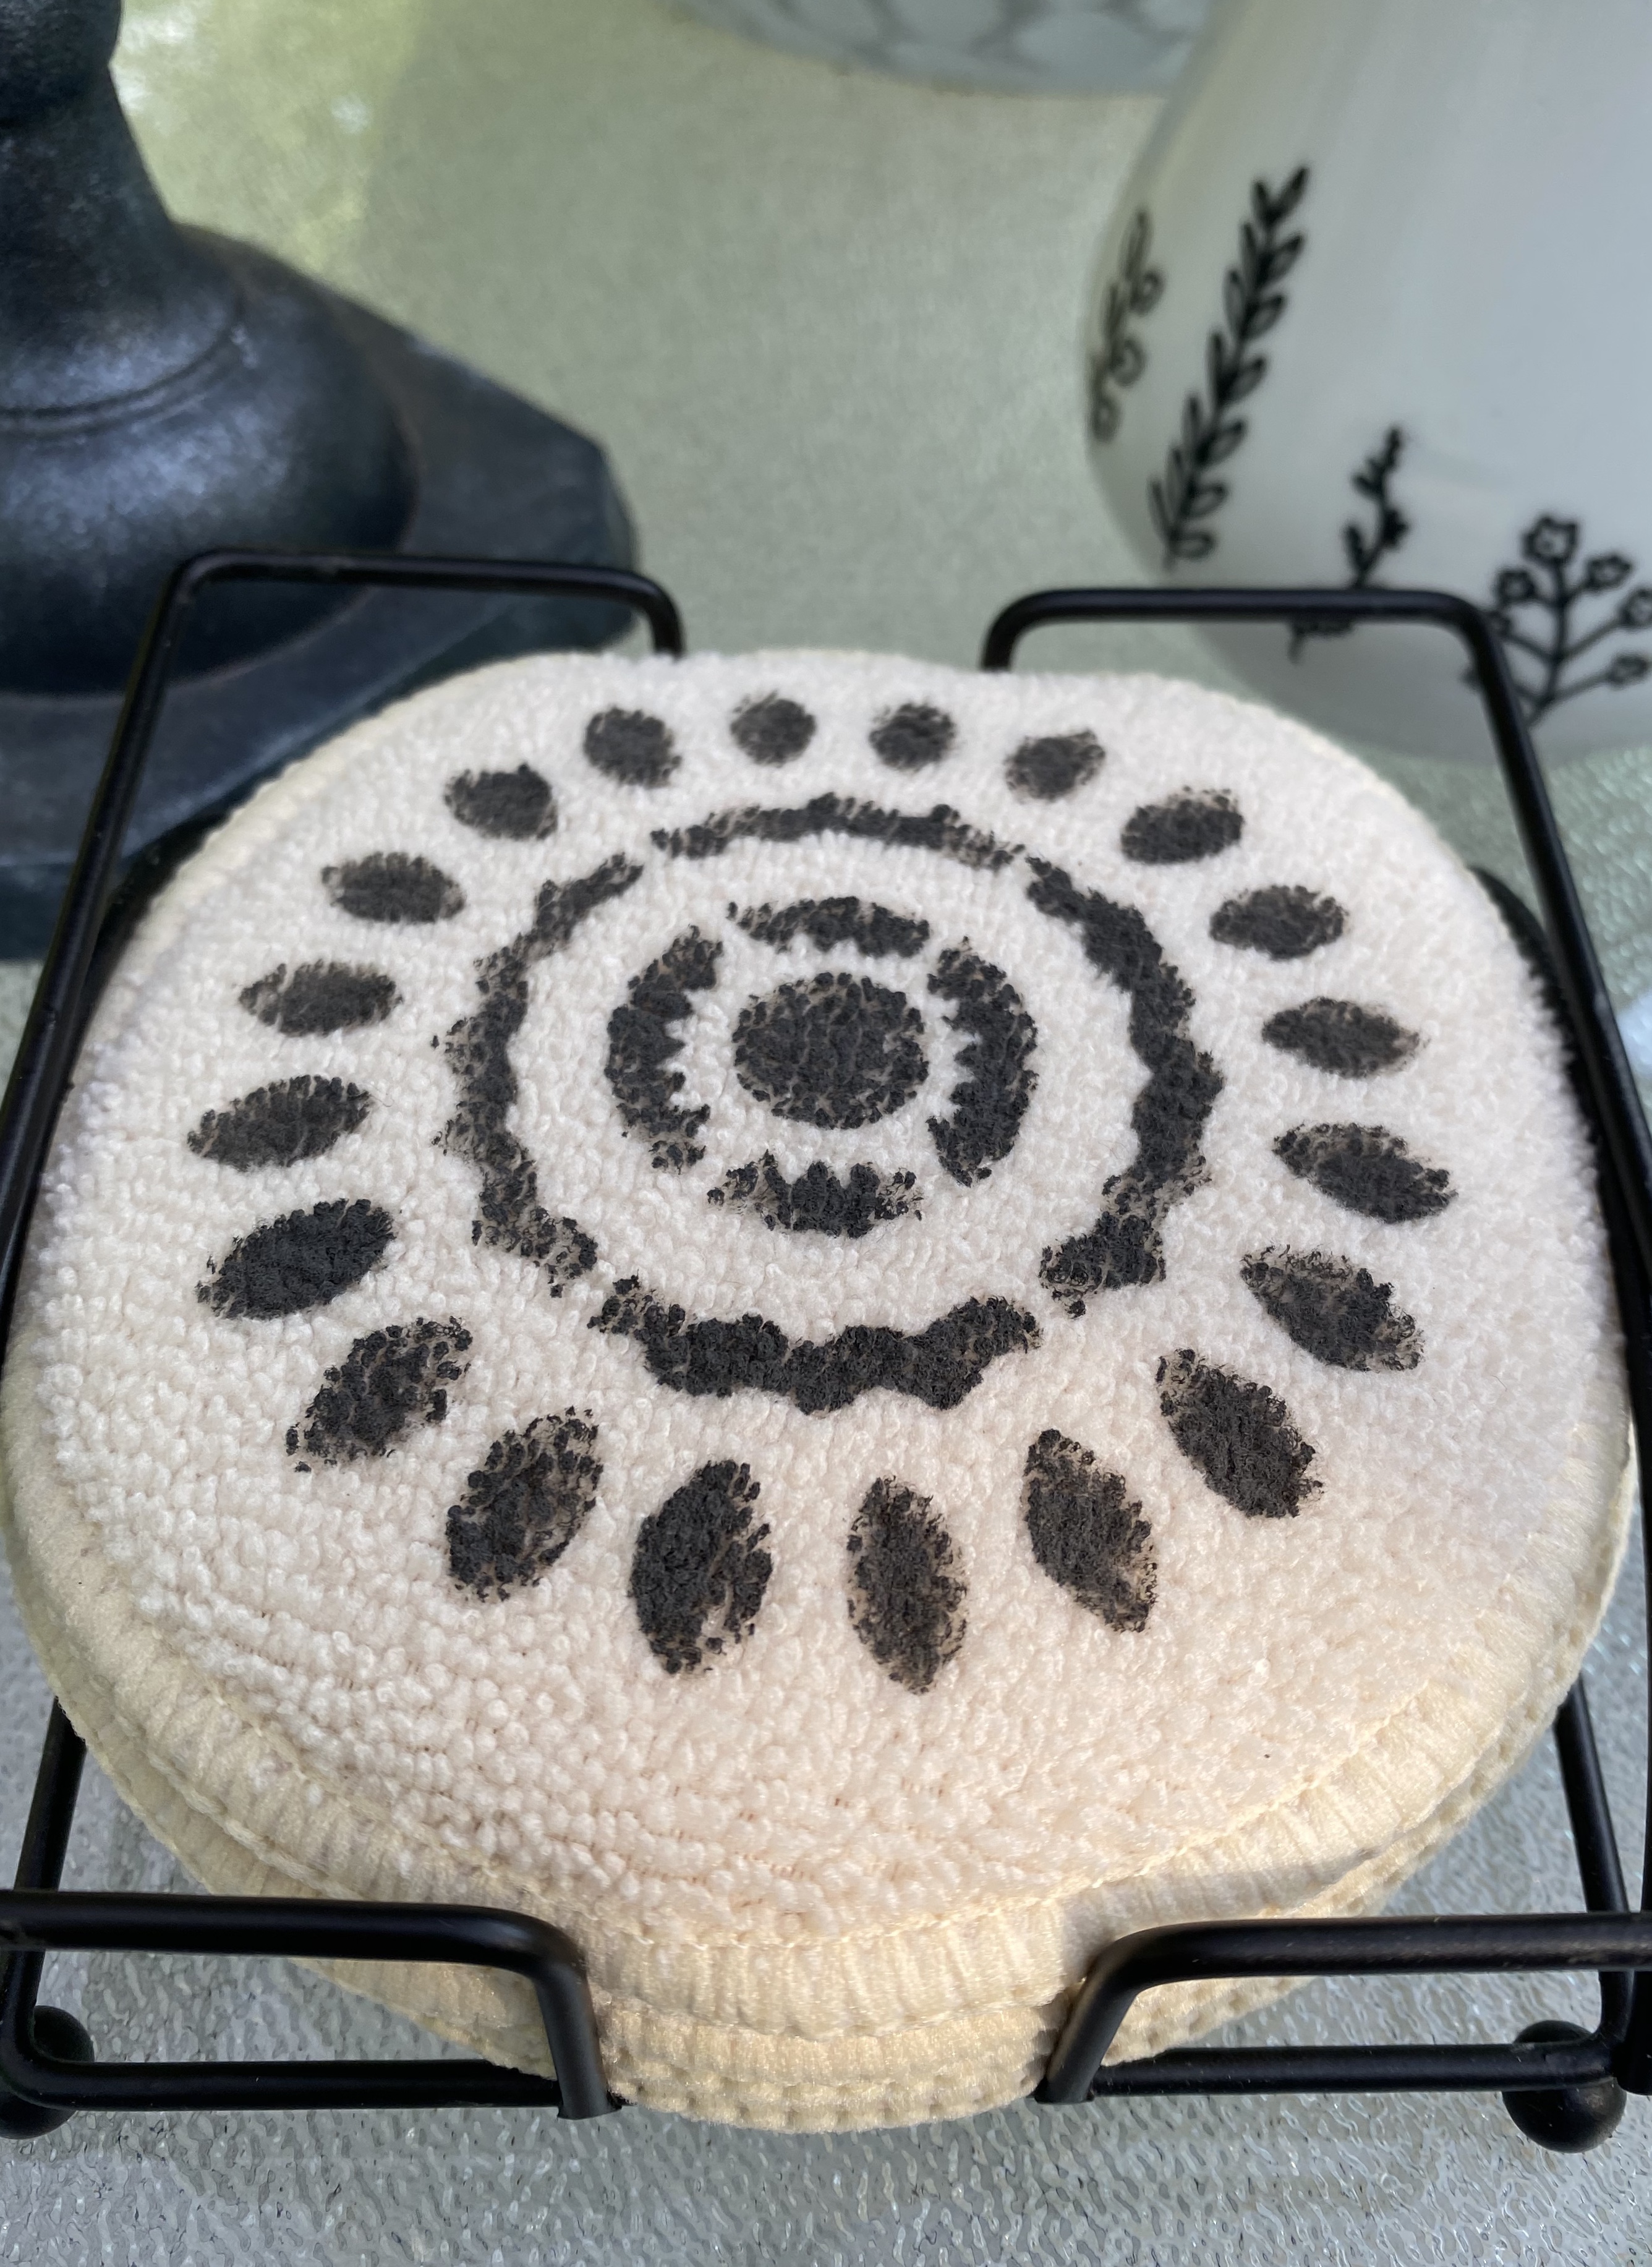
Forget decluttering for now. I started wondering if I could stencil a design on them. I had a little boho mandala stencil that fit perfectly and I had lots of chalk-style paint from our brand we produce and sell Missouri Limestone Paint Company, so I chose “Gray Goose”.
They stenciled beautifully. Once they have had a good 30 day cure, our paint will be indestructible no matter how many sweaty glasses or hot coffee cups are set on it as the paint becomes part of the fabric.
This will make an awesome Christmas gift – just thinking ahead. 😂
So, I have done a bit of decluttering, too! Lol
I gathered my supplies and my coffee and was ready to begin.
I like using the makeup sponges I get at Dollar Tree for stenciling and small projects. I off load a little of the paint onto the paper plate so that when I stencil, it doesn’t seep under.
The terry cloth took the stenciling beautifully. I love how they turned out!
It’s been awhile since I’ve had an early morning project, but today I have two.
I often do early morning projects. If you don’t see them here, you should see them on my Instagram account. https://instagram.com/sharsumpaint
Project 1: Front Door Hanger
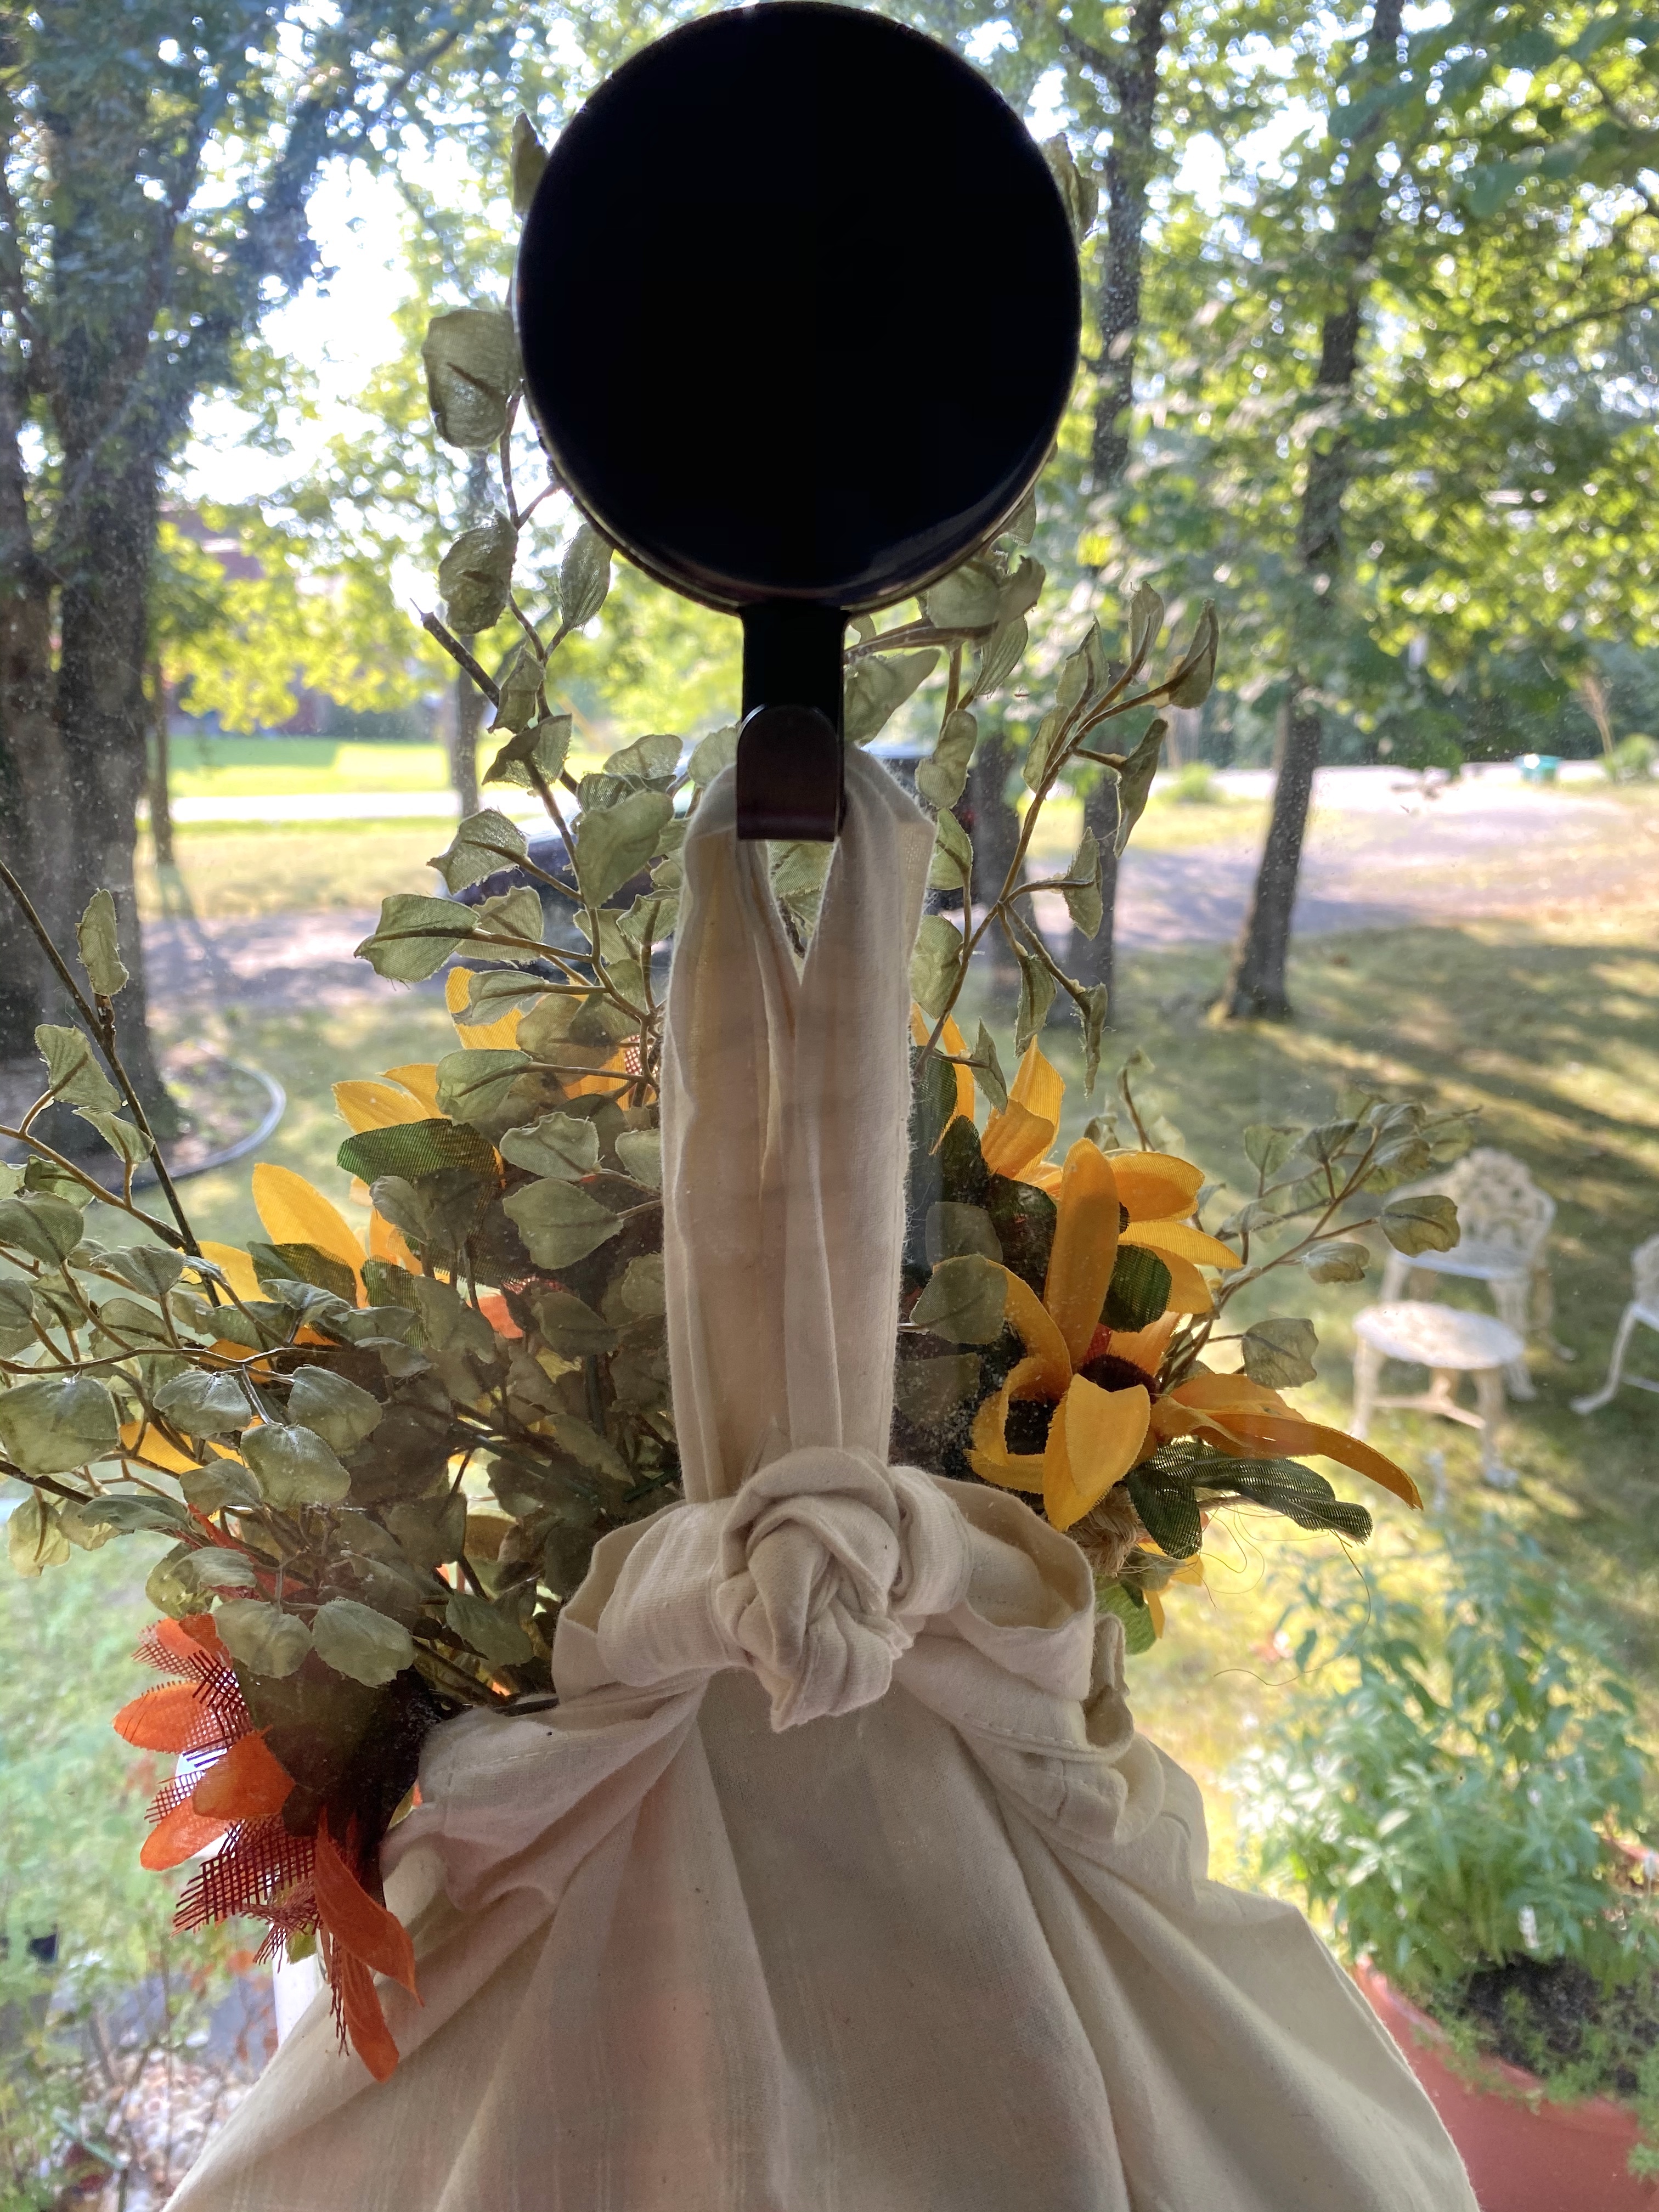
I saw a neat idea for making a door hanger using a canvas tote. I didn’t have a canvas one, but I do have an awesome cotton one I bought as a souvenir of Amsterdam when we visited on our Viking Riverboat cruise several years ago. It was just hanging in the basement. Why not use it and be reminded of an awesome time every time I walk in the door. You could use just a plain one, too, or maybe stencil a design on one.
I used white plastic grocery bags to stuff the bag.
I tied a knot in the back handle close to the top of the bag and wrapped it through the hole it created several times until I had a short hanger. Then I tied a looser knot in the front handle and wrapped it through the hole until both loops were the same. I took a pic after the fact, do hopefully, the pic will help you understand my description.
I then decided I might as well start thinking of fall and so used greenery and fall sunflower colors inside. The orange sunflowers really brought out the orange in the bike.
Project #2: Paper Feather Wall Plaque:
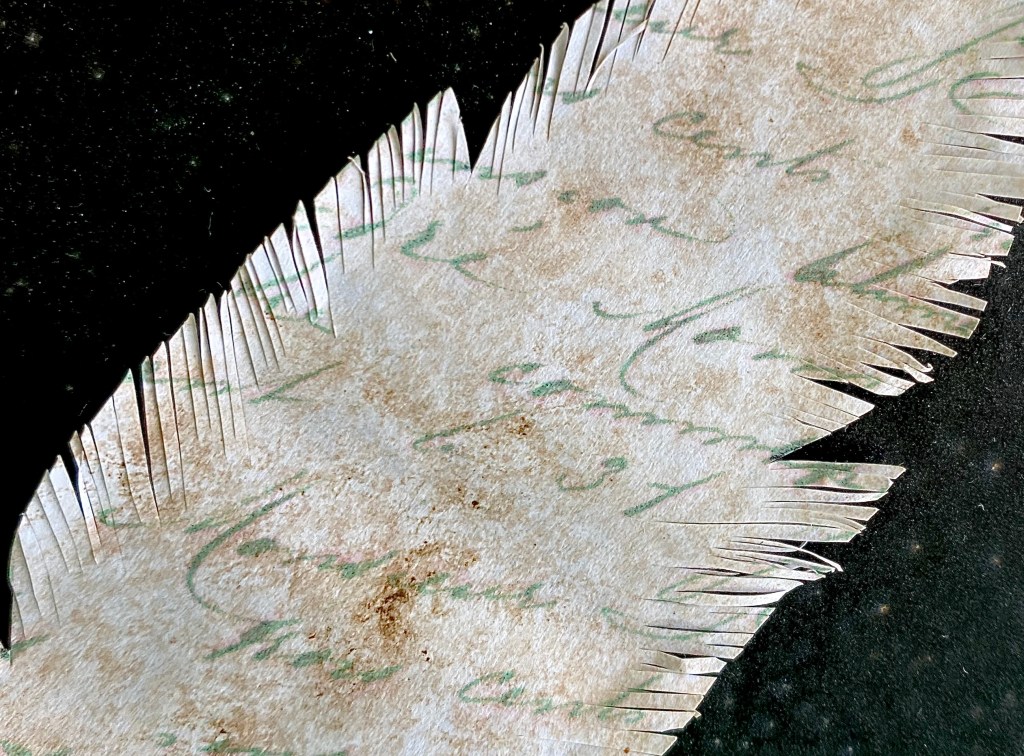
I printed feather shapes with a French script (from The Graphics Fairy – https://thegraphicsfairy.com/french-script-paper-feathers/) on black and white printer paper. I cut this one out and used a watered down antique wax on it. I just dabbed the wax on here and there with a sponge. Once dry, I cut fringe slices around.
Interesting note: Once I applied the antiquing wax to the black ink jet text, it turned green. I really like that look, although I didn’t plan it. Lol
I had a white shiny 4×4 tile. I first sprayed it with Mid Podge sealer to help the paint adhere well. I sprayed it with black hammered spray paint. When dry, I applied antiquing wax, let it set awhile, then buffed it. This kept it from being so black and gave a bit of a brown look to it.
I then gave the feather a few light folds and super glued it to the tile, giving it a 3D look.
I finished it off by tying a bit of twine in a knot and then superglued it to the base of the feather. Will add a hanger to the back.
Now to come up with more ideas for paper feathers. I’d love to see projects others have done. Just add photos to the comments here if you have!
Closeup of how the black ink jet script turned green after applying wax.