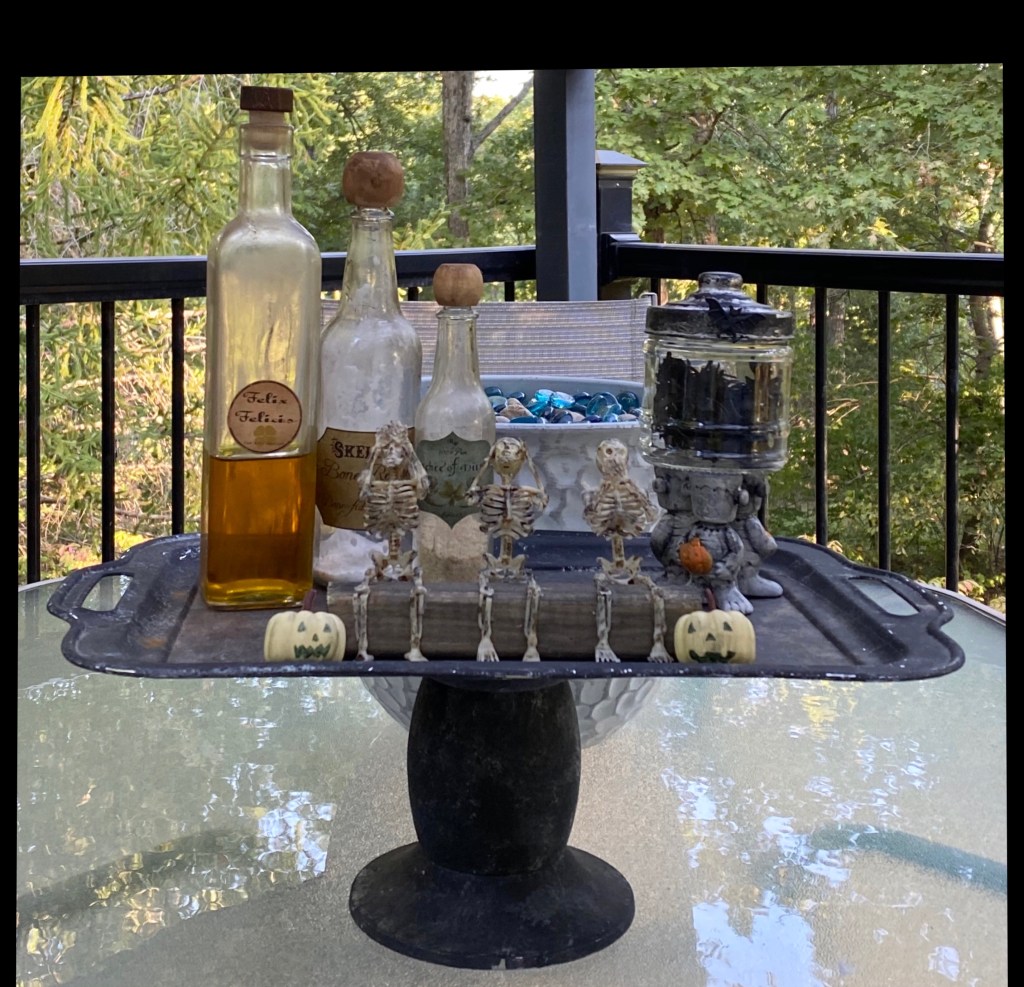
Pinterest inspired. They used bigger skeletons, but I had a package of these little 6” ones and a wooden block for a bench …. so ……
I just needed scissors, a block of wood for them to sit on and a lot of hot glue. I dry brushed and wiped off a bit of black paint on them afterwards to make them look even dirtier and to disguise any hot glue that showed.
I am making the claim that no skeletons were harmed in the creation of this project because well, you know why… but seeing as skeleton bones are rather brittle lol, I did have to remove their upper arms and not use them and cut off their legs and reset them so I could get them into position. 😂😂
The other items on the tray and the tray I had already made.
I had one more little skeleton left. I think I figured out how to turn him into “The Thinker”.
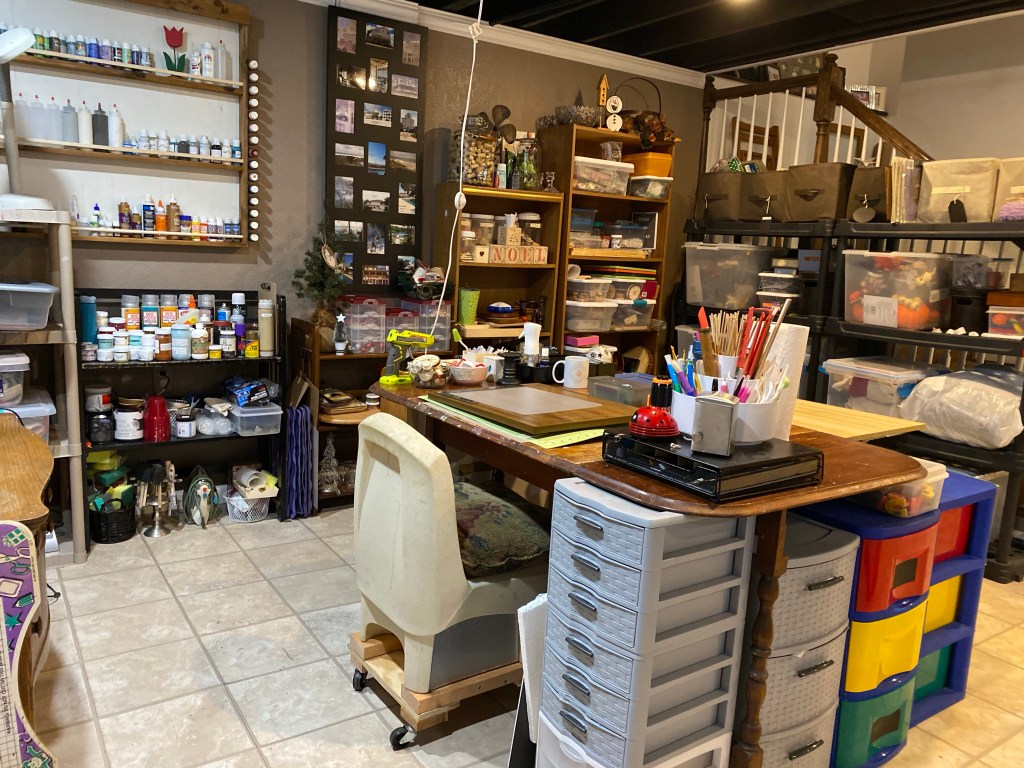
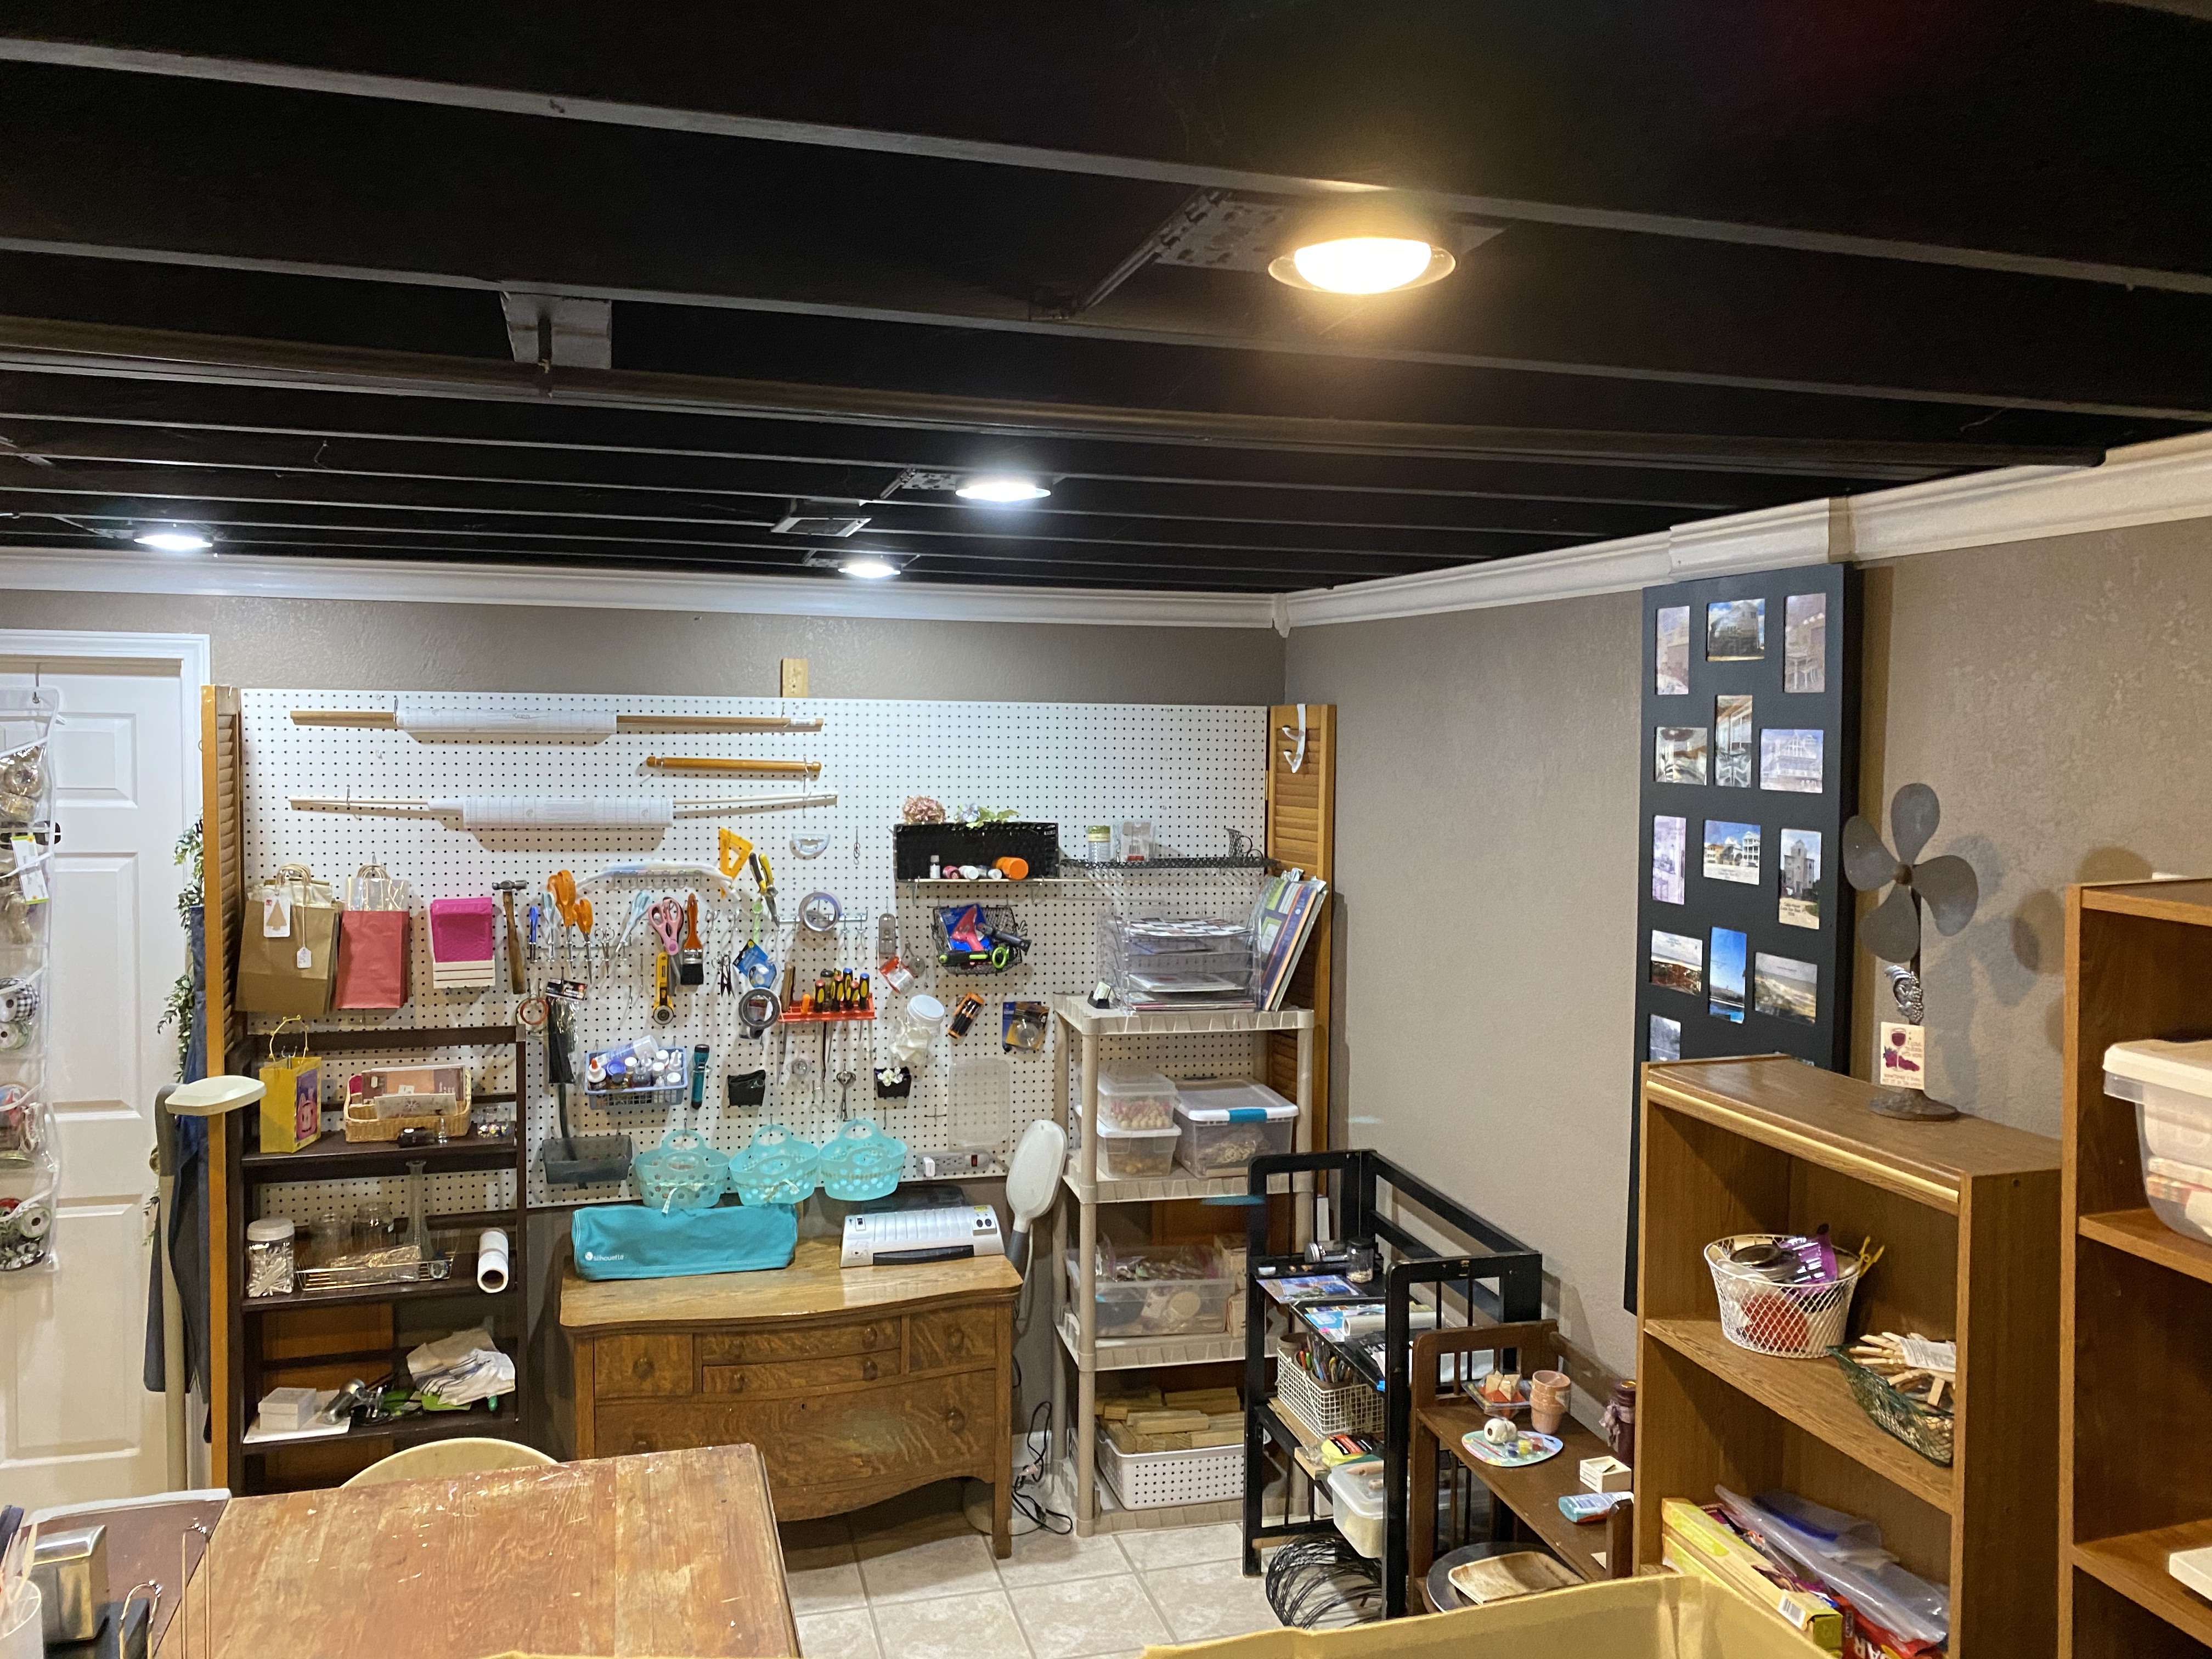
What a fine mess I’ve gotten myself into…. but today we started tackling this huge job. At one point, I had this area nice and neat. However, I’ve learned some things that worked and some that didn’t. Check back often as I will be updating this post as we work through this project.
There will be after pics but no before ones. 🤪 We are purging and reorganizing and redoing so we have quite a mess going on.
Update: We have, finally, for all intents and purposes, finished decluttering the basement and organizing the craft area. I still have some organizing to do but happy with how it is turning out!
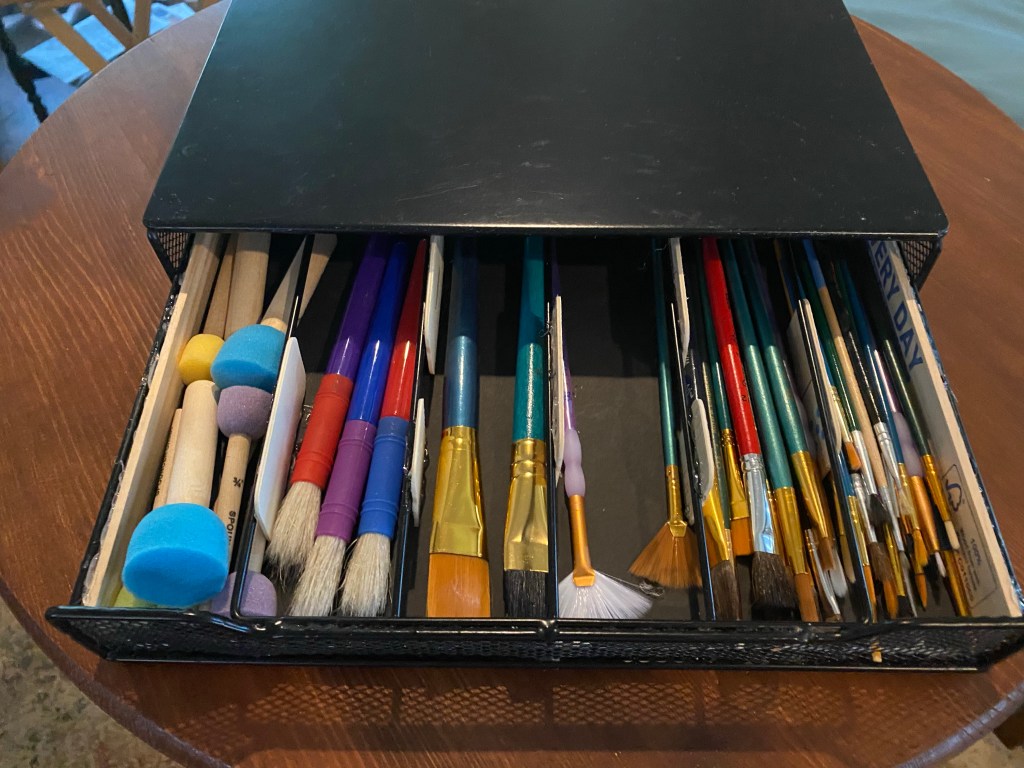
Take this old Kuerig coffee pod drawer my sister gave me. It was sitting on a shelf because I couldn’t figure out what to do with it. Today, I knew! Danny retrofitted it to hold my paint brushes so they wouldn’t fall out the sides. I added flat dominos from Dollar Tree as dividers. I will keep this on my work space and paint pens, scissors, etc. on top in a revolving caddy. Upcycling at its finest!!!
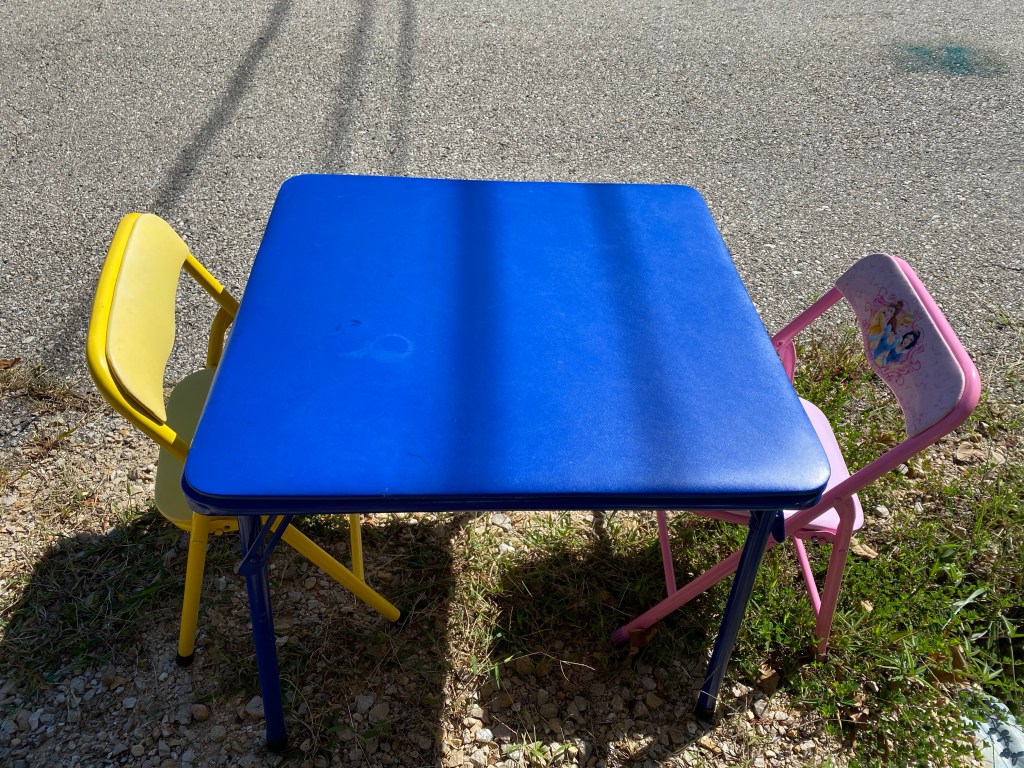
We purged a bunch of toys my grands have outgrown and made more room for my crafting, but still have a few things left over.
Several years ago I created a Facebook Neighborhood Watch Group and it has been great at getting to know neighbors and letting each other know is what is going on in the neighborhood. And….for letting them know when I put things out in the curb for free. 😁 So today I let my neighbors know that this child’s table and two chairs were there and gave them a heads up and first chance to come and get it before I let my other FB friend know it was there.
We have now started the major overhaul.
We have worked 7 hours pretty much no stop today. I’ve done as much as I’m going to do in my craft area for today. We moved all the storage shelves, bookcases into the position we wanted.
The blank space above the shorter bookcases will have a organization shelving system to hold small jars of paint. The bookshelves under it will have other painting supplies.
I will be reorganizing the cool pegboard area Danny designed awhile ago. It’s worked well, but I need to organize it better. I love the little dresser we moved there. It will hold my Silhouette machine and laminator or maybe a printer since I don’t use a laminator as much as I do a printer.
The little roll around chair for my table is too short so Danny is going to raise it regular chair height, but not today.
We are meeting to pick grandkids Ben and Byron up later today as they are off school tomorrow and Friday. I still have an art table and chair and now drawers for Byron’s art. We moved Ben’s trains up in the bunk room. He has found a renewed interest in them. We eventually will be changing out the princess bed up there for the trundle bed that goes with our daybed in the basement.
Hoping the boys will help with the organization once they get tired of trains, art, and technology. 🙂 Next we will move on to the family room part so everyone can start enjoying the tv area again.
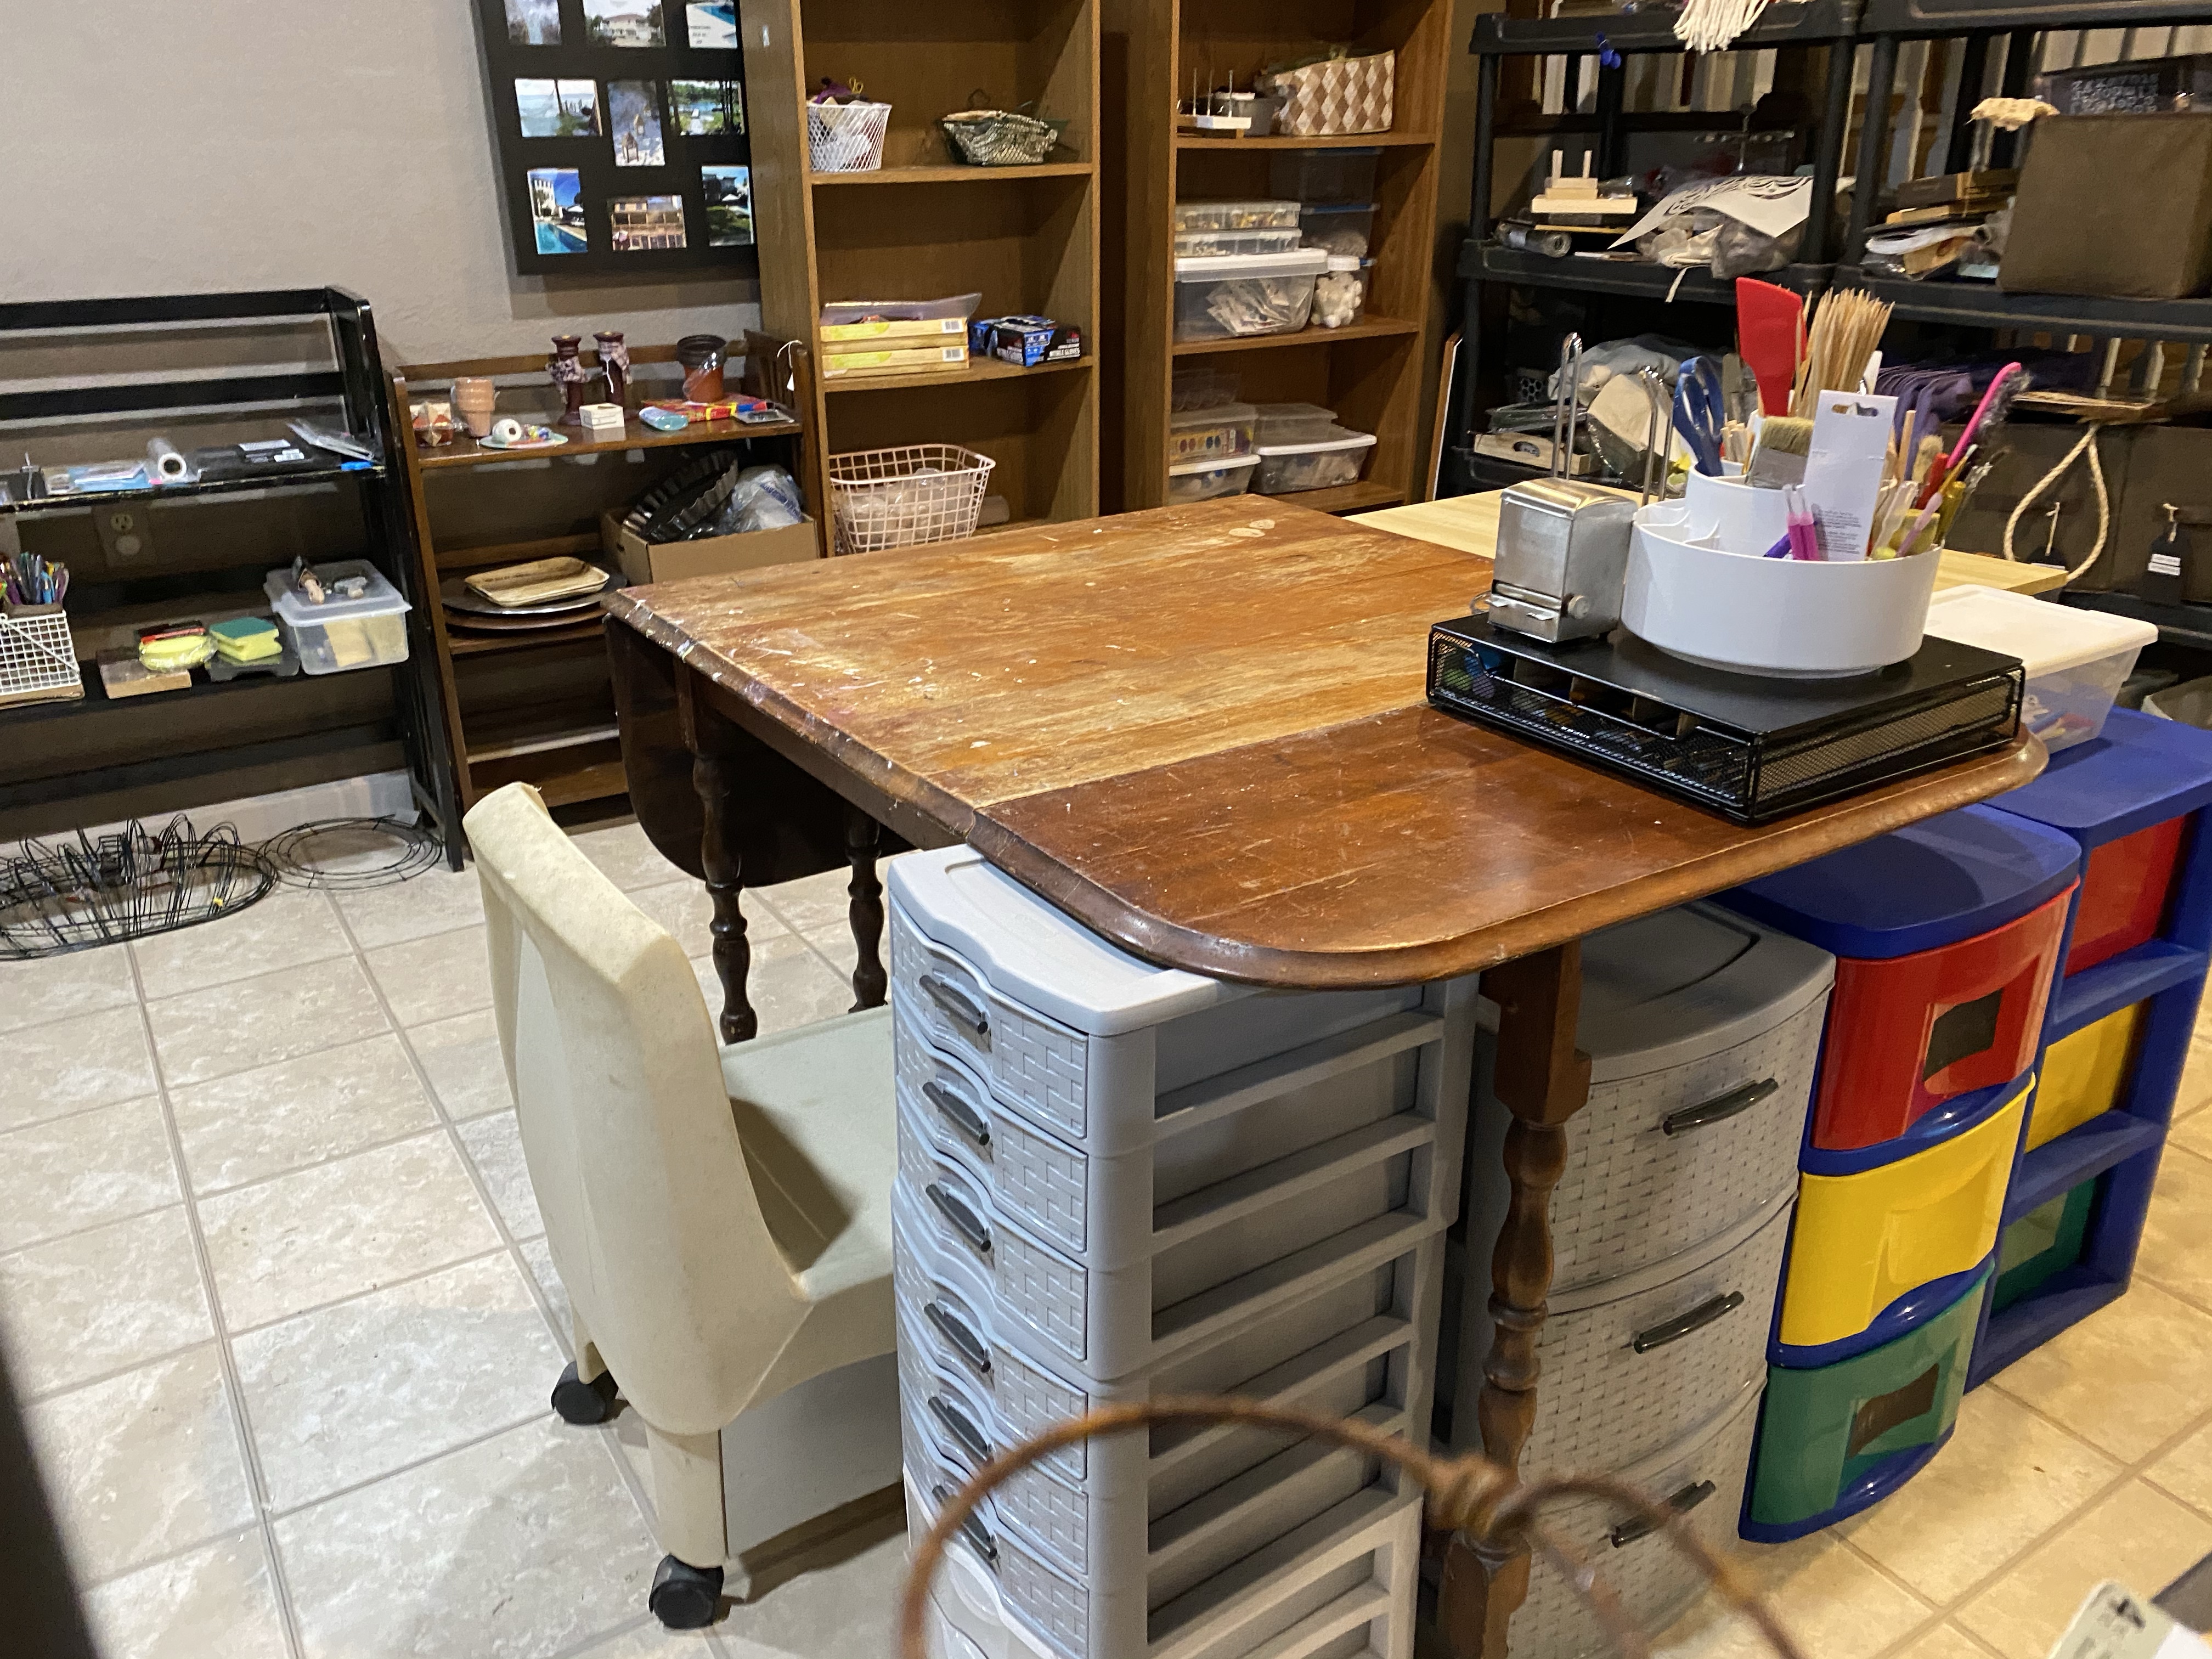
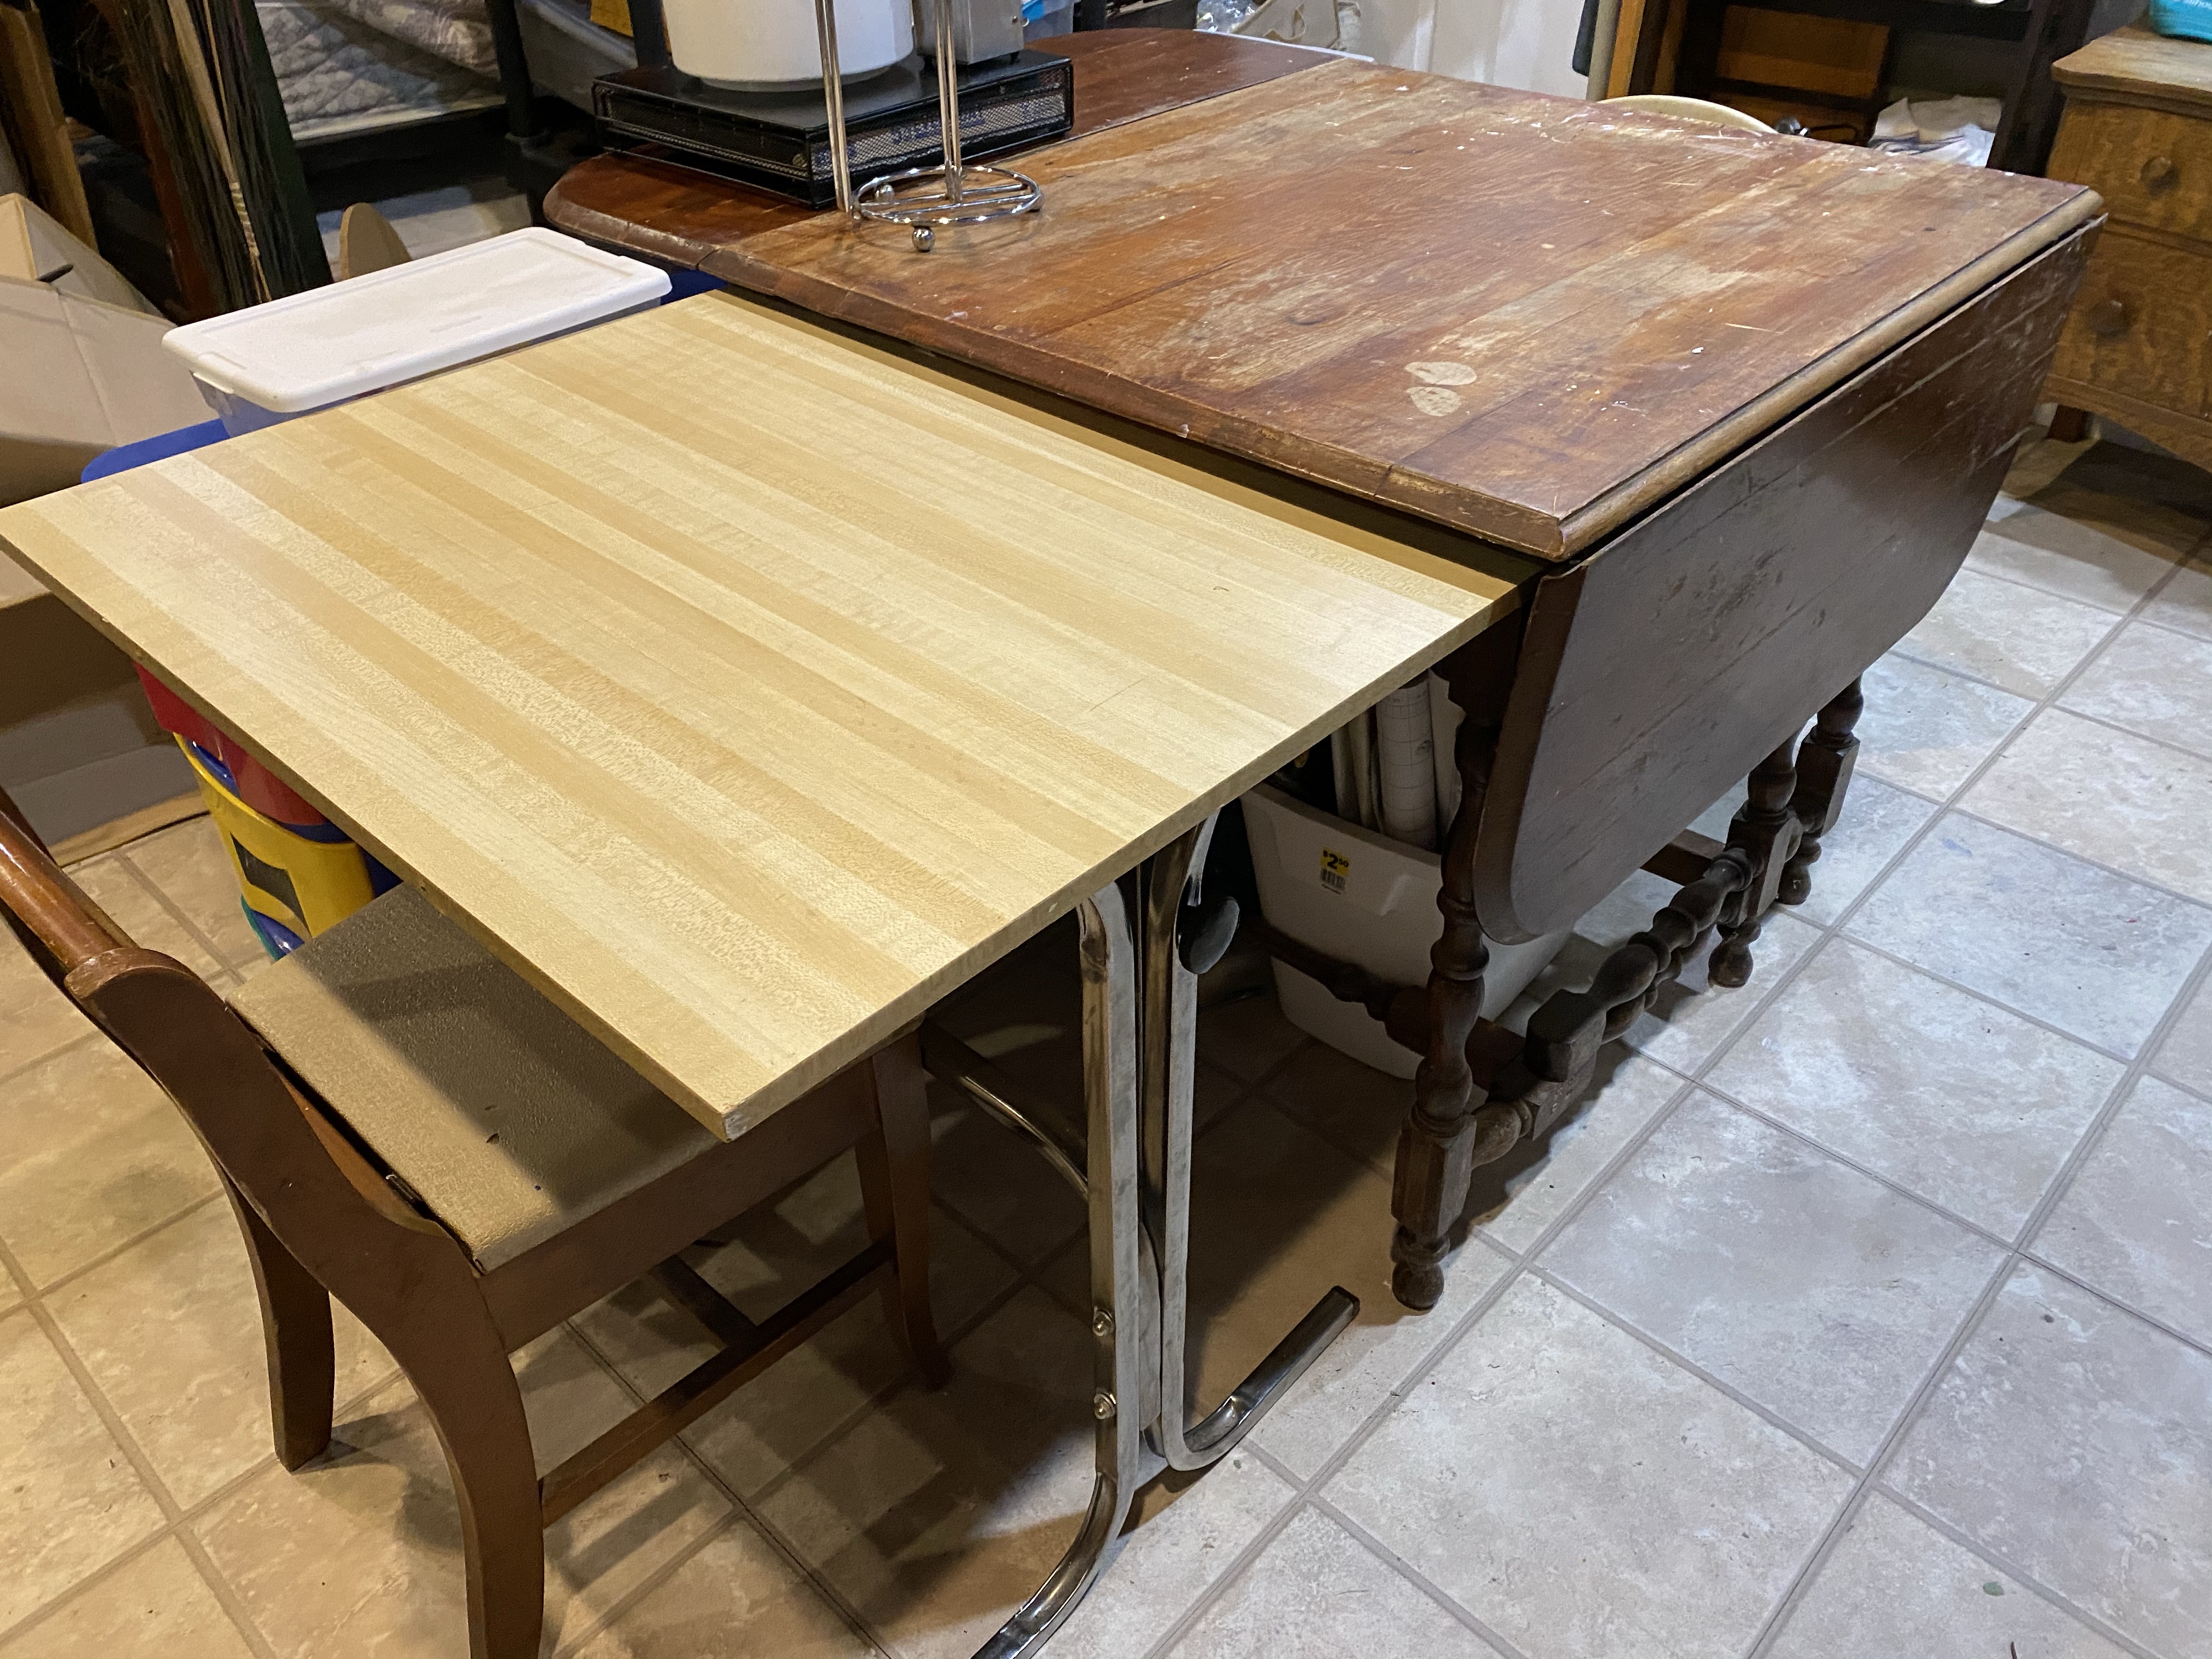
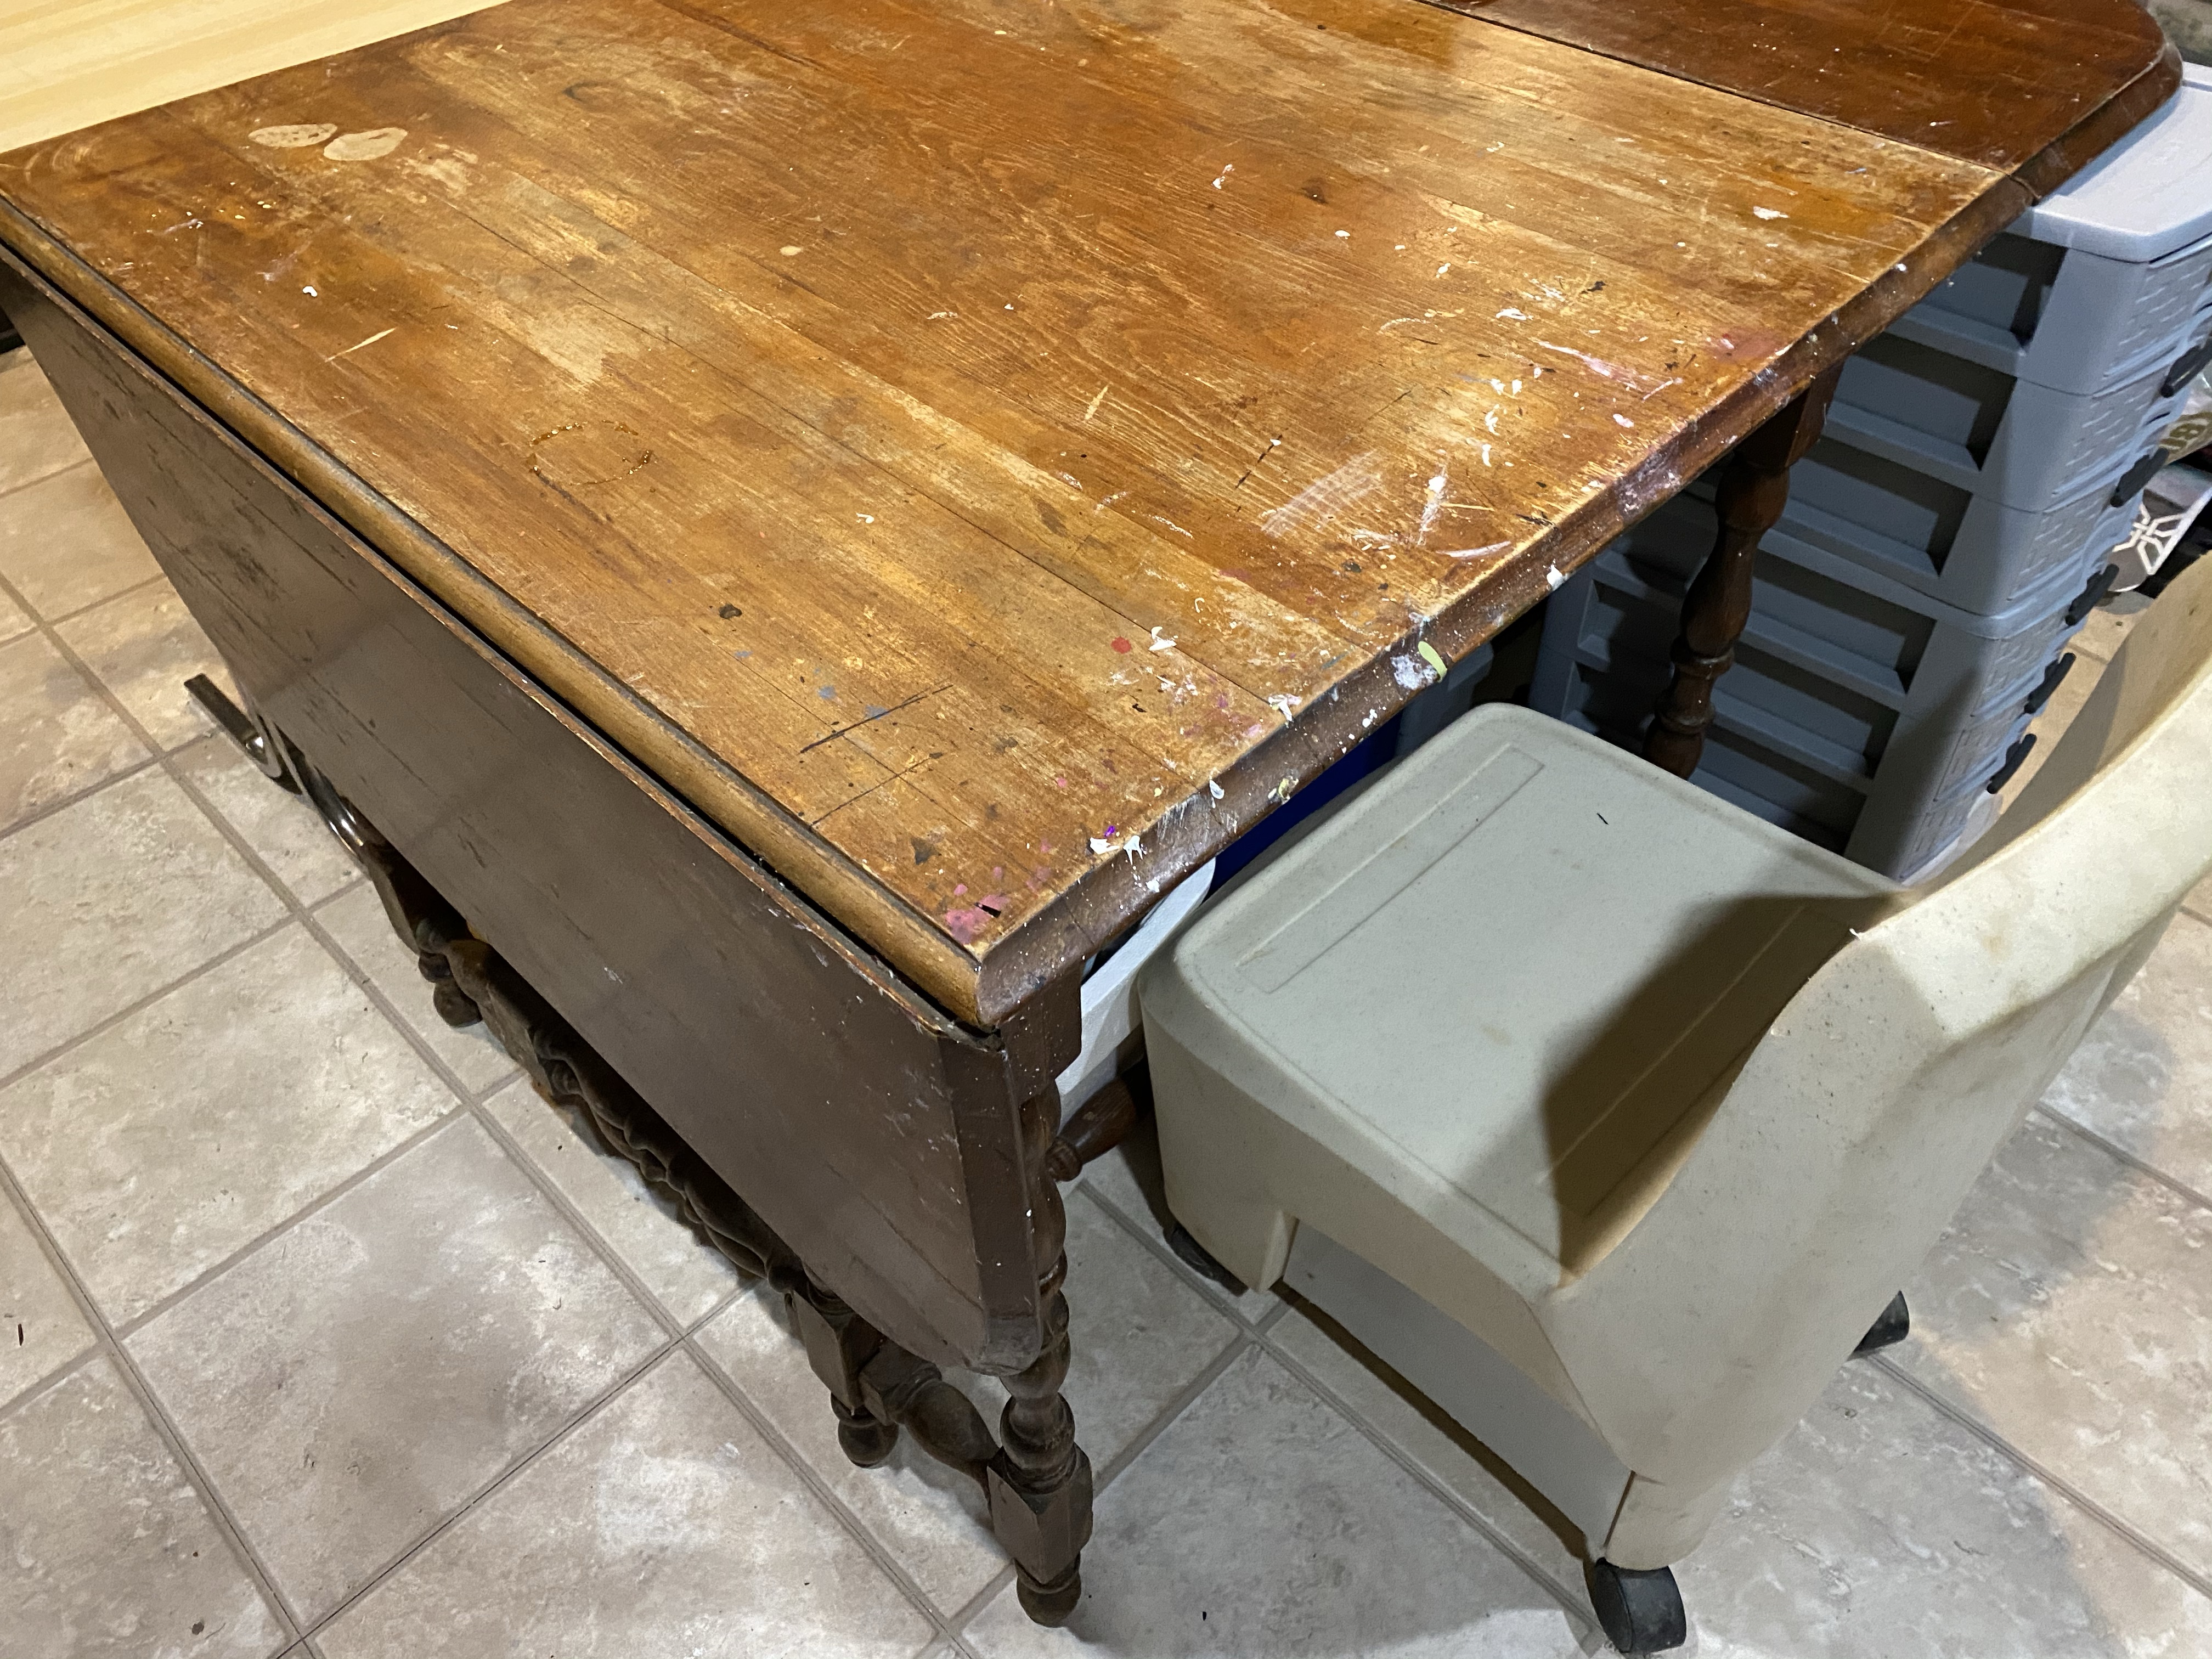
My favorite part of the reorganization is that my work table is now in the center. It is a gate leg table we saved. I love how my storage drawers all fit around the table and I can raise or lower the one side as needed. There is room for the trash can right under where I work. Byron is going to love his art center once again.
Now it is a matter of taking everything on the shelves and organizing them. I will be so happy to have a place for everything and everything in its place.
There is a lot of stuff on all those shelves and sitting around waiting to get organized. But now, it is doable. I will be so happy to start crafting there again.
Keep checking back for more! Be sure to click on each image to see the whole pic. The gallery is looking strange on my phone. 🤷🏼♀️
10/2/21 – I’m adding dates as I think this is going to be a looong process.
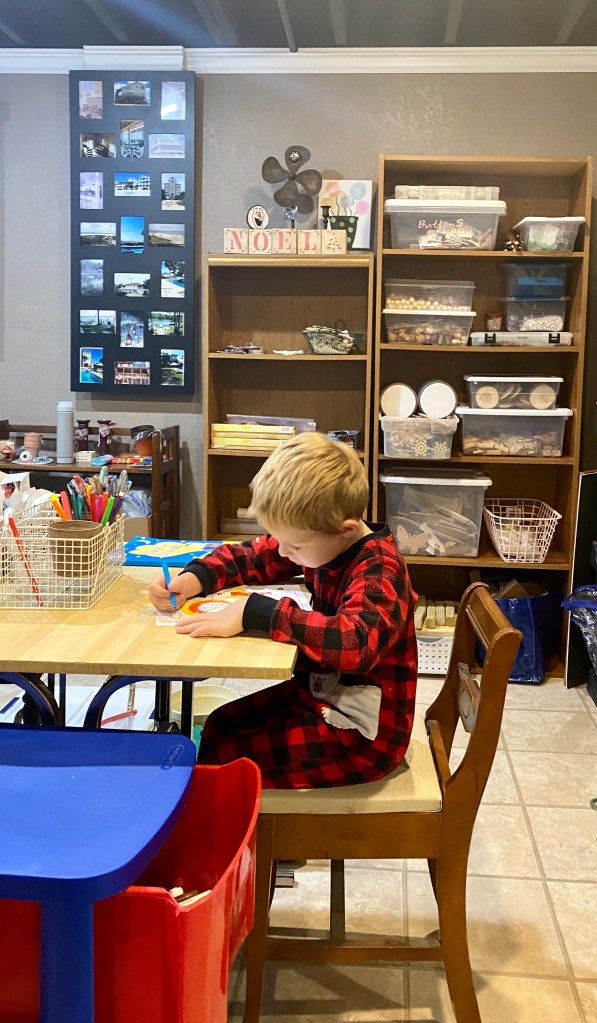
Organizing bookcases: The one on the right is filled with wood supplies, buttons, and beads. I still need to label a couple of boxes there. I am thinking about what will be going on the other bookcase. By the way, that long photo frame hold pics of some of our past vacations. It also serves as a cover to hide our water line coming in from the outside. 🙂
Meanwhile, my assistant Byron is checking to make sure markers are still good by doing a bit of color by number at the art table. Nice that he can read color names now. 🙂
10/3/21 – some pics of something we did yesterday.
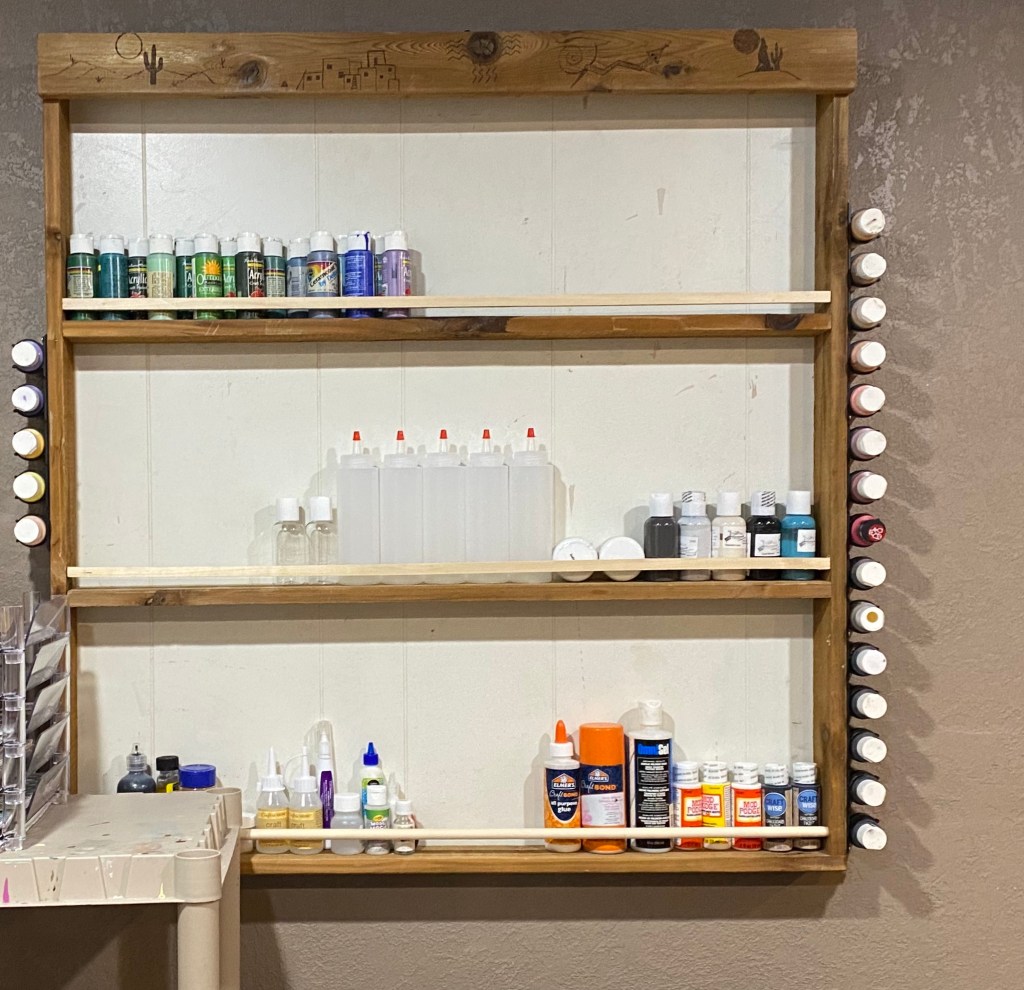
We had already mounted this cool shelf on the wall in the craft area. I haven’t even filled it up yet, but plan to, mostly with sample bottles of our Missouri Limestone Paint Company chalk-style paint. These will be so handy! I can see at a glance what color I want to use. But I also have some bottles of acrylic given to me and want a place to store as much paint as possible.
Yesterday, we merged the two. These plastic spice racks have an adhesive strip on the back, but also come with screws. So we used both and screwed them in a strip along the board edge. It works perfectly to hold my paint samples or the small bottles of acrylic.
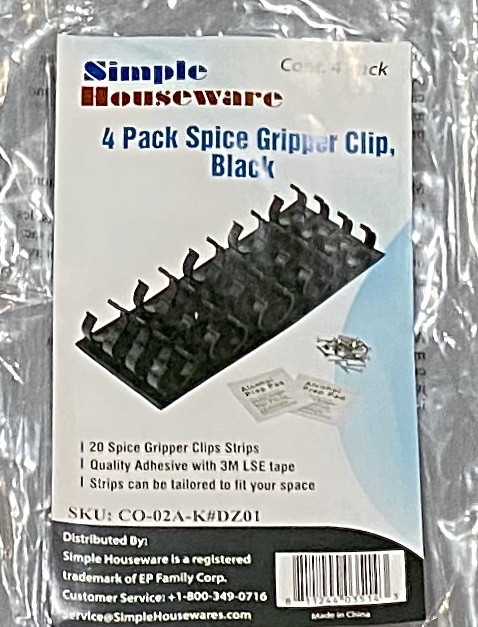
This pack of 4 strips holds 20 jars and was only $8. I think they would be great to mount inside the pantry door or cabinet doors in the kitchen. I might just get more for my spices and reclaim the drawers where I am currently storing them.
10/4/21 – Danny turned my $2 yard sale bookcase find into a roll around card yesterday. This morning I turned it into my glue gun station. Now, when I’m finished gluing projects, I just roll it back into its out of the way space. His next project is turning one of my overhead cam lights (I have one I can easily sacrifice) into a drop down electric cord over my craft table area. Yay!
But the best part of this is unearthing my electric candle warmer I have had forever and plugged it in. Now, when I forget to drink my cup of coffee, it will stay hot!
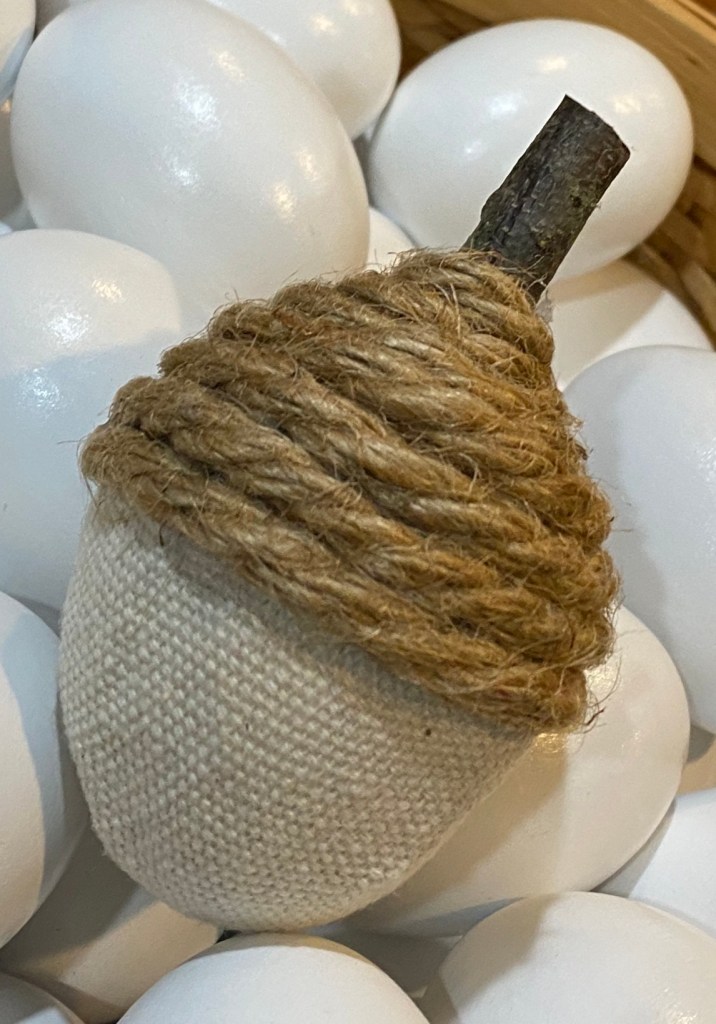
My craft table with glue gun station is ready for crafting. I also bought a new battery for my Ryobi cordless glue gun and it is working perfectly. I have now completed my first project: 1/36 acorns for my cousin’s Thanksgiving table. 🤪
10/11/21 –
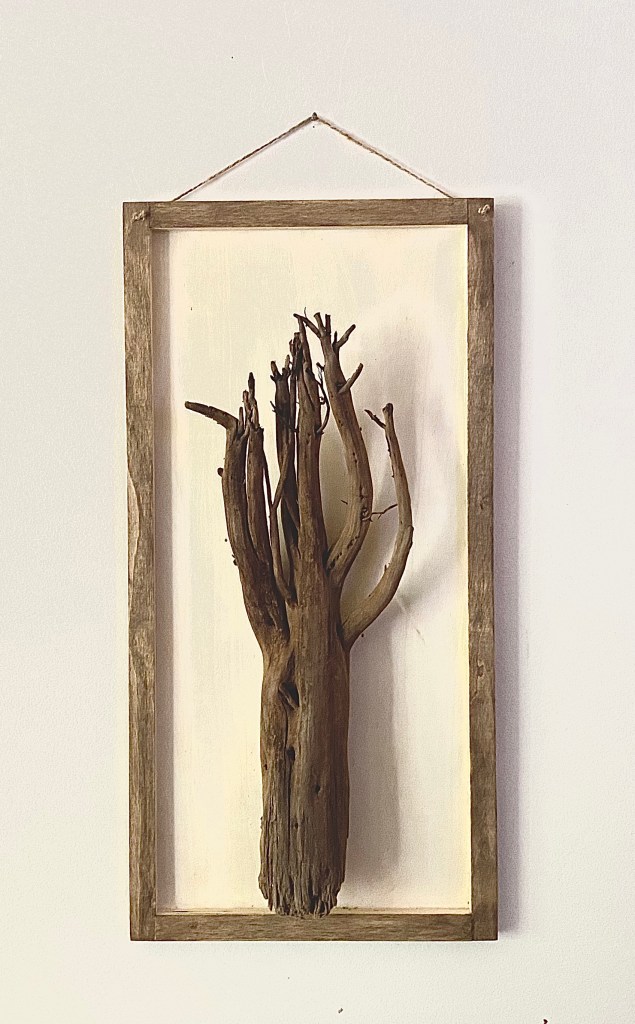
We didn’t get too far in the basement decluttering part when Danny came upon the driftwood found on our beach vacation at Port St. Joe, Florida.
So this piece of nature’s artwork, beautiful in its simplicity, has been named “The Tree of Port St. Joe”. It is available.
We went for a walk on the beach in search of driftwood for crafting. My grandson, Ben, will say he found this piece for me…. but Vivian will say he put it down because he didn’t want to carry it back to the house. Vivian knew I would like it, so she picked it back up and brought it to me. ☺️ Vivian and I thought it looked like a tree.
So, we stopped decluttering for a bit. 🙄I just happened to know exactly where a wooden board with a frame was, so I paint stained the frame, gave the driftwood and the board a good drink of Wise Owl Furniture Salve, turned it over to Danny and he mounted the driftwood onto the board with screws and drilled holes in the frame for a hanger. I used jute for the hanger and it was finished.
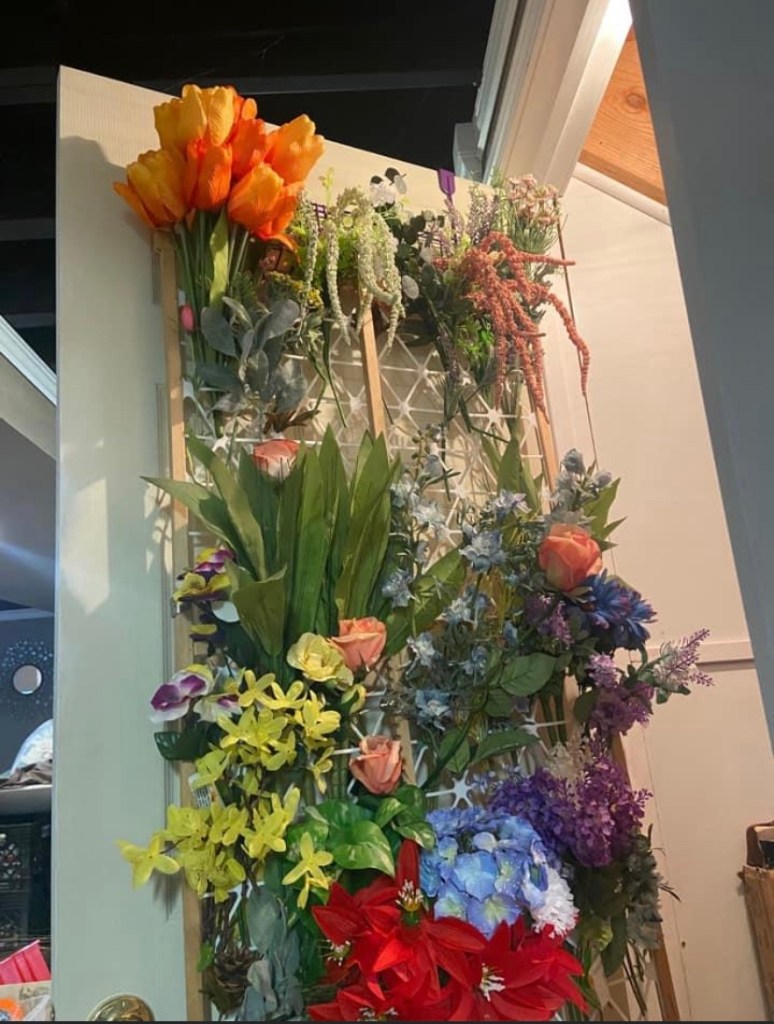
I’ve been trying to find way to store faux flowers used in my crafts. I’ve tried several things, but nothing was working well.
Until today. As we were decluttering the basement we came across several baby gates. Since the grands are no longer babies, Danny wanted to know if I wanted to sell them. I’ve really had the flower problem on my mind and all of a sudden, I saw not a baby gate, but a rack with holes that could hang on a wall or door and I could stuff stems through the holes!
We had an over the door hanging rack. I had to leave then so Danny tried it out and it works perfectly with room to spare for more. I can see at a glance what I have (I may reorganize by color 🤪) and it is space saving, too! I even have room for more on this one, plus I have two more gates if I need more room. 🤪
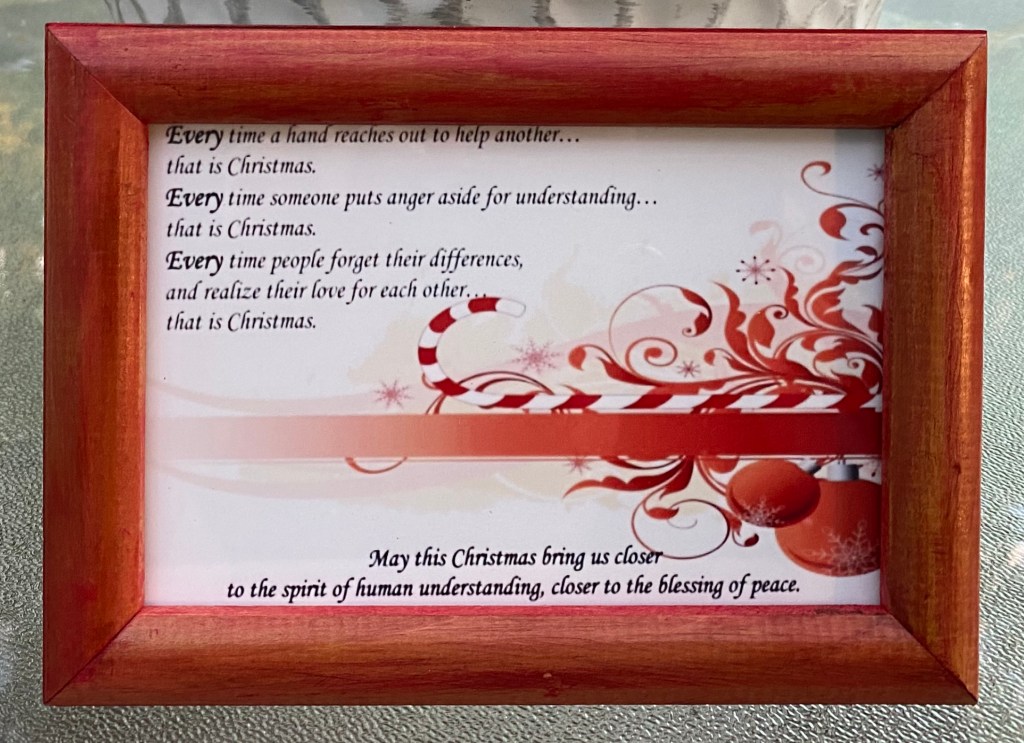
Today’s early morning project: A painted vintage photo frame with verse
A friend found this vintage 8×10” F.T.D. 1972 resin type frame for me. I knew this type of material would paint beautifully as I’ve painted mirrors out of this plastic like material from the 70s.
Many years ago my cousins sent out Christmas cards with this verse on it. It had such an impact on me, I framed mine and to this day, keep it out all year as a reminder.
I did a wax resist technique on the vintage frame. I rubbed candle wax all over, then painted it with just one coat of our Missouri Limestone Paint Company chalk-style in “January”. Then, when dry, I rubbed all over it with a paper towel. Anywhere there was wax, the paint rubbed off with the wax, leaving some of the beautiful antique gold finish exposed.
I did a search for the verse and found it with several different backgrounds. I thought the image I chose would go very well with the painted frame. I liked it so well, I made a smaller 4×6” version and stain painted a little 4×6” frame. I’m now working on designing a muted Christmas colored background to make another one. Finished it. I found an image that would work with most any style and added text to it. Put it in a 6”x6” square frame.
I also tried to find the author, but all I’ve been able to come up with is Anonymous. I’m pretty sure, though, it was on a Hallmark card at some point.
I think this year, more than ever, we all need to take to heart the message in this poem.
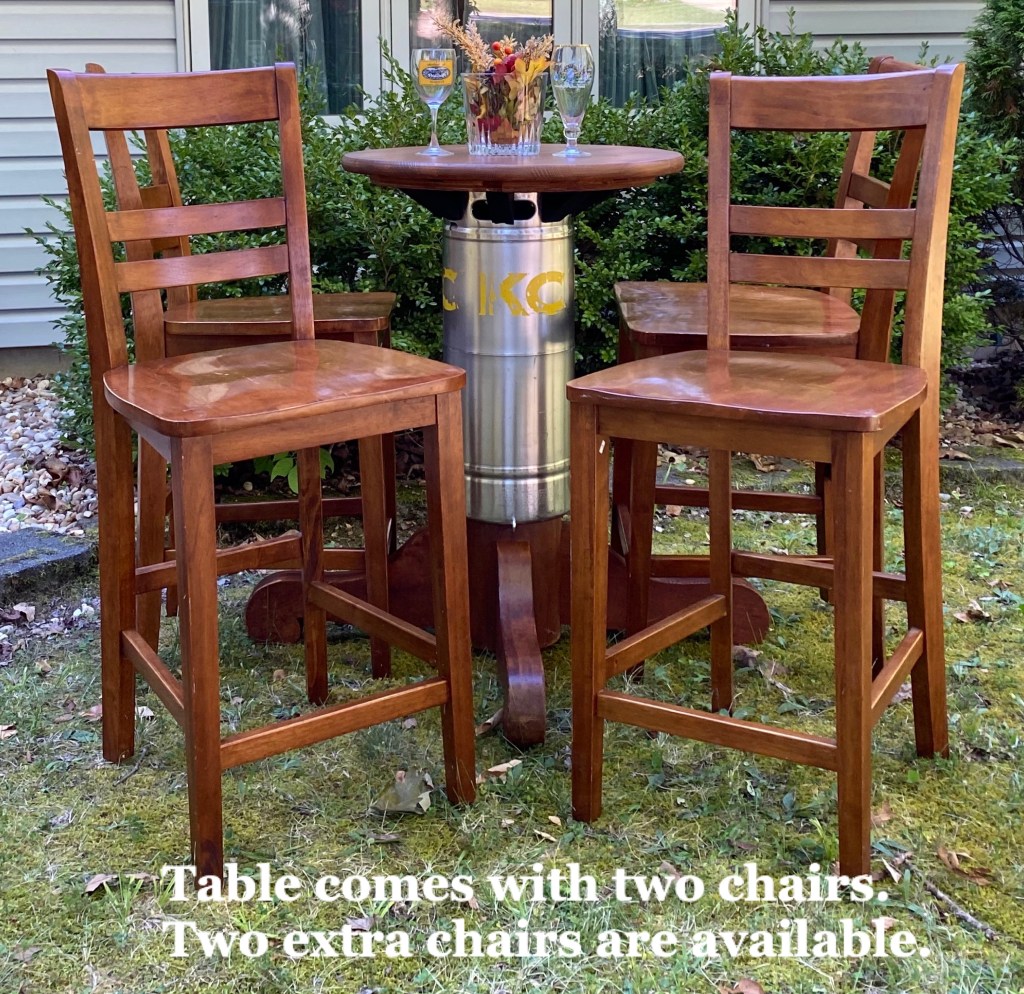
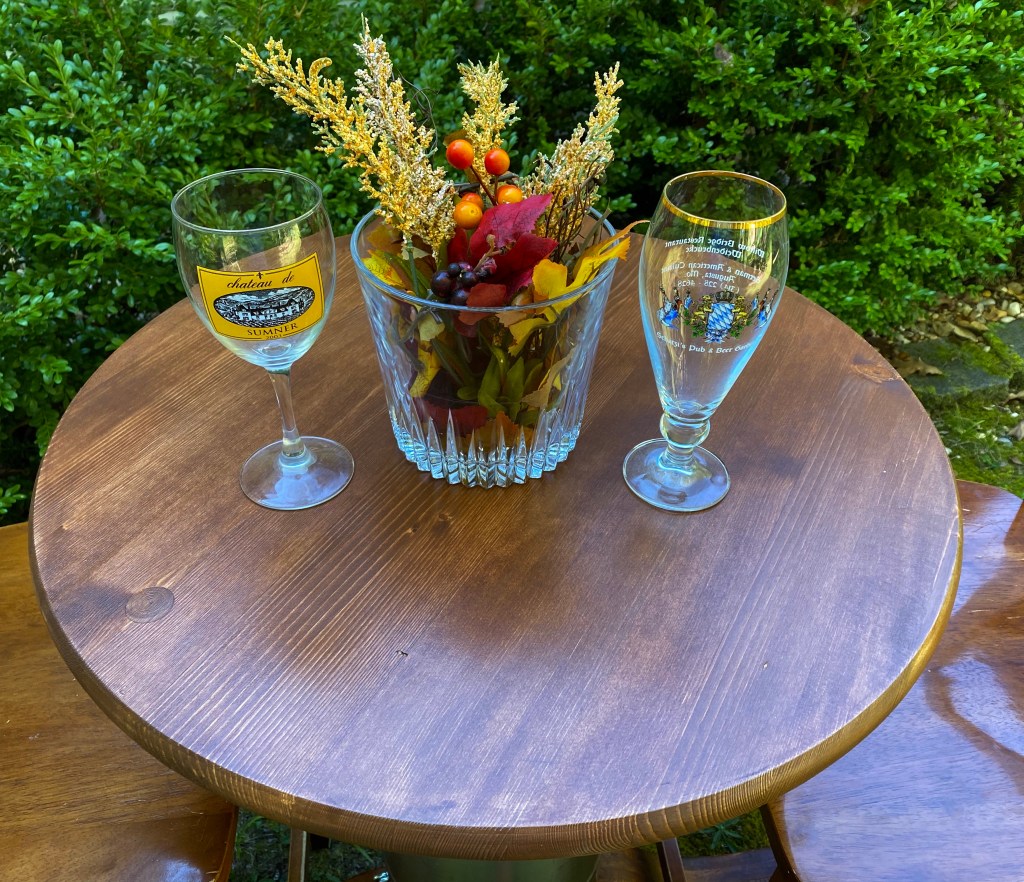
Danny made a pub table out of an old beer keg. He’s worked on this project off and on for awhile and today it is complete. The round wood top is new. It has been stained and has 5 coats of sealer on it. The keg, leg base and chairs are used and have character marks to show their age, just like in a real pub. 🙂.
The pub table and 2 chair set is $225.00. Two additional chairs are available for $25 each. Local pickup only.
The table is 35” high and the top is a 24” round. The 4 spokes of the leg base make it 36” round.
The bar chair seats are 24” high.
It’s not every pub table that has a giant shot glass for a centerpiece. This one does. We will include the shot glass centerpiece for free. 🙂 Wine and beer glasses are not included.
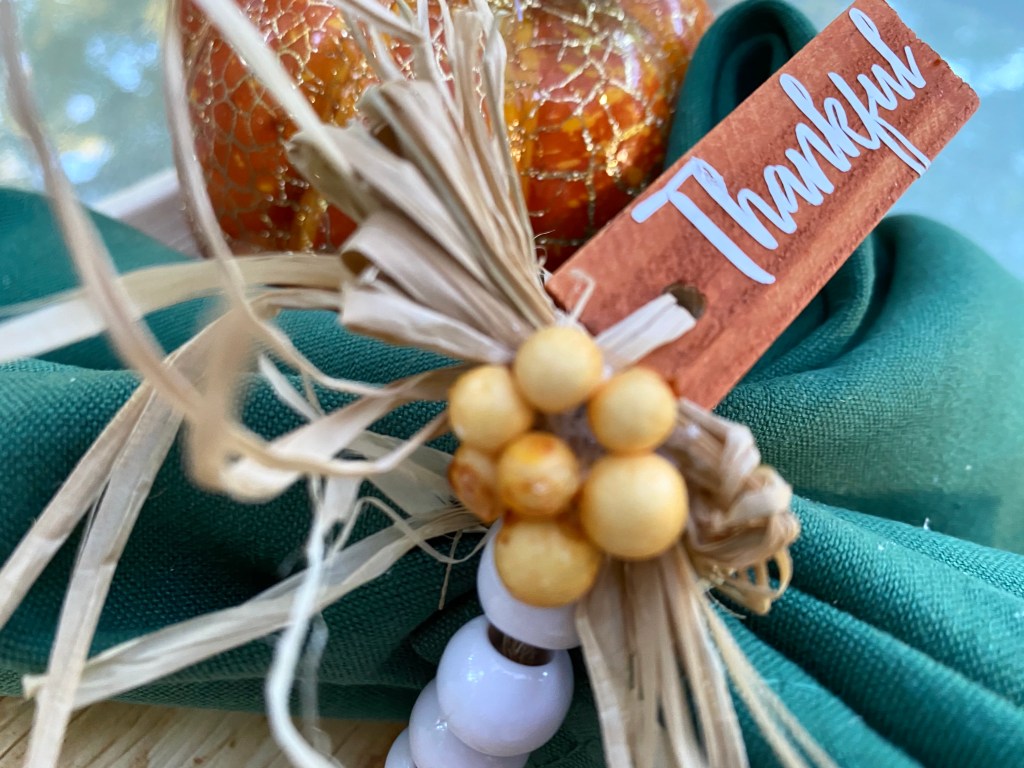
Today’s early morning project: More napkin rings, this time with white napkins. These are available and I do have more napkins.
I had fun making napkin rings for some green napkins, so when I saw this Pinterest idea for some made with card stock and ribbon, https://www.onsuttonplace.com/thanksgiving-napkin-rings-free-printable/I knew I had to make these. Yes, I had everything I needed in my “extensive private craft supply collection.”
Slip the napkin in and slip it out. You can save these to use again next year.
For some reason I’m on a roll with crafting….oh wait…. I know why. I should be cleaning.
It’s my neighbor’s fault. They are moving and not wanting to take some things with them, so they have been gifting and selling things to us. My hallway is full of their treasures.
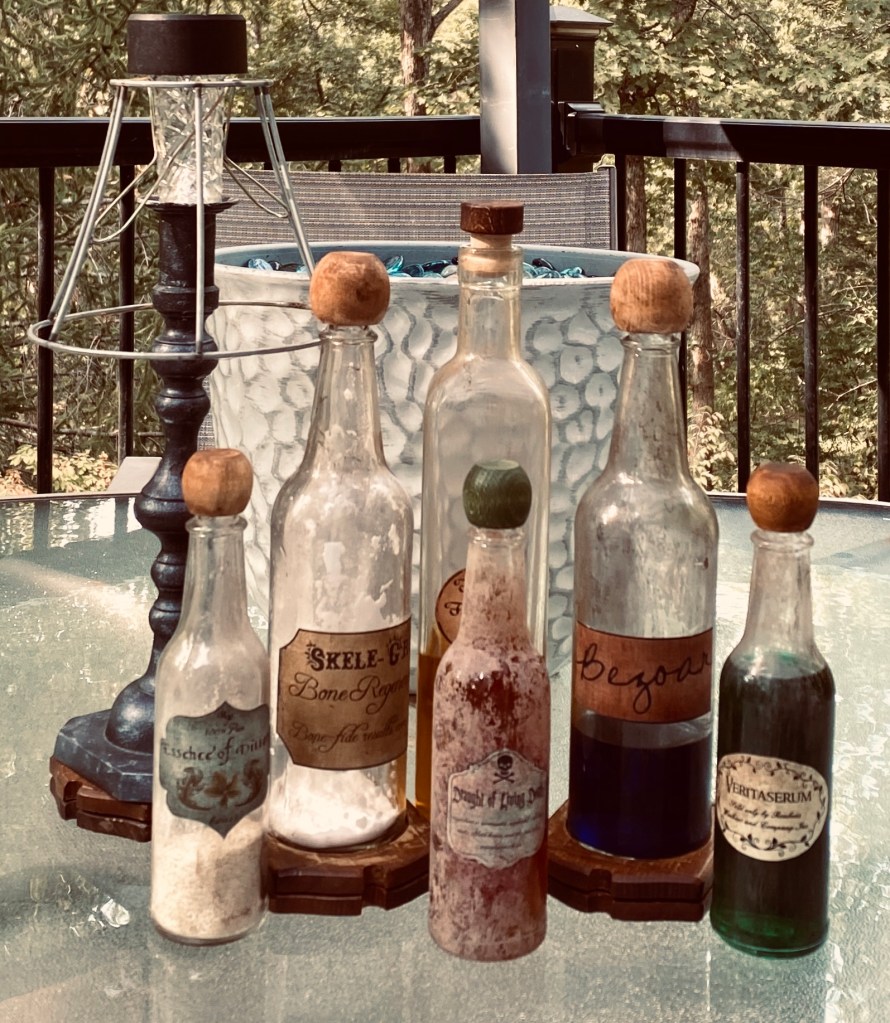
Today, I am clearing a small amount out by making these cool potion bottles. Believe me I have probably another dozen bottle. I was inspired by some I saw on Pinterest. They even had printable labels to download. I saved that post and pretty much followed the tutorial there. https://overthebigmoon.com/halloween-decor-harry-potter-potion-bottles-free-printable/
And then….my neighbors came bearing a gift of about a dozen or so hot sauce bottles they saved. They really like this hot sauce. I knew right away those would make awesome potion bottles. So, of course, I had to make one. Just one…to see how it would look.
I loved how it turned out so much, I knew I had to make a few more. So, I did. I also used one of the other bottles they had given me. I think it might have been an olive Oil jar.
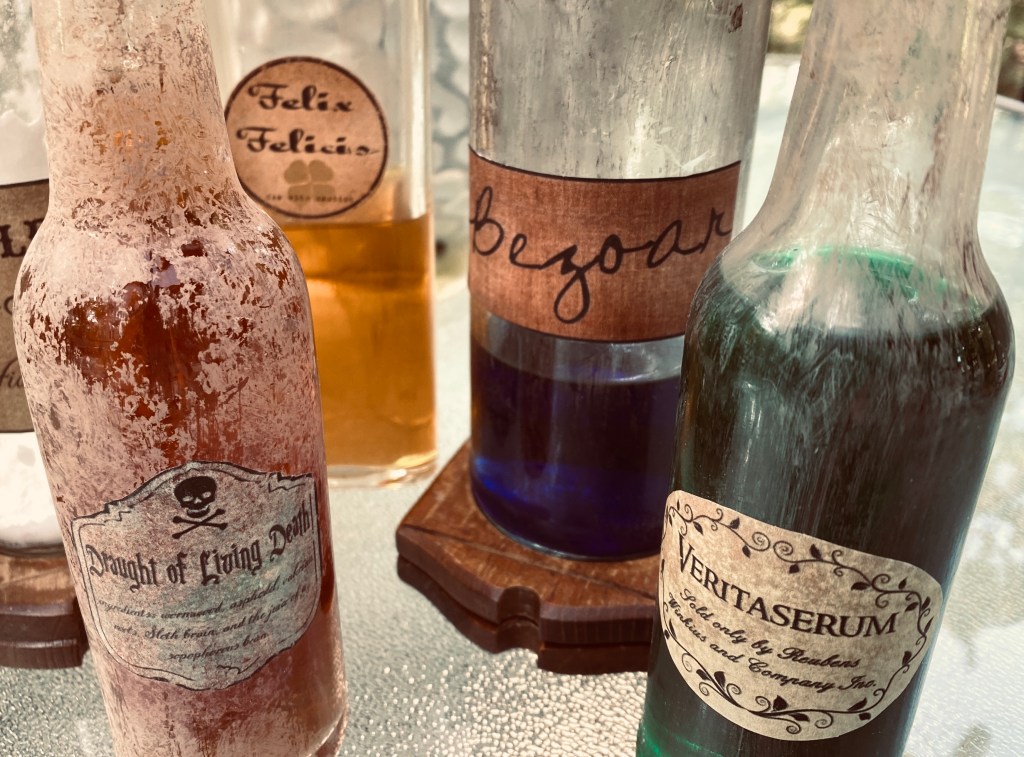
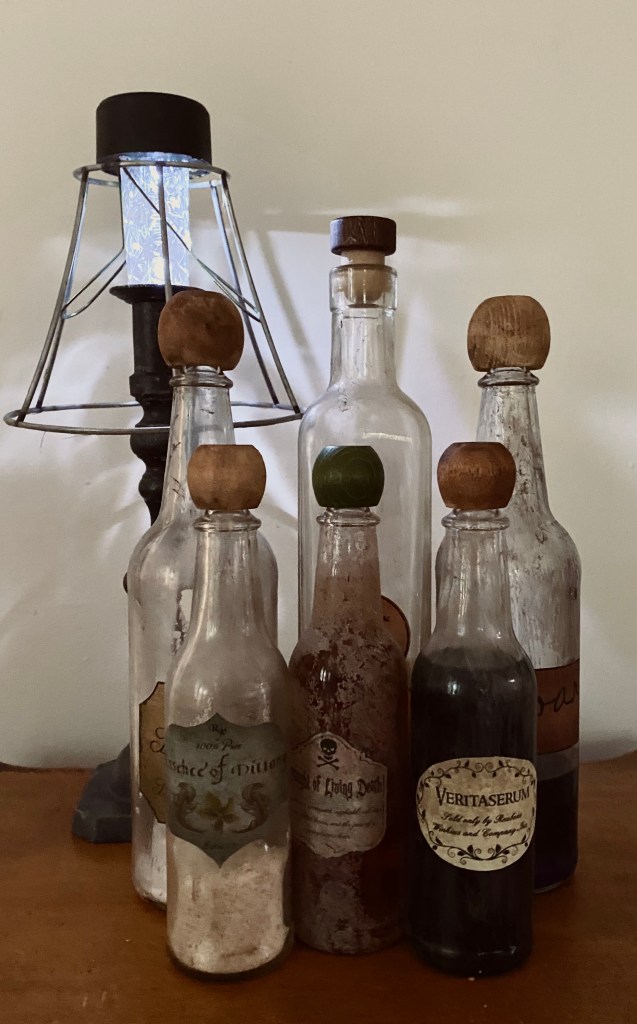
Here’s my first set of Harry Potter-Style Potions. I used various colors of our Missouri Limestone Paint Company chalk-style paint to get the look of dirty glass. I filled them with colored water, weak tea, Cream of Wheat, and Baking Soda. 🙂 One stopper was already green. The others I stained darker.
This set is available for porch pickup now or will be in one of my booths closer to Halloween.
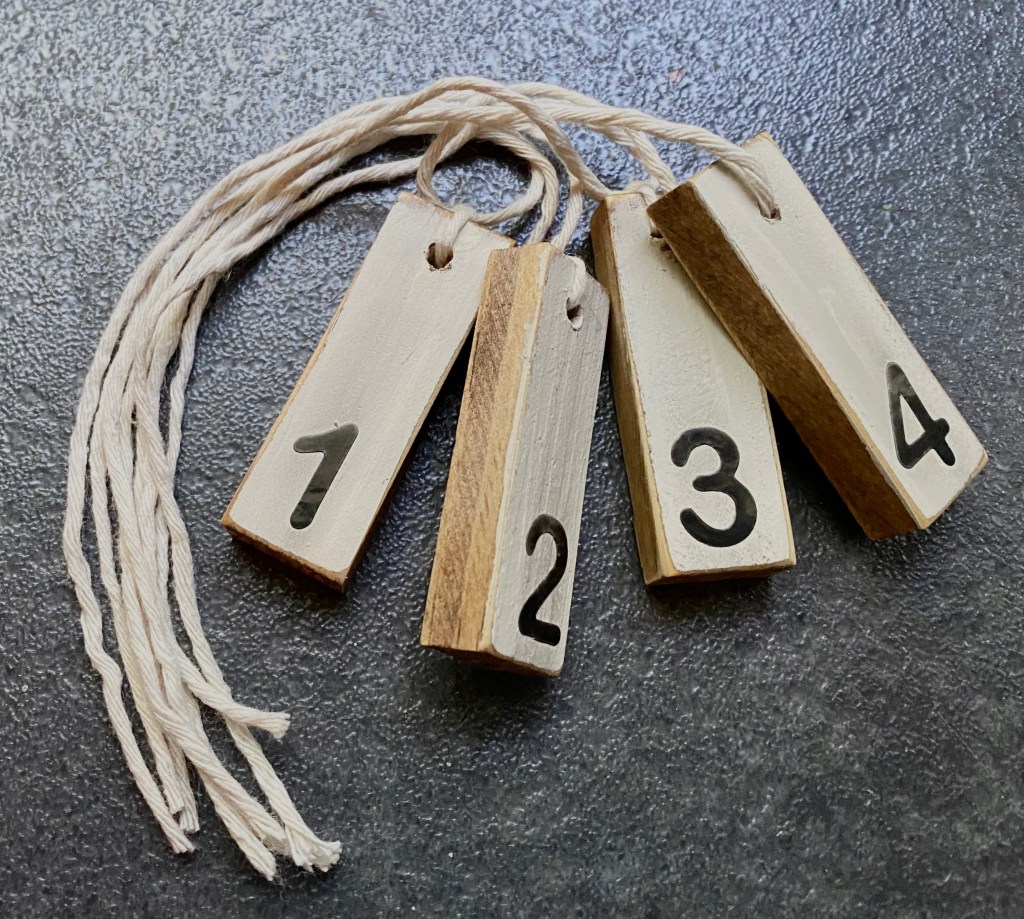
I don’t know why I’m seeing these so much. I see them on everything from numbering wedding tables to using on home decor “just because”.
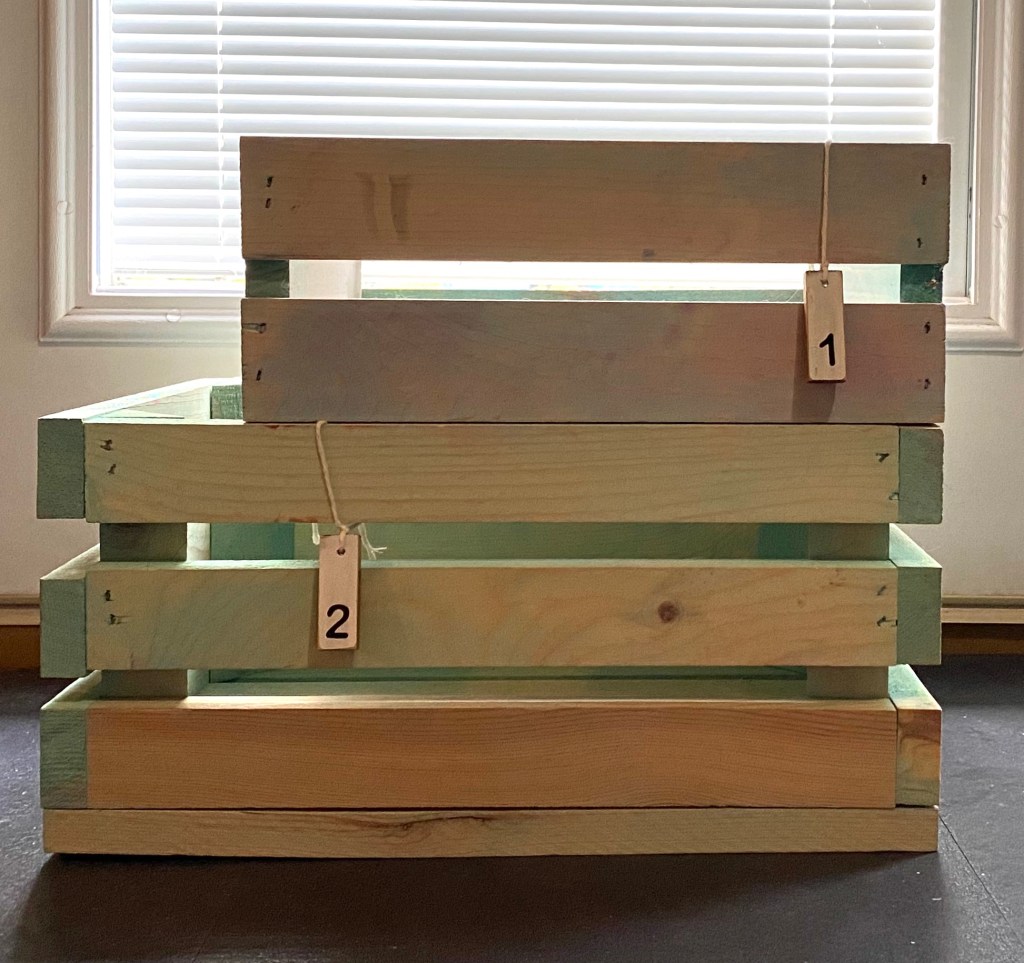
So here are 4 “just because” number tags I made this morning. They do look pretty neat on these wooden crates. 🙂 Dollar Tree Jenga blocks – hole drilled for string, antique wax, painted, sanded, and number stickers applied. Sealed with clear wax.
Does anyone know why the number tags are so popular and have you made any? Please share pics if you have.
*wired jute for rings – Dollar Tree *jenga blocks paint stained with holes drilled – Dollar Tree *beads cut off and saved from a beaded basketball net – thrifting 🤷🏼♀️ 🙂 *raffia – Dollar Tree *vinyl words cut on Silhouette. *small clusters of berries – Dollar Tree *folded napkins – searched google for a tutorial on folding napkins a like a leaf
I threaded twelve beads onto a length of wired jute and left enough on the ends to tie a knot and have about 3 inches left over. Then I stripped the jute off one end of the wire and threaded it through the jenga block and twisted both ends tightly to hold it in place.
I cut the thankful words on my Silhouette and added to the jenga blocks.
I made small raffia bows and tied them on with some of the wire that was still left on from the jenga block.
Then I ran a piece of raffia through the block and around the bow to hide the wire. I added a little cluster of berries with hot glue.
You could use these through the fall season and through Thanksgiving.
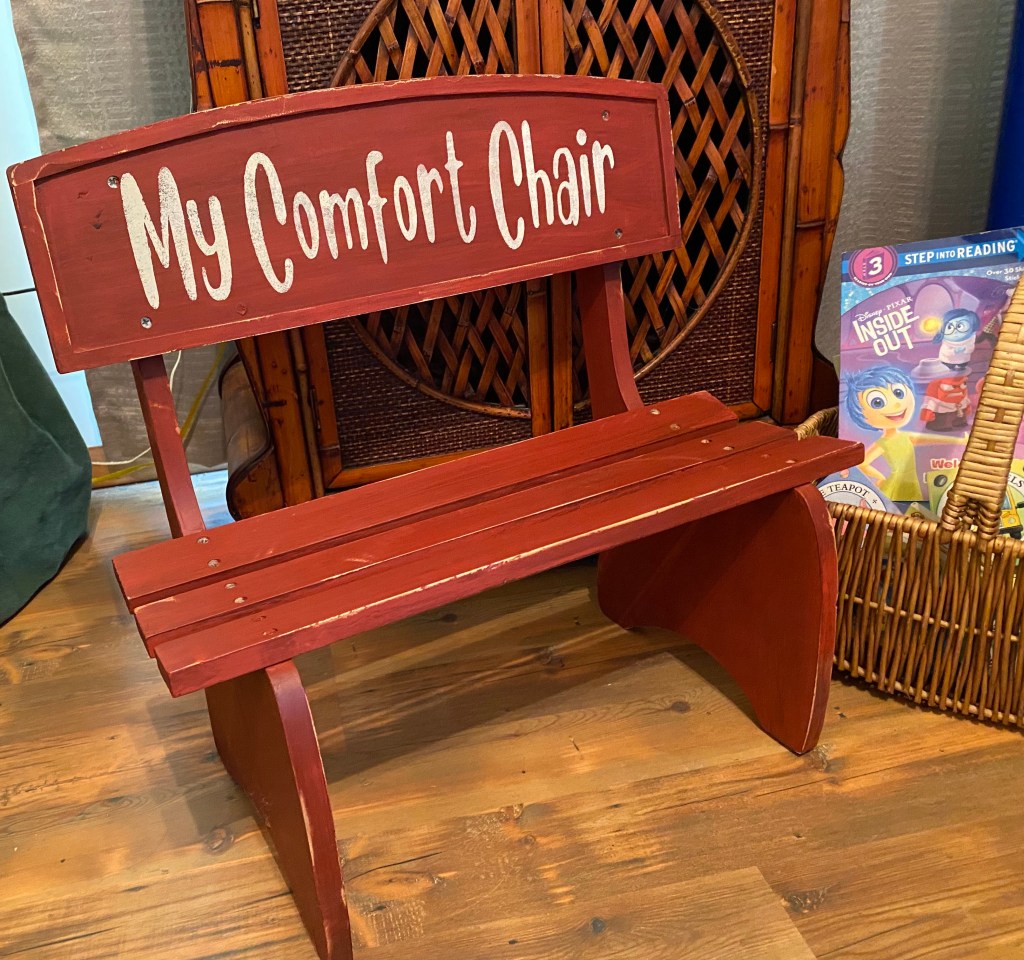
Many parents are using a “calm-down corner” or another area of their home to help toddlers/preschoolers calm their emotions. The following article is a good explanation for creating a calming area for your children in your home.
With that in mind, I created a rustic/farmhouse style comfort chair for them to use as they explore the items stored in their calm-down area.
It is available for porch pickup or will be in one of my booths soon.
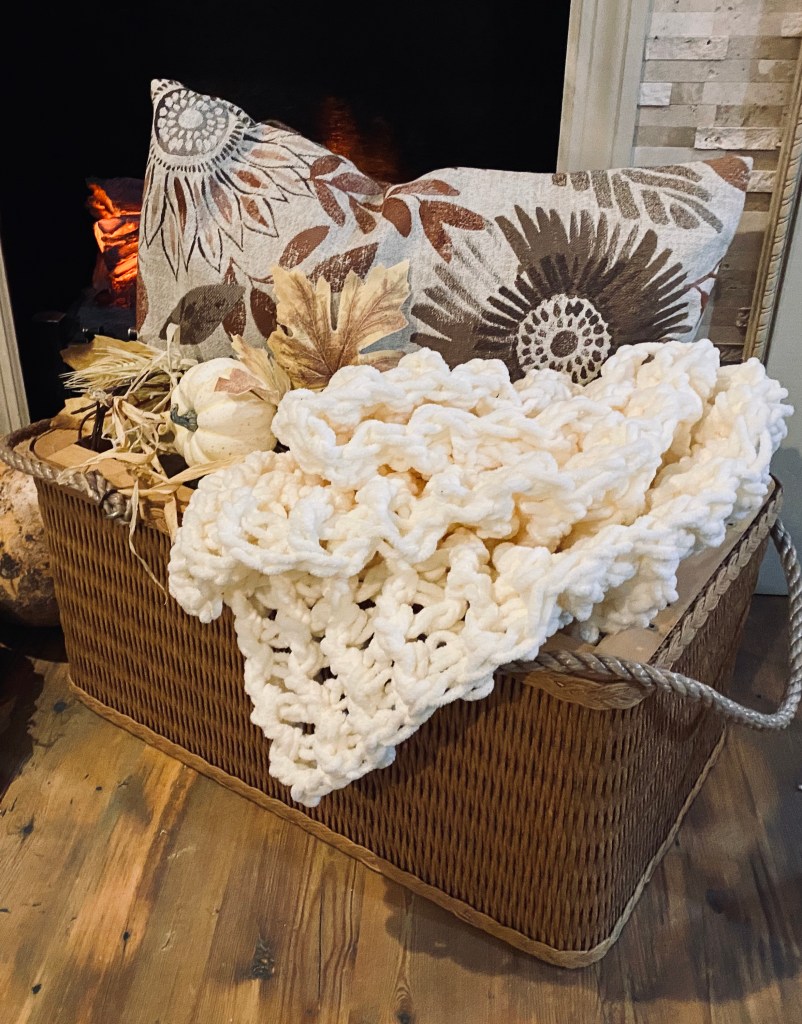
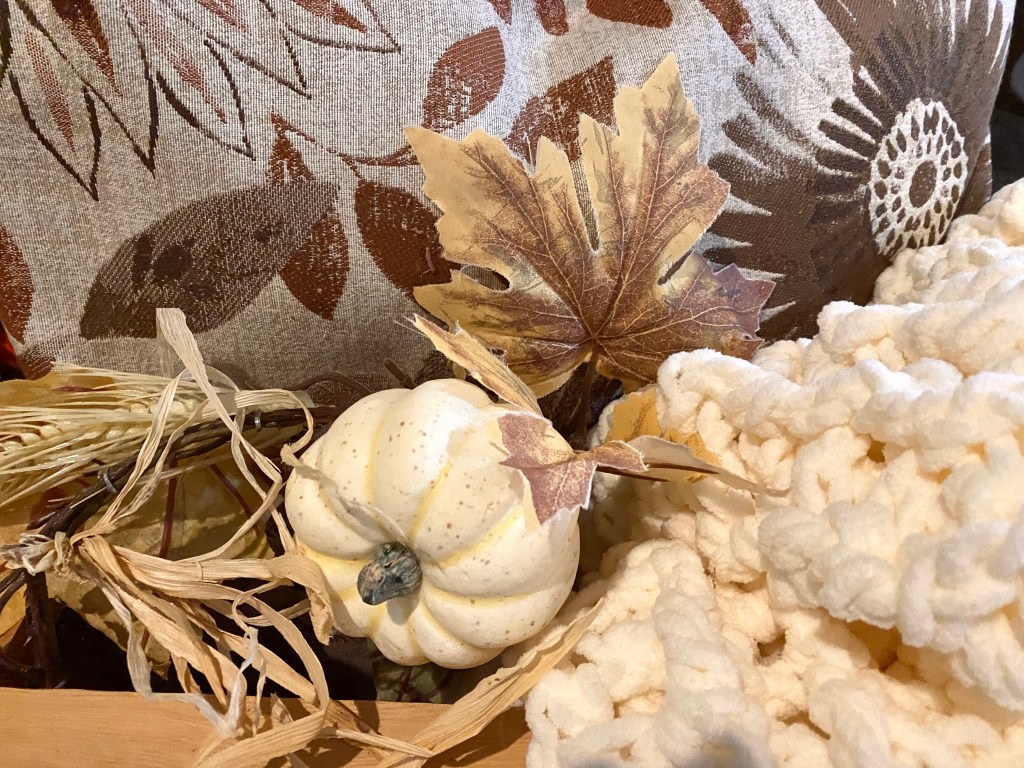
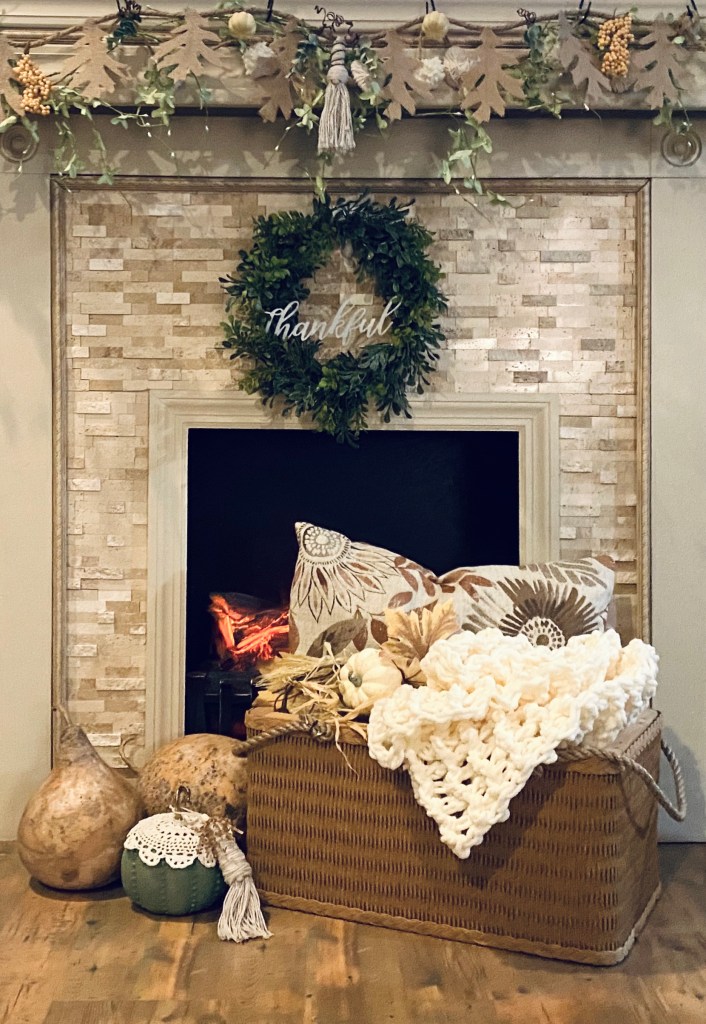
First up: This morning’s project was just combining some things I had to create a beautiful Fall display. This will be for sale right now as a porch pickup. $45.00
I had a vintage picnic basket. The trim on the lid was unraveling so I removed the lid. The rest of the basket is very sturdy, in excellent condition, and is perfect for storage and a Fall display.
I saw an idea for knitting or crocheting just a small blanket section for decorating a basket. What a great idea! I love the bulky blankets but a full size one would be way too bulky. I just happened to have a blanket I started crocheting but tired of working on it. It’s not functional but looks so pretty in a basket display.
I also had this beautiful pillow cover and a pillow that fits in it.
The display needed one more little thing, so I added a section of neutral garland.
I wish I had a bigger living room. It looks so pretty in front of my fireplace.
Next: Yesterday, I took a tin bucket from a thrift shop and wrapped jute twine around it, securing here and there with a bit of hot glue.
I cut apart some images from a package of Dollar Tree rub on transfer and applied them randomly to the front. I sealed them with wax. I love the rub ons from Dollar Tree.
I then added a hydraenga my sister had dried for me along with some greenery and this project was complete.
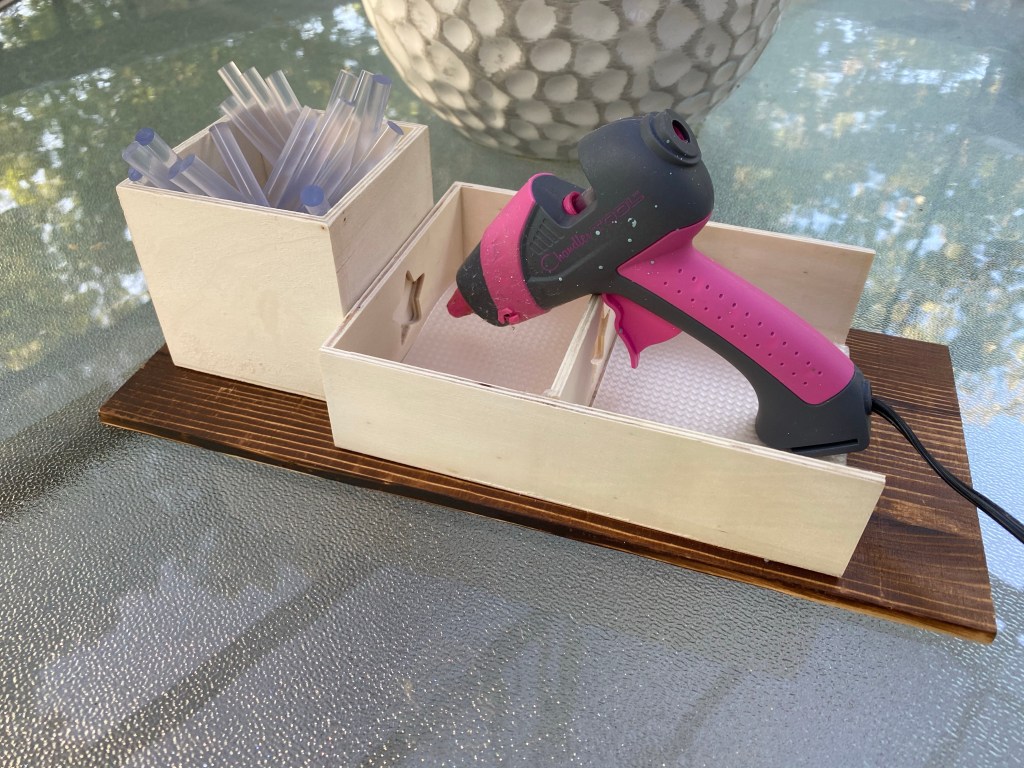
A Hot Glue Gun Stand:
I was tired of fighting hot glue guns and never having a glue stick handy so I started looking around for stands for them. You can buy fancy ones but DIY is so much cheaper. All you need is a plank (I think this was a blank sign from Walmart), a little box from Dollar Tree and a small tray from Dollar Tree.
Then you have Danny knock one end of the tray off without breaking it. I tried and couldn’t do it. I wonder what kind of glue Dollar Tree uses? It was on there tight.
Then you reattach the end about 2/3 of the way in with some hot glue. Glue the box and tray to the plank with (I used tacky glue as it was handy and hot glue) and now I have a stand for my glue gun.
If you look closely, I laid down some pieces of vinyl shelf liner to catch glue drips. I can just throw it away when it gets yucky and lay down another. A friend also suggested using pieces of aluminum foil. That would work great, too.
Last, but not Least: A Dollar Tree Hanging Sign Makeover
“I’ve been framed,” said the hanging pumpkin with the beautiful blue/green scrapbook paper.
I just attached the pumpkin by it’s jute hanger to the recessed area on the back of the empty frame, so it hangs free.
I don’t think it needs any embellishment.
I’m keeping this one and displaying it all year in my bedroom. Those are the colors in my bedroom. It makes me happy.
That’s it for now….follow my blog to get notified when I make new posts!