I have been cranking out a few crafts for our booths. It’s been so nice crafting in my clean craft area.
These are just a few things of my favorite things…..


I have been cranking out a few crafts for our booths. It’s been so nice crafting in my clean craft area.
These are just a few things of my favorite things…..


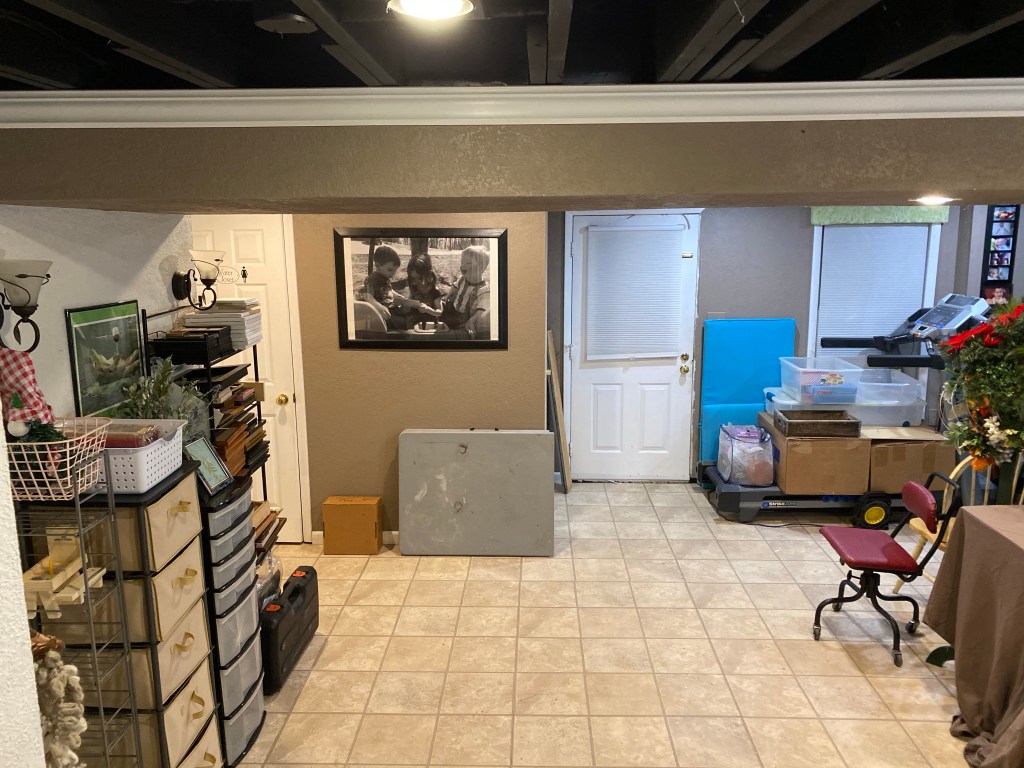
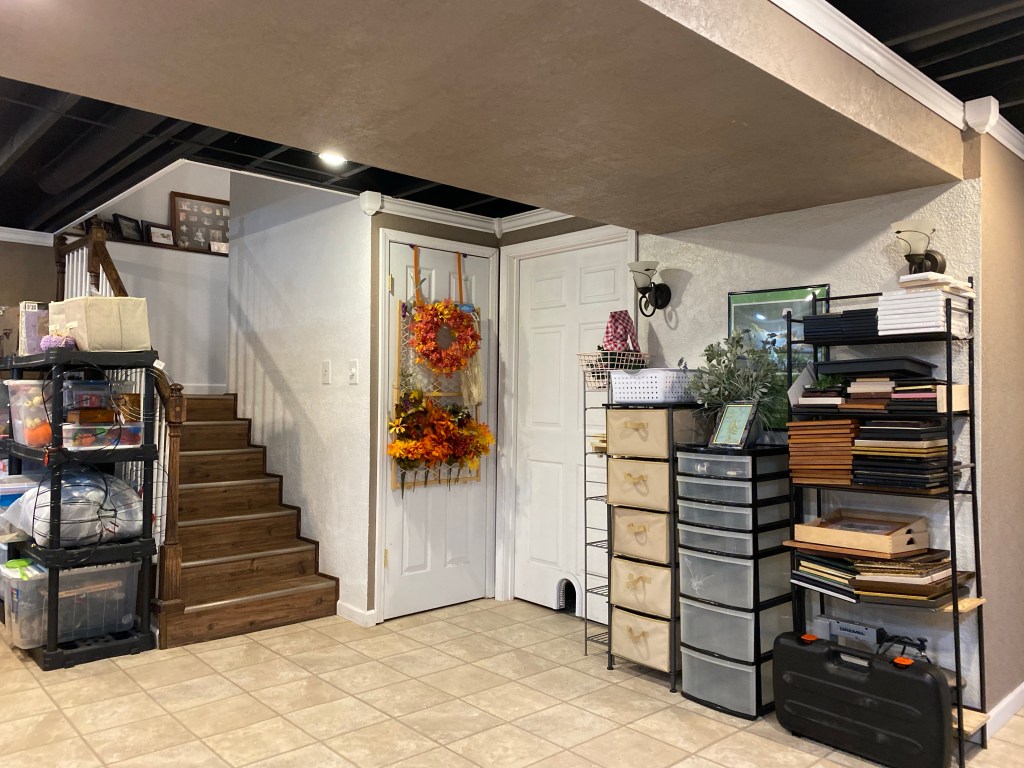
We started this process the end of September. We have finally, for all intents and purposes, finished. There is still more to do and it’s a never ending process, but we are very happy with the results. Follow this link to see the beginning of this huge transformation.
And now, for more pics of my new and improved basement. We can now also enjoy the living space there once again.


I had a mid-morning project this morning. First of all, I slept in. I never do that. We have had a new rule the past Several months that the last one up has to make the bed. So, I did. The first thing Danny said to me when I came into the living room was not Good Morning. It was, “Did you make the bed?” 😂
It’s a thrill a minute when you are retired.
I love when plans change on a dime. I was going to be knee deep in cleaning today but…..we had gotten an offer we couldn’t refuse from our credit union to move the financing of our car over to them. So, they set it all up this week and now we are on our way to lunch in the city and closing. Lol
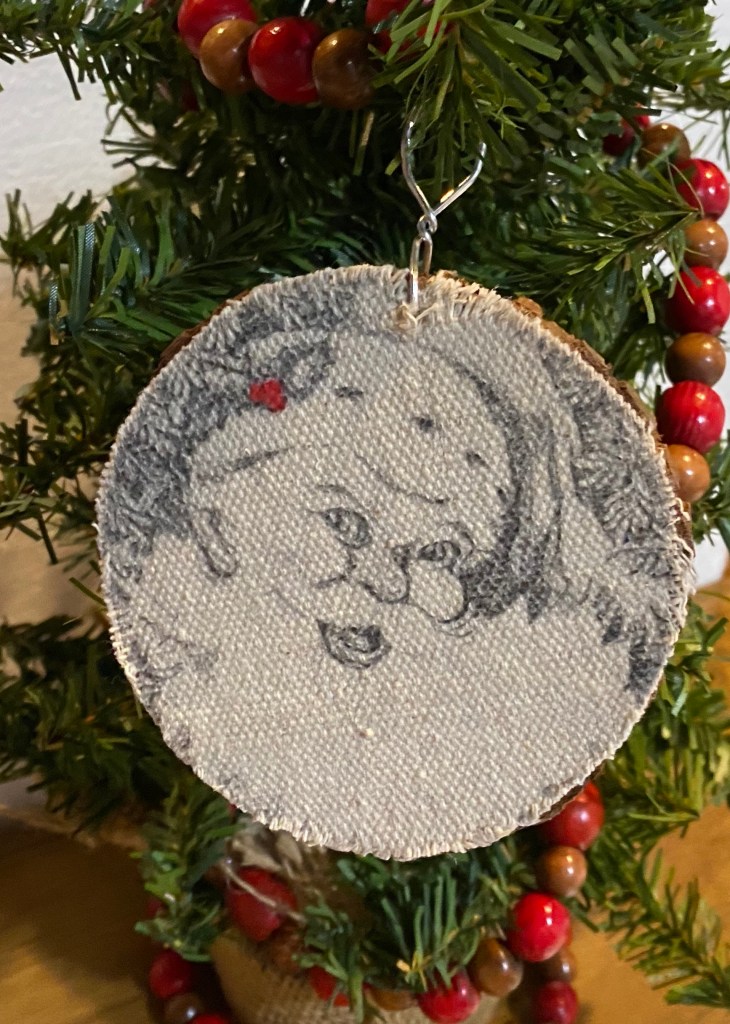
I had already stolen a little cleaning time with my framed Santa I made earlier this morning. For this project I adhered the printed drop cloth to the cardboard that came with this frame I had distressed some time ago and gave the berries on his hat a bit of red. I kept looking at that frame thinking he would look so good in it. I kind of think he does. See how I created the image on my cheese box post.

So, while Danny was getting ready, I just had to make the Santa wood slice ornament. I really love this Santa! 🙂
Plans change, but hey…. we are saving money and I get lunch in the city. So, retirement is pretty good….most days. And I can always clean later. 😌

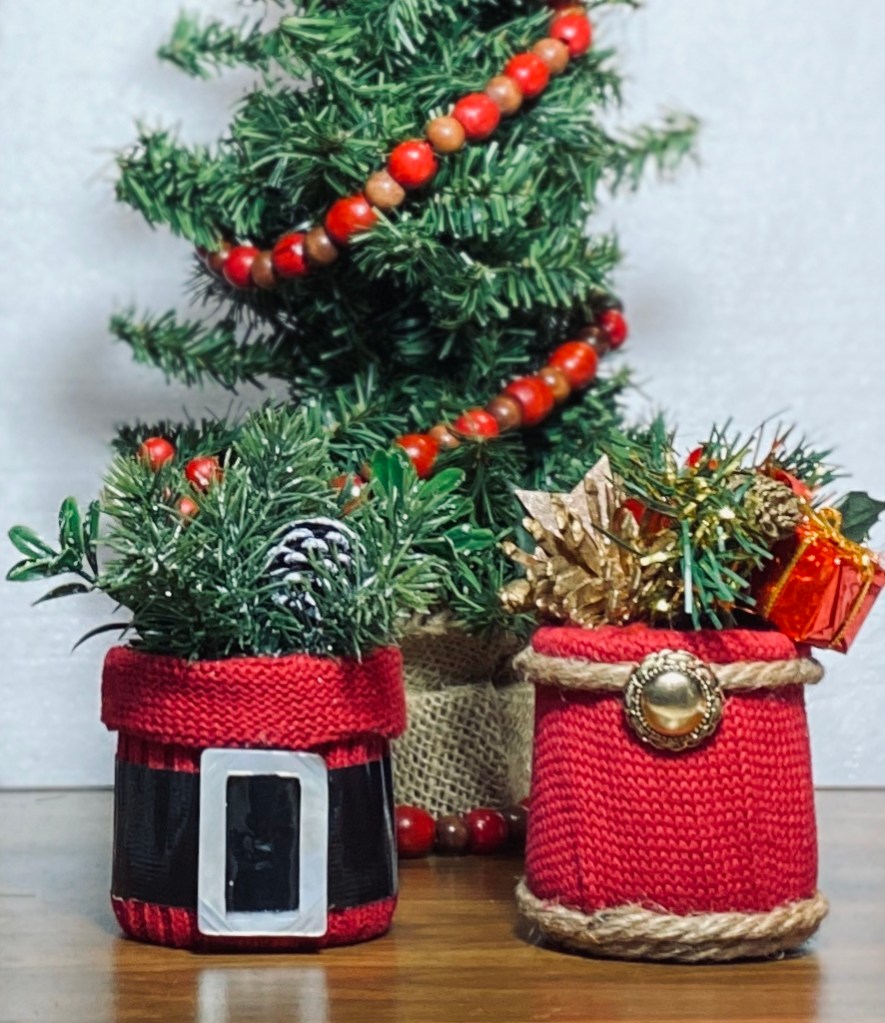
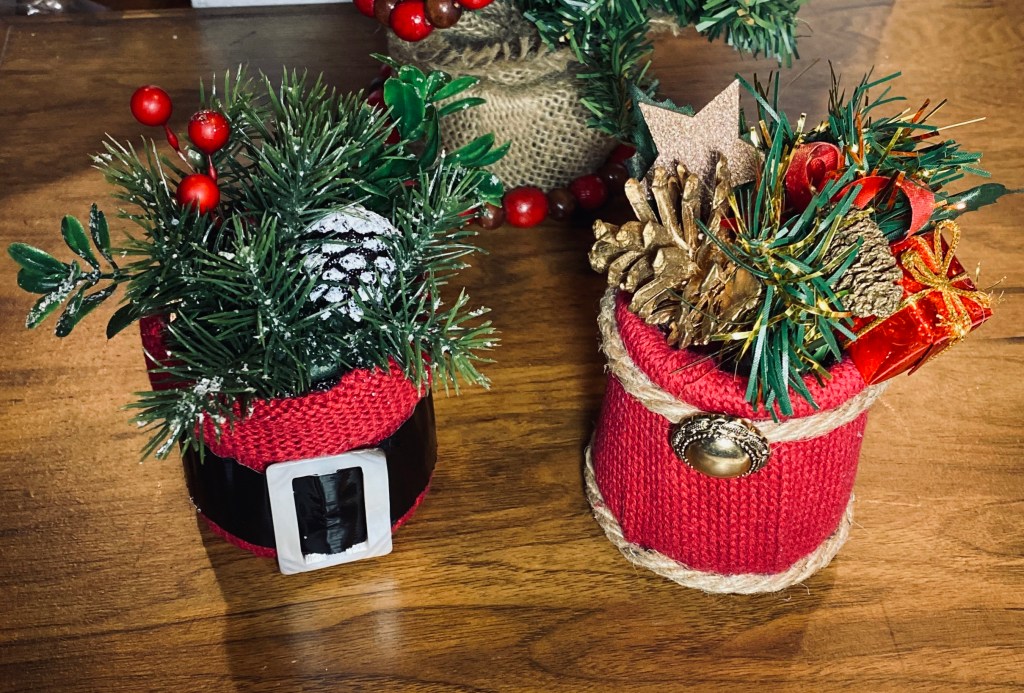
Of course I had to use some of one of my ugly sweater sleeves to cover these Oui yogurt jars for cute Christmas decor.
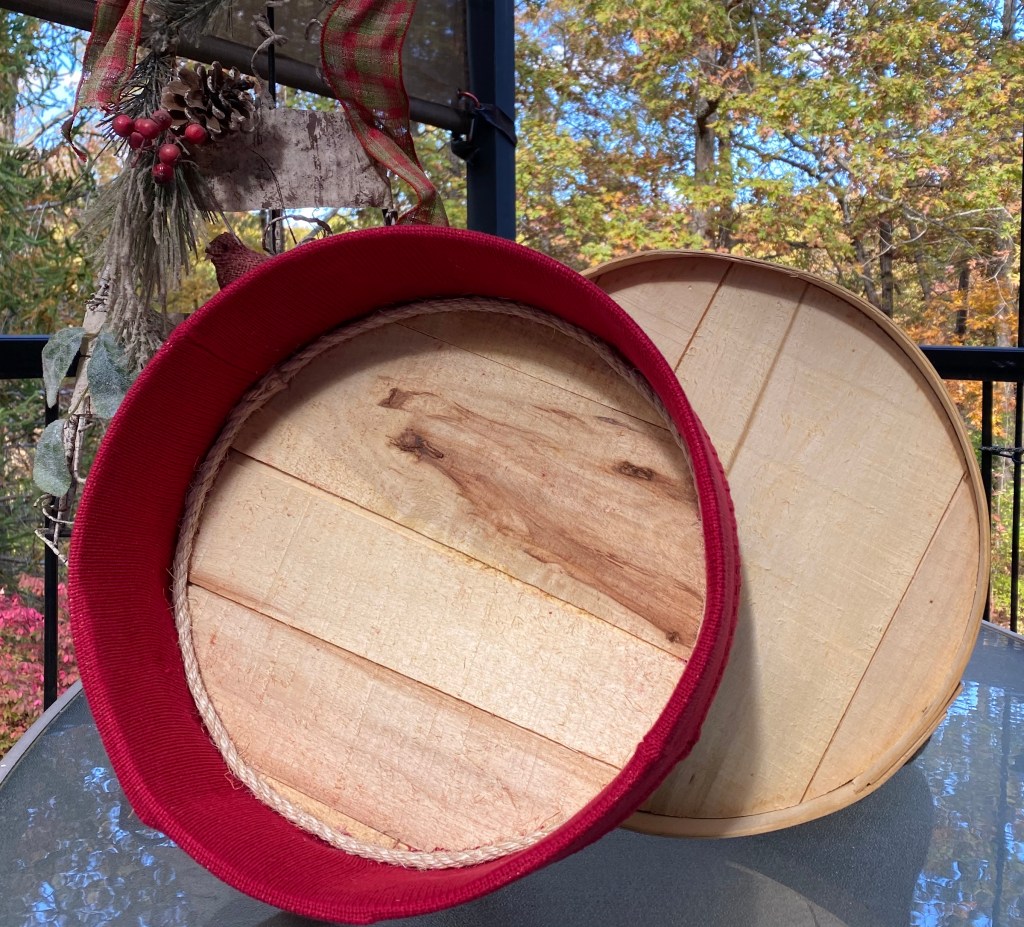
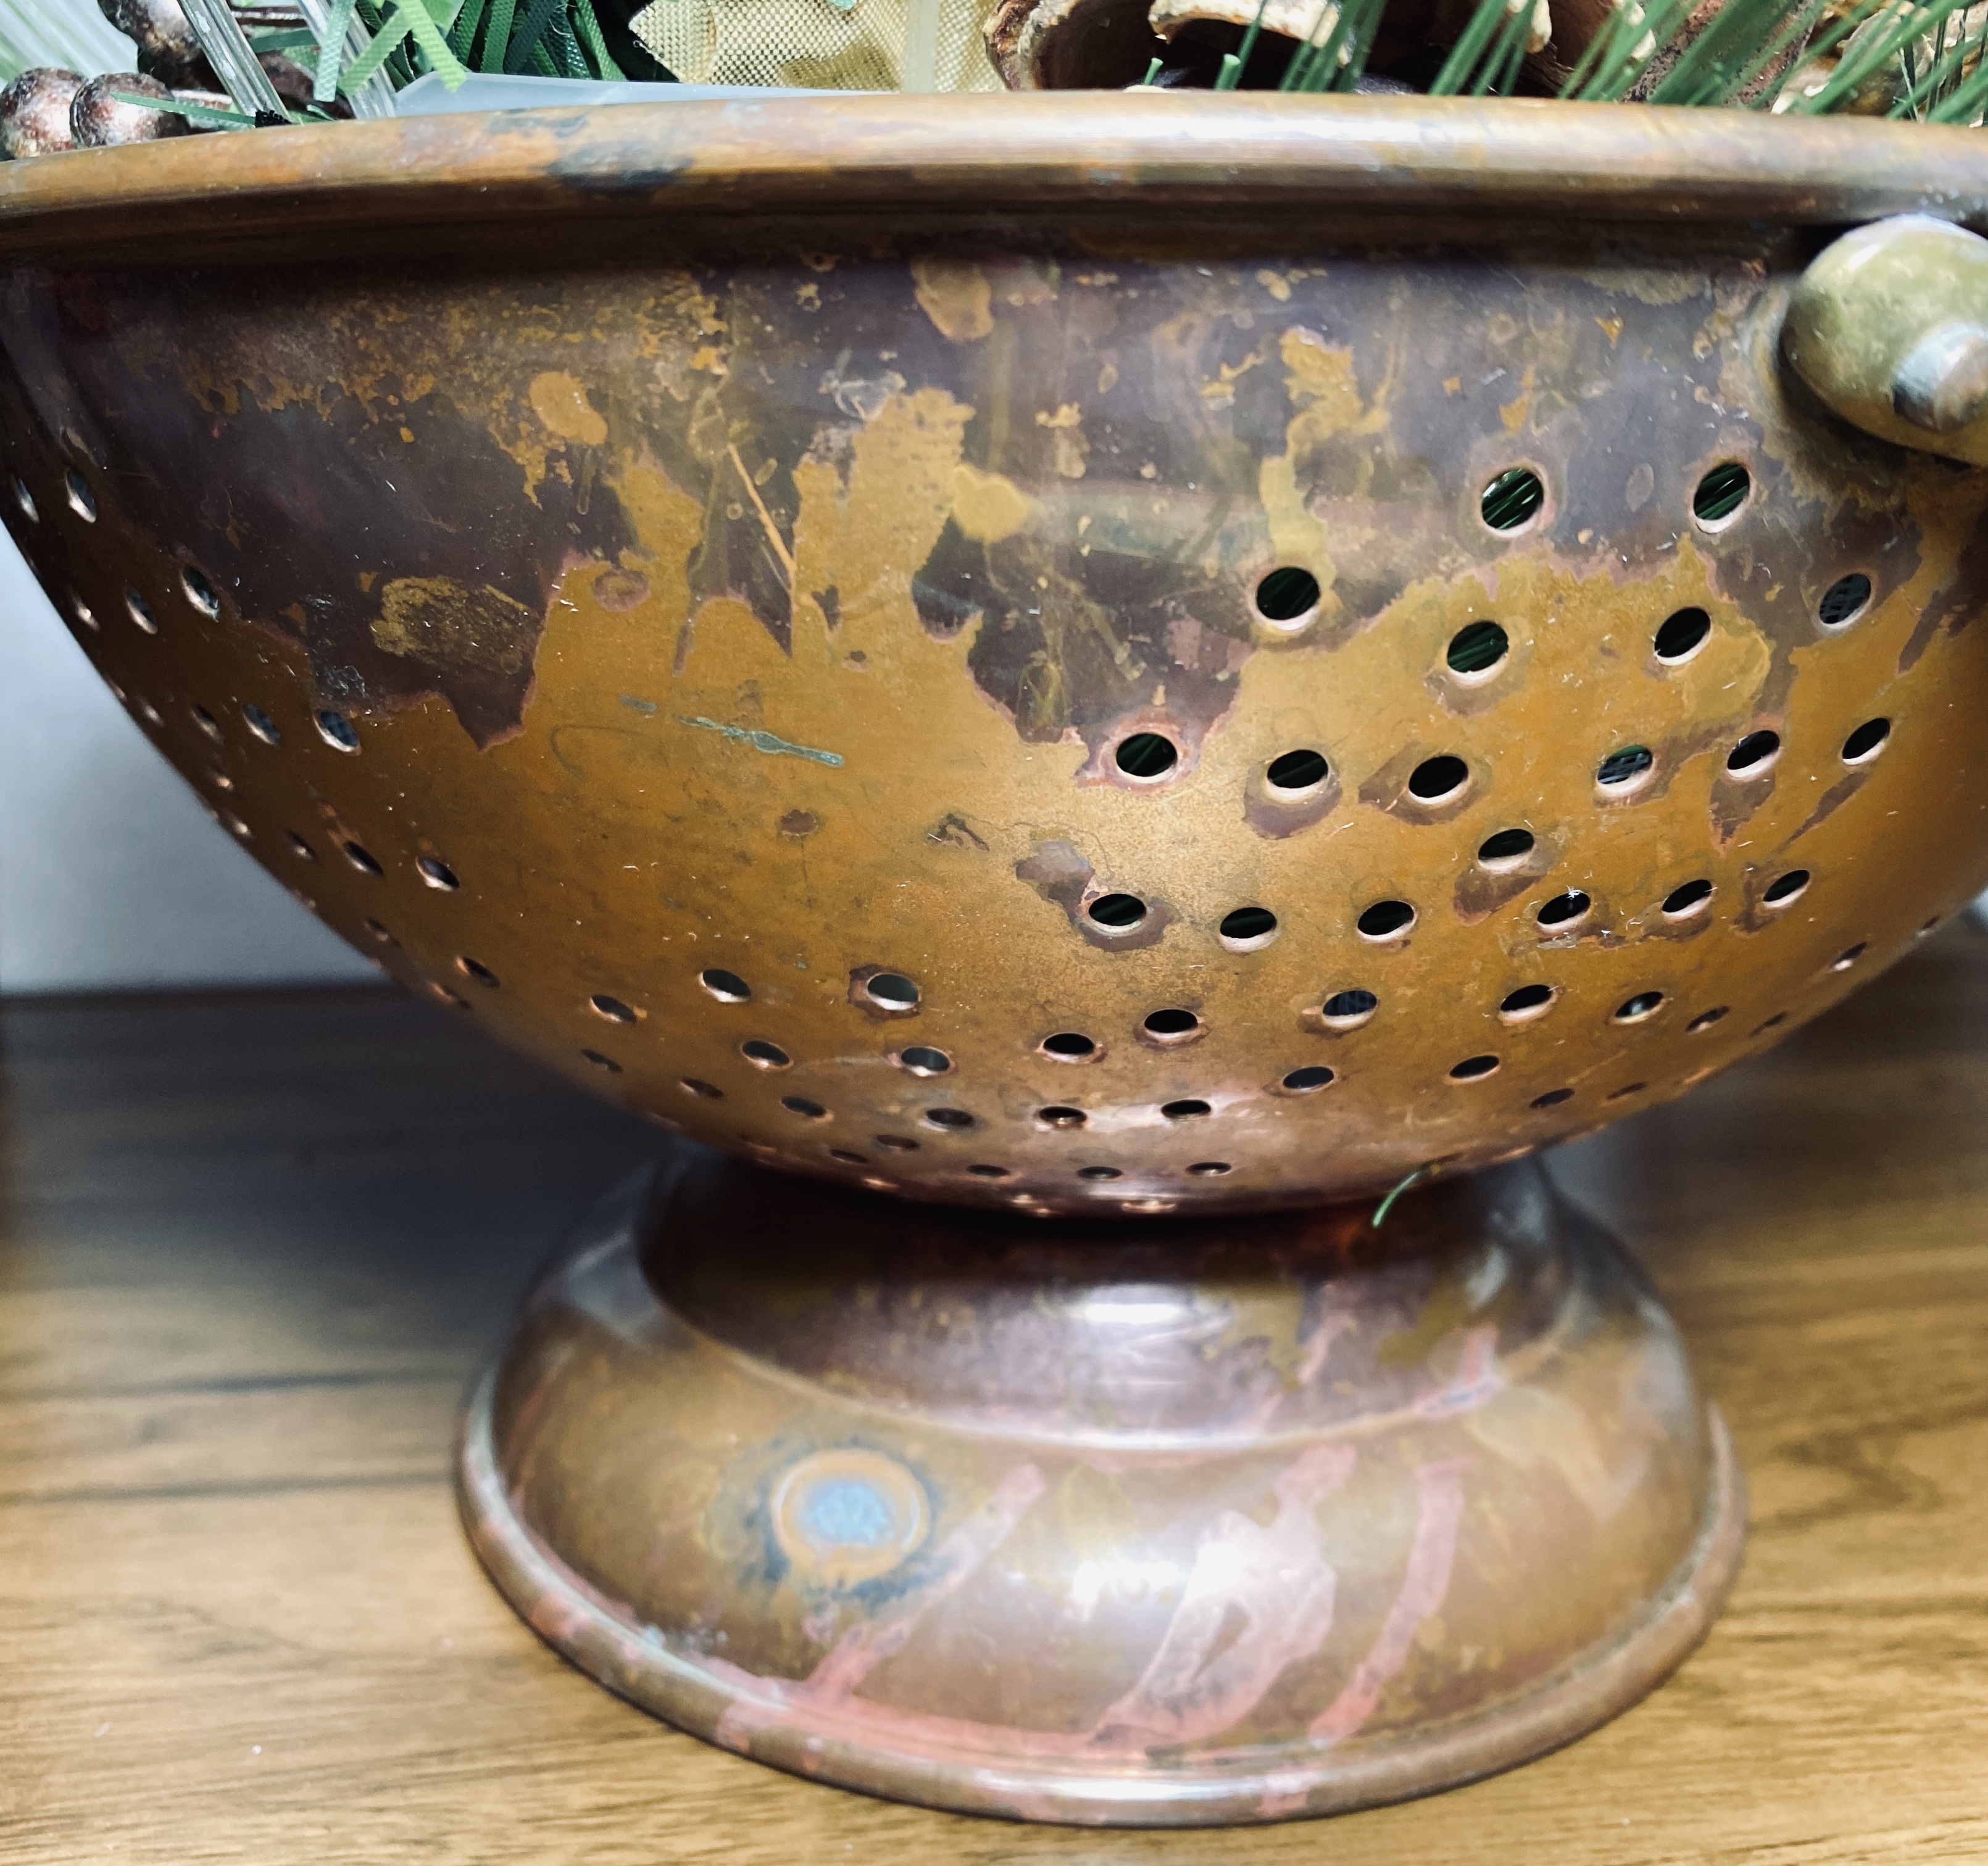
I found this cheese box (15” round x 5 1/2” tall) when thrifting this summer while on vacation. I knew the glued on flowers had to go, but hadn’t decided how I was going to upcycle it….until today.

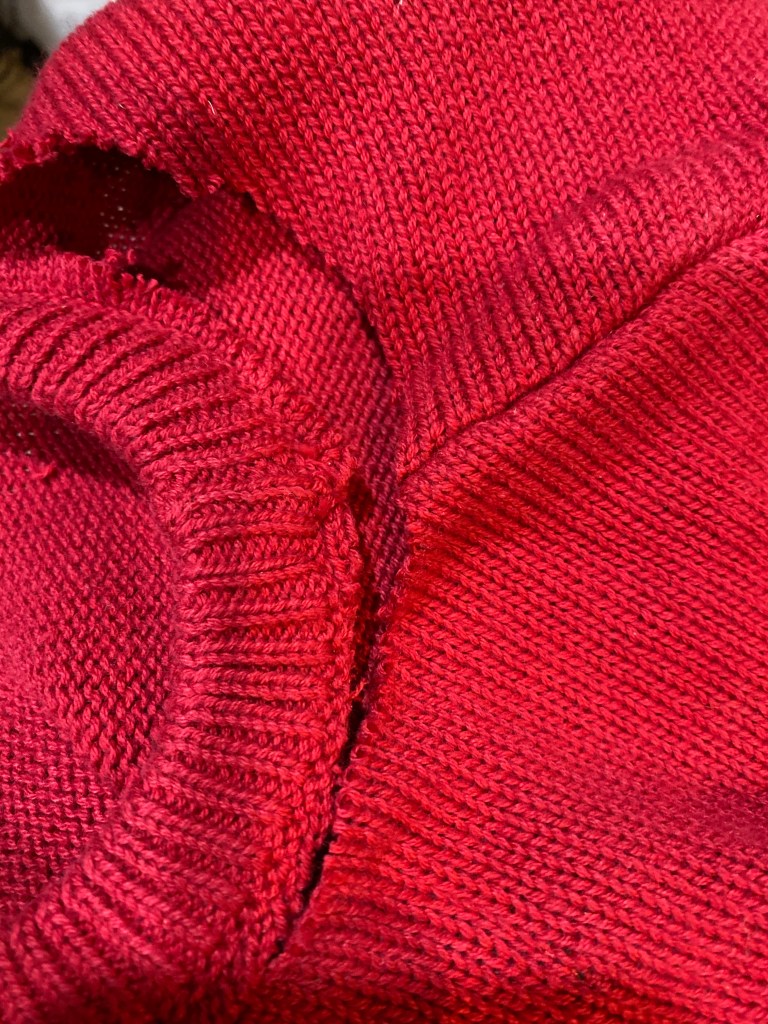
It’s getting cold out and that cheese box needed a sweater. I just happened to have a new red sweater that came in an Ugly Sweater kit I thrifted last year.

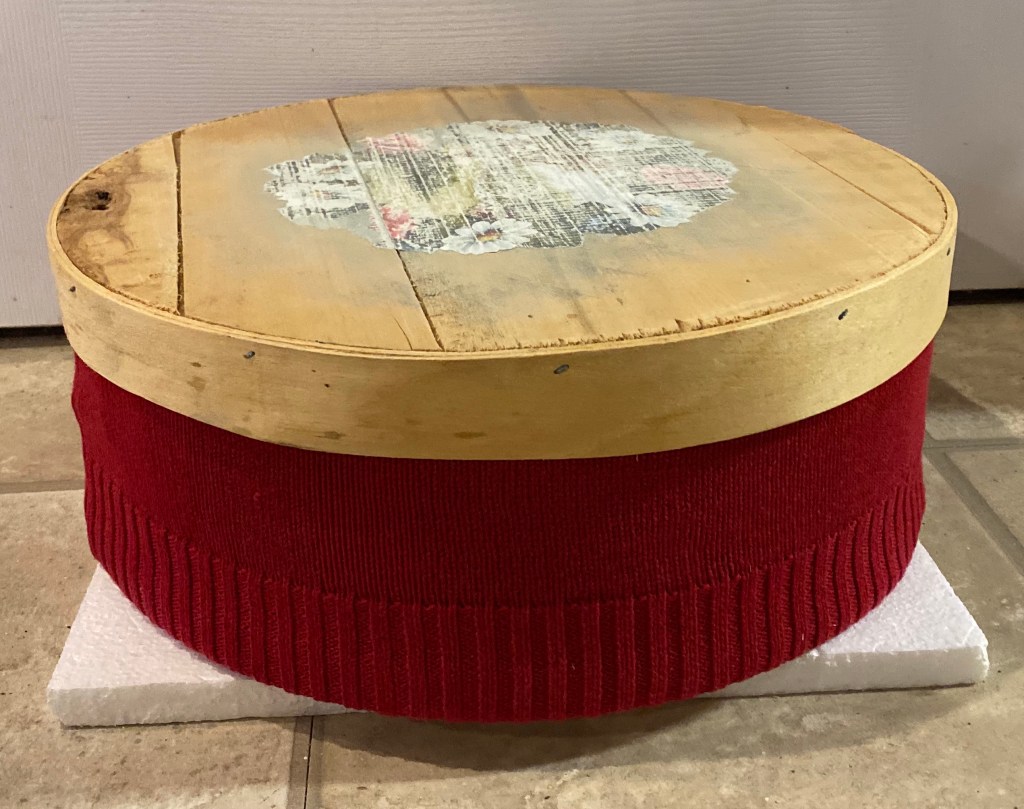
The first thing I did was sand off those flowers as much as I could and then I cut the sweater in half about 4” below the armpits. Then I covered the outside of the box and down the inside. The lid still fits fine around the sweater.
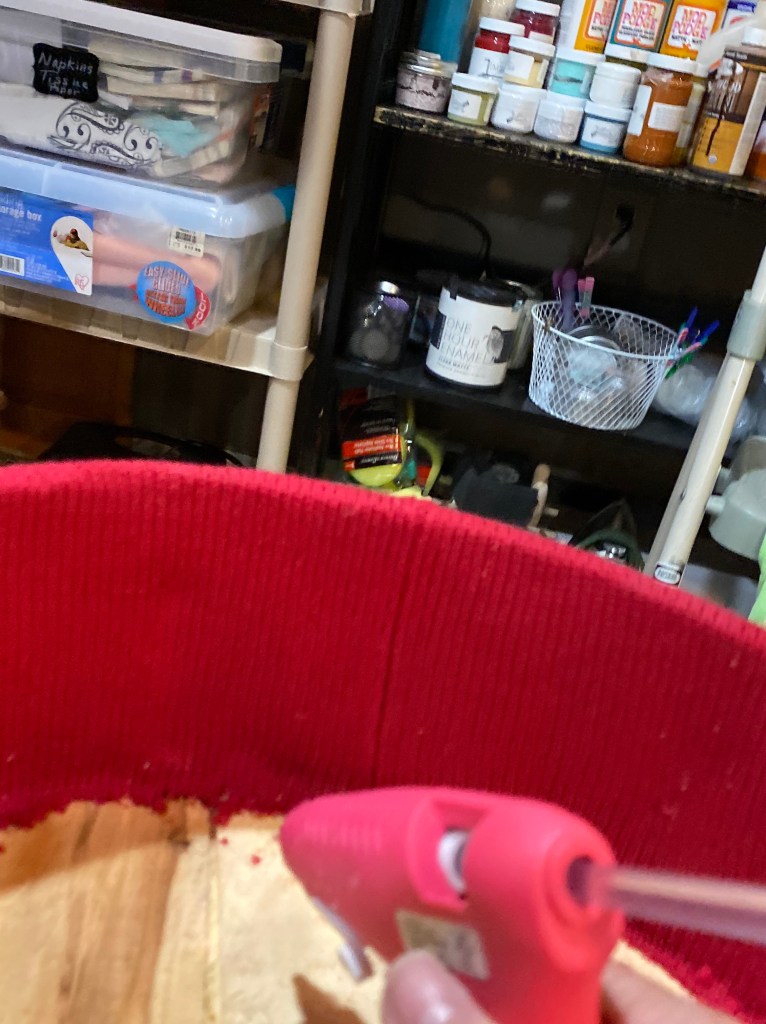
I glued the seams first, inside, outside, and underneath. Then I glued all around, securing the sweater to the box.

I was left with a lot of fuzz, which was hard to remove on that rough wood. I didn’t want to get out a vacuum, so I used rolled up masking tape to pick it up. It worked like a charm.

Next, I finished the rough edges by gluing sisal rope around the sides and bottom.
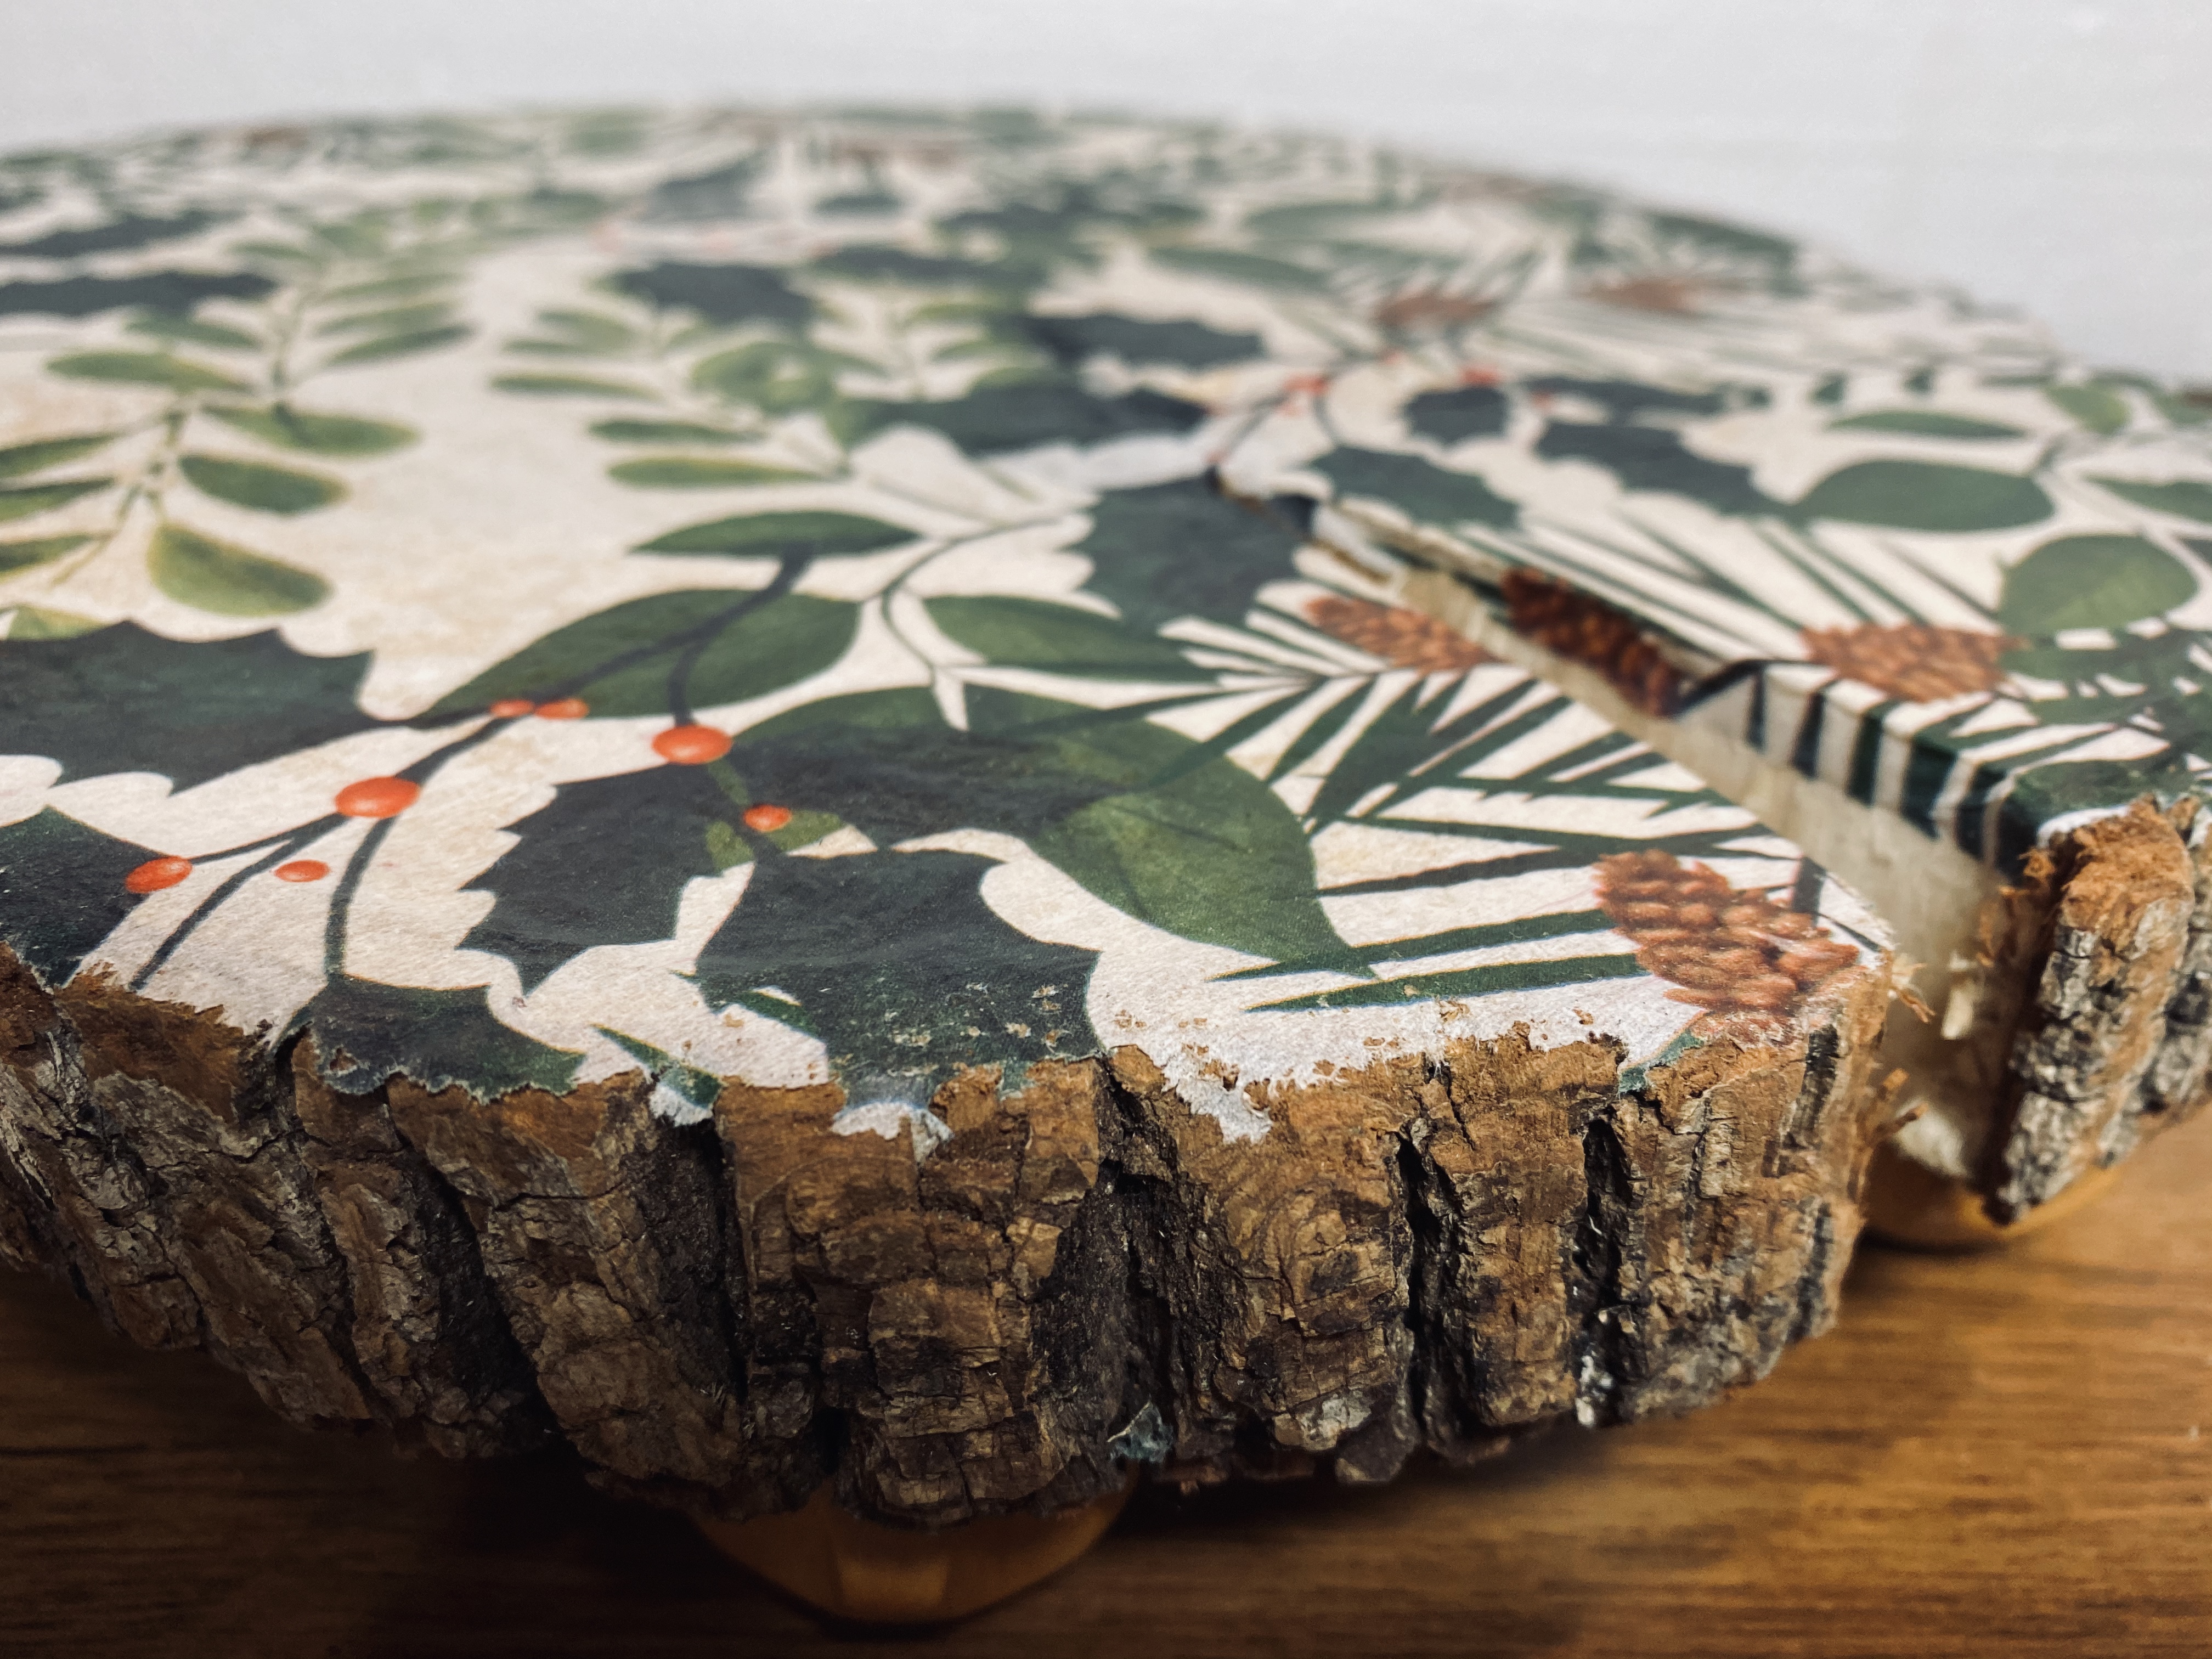
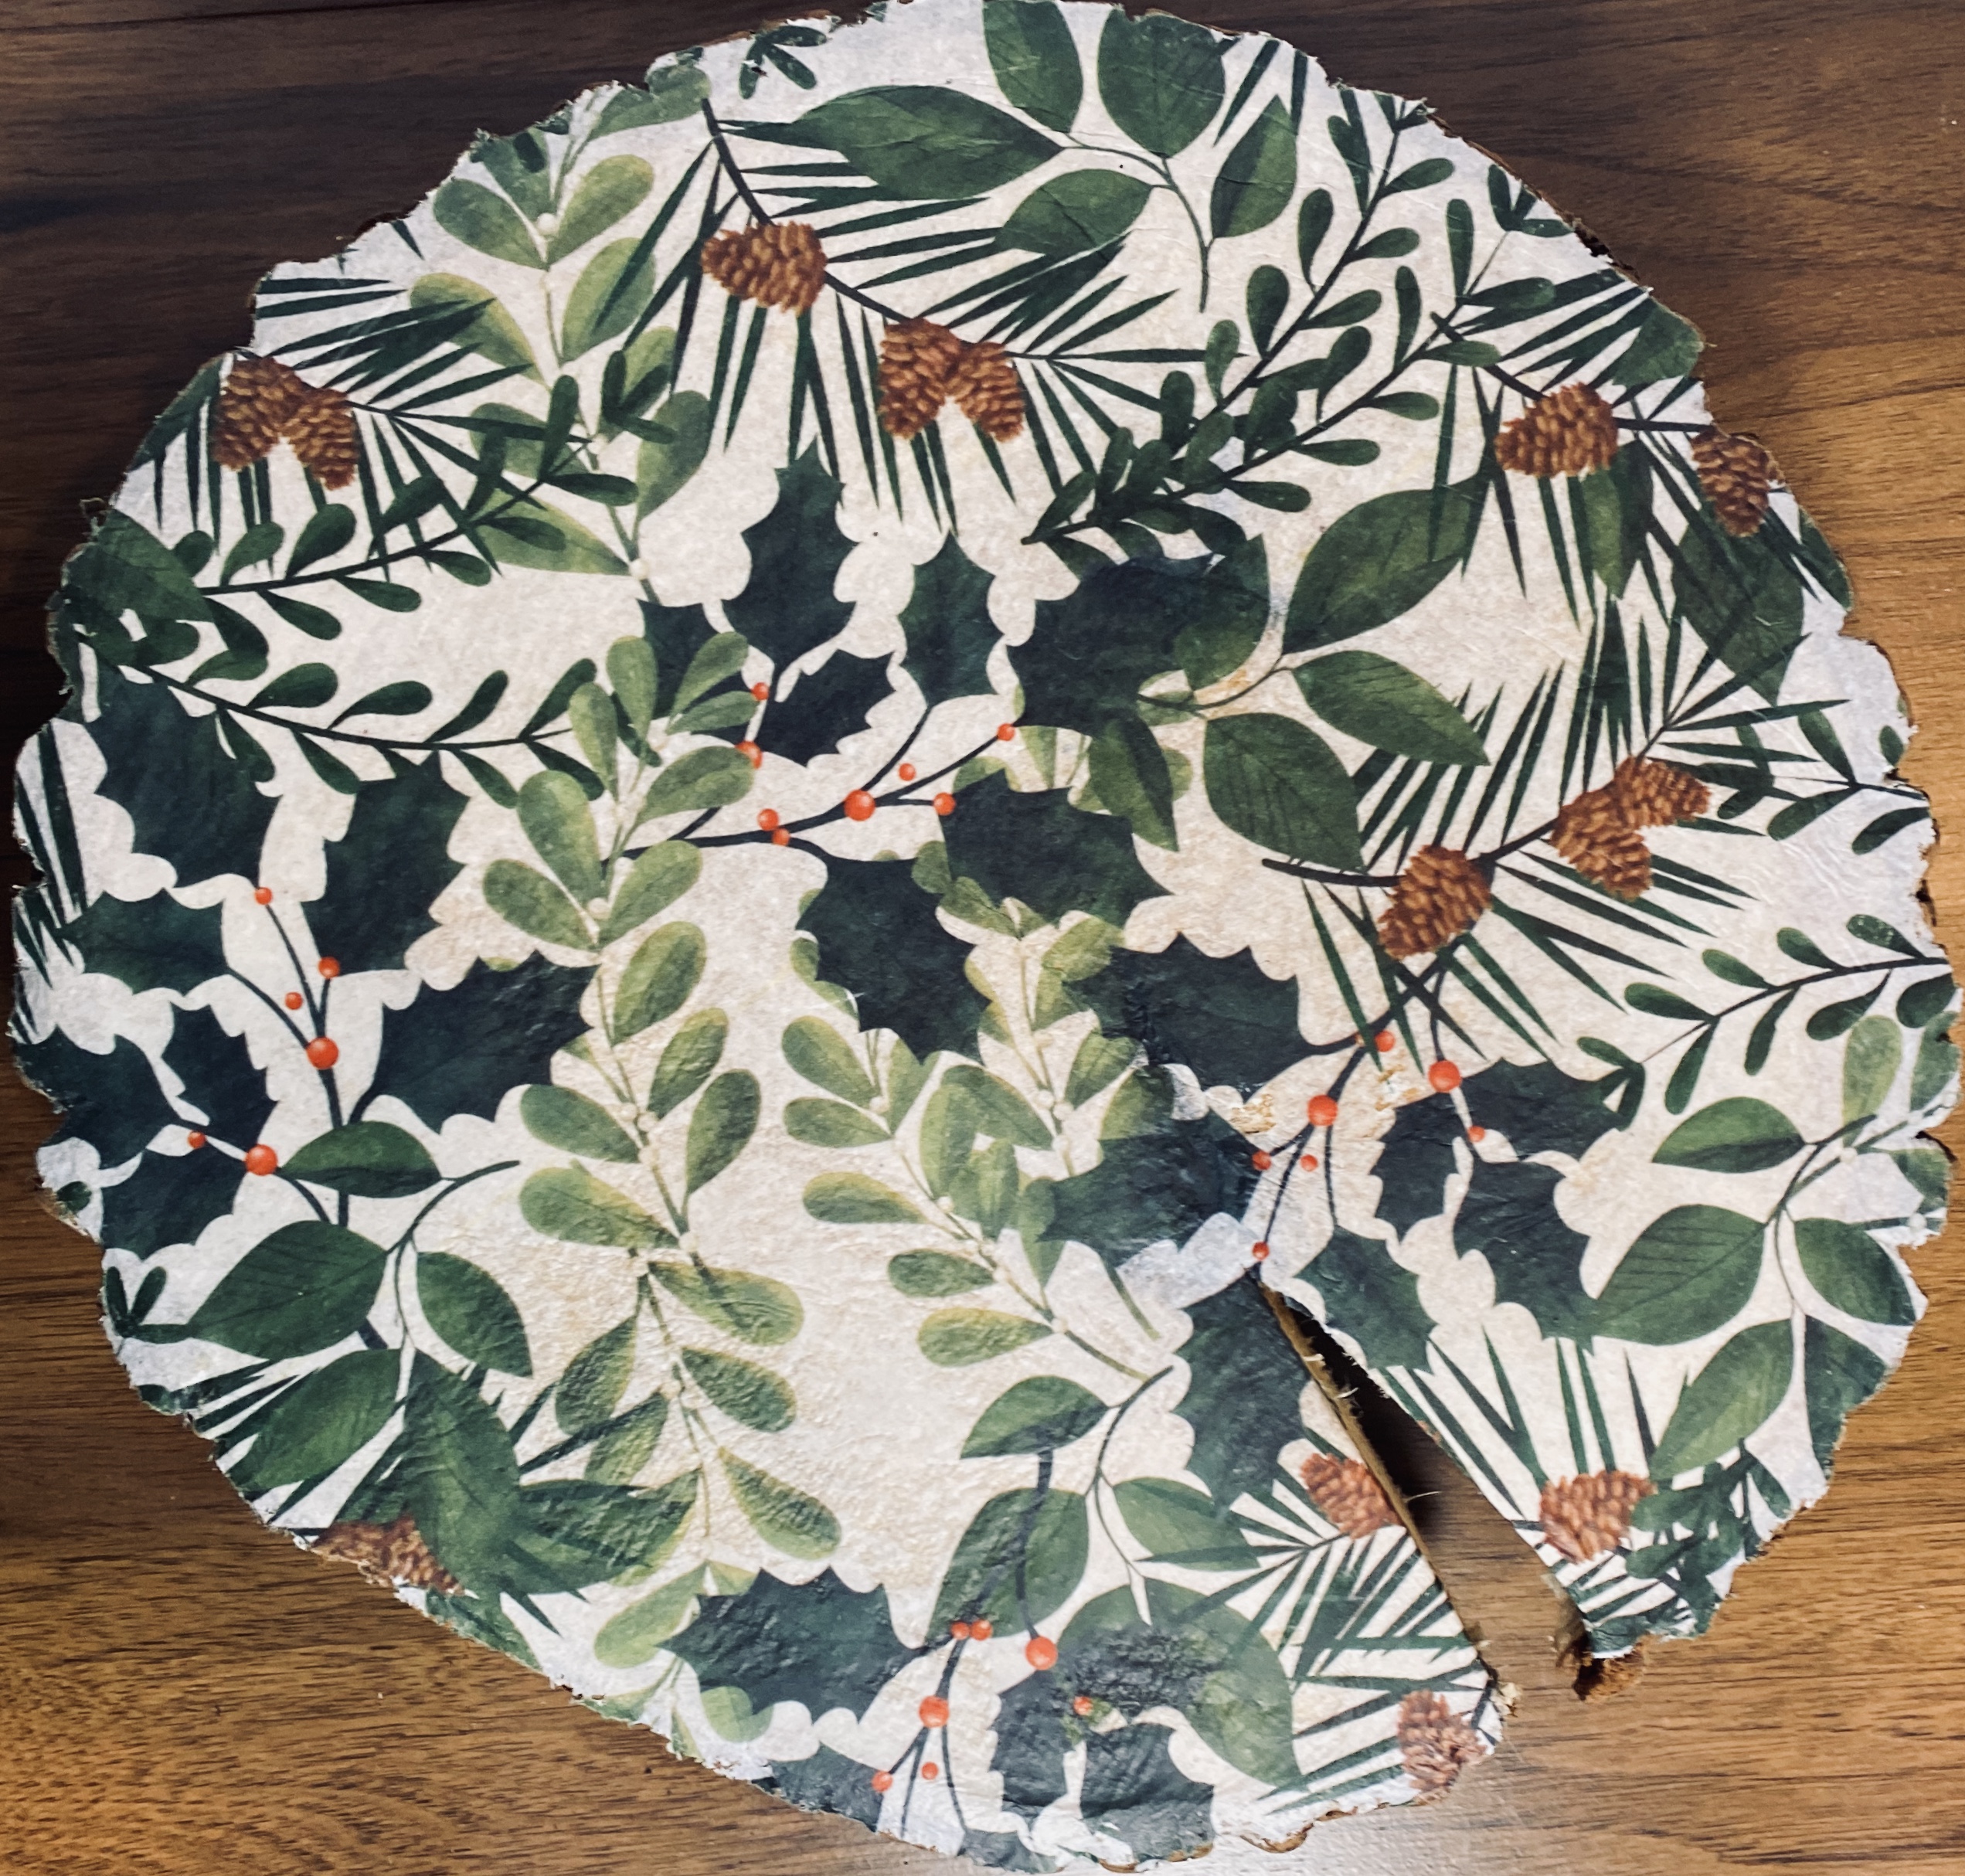
And then came the image I downloaded and adapted to cover up the old flowers I had mostly sanded away. This is a technique I’ve used several times now. I found this image, free on The Graphics Fairy Site. I had to do several things to get it the way I wanted, though. First, I had to make the image transparent and I cut it into a round shape using the free app Pro Knockout. But I wanted it to have a more vintage look so I uploaded it to the free website Lunapic and saved it as a pen drawing.
All of this is free, so I’m sharing my image I created here. Please credit The Graphics Fairy and this blog post if you do use it. Thanks.

I then inserted the image into a Google Document, enlarged it to fit the paper, and saved it as a pdf file. Next, I used a product called Pixi Spray to temporary adhere a piece of drop cloth to a sheet of printer paper. I trimmed the drop cloth to the size of the paper, then printed it on my personal black and white laser printer.
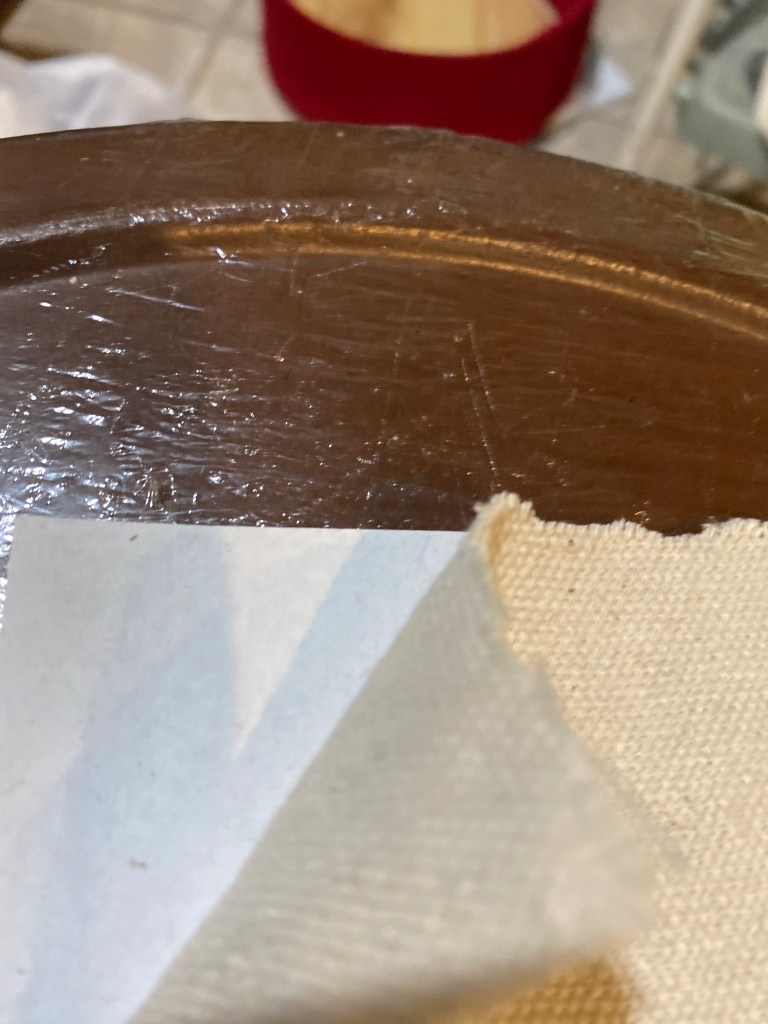

I am always blown away how cool this look is on drop cloth. I cut around the circle and adhered the image to the box using Elmer’s Craft Bond.
I cut the neck off and used what I learned from the wise words of all mothers, “Don’t pull on the neck of your sweater, you will stretch it out!” They are right! I pulled and pulled and stretched it enough so that it would fit around my image and then hot glued it in place. It is on there forever. 🙂 And while I was at it, I used a red paint pen and colored in the berries on his hat for just a bit of color.

This finished my cheese box. I posted it for sale on my Facebook page and it sold almost immediately!
Now, what to do with the sweater arms?? I’m thinking my early morning project will be dressing a few Oui yogurt jars. 🙂