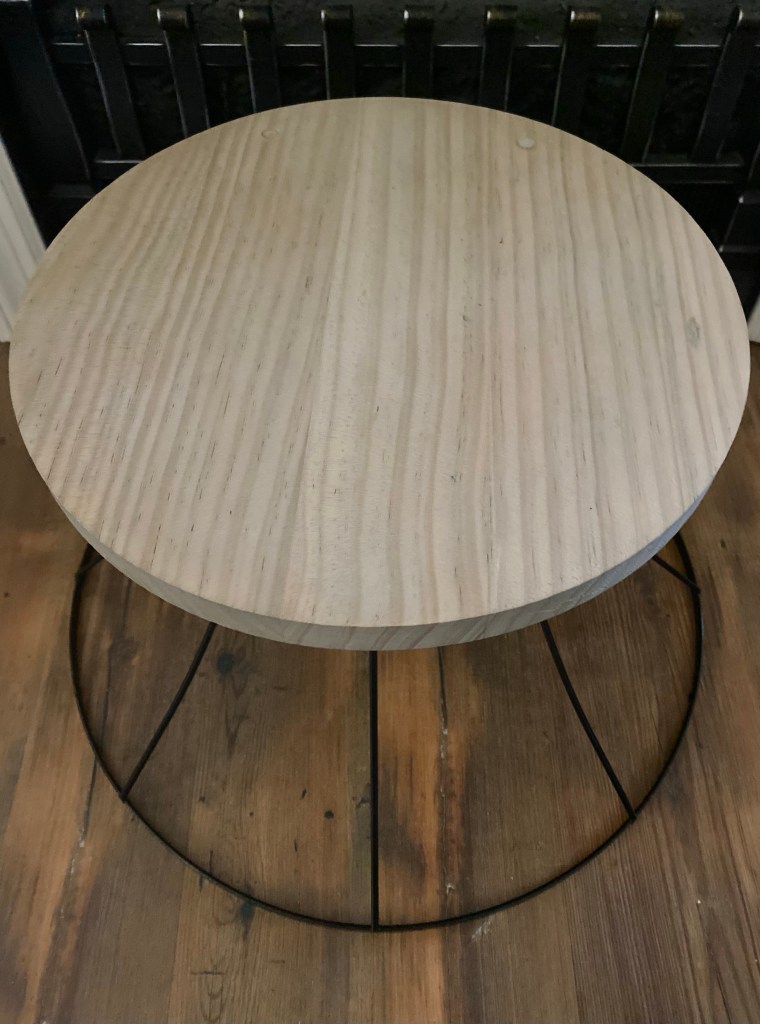
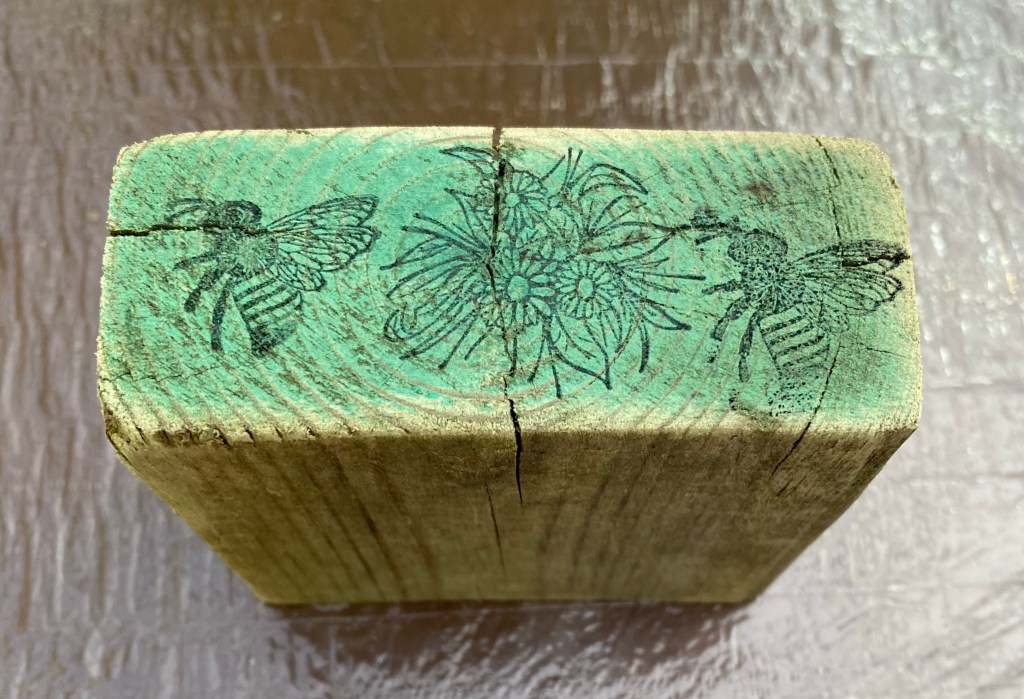
I’ve been seeing risers made from blocks of scrap wood so thought I’d make one, too. My 3.5” x 1.5” square block of scrap wood had one end that was painted green. I didn’t want to cut it off so I just made it the front of my project.
I did sand the block well, including the green part and that lightened it up a bit.

I like to work on this lazy susan. I bought 100 disposable shower caps on Amazon and stretched one over the lazy susan to protect it. These work great and I just throw them away when finished.

I gathered up my supplies and got started.

Step 1: I used black ink and stamped flowers and bees on the green side of my block. I put it aside to dry.


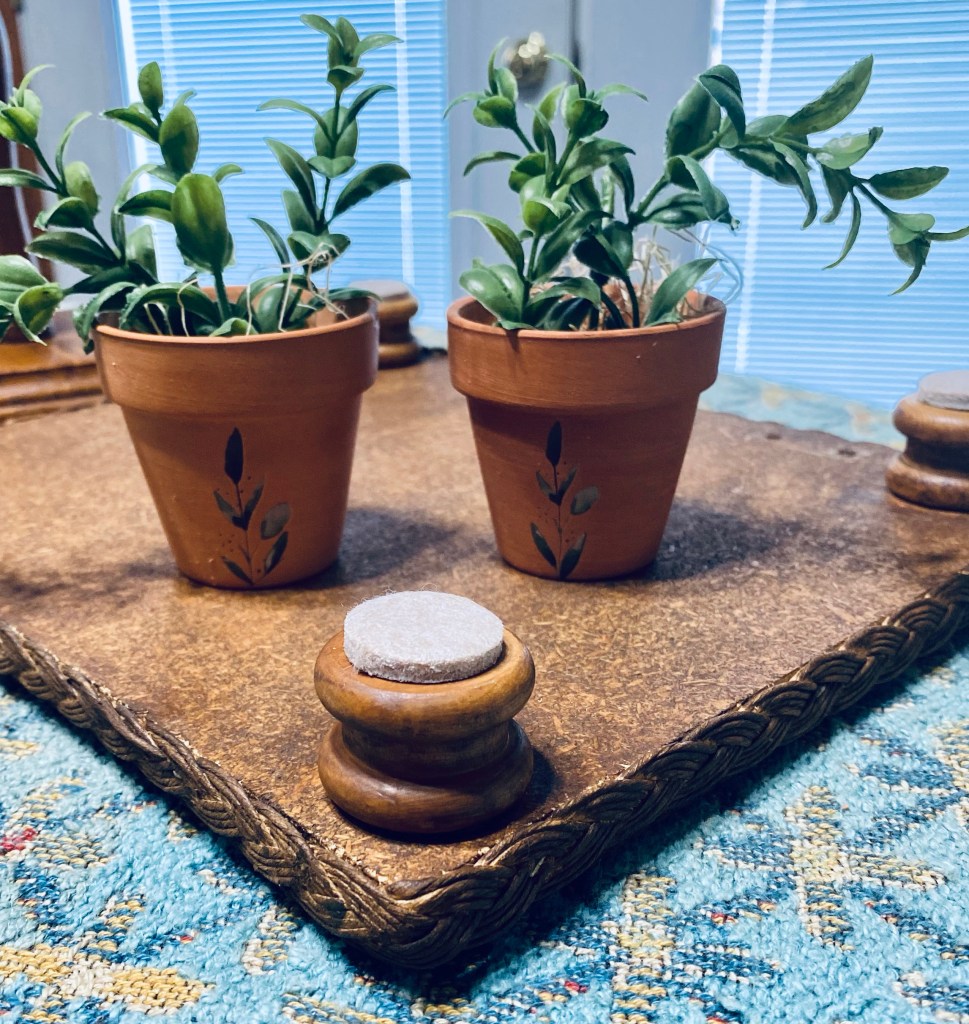
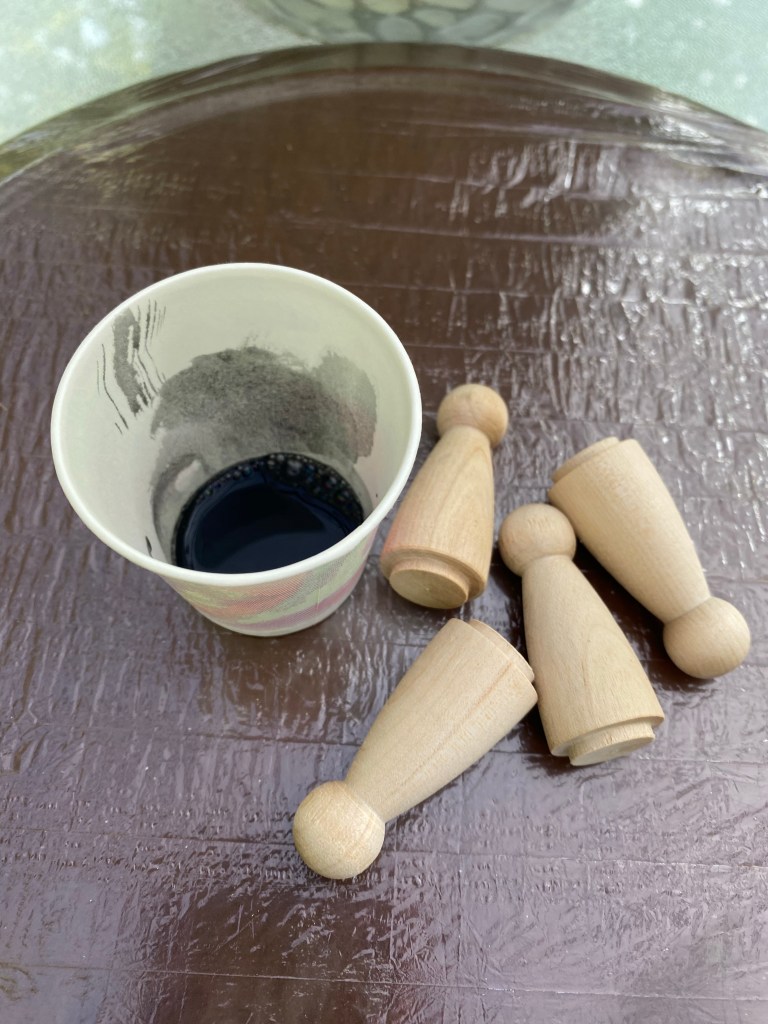
Step 2: I purchased wood peg dolls from Amazon to use as feet. I watered down a bit of our Missouri Limestone Paint Company chalk-style paint (Coal Shovel) and covered the feet I would be attaching to the block. This will give them a rustic look similar to the block. I wiped the excess away and put them aside to dry.


Step 3: I wrapped the block with a paper towel only leaving the green inked part exposed. I sprayed that part with the Krylon spray matte sealer. I believe I got it at Lowes. This sealed the ink to make sure it wouldn’t smear when I applied wax to it later.


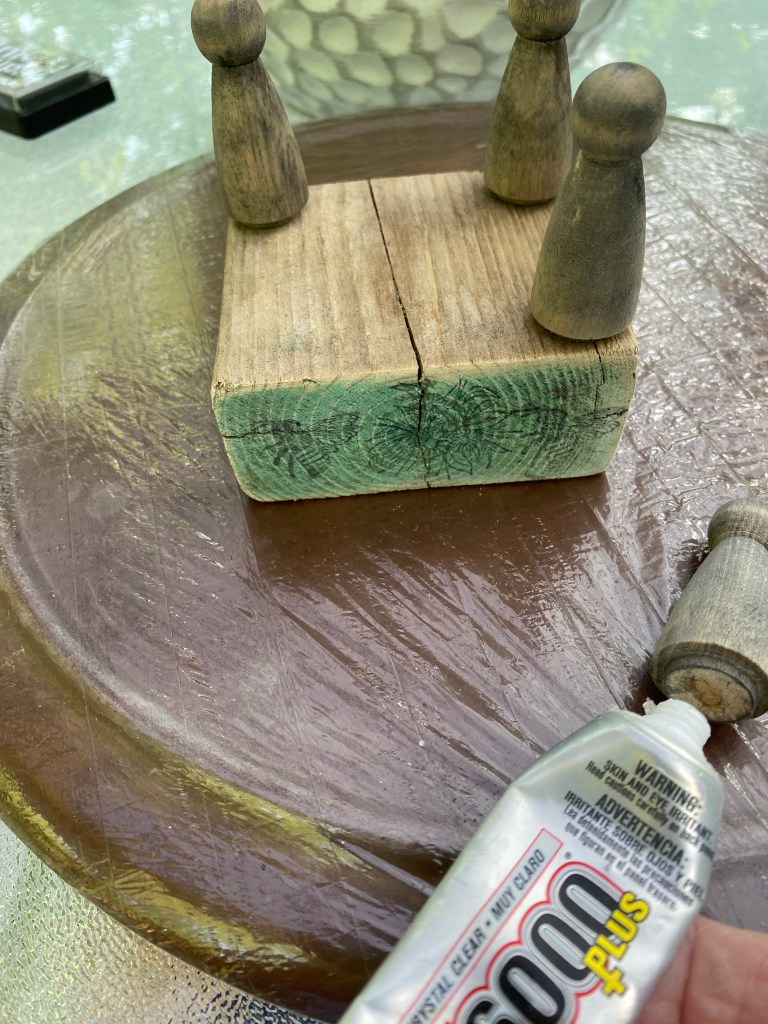
Step 4: It was time to glue on the legs. I used a combination of E6000 for permanent hold and hot glue for immediate hold.

Step 5: Once the hot glue set up, I applied Wise Owl Salve (ordered from a retailer) to the whole piece.

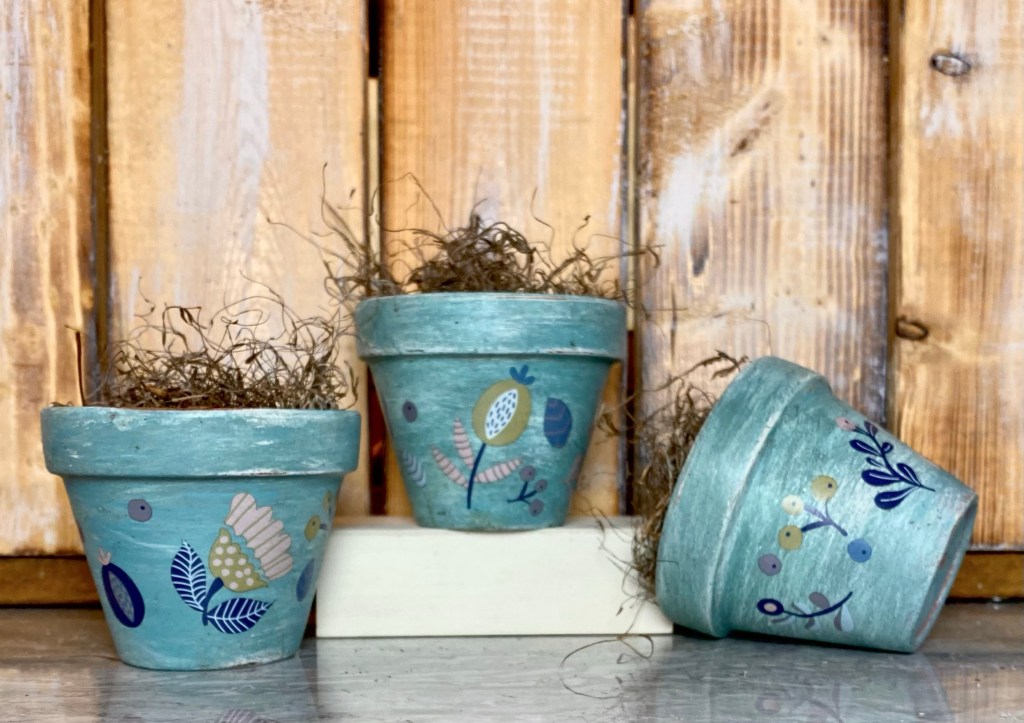
My rustic riser was now complete. I added a small painted terra cotta pot I had applied Dollar Tree rub on transfers to, added faux flowers, and displayed it on my rustic wood block riser.
I love how it now looks like the whole riser has been outside in the weather for years!