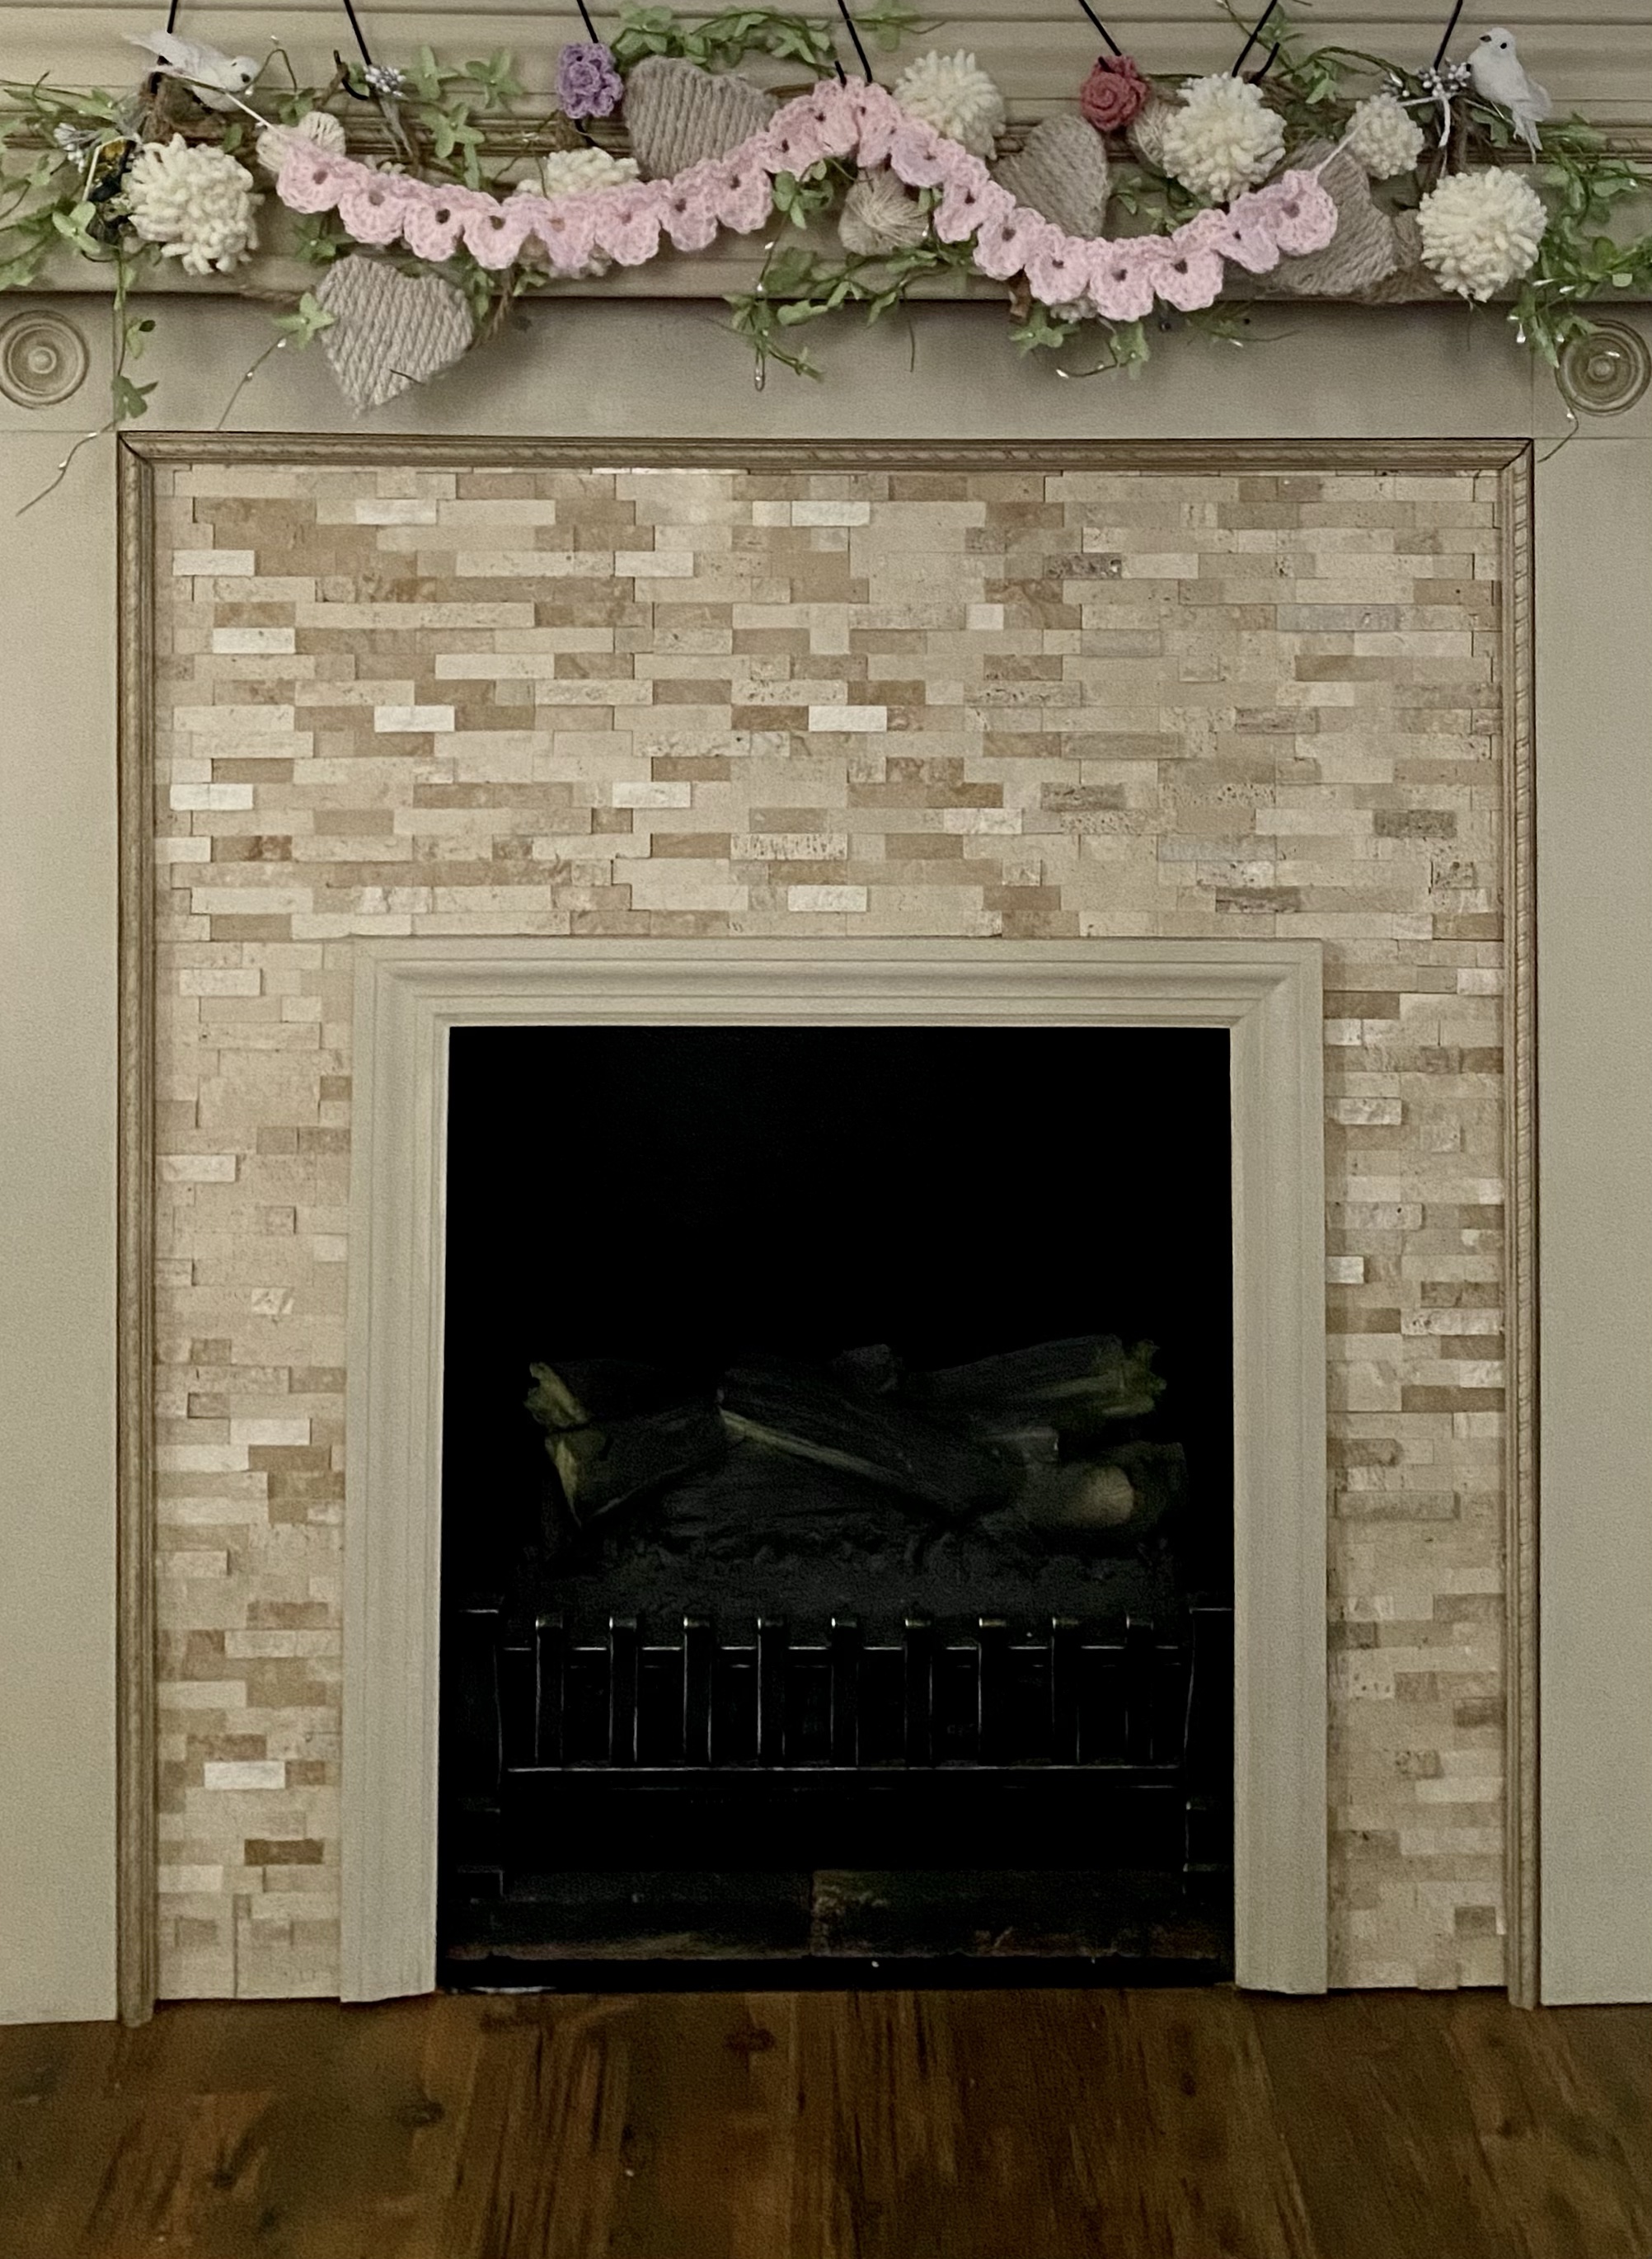
I like to change up my mantle with the season. I always leave the green garland I bought at Hobby Lobby several years ago and the other neutral things I have added. Today I saw a quick heart garland to make so I made it. 😄 Here’s the tutorial. Scroll through the posts on deliacreates to see it.
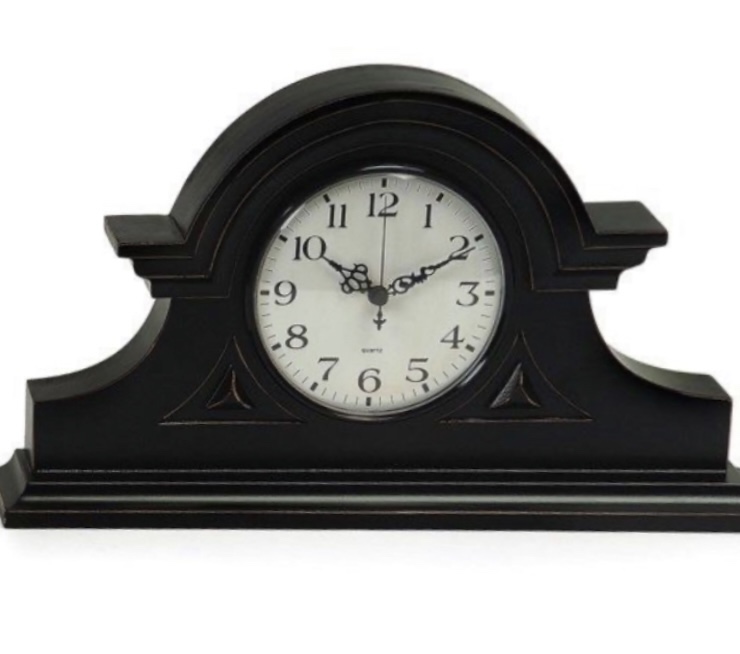
I thrifted a mantle clock awhile back, thinking I would paint it and update it a bit. The clock mechanism was broken and I didn’t want to buy a new one, so I decided to turn it into a somewhat neutral winter decoration. Mine looked similar to this one.
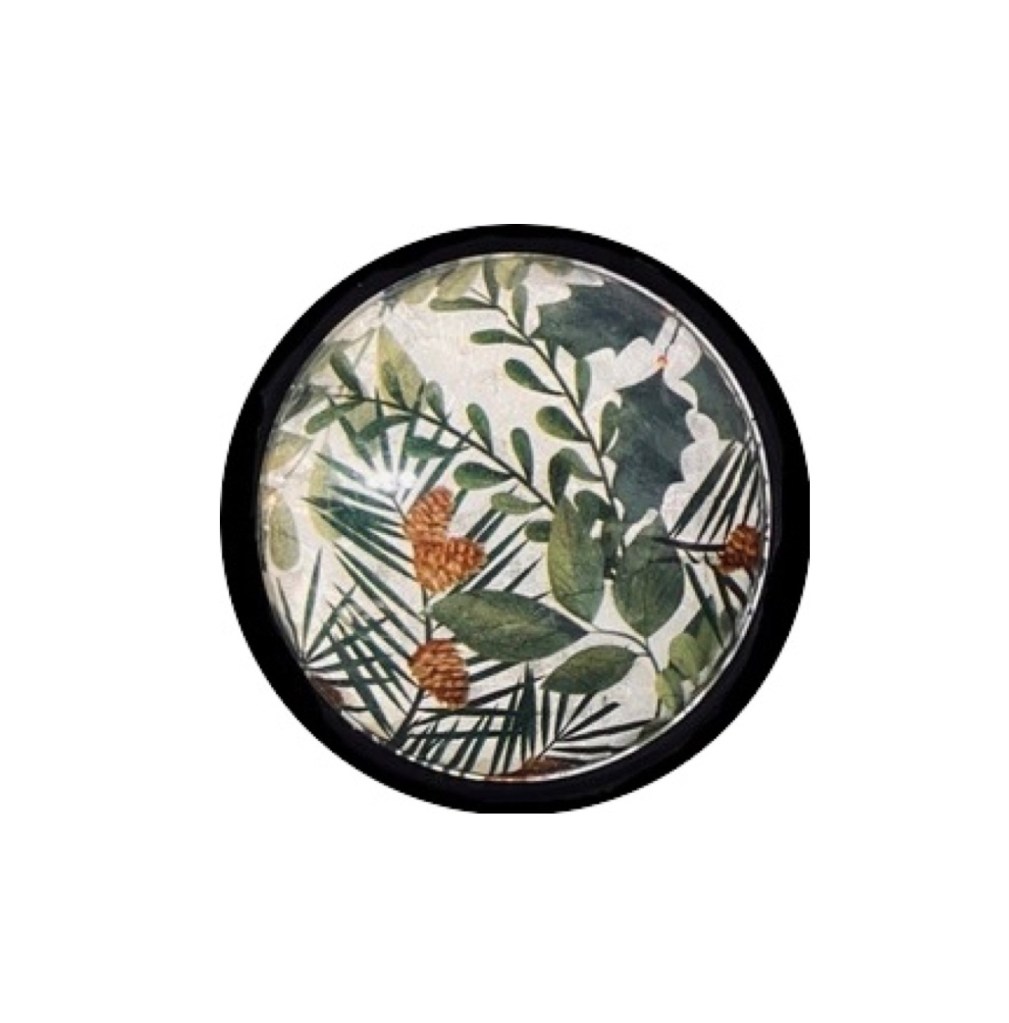
The first thing I did was remove the plastic clock face. I cleaned it well, then decoupaged printed tissue paper onto the back instead of the front. This will help keep the tissue nice and make the front easy to keep clean.
Once the tissue paper was dry, I sealed the back with Mod Podge and let that dry. Then I painted over the tissue with white chalk paint to give a white background that would make the design stand out. I let that dry. I missed getting a picture of that and I was afraid to try to pop it back out of its frame after decoupaging. I thought it might tear the paper. But just know that one coat of paint over the dry tissue is all you need.
I then cleaned the clock with Windex and my idea was to dry brush white chalk paint over it. That looked terrible as the base was way too dark. So I let that dry, then drybrushed over the white with a green called “Cupboard Green”.
To drybrush you get a little paint on a brush (I use a chip brush you can get at Dollar Tree, Walmart, etc.)
Then using a paper towel, I dabbed most of the paint off, then I went over the piece, a little thicker than I did the white. This allowed some of the white and the original dark brown to show through for a beautiful distressed result.
I placed it on top of my china cabinet with some vintage looking snowmen and the “book vase” I made from 3 of my childhood story books. They are just tied together so they aren’t damaged at all. It is now holding a small Christmas tree. I love changing what it holds for the different seasons and to be able to see these books on display.
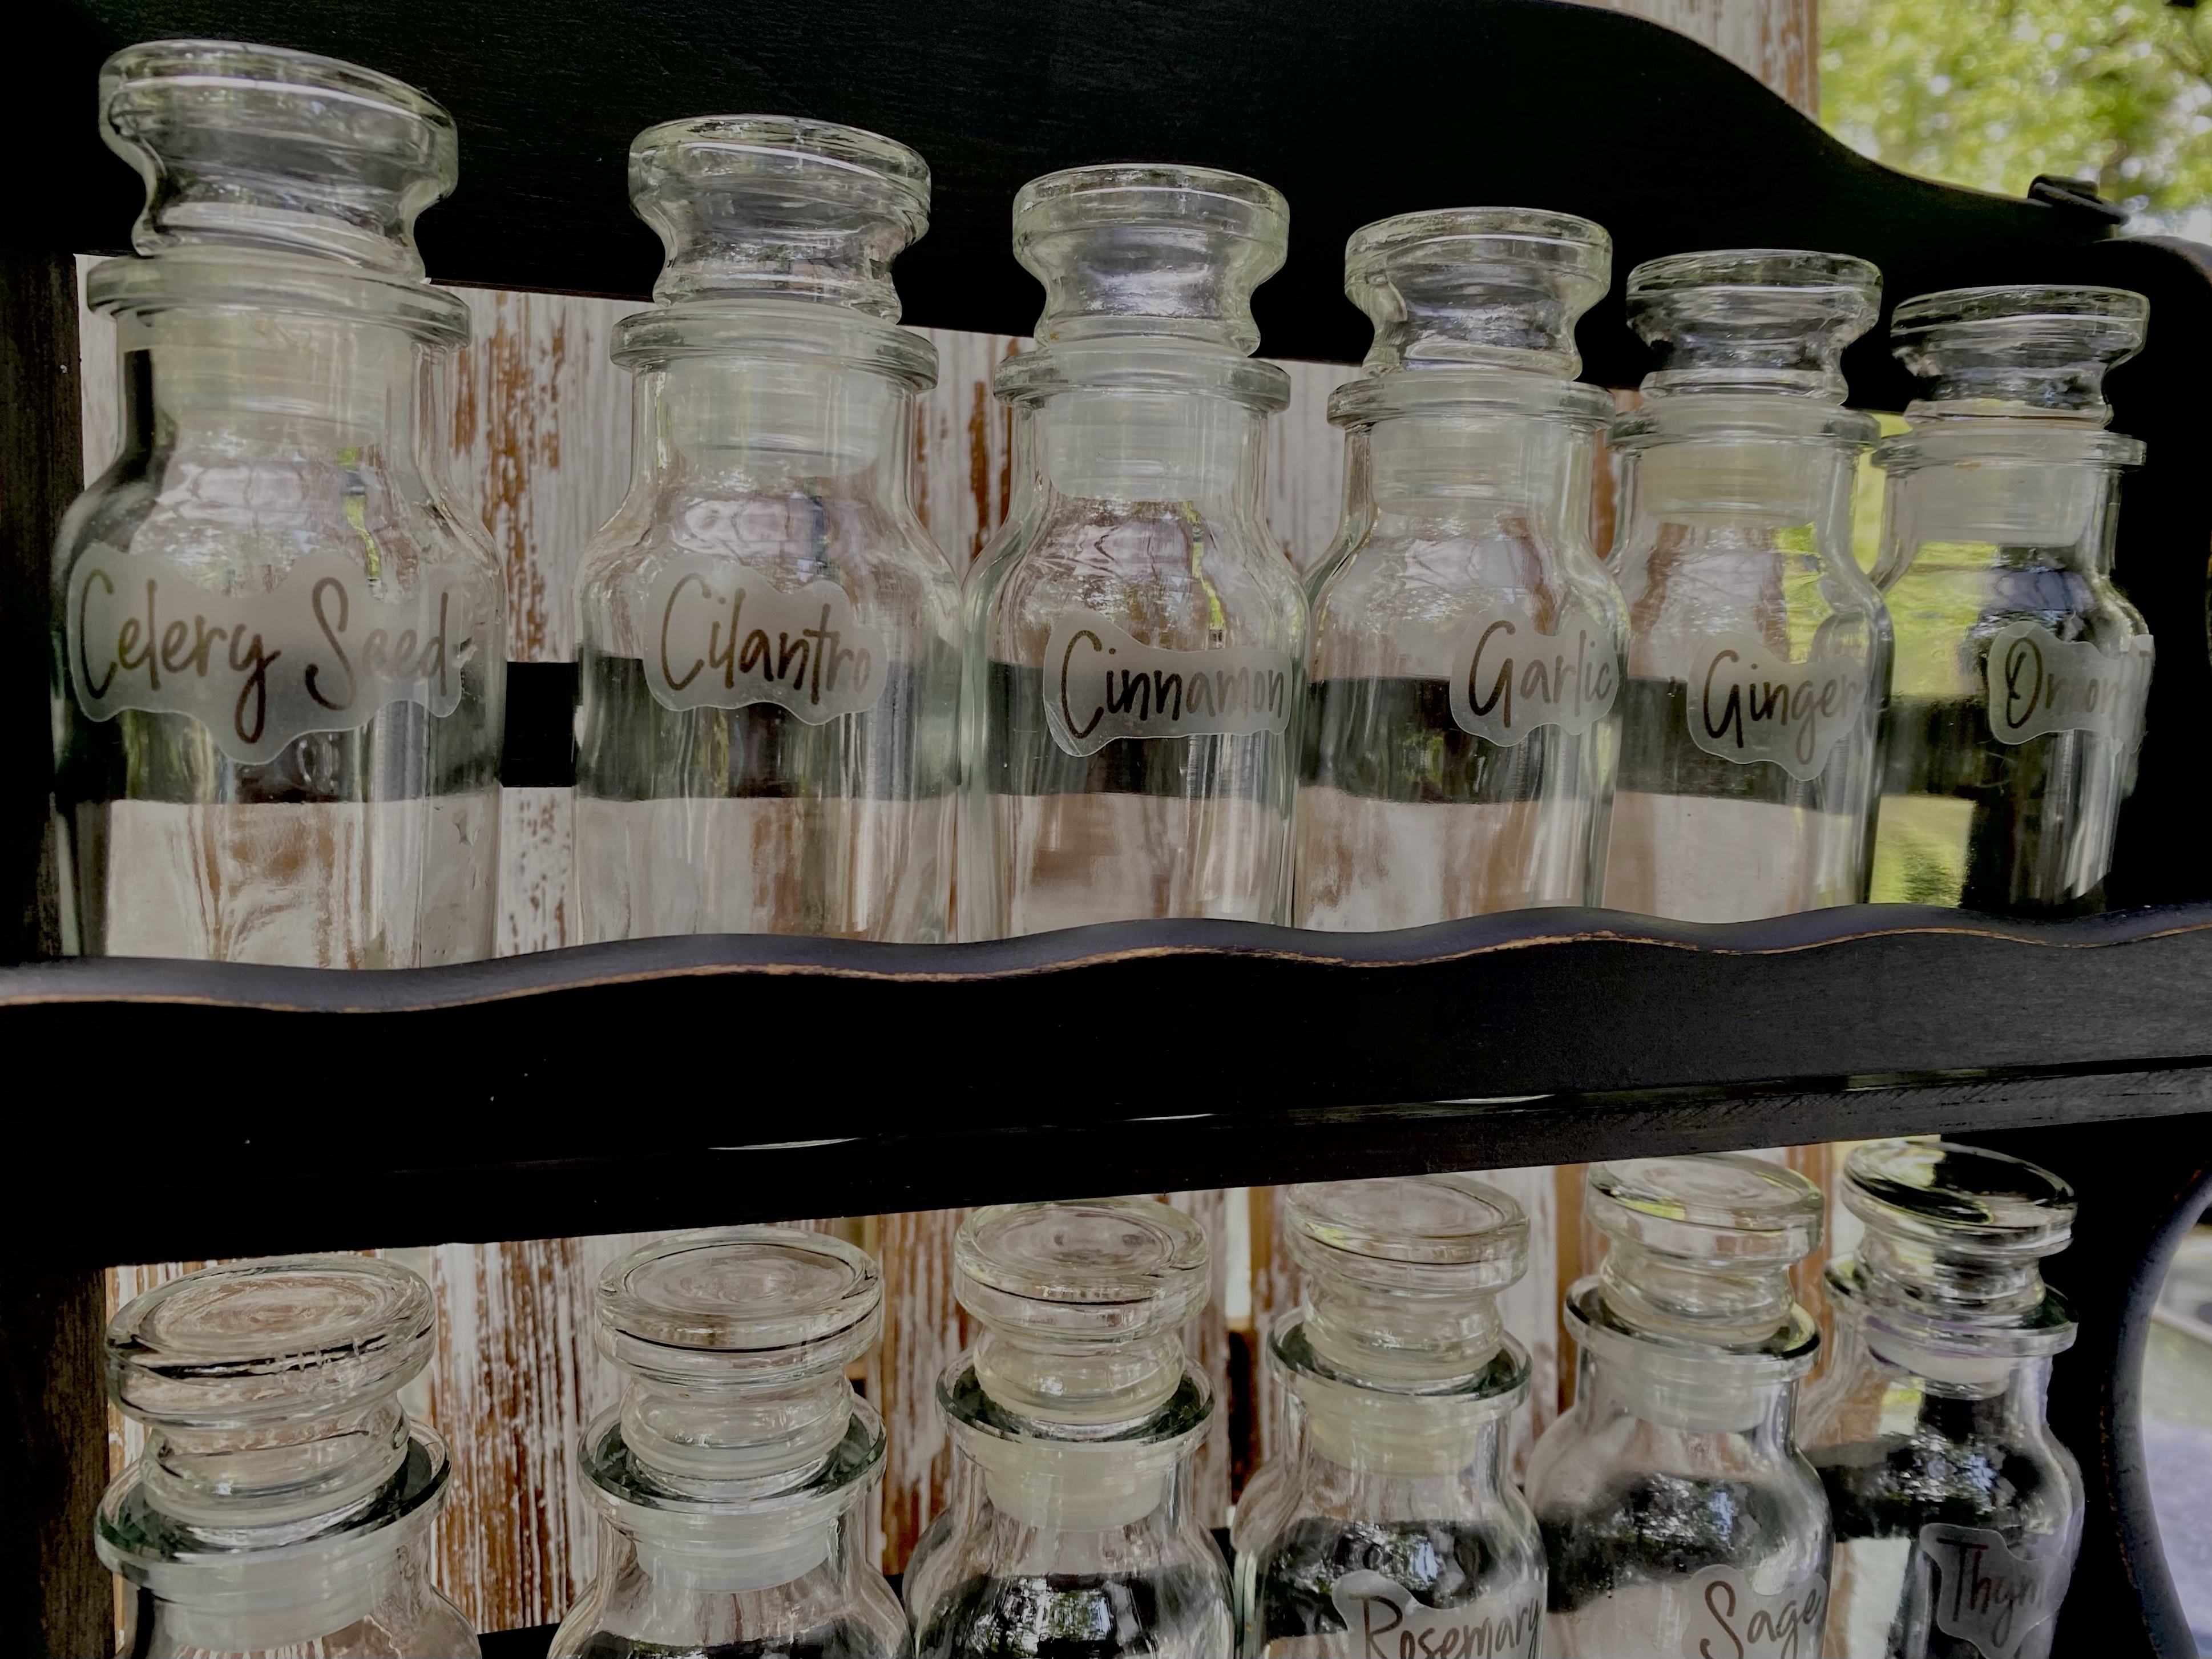
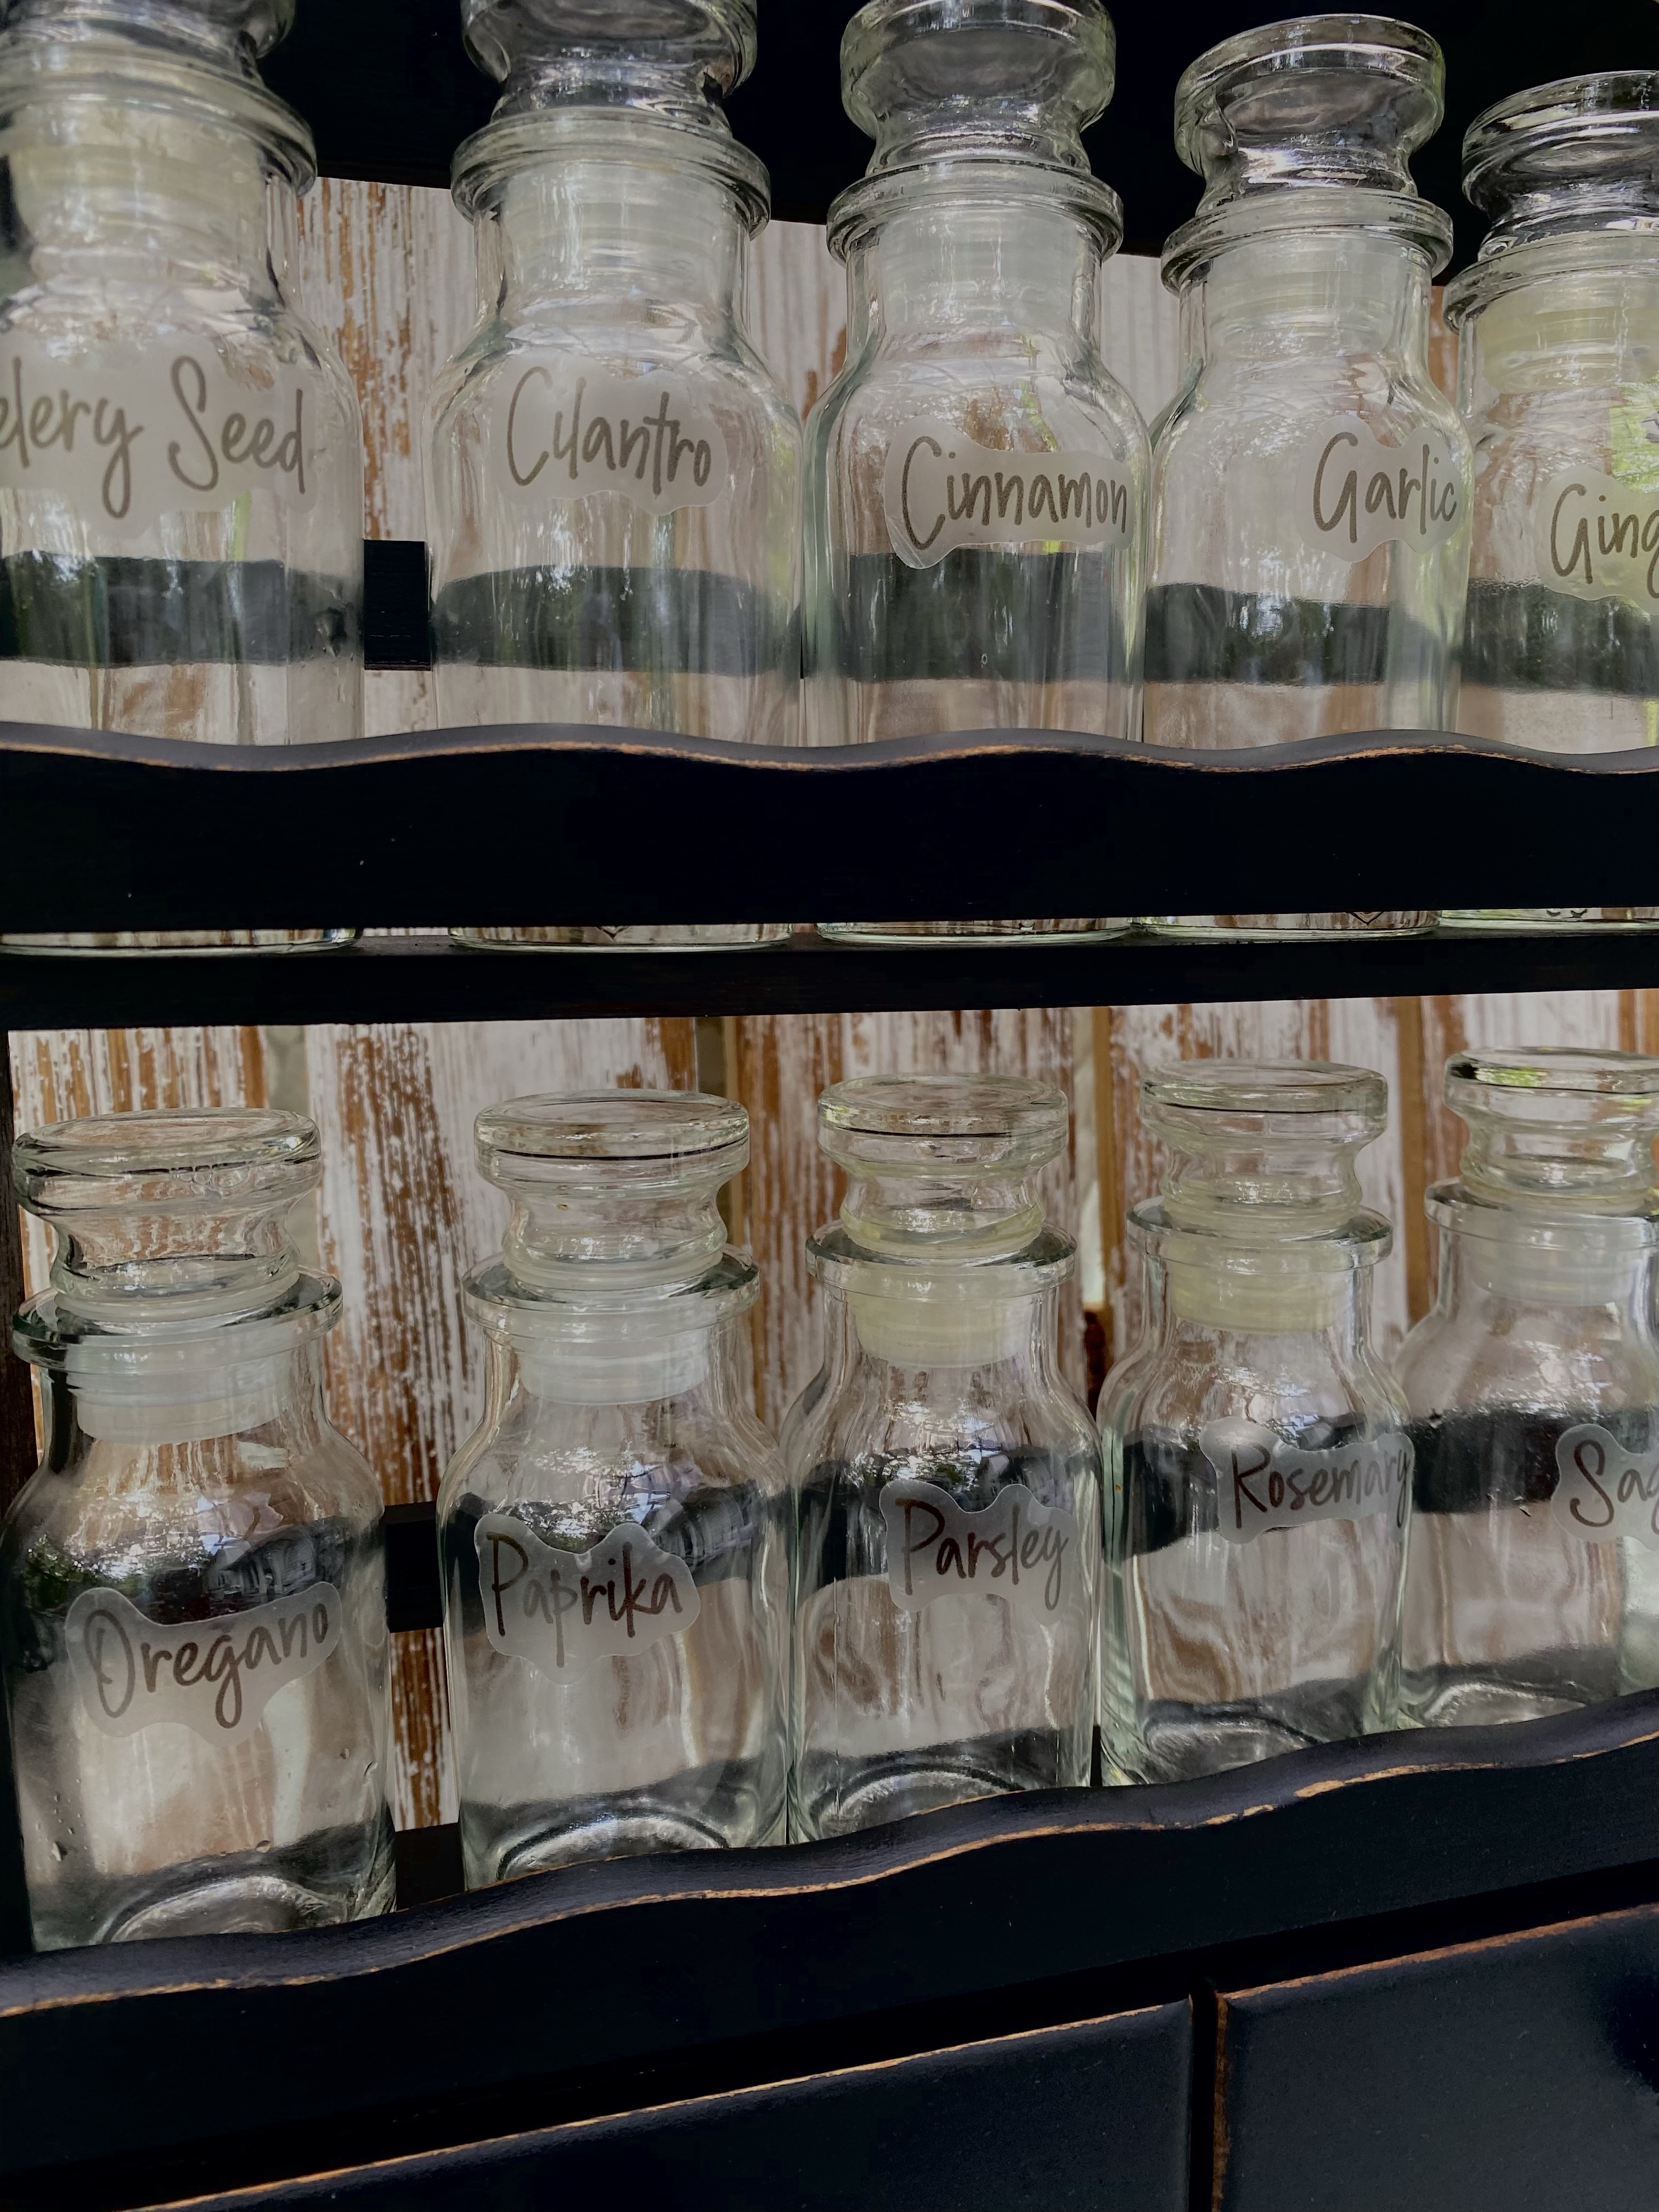
I thrifted a vintage spice rack at an estate sale awhile ago. It was in great shape and I don’t think the jars had ever been used. I knew I could update it and make it work for today’s kitchen decor and be functional as well.
I also ordered some spice jar labels from Temu for it. They arrived, so it was time for this makeover.
Today, I cleaned the spice rack well, took off the eagle and stars and painted the spice rack with black chalk paint (3 coats), then distressed it. A friend from one of my groups collects eagles, so I am sending the little eagle to her for her collection.
The secret for no brush strokes with the chalk paint I use is thin coats.
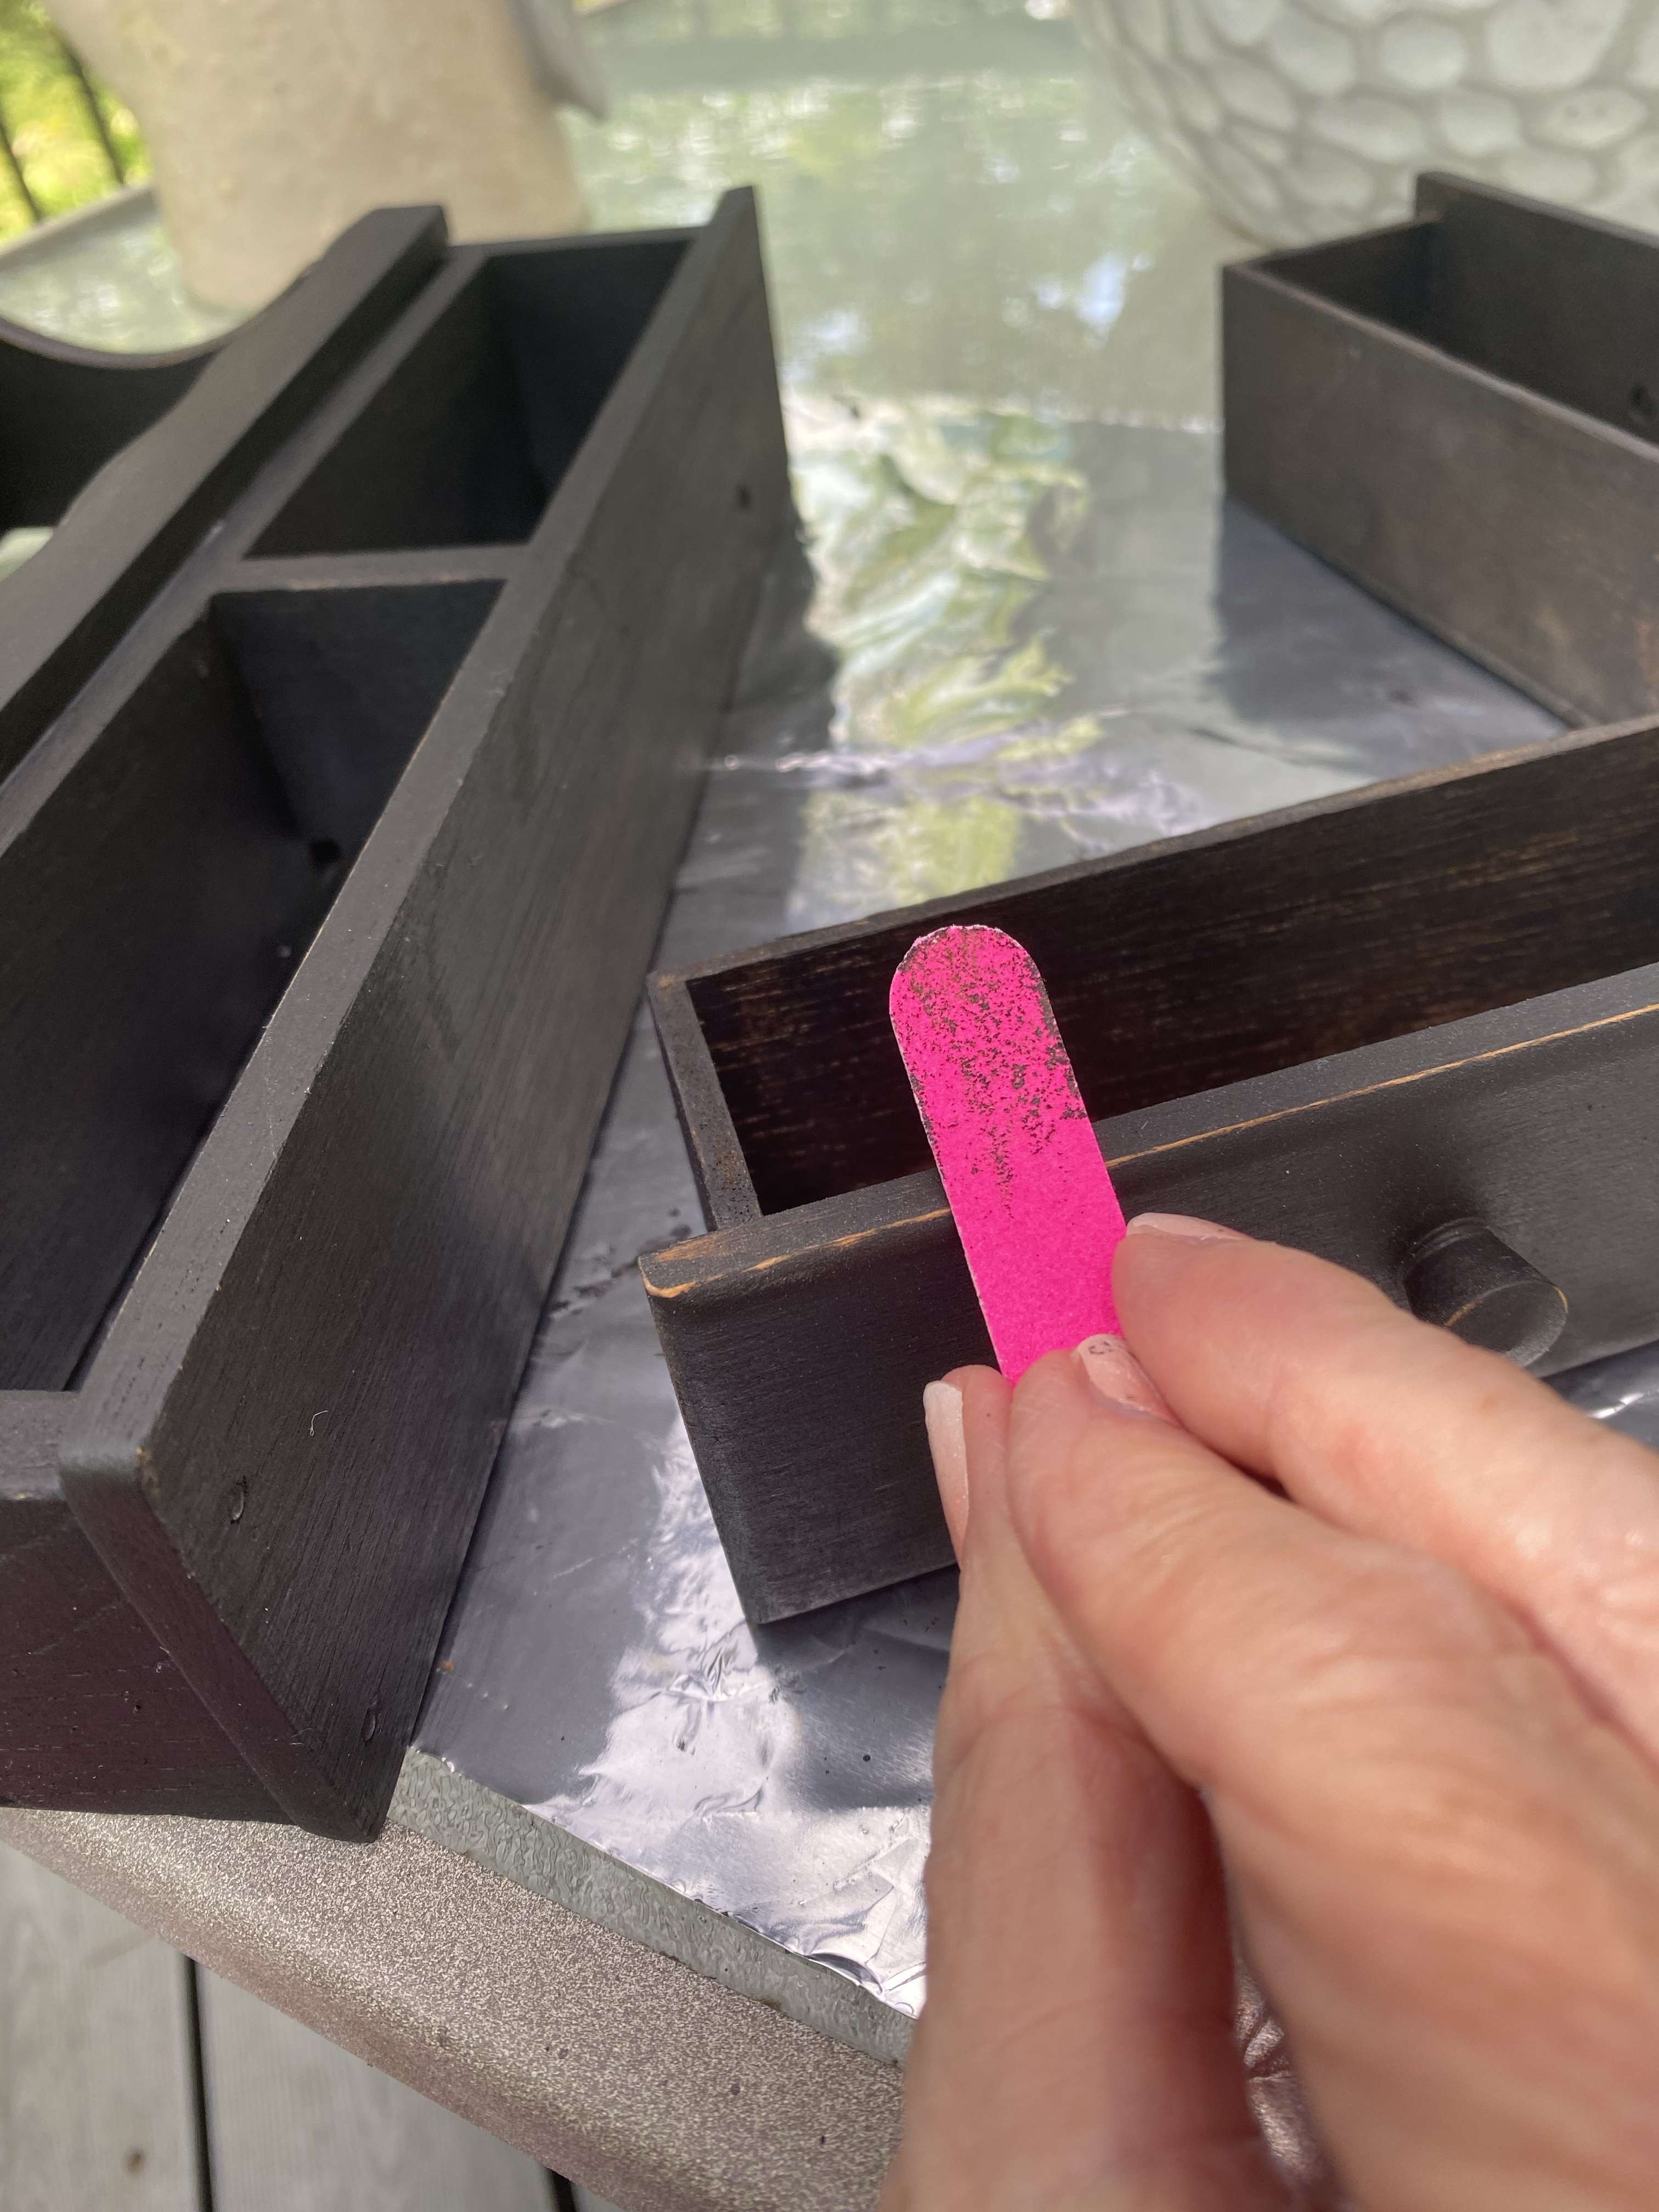
Even an emery board will lightly distress wood.
I then sealed it with Wise Owl Salve.
I took the old labels off the jars. They all, except for two of them easily slid off by soaking them in hot, soapy water. Only two required a little scrubbing. I then applied the labels I thought people would use most often.
The purple chalk style paint we created to paint a vintage wooden chair is such a pretty color, we decided to name it MO Eureka Purple.
I decided after seeing a similar chair painted purple by Junk Chick, I knew I had to paint one, too. I sold it even before it was finished to a customer whose favorite color is purple!
This is your Missouri History lesson for today. George Hearst was born in Franklin County, Missouri … some say near what was to become Sullivan, Missouri. His wife, Phoebe, was born in Anaconda, near St. Clair. George named his copper mine, Anaconda. I’m not sure but would like to think he yelled “Eureka” when his mines would produce. I haven’t found out if this is true or not but since that is the city where one of our sons lived in and still is close by and our grandson still goes to elementary school there, and the school color is purple…. MO Eureka Purple is the perfect name. I wonder if that is why the city is named Eureka.
Painting this chair reminds me that the second thing I ever painted with chalk paint was in January 2014. My best friend had been painting some furniture and gave me some left over Annie Sloan gray paint in 2013. It took me a year to try it. After that, I was hooked.
You can click on this link: Annie Sloan and Me to see my first experiences with chalk paint.
I liked Annie Sloan paint but after trying Missouri Limestone Paint Company’s chalk-style paint in 2015, produced in Ozark, Missouri, I was hooked and SharSum Paint company was born. I love how smoothly it goes on with no brush strokes at all as long as you apply a very thin coat for the first coat. This is the gripping coat. The second coat usually does full coverage. It dries so fast (usually 15-20 minutes), by the time you have finished the first coat, it is ready for the second.
Introducing MO Eureka Purple – a vintage chair painted purple and displaying my favorite faux purple flowers!
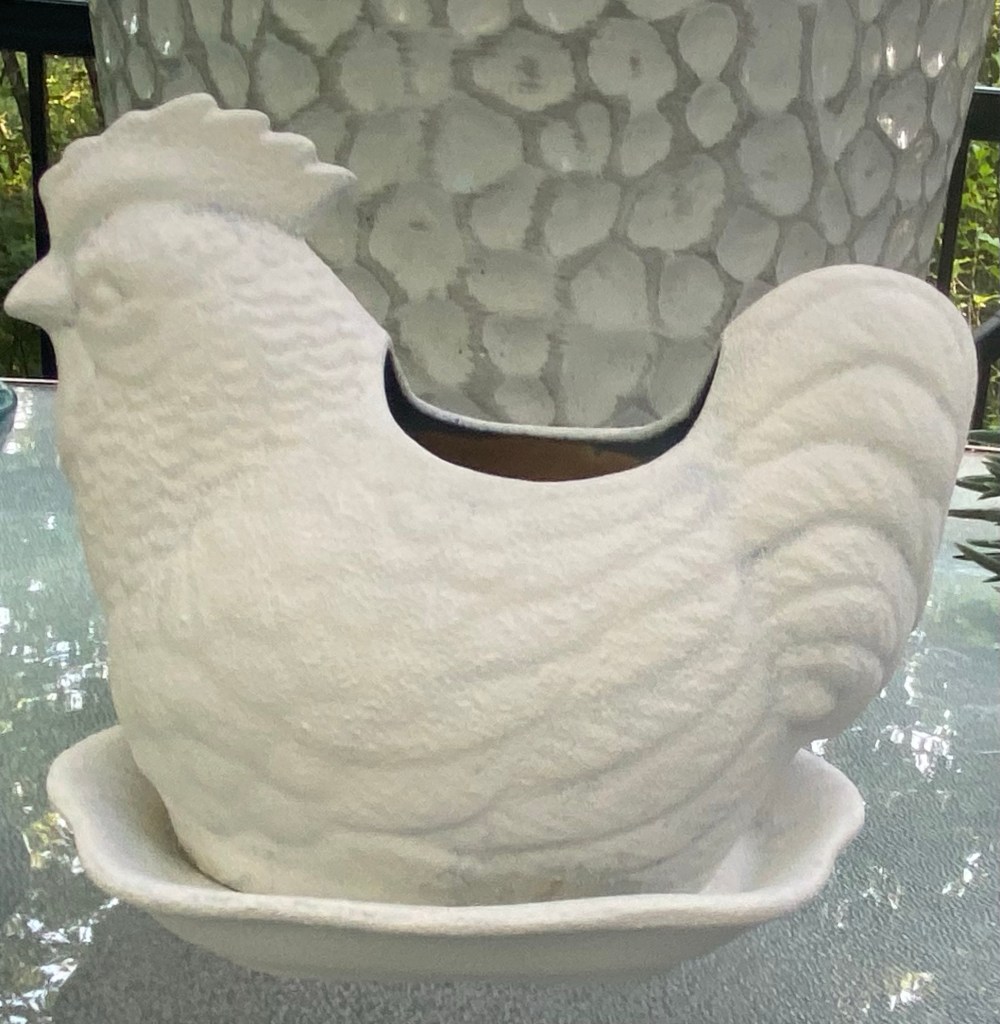
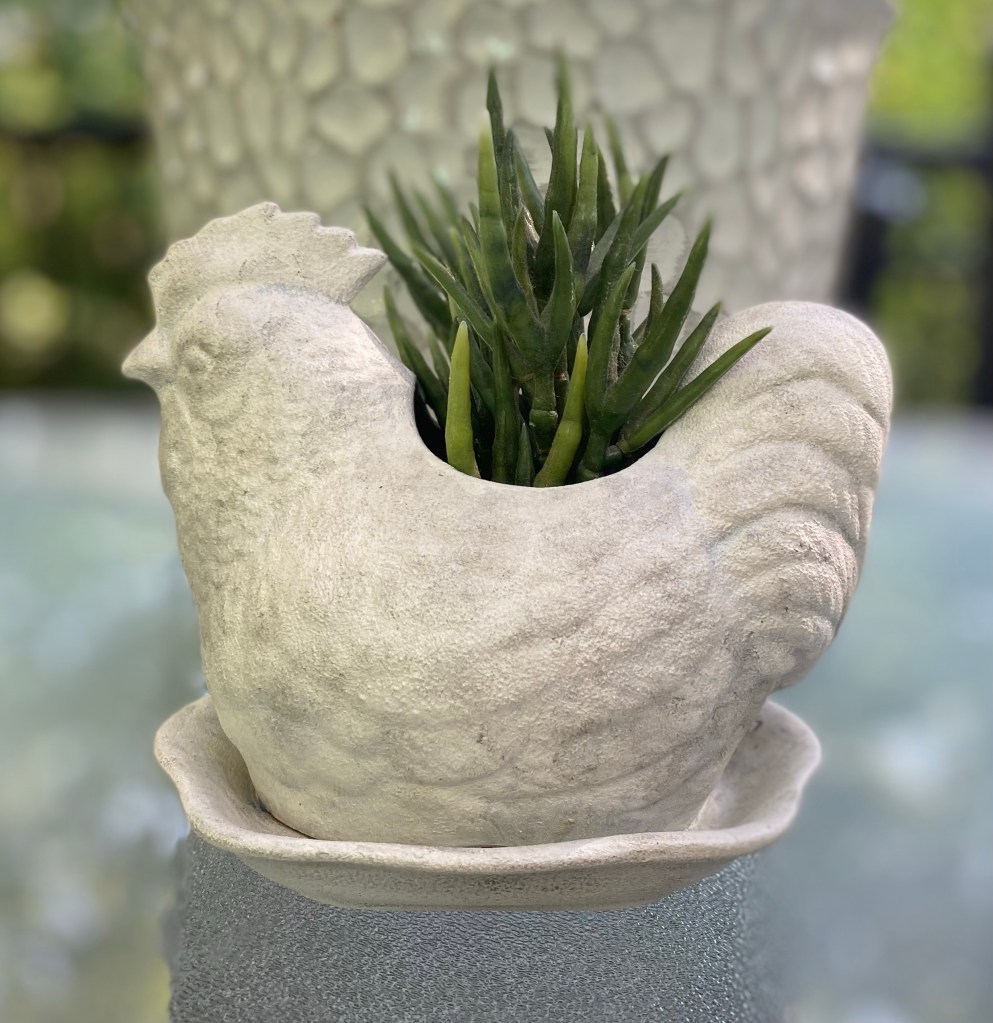
I found a chicken planter and a rooster that would hold a vase at two different thrift stores in the last few weeks. I decided they both needed updating using a concrete look technique.
The first thing I did with the chicken was spray him with Mod Podge pearlized glaze. Any sealer would work or even spray paint. I sprayed it to help the paint adhere well since the pottery was a bit shiny.
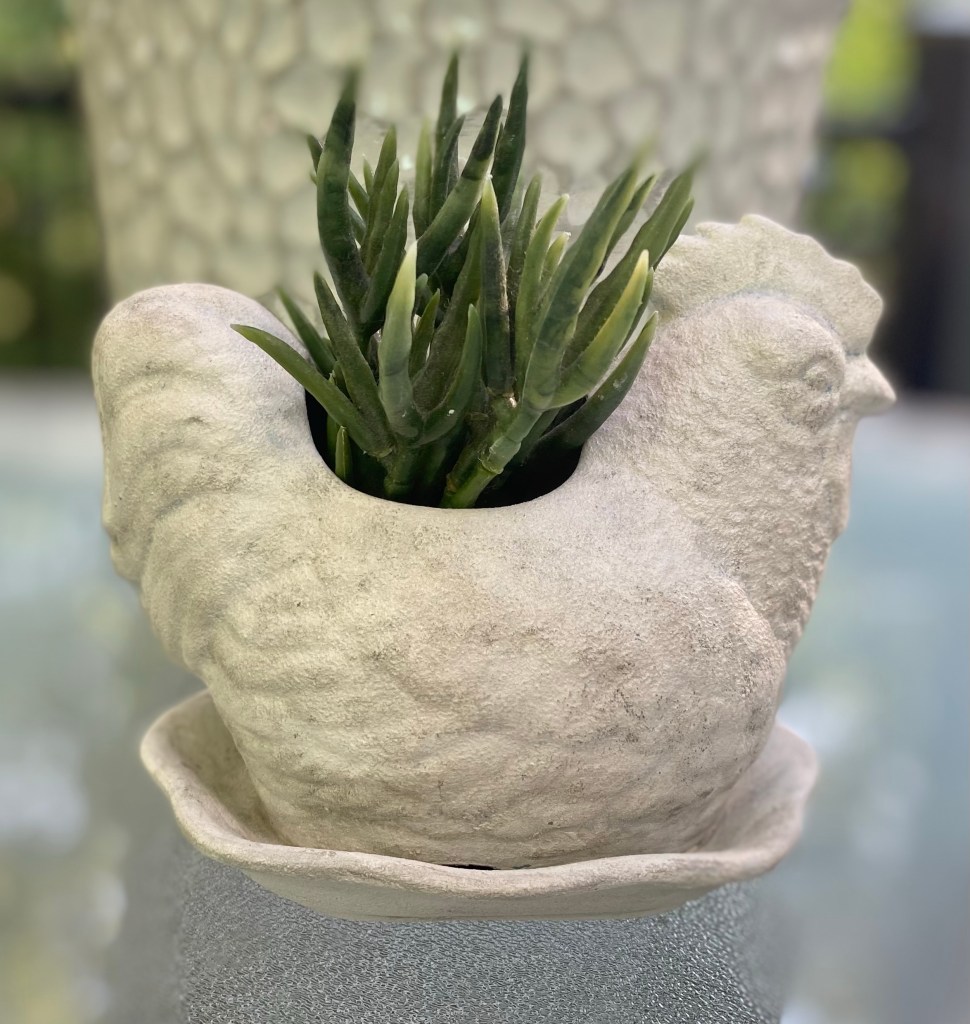
Next, I mixed chalk-style paint with baking soda and began daubing it on all over. This gives it a nice texture and no brush strokes. I gave it two coats, letting it dry in between.
After two coats of the baking soda and chalk paint mixture. I don’t have a photo, but I sprayed it with a coat of Mod Podge. This will help keep the antique look I’m giving it from soaking in which would make it hard to remove if needed.
Next, I did a little dry brushing with the gray paint. I would daub it on and use a baby wipe to blend where needed.
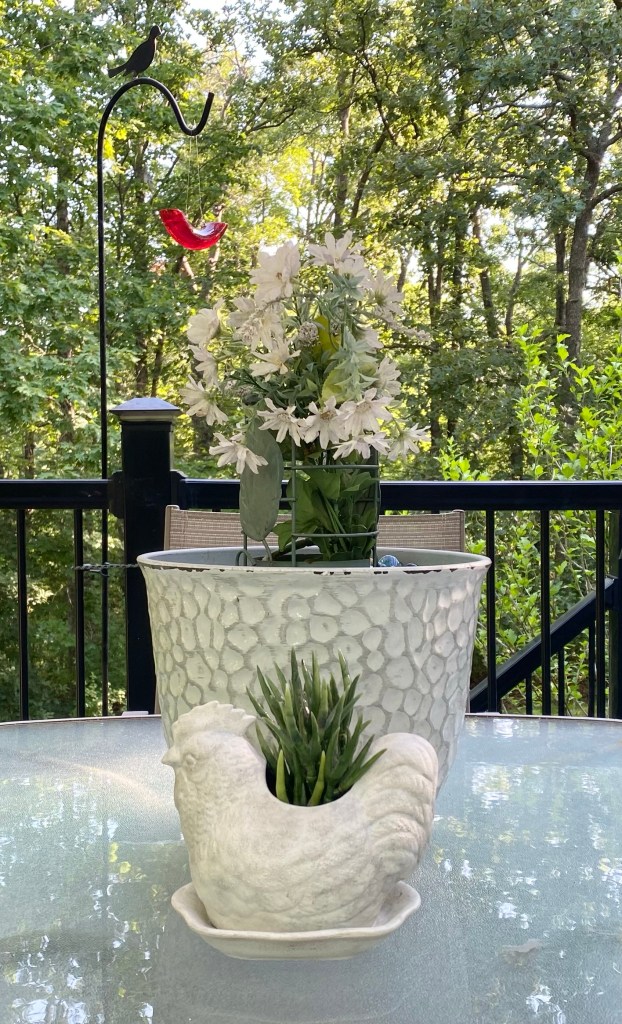
That’s it. I now have a chicken planter with a concrete look.
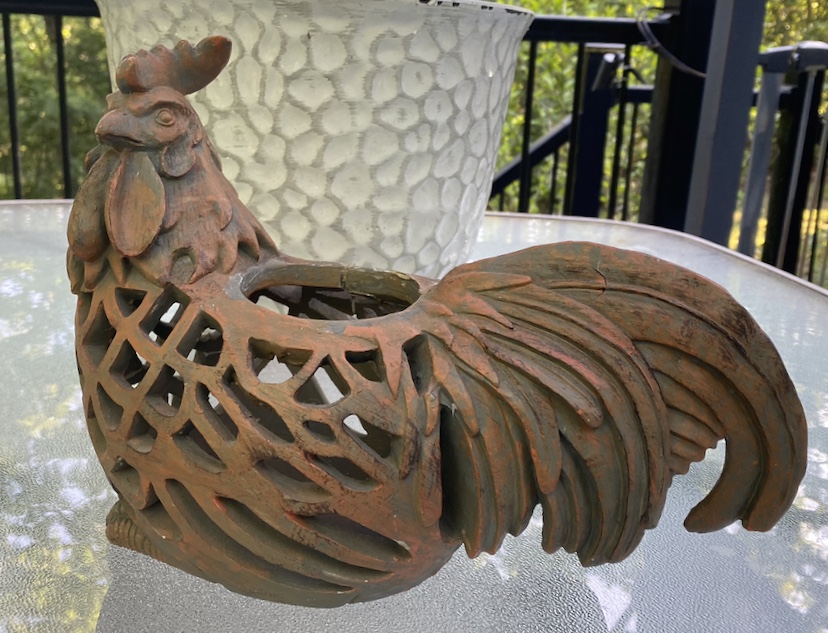
Now, for the rooster – I finished him much in the same way using the baking soda and white chalk- style paint mixture with a little different type of antiquing.
I learned the rooster was made of resin. I knew it wasn’t metal or wood. I had someone tell me to scratch off a bit of the bottom and if it was white underneath, it was resin…it was white!
I daubed the white chalk paint all over him. I only used one coat and wasn’t worried about full coverage because I liked the colors underneath and didn’t mind them coming through a bit.
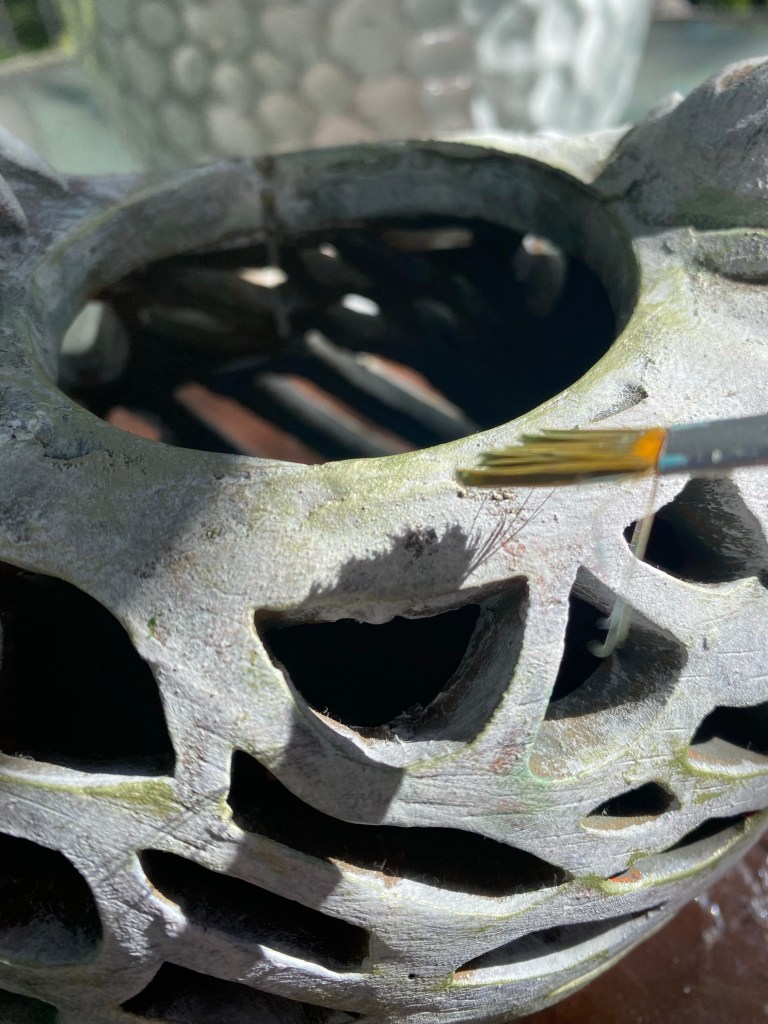
Once dry, I used sprayed the rooster with this clear chalky spray. This will help me when I apply the glaze and will let me remove excess.
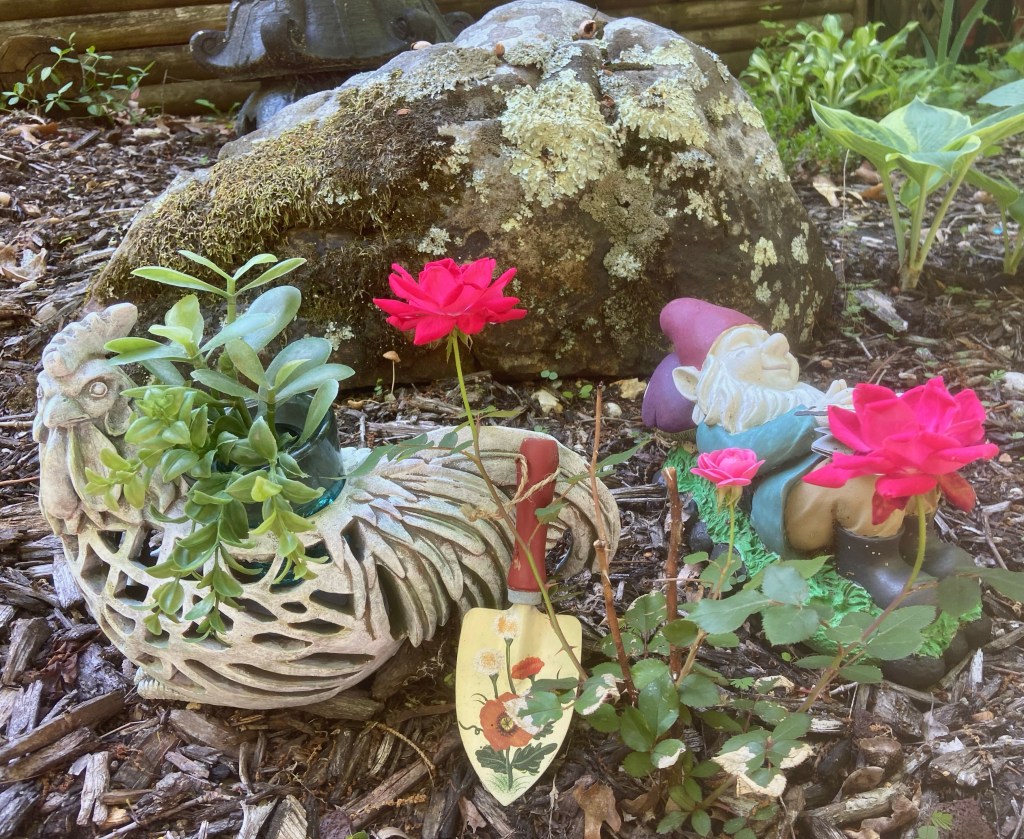
I applied the metallic green glaze to make it look like the rooster had been outside in the weather for years and had moss growing on it at one point.
I also applied a bit of turquoise paint for some patina.
The rooster was now ready to be added to a garden display.
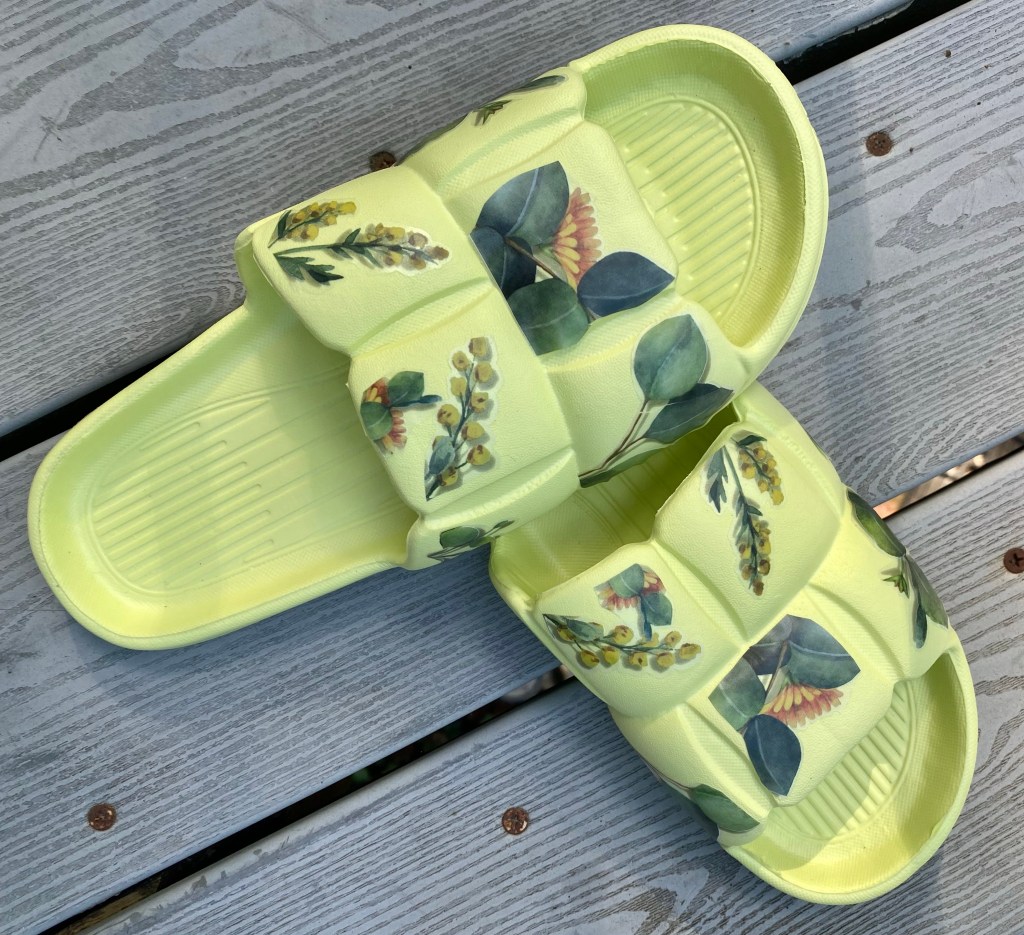
I have been experimenting with adding designs on some rubber bath slippers I bought on the Temu app. These were a great buy, but I am also seeing these at Dollar Tree, Walmart, Hobby Lobby, etc. Today’s experiment is applying rub on transfers to them. This has become my favorite way to give bath slippers a unique look.
Today, I’m highlighting the rub on transfer technique because I love how they turned out and I believe this to be the most durable method. I did seven pairs this way, once I did the first pair using the rub on transfers. I used Dollar Tree rub on transfers and a set from Temu, but any brand should work just as well.
I know they are super durable because I applied one of the transfers where I didn’t want it on one pair and I couldn’t remove it. I tried scraping and picking it off with my fingernail and tried using soap and water. I couldn’t budge it. So, I ended up applying another transfer over it. I actually like the shadowed look it made. 🙂
These are really easy to apply, especially if you have used rub on transfers before. If you haven’t, they remind me of the type of stickers when I was young that you would lay down on a piece of paper and they rub over the top plastic piece with a pencil and the image would transfer to the paper. That’s it!
I like to keep all the bits and pieces of the rub on transfers I don’t use on a project and use them another time. Today was that time. I picked out the ones I wanted to use and a pair of pink slippers and then started applying them to the different sections on these slippers.
I cut the first piece I wanted away from the sheet. It has a white backing on it to protect the transfer. You don’t want to remove that white backing yet as you don’t want the transfer sticking to anything until you are ready to use it or you will ruin it.
Then I removed the white backing, placed the transfer where I wanted it and used a flat stick I had that came with another type of transfer and rubbed on the plastic until the image released. A popsicle stick or even your fingernail would work, After it releases, I then used the plastic sheet to “burnish” it into the rubber, meaning rubbing it in to make sure it adhered well.
That’s all there is to it! I continued adding transfers to each section. I applied a little Wise Owl Salve (or any clear wax would work) to protect the transfer, but I really don’t think it is needed.
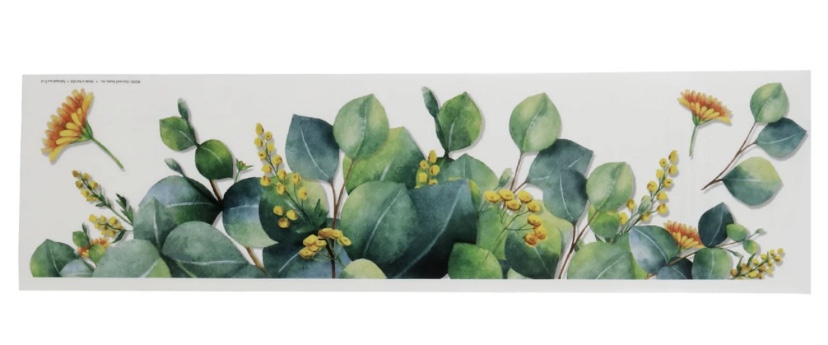
Examples are below of my other experiments…. decoupaging napkins (I did another blog post on that technique) and using Dollar Tree Wall Art.
The first experiment was with decoupaging napkins. They were pretty and turned out nice and I wear the pairs I made myself around the house all the time. They were fun to make and fun to wear. They do not slip off your feet at all. Here’s a link to my blog post on them.
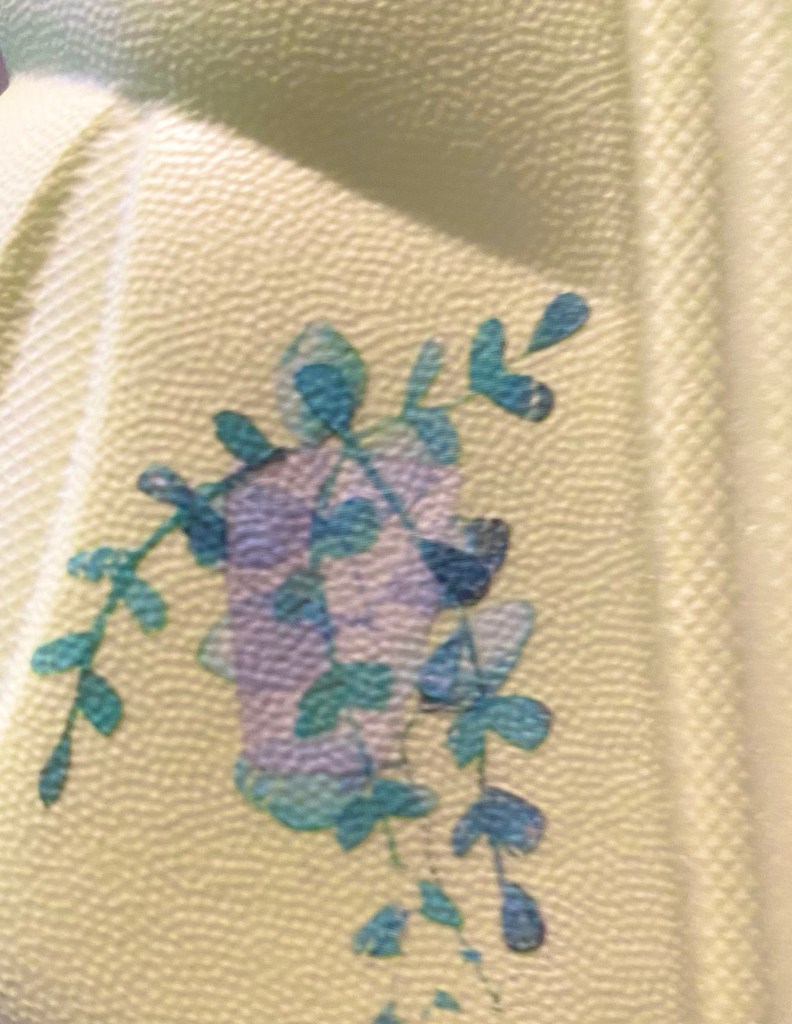
The other experiment was using Dollar Tree Wall Art. I found a beautiful flower and foliage design and cut it to fit a different type of slipper. I love how it looked on this blue slipper. This Wall art is removable, so…. If it starts coming off after a bit, simple remove it and you’ll still have a neat pair of slippers or go to Dollar Tree and get another Wall Art for $1.25 and make another unique look. 🙂 I then used bits and pieces left over and made another Wall Art pair. I did not apply wax to these as they are removable anyway. Both turned out very cute.
But, as I mentioned earlier, the rub on transfers are my favorite!!!! Which te unique do you like best?
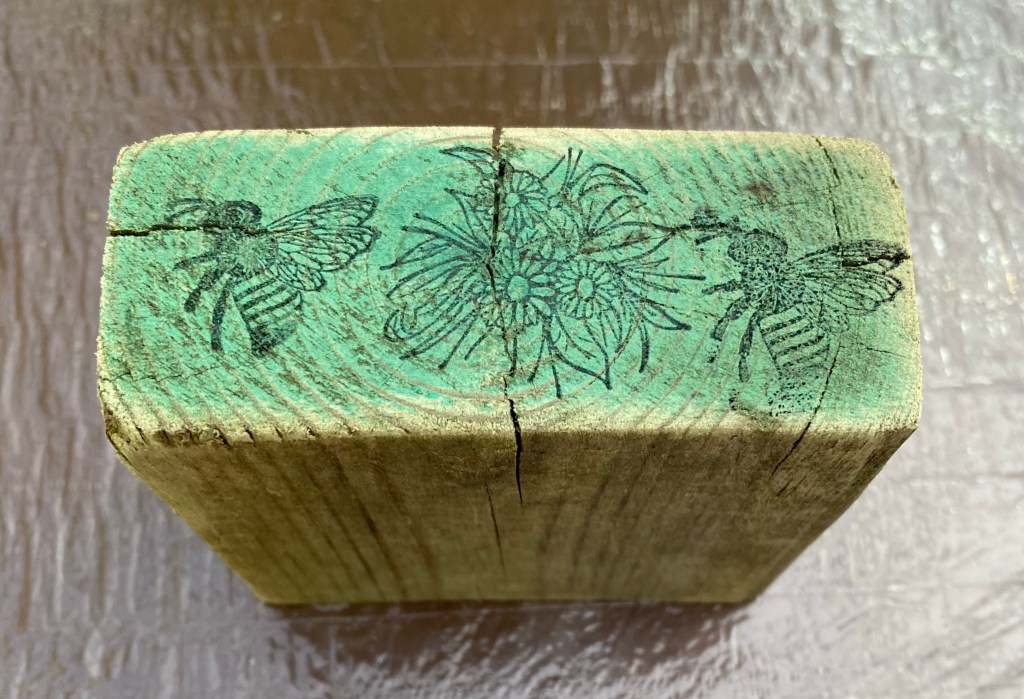
I’ve been seeing risers made from blocks of scrap wood so thought I’d make one, too. My 3.5” x 1.5” square block of scrap wood had one end that was painted green. I didn’t want to cut it off so I just made it the front of my project.
I did sand the block well, including the green part and that lightened it up a bit.
I like to work on this lazy susan. I bought 100 disposable shower caps on Amazon and stretched one over the lazy susan to protect it. These work great and I just throw them away when finished.
I gathered up my supplies and got started.
Step 1: I used black ink and stamped flowers and bees on the green side of my block. I put it aside to dry.
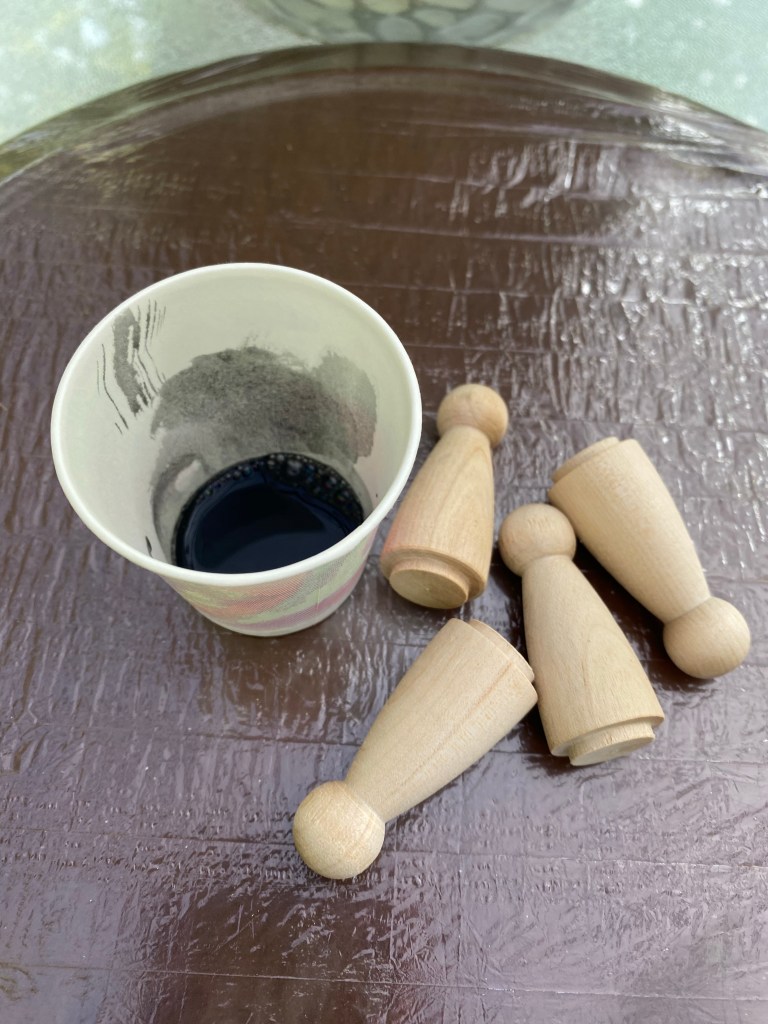
Step 2: I purchased wood peg dolls from Amazon to use as feet. I watered down a bit of our Missouri Limestone Paint Company chalk-style paint (Coal Shovel) and covered the feet I would be attaching to the block. This will give them a rustic look similar to the block. I wiped the excess away and put them aside to dry.
Step 3: I wrapped the block with a paper towel only leaving the green inked part exposed. I sprayed that part with the Krylon spray matte sealer. I believe I got it at Lowes. This sealed the ink to make sure it wouldn’t smear when I applied wax to it later.
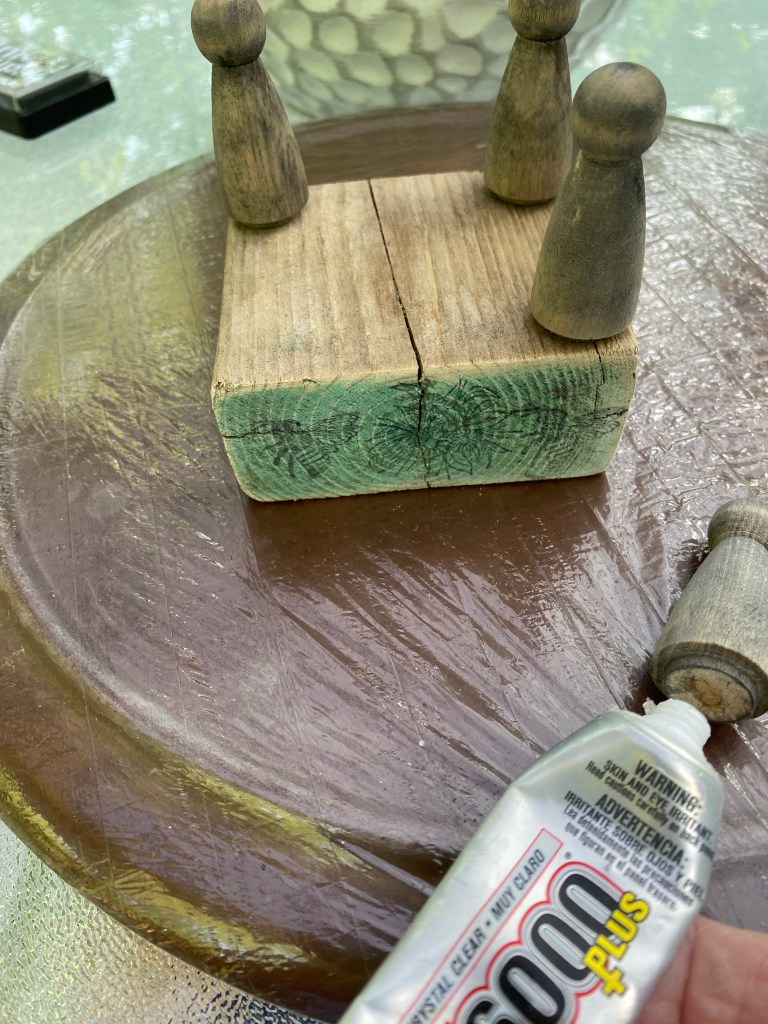
Step 4: It was time to glue on the legs. I used a combination of E6000 for permanent hold and hot glue for immediate hold.
Step 5: Once the hot glue set up, I applied Wise Owl Salve (ordered from a retailer) to the whole piece.
My rustic riser was now complete. I added a small painted terra cotta pot I had applied Dollar Tree rub on transfers to, added faux flowers, and displayed it on my rustic wood block riser.
I love how it now looks like the whole riser has been outside in the weather for years!
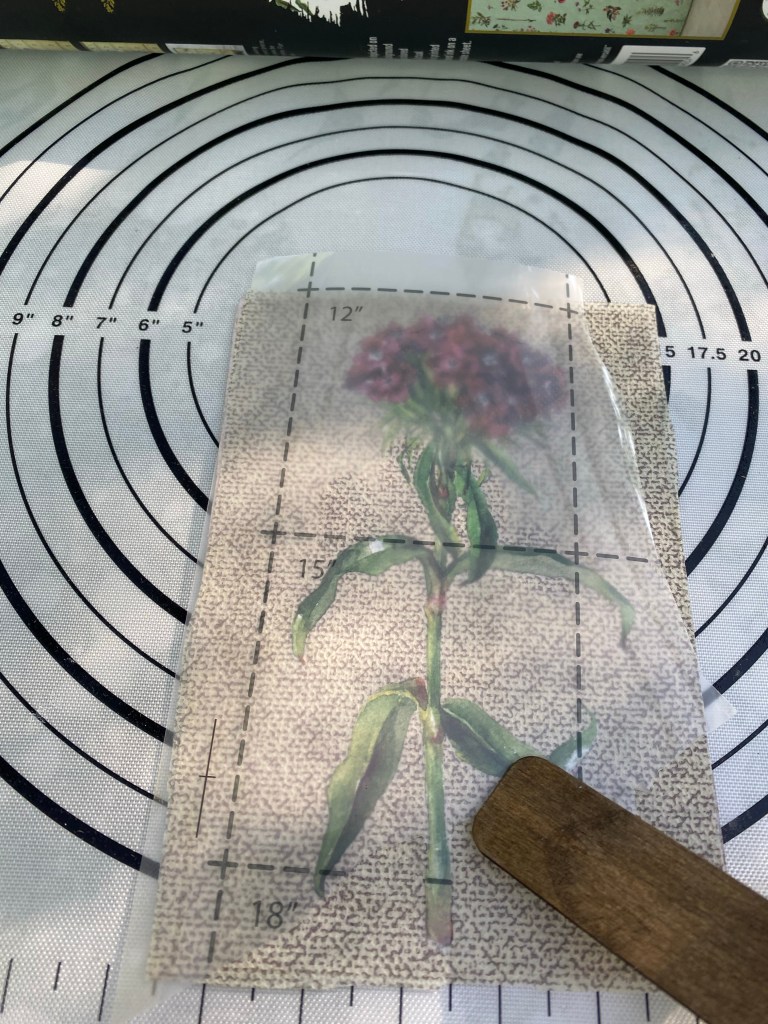
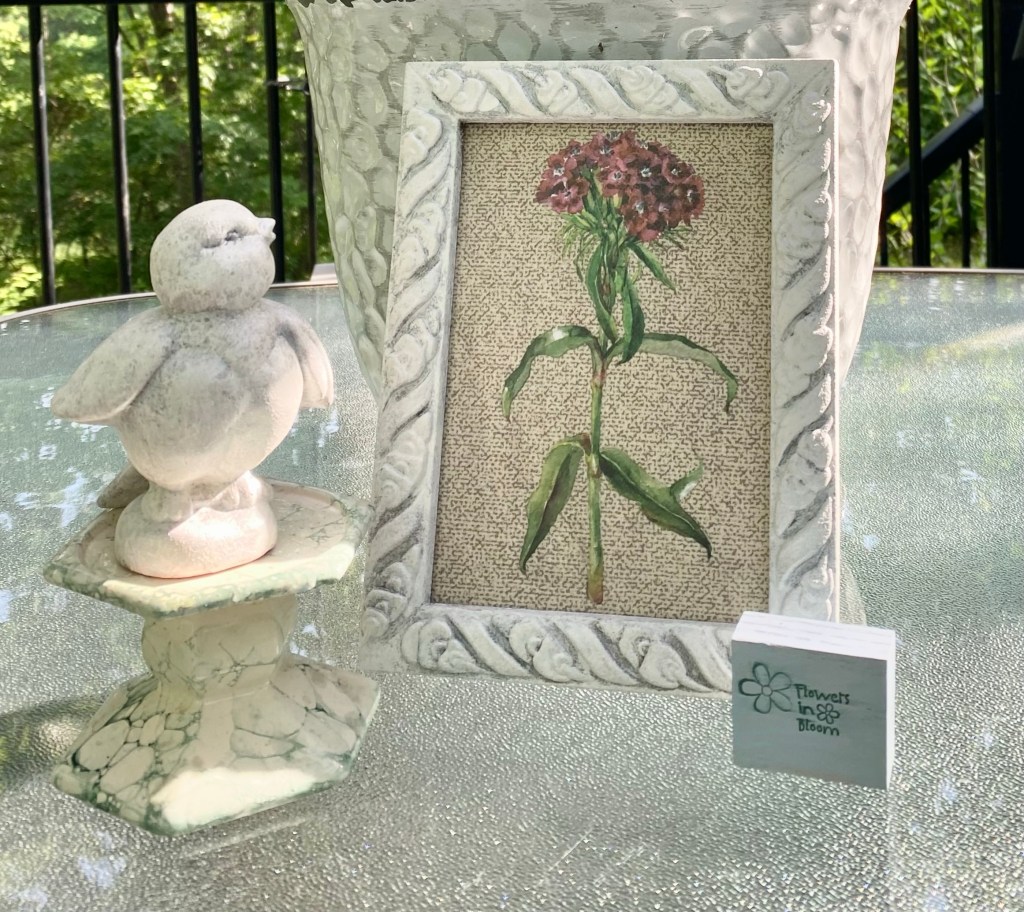
For today’s project I am up-cycling an old gold frame and adding a Redesign with Prima transfer from the Floral Collection. The transfer is applied to a unique background – a piece of one of Dollar Tree’s storage bins.
Cutting apart a Dollar Tree storage bin
The material is kind of a paper/fabric with cardboard in between layers. I cut off a piece to use as background for the transfer.
I cut the cardboard to fit the frame.
I used a glue stick to glue the material onto the cardboard.
I then trimmed the material to the size of the cardboard.
It was time to paint the frame. I mixed a little baking soda with a littler chalk paint to achieve the texture of stone.
It took two coats. On the first coat I used a brush to pounce the paint/baking soda mixture on so I didn’t get brush strokes. For the second coat I used a foam dauber. I love the distressed shading this technique produced. I set it aside to dry well.
Once dry, I gave it two coats of Mod Podge Pearlized Glaze Spray to seal it.
It was then time to apply the transfer to the material I had adhered to the piece of cardboard. I didn’t seal it as it is a decor piece and will not be handled much.
The sheet underneath is a silicone baking sheet I use to work on. Paint does not adhere well to silicone, so it is easy to clean after I finish a project.
I added the transfer to the frame. You could add the glass back in but I did not use the glass.
The final reveal – The material under the transfer looks almost like a piece of linen. It makes a very nice background.
We have a problem. I see an idea. I ask Danny if he can make it. He says he can. So….. here we are again with another project and putting off other things we need to do.
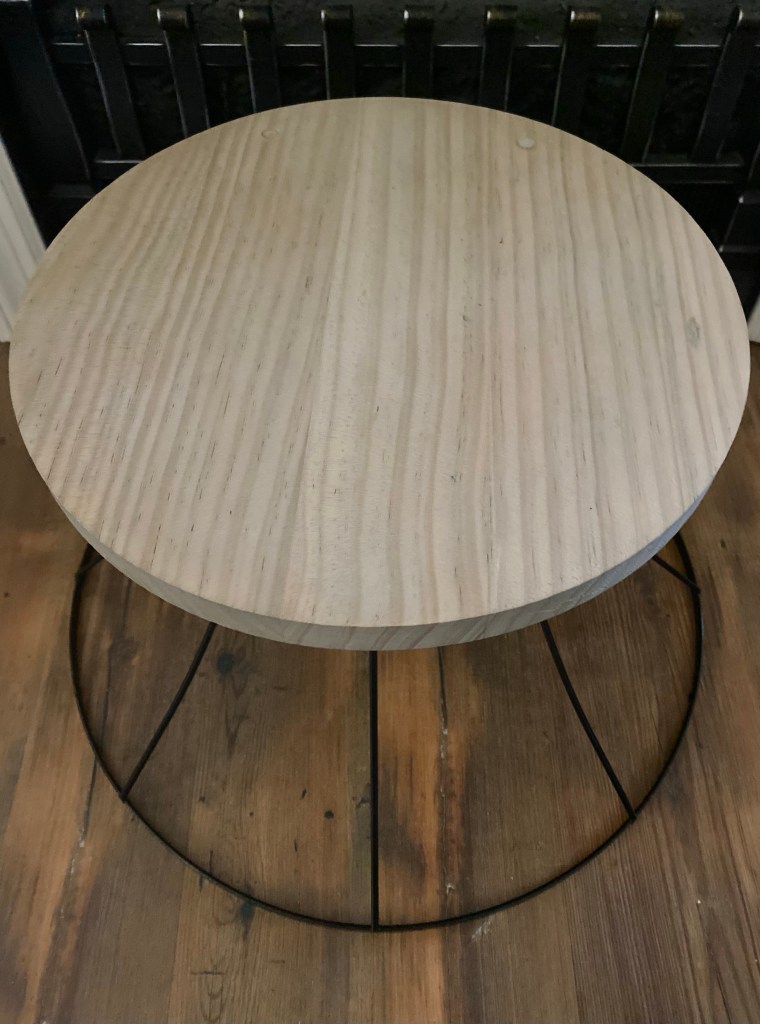
Would you believe these plant stands are all upcycled lampshades? Danny took off the fabric on each and spray painted the metal black.
We then bought 3 wood rounds. He sanded them and added a dowel on the bottom of each to fit down into the shades.
I used a driftwood weathering compound on each round that brings out the grain and weathers it a bit. I still need to seal them with a matte top coat.
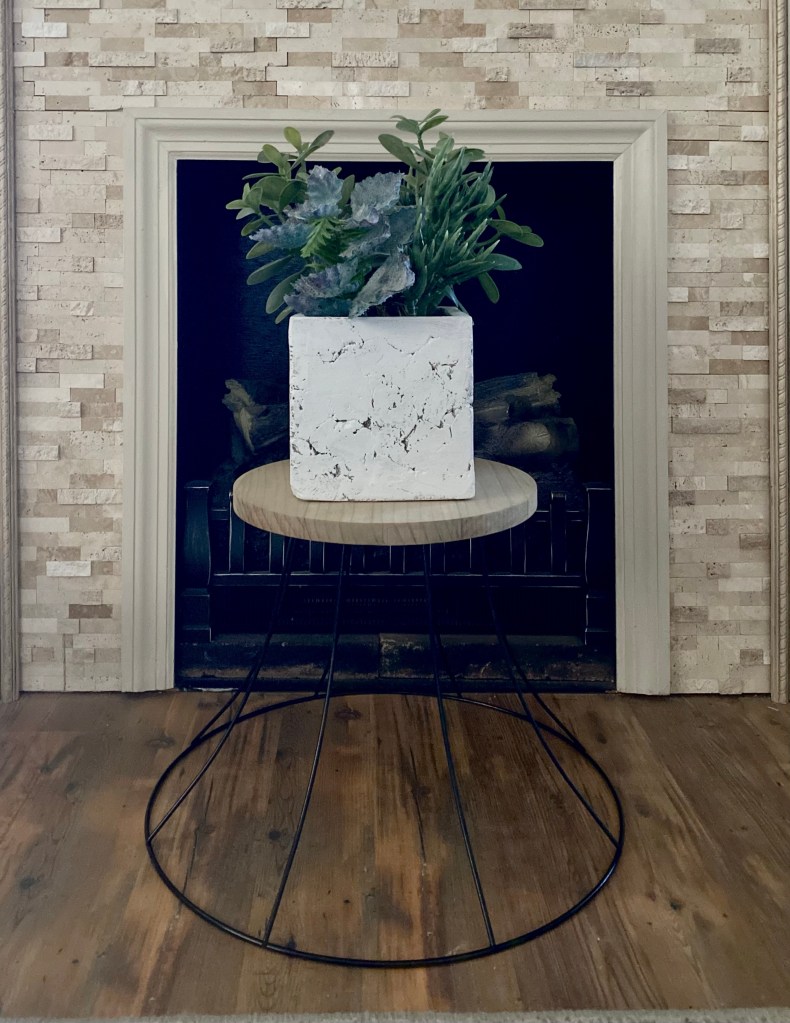
They are lightweight but very sturdy. The cut crystal vase filled with glass beads and faux tulips is quite heavy.
These plant stands (minus the decor) will be going to The Gray Wall soon, so if you are local and wanting one or all for porch pickup, now’s your chance.
I had this piece of barn wood. My husband cut it into two pieces for me.
I painted them with a heavy dry brush of white pretty much where I was going to apply the transfers.
Then I applied the transfers.
It was a very rough surface and slow going. It wasn’t easy to apply but in the end it all applied and adhered perfectly. I sealed everything with Wise Owl Salve.
In hindsight, it would have helped to seal the painted area first, but I just took my time and at times actually used my finger underneath the plastic sheet to get over a particularly rough spot and it worked out fine.