We have a problem. I see an idea. I ask Danny if he can make it. He says he can. So….. here we are again with another project and putting off other things we need to do.
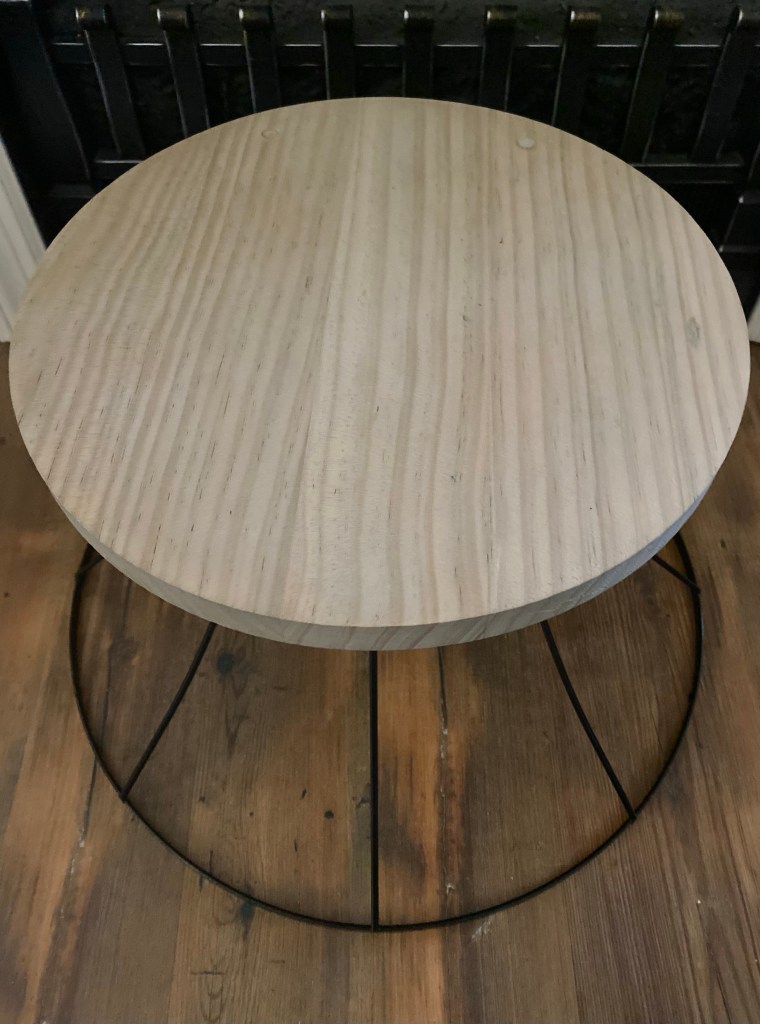
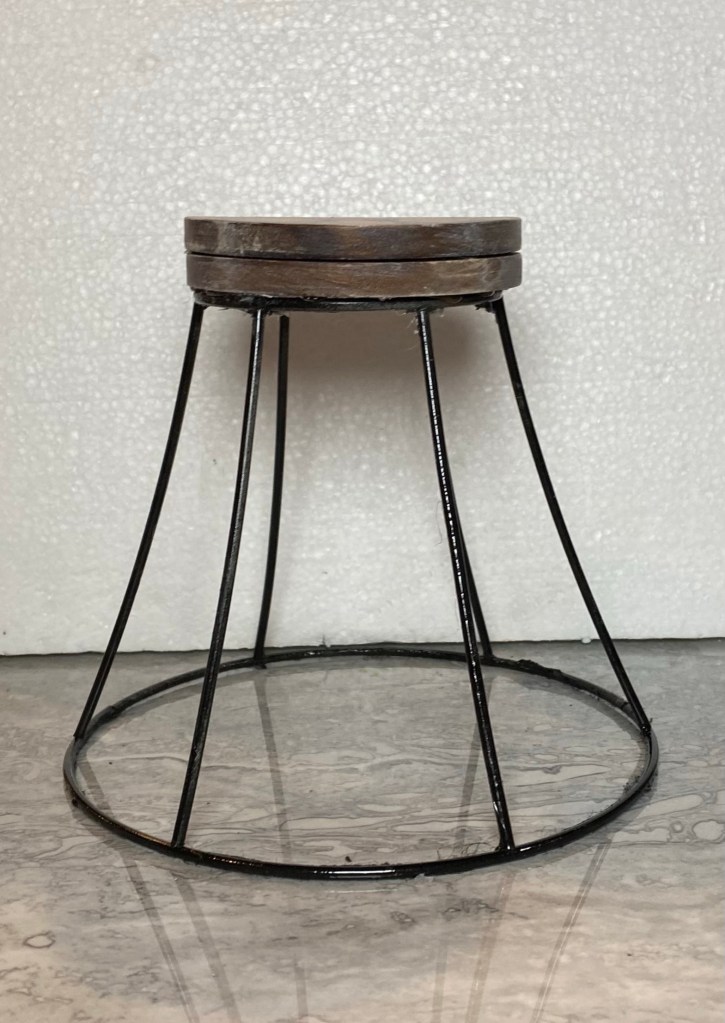
Would you believe these plant stands are all upcycled lampshades? Danny took off the fabric on each and spray painted the metal black.
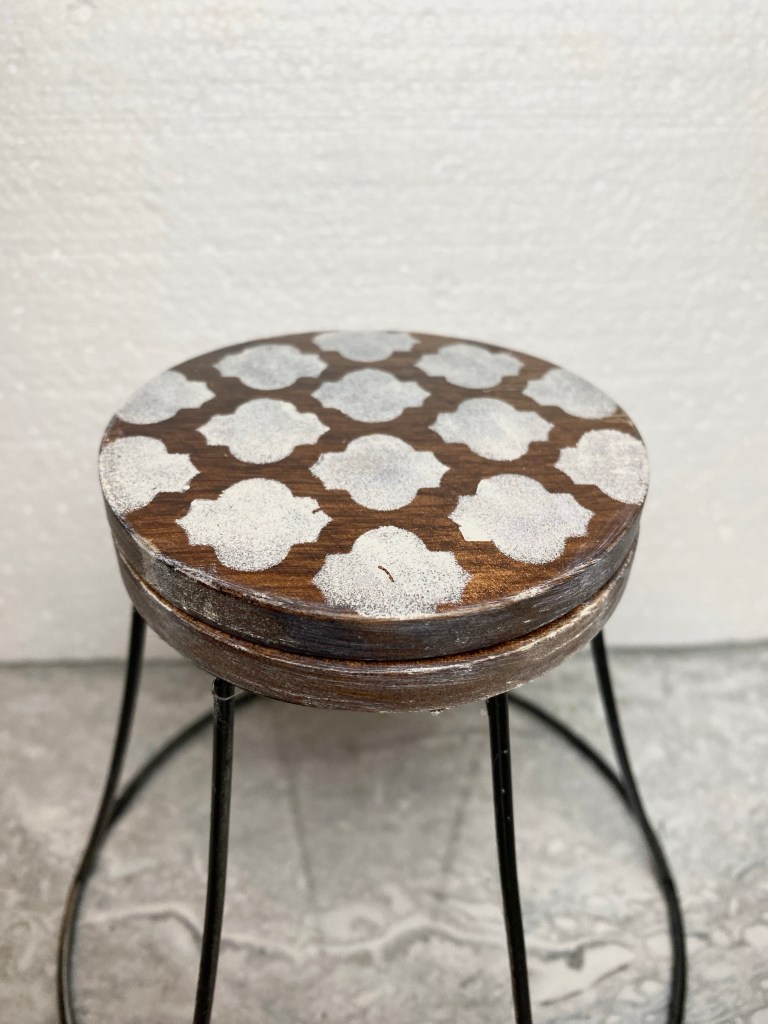
We then bought 3 wood rounds. He sanded them and added a dowel on the bottom of each to fit down into the shades.
I used a driftwood weathering compound on each round that brings out the grain and weathers it a bit. I still need to seal them with a matte top coat.
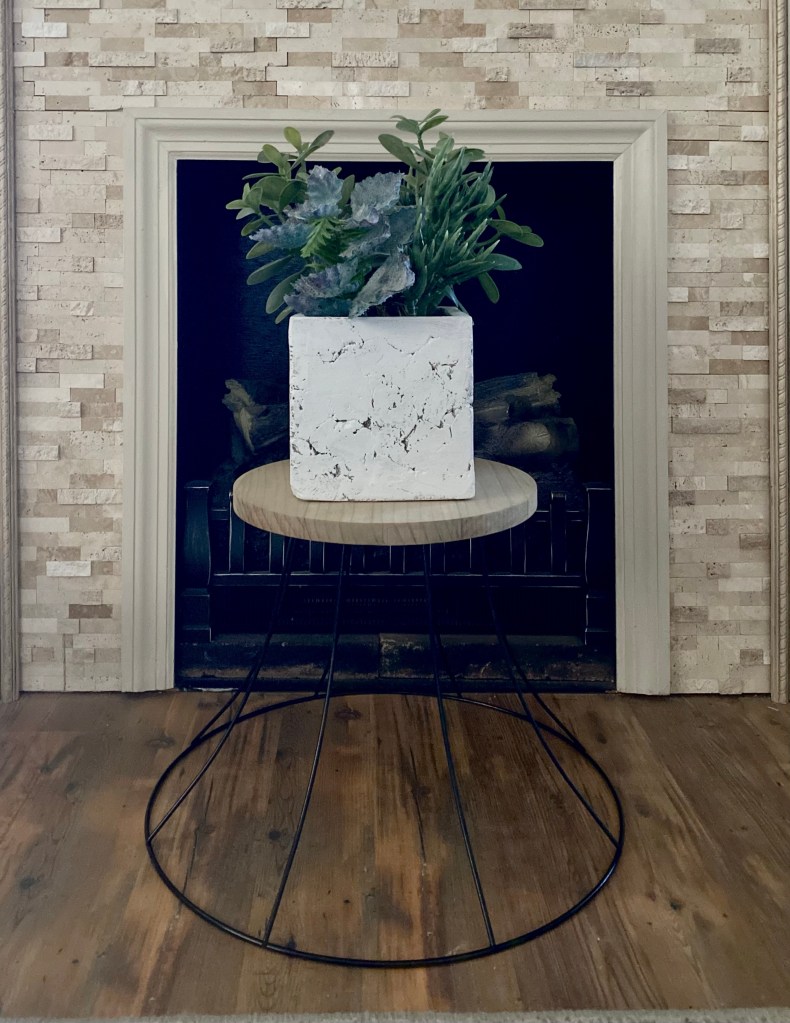
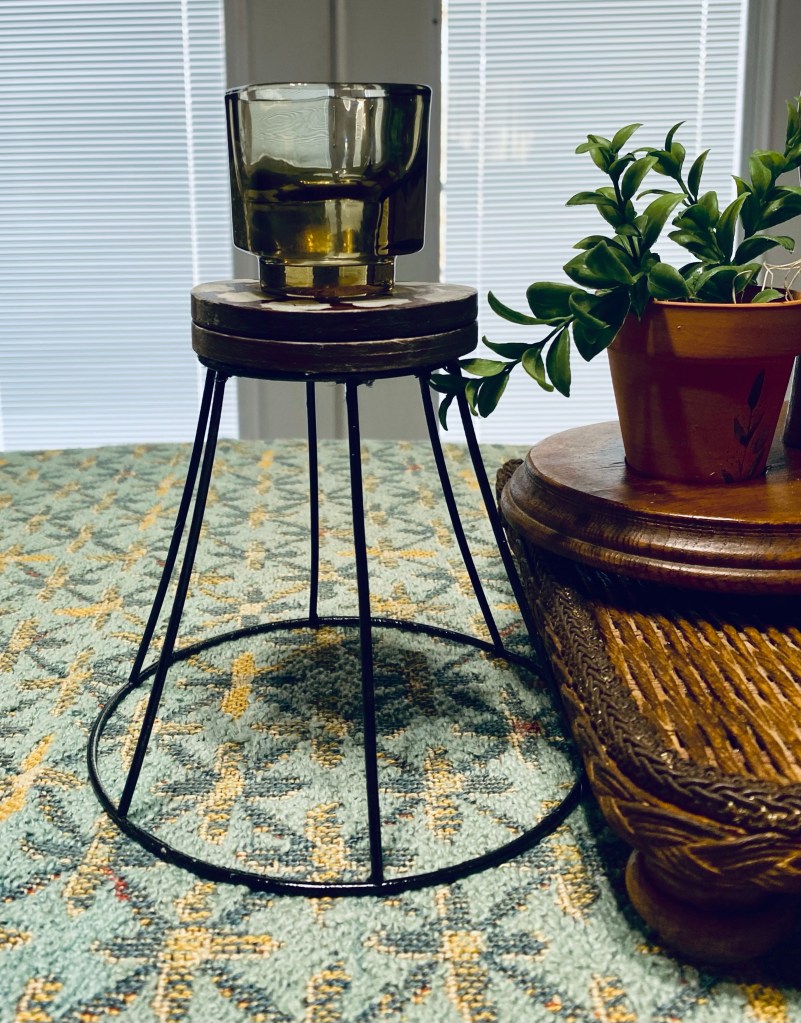
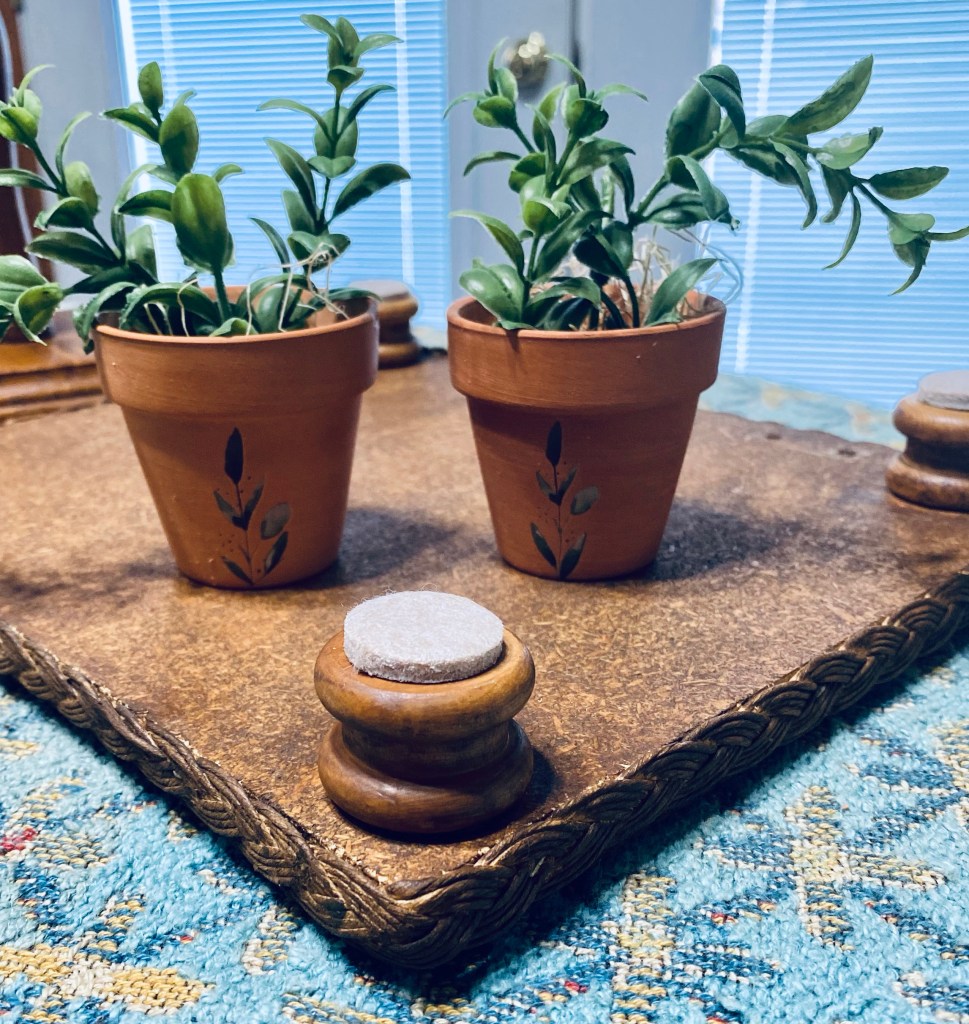
They are lightweight but very sturdy. The cut crystal vase filled with glass beads and faux tulips is quite heavy.
These plant stands (minus the decor) will be going to The Gray Wall soon, so if you are local and wanting one or all for porch pickup, now’s your chance.
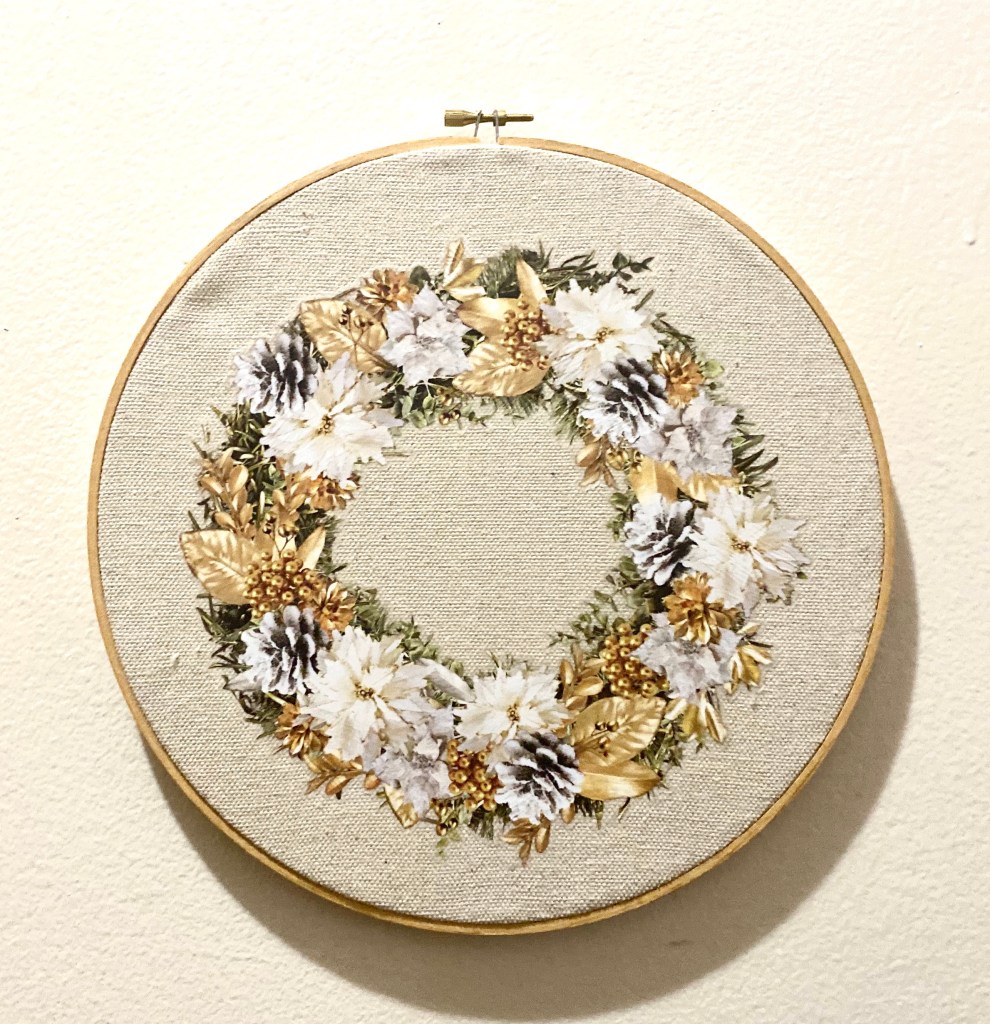
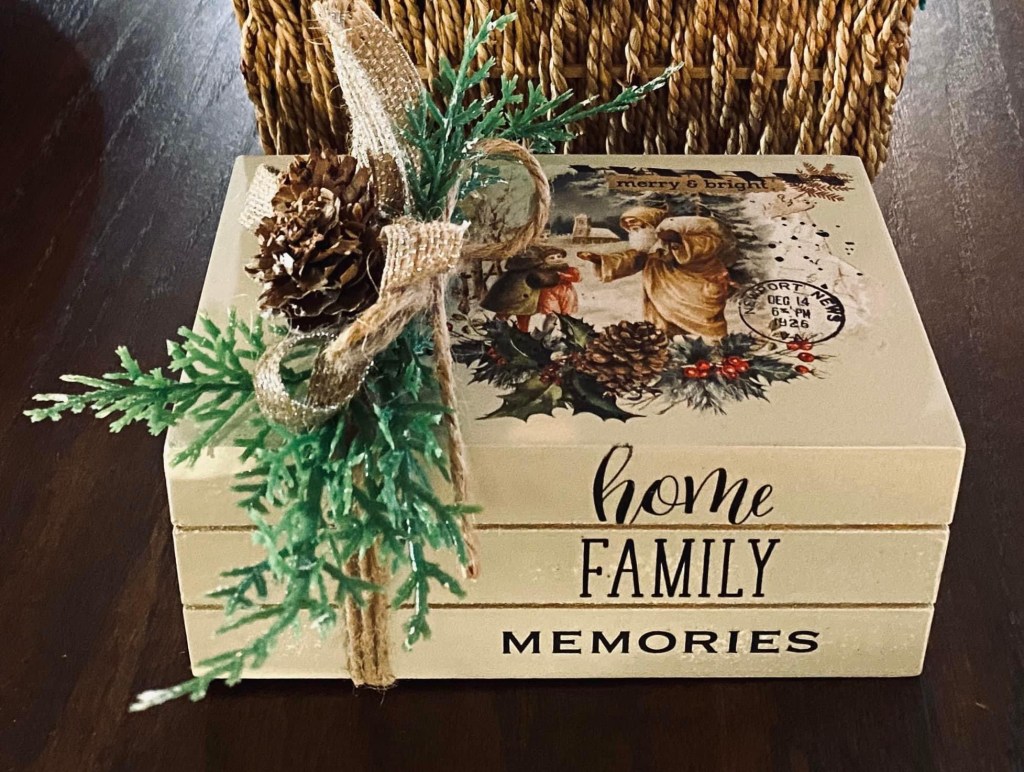
I had this piece of barn wood. My husband cut it into two pieces for me.
I painted them with a heavy dry brush of white pretty much where I was going to apply the transfers.
Then I applied the transfers.
It was a very rough surface and slow going. It wasn’t easy to apply but in the end it all applied and adhered perfectly. I sealed everything with Wise Owl Salve.
In hindsight, it would have helped to seal the painted area first, but I just took my time and at times actually used my finger underneath the plastic sheet to get over a particularly rough spot and it worked out fine.
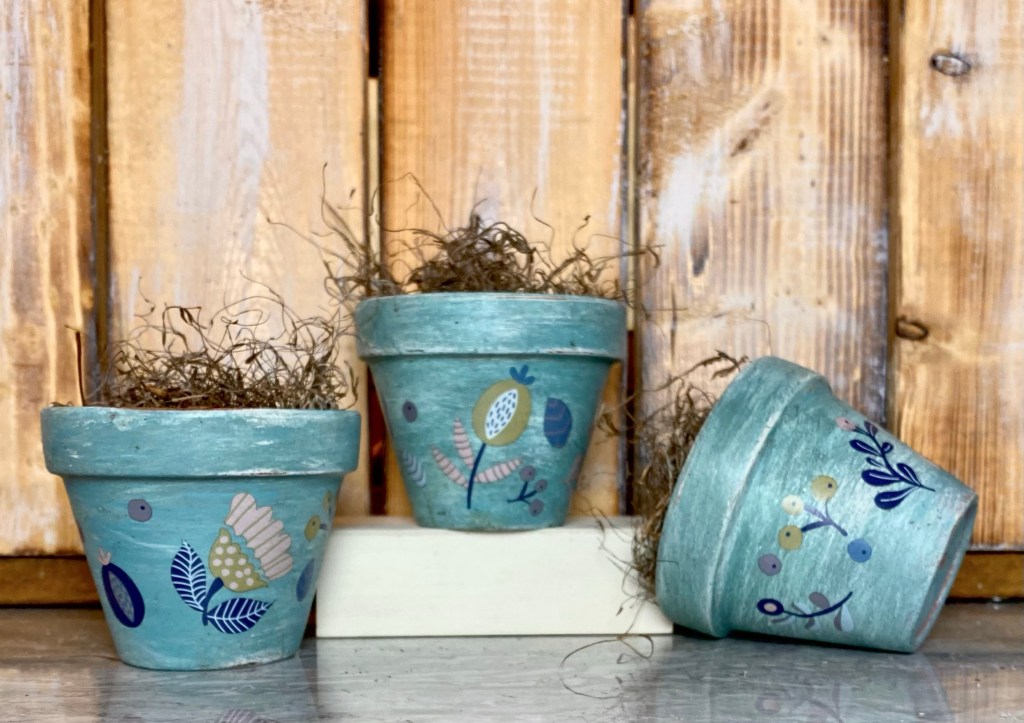
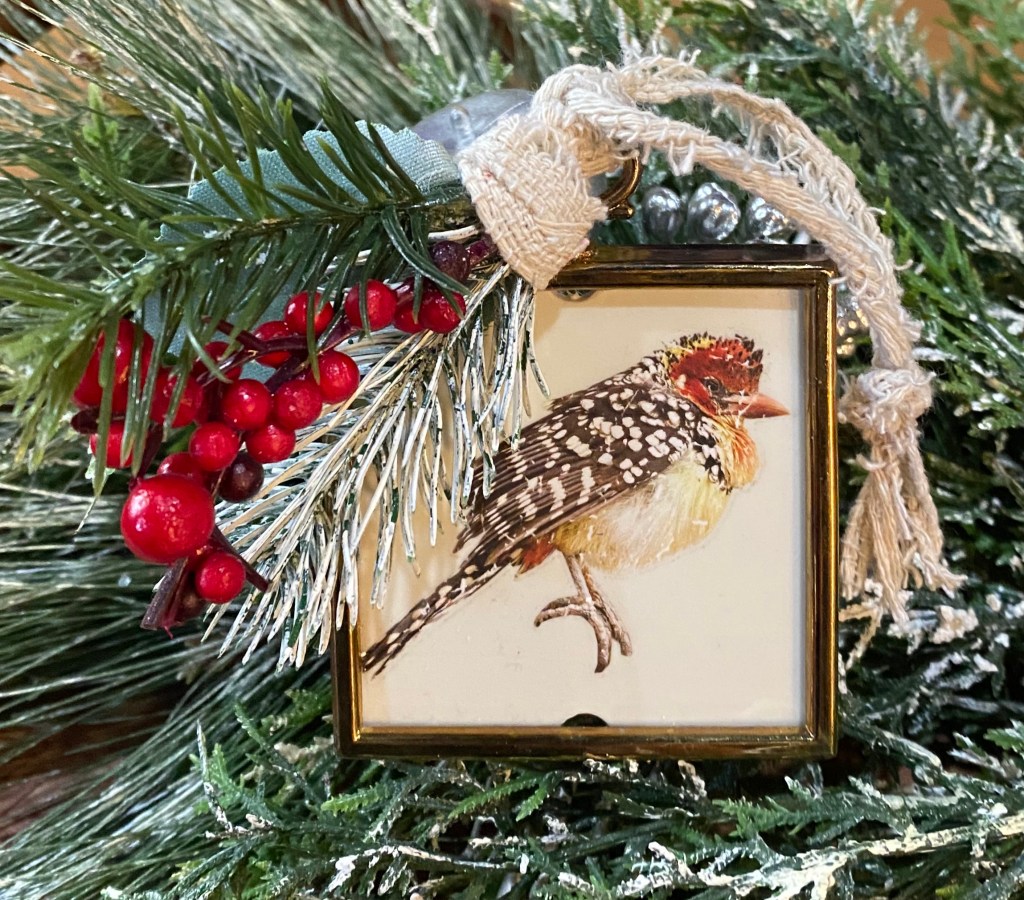
#1 – I have a French Country look going on in this first thrifted find – a bird cage item which needed some repair and a metal basket. I painted a Dollar Tree peat pot and decoupaged with tissue paper.
The metal finial on the birdcage was just hot glued on and popped right off after I got it home. Not only was hot glue alone not good idea but there was hardly any surface area for gluing. I used E6000 and hot glue to attach a small wood round to the birdcage and I painted it white. Then I used E6000 and hot glue to attach the finial. I added jute around the wood round where I had glued it together. I also stuck my hot glue inside and upside down dropped some hot glue along the inside. It is on for good now.
The birch round came from a fallen branch and that cute bird I found in a thrift store. The faux flowers came with the birdcage.
I love putting this kind of thrifting together.
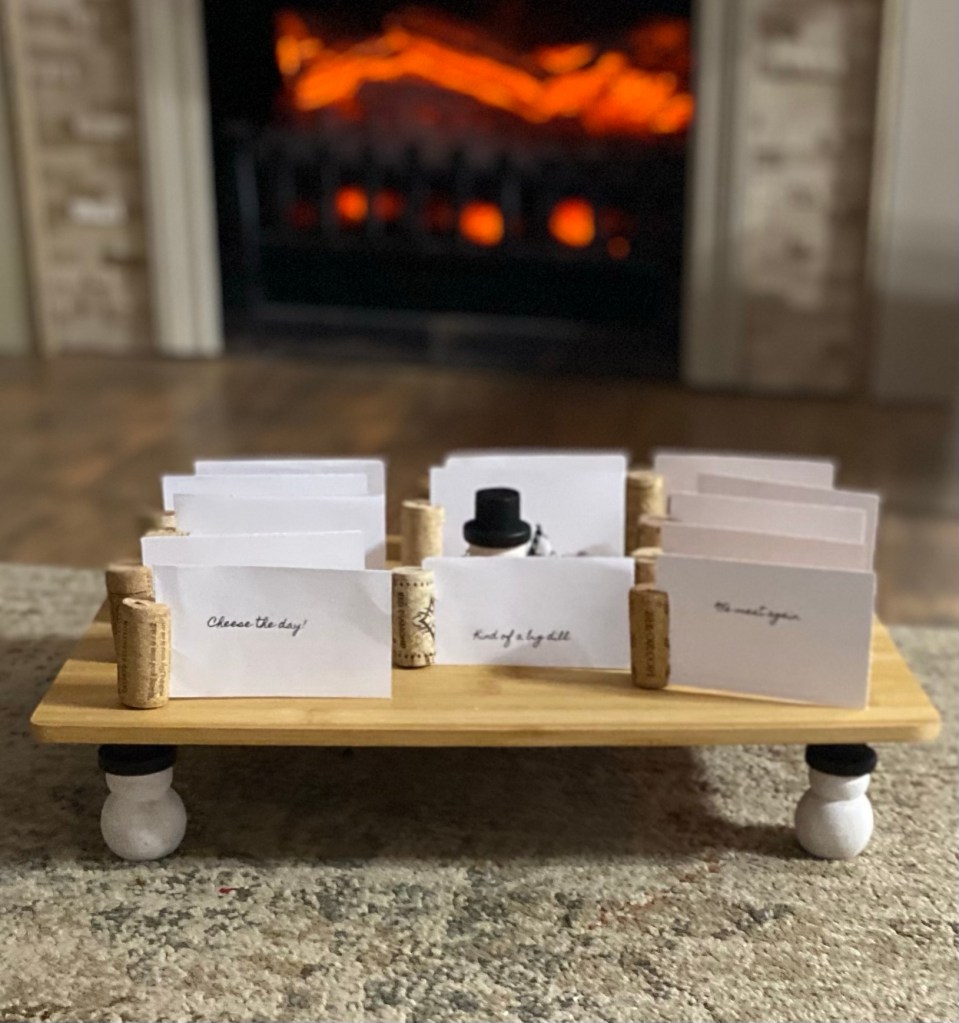
#2 – Next up is this awesome cutting board/serving board. I love cutting and charcuterie boards. When I found this wine bottle shaped bamboo cutting board, I knew immediately that I wanted to add a stencil to one side for decor purposes. The other side could still be used as a cutting board or both sides could be a specialty charcuterie tray that would make a beautiful cheese and fruit spread serving board.
I stenciled just a part of the board and then seasoned both sides with food safe Howard Cutting Board 0il.
Dimensions approx. 21″ x 7″ x 1/2”
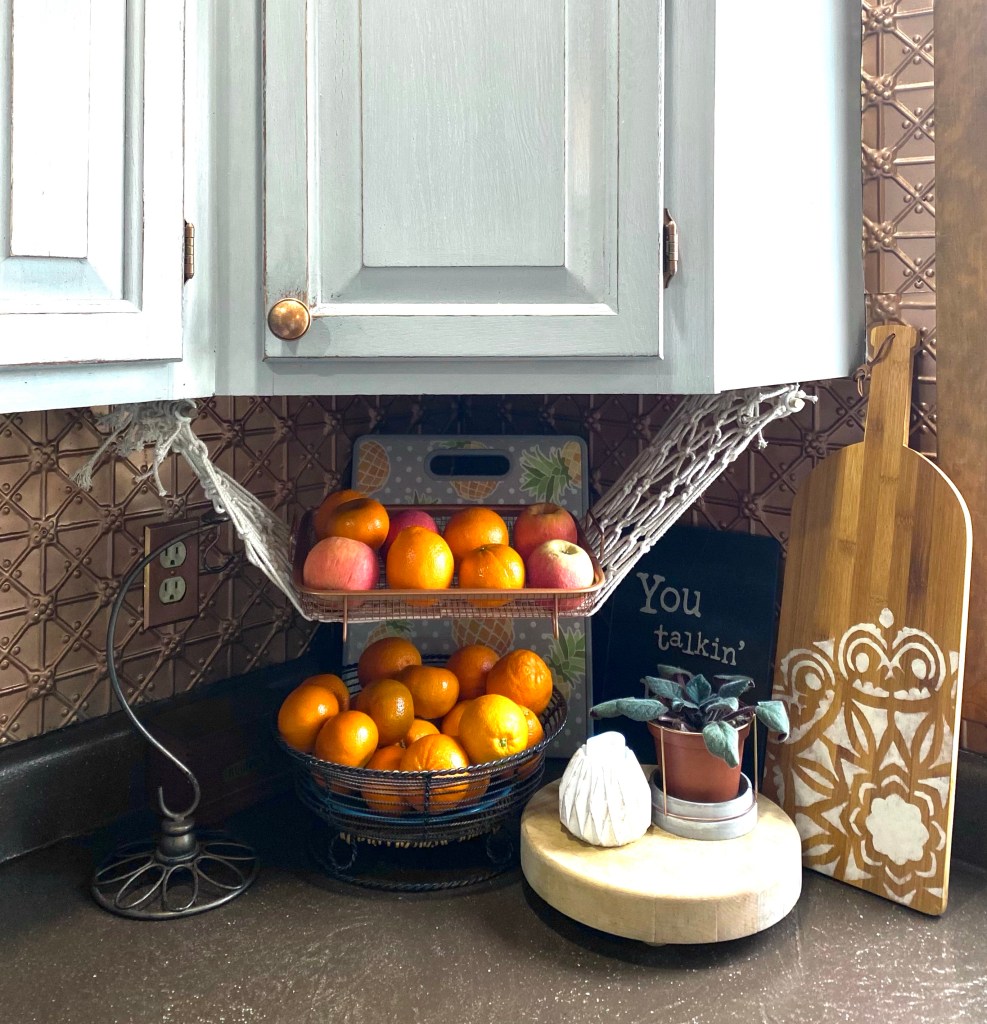
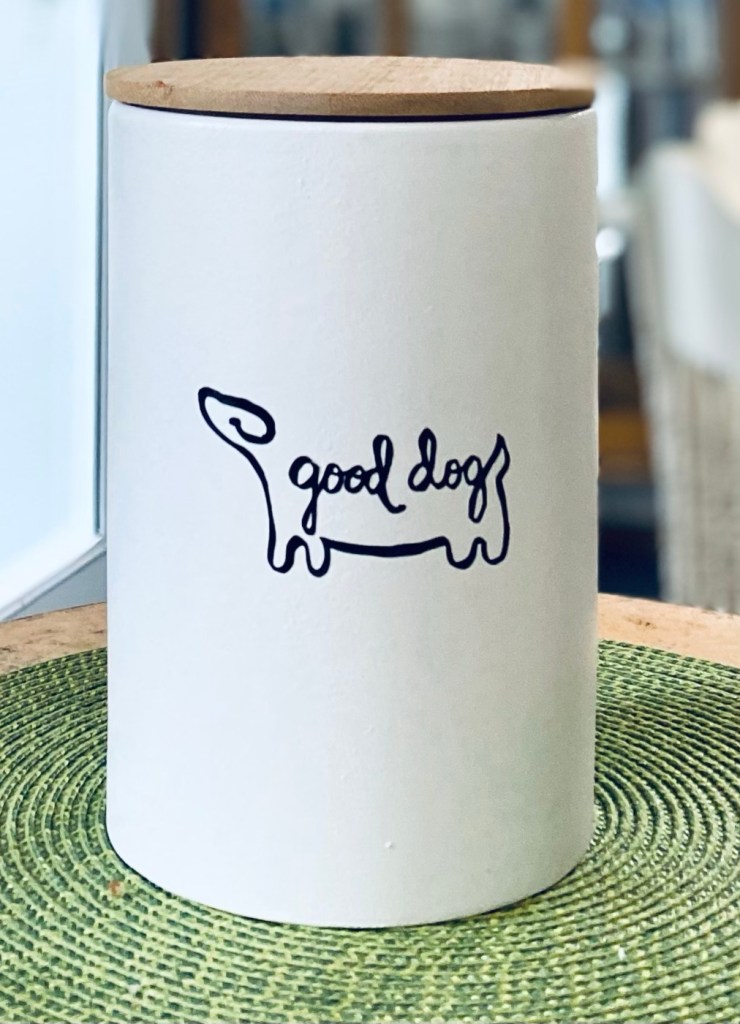
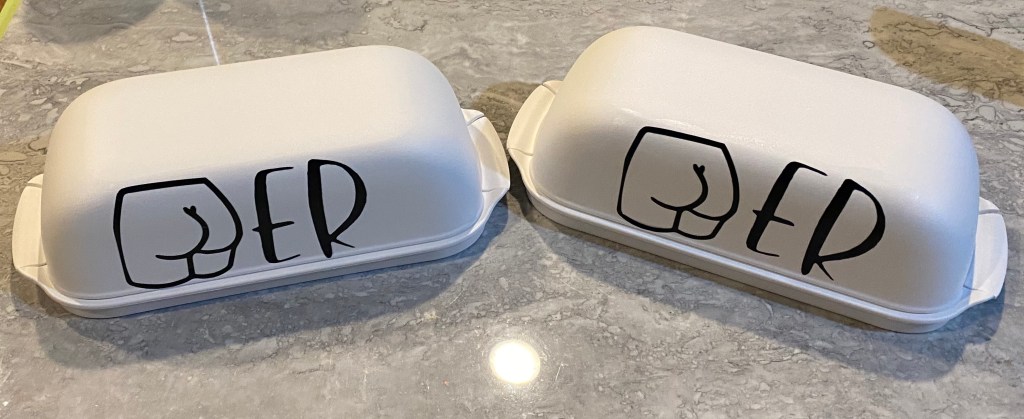
#3 – I like thrifting, but I really like it when I find something just for me. I don’t have a lot of storage space in my pantry so things like cereal and crackers and chips, etc. always seem to end up on top of the refrigerator.
I found these awesome Harry and David copper colored metal baskets at Goodwill yesterday for $7.87 each. I knew they would go perfectly with the copper colored tin on the wall behind them. The one on the left holds snacks and the one on the right, cereal and crackers.
I saw them listed online anywhere from $14 – $46 each so these were a pretty good price. Yay!
#4 My final thrifted item project for the week came about because of the stalk of dried wheat I found at Goodwill. They had just put out several bunches of these. I only bought one bunch but now wish I had gotten more. I used several pieces in this beautiful tall vase a friend gave me. It will be going on the floor next to my fireplace. I do have enough left over for several future projects. so that’s good.
That’s all for now. I thrifted more things, but haven’t decided yet how I will use them. So keep checking back. I will be sharing when the inspiration comes.
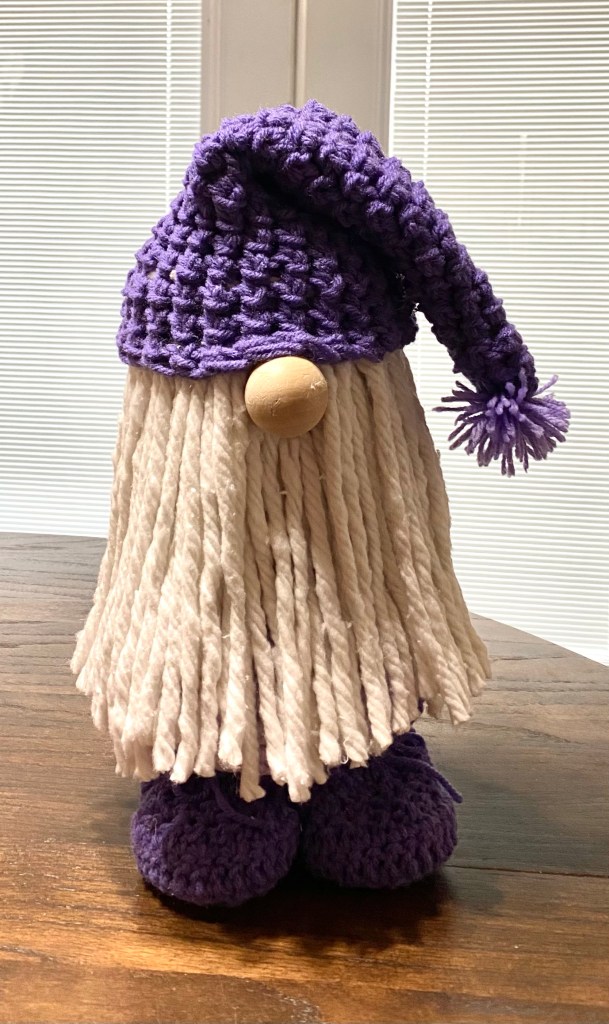
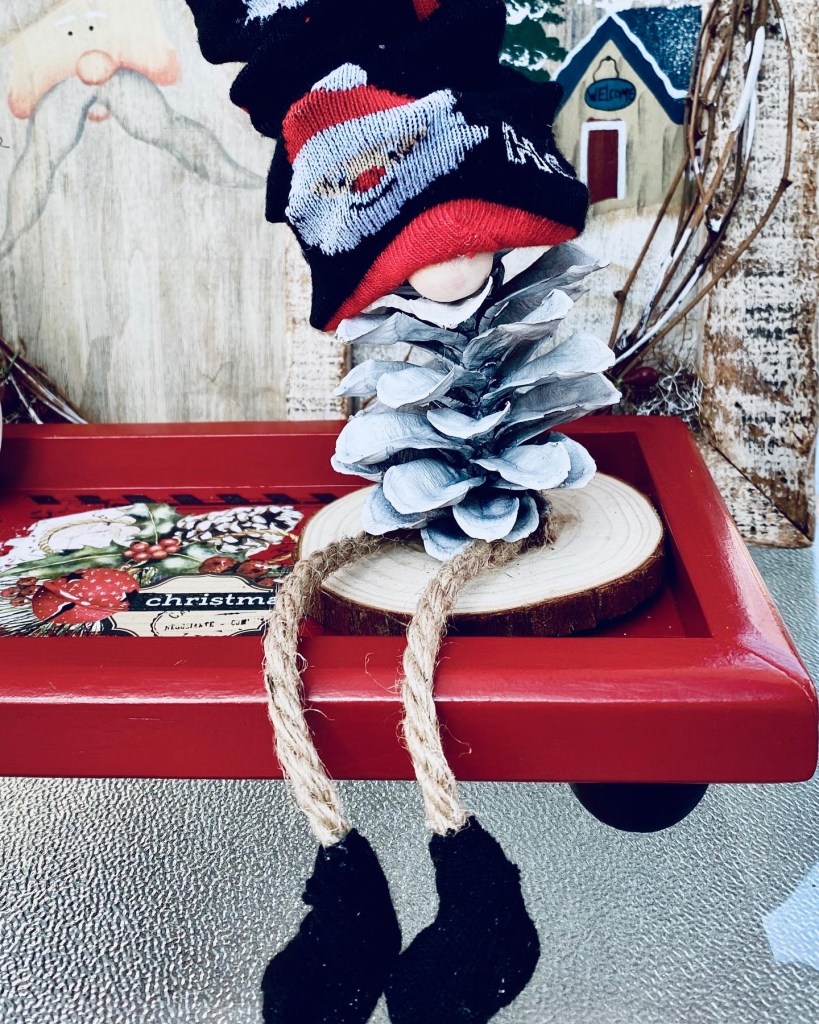
A friend saw the picture I posted of a gnome I made a couple of years ago and wanted one, do I crocheted a hat, body covering, and boots for it in her favorite color – purple. A Dollar Tree mop head became his beard.
I hot glued the body covering over a large water glass with lid from Dollar Tree. I made wood forms for his feet and stuck them in the crocheted boots I made and glued them to the lid of the glass, using hot glue and super glue. Then added more hot glue all around the wood.
I cut the strands off the mop head and applied two layers of them all around the edge of the glass bottom. Then hot glued the hat on and added a wood nose. He stands about 12” high.
Gnomes are still popular. Anytime I make one, it sells quickly. So the other day, a friend sent me a link for making one around a wooden ring with the hat being created with yarn around a piece of toilet paper holder. So, of course I had to make one. My ring was a little bigger so I improvised and added purple yarn around it and glued the hat to the ring. I added a little pink heart. I also glued the whole thing to a Dollar Tree stand up frame to display him.
I’ve been so busy crafting, I haven’t been posting lately. So doing a photo dump here of many of the projects I, or my husband and I, have been working on lately.
You will find details on some of these projects by following my Instagram page. I try to explain there on how some of them were created. https://instagram.com/sharsumpaint
For now, I have to go clean and reorganize my craft area before Christmas. Wish me luck!
Update: Jan. 12, 2023
It seems Christmas got in the way and every time I sat down to try to add photos, I couldn’t. But, I did get my craft area cleaned and organized! I finally figured out that I was missing permissions for WordPress to access my photos. Most of the projects are on Instagram, but here’s few of my favorites. Maybe you can save some ideas for next year.
One more little craft, then taking a short break for our 50th anniversary coming up on the 28th! Hoping to see some beautiful fall foliage and an eagle 🦅 or two.
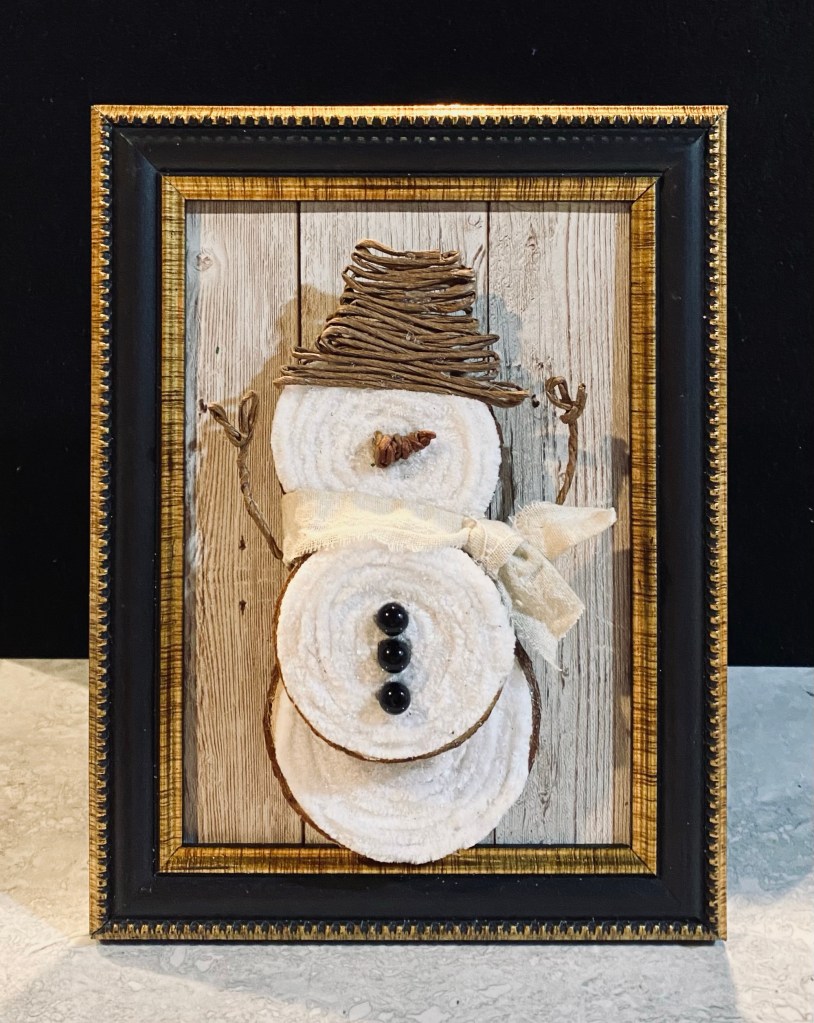
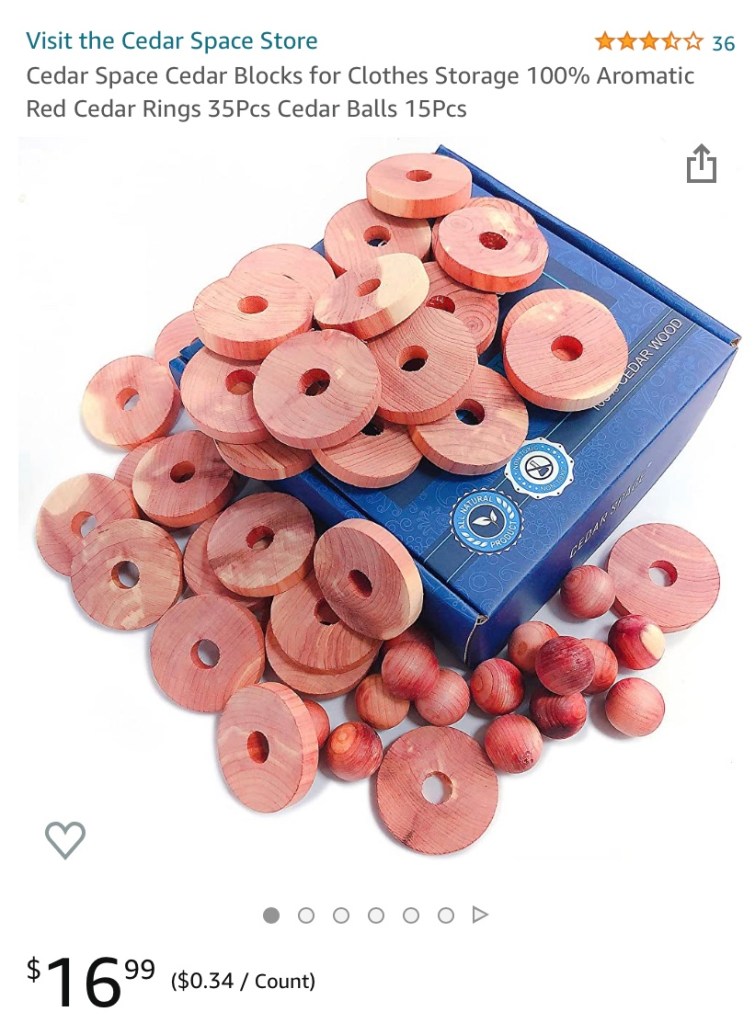
We found a bunch of these cedar rounds thrifting.
Amazon
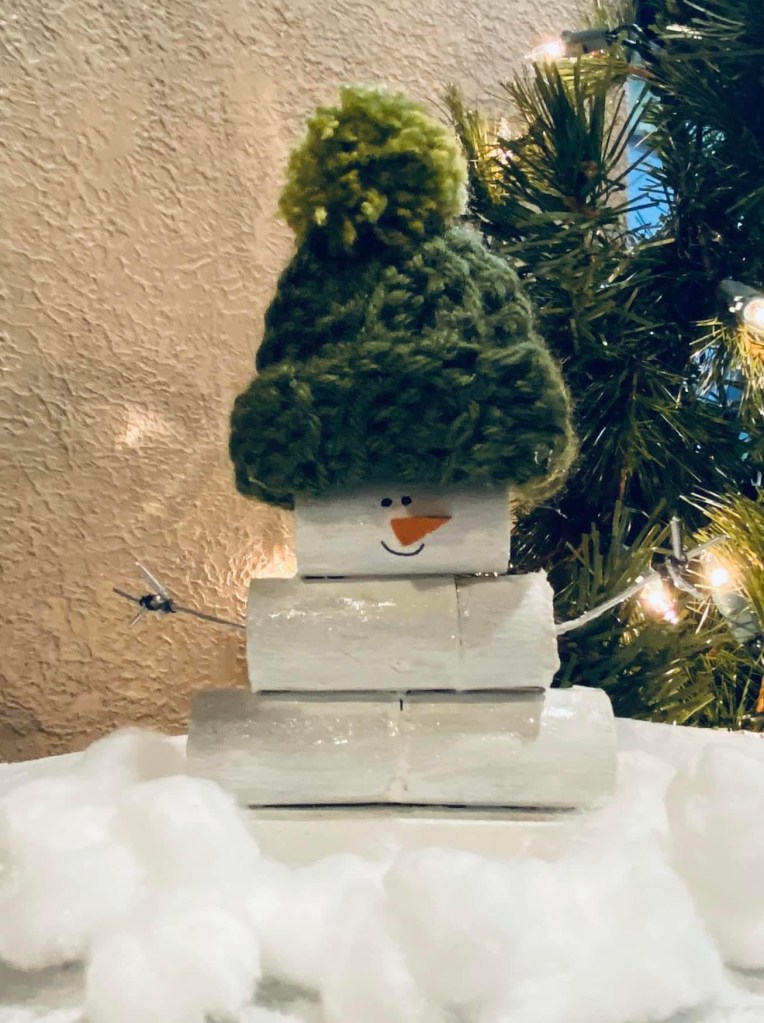
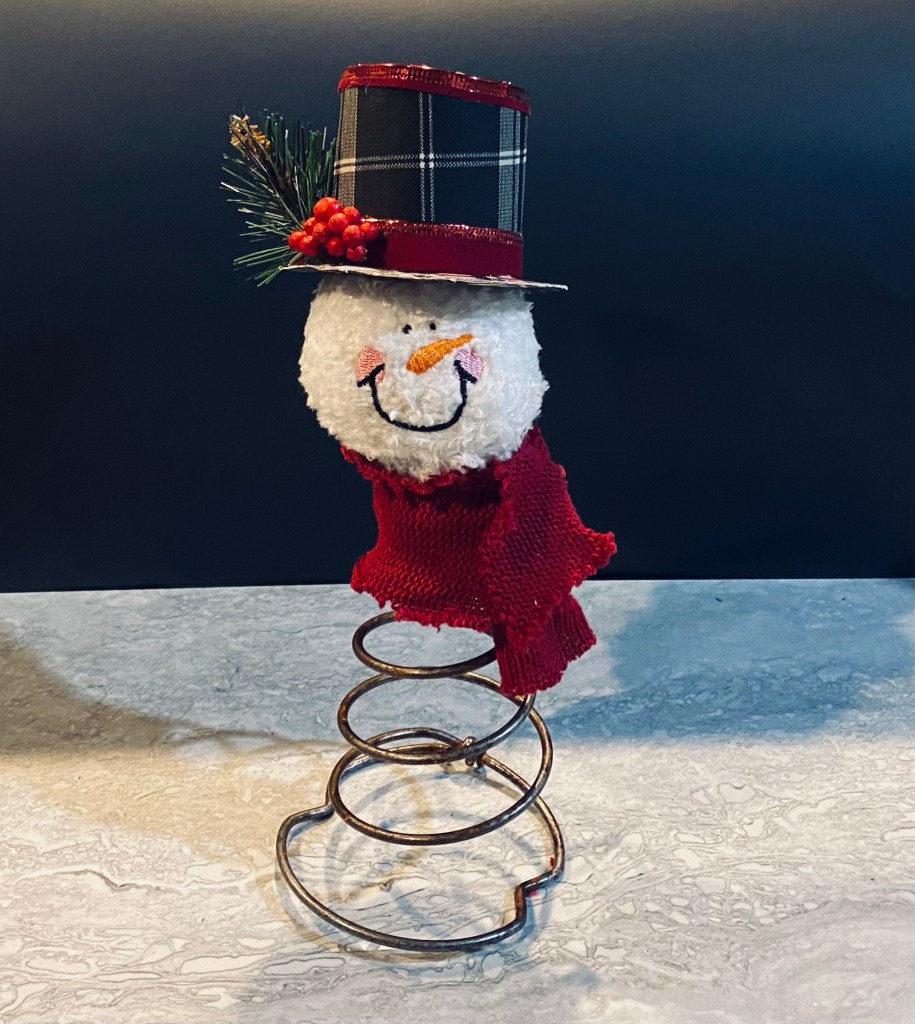
I’ve already made a snowman’s hat, a stand for my teeny tiny snowmen, and now I’ve used one for a small 5” high cedar tree.
I had these faux cedar pieces I bought after Christmas last year. They were attached to a table runner. 🙂 And… since these are cedar rounds, I thought why not make it an air freshener, too? I just happen to have Young Living’s Cedarwood essential oil to use on it. 🙂
I love the smell of this Cedarwood. P.S. It freshens up furniture drawers, too! I think I will put a couple of the rounds with a drop of Cedarwood in the dresser I just finished!
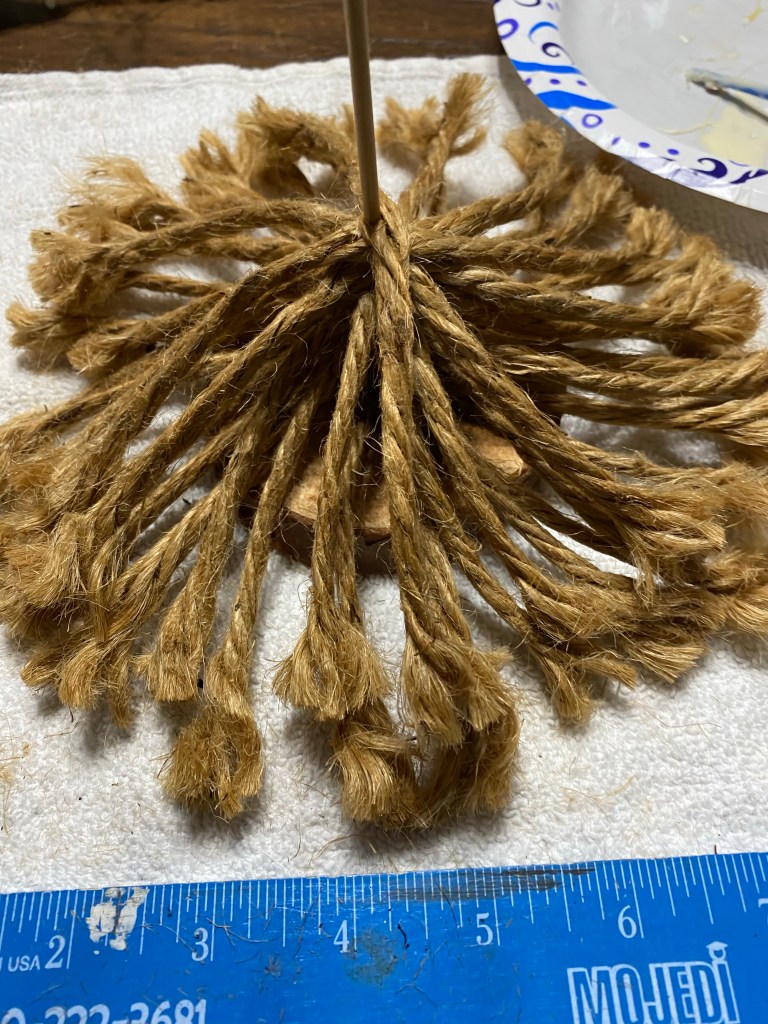
I changed it up a little. This one is 5” tall. I used a small 2 1/4” wood slice for the base and cut down the size of the skewer some. It still has a point on it for piercing each strand of jute. I just cut it off at the end.
The jute pieces I used:
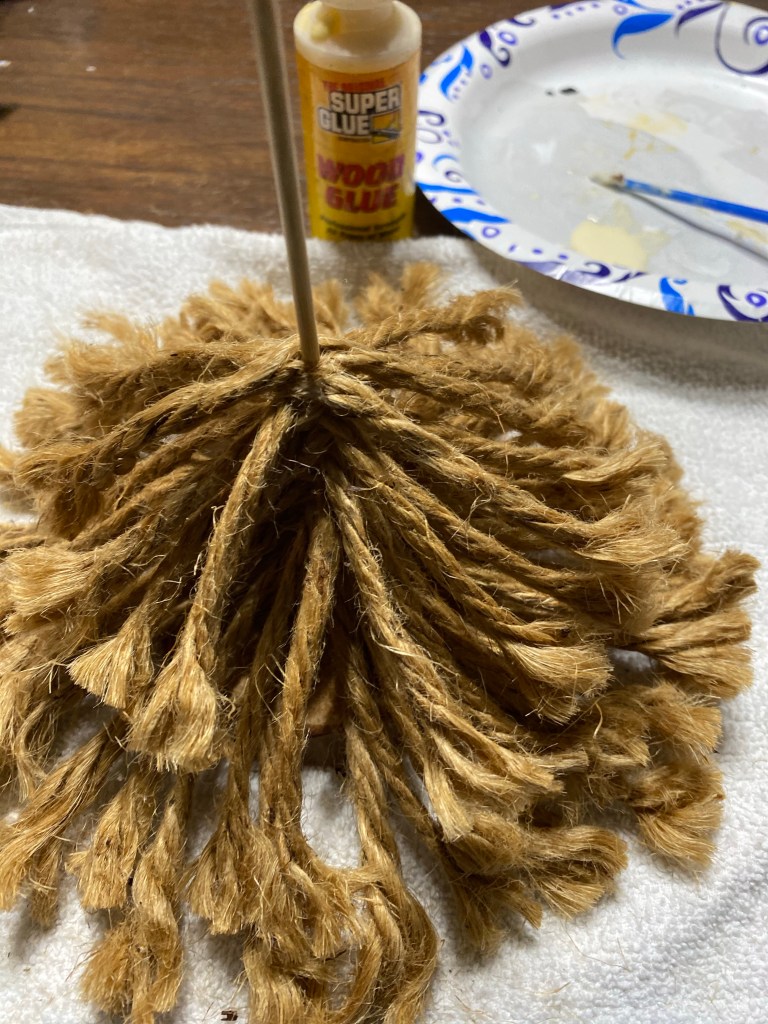
12 – 4” 12 – 3” 12 – 2” 2 – 1” And a half inch piece. For this one I used more glue and pressed and molded it to round off the top.
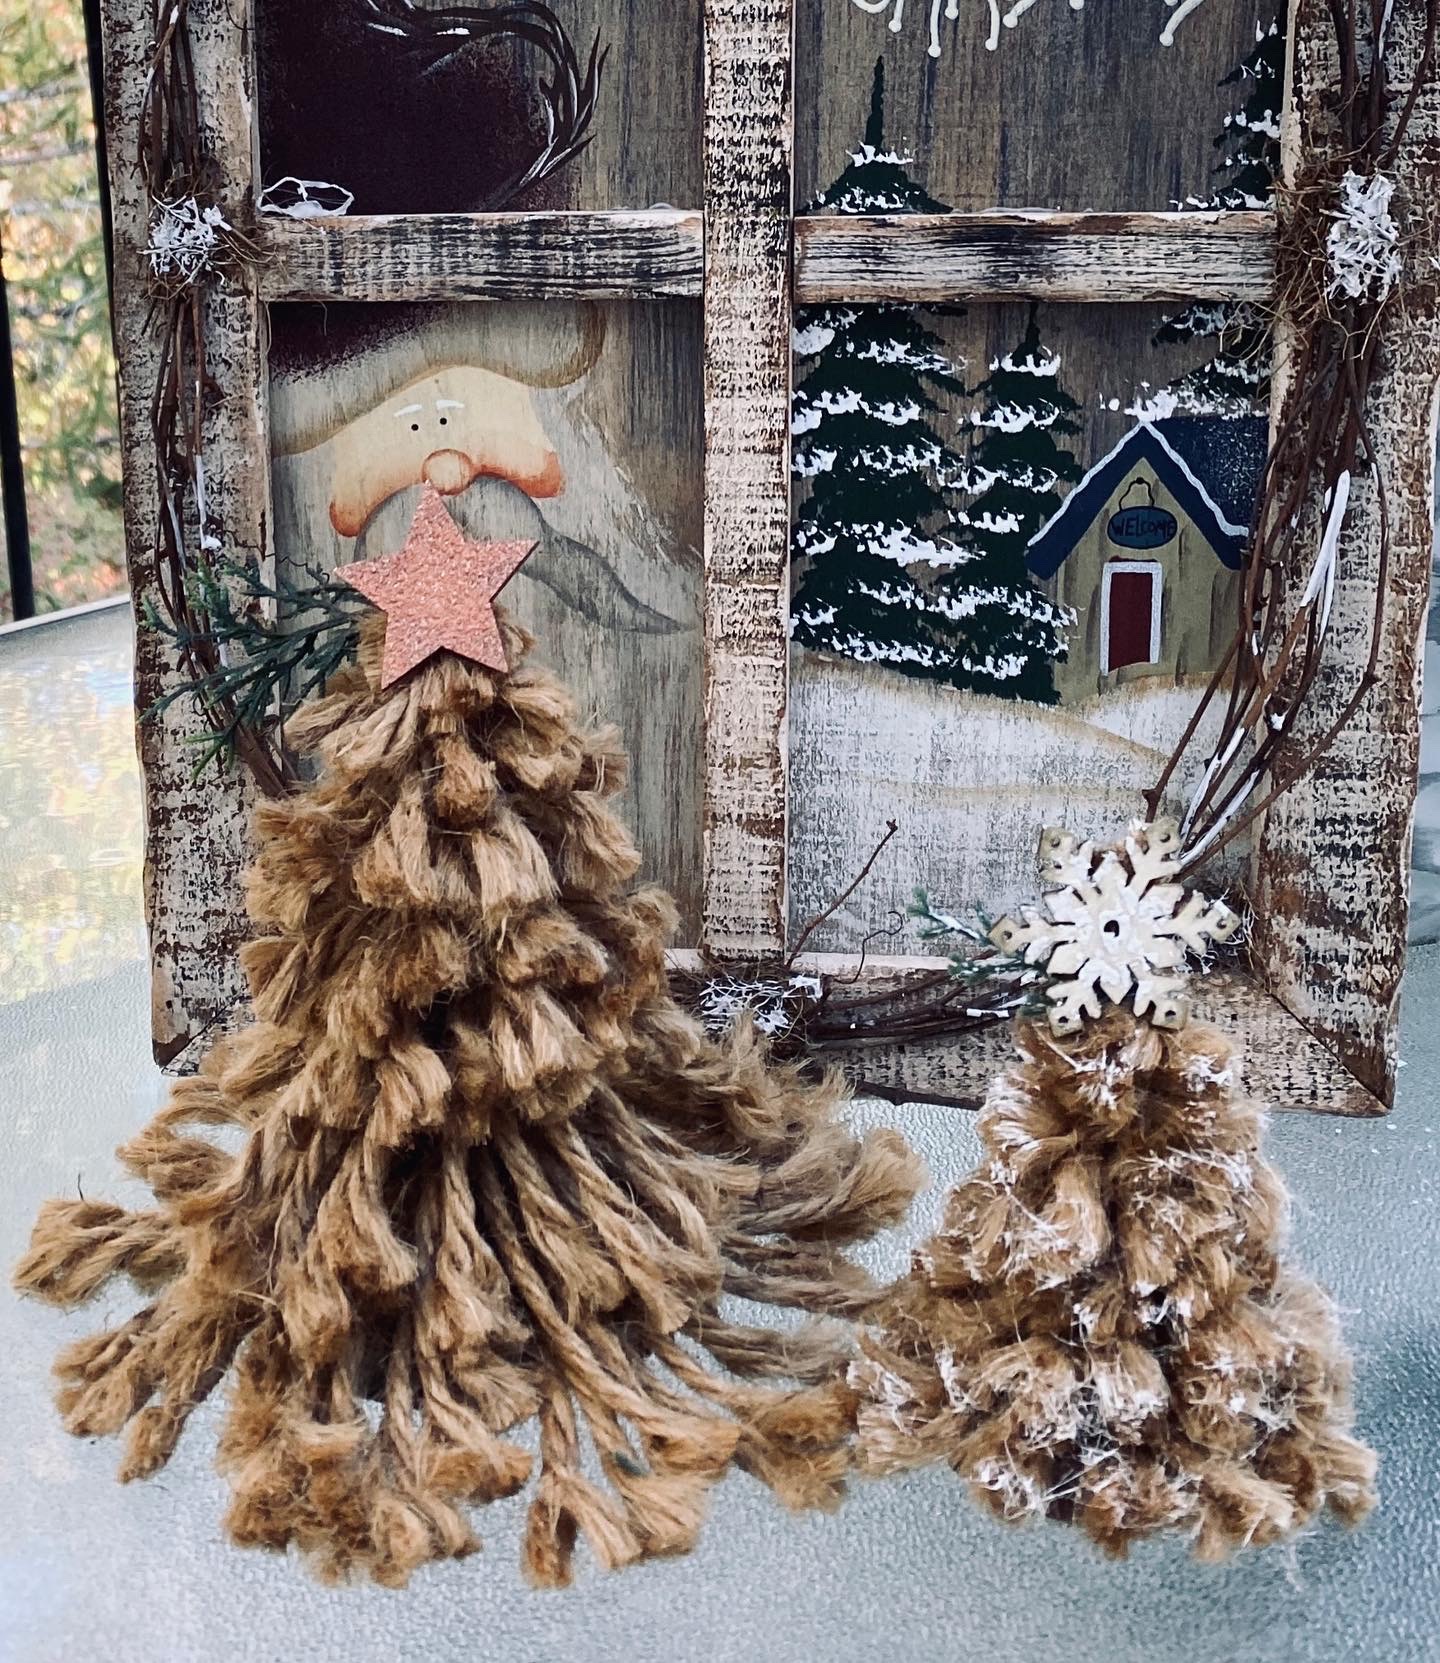
I cut off the skewer and left enough to glue the greenery and the star to the skewer and glued some jute to the back of it to cover.
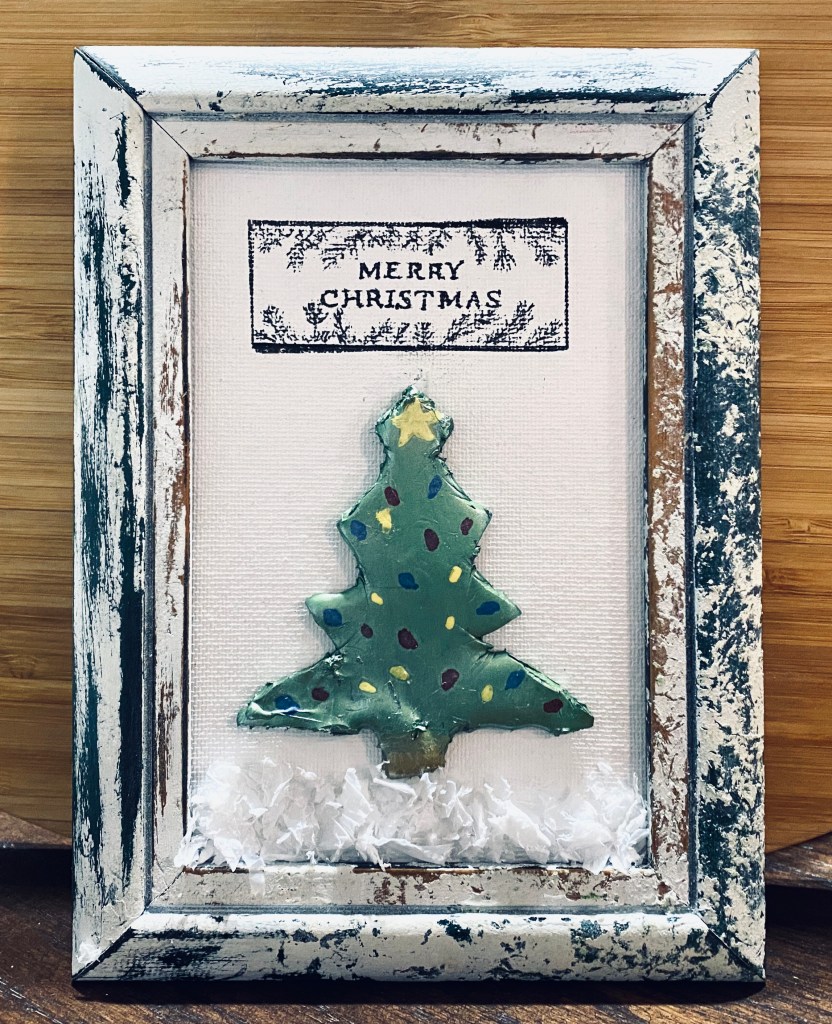
This one got caught in a snow storm so has a bit of snow (paint) on the branches.
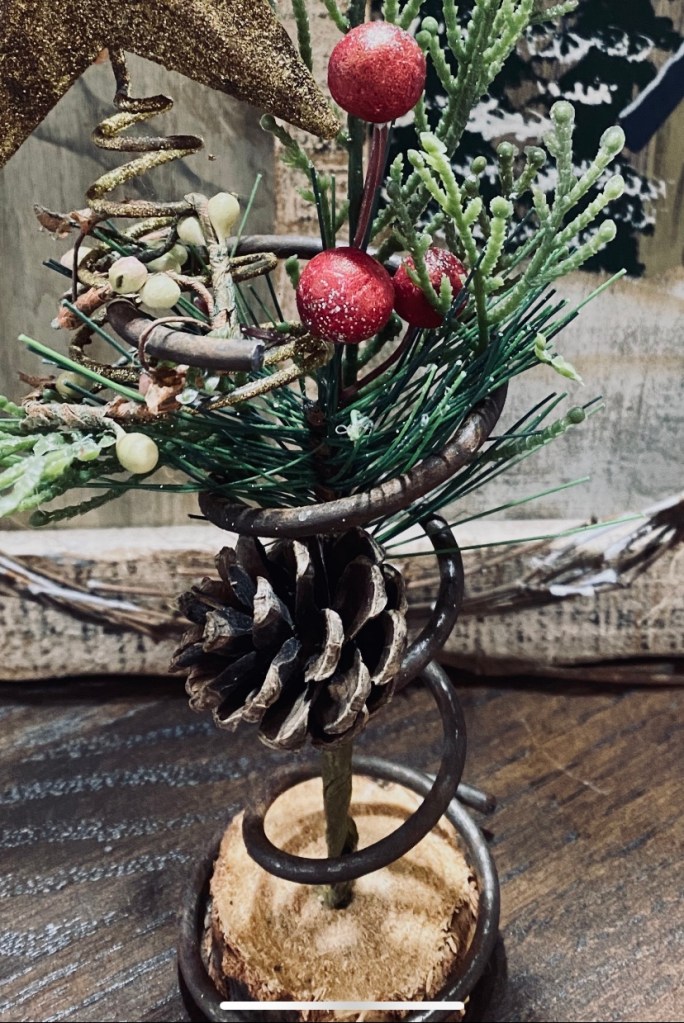
I found another way to use some of the roll of jute rope I thrifted. I created a spiral tree with it. 🙂
I used a long stem piece of green floral wire and using craft glue to secure, twisted the jute around the wire.
I then shaped it into a spiral form. The center of the spiral I thumbtacked into this chunk of birch tree I had. I used craft glue to glue the rest of the bottom edge to the base. I added sprigs of faux cedar and daubed on white paint to represent snow. I also daubed a bit of paint on the jute.
I added little balls of a muted green, red and cream color from a garland I had. They had wire attached so I just wired them on.
I cut a star from a piece of aluminum foil I spray painted copper and daubed white paint on it. I used a small piece of Velcro to attach the star to the top.
I sat the tree on a little round base then sprinkled some of the fallen copper dried hydreanga blooms I had left from another project around the base for the photo.
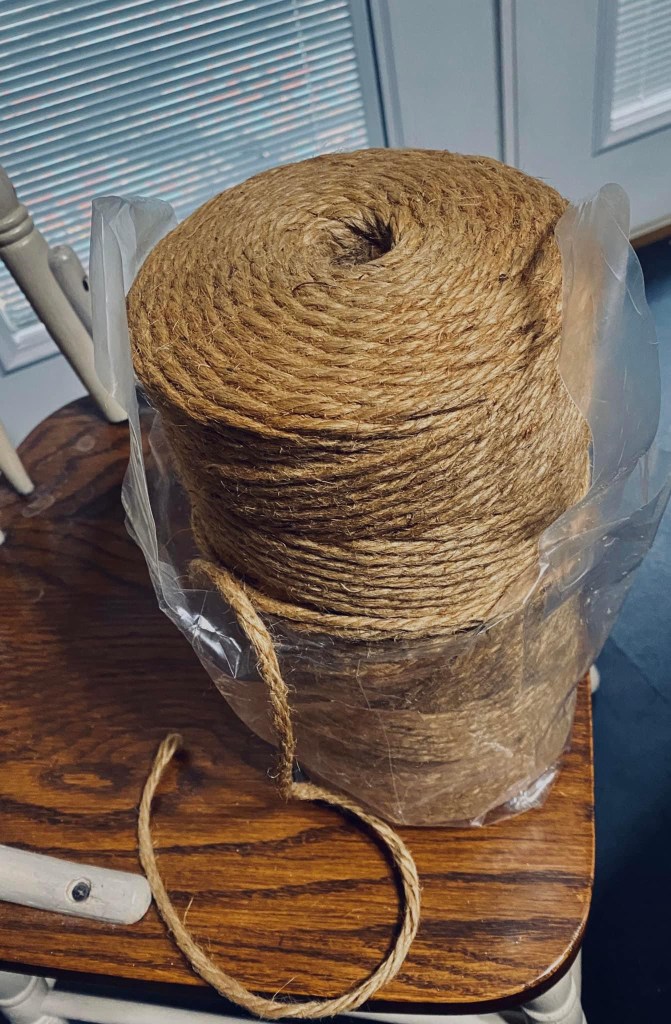
I’m having so much fun finding ways to use my big roll of jute rope I thrifted. 🙂
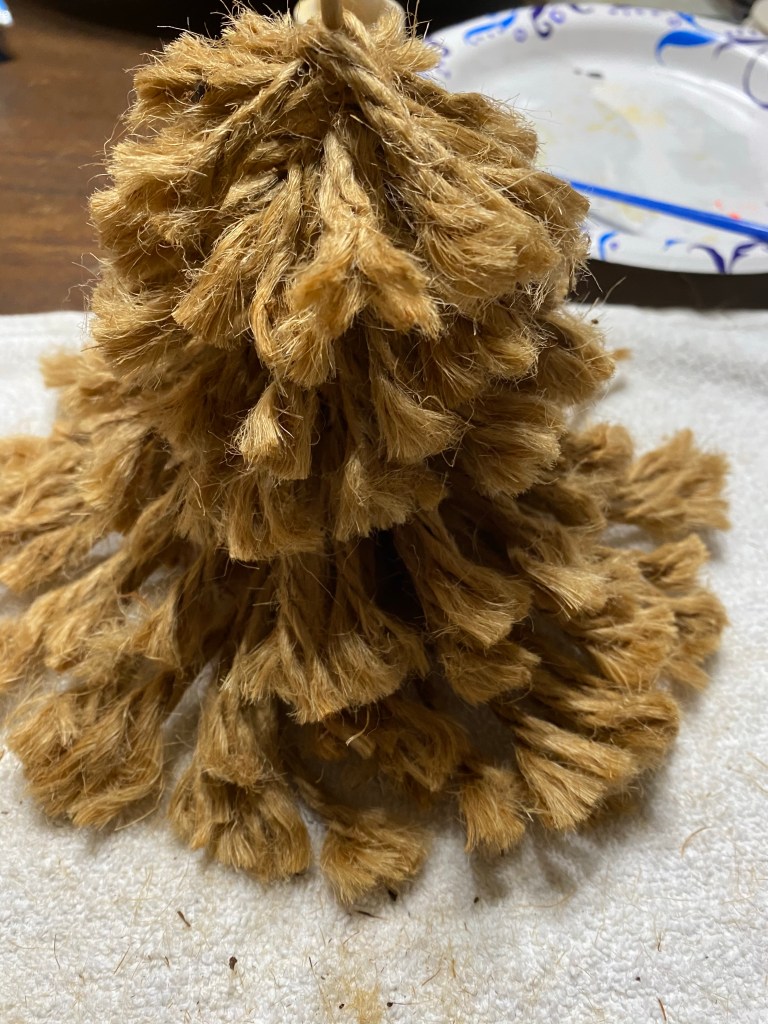
I found one thing this morning to make with the big roll of jute I found at an estate sale… a shabby jute Christmas tree. It took me about 1 1/2 hours to make.
My little tree stands about 7 1/2” h x 7 1/2” w.
I was inspired by a tutorial I saw come up on Pinterest. My jute was a little thinner than the tutorial so I adapted it some.
I used a 10” skewer from Dollar Tree but ended up cutting several inches off when finished. I also used 5 – 3” pieces 3 -2” pieces and 3 – 1” pieces of jute instead of what they did. I also used Dollar Tree Super GluecWood Glue on the wood round stand and on each stand of jute as I built it.
Then I just kept building.
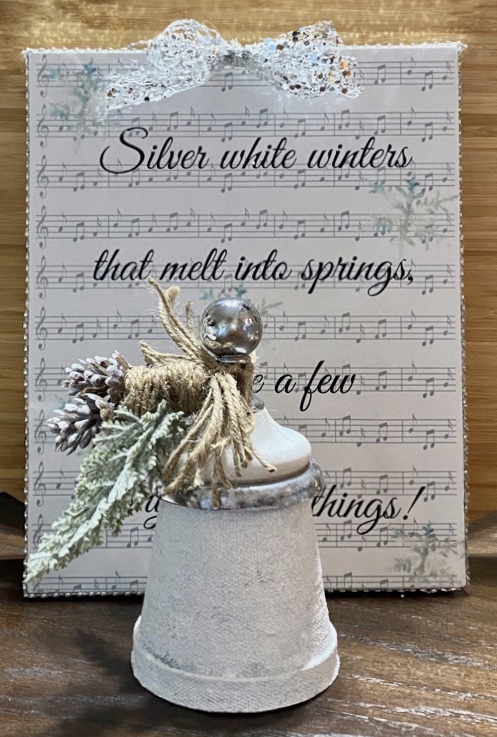
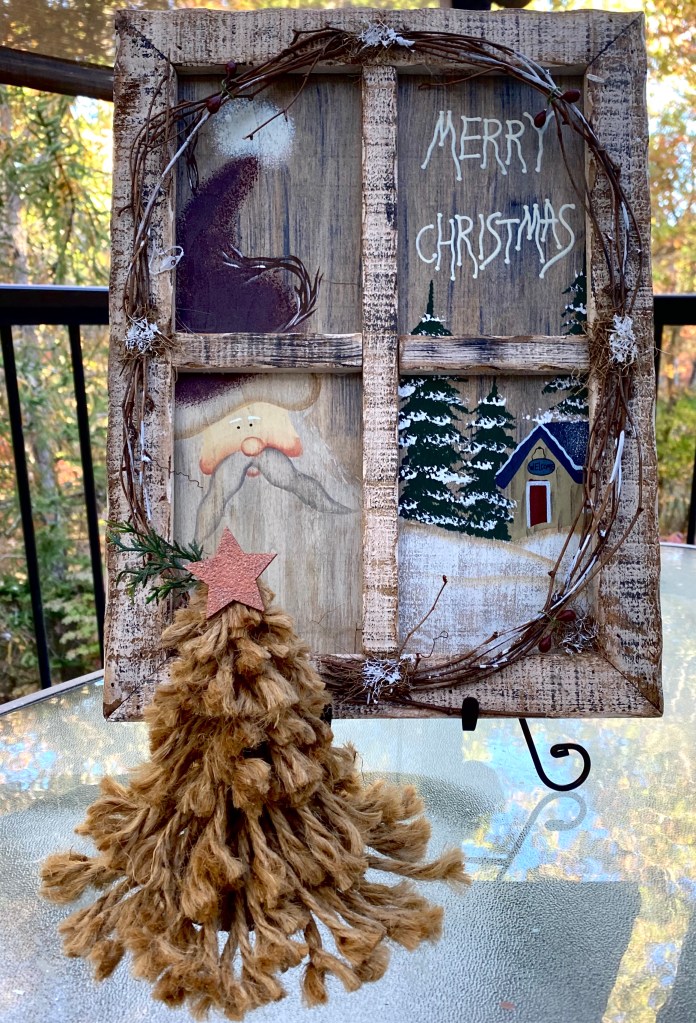
Here it is pictured next to this cool sign I also thrifted. Sure wish I had could have created that, but sadly, no.