#1 A remake of last year’s 8 1/2” w x 10” high wood pumpkin wall hanging with Dollar Tree parchment paper transfer
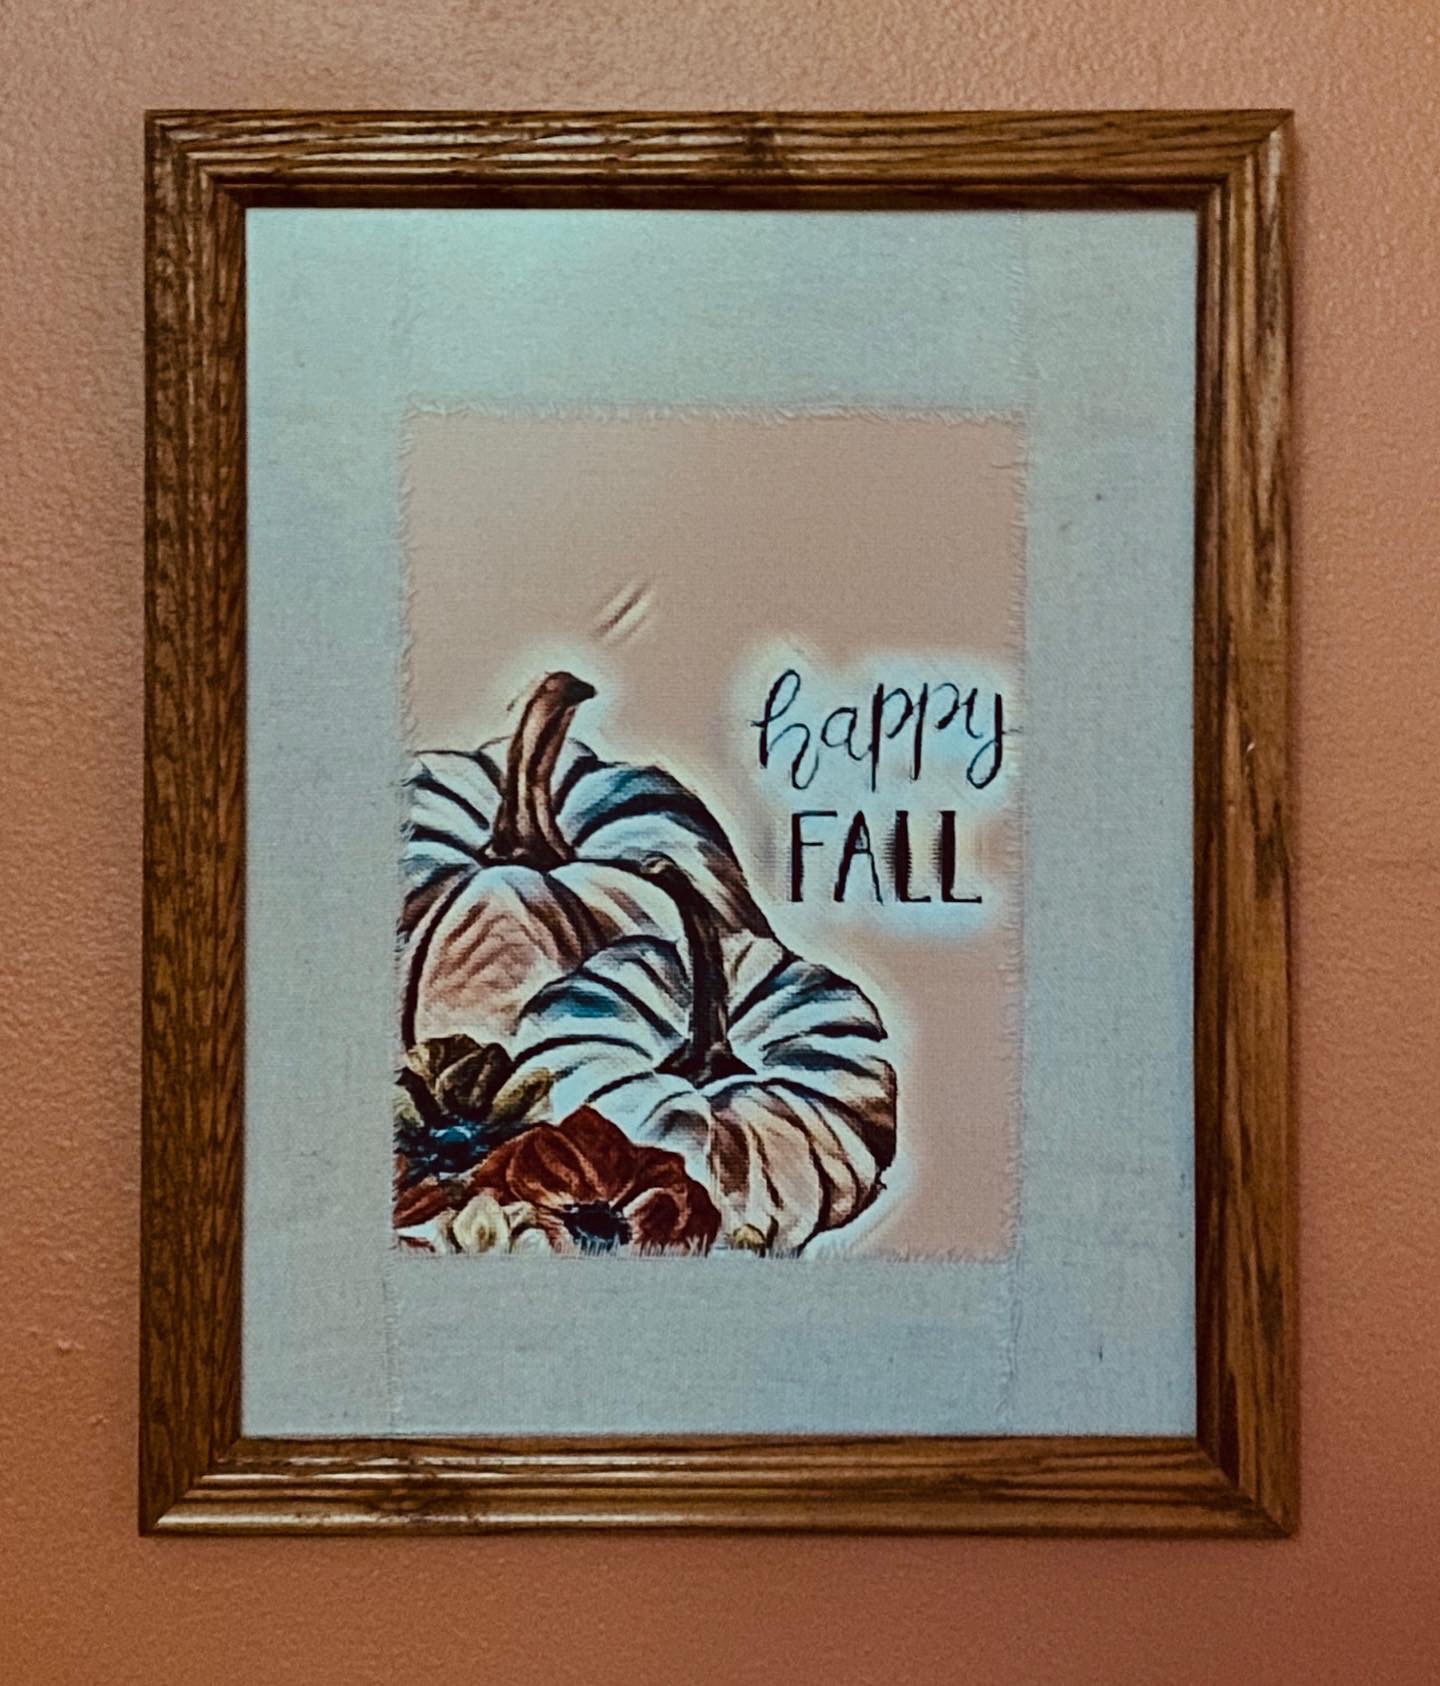
#2 This recycled 12×15” wood photo frame has a new life as a piece of fall decor. The print (61/2” x 10”) has had an artistic flair added along with a textured look. It is printed on card stock and framed with strips of ravelled canvas. The glass is the glare free kind.
The closeup shows the look of the texture on the paper.
Original graphic courtesy of creativediypurpose.
6” wide x 12” high
#3 A cutting board wall decor – Hello Pumpkin
The text was a template from Canva. I used carbon paper and an embossed to transfer it to the board and colored it in with a pen.
Created a rag bow with strips of canvas and added a small painted styrofoam pumpkin.
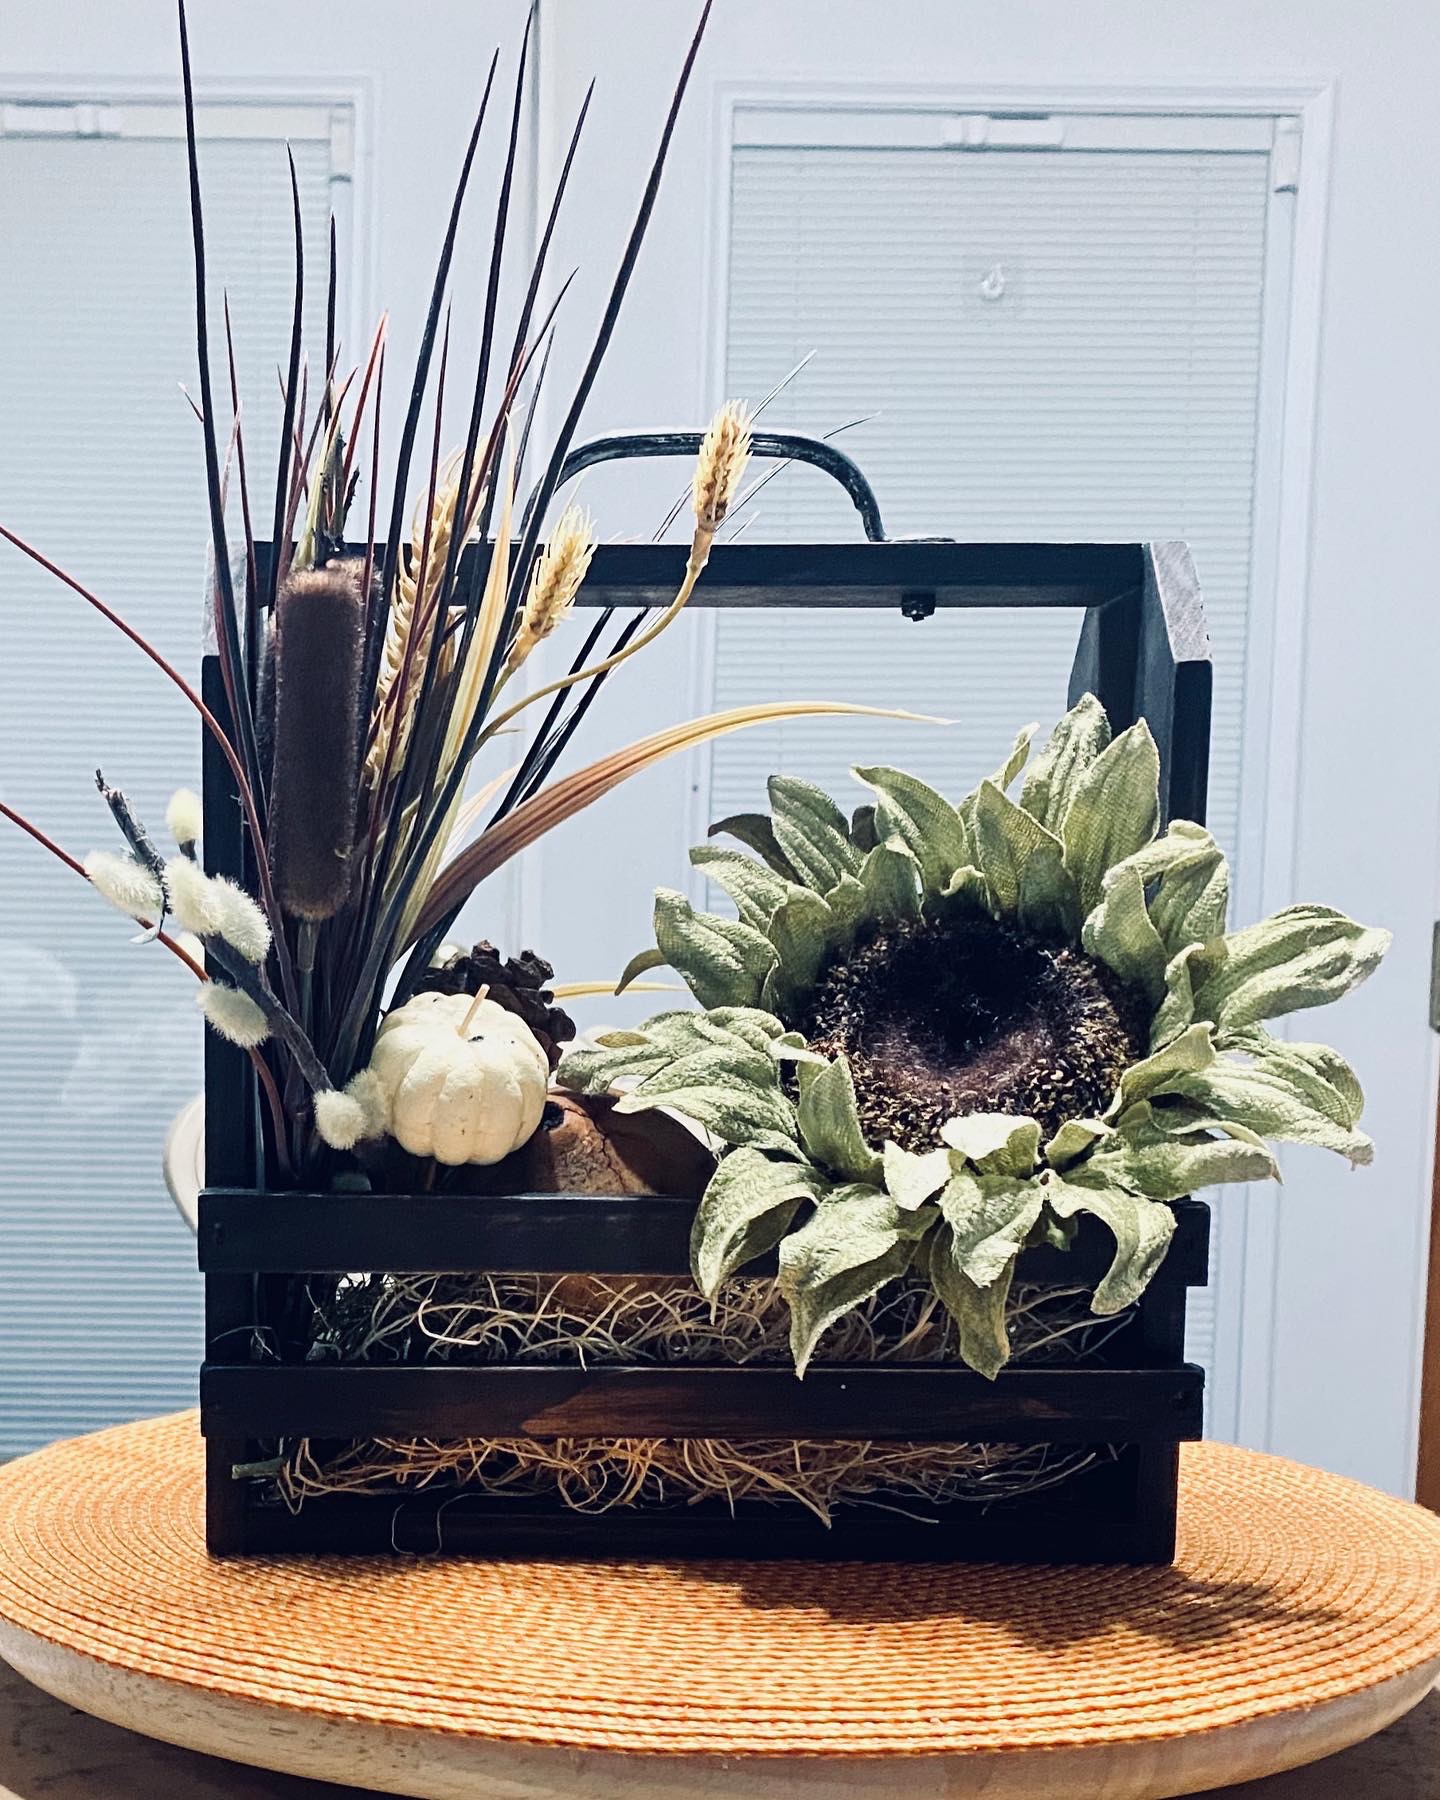
I thrifted this wood container and did a black distress over it using our Missouri Limestone Paint Company chalk-style paint in Coal Shovel. I added some filler, fall foliage, a pinecone, a couple of pumpkins, a gourd, and this beautiful green silk sunflower to create a unique fall centerpiece that looks finished from front and back.
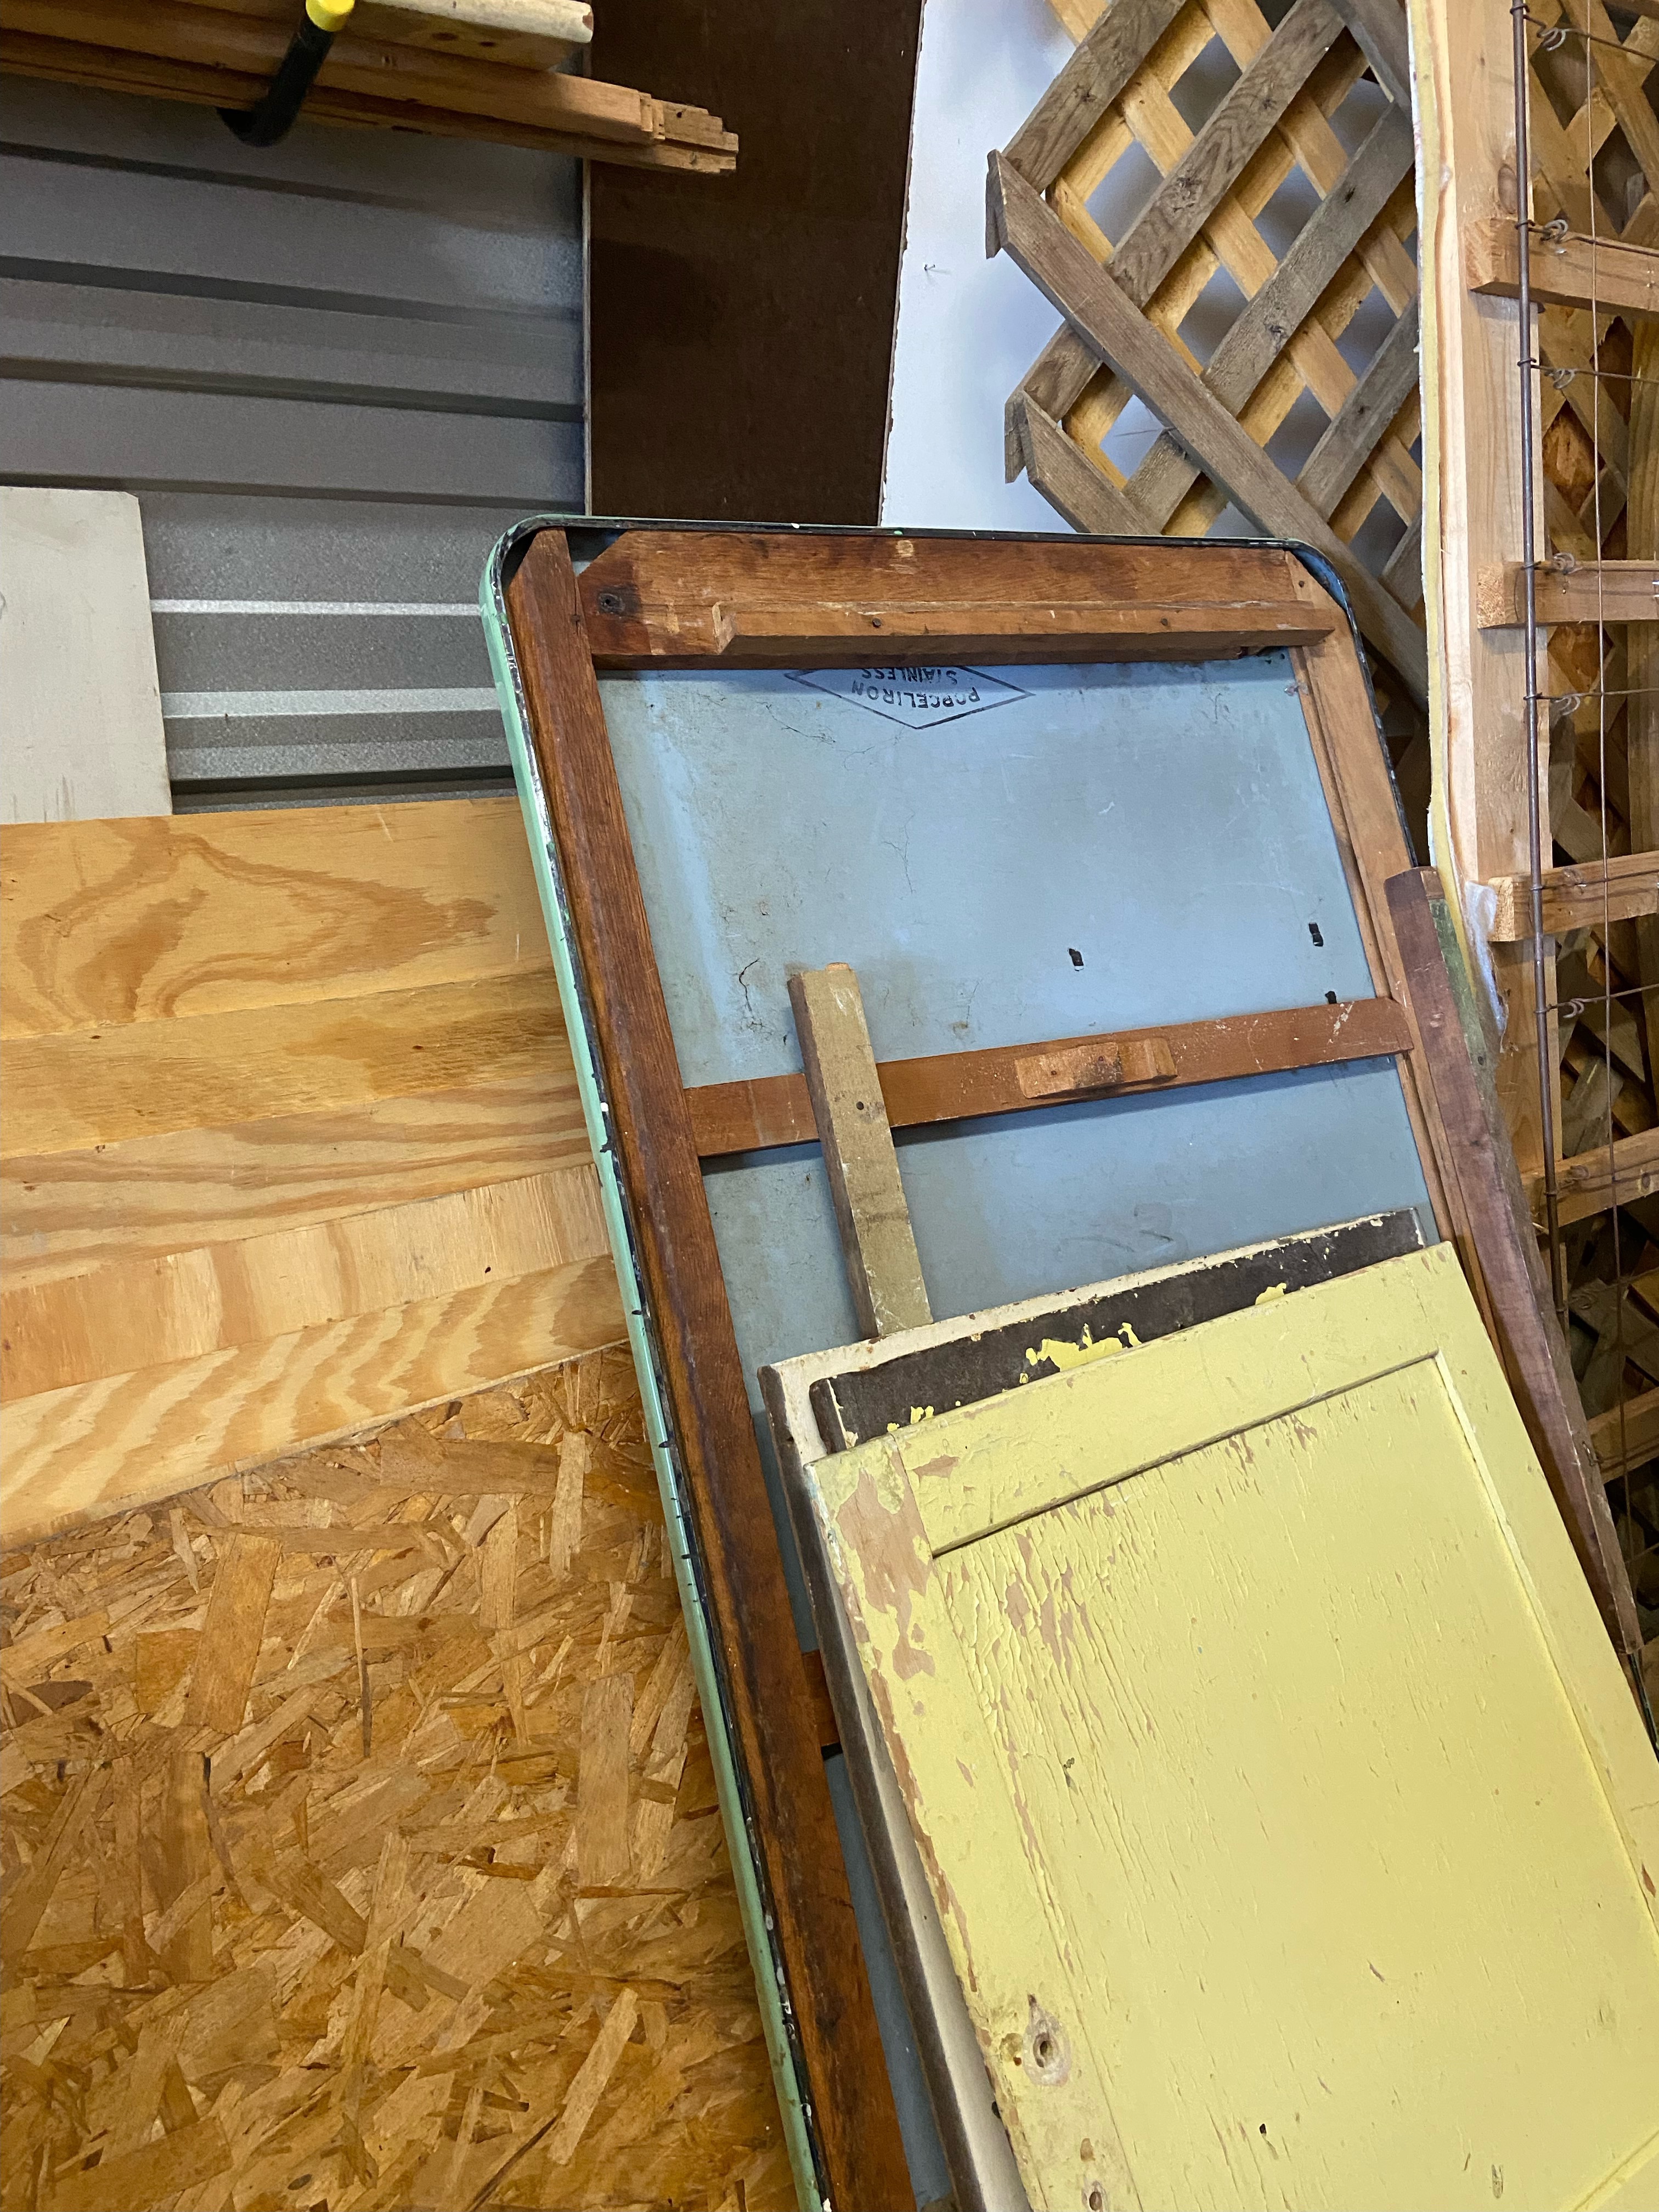
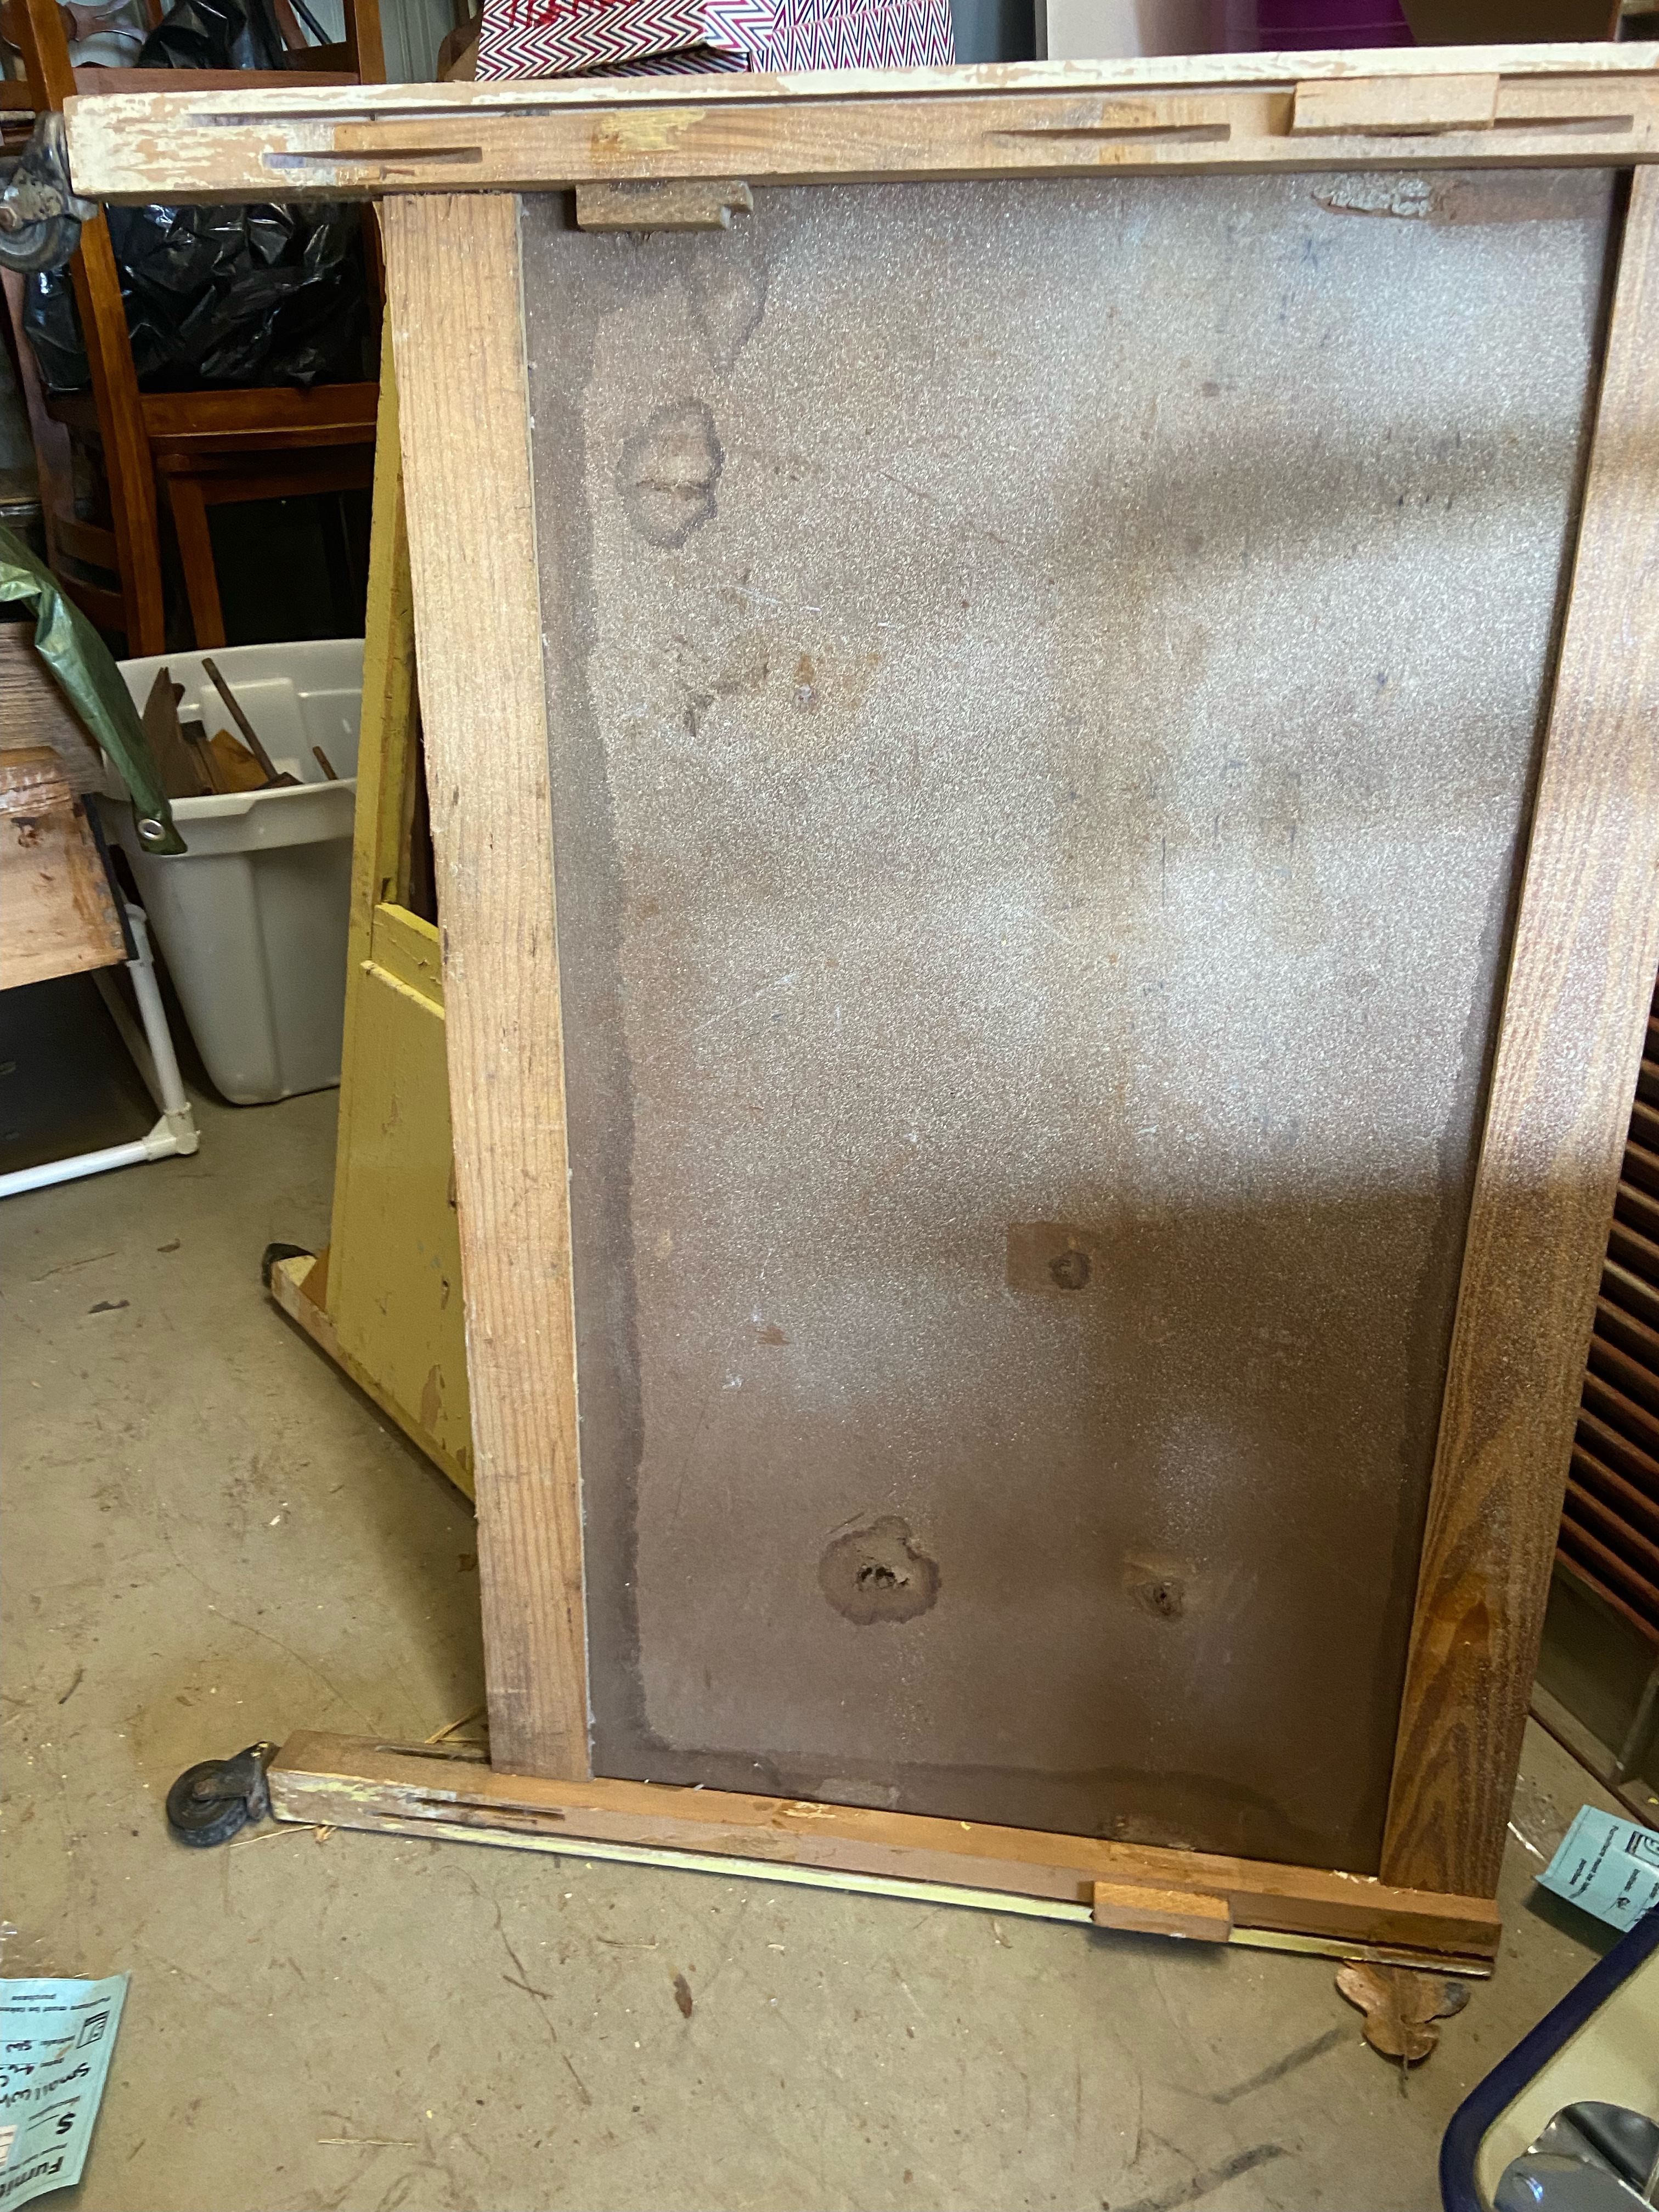
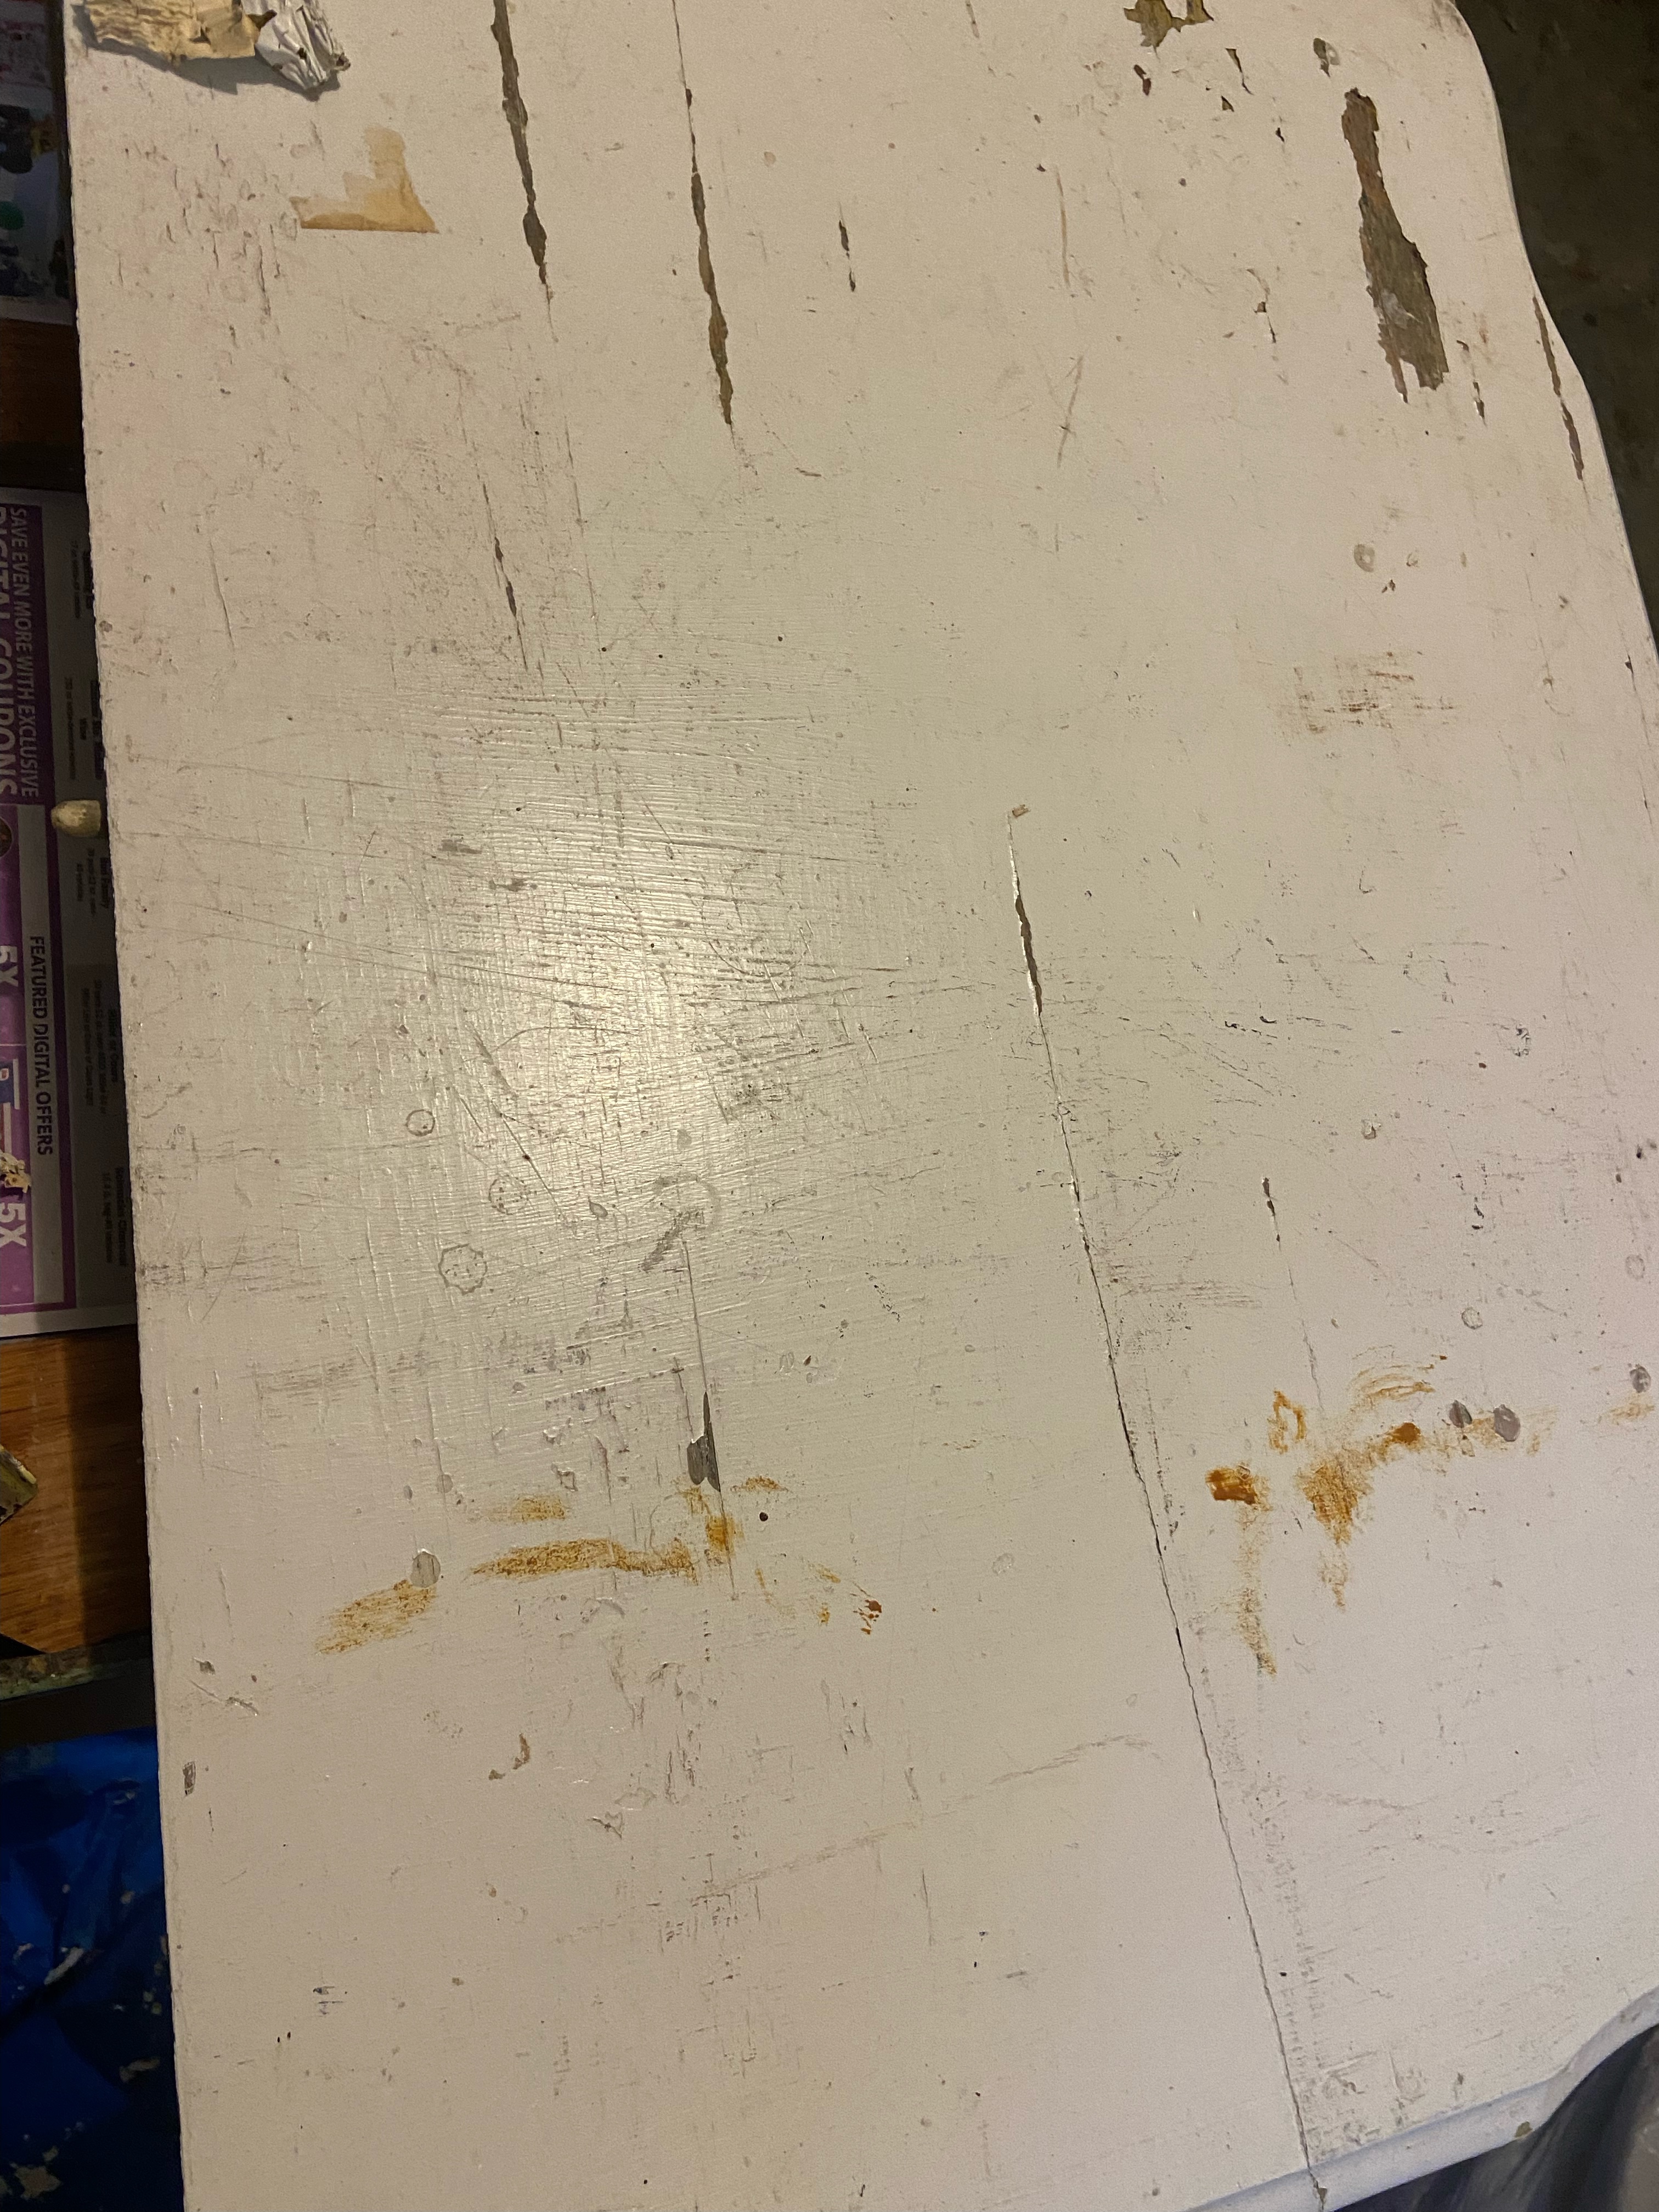
We recently thrifted a vintage cabinet. One drawer was missing a box so the front was just nailed to the cabinet. The cabinet had at least 3 layers of paint on some places, others had only one. It was falling apart.
The top was awesome. It was a vintage metal top, a cream color with farmhouse green edges. I don’t think it was the original top as it really didn’t fit.
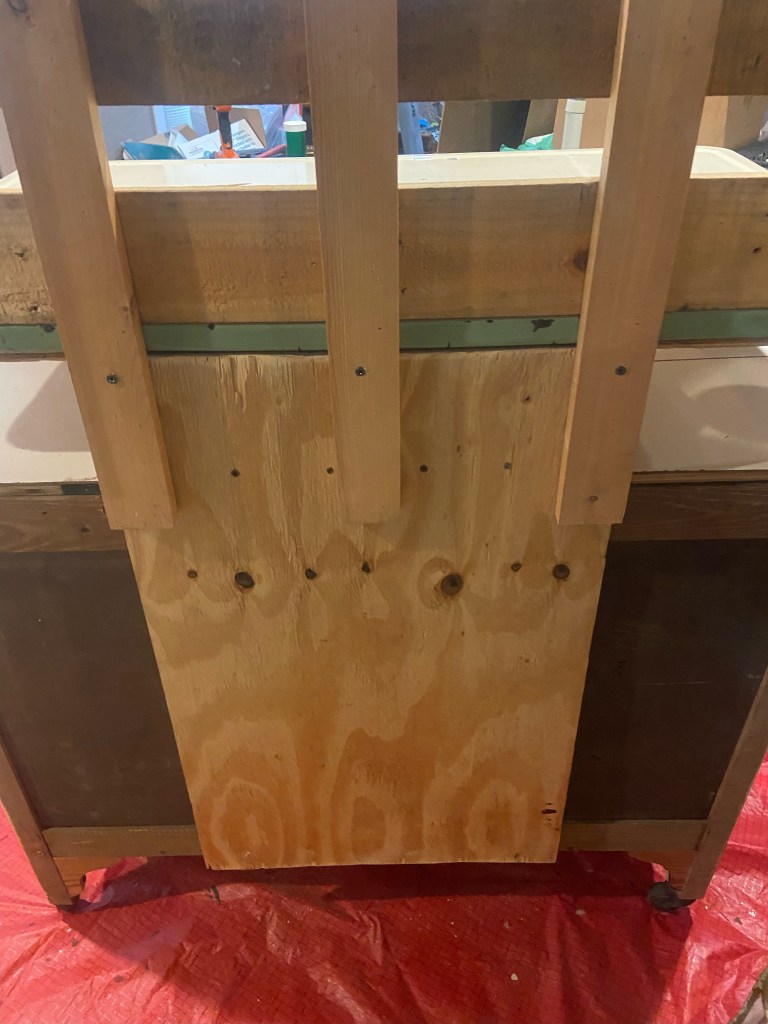
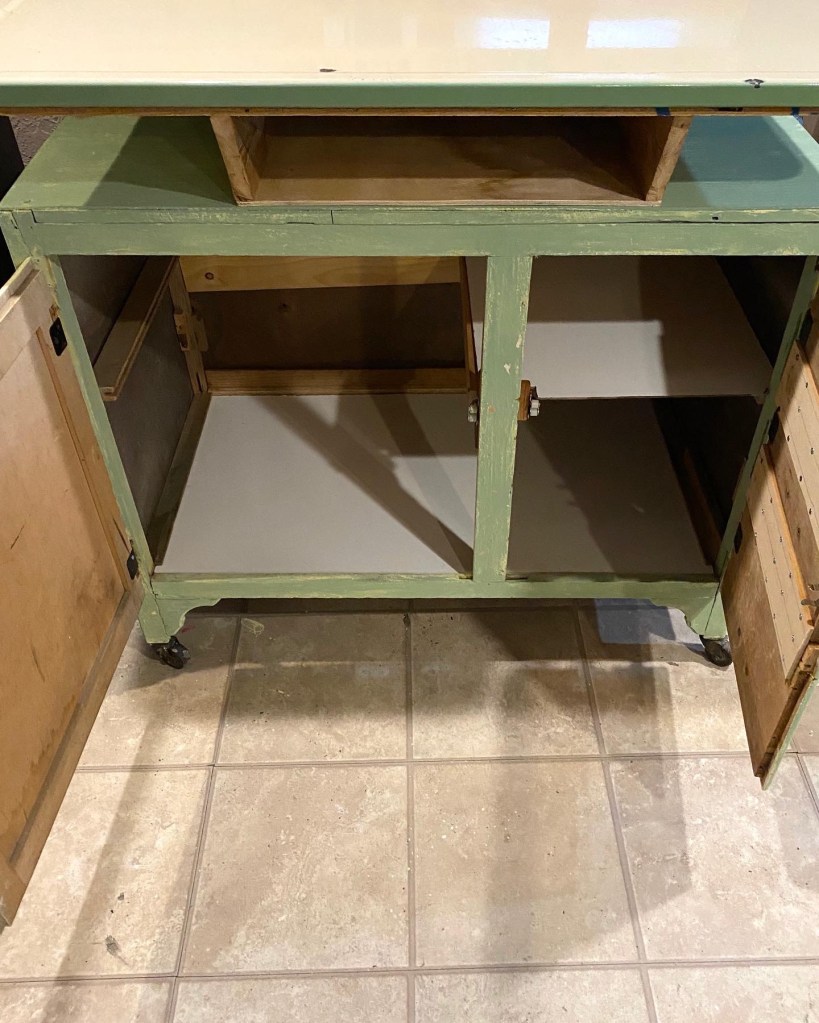
Danny took it all apart, and rebuilt it from scratch. He created another door from the fronts of all 3 drawers and added a bottom and a shelf on one side. He also added hardware to keep the doors closed. He added a wood box type thing to the top of the cabinet to raise it up to cabinet height once the metal top was added. He also added a pallet board rack.for hanging tools, etc. There is lots of storage for soil, pots, etc.
He sanded the paint that was loose and I painted it with a mix of our Missouri Limestone Paint Company chalk style paints to match the green edges of the metal top.
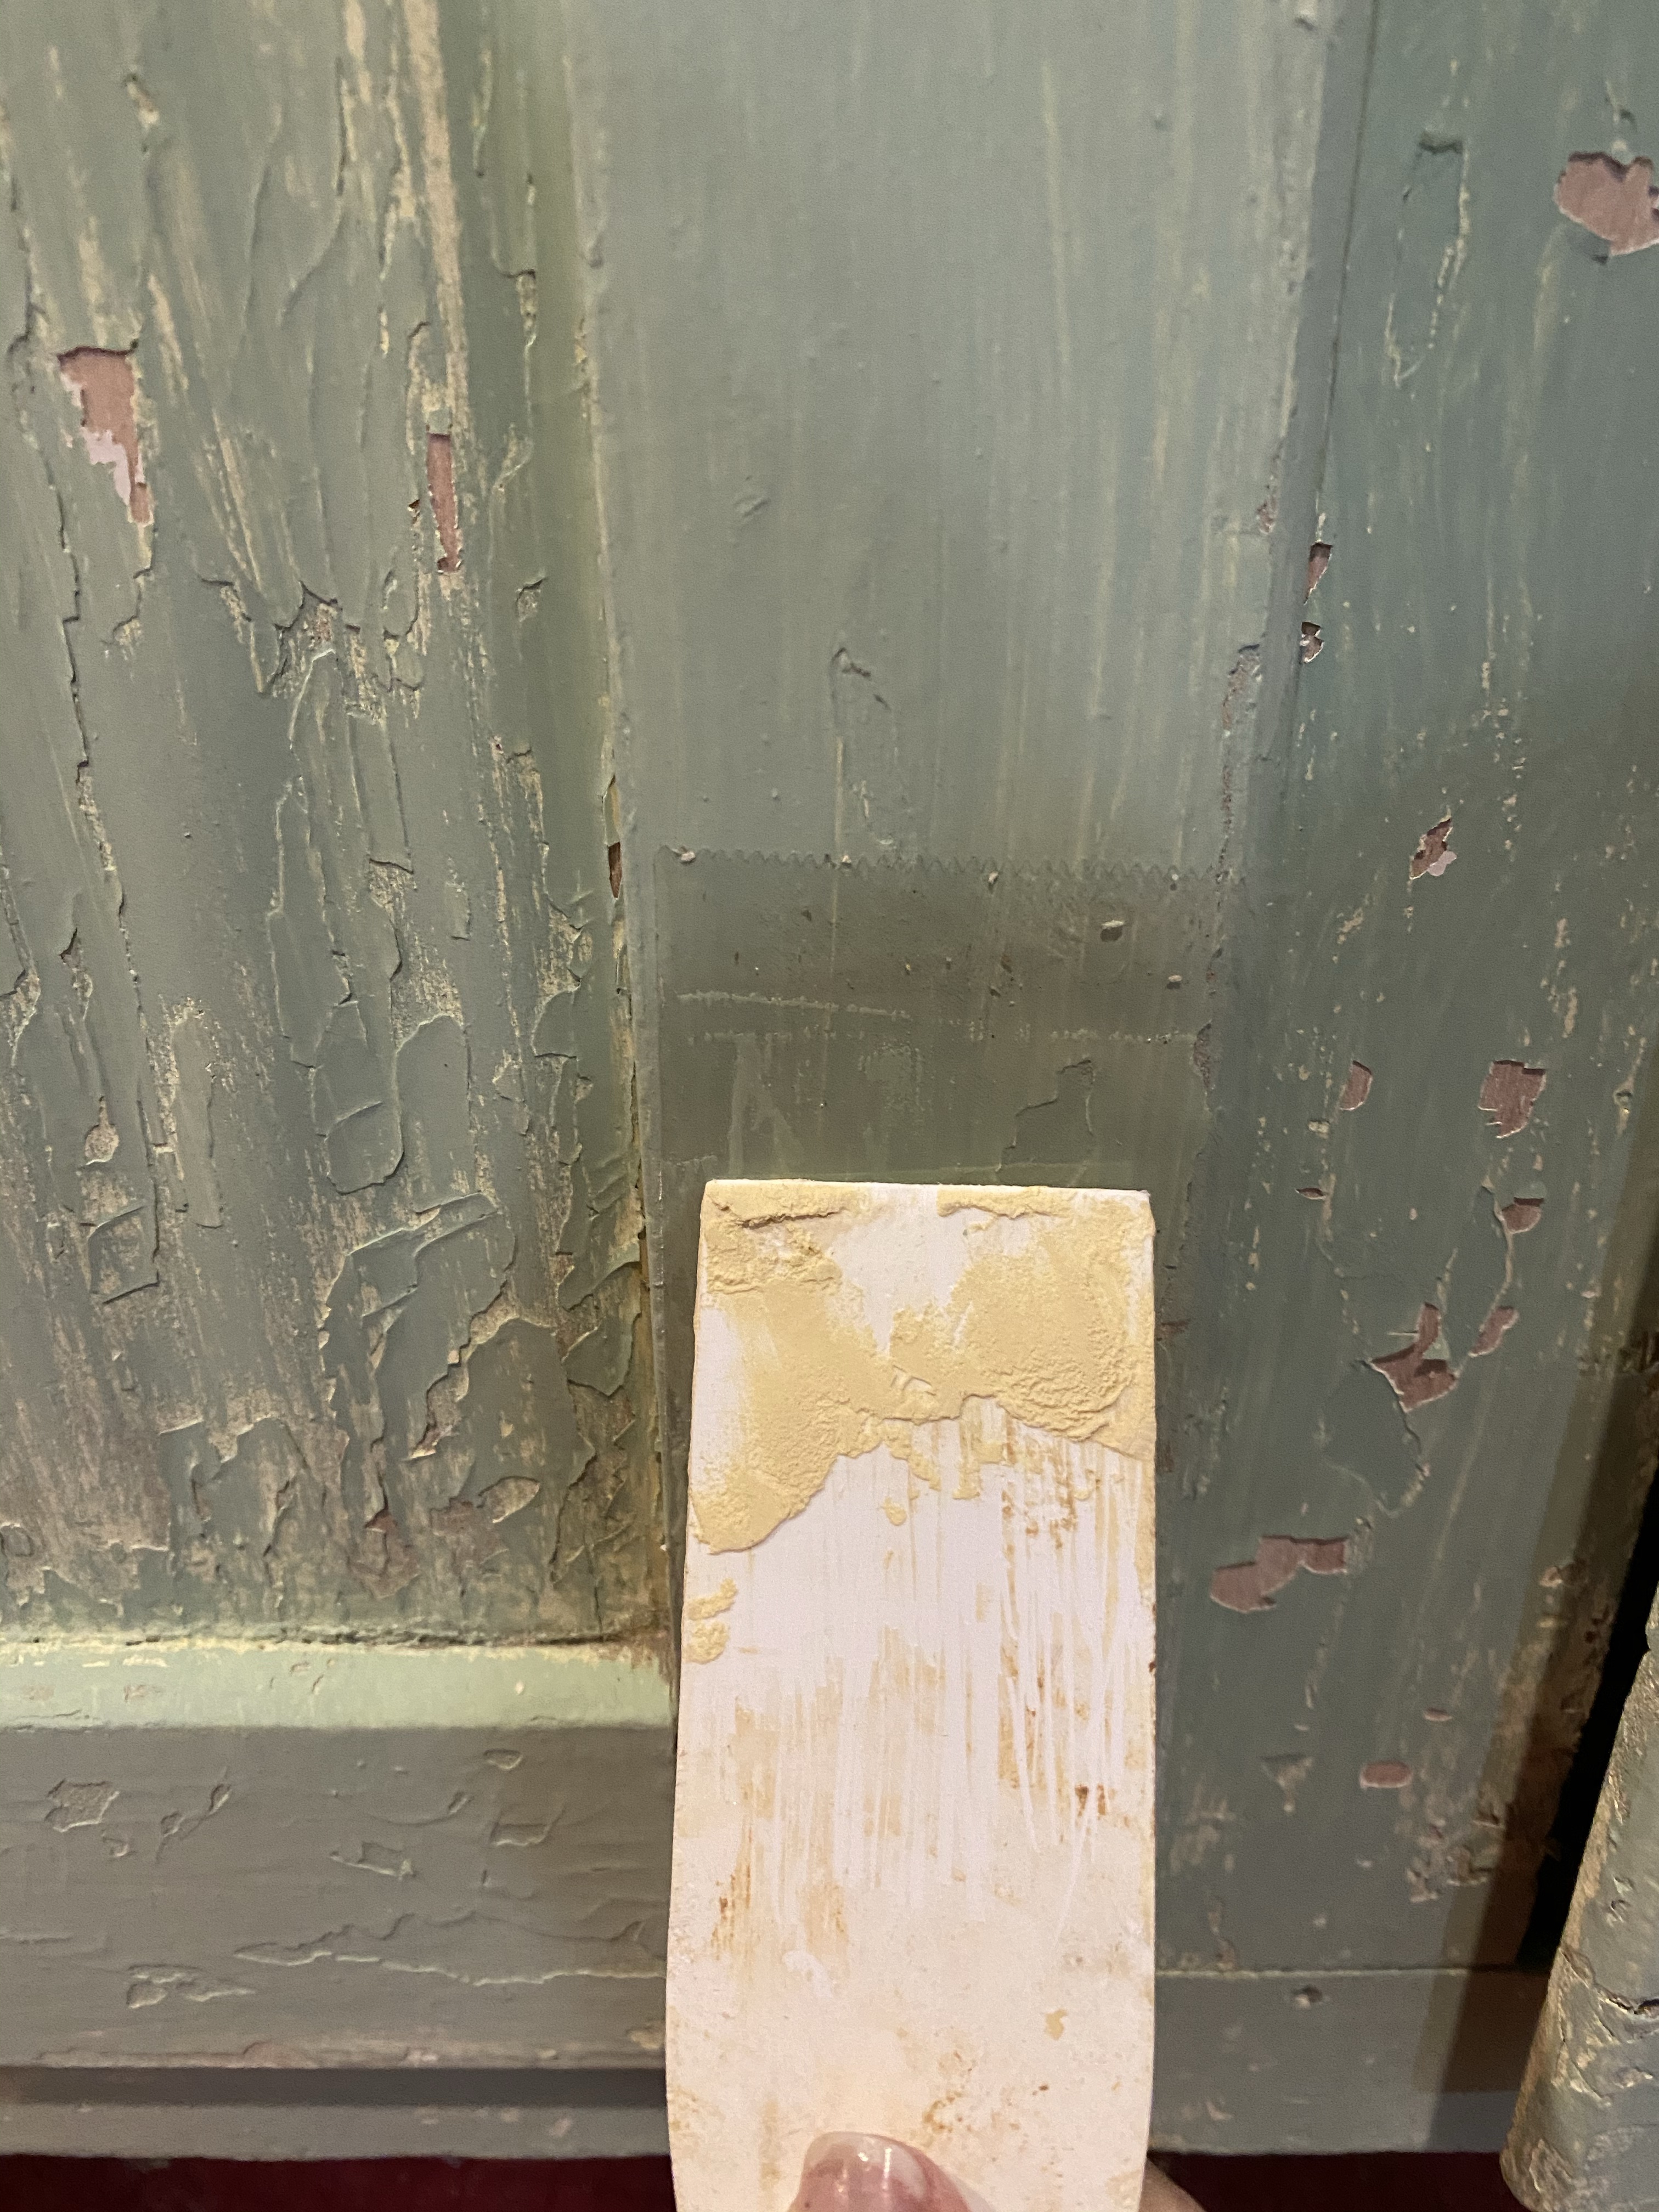
To create the chippy look all over, I first painted the whole thing a light yellow like most of it has been painted. I let that dry and then rubbed it all over randomly with a candle, focusing on the edges.
I then painted it with the green paint I had mixed. I allowed some of the yellow to show through on places. Once that was dry. I took packing tape (and sometimes used duct tape) and applied it. I used a plastic scraper to adhere it, then quickly ripped it off. It took up some of the paint in small areas and a lot of paint on the areas I had applied wax.
Color is a little off due to lighting.
Color is a little off due to lighting.
Color is a little off due to lighting.
The newly finished potting bench turned out great and sold very quickly as did the basket of fall flowers and leaves and the sunflowers.
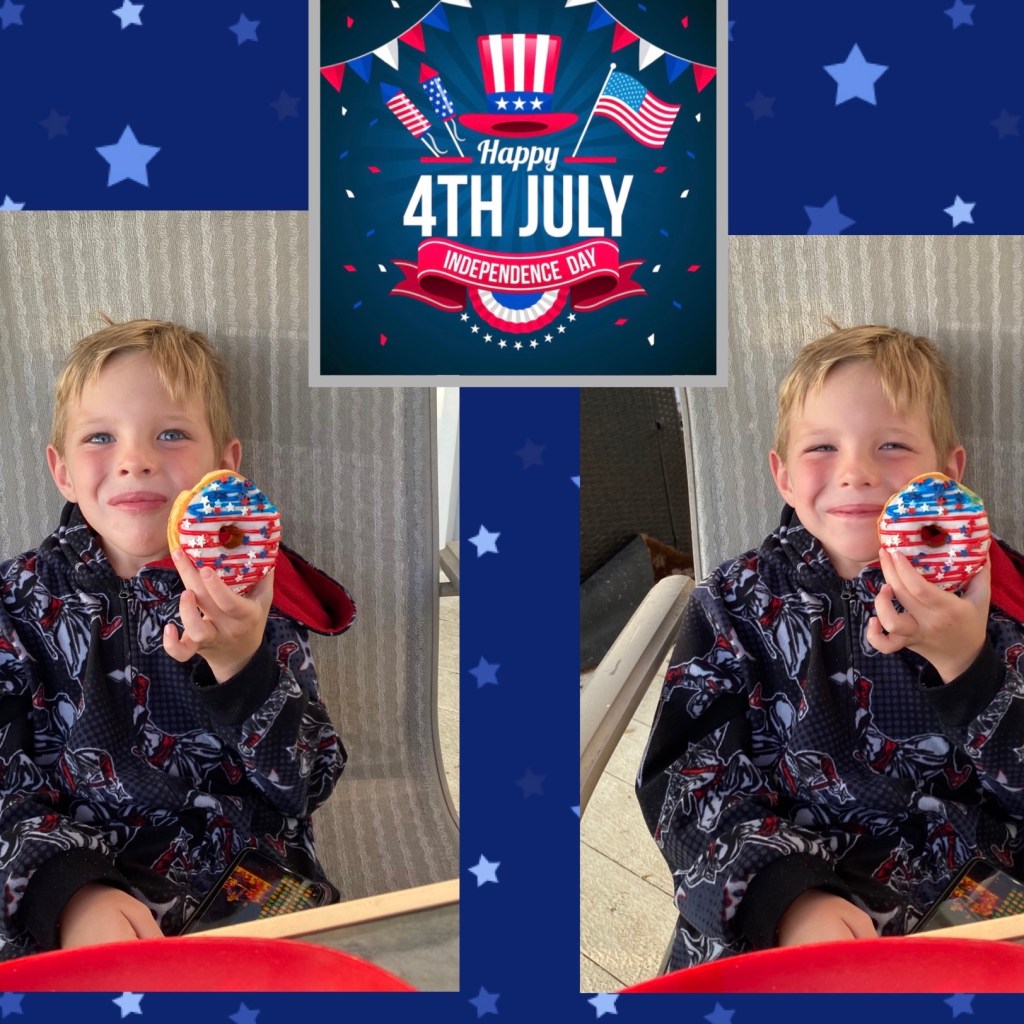
We are visiting family in Jackson, Missouri for the 4th – One son and his family yesterday and today, the other for dinner on the way home. Thankful and blessed. And, if you get up early here, you get the patriotic donut! 😂
We watched fireworks from various neighborhood displays from the deck last night, but seriously with this view no fireworks were even needed! However, we were treated to about an hour of some beautiful fireworks.
This morning we had the honor of a Cardinal visit, perched at the top of a cedar tree. As my sister mentioned when she saw this video clip, “You never know what you’ll see when sitting in the clouds.” 🥰
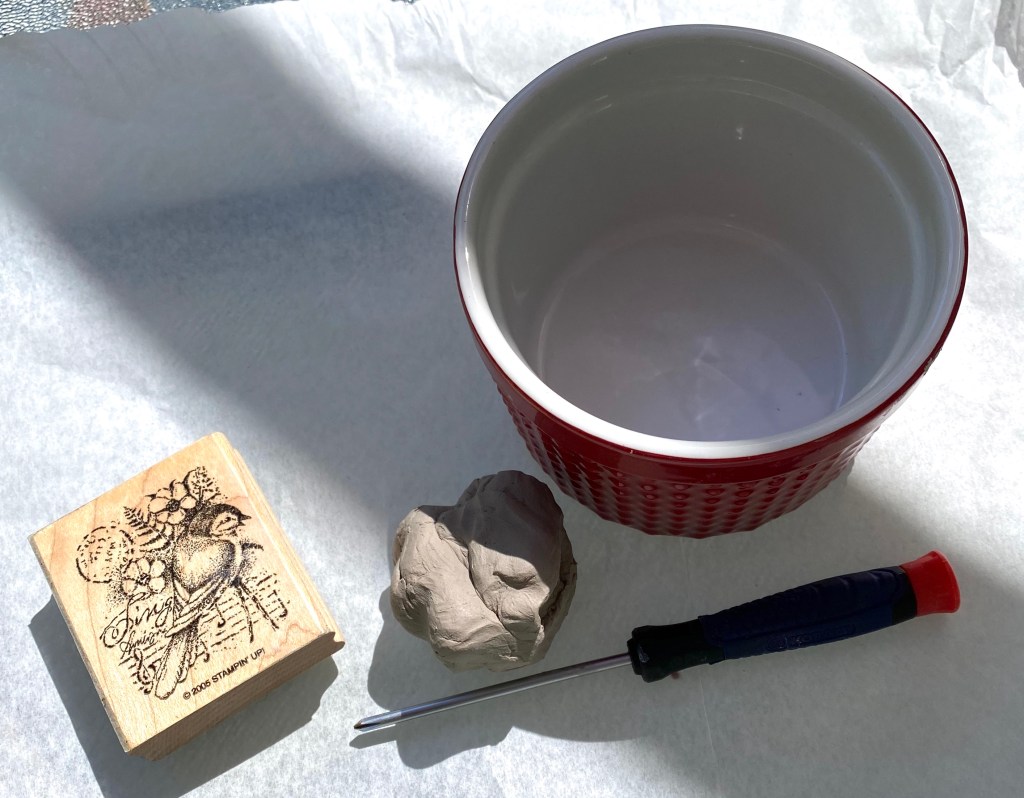
I saw an idea for making a bud holder using air dry clay so I just had to try it. I had a bit of clay left over so I made a couple of little birds, too.
Amazing how fast air dry clay dries on a hot, sunny day. 🙂
I made a bud holder to fit the small red glass vase I had, painted the bud holder white, sealed it with Mod Podge spray, then used watered down gray paint to bring out the detail of the stamp. If you look carefully, you might be able to see the image of a bird imprinted into the clay. Then I sprayed it with Mod Podge Pearlized Spray for a bit of glimmer.
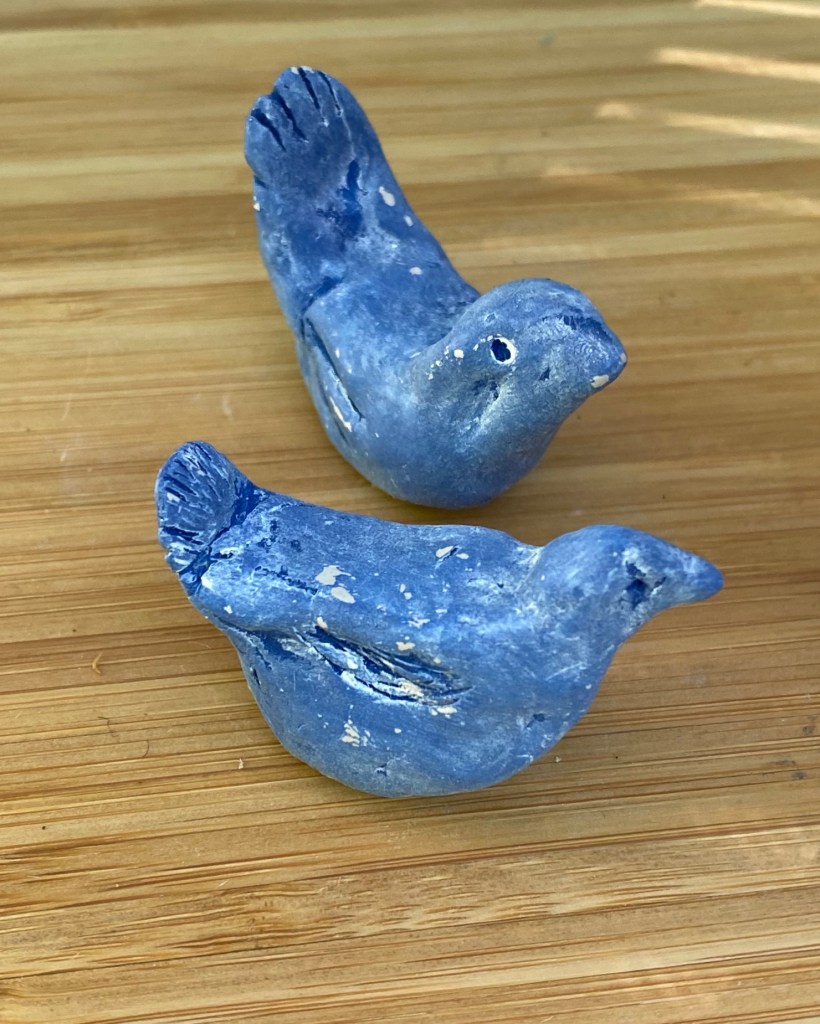
I painted my little birds a dark blue and distressed them with white wax.
Then I added some Mimosa blooms from my tree. Beautiful!! And Wow! They smell sooo good!
My husband and I are at the age when we misplace things… like finding his phone under the strawberry package in the refrigerator or his glasses in the junk drawer. It is not always him, though. Today it was me. I must say, even though the arthritis is my knee is painful, my fingers are still pretty nimble. 🙄😂😂
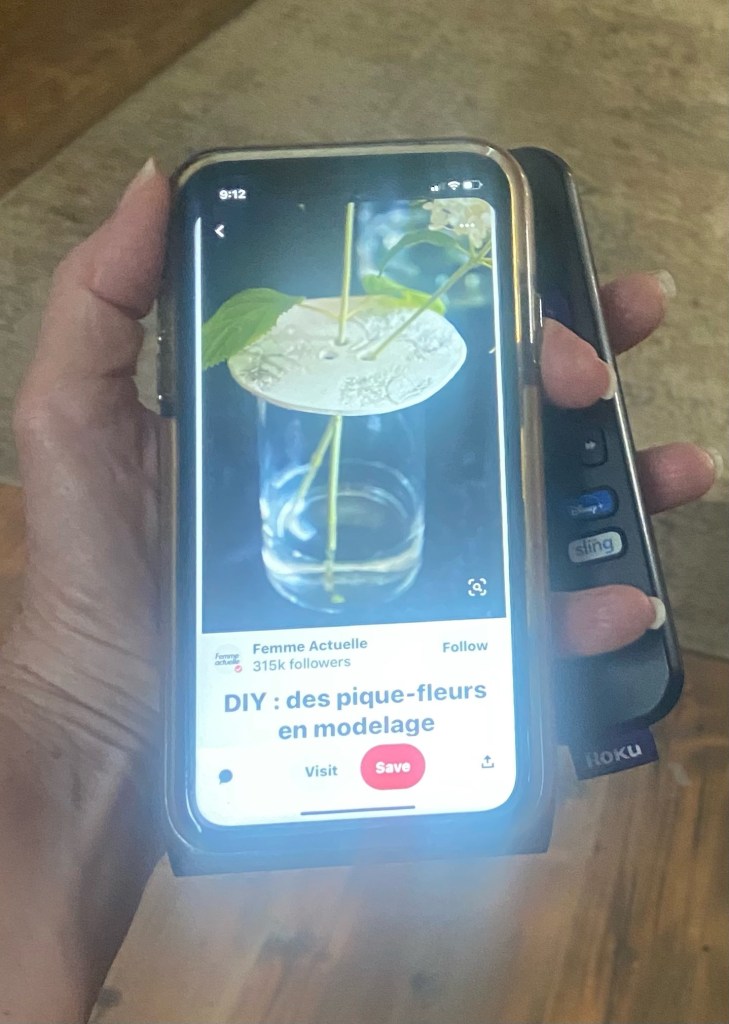
I was concentrating on a Pinterest idea I saw for an air dry clay project as we sat in our recliners in front of the TV. (When I think about it, Archie and Edith come to mind 😳). Danny interrupted my intense concentration when he said, “Pass me the remote.”
I started looking all around me while still holding my phone. I moved things around with my right hand on one table then turned to look on the other table on my left when I happened to look down.
We both saw it at the same time, made eye contact, and just had to laugh.
Photo is a recreation of that minute in time … 😂😂 But is that a cool Pinterest idea or what??
A very early morning project – I can still hear a rooster crowing in the distance and I live in the city limits. Lol
I made these big clay beads for a friend yesterday. They dried quickly in the hot sun. This morning I painted them, dried the paint and added white wax and rubbed it in. I strung them on jute rope. This will still need to fully cure a few more days.
Meet Agatha, my yard angel. After making some other yard decor yesterday and seeing some cute angels in a garden group I’m in, I knew I had to have one. So I made her this morning…. all by myself …. with materials I had here and my husband’s power tools. Ok … his battery drill with a screwdriver bit. But “power tools” sounds better.
Head and neck: a thrifted cutting board Halo: a grapevine wreath from Dollar Tree Hair: bed springs he cut off an old mattress he found on trash pick up day awhile ago. It kept him busy for two days cutting them off. 👍🏻 Necklace: I made gold bells out of big pill bottles for a wreath I made at Christmas. Agatha wanted them for a necklace. Body: a wonderfully rustic shutter a friend gifted me. Arms: braces from an old chair Wings: leftover pieces from my son’s new deck. They were already triangles. Bag of flowers: tote bag from our trip to Amsterdam several years ago. Flowers from Dollar Tree. I will be changing that out to a watering can soon but I wanted a photo before the rain and the watering can is In my booth for sale right now. Lol
I gave her wings and arms a touch of paint to blend them in.
I screwed the pieces on (I even found that metal stuff with holes in it to attach the wings) and placed her on the hill by the pond.
This is line art I created on glass – by tracing a print out with a metallic paint pen . 🙂 This YouTube channel video has many great ideas that think fit right in with this modern boho style. This project I saw on the video, by Katie Bookser, in particular caught my eye.
I printed an image from the site of free images she shared and placed it under the glass of the photo frame I was using. Then with a white metallic paint pen from Dollar Tree, I simple traced the image.
Once the paint was dry, I turned it face down on a unique piece of blue scrapbook paper I placed in the frame. In the close ups, you can see a bit of writing on the paper. With the painting face down, you can easily clean the glass.
This 8”x 12” frameless photo frame is very unique. The glass and contents pop in and out from the front. You press on the edges to release them. There is also a fun surprise under the scrapbook paper. I used a snowflake picture I made this winter. Repurposing are its finest. 🙂
Photos were a little challenging due to glass reflection.
I had so much fun with tracing line art on glass yesterday, I just had to play around with another one this morning. I’ve discovered I love to do this!
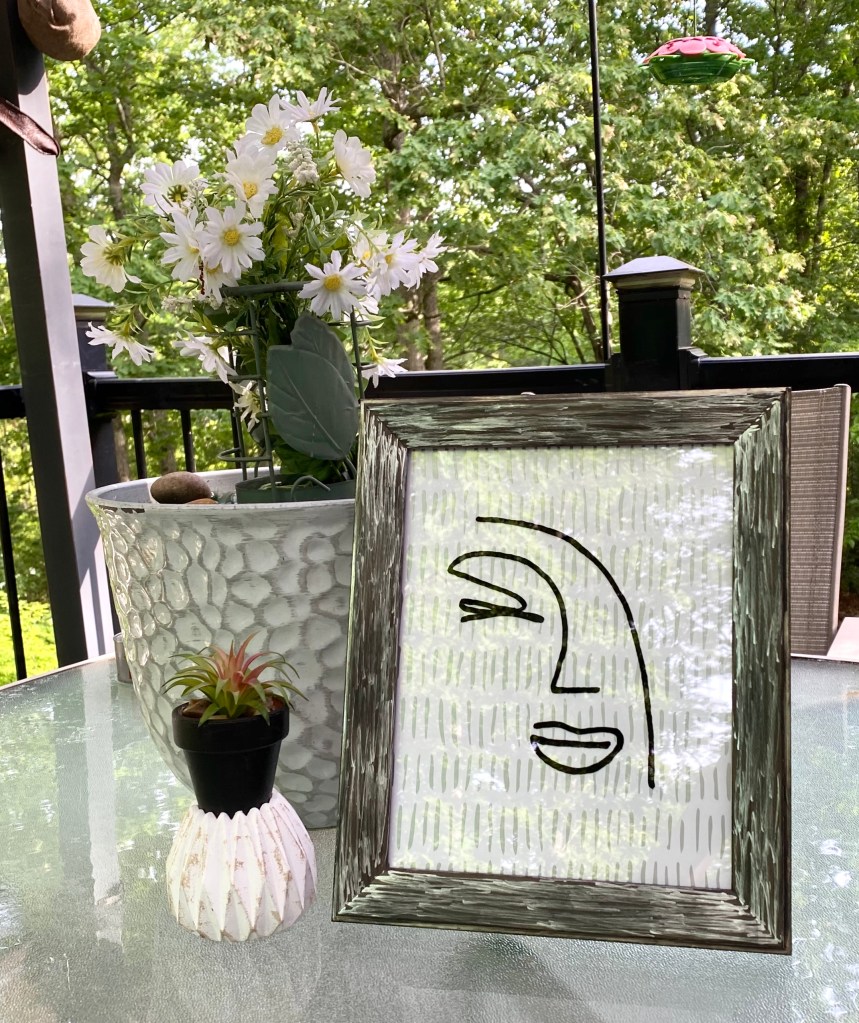
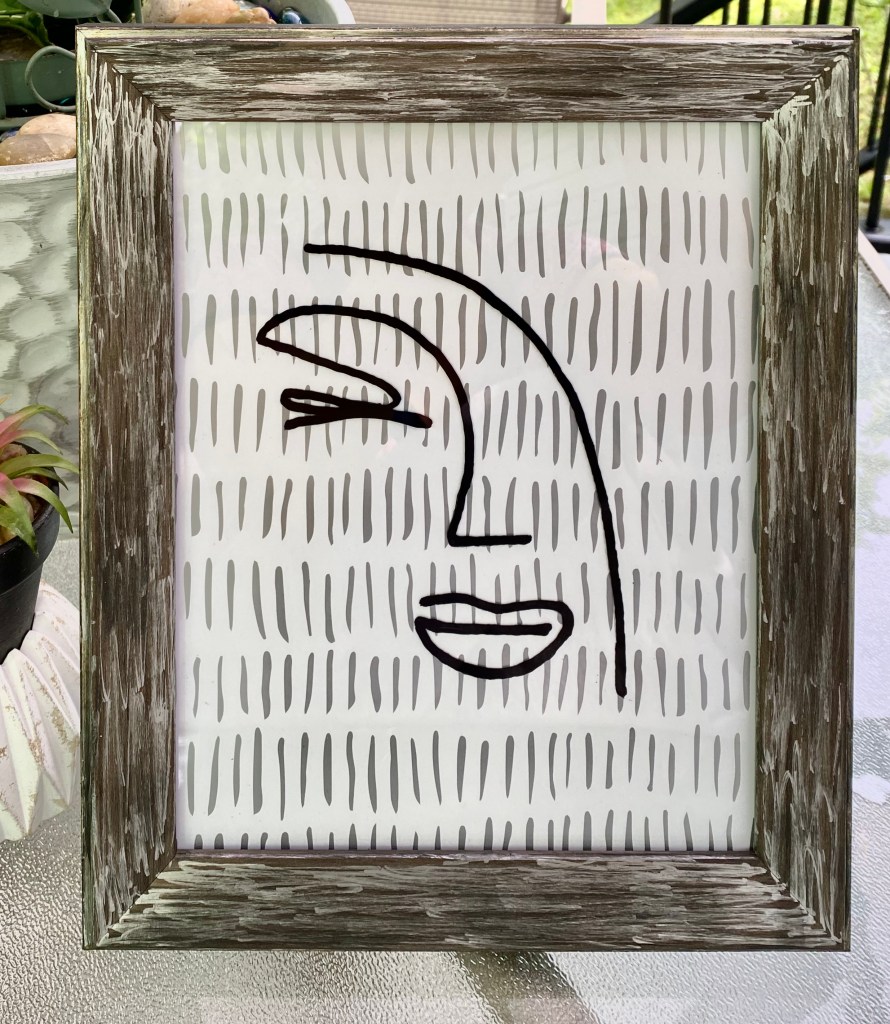
The graphic is from a free vector site called vecteezy. I did a search for face line art. I traced this graphic on glass with a black permanent ink Sharpie.
The tribal peel and stick wallpaper came from Dollar Tree. The nice solid frame is a Hobby Lobby one I thrifted from somewhere.
I painted the lines on the front with a silver metallic pen and the sides with black chalk paint.
This one is true bohemian style. So cool!
I was fighting reflections on the glass, but I actually love the reflection of the leaves in the first photo. And it’s a beautiful morning on the deck for taking photos. Honeysuckle must be blooming because I can catch a whiff of it every now and then.☺️
It was a rainy day yesterday and since rainy days are made for crafting, I had a couple more projects in me.
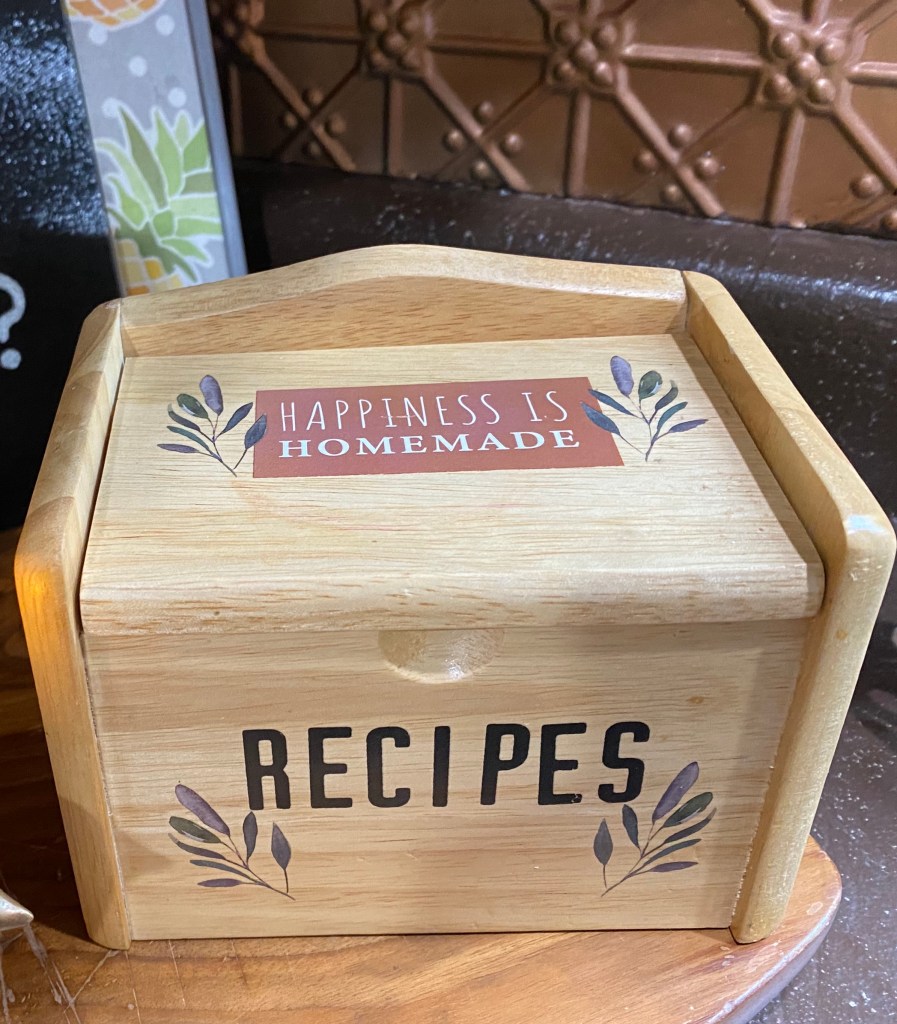
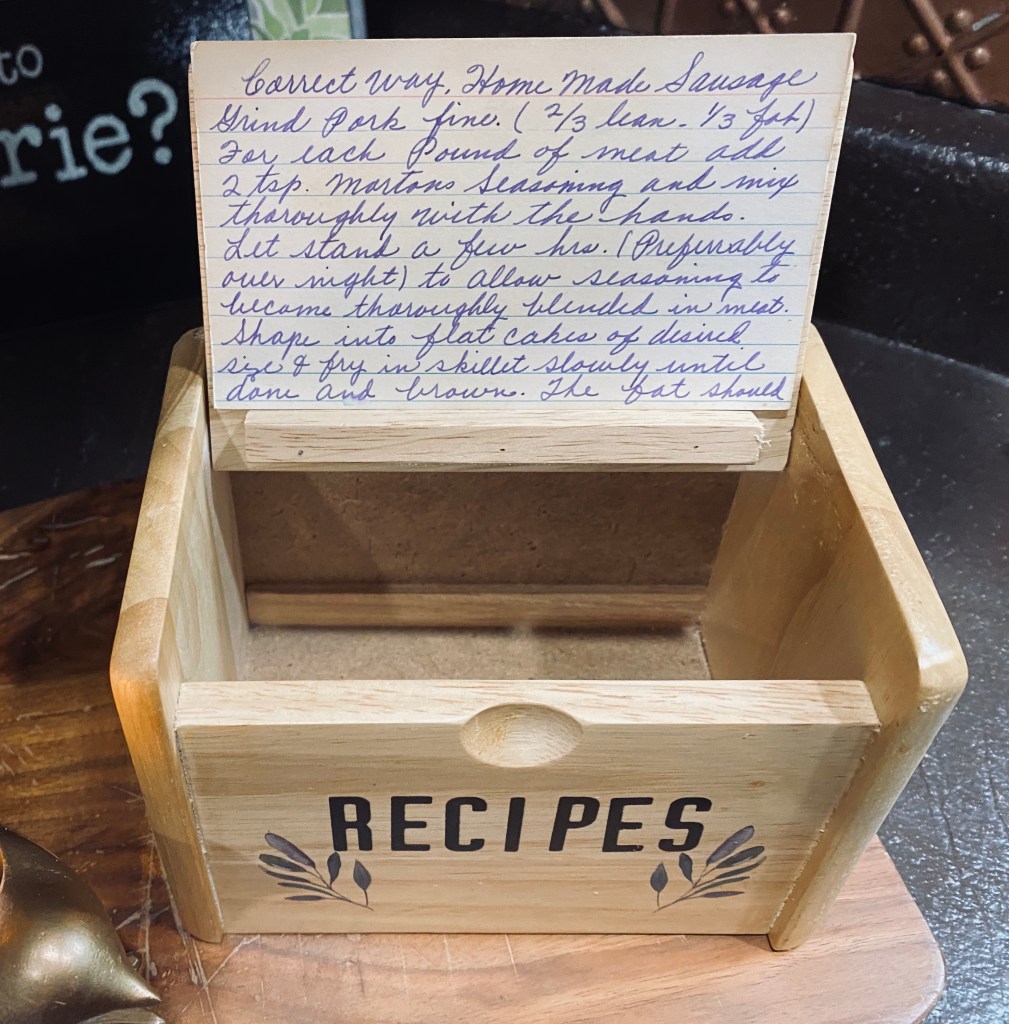
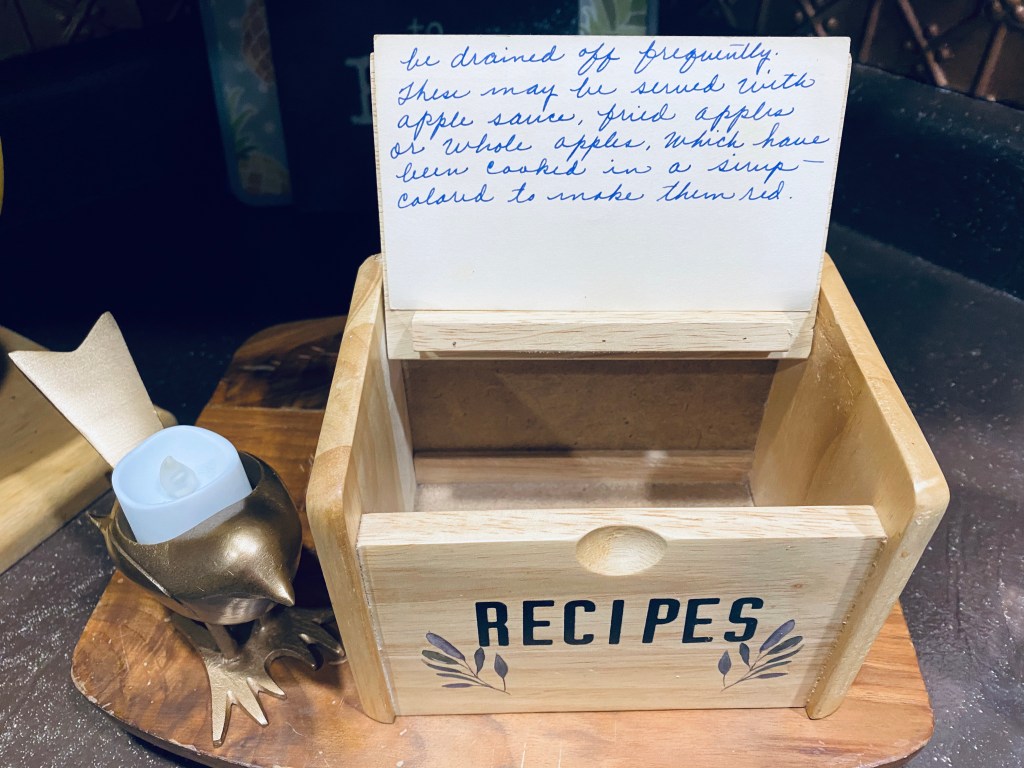
I was in Danny’s workshop area and happened to see this cute recipe box I thrifted so long ago I didn’t even remember it. Who knows why it was in there. 🤷🏼♀️
I opened it up and the lid has a little shelf inside to hold a recipe card. How cool is that! The wood was natural and I decided it was the perfect thing for a modern boho decor as well as many other styles.
I immediately knew I was adding some transfers to it and knew just which ones to use from some small ones I got at Dollar Tree.
Aunt Ada’s recipe card for homemade sausage seemed like the perfect recipe to display. I love how she titled it “Correct Way” and how beautiful her handwriting was. 🥰
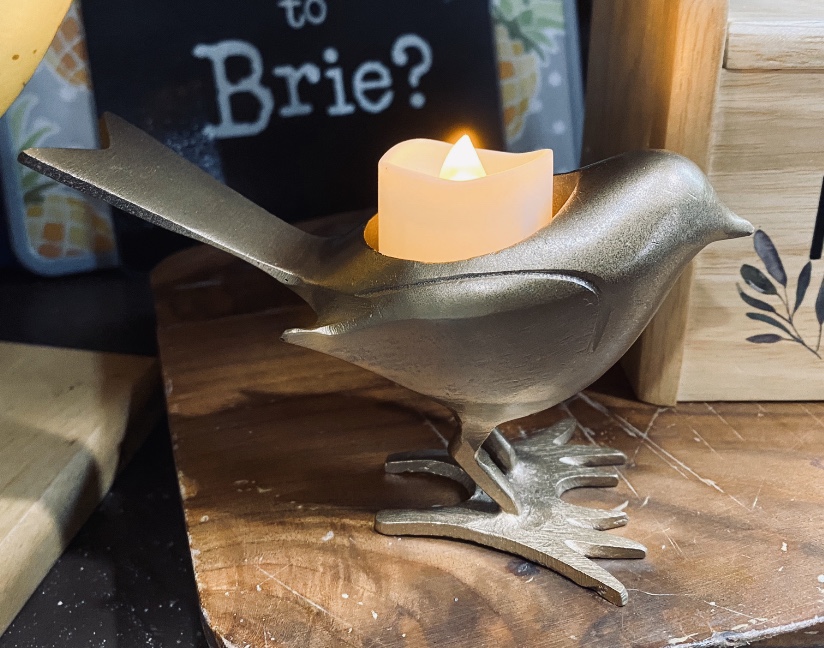
I also recently thrifted this solid metal bird tea light candle holder. After immersing myself in modern boho decor, I knew I had to spray paint him metallic gold. 🙂
Yesterday was definitely “A good day to have a good day!” And it quit raining, and the sun is shining, so today looks like it’s going to be a good day, too!
I’ve been seeing a lot of the “boho” (bohemian) style lately! As I looked into it more, I have come to the conclusion that I really like the contemporary boho style, also known as modern boho or boho chic. I love the eclectic feel of using many different styles together. Although my Beatles themed guest room has that vintage bohemian look that I love.
I think I have been leaning toward the contemporary (modern, chic) bohemian style for awhile now with my love of natural colors, wood, elements of nature, and color. I just didn’t know it had a name.
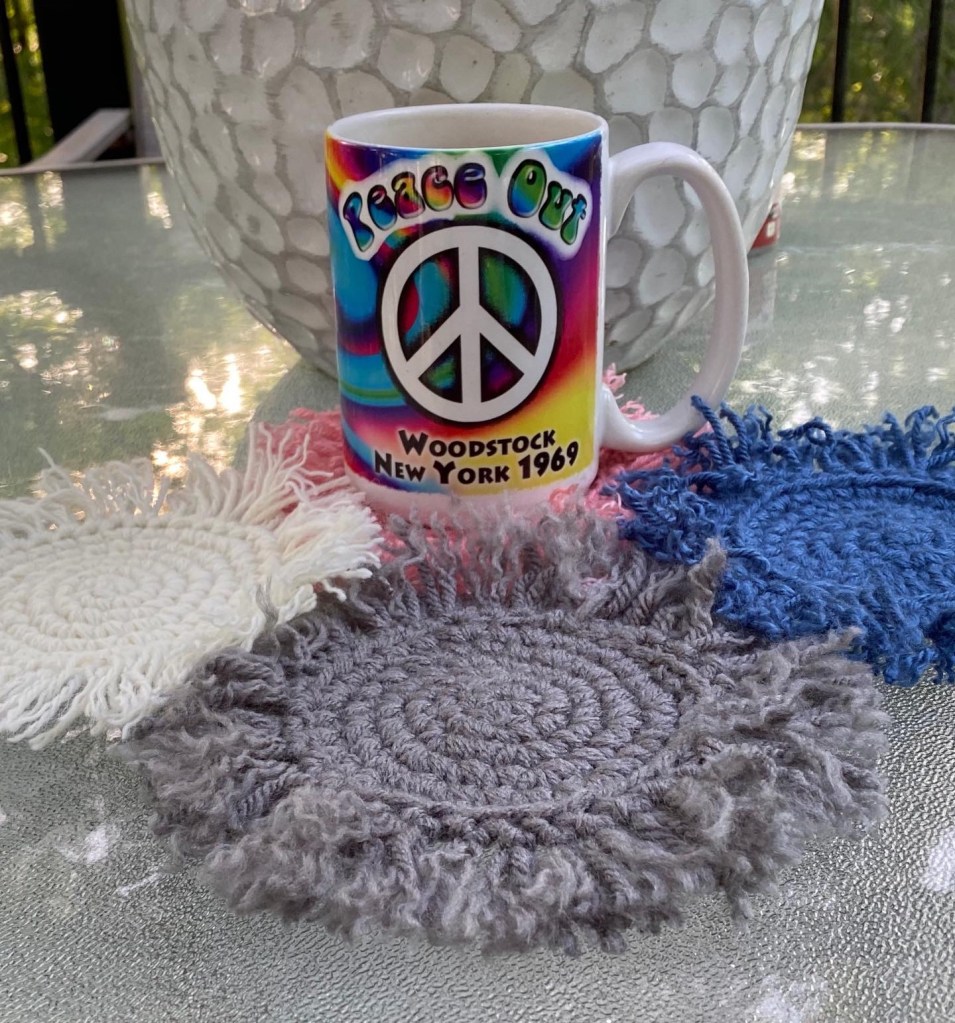
As a result of my research, I’m beginning to create some modern boho style projects in the coming days. I love that macrame and crochet is trending so I’m definitely going to making some coasters for sure.
This lady also explains boho really well. I think it is becoming very popular.
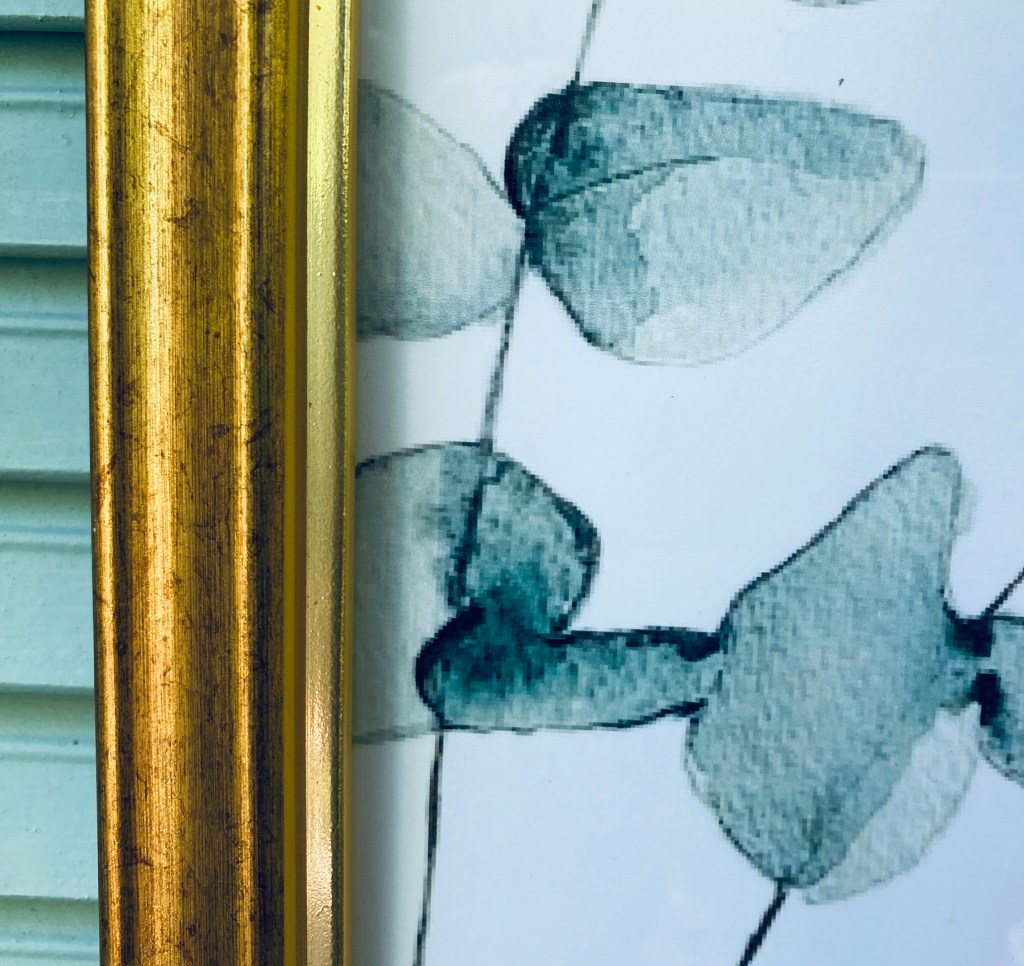
She gives away a free 8×10 print so I printed it out this morning and put it in a gold frame. Simple to do.
I printed her 8×10 botanical watercolor image and put it in a gold metallic frame. A simple project that will look great with any style, but especially with the modern boho (bohemian) Look I’m going for.
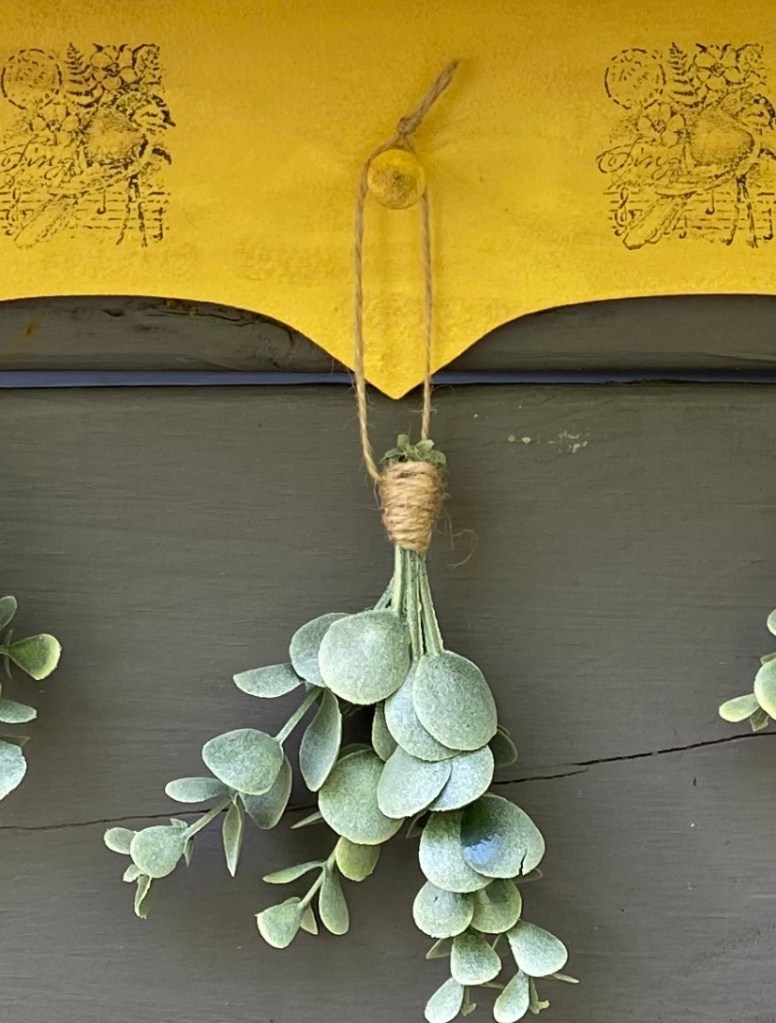
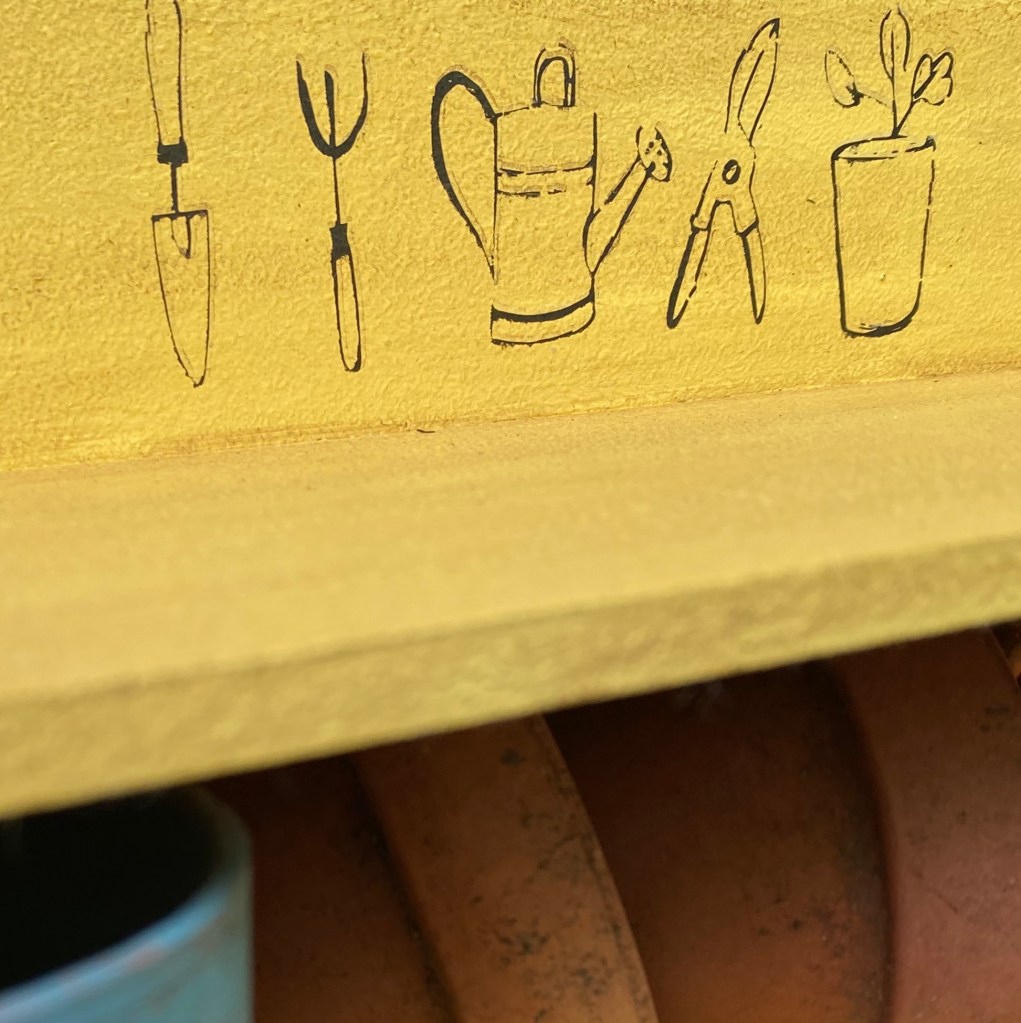
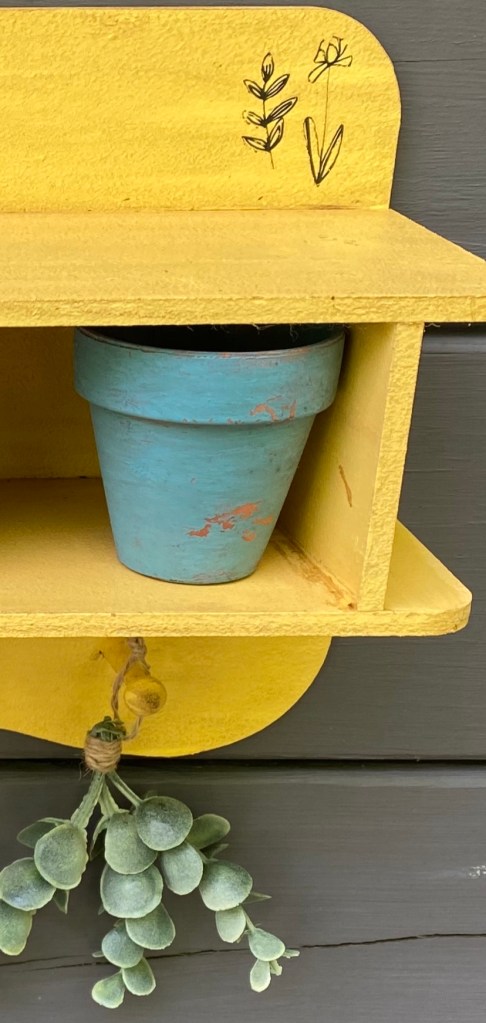
A garden shelf display that shouts “SUMMER”! This could easily fit in boho decor or any style.
Dimensions: 15” wide x 15” high (with greenery) x 5” deep
Transfers and bird stamps were applied to this cute yellow shelf. Stain was applied for a distressed vintage look. Small, well worn clay pots fit inside the 12” wide 3” high and 4” deep inside shelf. Faux greenery hangs from the pegs.
I had started painting these 3 storage cases with metal trim some time ago but was not sure how I wanted to finish them. When I realized they would make the perfect Boho display, I knew what to do.
I painted them lightly with black and distressed them. The top I opened and filled with greenery, a beautiful green silk sunflower and a cloche I made earlier from a light fixture. I added some boho looking transfers and put a coral rose inside. I also added a crocheted coaster for color.
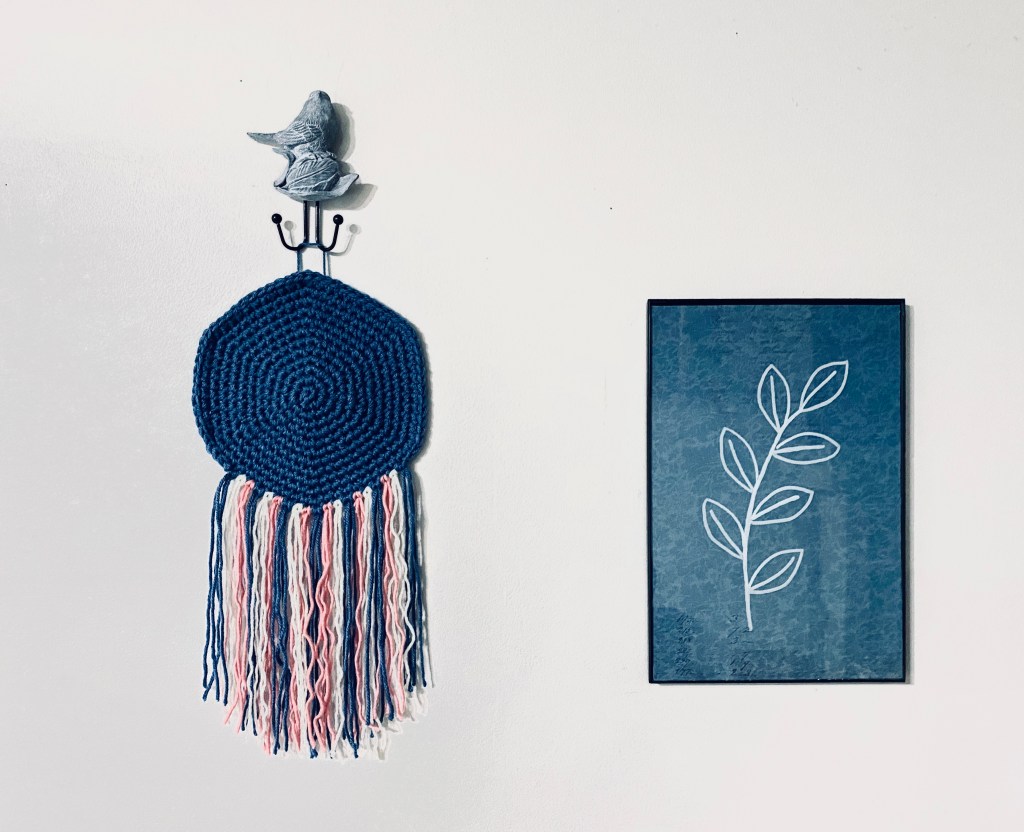
As I was crocheting boho coasters, I thought making a bigger one would look pretty cool as a wall hanging. So, that’s what I did.
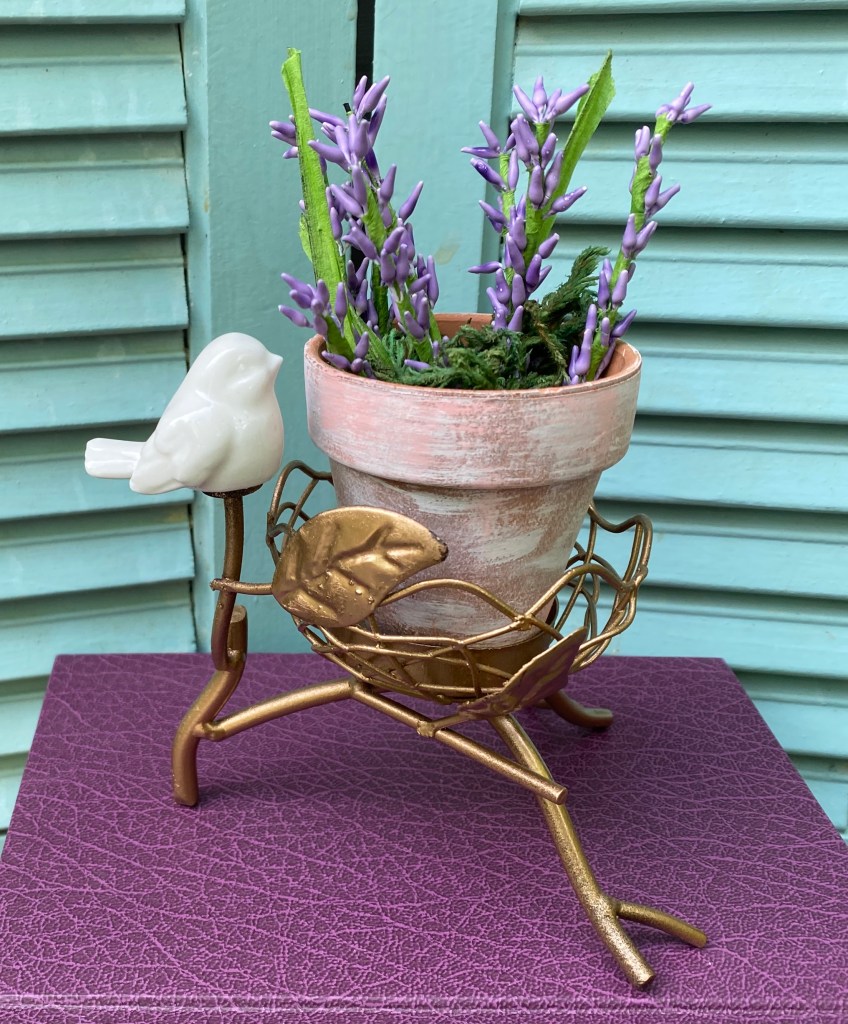
I had also thrifted a little votive holder with a tiny ceramic bird. Keeping in mind the boho look likes metallics, I spray painted the base a metallic gold and added a little clay pot with faux lavender.
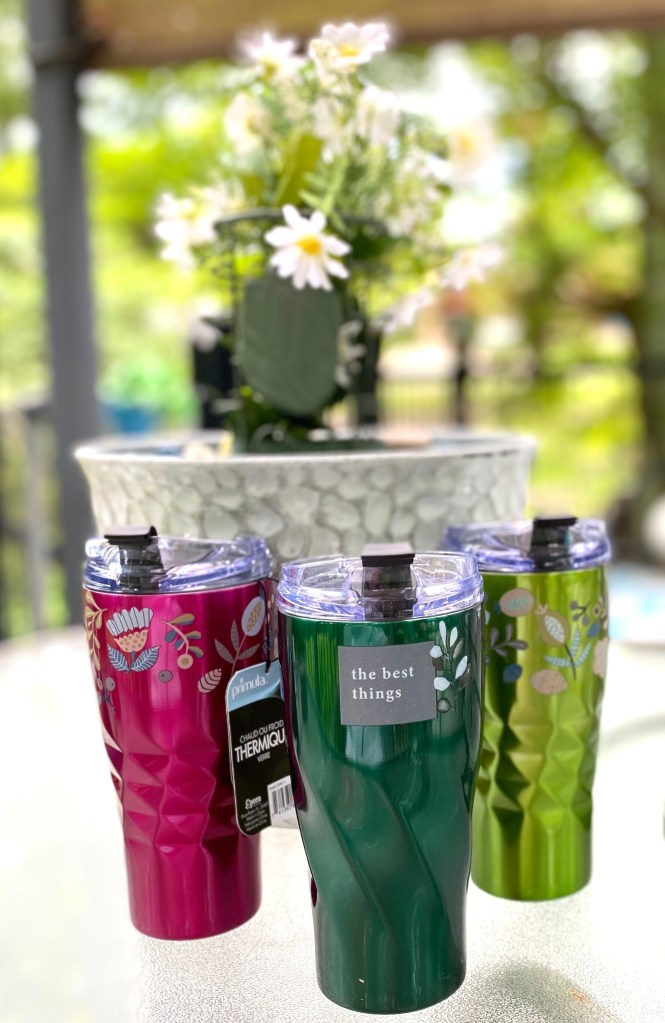
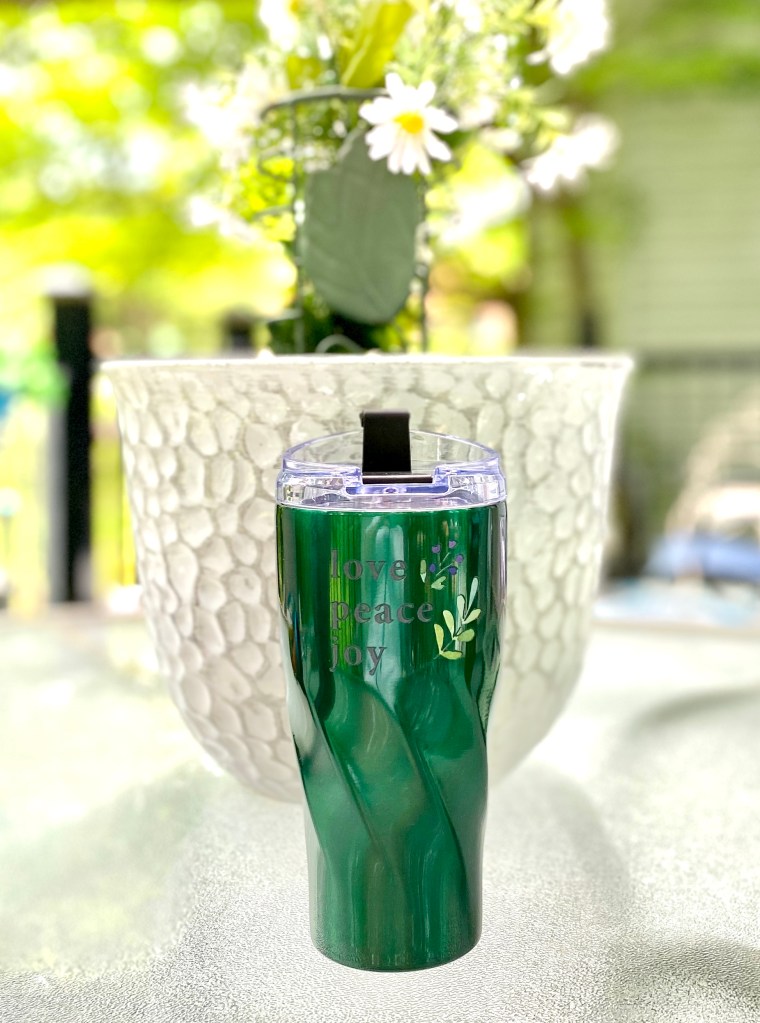
Yep, I’m obsessed with boho. I have 3 new Primula hot/cold tumblers. I had to boho them up a little with some transfers from Dollar Tree (sealed for protection). After all they are metallic and colorful!
That’s all for now. I’m sure I will have more coming up.