A Rustic Wire Lampshade/Cloche

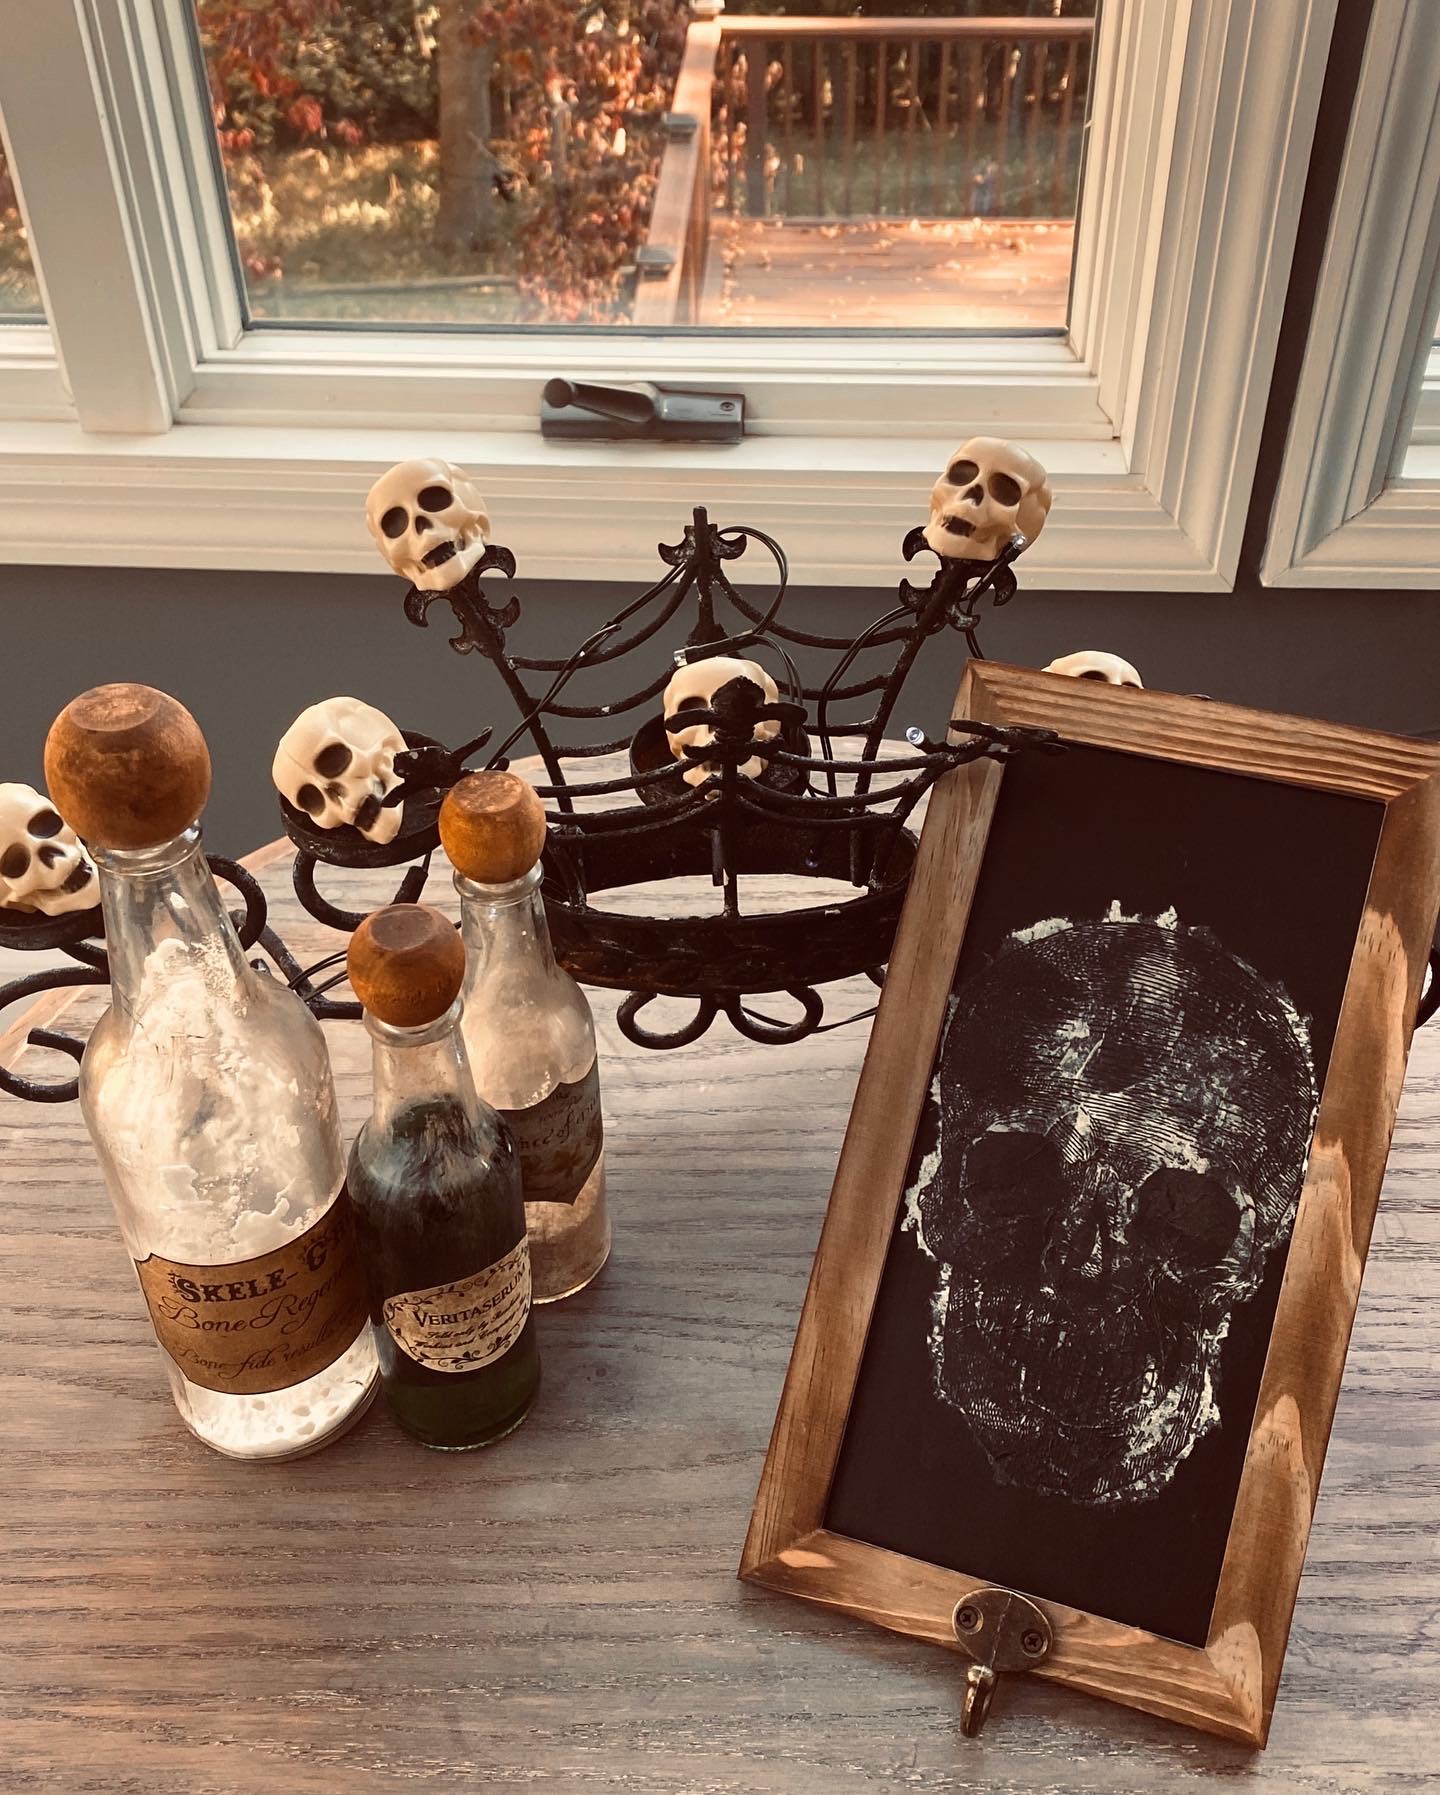
You learn something new every day. I bought two of these wire rustic forms at Goodwill. One for me and one for my friend.

They were called lampshades. But Danny and I couldn’t figure out how they could possibly work.

They appeared to be new and they had about 6 of them. I was wishing I would have bought more because we figured we could cut the wires out of the bottom and make cloches. One had a bigger hole and I was able to wedge a candle wreath holder and candle through it. 😬

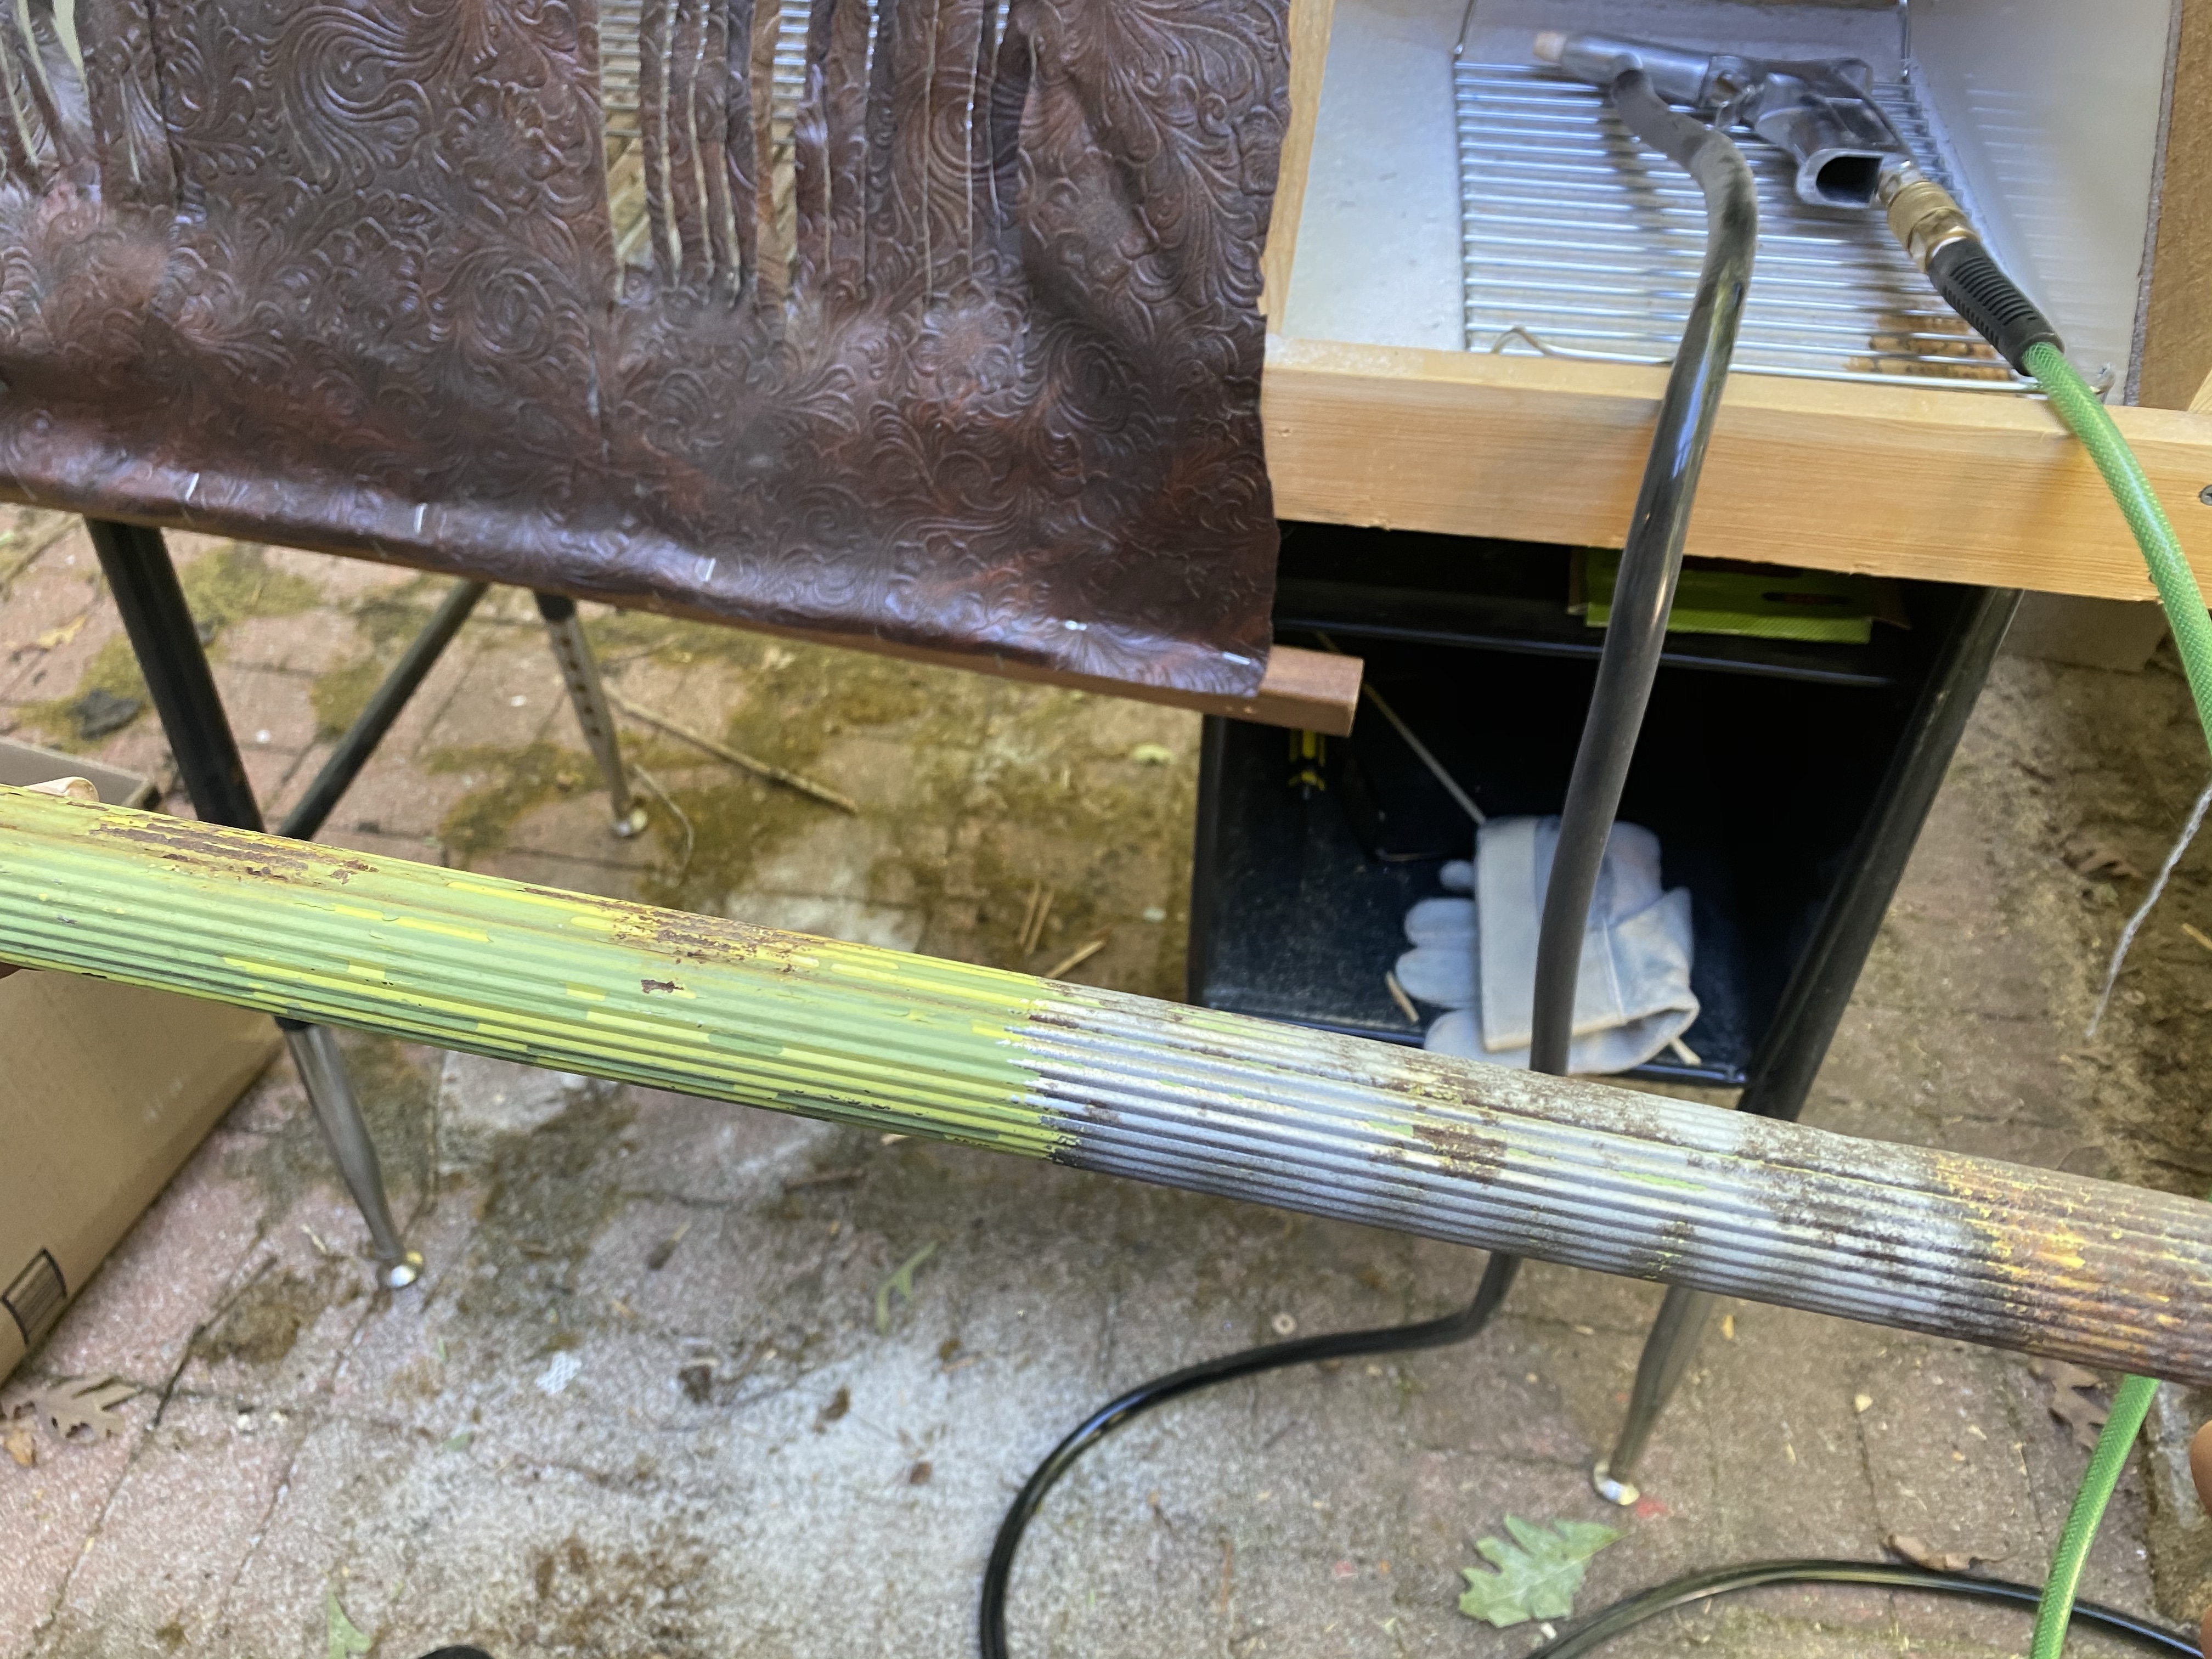
Danny just now went to cut the wires and called me to come take a look. He tugged hard and pulled on the bottom out and Folks….we have a lampshade. 😂😂 I wonder if the original owners wondered what kind of lampshades they had gotten and sent them off to goodwill. They were hard to pull out.

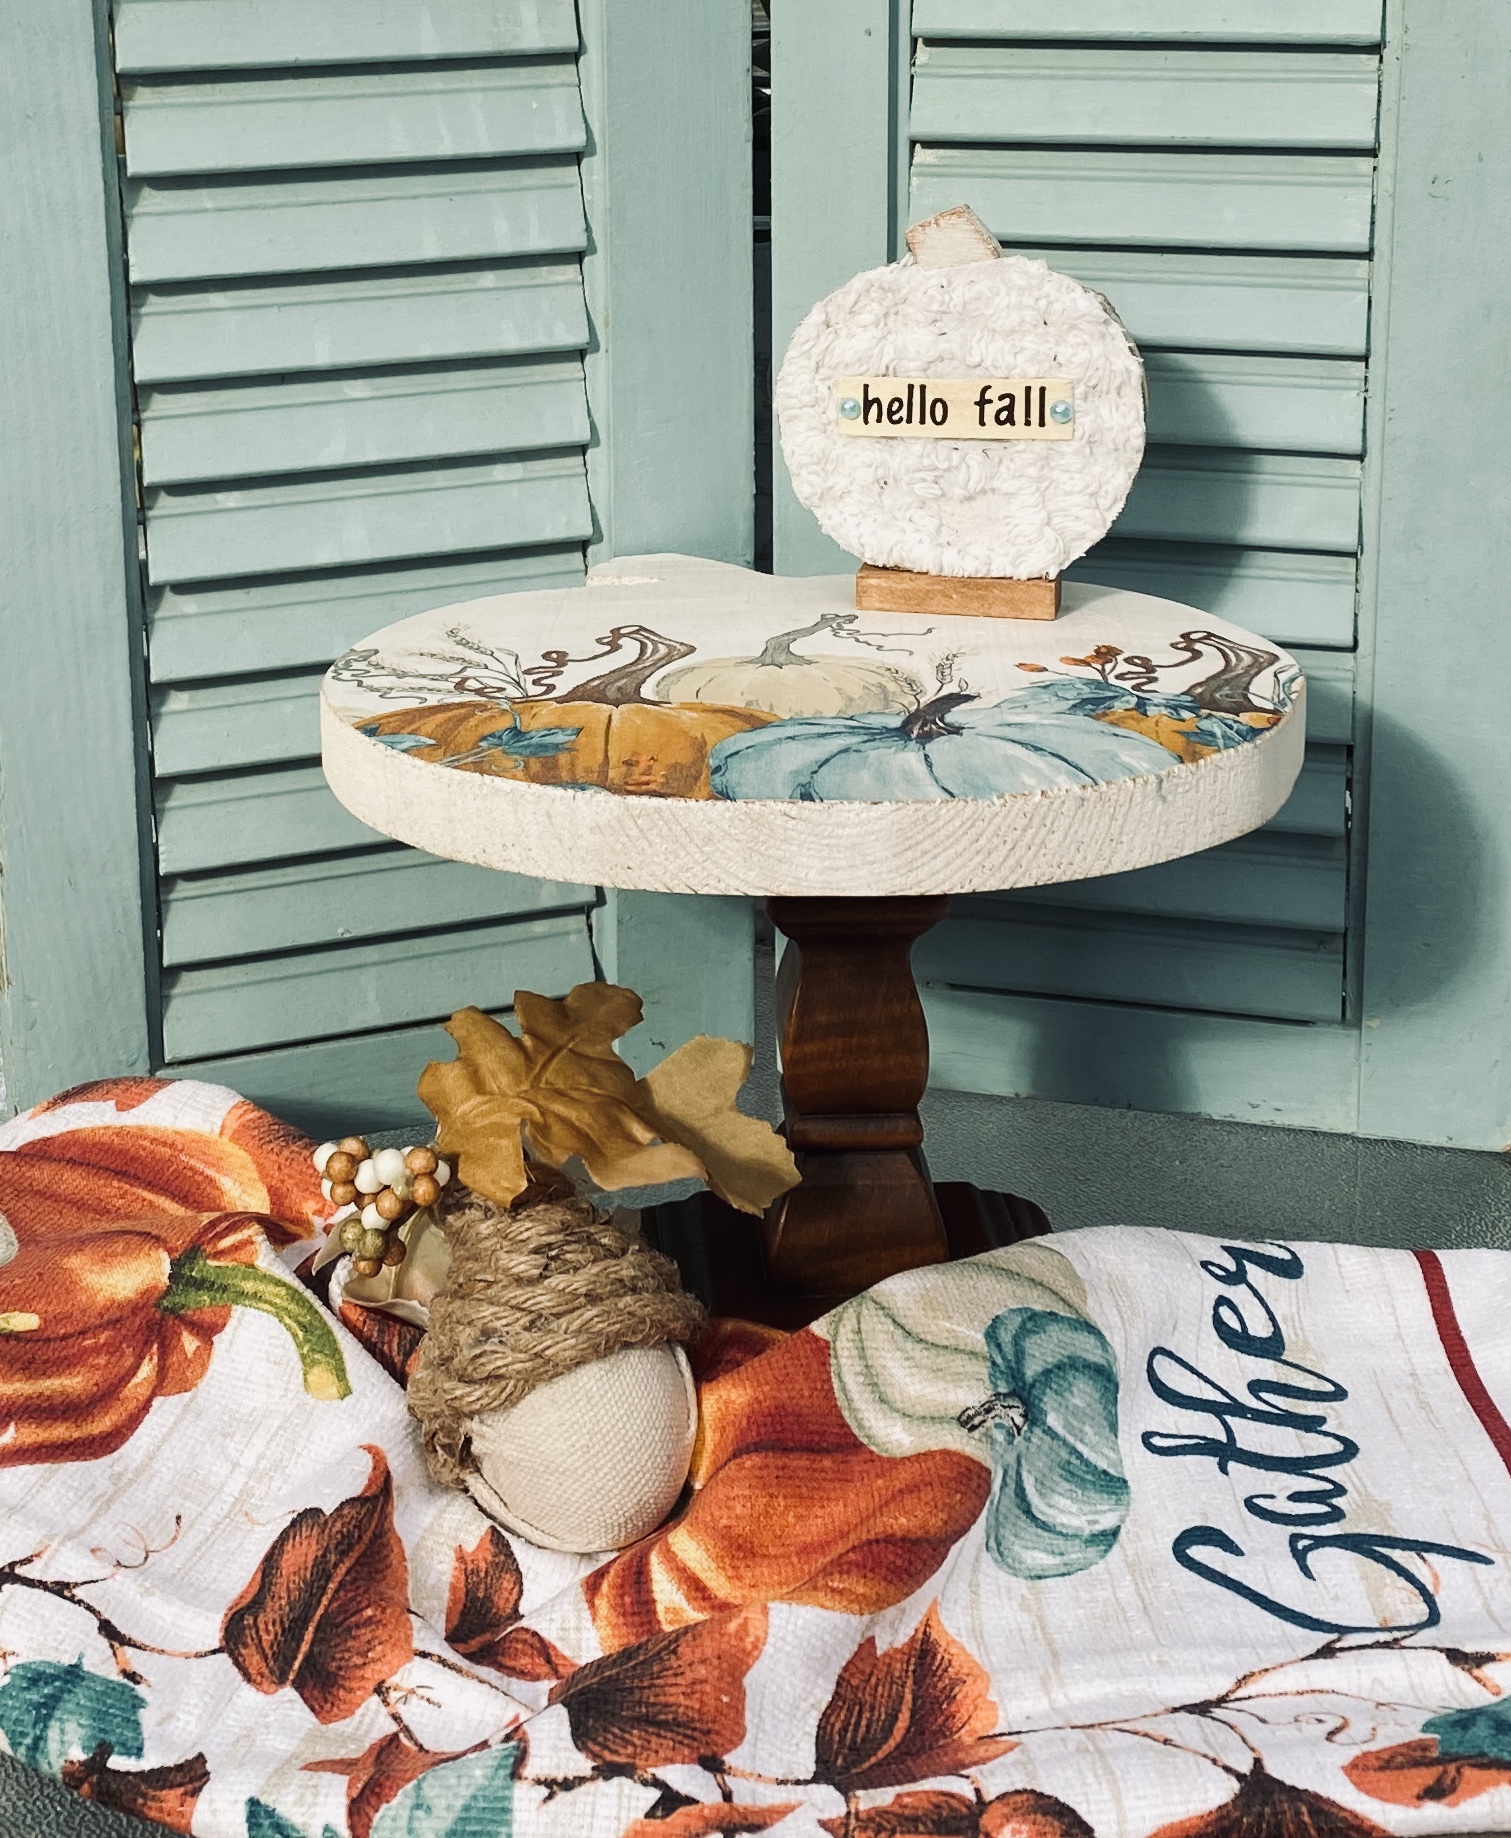
Anyway, he did cut the bottom wires off on one because it fits perfectly on a charger plate and will look beautiful decorated French Country style for my friend’s dining room table.

The other we are leaving for now because I’d like to try it on my pendant light in my kitchen. I think the top hole is too small for it, though. Maybe Danny can figure it out. If not, I will spread it flat for a different kind of cloche.

A “Skeleton” Key Rack

Halloween will soon be here. I brought supplies along with me to my babysitting gig and this morning I made this skeleton key holder. I have some cool skeleton keys to hang from it when I get home. I think I might have gotten the chalkboard hanger at either Dollar Tree, Dollar General, or Walmart. I’ve had it awhile. The skeleton napkin came from Dollar Tree.

I tore away the napkin around the head and decoupaged it on using Varathane water based polyurethane in a matte finish. Then put a coat on top and on the whole chalkboard area. I did not paint it a light color first. I wanted it to be dark and gloomy and full of wrinkles.

A skeleton key rack needs skeleton keys. 🙂

The items staged with it are Halloween decorations I made for them last year. The bottles were a brand of hot sauce my neighbors used a lot and gave the empties to me. Lol I found the labels online and how to make the bottles look old and dirty. Visit my blog post below to learn how to make these potion bottles.

https://sharsumpaint.com/?s=Potion+bottles&submit=Search

A Gnome on a Dollar Tree Sign

Sometimes Dollar Tree finds are just too cool to change unless you make a gnome to sit on top of the perfect little sign which stands on its own or can be hung on a wall.

Someone reminded me of these little gnomes. I made some last year. Looks like I might make more this year. They are too cute! The hat is made from lengths of yarn wrapped around a slice from a toilet paper tube, then turned inside out, tied together, and trimmed. The beard is that stringy, fluffy type yarn I made into a pompon.

I had to play with something waiting for my grandson to wake up this morning. (Yes, I brought supplies to babysit.) It’s nice when my charge is 10 years old. Lol

His nose is wadded up piece of brown coffee filter. I forgot to bring small beads for noses. 😁

And then …. I had to make a Christmas one. 😁

When you Decide to Keep the Fall Crafts You Make

Early this morning, since I hadn’t put away the beads from the beaded pumpkin I made the other day, 🙄 I decided to make another smaller one.

This one is only about 4” tall so I didn’t double the paper wrapped wire. I also only used 7 strands instead of 8.

Taking photos of it, I decided I loved it so much in the letter tray hanger with the acorn I made the other day, I was going to have to keep them. It is hard to tell in the picture, but it looks so neat on my rust color accent wall at the bottom of the stairs. The early morning light is coming in through the window panel on my front door.

SOLD! 😂😂

Dollar Tree Napkin Two Ways

Played with the super pretty Dollar Tree napkins today. I made a riser from a pumpkin cut out. For this I painted the board white with slight distressing on the edges. It creates a completely different look than when applying it to raw wood. The other items were on the raw wood, with some distressing done using antique wax.

Love the colors. And they have a dish towel to match! Not to mention glasses, paper plates, and a dish drying pad.

What Grandparents are for….

What Grandparents are for….

Today we will drive to St. Genevieve, MO (about 2 hours one way) to give Grandson Ben’s mom some sample bottles of paint. She’s at the bank there today so we don’t have to drive all the way to their house. Because, of course, he needs it by tomorrow. Lol

5th grade Middle School and Ben has an Entrepreneur class. 😳

He was to create a business and will sell items in the school store. Of course he chose to sell paint. 😂 He said his teacher approved of it. We will see. 😬 At least we seal the bottles so hopefully they won’t open them at school. 🙏

He plans to donate 1/2 of his profit to charity and keep the rest. This boy is smart. He knew we would give him the paint so he will have more profit. 😂 The other part of his business is that he will have a donation box where people will drop off broken items and he will try to fix them and sell them. He has learned a lot from his PopPop. Lol

But no problem. We will thrift shop on the way there and back.

Of course, I made him a display for his paint. I had a half of an old globe. It fit perfectly into a Dollar Tree hanging basket. I added a bunch of shredded paper my sister-in-law gave me. Instant display.

Ben also knows once he is in middle school we will pay $5 for any As each grandchild gets per semester. He needed a clarification on that the other day as he got all As this first quarter. He was hoping it was every quarter. Lol He’s a planner. He says he needs a new laptop so…..

A DIY Glass Bead Blaster

Danny, the inventor, is at it again. He’d been reading up on glass blasting. He has a vintage table lamp he wants to restore. So….

He found a little desk he thought would be the perfect stand. He removed the top (I’m sure we will see it again somewhere) and built this little contraption to keep the glass beads contained and caught, as they are reusable, while he blasts a piece of the lamp with glass beads. He found the beads on Amazon.

The gray container is the hopper that hold the glass beads.

He finally got everything together and is testing it out today. He even found a booster for his air compressor at a yard sale that he wanted. The only thing he didn’t have was ear plugs and a mask for the first test run. He did have safety glasses and leather gloves on. He has them all now.

He needs a tarp, though, to catch any that escape. There seems to be quite a bit on the patio, but he did drop the pan that collects extra when showing it to me. Oops.

I’m impressed. It actually works.

Farmhouse Animals w/Rub on Transfers

I had a bit of a brainstorm this morning. I was inspired by a YouTube video where someone decoupaged napkins on animal cut outs.

I had these cool pig and rooster wood cut outs. They stand alone. The rooster is 4 3/4“ tall x 4 1/2” w. The pig is 4” tall x 5 3/4” w.

I also had a sheet of Dollar Tree rub on transfers with farmhouse images.

So….. I gave them a coat of white paint so the transfers would stand out and then applied the transfers as they were on the sheet and filled in where needed. They are protected with Mod Podge matte spray. Sorry, forgot to get a pic of spraying them.

I love how they turned out!