Well, we do have a few of them lying around since I used the mop heads for crafting, mostly for gnome beards.
But…No, silly! It is an automatic door lock. When you are of a vintage age and your truck is older and has no automatic door locks and even has windows that actually roll up and down, it becomes harder to reach across the seat to lock and unlock the passenger door for your wife when she rides in the truck. So, you rig up something that will do it for you.
They say women marry their fathers. It is true. I married mine and his dad’s. I was doomed from the start. 😂😂
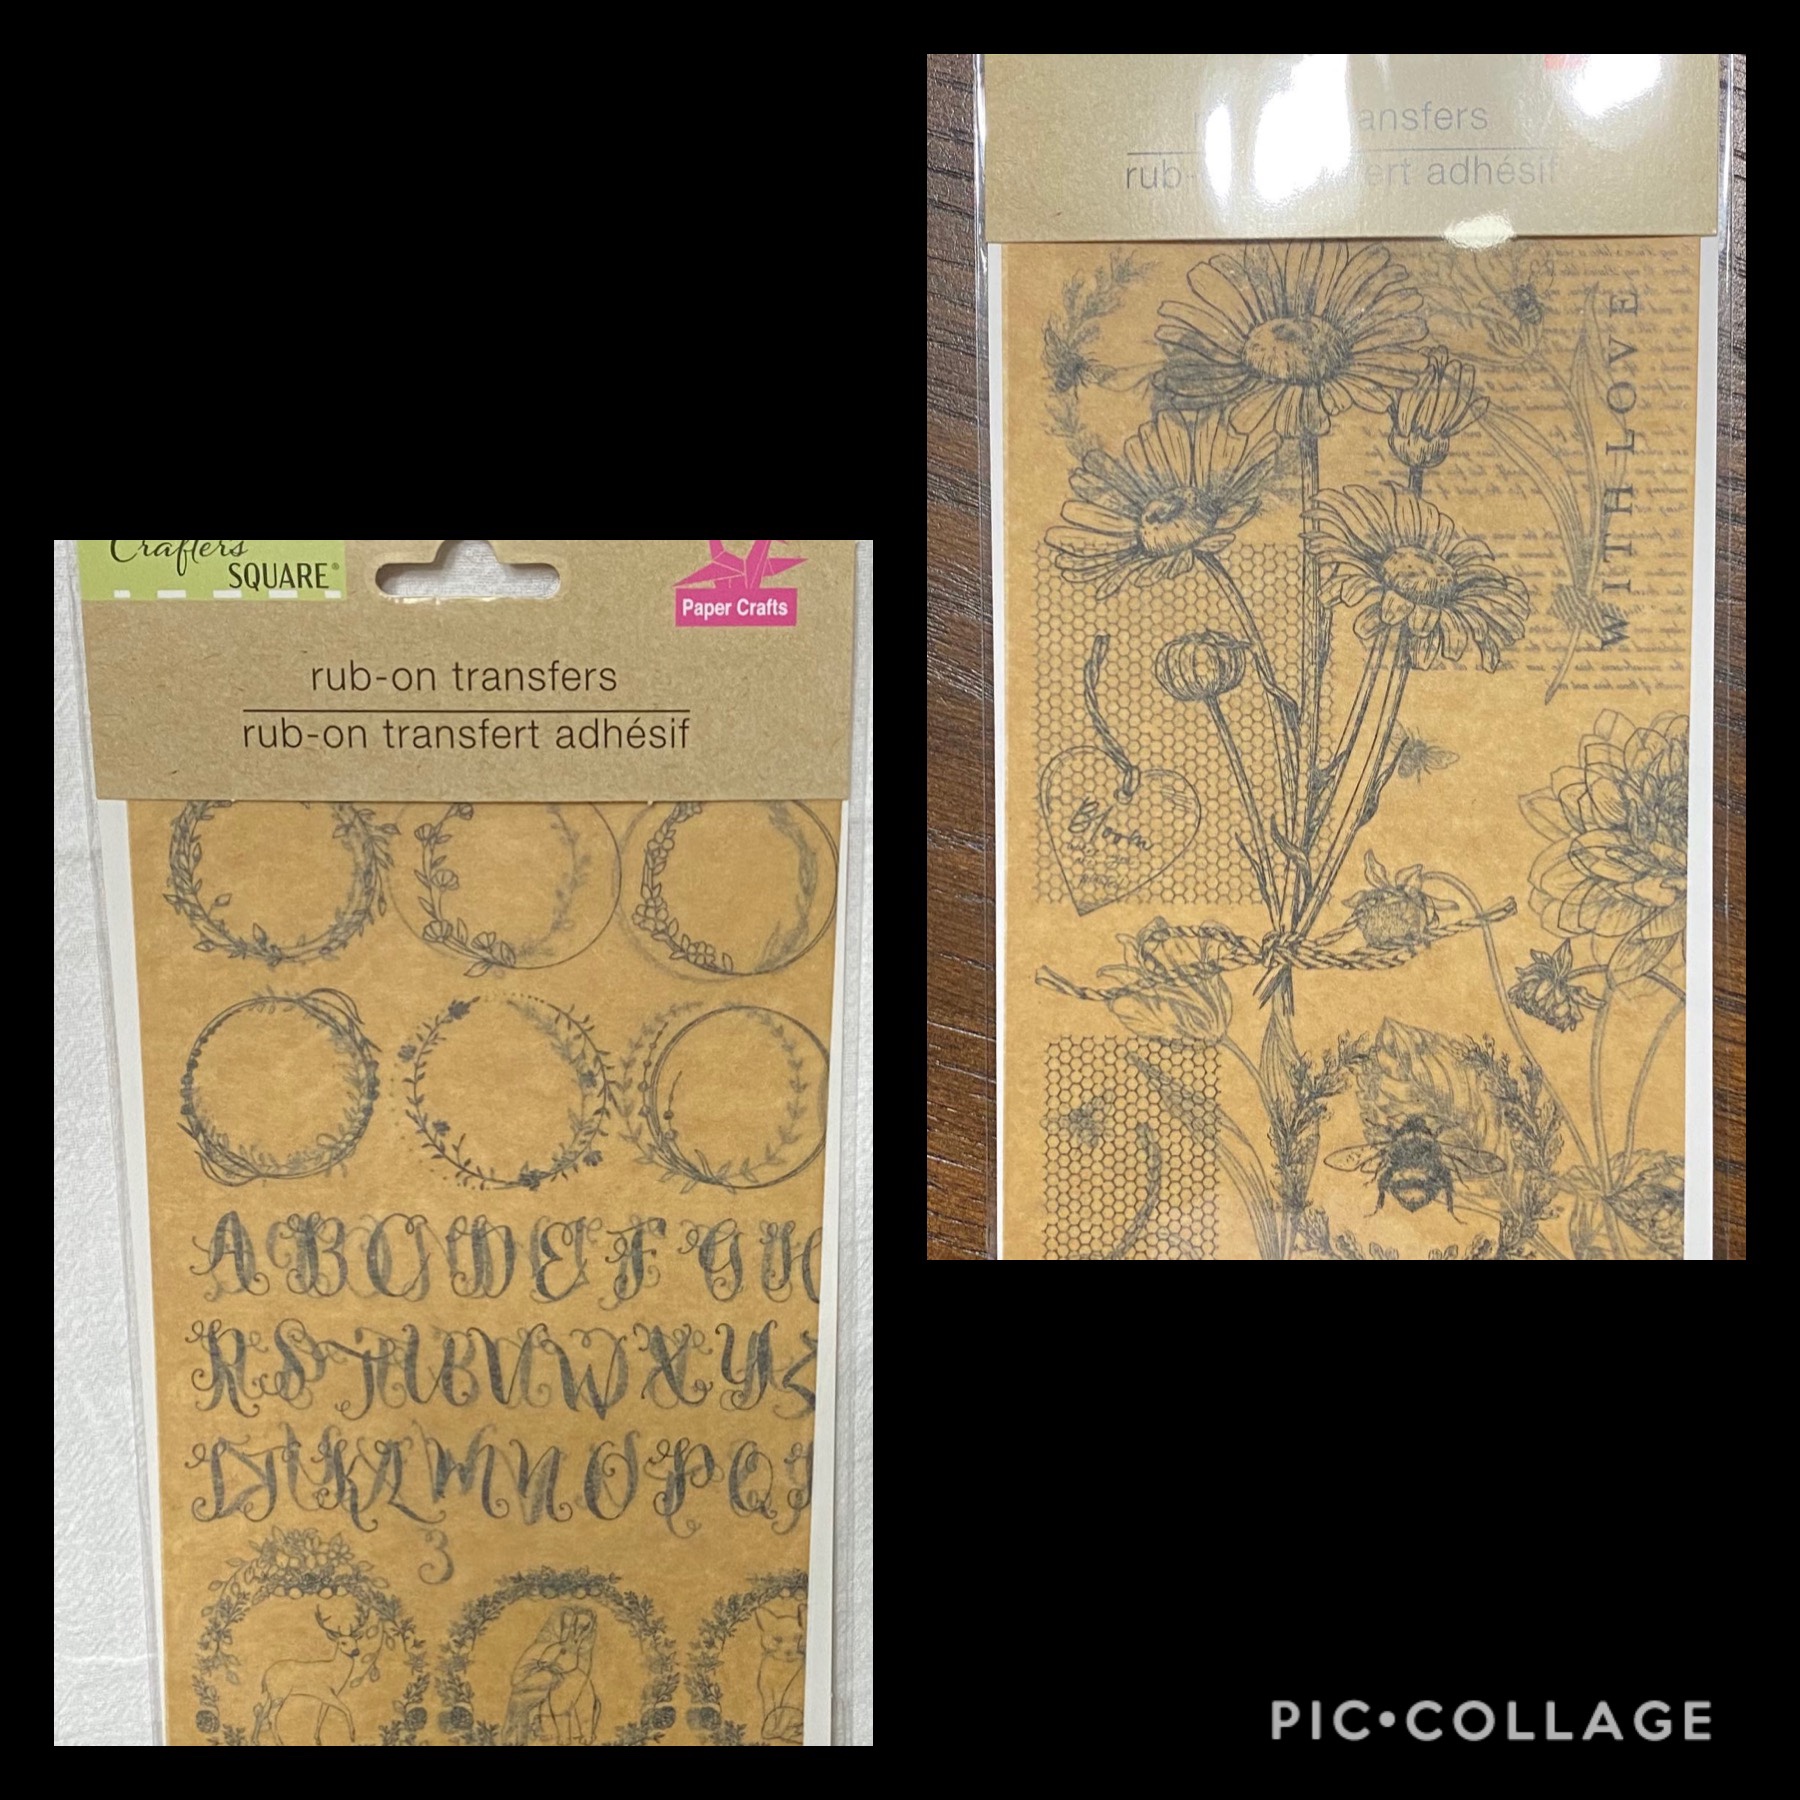
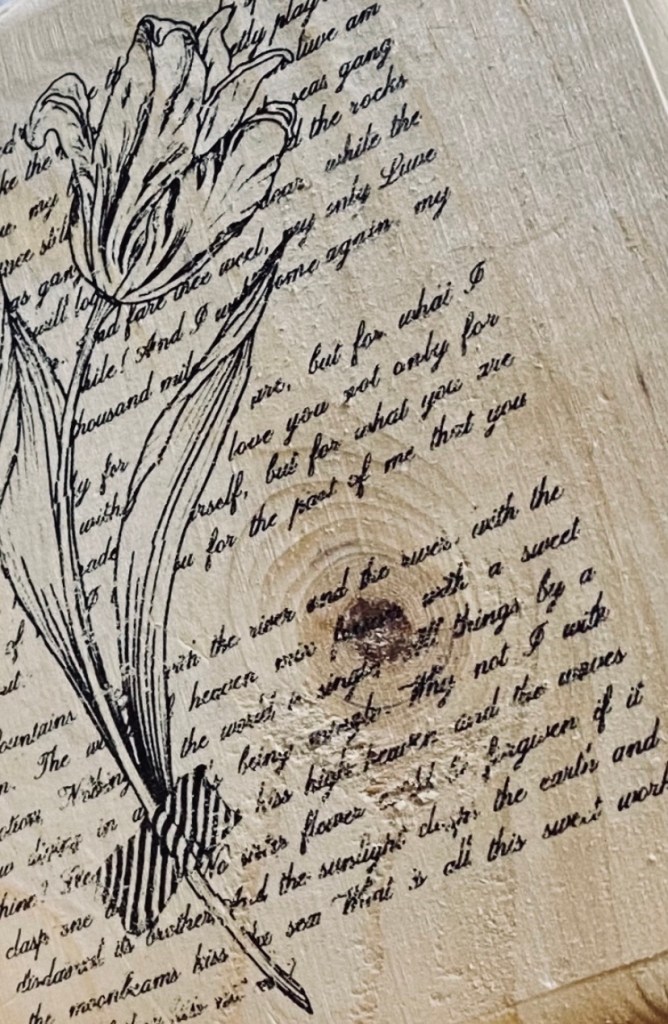
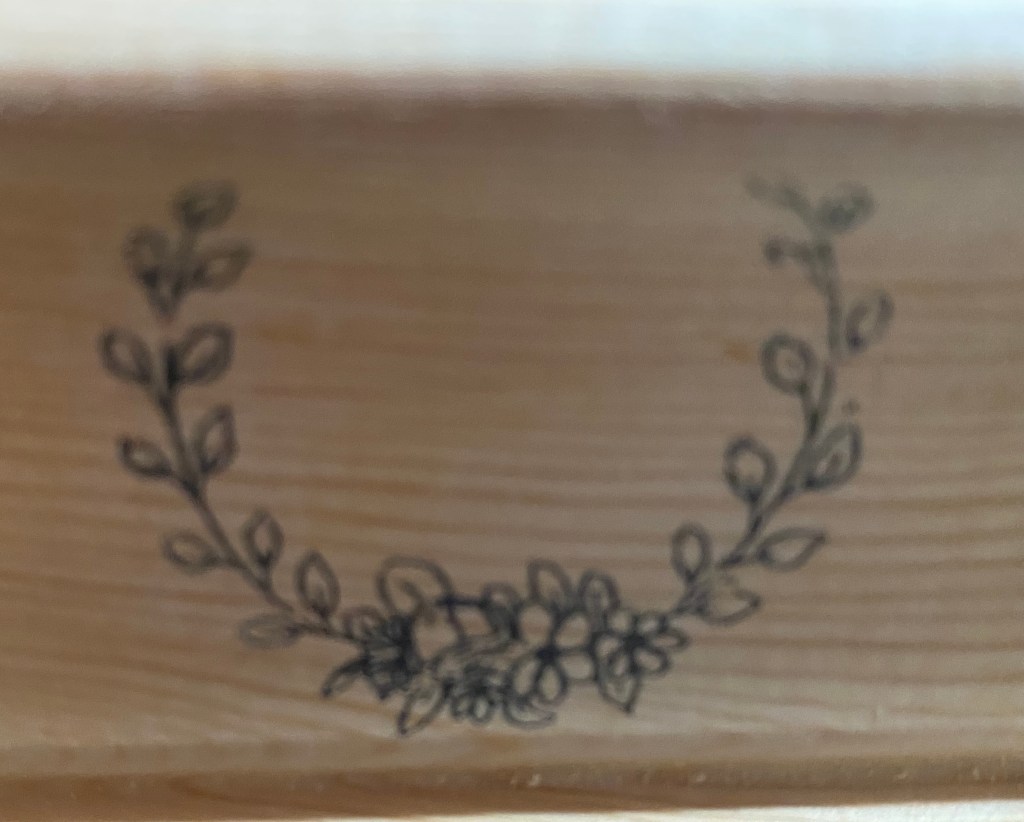
I sure wish these Dollar Tree parchment paper rub on transfers were more widely available. They have several designs. I liked the two shown below. I am having so much fun trying them on a variety of surfaces. I have found out once thoroughly dry, you can seal them with Mod Podge. I did try wax and it removed the ink. It could have been that the ink was still wet, but I didn’t want to try it again. For little things I like the Mod Podge matte spray.
They basically work like the other rub on transfers. Sometimes you need to rub hard and lift up and rub again to get every little last bit off. Sometimes, I taped them down, other times I just held them down.
I follow an awesome lady on YouTube….Teresa Greene from Our Greene Acres. She has excellent tutorials. Most of her ideas are shabby chic/farmhouse. They are not always my style, but the things I make from her tutorials usually sell well around my area of Missouri. This one sold within minutes after posting it in my personal Facebook page.
Basically, all you need to make the sunflowers are some type of fabric (the one above is drop cloth for the petals and burlap for the center). You will also need scissors, a little poly fill for the center, some hot glue, and ….. a canning jar lid and ring. This one was a regular mason jar size.
I’m not going to recreate the wheel here for making the sunflower. I will just share Teresa’s tutorial. This project starts at the 16:48 mark. https://m.youtube.com/watch?v=8wzvB-seb3I&t=616s I will share how I made the stem of mine below.
I wanted to make a sunflower with a long stem but wouldn’t flop over. I wasn’t sure how I would do this so started looking around. Invention truly is the mother of necessity.
I had some faux tulips from Michaels that had long green flexible hollow stems.
I took one of the tulips off and removed the little plastic thing that went into the stem. After finishing my flower, I hot glued it to the back and then hot glued a strip of fabric over it so it would stay in place. I just needed a stick to go inside so I remembered the whittling my dad used to do (I specifically remember him making whistles). So I just whittled the stick to size. Lol
I pushed the stick through the tulip stem (I used two of the hollow stems and pushed them together. I left a little room at the top so I could fold it over and glue it down to the flower.
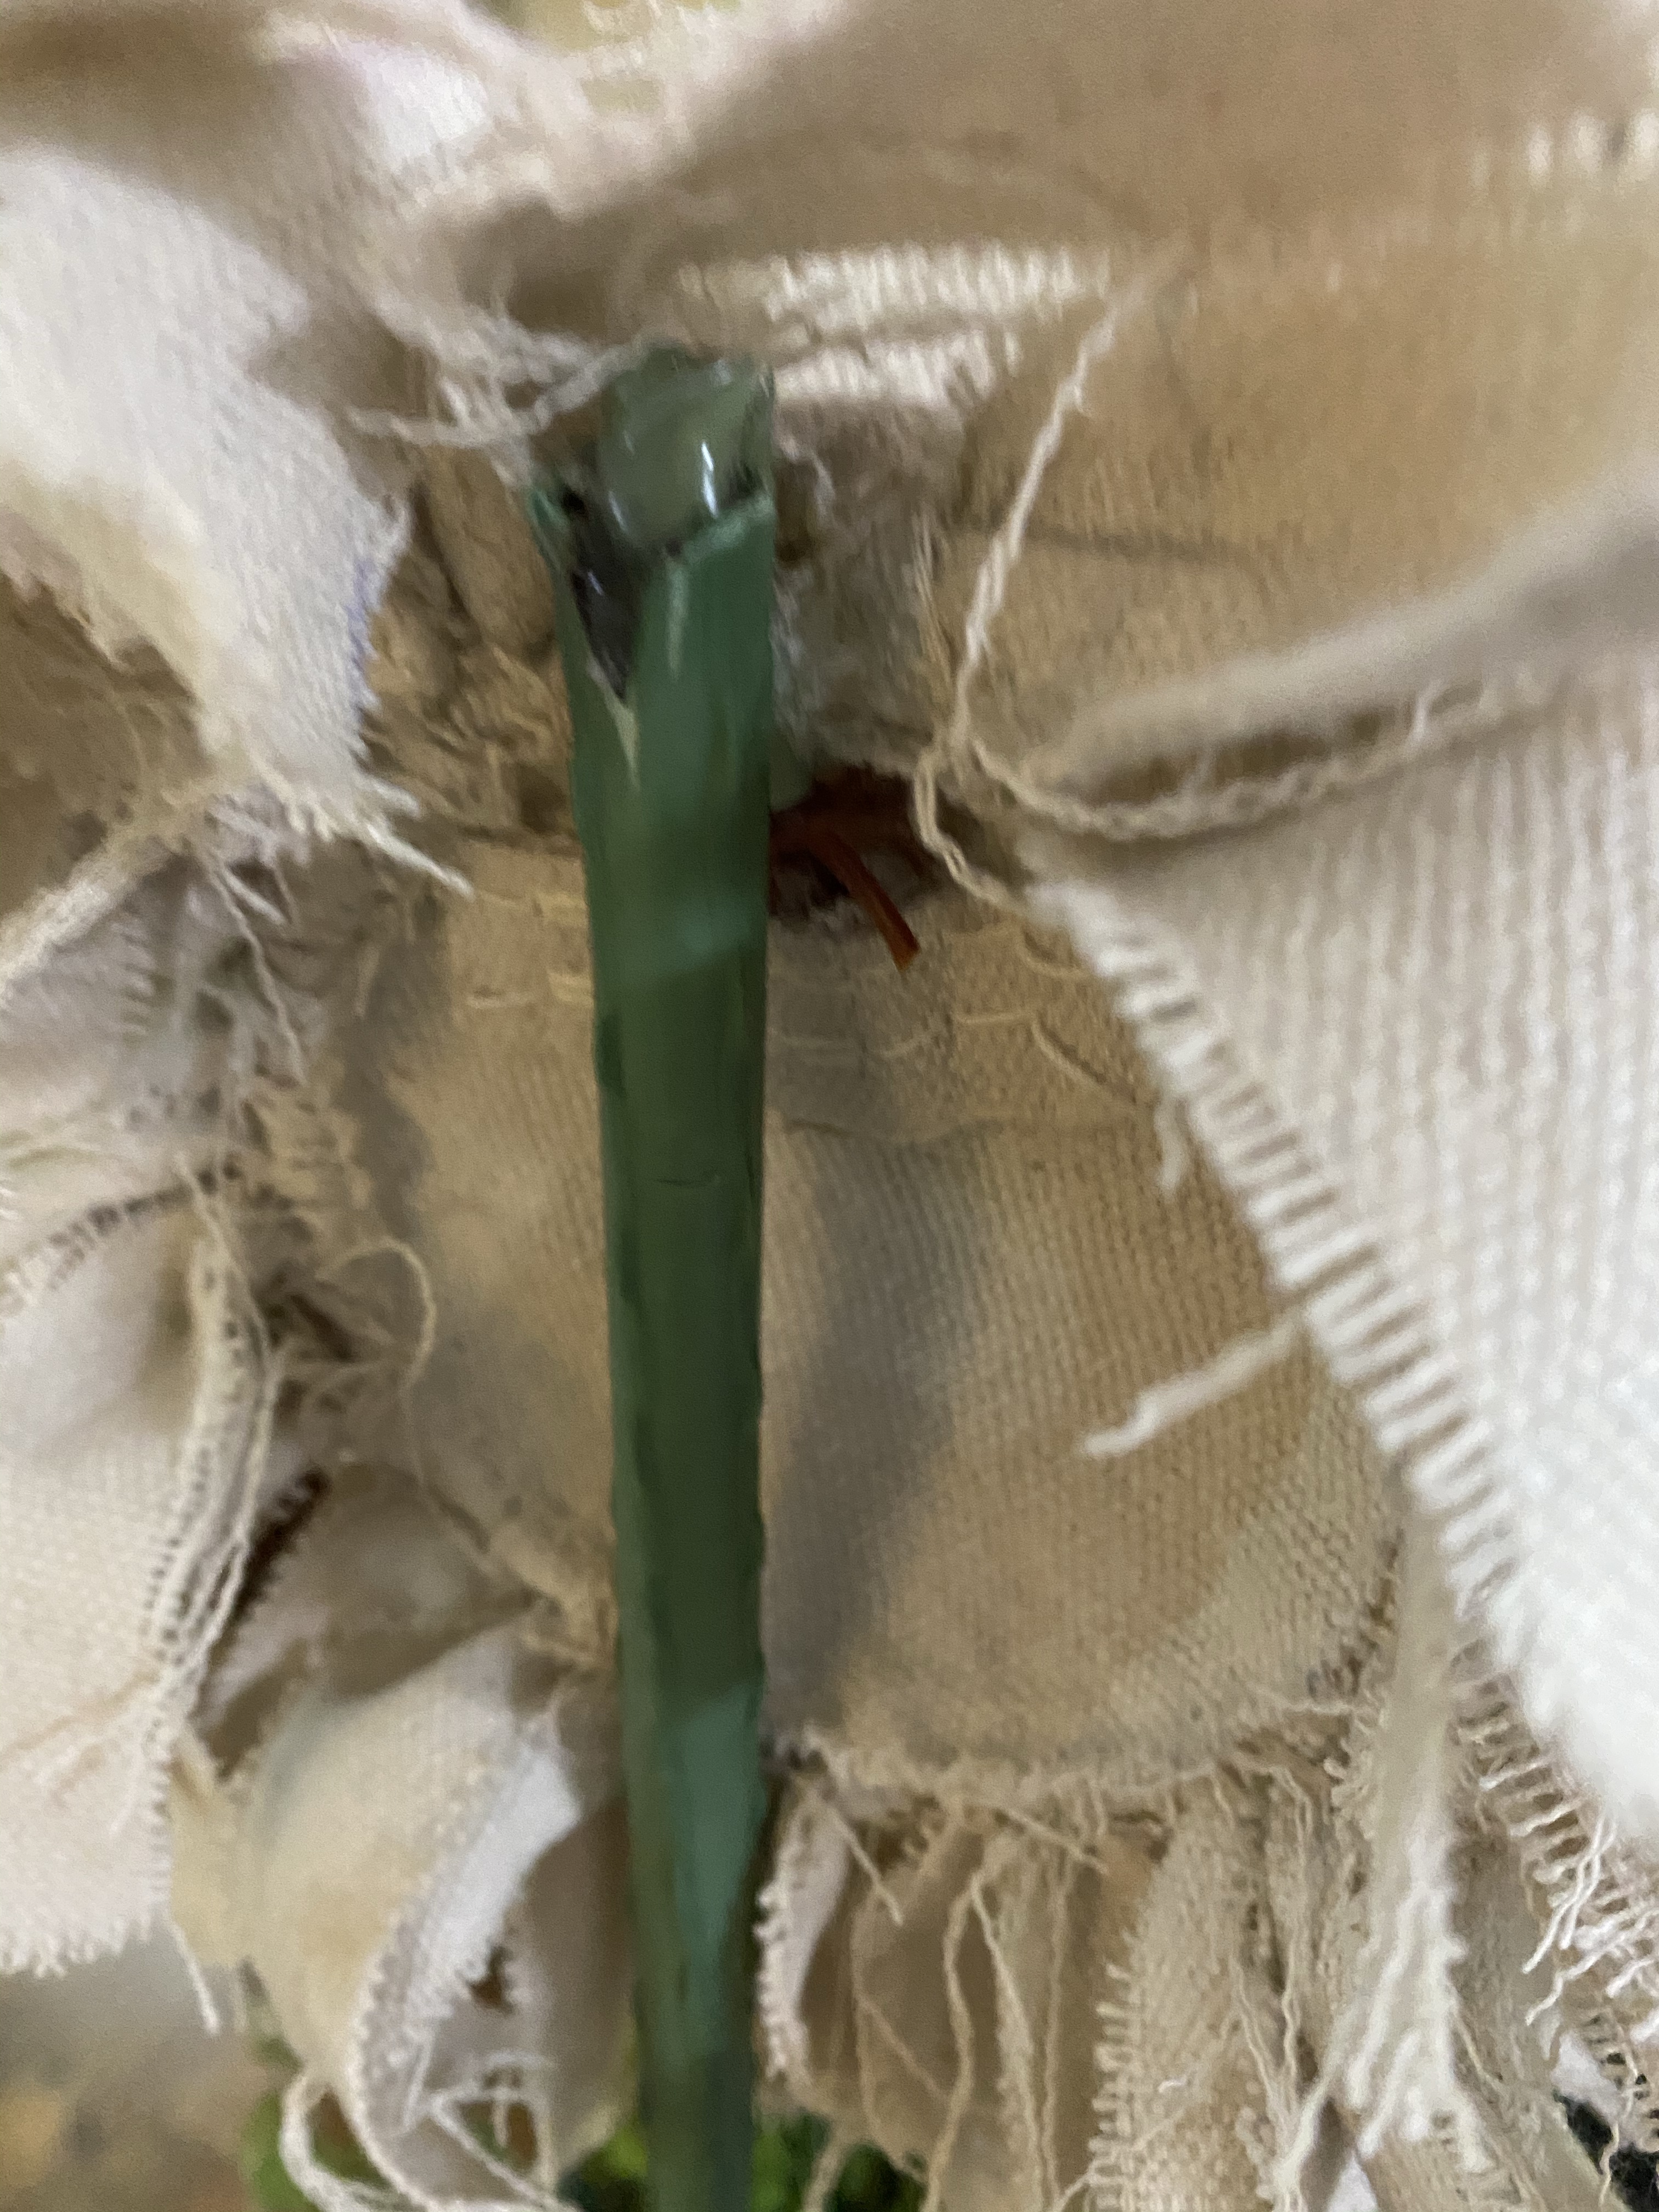
That still wasn’t strong enough. Then I remembered these green metal hollow sticks I used around my rose bush. One was broken so I broke it off all the way and I had a sturdy stem. I think I originally got them at Lowe’s. They are stakes made to look like stems of plants so they blend in.
I then dropped the stick covered with the tulip stem down the green tube and hot glued it in place. I then folded over the stem at the top and glued it down. That worked just fine. The drop cloth was strong enough that the sunflower didn’t flop too much.
I had this very strange pitcher/mug thing I thrifted several years ago because it was cool and I loved the color. It was perfect for my one long stemmed sunflower. I filled it with left over burlap and added some greenery and wedged my sunflower in place. I love how it all came together!!
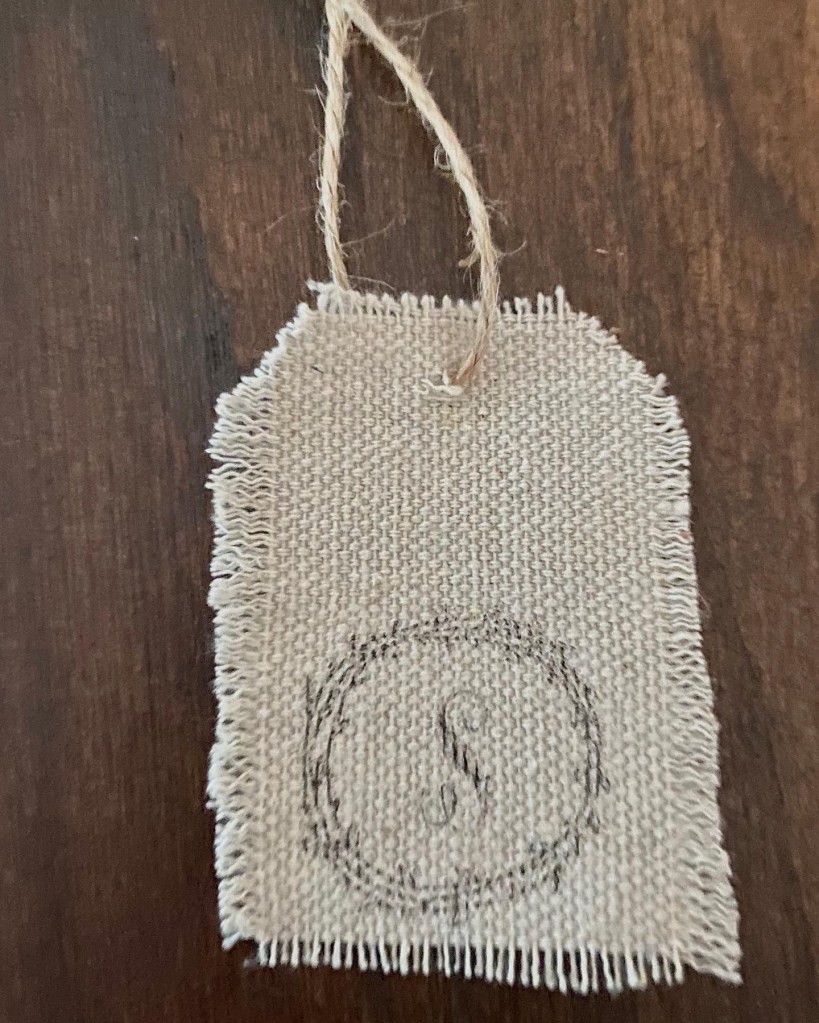
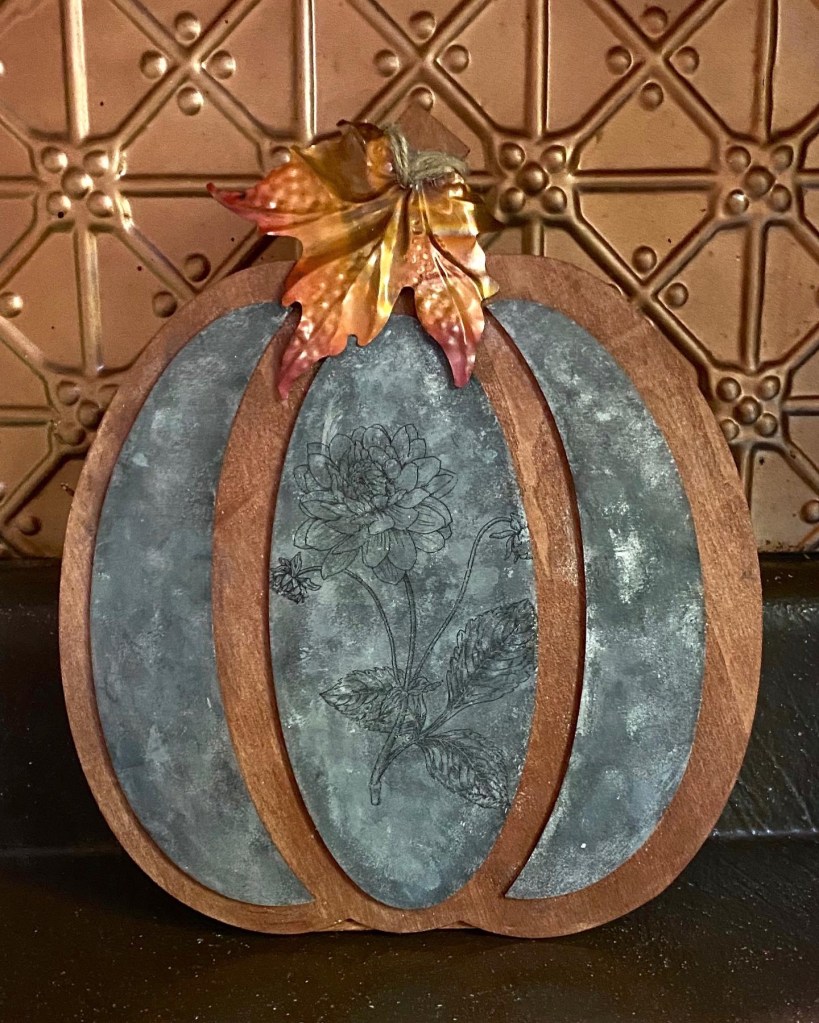
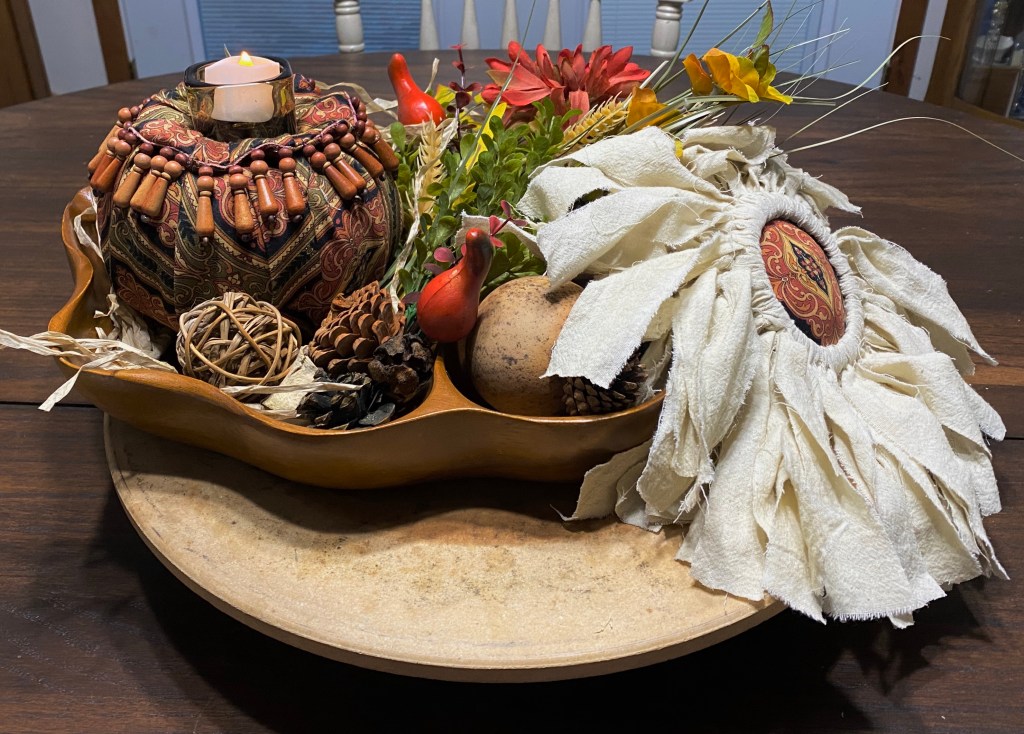
The first sunflower I made from Teresa’s tutorial was a hanging one. I used flour sack cloth (from Walmart Craft department) I dyed with left over coffee for the petals and fabric from an old valance for the center to match a pumpkin I had made earlier (another Teresa tutorial). I love how it turned out and how it looks in a fall centerpiece I put together.
I was starting to clean up my messes (and put a few bags of DT items away) 🙄 and had a bit of a new DT “plank look” rub on transfer from covering the coaster I made yesterday. I also had some pieces of boho looking transfer left from another project …. and a rock.
The DT coasters are actually really nice, but I thought the “plank” rub on transfer might tone this one down some and it did! You can still see the wording even after I sealed it with Mod Podge Pearlized Glaze sealer.
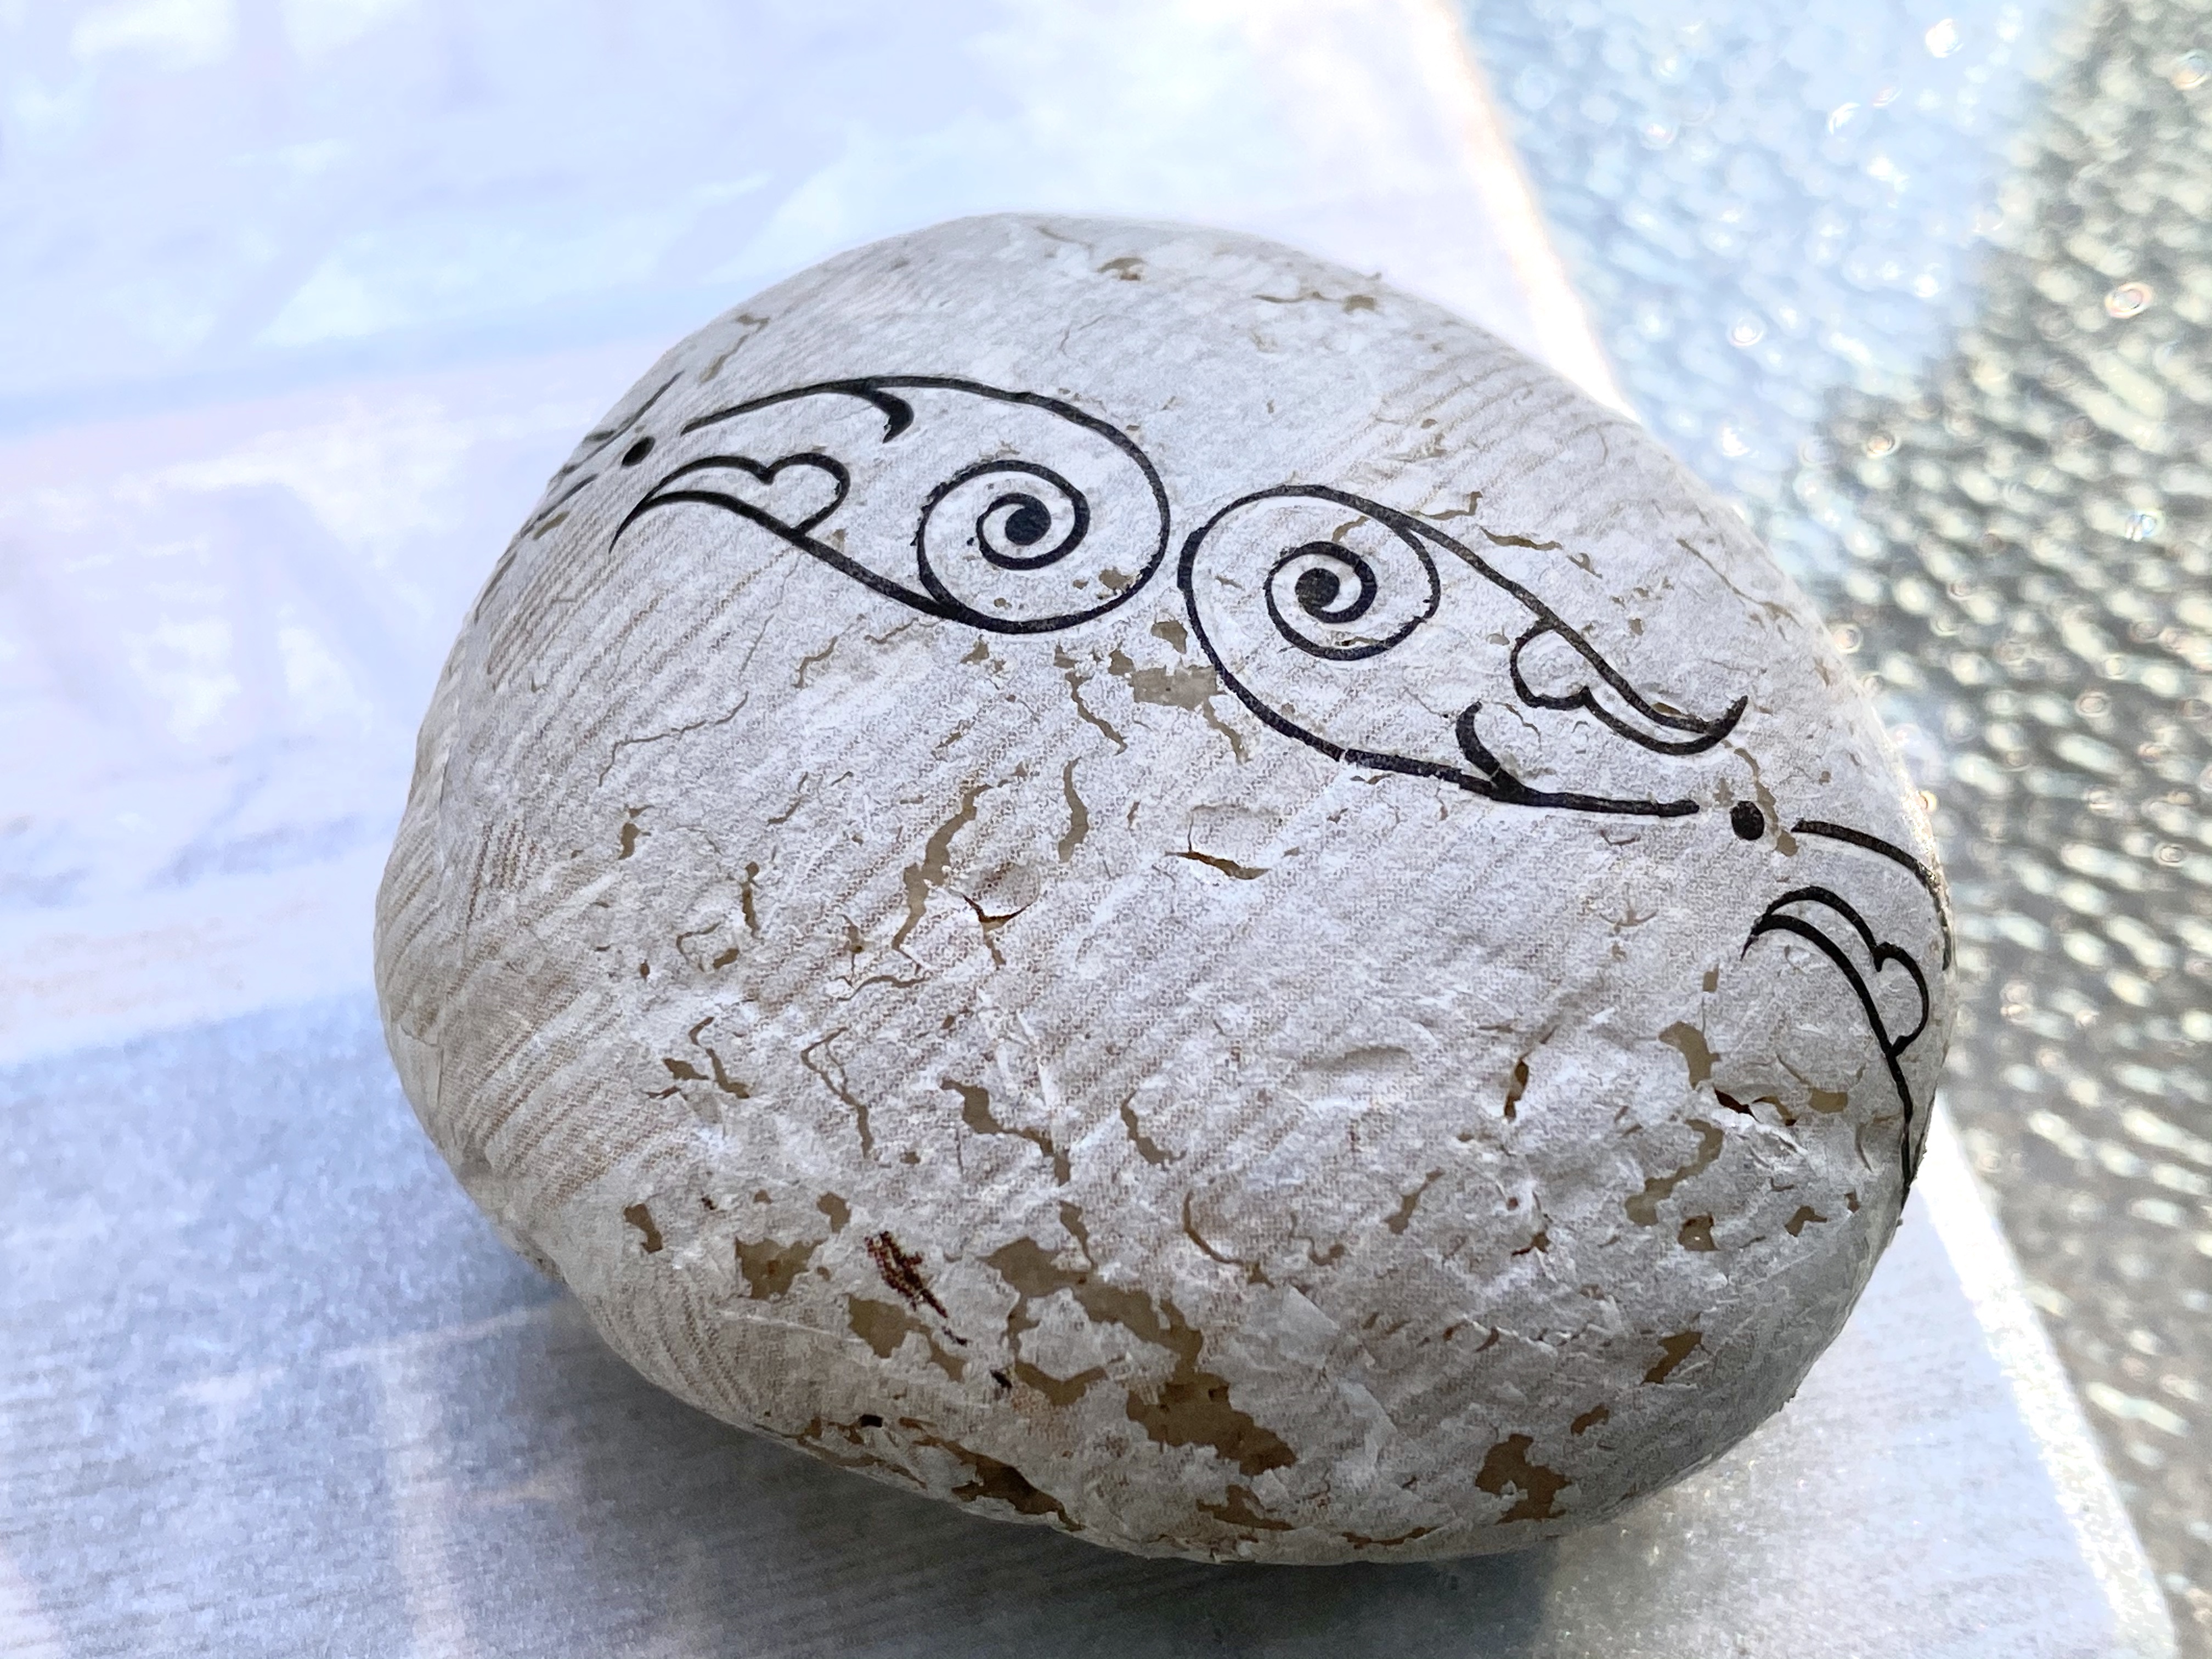
I had a rock and some of that transfer leftover. I looked at the rock, then looked at the transfer, then thought ….I wonder what would happen if I covered the rock with it? Wow! I love the look! I may never paint another rock! Well, as long as I can still find this transfer. Lol
So then, I added some of the boho looking fish transfers and ….Voila’! I had a beautiful little Zen display… and I had something beautiful and calming from practically nothing!
But I wasn’t finished yet!
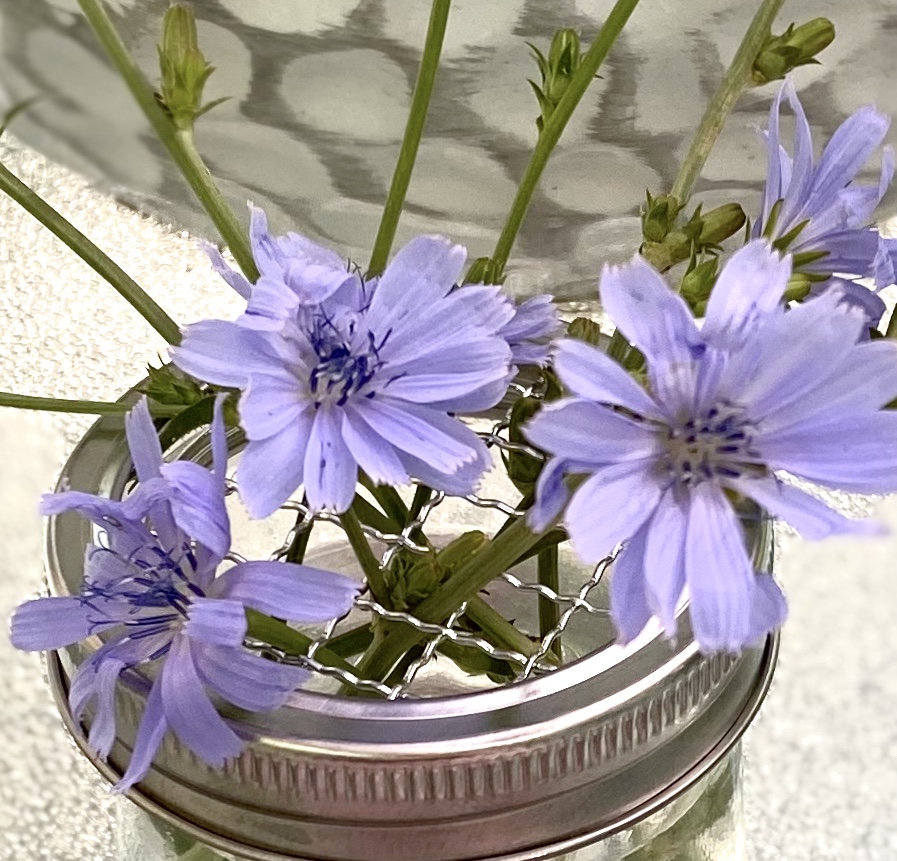
I’m also putting away some gifted Oui jars. But….the other day I found these wired canning jar lids at Dollar Tree. I wondered if they would fit over a Oui jar since I knew the seals did. Yes, they do. Like a charm!
So, I put into these little jars some of the beautiful Missouri Chicory that grows through cracks in the asphalt in the grassy areas along our roads. I knew the blooms/buds would be mowed down soon, so I cut some. I also had a beautiful goblet I had thrifted the clay “frog” I made the other day and put some blooms/buds in it.
They turned out so pretty! Can you image a big display of different size glass jars and bottles for blooms? You could easily buy a bouquet of real flowers at the grocery store or use blooms from your own garden and do the same.
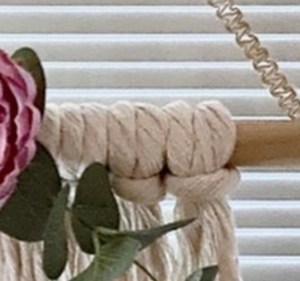
Last night I made a simple macrame boho wall hanging….while I watched TV. It was fairly time consuming so I recommend TV watching while you do this. 🙂
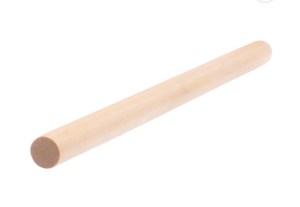
I had a dowel 16” long by 3/4” diameter. A slightly smaller one would work as well. A cut down plunger handle from Dollar Tree would be perfect.
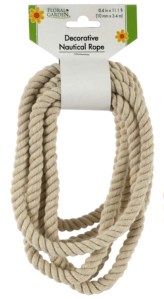
I unraveled the whole nautical rope from Dollar Tree. It made 3 strands. Then I cut those strands in half and I had 6. Then I cut those in half and I had 12.
I know had 24 strands to unravel. The time consuming part was unraveling all the strands until I got the look you see in the photos. Take your time and do just a few strands at a time or you will get it all knotted at the end. Trust me… I know. I did use a dog brush I bought at Dollar Tree for macrame projects and brushed the strands out as much as possible after I separated them. Then I trimmed the bottom a little trying to go at angles toward the center.
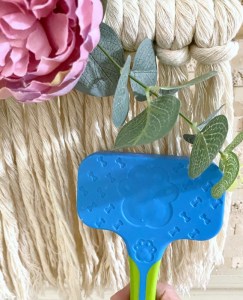
I attached a flower and foliage with hot glue. I bought four flower pots with a variety of high end flowers and foliage through an online auction for just $8.50 for all four after fees. They were originally priced at $10 each! What a bargain! If you haven’t tried online auctions, you should!
I then used some of the burlap trim from Dollar Tree to make the hanger. I wrapped some around a small metal book ring from Dollar Tree, hot gluing it as I went around. I took the length of one of the pieces in the package and cut it in half. I wrapped one end of the piece completely around the dowel rod, securing it with hot glue. I did the same for the other side. Then I brought the ends together, put them through the covered ring and hot glued them to the ring on the back side. I did that twice to make them very secure.
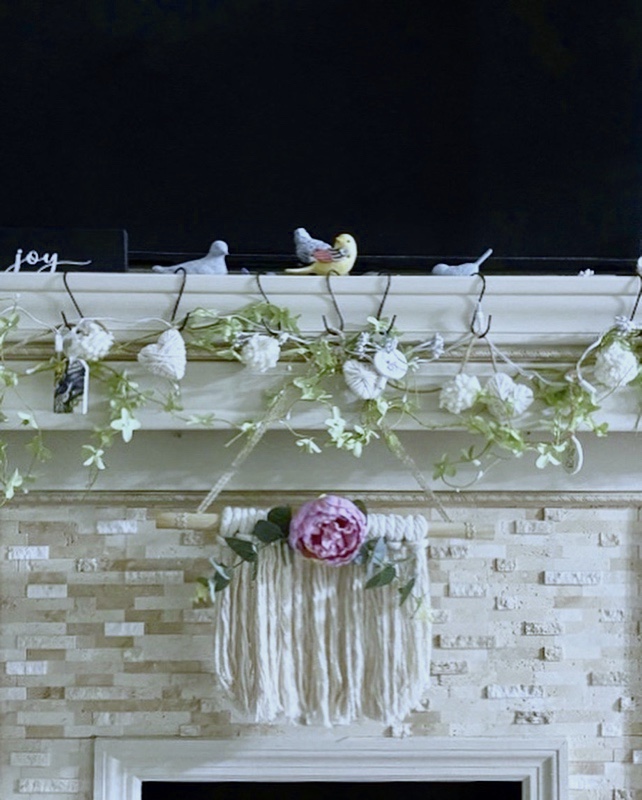
I took photos hanging from my fireplace and French Door. I especially love how it looks hanging from a fireplace for summer!!
This was a quick little project this morning for my kitchen window sill.
I was gifted this awesome bottle with such a cool shape! I think it held some type of oil and vinegar. It had white script writing on the front, but that easily washed off.
I simply placed (well, shoved and rearranged with a chopstick) a sprig of faux greenery and a blue flower bud in the empty bottle.
I whittled down a wine cork to fit the top and that was it!
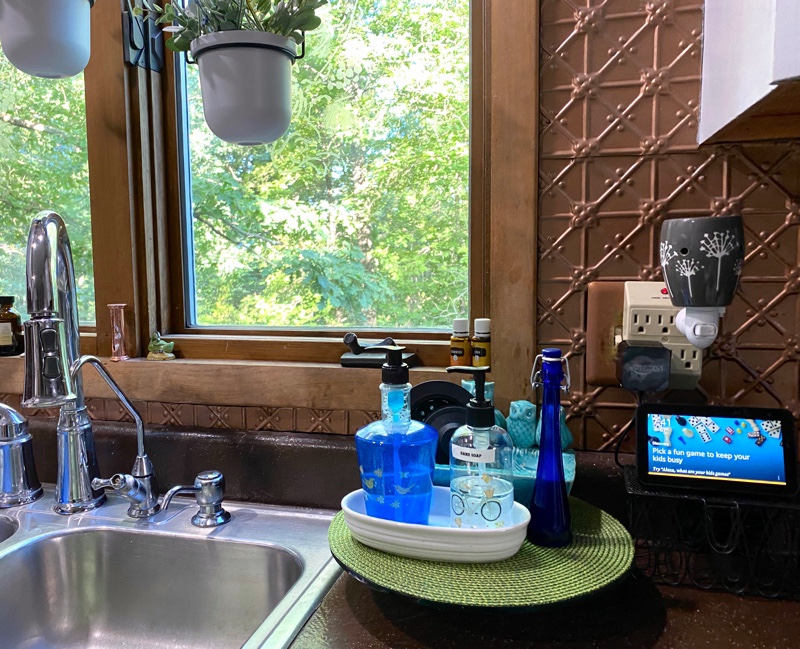
It all started this morning when I decided to give myself the incentive I needed to start some deep cleaning I’ve been putting off….so I started with my sink area.
I saw an idea for adding a pedestal to your sink area for your dish soap, etc. I just happened to have one I made.
I glued a round piece of glass I had to the bottom of a small bowl. I’ve been using it in other places. I had this thick round piece of glass I got at a flea market one time, but a wood round would work, maybe even the plate from an old microwave.
Then I cut a placemat to fit it. I had a plastic hand soap dispenser I already made and cleaned off the label on another one.
Of course, I just had to add some small transfers I found at Dollar Tree just because.
Then I was ready to start deep cleaning……
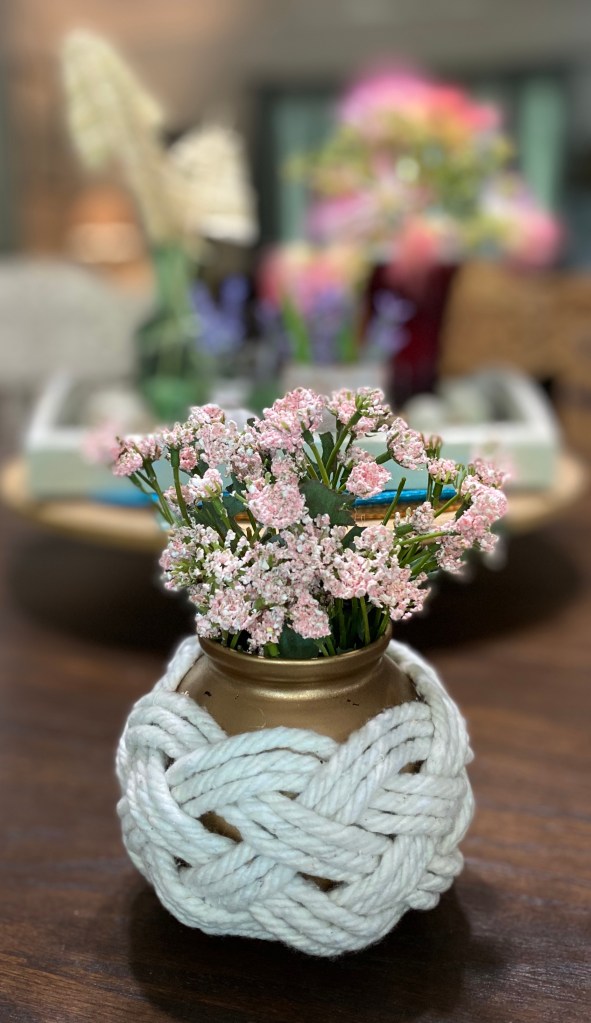
My kitchen is now clean! Yay! So my reward to myself was creating this little boho woven rope vase!
I’ve been seeing similar rope vases all over. In fact, I could buy one for $50 from this vendor. Or…. I could create one myself, which is so much for fun and cost saving, too! 🙂
I saw this woven rope idea and tutorial on Pinterest.
I had already spray painted a little red glass vase I had with metallic gold paint.
The rope was from a Dollar Tree mop head I cut apart. I used 15 strands of it and hot glued each strand side by side from bottom to top, laying the vase on its side to work. Then I separated the strands into groups of 3 and wove them over and under (spot gluing ever so often to hold them in place) until I got back to the beginning. I cut each group of 3 even with the beginning edge and hot glued in place.
Whew! Oh! And my clean kitchen. Here you go!
Now, for a late lunch and a much needed rest before I tackle another room. 😂
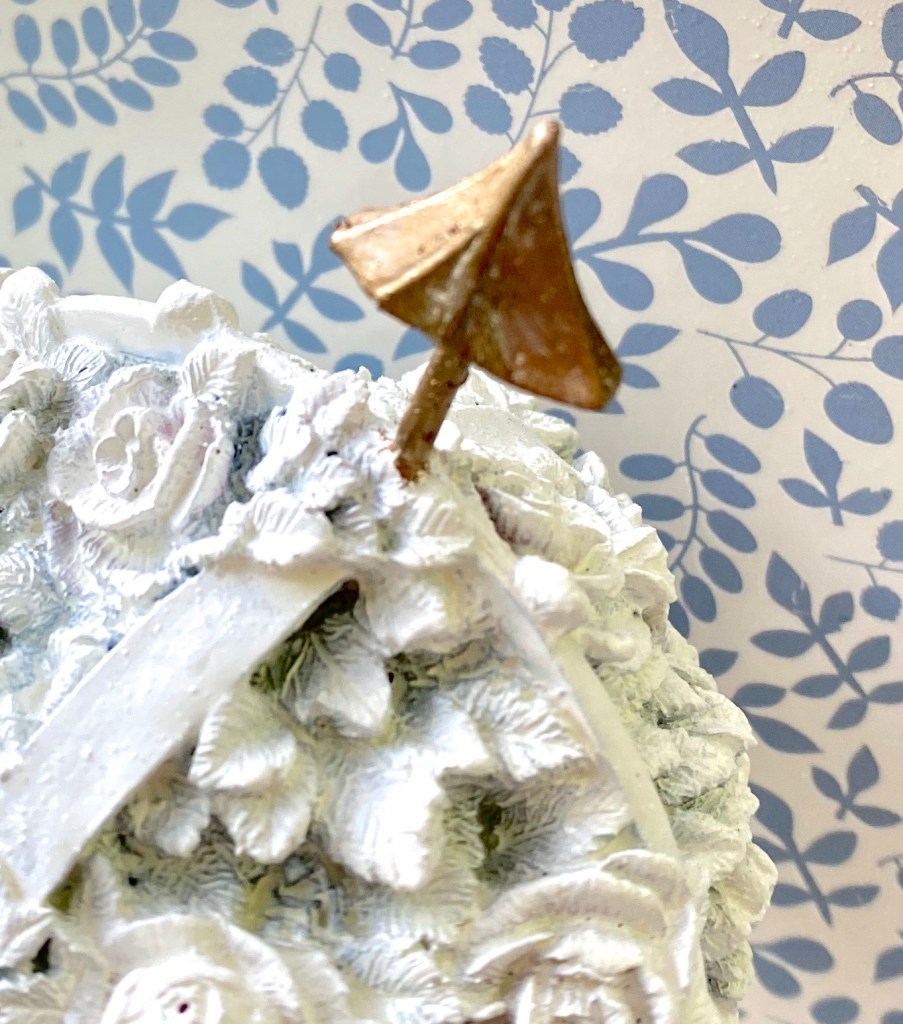
I have this bookend I thrifted some time ago. Originally the flower part was painted with various colors and outdated. I gave it a second life and painted the whole thing white.
Then today, I thought I would change it up a little more and give it a third life. I found this rub on transfer at Dollar Tree and applied it to the back. I also sprayed a little bit of metallic gold spray paint on a paper plate, then used a brush to apply it to the arrow.
What a difference!
If you haven’t fallen in love with rub on transfers yet, then try the ones at Dollar Tree to practice with before committing to the expensive ones if you are wanting to see how they work. I guarantee you will become addicted.
Meet Agatha, my yard angel. After making some other yard decor yesterday and seeing some cute angels in a garden group I’m in, I knew I had to have one. So I made her this morning…. all by myself …. with materials I had here and my husband’s power tools. Ok … his battery drill with a screwdriver bit. But “power tools” sounds better.
Head and neck: a thrifted cutting board Halo: a grapevine wreath from Dollar Tree Hair: bed springs he cut off an old mattress he found on trash pick up day awhile ago. It kept him busy for two days cutting them off. 👍🏻 Necklace: I made gold bells out of big pill bottles for a wreath I made at Christmas. Agatha wanted them for a necklace. Body: a wonderfully rustic shutter a friend gifted me. Arms: braces from an old chair Wings: leftover pieces from my son’s new deck. They were already triangles. Bag of flowers: tote bag from our trip to Amsterdam several years ago. Flowers from Dollar Tree. I will be changing that out to a watering can soon but I wanted a photo before the rain and the watering can is In my booth for sale right now. Lol
I gave her wings and arms a touch of paint to blend them in.
I screwed the pieces on (I even found that metal stuff with holes in it to attach the wings) and placed her on the hill by the pond.
Thrifting can be so much fun and when you decide what to do with your finds, it is even better.
Yesterday we made a plant stand from this metal stand that was in a storage unit my husband bought a couple of years ago (just like on Storage Wars Lol)! I had looked at this stand the other day and remembered a metal basket a friend had given me. Sure enough…. it fit. So he put the basket on the stand and secured it, then spray painted the base black. Voila`! Instant plant stand!
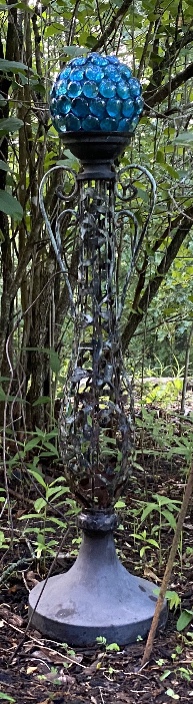
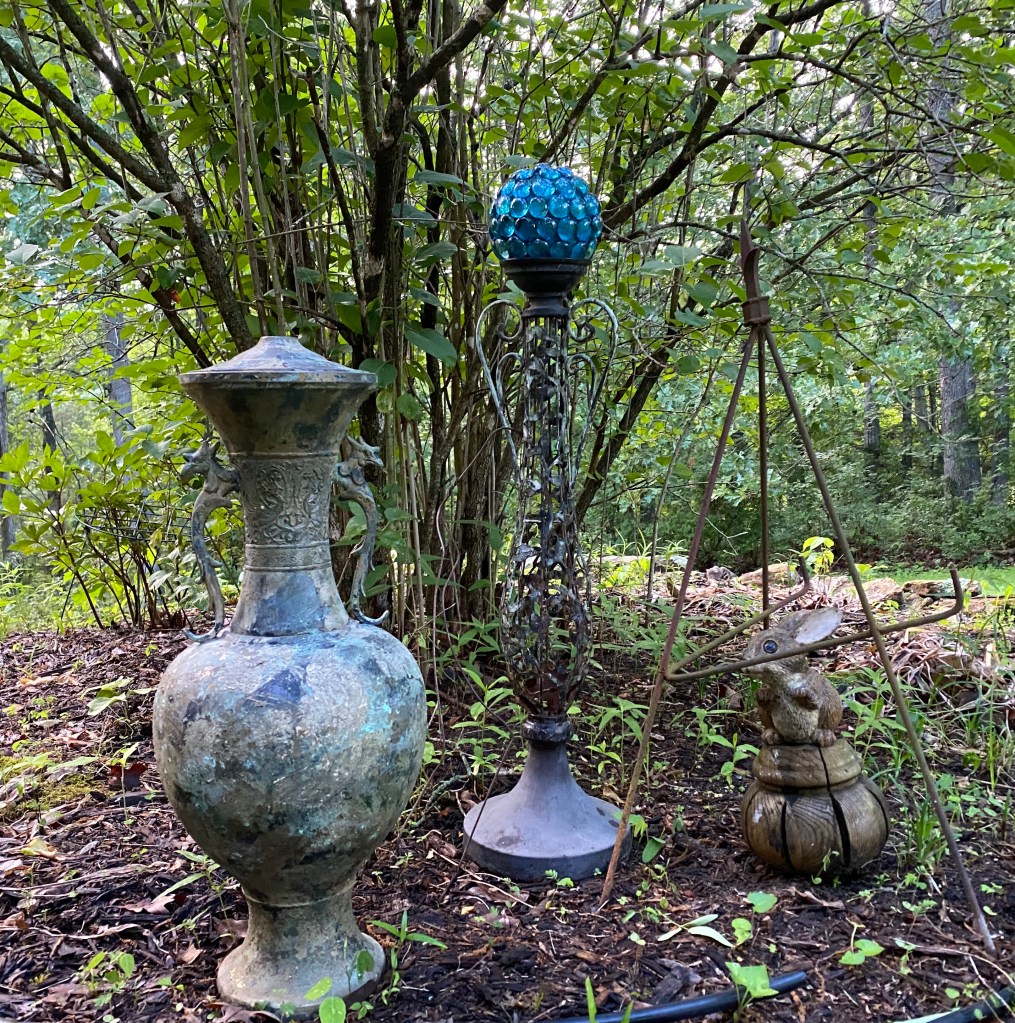
I have no idea what it was originally, but there were two of them. One is in our flower bed holding a blue gazing ball I made last year.
Thus cool urn thing was in the storage unit, too. The patina on that urn after being in the weather for a year! ❤️
When I posted this photo in one of my groups, someone asked me if the metal piece on the right was an easel. I hadn’t thought of that but I believe it is now it was pointed out. They suggested adding a frame and centering it over a pretty plant, etc. Now I’m going to have to try that!
I had to borrow my Portulaca (It looks so good right now and has really grown) off my big plant stand to get a photo, but I’m thinking of planting just some ivy so it will trail down the sides. We still have some coming up around the deck we can’t get rid of. Surely I won’t kill it.
Anyway…..it is so much fun making something out of nothing.