A Round Pedestal Table Gets an Amazing Makeover

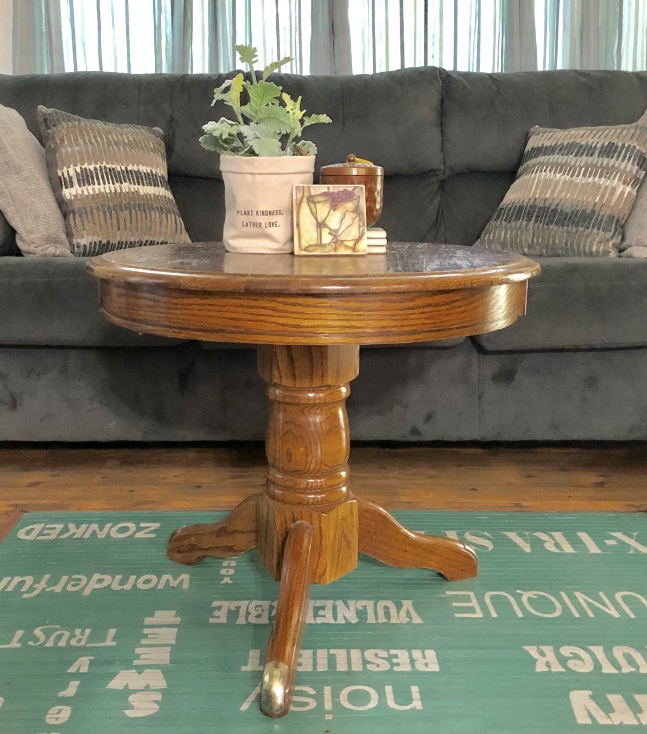
I found this small (20.75” tall and 24” wide) solid wood table at a flea market about a year ago.

https://sharsumpaint.com/2020/07/16/a-round-pedestal-table-gets-an-amazing-makeover/

It was in good shape, but dated. It needed a makeover. We had sanded the top almost all the way, but it still needed a bit more to get it down to bare wood.

However, life got in the way and so it sat in our basement waiting patiently for its makeover.

A few days ago, it happened. I took the heat gun and stripped away the rest of the residue on the top, then sanded it smooth and hand scuffed the base. I cleaned it well.

I couldn’t wait to try out the DIY wood aging stain recipe I found and mixed up. It had been sitting waiting to be used for several weeks. I had tried it right after I mixed it up on a board. I think it reacts differently on different types of wood and it really hadn’t had a chance to darken the wood much. But, it turned out with a beautiful, natural wood look that I loved.

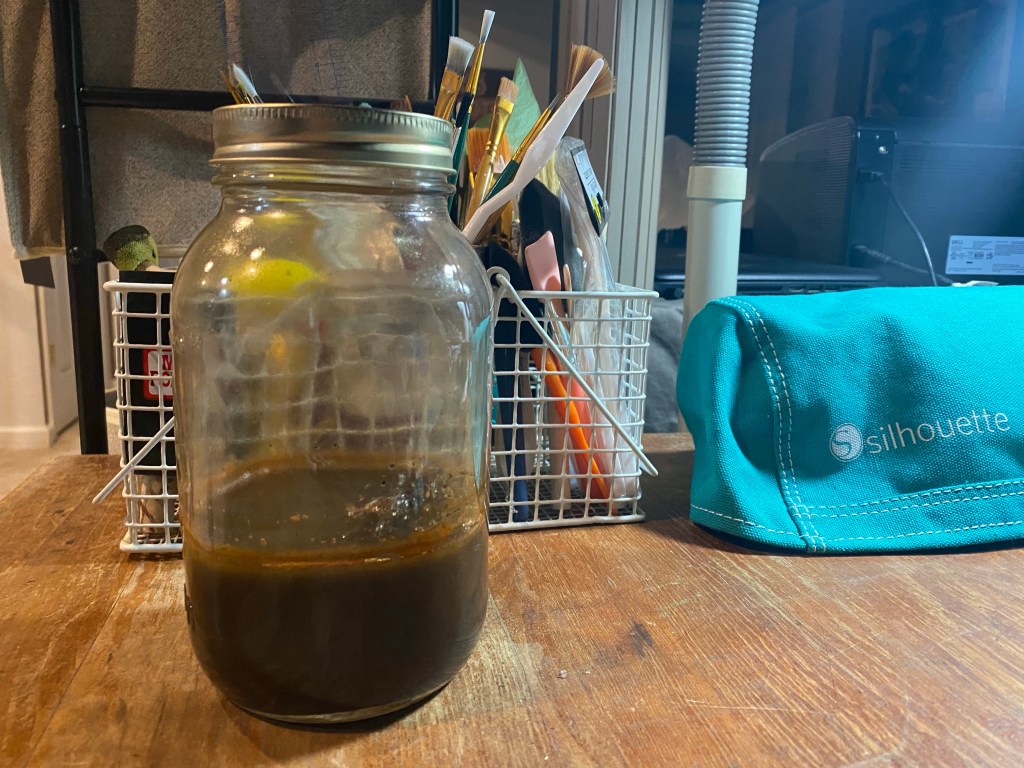
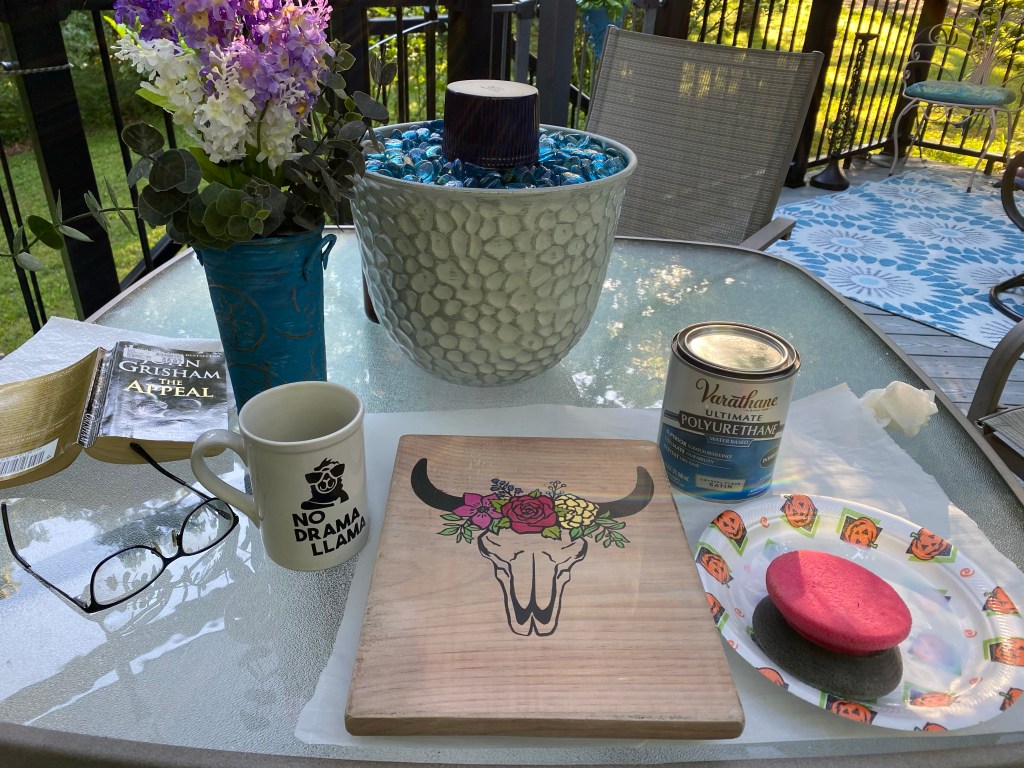
The stain is a mix of used coffee grounds, vinegar and steel wool. It doesn’t look very pretty in the jar, but wait until you see it on this oak table top!

Here’s the link to the DIY tutorial I found and used: https://www.familyhandyman.com/article/how-to-stain-unfinished-wood-with-used-coffee-grounds/?_cmp=stf

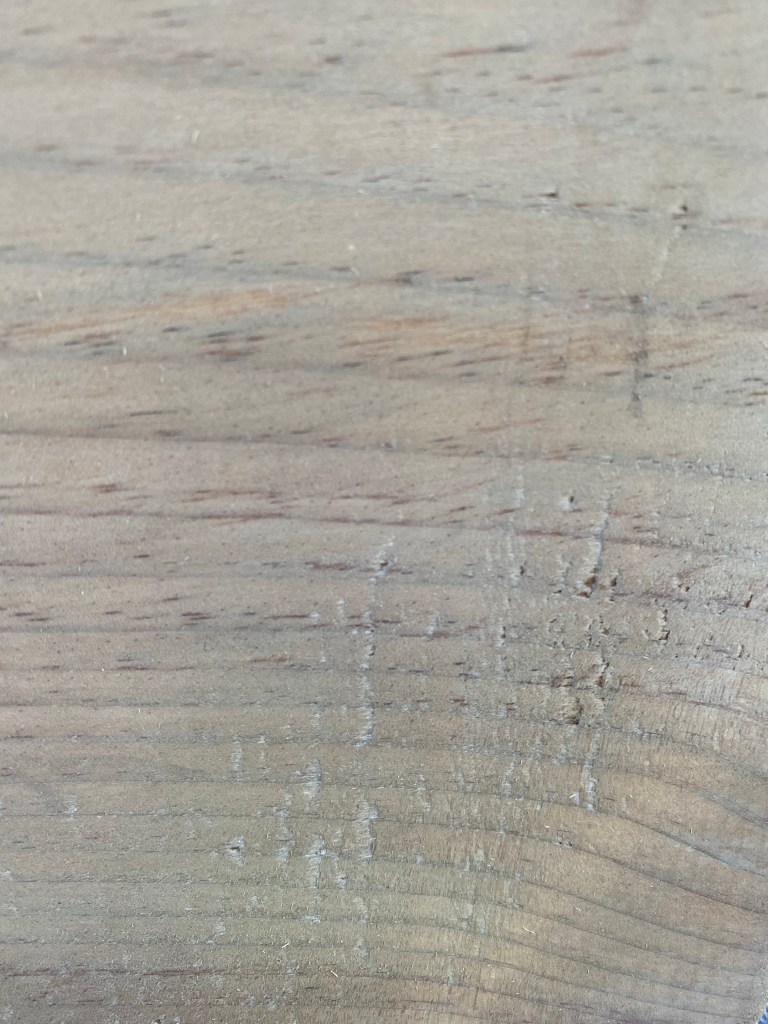
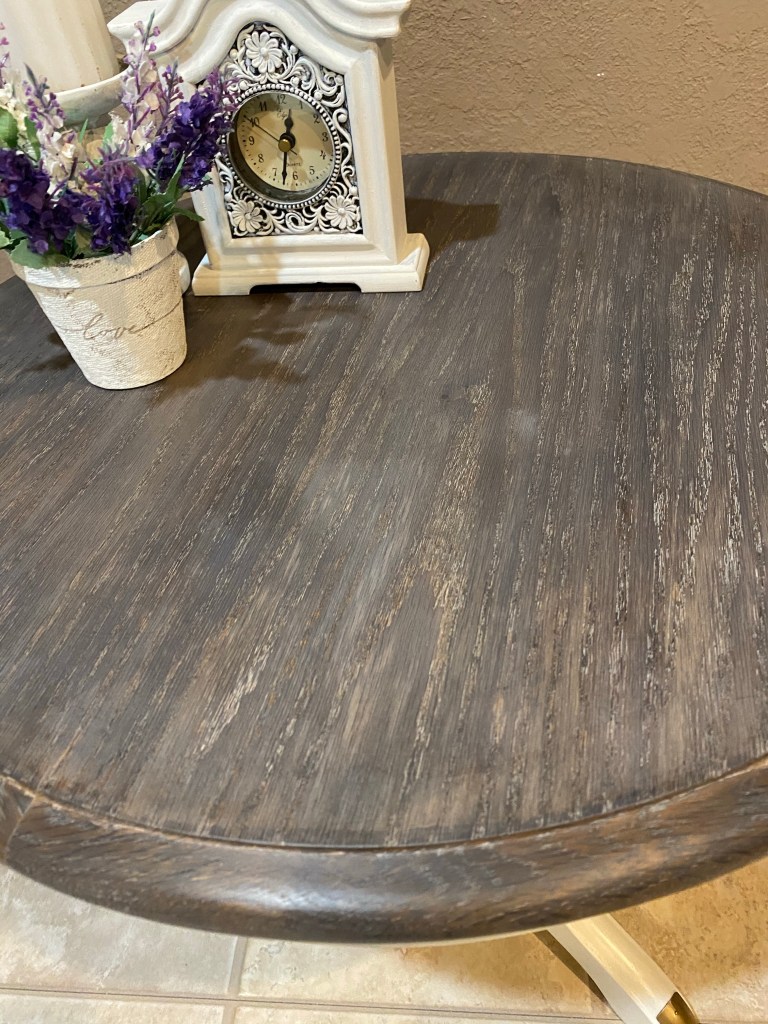
The interesting thing is you don’t see how it is working until it dries. At first it looks like it is just darkening the wood (and it darkens more as it dries) but when it dries, ahhhh….there is that beautiful grayish cast….just like old barn wood that has been left out in the weather for years. And this photo doesn’t even do it justice.

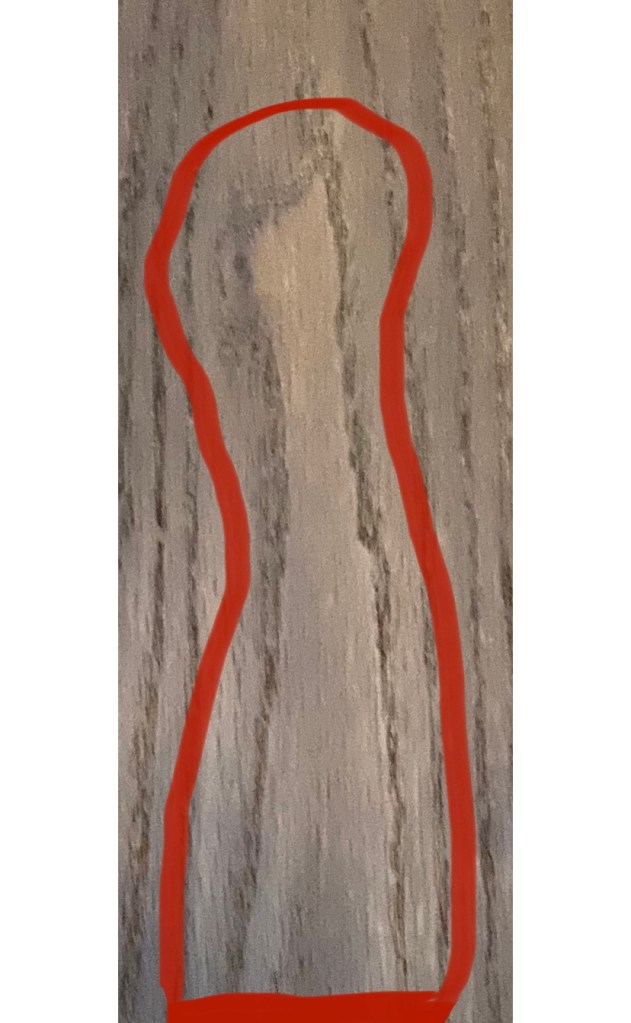
Hmmm…..At this point I happened to notice a strange formation in the grain going across the top. In my eye, I saw a llama head and neck. There are actually 4 of them, seeming to march in a line across the table, but this one stands out more than others. Still not seeing it? Let me help you. Lol

So now I had the stain on, but I wanted to really enhance the old wood look so I sealed it with a mix of liming wax and clear wax.

I wanted to open up the grain for the liming wax to get into it and stay so I used a wire brush and carefully ran it across the table top, going with the grain.

The liming wax I used is by Briwax. I mixed some of it with Howard’s Chalk-tique light wax. You can use any brand of clear wax, though. Mixing them together gives you a little more control over the liming wax and provides a nice finish. I think you can purchase both of these products from several places like Amazon online.

The next photo shows half the table top with the liming wax combo and half without. What a difference the liming wax makes!!

Can you see my 4 marching llamas? I know…. they are hard to see. Lol

Let me help. 🙂

Here is the top all waxed and buffed. Again, pics don’t really show just how beautiful this table top is. The sheen of the wax is gorgeous!

By the way, did you know wax helps repel dust? So using wax on furniture that isn’t going to get a lot of heavy use will save you dusting time, too!

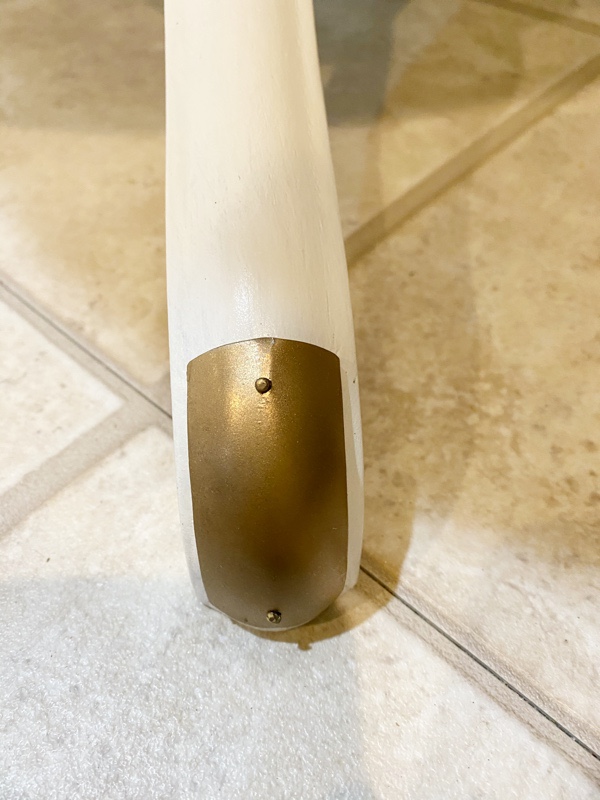
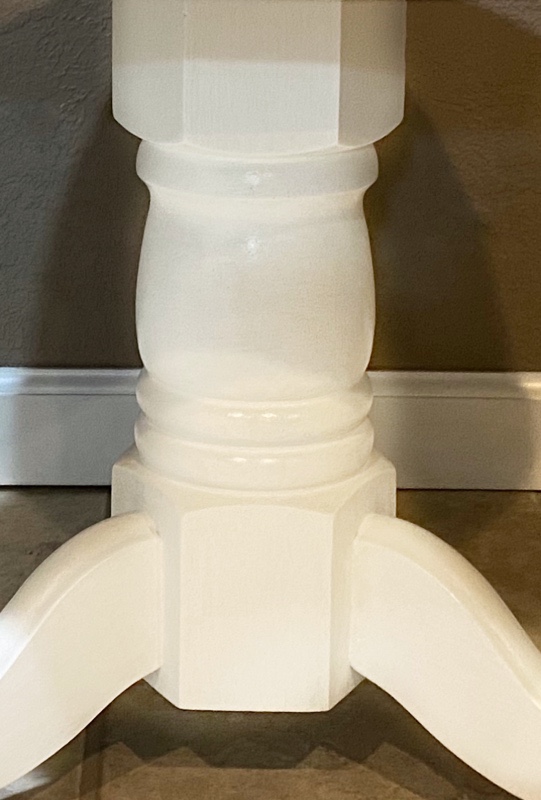
The little metal feet needed a makeover, too, so I took them off and spray painted them a metallic gold. So pretty now!

Now it was time to paint the base. Sometimes I use primer, sometimes I don’t. I didn’t on this one. I had just cleaned and scuffed it up really well. In retrospect, I wish I had primed this and I wouldn’t have had to use as many coats of chalk-style paint, especially since I wasn’t going to distress this piece. I used 4 coats of Missouri Limestone Paint Company “January”, a pure white. You tend to need more coats when using white or very light colors.

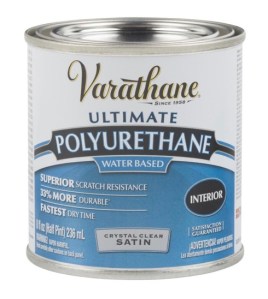
But all is well as chalk-style paint dries so quickly. Once the paint coats had all dried well I sealed the base with several thin coats of Varathane Crystal Clear water based polyurethane. I never have had a problem with yellowing in the 6 years I’ve been using it.

The secret is thin coats and no drips or pooling. I use a round damp car wax sponge to put on a thin coat and follow it with a sponge brush if needed to clear up any drips or pooling. For long areas I go in one direction only and work quickly. You can’t go back and forth or overwork the sealer or you will have a mess as it dries so quickly.

And now…. drum roll ….. My finished “llama table!” 😉 What a difference, right?

A One of a Kind Floral Cow Skull Tray/Wall Hanging Decor

I’ve been on a kick creating stencils lately of farm animals on my Silhouette machine. My latest project has become my favorite! 🙂 I also tried a new staining technique on this one. I will definitely be using this technique again.

I started with a plain new pine board. Danny, my husband and partner in our world of painting and creating, had previously cut a long pine board into 9 x 11 1/2” boards, sanding and rounding the edges. Some we will make into cutting boards, but this one I wanted to make a tray that could also hang up and be used as a wall decoration.

My idea was to give the board a natural, white washed look. I created a coffee stain with used coffee grounds, vinegar, and a steel wool pad. Here’s the tutorial I used: https://www.familyhandyman.com/woodworking/staining-wood/how-to-stain-unfinished-wood-with-used-coffee-grounds/?_cmp=stf

This worked well to darken the wood and bring out the grain. I would have liked for the wood to have been a little darker. When this dried, and after 3 coats, I still thought it would be a little darker but it was fine. I let the solution sit for 24 hours after I mixed it. The next time, I think I would let it sit several days.

After drying, the board was ready for the white wash, I mixed our brand of chalk-style paint Missouri Limestone Paint Company (MLPC) “January” with a little water, painted it on, then used a damp rag to rub it in and wipe it off. I let that dry well and it was ready to stencil.

I really liked the look of the end result – I will be using this technique on a small table top next.

It was now time to stencil. I found an SVG image I loved on Etsy from HeyLena Arts and purchased it. https://www.etsy.com/listing/744390593/cow-skull-svg-floral-wreath-svg-boho-svg?ga_order=most_relevant&ga_search_type=all&ga_view_type=gallery&ga_search_query=floral+cow+skull+svg&ref=sr_gallery-1-3&organic_search_click=1&pro=1

I uploaded the SVG file to my Silhouette machine, traced it and cut it out, using Contact paper. I find this is a cheap and easy way to cut stencils. The Contact paper adheres nicely and is easy to remove. I also use clear Contact paper to transfer the stencil to my project. Press n Seal will also work as a transfer.

Then I did all the “weeding” (picking out the areas of vinyl) for the dark area of the skull. I stenciled those areas with MLPC “French Roast”, a dark brown.

For the flower area, I decided the best way to finish that would be to hand paint it, so that’s what I did. I am no artist, but I did learn to pretty much stay in the lines when coloring in elementary school. ☺️

The MLPC colors used: Crepe Myrtle, Farmhouse Green, Cornflower, Radio Flyer, Sour Green Apples, English Bluebells, and MO Buttercup.

Once all the flower area was dry I sealed front, back, and sides with Varathane water-based Crystal Clear Polyurethane in Satin Finish. I used 5 thin coats for durability. This piece may be used as a tray so I wanted it to stand up to hard use. (It was so pretty out I did the sealing on my deck. I had my book and coffee handy and read while my sealer dries. It only took about 10 minutes for each on this day.)

Now it was time for the handles. I remembered seeing a DIY on Pinterest for creating handles out of strips of leather. I happened to have the perfect belt made of genuine cowhide that I thought would be perfect! I had purchased it at Goodwill some time ago to create handles for a suitcase dresser, so used it for this project instead. I cut two strip of 8” each and we attached them to the edges of the top and bottom of the board using vintage wood screws.

This beautiful, floral cow skull tray/ wall hanging decoration is now complete! I absolutely love how it turned out!

Here are the other projects I have recently completed.

This is a charcuterie/cheese board
Wall decoration

From Coffee Bar to Buffet

We had the same table and chairs for years before we started painting and now have gone through several. We are now getting ready to change again.

This round table with 2 leaves and chairs we painted with our Missouri Limestone Paint Company chalk-style paint in Trading Post, Old Tin Barn, Sour Green Apple, and Crepe Myrtle and a mix of grays. We gave this set to one son and his family.

My coffee bar I repainted in a new gray we haven’t released yet and are calling MO Gray Stone. This is going to our other son and his family to match their farmhouse dining room table.

The farmhouse set in our dining room now is too big for the space so we will be giving it a makeover in the near future.

If you like the look of this set and would like us to customize it for you, just contact me for details and pricing.

But that means, I will need to be looking for a smaller set. 😁

Bringing a Garden Bench Back to Life!

This garden bench had good bones. It just needed some paint and the boards refreshed and I knew just the way to do it.

First of all – the paint. Our Missouri Limestone Paint Company chalk-style paint is perfect for the cast iron metal on this bench. It actually only took one coat of our gorgeous dark green color called “Evening Shade”. It also needed no sealer. Our chalk-style paint, when used on metals like this, cure naturally with the heat and the sun baking it in.

Yes, we ship!!! You can purchase all of our 45 colors in 16 oz. jars through our online distributor, Connie Mathews of Winston Home Designs.

The whole project took less than two hours, even when you have a cute little helper. 🙂

Next – the wood. The wood was in really good shape, just bleached out and dry. Wise Owl Salve in White Tea scent to the rescue! We don’t sell this product ourselves, but I love it and have used it to rehydrate wood and as a sealer on several projects. It comes in several wonderful scents! I purchase mine through a fellow painter in Massachusetts. I was fortunate to meet Sarah, of the Princess and the Peacock, while on a trip to visit my cousin, who lives about 30 minutes from her shop! I’ve linked her name to the Wise Owl Salve section of her online shop.

I tried to show in the photo below the difference the Salve makes in bringing the wood back to life!

The Salve is so easy to apply, then let it soak it, and buff. And Yes, you can use it on furniture left out in the weather, and we do have some weather here in Missouri. The bench may need a reapplication of wax down the road, but it only takes a few minutes so that isn’t a problem.

And that is all there was to it. This bench now looks almost brand new and holds a prominent spot in my front yard under the trees.