Click on the following link: brochure
SharSum Paint Brochure
2
Click on the following link: brochure
Great idea for making a cinder block bench, but I would paint it with Missouri Limestone Chalk-based paint. It is perfect for outdoor projects like this.
http://diycozyhome.com/diy-cinder-block-project-for-your-back-patio/
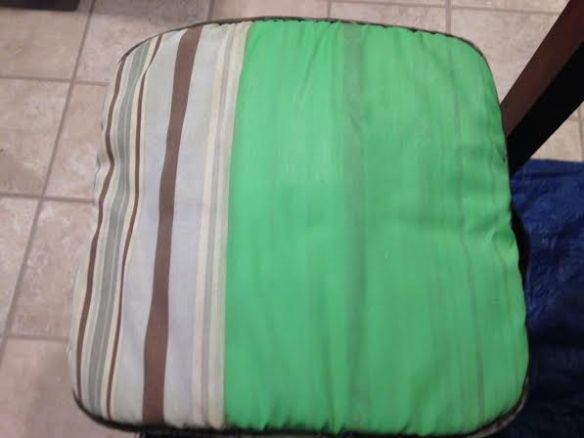
I was with a friend at dinner the other night and she was mentioning how faded and blah her patio chair cushions were. She wondered if she could paint them with Missouri Limestone Chalk-type paint. I said, “Sure you can!” But then we both wondered if you would need to seal them and if so, what you should use. I told her I’d check it all out and let her know. I’m so glad I did, and you will be, too.
First, I did some research and here are my findings:
Painting Tips:
Finishing Tips:
What a difference a little chalk-type paint makes, right? It literally took me just seconds to paint the area I painted as the paint covered so well. But then came the question of sealing.
I let the cushion dry for several hours and then tried an experiment. I put a poly sealer on half of the cushion and let the other half stay as it was. My thought was the poly would not only give it more protection, it would make the cushion easy to wipe off.
After the poly dried well, I took a wet cloth and scrubbed it really hard. No paint came off on the rag, and it was easy to scrub, so I thought that was very nice. Then, I took a wet rag and scrubbed the area that just had paint. I scrubbed and scrubbed. Guess what? No paint came off that area, either. It was easy to scrub and actually, except for the slight sheen of the poly area, you really couldn’t tell any difference.
Bottom line…..don’t bother sealing. Bring your cushions in to protect them like you did when they were new (as you can tell from the beginning of this post – I tend to leave mine out in the elements at times) and your newly painted cushions should last the summer, at least. I personally believe the heat of the summer will make the paint cure even more and they will last a good long while. If they don’t, just paint them again next year.
I’m so glad I did my research and experiments. I, too, have a set of patio chair cushions that I’m going to paint……now my biggest problem is choosing a color!
We are getting ready to introduce our paint at our local home show. We will be demonstrating and selling our paint through Gift Emporium and Cafe’s booth. Sullivan Eagles Hall, March 12, 2016, 9 am until 2 pm. Michelle Conrad sells our paint in her store so be sure to stop by there sometime, too. We’ve been busy painting items to show off our paint. Here is a sampling of things you can purchase at the home show. Stop by and enter to win a basketful of goodies Michelle has put together. Hint: the basket includes a sample of paint and wax, a starter kit, and a bunny jar you can paint yourself!


My friend Cindy and I found a great mirror at Encore Resale for her daughter’s apartment. The original color was a light pink with light blue trim. Not a good color for today’s world, but at $39 it was a great price and the mirror and wicker were in great shape! Armed with several different choices of Missouri Limestone Paint, we color-coordinated it with her bedspread. “Trading Post” turned out to be the perfect color and we dry-brushed distressed it with just a little bit of “Rural America”. I actually had an empty jar of Rural America that still had some dried color in it. We added a little water, stirred it up, and it worked perfectly, giving us just the right amount of paint we needed for distressing. This jar was definitely good to the very last drop!


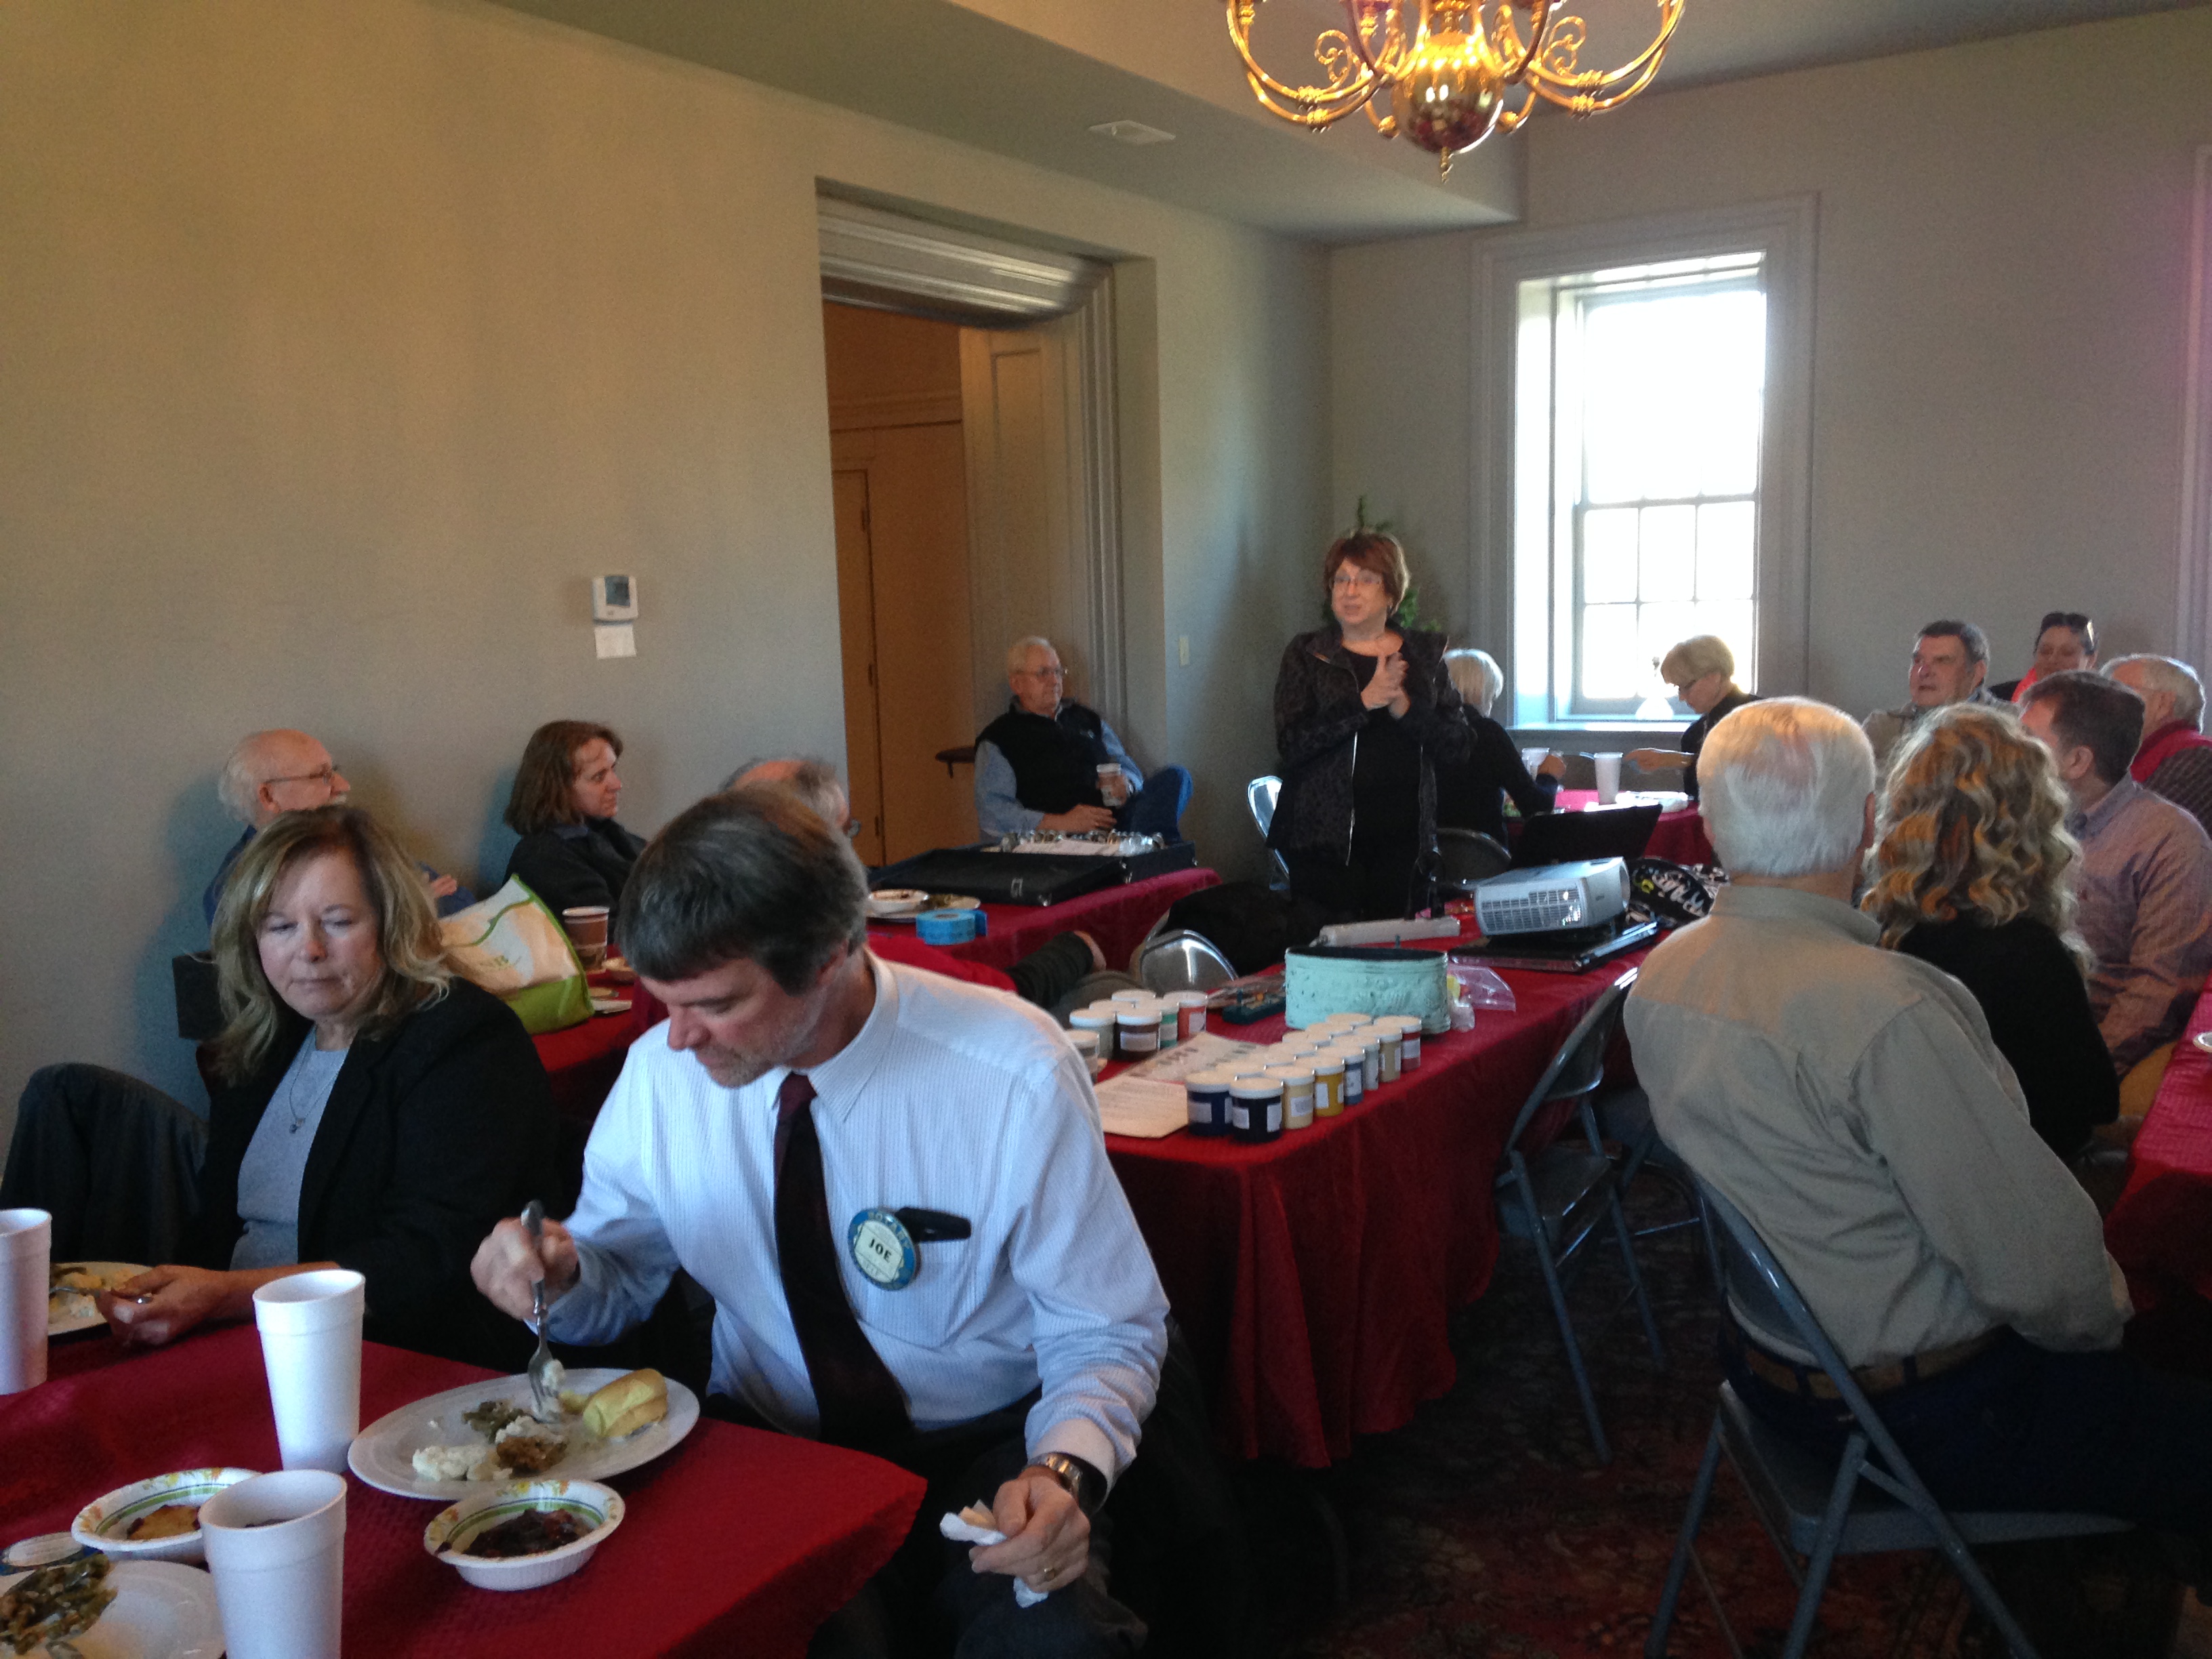
Another successful Make and Take It Class was hosted by Mickie Watkins. Mickie has the perfect place for these classes. It is always so much fun to check out what others are painting and seeing the variety of colors on the projects. I thought I was getting pics of everything, but missed a few. Hopefully, everyone sends us pics of their finished projects and we will post them on the site.
Each participant gets a starter kit with a sample of paint of their choice, brush, sponge, and rags. The host will be provided with a starter kit and is not charged for the class. The host provides some appetizers (because painting makes a person hungry). Participants bring their beverage of choice and it is best to wear old clothes.
These classes are so much fun! If you are interested in hosting a Make & Take It class, please don’t hesitate to contact us!
I decided my nightstand(s) I bought at a resale store were in good enough shape I really didn’t need to repaint the whole thing, so I decided to just add a little bit of color to them. No sanding or priming needed. I just painted right over the finish. Two coats covered just fine. I used Missouri Limestone Paint’s “Something Blue” and then tried out American Paint Company Clear Vintage Refinishing Wax. I love how they turned out! This wax is awesome. I’m working on getting it available for those wanting a no-odor, completely natural wax. This wax did not lift paint at all. I was able to wax a couple of hours after painting and then buff it out after about an hour. It takes hardly any buffing at all to give it that luster I love. Since I was waxing in my dining room last night, the no-odor thing was really nice. I just wanted to try the American Paint Company brand on a piece of furniture. I still like the Briwax toulene free wax, too. It is a little less expensive, but has an odor much like shoe polish, and you do need to wait a little longer for the paint to cure well, and sometimes I’m impatient. : ) They both go on smooth and buff out easily.


We put together this list of tips and tricks on things we’ve learned when painting, waxing and sealing. These are our opinions and what has worked and not worked for us. Others may have had different experiences.
Click here to view.
Karen Largent invited SharSum Paint to present at today’s January Rotary meeting to introduce our new company and the paint we are selling, explain chalk-based paint and share ideas for painting with it. We thoroughly enjoyed the experience and hope everyone left with a little more knowledge of chalk-based paint and maybe left thinking of projects they could paint. You can view our Google presentation here.
 We explained how you could paint and distress a metal flower pot and pointed out the right half of the pot is waxed and has a slight sheen to it. The other half shows the chalk-like matte finish without wax. Passing this piece around the group gave them a hands-on look at the finish once waxed and they could see how the wax deepens the color and enhances texture.

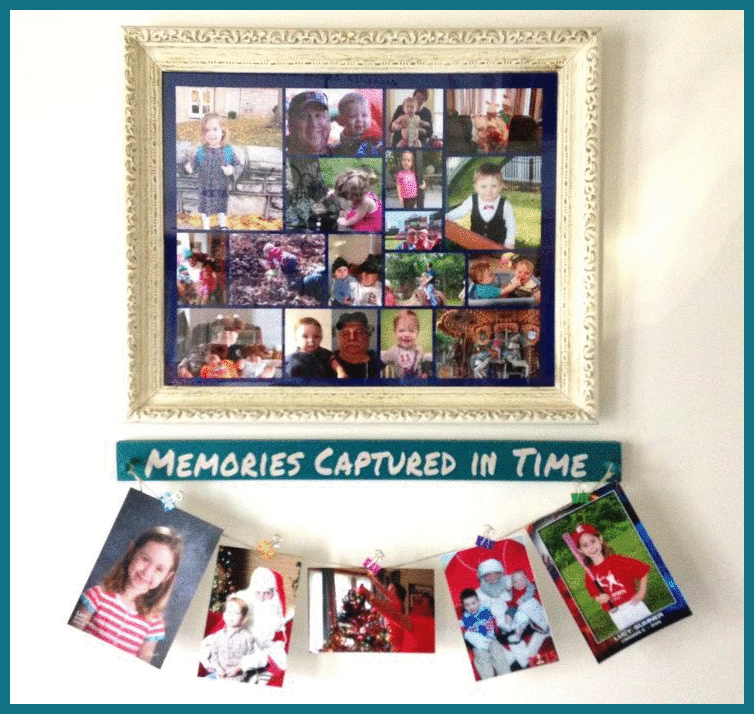
We also discussed repurposing thrift store finds. We created a hanging photo holder (Capture Memories in Time) and brought this piece to show.
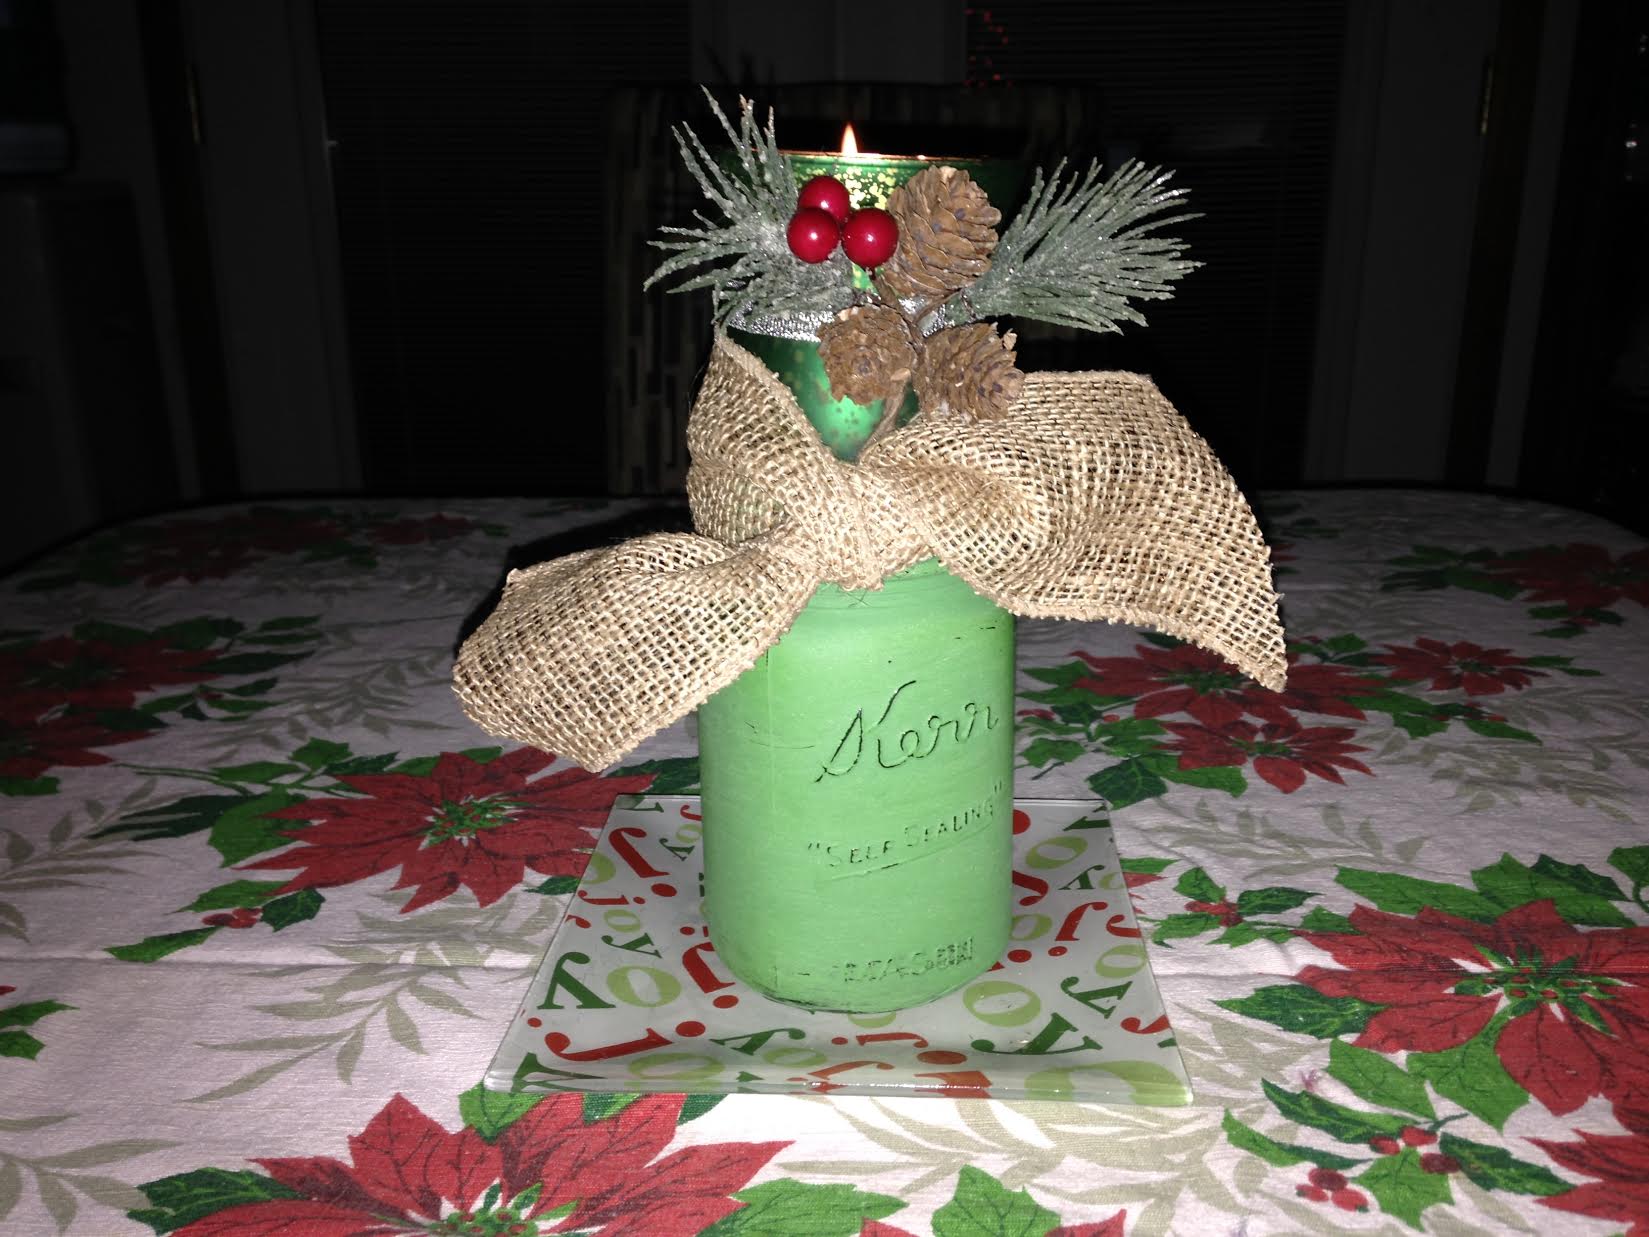
I’ve been on a painting frenzy lately it seems. Today, when I put a Christmas tablecloth on my dining room table, I decided it needed a Christmas table decoration. I had painted a pint size Kerr jar with “Farmhouse Green” earlier. As I was rooting around in a box of Christmas decorations, I came across a small glass plate and a small votive candle holder. I’m pretty sure both of these items came from the dollar store at one point. What do you know, the votive holder fit right into the top of the Kerr jar. I tied a burlap ribbon around the neck, and “Voila!” My re-purposed table decoration was complete. I lit the candle tonight and it looks so pretty! I LOVE being able to just go to my basement and pick and choose from my stash of paint jars and make new things from old – quick and easy. Danny thinks I’m my own best customer. LOL It is just as much fun as having a stash of yarn. : )