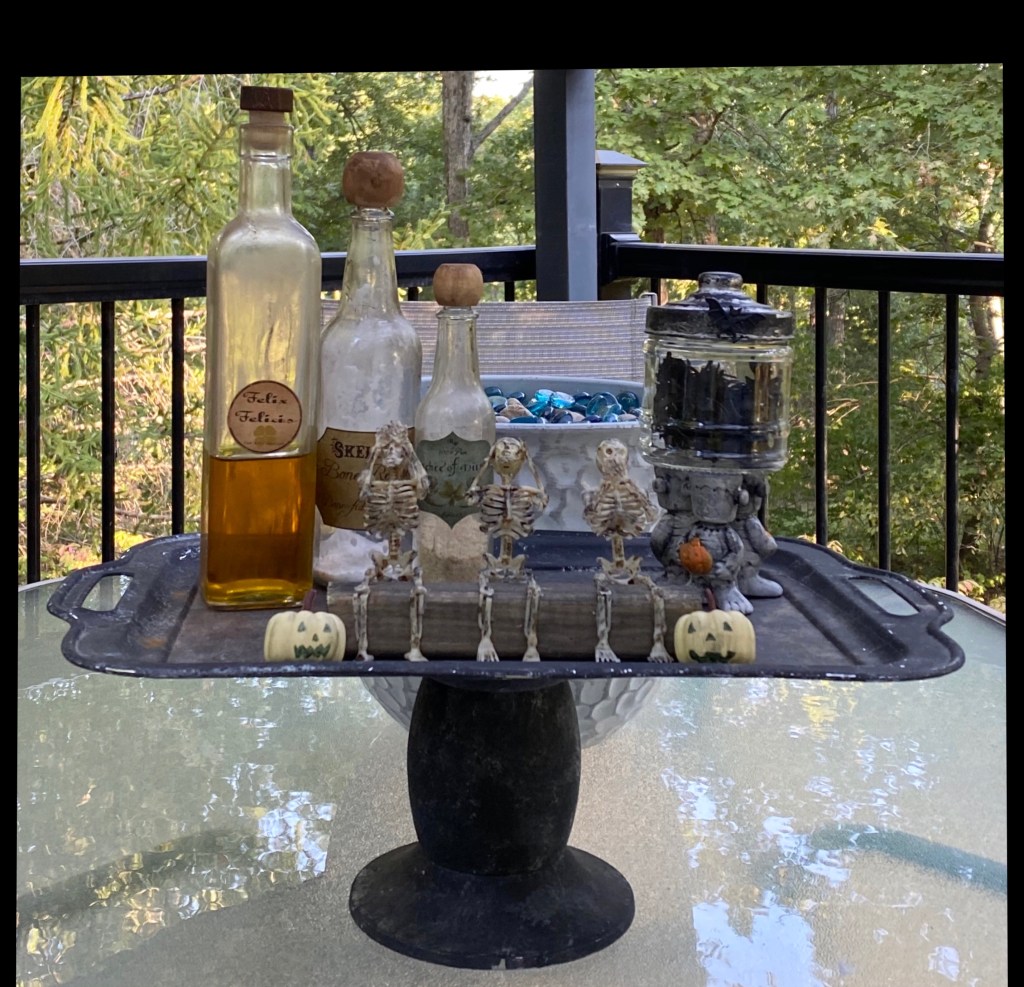
Pinterest inspired. They used bigger skeletons, but I had a package of these little 6” ones and a wooden block for a bench …. so ……
I just needed scissors, a block of wood for them to sit on and a lot of hot glue. I dry brushed and wiped off a bit of black paint on them afterwards to make them look even dirtier and to disguise any hot glue that showed.
I am making the claim that no skeletons were harmed in the creation of this project because well, you know why… but seeing as skeleton bones are rather brittle lol, I did have to remove their upper arms and not use them and cut off their legs and reset them so I could get them into position. 😂😂
The other items on the tray and the tray I had already made.
I had one more little skeleton left. I think I figured out how to turn him into “The Thinker”.
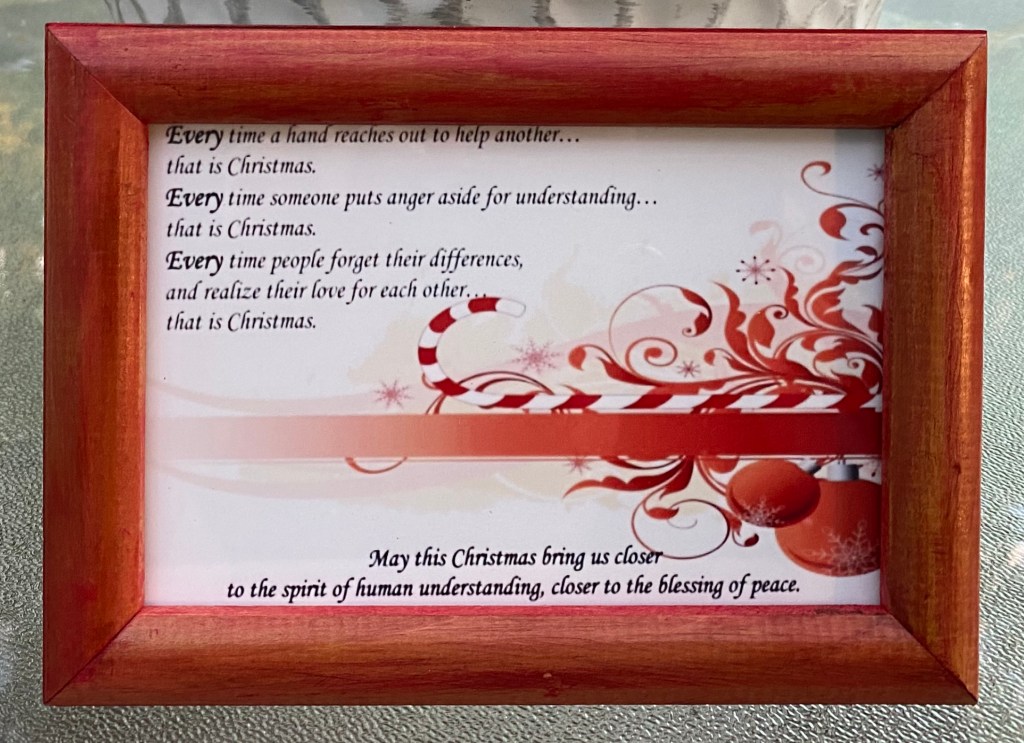
Today’s early morning project: A painted vintage photo frame with verse
A friend found this vintage 8×10” F.T.D. 1972 resin type frame for me. I knew this type of material would paint beautifully as I’ve painted mirrors out of this plastic like material from the 70s.
Many years ago my cousins sent out Christmas cards with this verse on it. It had such an impact on me, I framed mine and to this day, keep it out all year as a reminder.
I did a wax resist technique on the vintage frame. I rubbed candle wax all over, then painted it with just one coat of our Missouri Limestone Paint Company chalk-style in “January”. Then, when dry, I rubbed all over it with a paper towel. Anywhere there was wax, the paint rubbed off with the wax, leaving some of the beautiful antique gold finish exposed.
I did a search for the verse and found it with several different backgrounds. I thought the image I chose would go very well with the painted frame. I liked it so well, I made a smaller 4×6” version and stain painted a little 4×6” frame. I’m now working on designing a muted Christmas colored background to make another one. Finished it. I found an image that would work with most any style and added text to it. Put it in a 6”x6” square frame.
I also tried to find the author, but all I’ve been able to come up with is Anonymous. I’m pretty sure, though, it was on a Hallmark card at some point.
I think this year, more than ever, we all need to take to heart the message in this poem.
For some reason I’m on a roll with crafting….oh wait…. I know why. I should be cleaning.
It’s my neighbor’s fault. They are moving and not wanting to take some things with them, so they have been gifting and selling things to us. My hallway is full of their treasures.
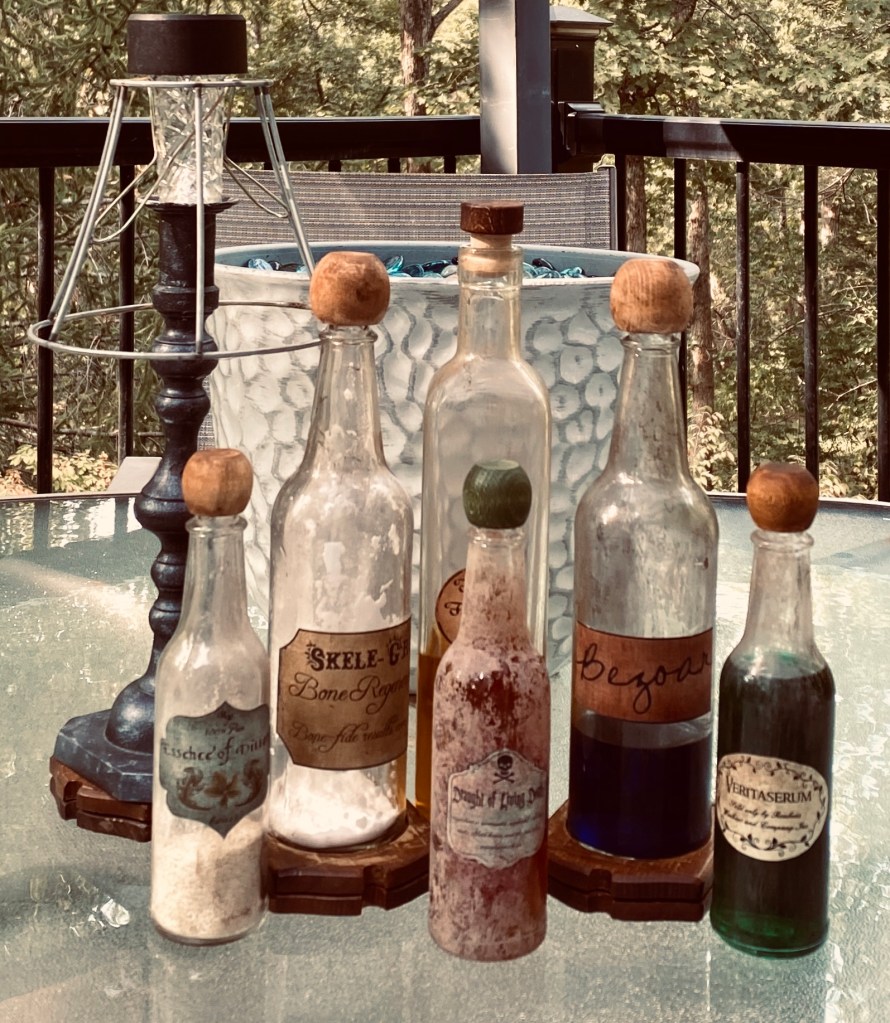
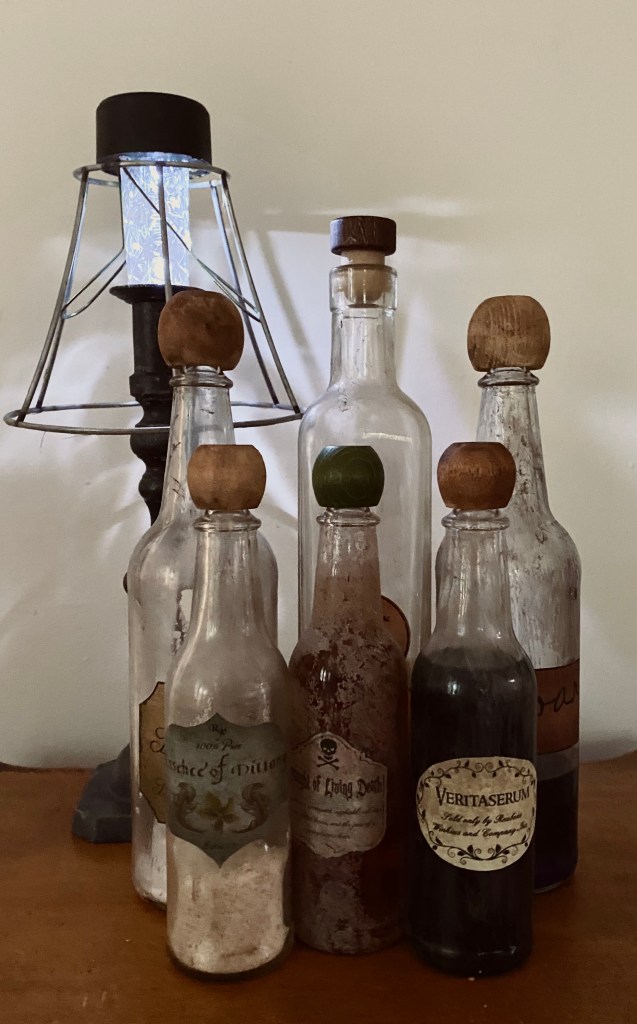
Today, I am clearing a small amount out by making these cool potion bottles. Believe me I have probably another dozen bottle. I was inspired by some I saw on Pinterest. They even had printable labels to download. I saved that post and pretty much followed the tutorial there. https://overthebigmoon.com/halloween-decor-harry-potter-potion-bottles-free-printable/
And then….my neighbors came bearing a gift of about a dozen or so hot sauce bottles they saved. They really like this hot sauce. I knew right away those would make awesome potion bottles. So, of course, I had to make one. Just one…to see how it would look.
I loved how it turned out so much, I knew I had to make a few more. So, I did. I also used one of the other bottles they had given me. I think it might have been an olive Oil jar.
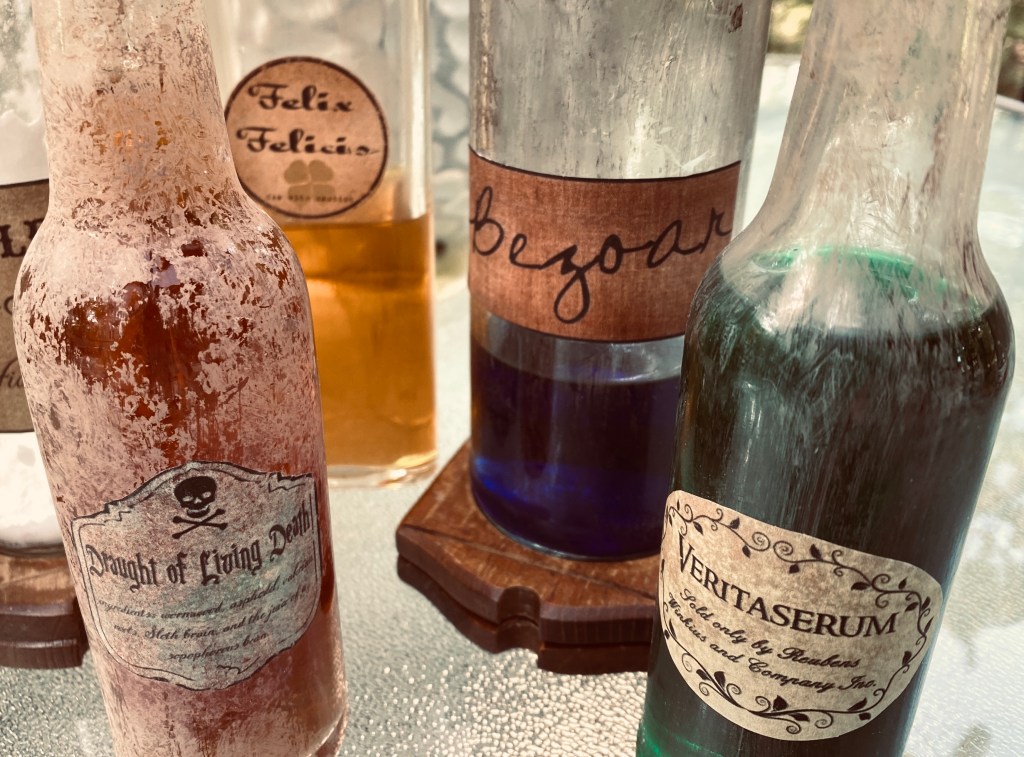
Here’s my first set of Harry Potter-Style Potions. I used various colors of our Missouri Limestone Paint Company chalk-style paint to get the look of dirty glass. I filled them with colored water, weak tea, Cream of Wheat, and Baking Soda. 🙂 One stopper was already green. The others I stained darker.
This set is available for porch pickup now or will be in one of my booths closer to Halloween.
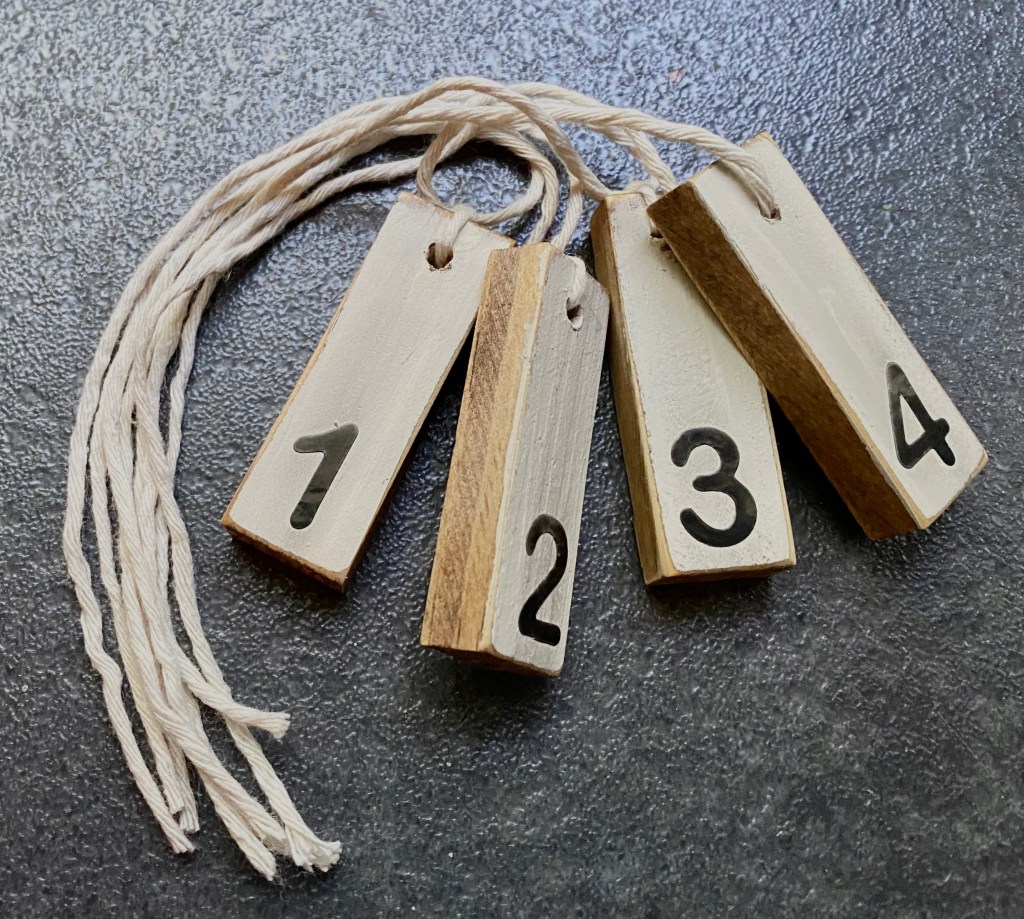
I don’t know why I’m seeing these so much. I see them on everything from numbering wedding tables to using on home decor “just because”.
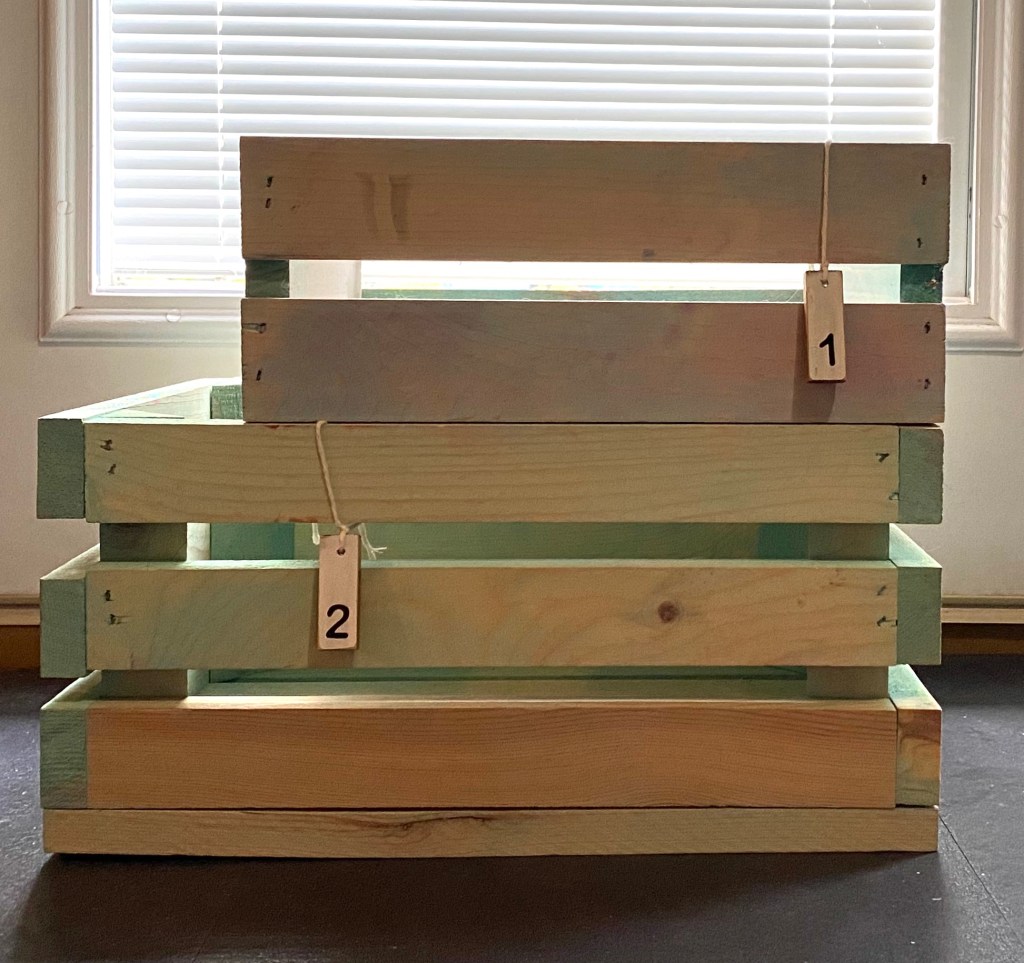
So here are 4 “just because” number tags I made this morning. They do look pretty neat on these wooden crates. 🙂 Dollar Tree Jenga blocks – hole drilled for string, antique wax, painted, sanded, and number stickers applied. Sealed with clear wax.
Does anyone know why the number tags are so popular and have you made any? Please share pics if you have.
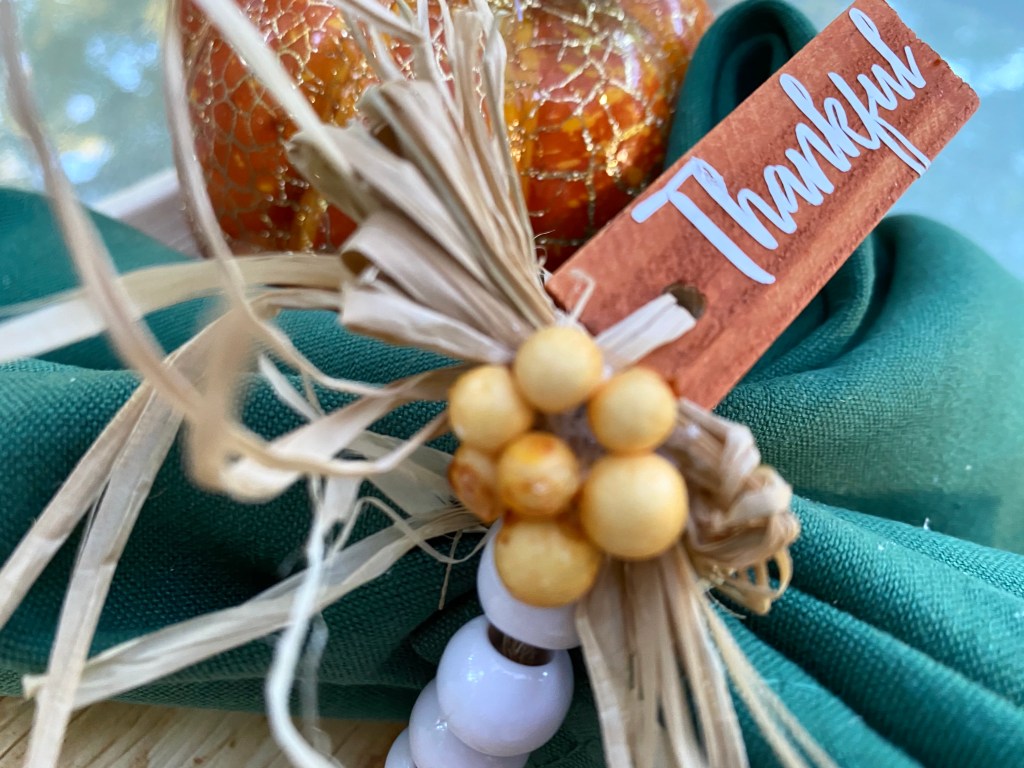
*wired jute for rings – Dollar Tree *jenga blocks paint stained with holes drilled – Dollar Tree *beads cut off and saved from a beaded basketball net – thrifting 🤷🏼♀️ 🙂 *raffia – Dollar Tree *vinyl words cut on Silhouette. *small clusters of berries – Dollar Tree *folded napkins – searched google for a tutorial on folding napkins a like a leaf
I threaded twelve beads onto a length of wired jute and left enough on the ends to tie a knot and have about 3 inches left over. Then I stripped the jute off one end of the wire and threaded it through the jenga block and twisted both ends tightly to hold it in place.
I cut the thankful words on my Silhouette and added to the jenga blocks.
I made small raffia bows and tied them on with some of the wire that was still left on from the jenga block.
Then I ran a piece of raffia through the block and around the bow to hide the wire. I added a little cluster of berries with hot glue.
You could use these through the fall season and through Thanksgiving.
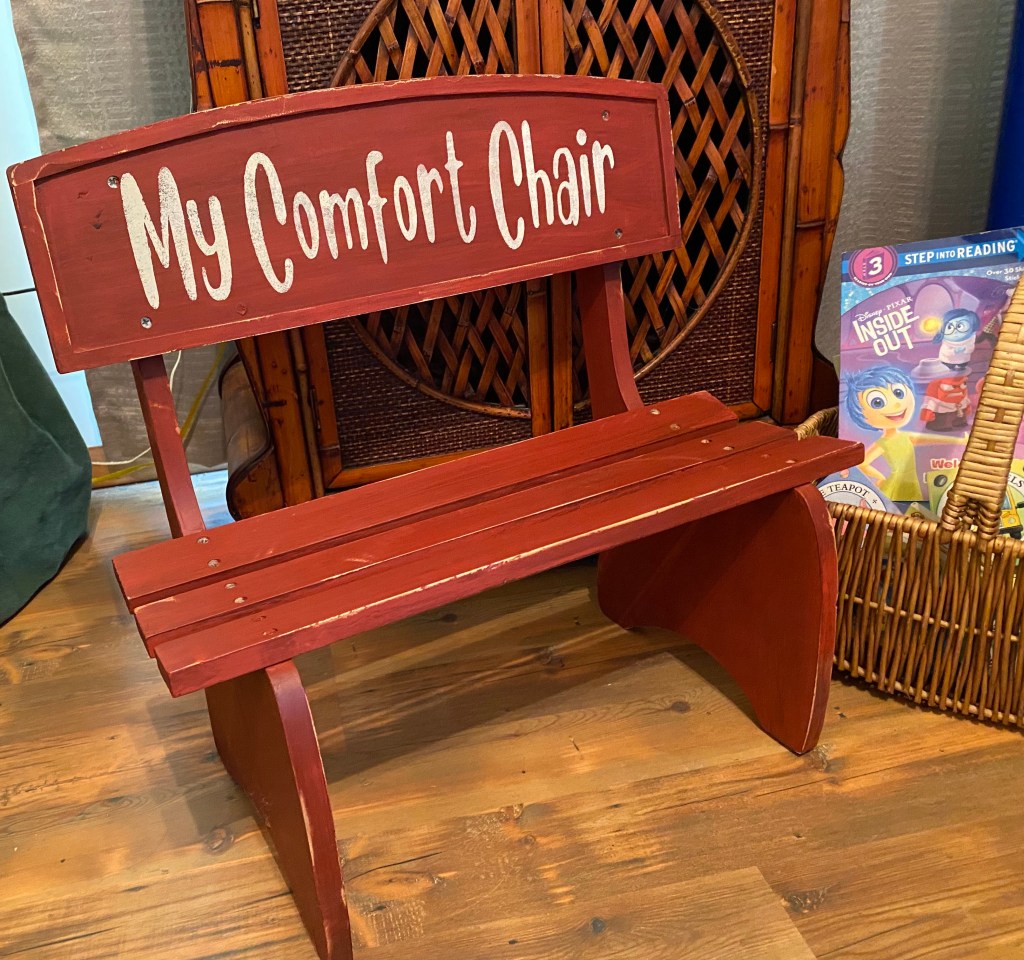
Many parents are using a “calm-down corner” or another area of their home to help toddlers/preschoolers calm their emotions. The following article is a good explanation for creating a calming area for your children in your home.
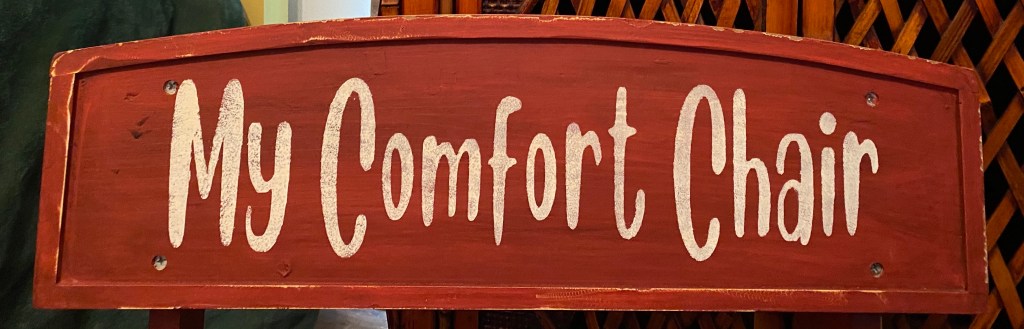
With that in mind, I created a rustic/farmhouse style comfort chair for them to use as they explore the items stored in their calm-down area.
It is available for porch pickup or will be in one of my booths soon.
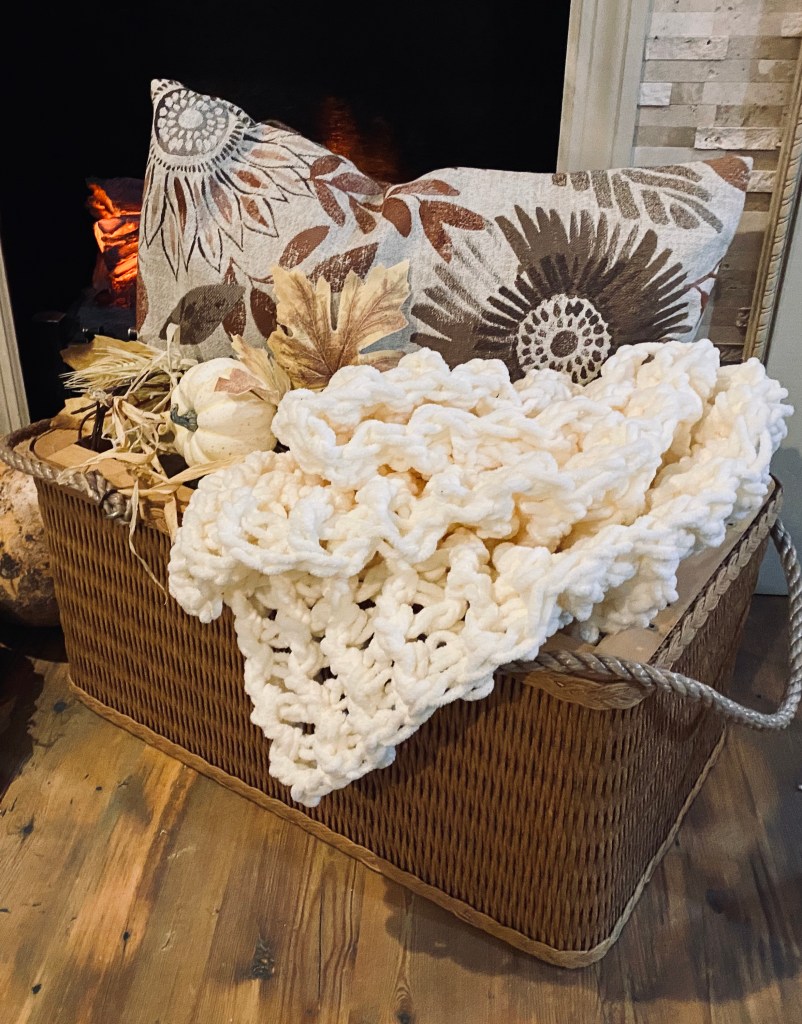
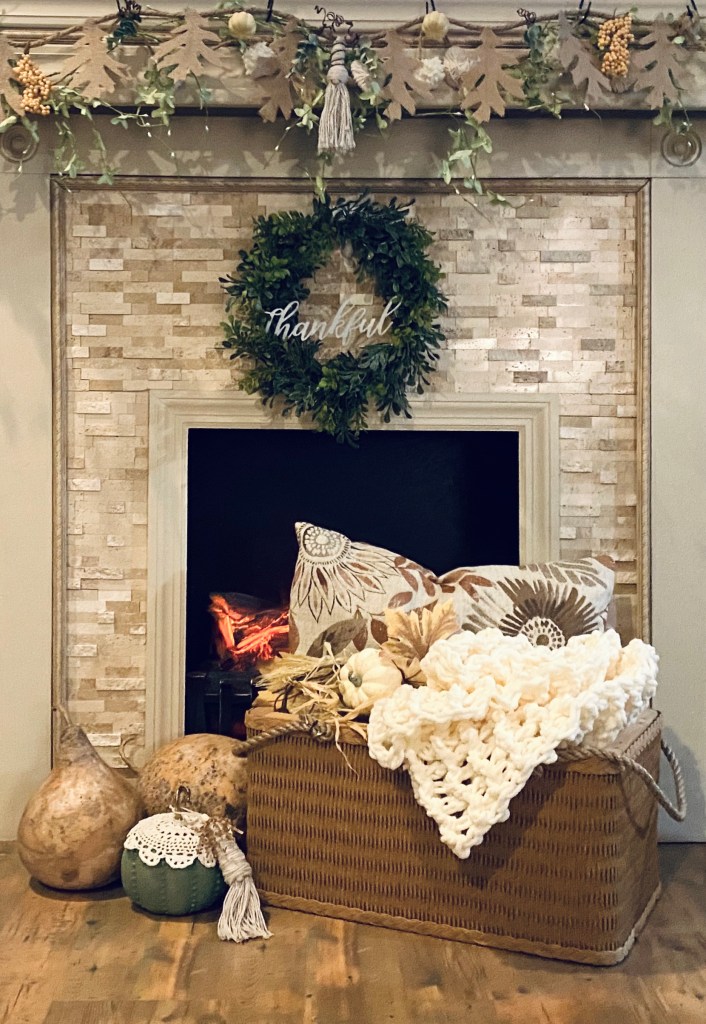
First up: This morning’s project was just combining some things I had to create a beautiful Fall display. This will be for sale right now as a porch pickup. $45.00
I had a vintage picnic basket. The trim on the lid was unraveling so I removed the lid. The rest of the basket is very sturdy, in excellent condition, and is perfect for storage and a Fall display.
I saw an idea for knitting or crocheting just a small blanket section for decorating a basket. What a great idea! I love the bulky blankets but a full size one would be way too bulky. I just happened to have a blanket I started crocheting but tired of working on it. It’s not functional but looks so pretty in a basket display.
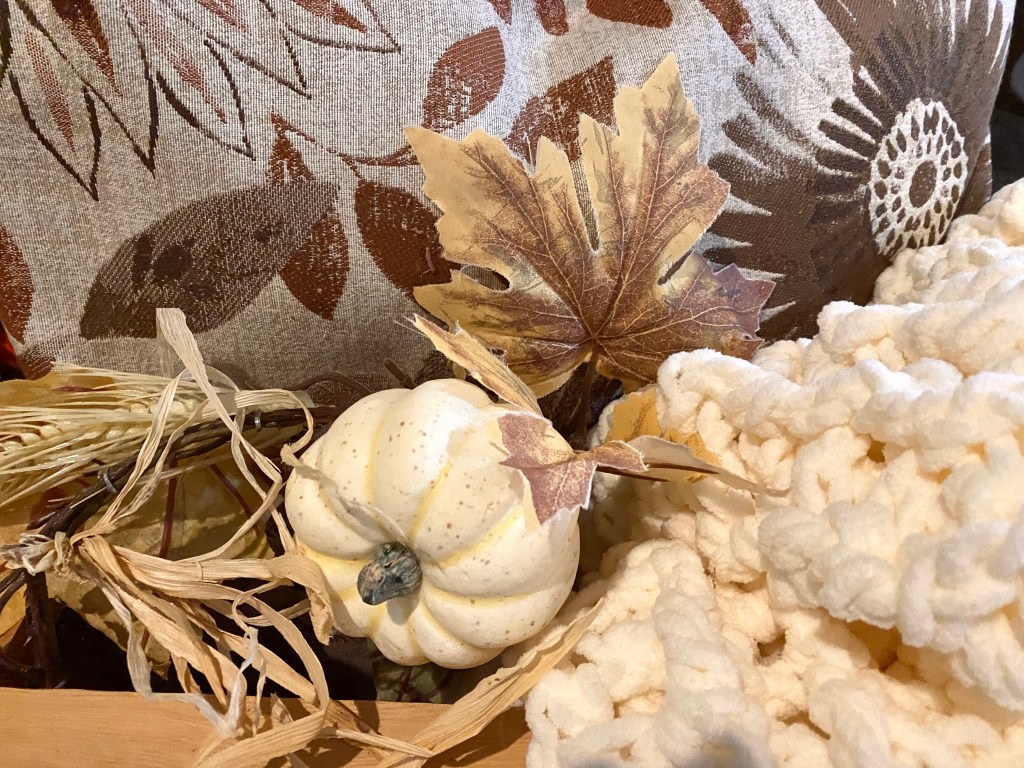
I also had this beautiful pillow cover and a pillow that fits in it.
The display needed one more little thing, so I added a section of neutral garland.
I wish I had a bigger living room. It looks so pretty in front of my fireplace.
Next: Yesterday, I took a tin bucket from a thrift shop and wrapped jute twine around it, securing here and there with a bit of hot glue.
I cut apart some images from a package of Dollar Tree rub on transfer and applied them randomly to the front. I sealed them with wax. I love the rub ons from Dollar Tree.
I then added a hydraenga my sister had dried for me along with some greenery and this project was complete.
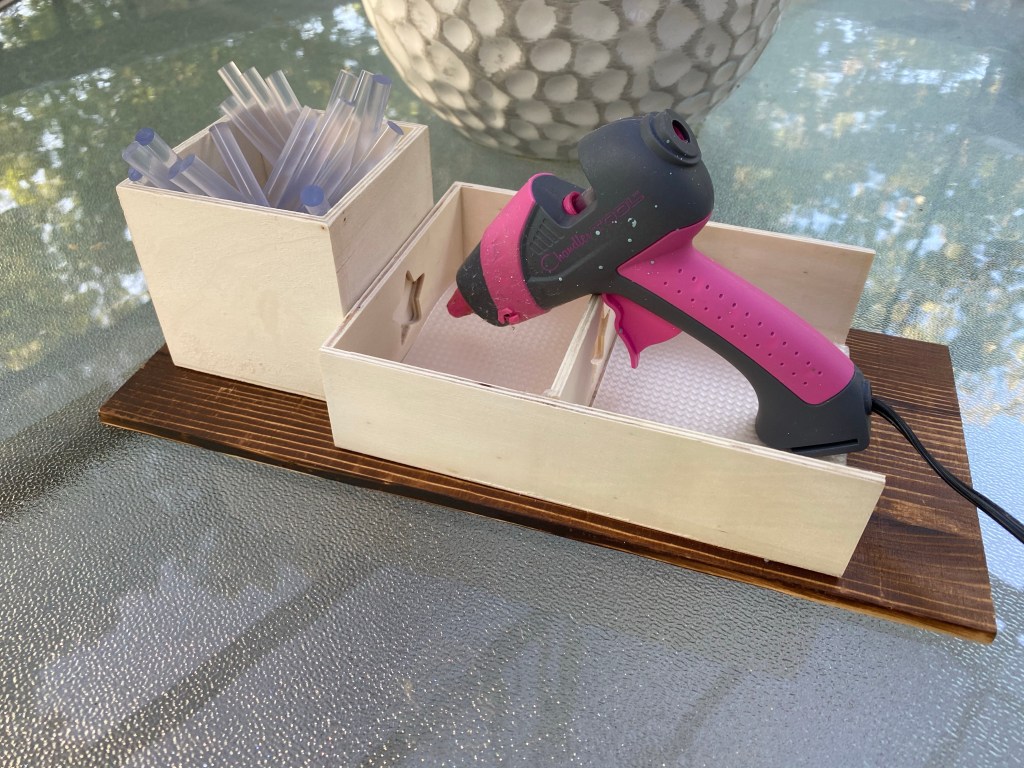
A Hot Glue Gun Stand:
I was tired of fighting hot glue guns and never having a glue stick handy so I started looking around for stands for them. You can buy fancy ones but DIY is so much cheaper. All you need is a plank (I think this was a blank sign from Walmart), a little box from Dollar Tree and a small tray from Dollar Tree.
Then you have Danny knock one end of the tray off without breaking it. I tried and couldn’t do it. I wonder what kind of glue Dollar Tree uses? It was on there tight.
Then you reattach the end about 2/3 of the way in with some hot glue. Glue the box and tray to the plank with (I used tacky glue as it was handy and hot glue) and now I have a stand for my glue gun.
If you look closely, I laid down some pieces of vinyl shelf liner to catch glue drips. I can just throw it away when it gets yucky and lay down another. A friend also suggested using pieces of aluminum foil. That would work great, too.
Last, but not Least: A Dollar Tree Hanging Sign Makeover
“I’ve been framed,” said the hanging pumpkin with the beautiful blue/green scrapbook paper.
I just attached the pumpkin by it’s jute hanger to the recessed area on the back of the empty frame, so it hangs free.
I don’t think it needs any embellishment.
I’m keeping this one and displaying it all year in my bedroom. Those are the colors in my bedroom. It makes me happy.
That’s it for now….follow my blog to get notified when I make new posts!
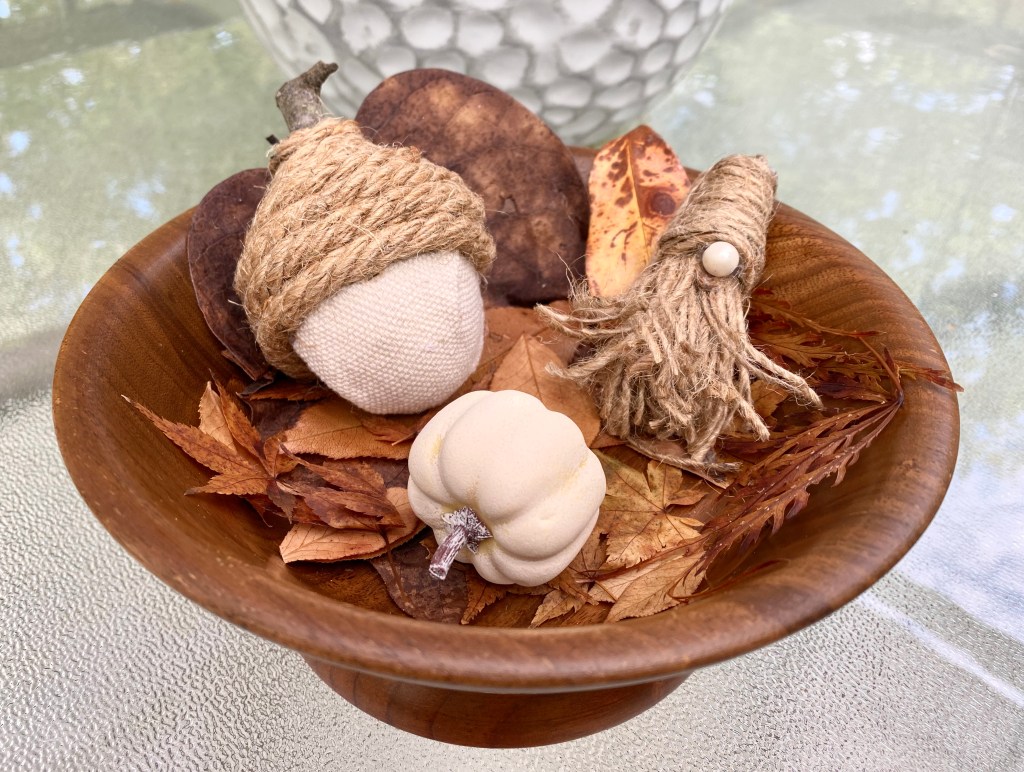
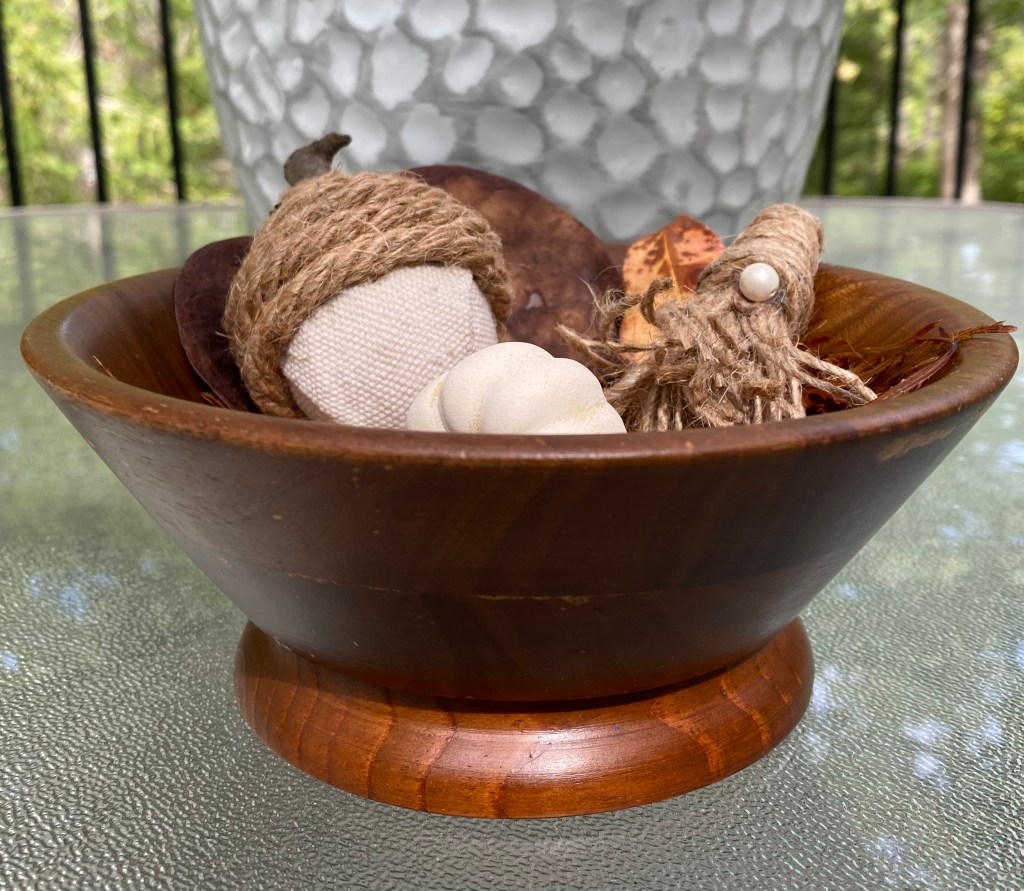
*Then I painted a little pumpkin so I would have an odd number of items in the bowl.
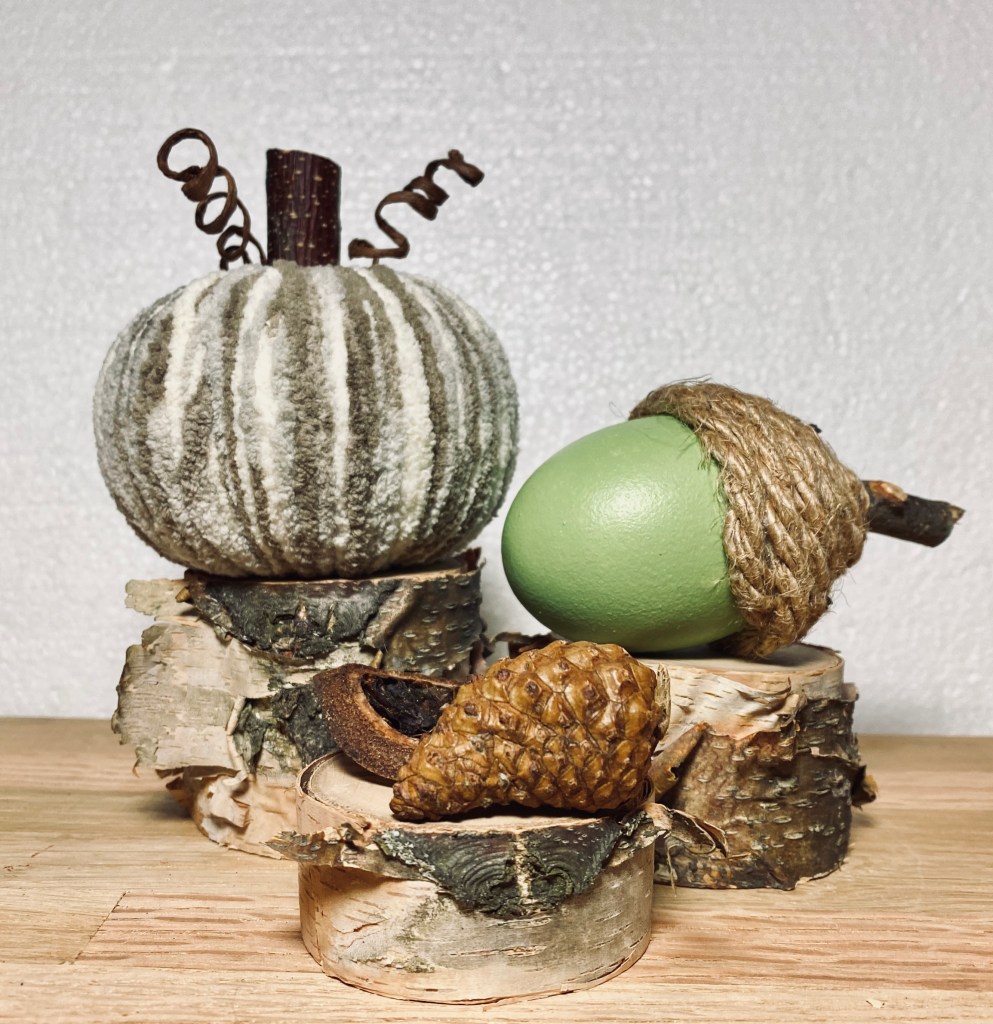
Loving the neutral look this year…..
My cousin loved the drop cloth acorn so much he had me make 36 for his Thanksgiving table! About halfway through, I painted one instead of wrapping it and he loved the painted ones, too. So, I made 18 drop cloth and painted and lawyered 18 in this beautiful fall colors! That was a lot of acorns!
Check out those risers! We cut them out of a birch tree branah from a fallen tree in their yard. We let it dry out, about 6 months, and cut it into 1”, 1 1/2” and 2” slices!
I’ve been busy the last few days working on some crafts for our booth at an outside flea market downtown this weekend.
Here’s the latest!
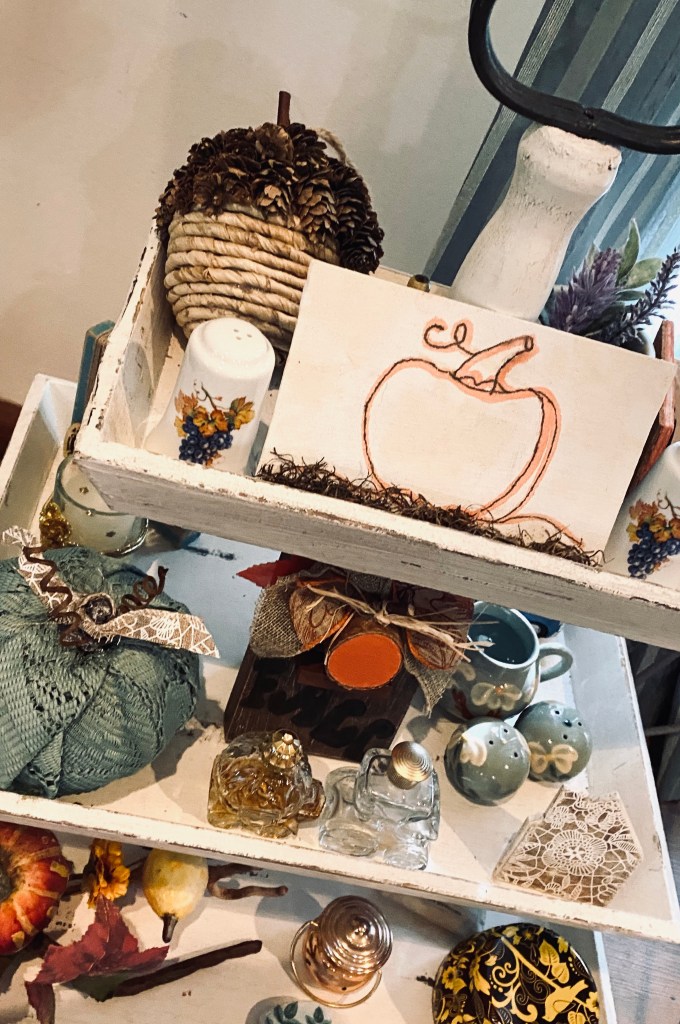
My version of a one line drawing
Just a few crafts and collected items that will be for sale along with this large 3 tiered tray.
Key holder – napkin behind the glass. Easy to change image to suit your mood or season.
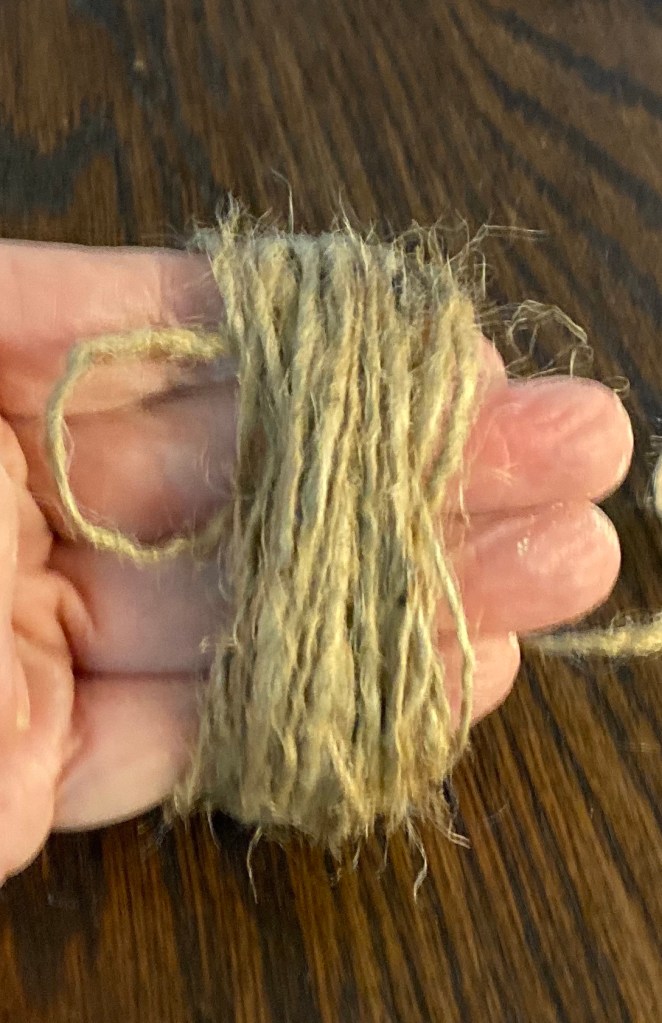
Had to make a beaded gnome tasse.
This little shelf sitter photo frame can be easily changed out. This Thankful napkin decoupaged on a thin wood disk can be removed and a photo or other image can then be added.
This lace covered pumpkin and riser.
Decoupaged a sheet from a round notepad. Love these colors!
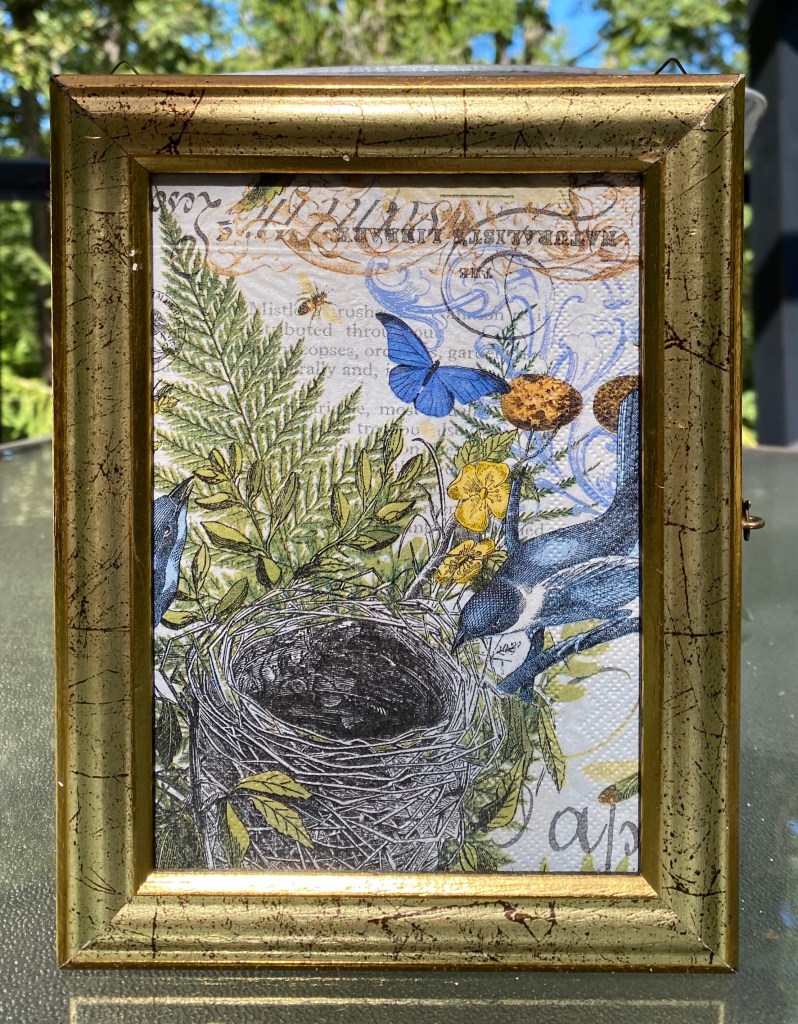
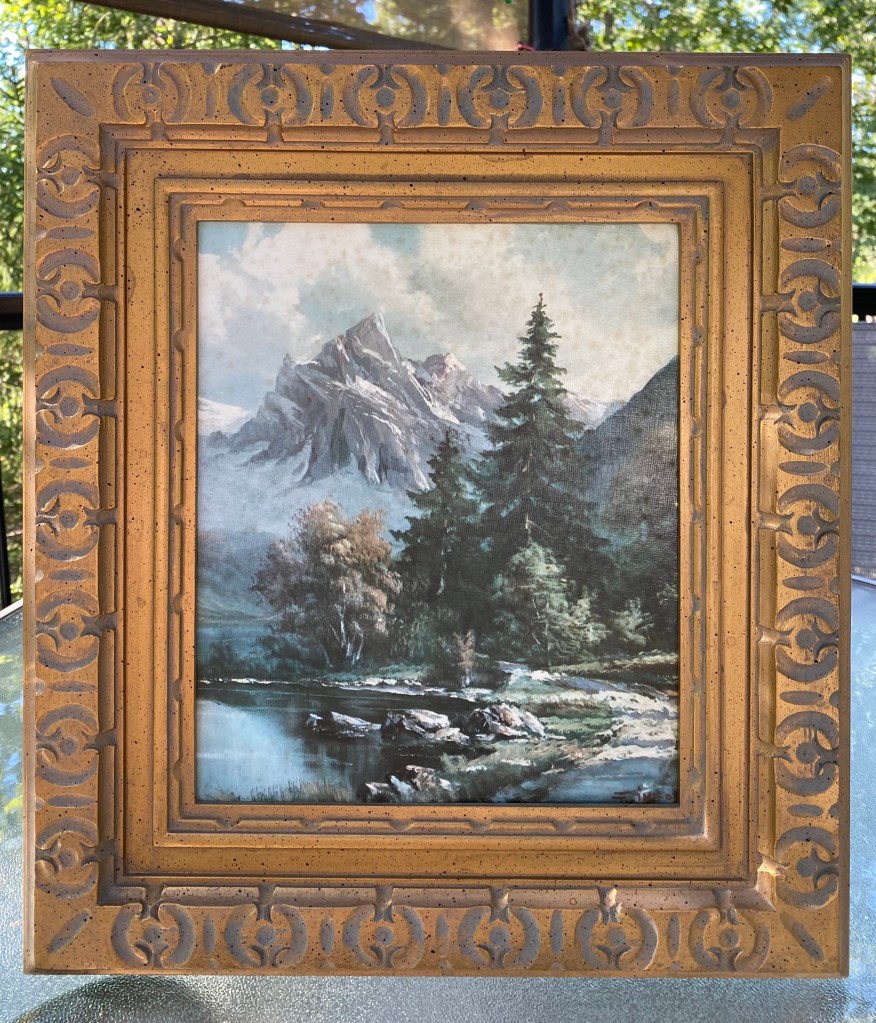
Sometimes when we go thrifting we come across some unique items. This textured print in a vintage 16×18” resin frame was one I couldn’t pass up. It doesn’t work in my house but I knew I could make it available at a bargain price for someone else.
Today, I made some primitive pumpkins for my booth in our local antique mall. Primitive is a major theme of this mall. So I like to reflect that theme with some of the projects there.
I didn’t know how to go about that, though, so I searched YouTube for ideas. I found just what I was looking for through a tutorial by Country Charm by Tracy. https://youtu.be/lFnNzm1rEKE
I used a burlap coffee bean bag and painted pieces of it for my pumpkins.
Then I had one more project in me. They are both now in my booth at Half-Crocked Antiques in Bourbon, MO.
This shelf sitter I created is a combination of several things I had in my stash. Love the quote on the Dollar Tree shelf sign. I covered the pumpkin cut out on the left with cork and found a net bag I’d saved. Love the texture created when I covered the cork covered pumpkin cutout. Covered another cutout with a doily and filled the opening in the middle pumpkin box I paint stained with foliage. The little styrofoam pumpkins got just a bit of stamp ink. The color was perfect on the ivory pumpkins.
There’s a reason I keep all this stuff after all. 🙂