Boho Wall Hanging

Last night I made a simple macrame boho wall hanging….while I watched TV. It was fairly time consuming so I recommend TV watching while you do this. 🙂

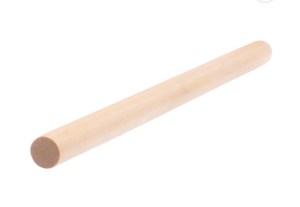
I had a dowel 16” long by 3/4” diameter. A slightly smaller one would work as well. A cut down plunger handle from Dollar Tree would be perfect.

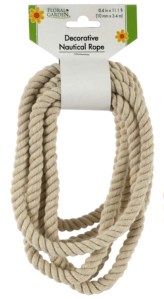
I unraveled the whole nautical rope from Dollar Tree. It made 3 strands. Then I cut those strands in half and I had 6. Then I cut those in half and I had 12.

I attached the 12 strands to the rod with a larks head knot (a basic macrame knot). That was the quick part. Here’s a tutorial on how to attach the strands to the dowel rod: https://www.macrameuk.com/amp/2018/03/02/beginners-macrame-knots-1-larks-head-knot

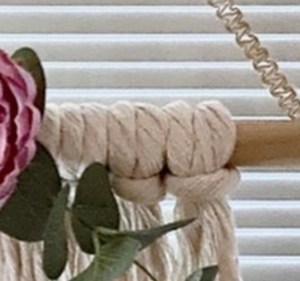
I know had 24 strands to unravel. The time consuming part was unraveling all the strands until I got the look you see in the photos. Take your time and do just a few strands at a time or you will get it all knotted at the end. Trust me… I know. I did use a dog brush I bought at Dollar Tree for macrame projects and brushed the strands out as much as possible after I separated them. Then I trimmed the bottom a little trying to go at angles toward the center.

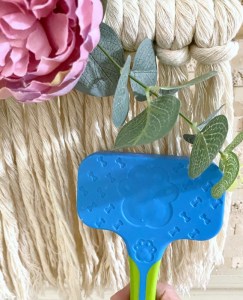
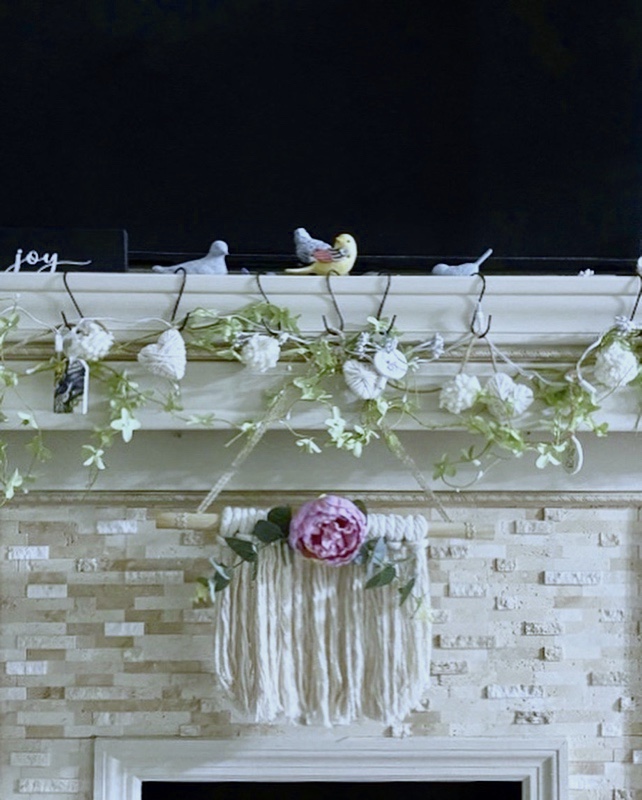
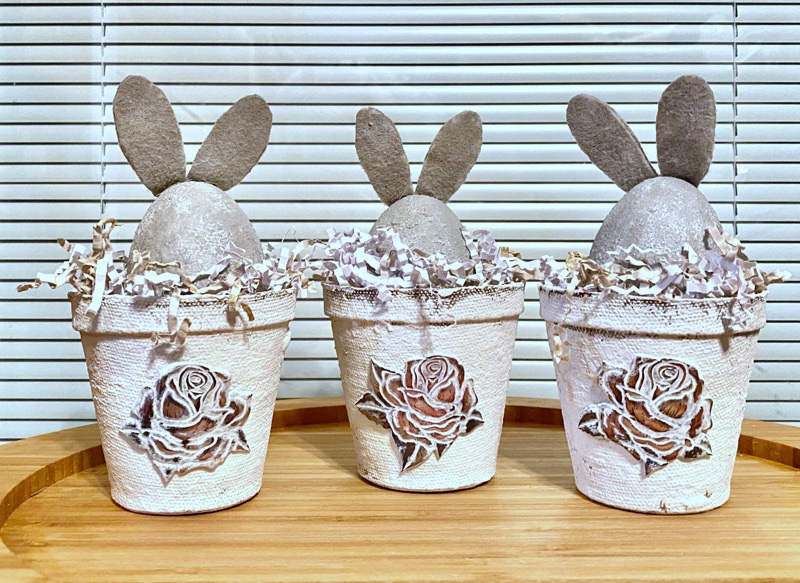
I attached a flower and foliage with hot glue. I bought four flower pots with a variety of high end flowers and foliage through an online auction for just $8.50 for all four after fees. They were originally priced at $10 each! What a bargain! If you haven’t tried online auctions, you should!

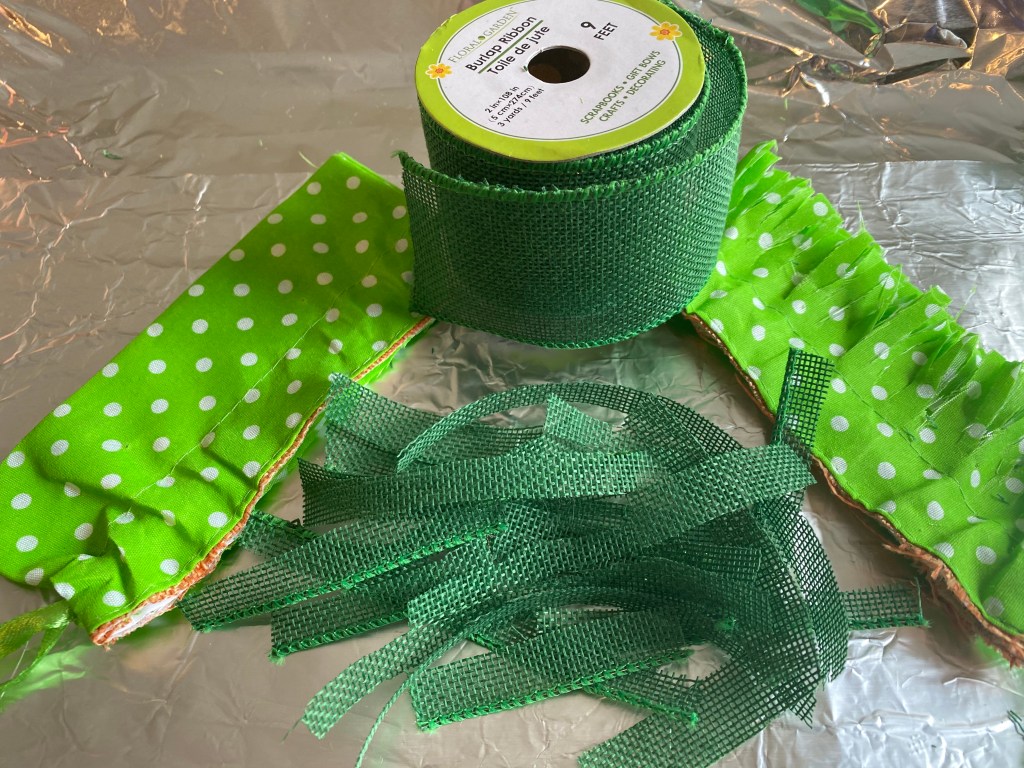
I then used some of the burlap trim from Dollar Tree to make the hanger. I wrapped some around a small metal book ring from Dollar Tree, hot gluing it as I went around. I took the length of one of the pieces in the package and cut it in half. I wrapped one end of the piece completely around the dowel rod, securing it with hot glue. I did the same for the other side. Then I brought the ends together, put them through the covered ring and hot glued them to the ring on the back side. I did that twice to make them very secure.

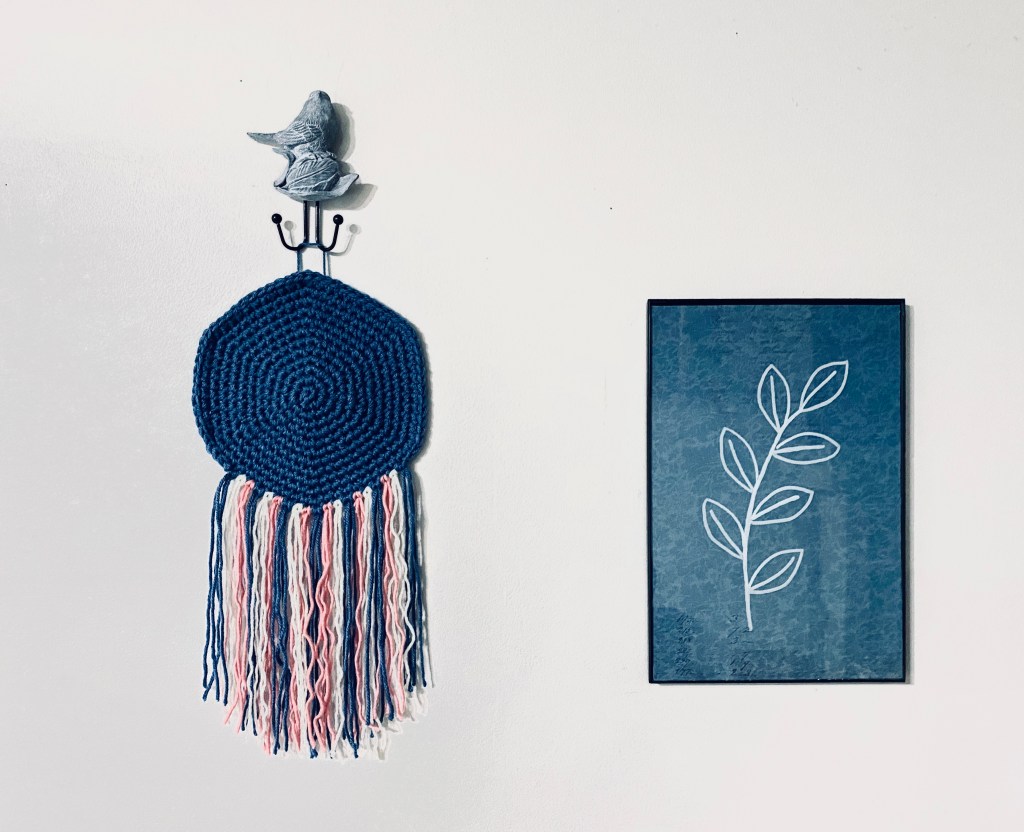
I took photos hanging from my fireplace and French Door. I especially love how it looks hanging from a fireplace for summer!!

More DIY Clay Beads

A very early morning project – I can still hear a rooster crowing in the distance and I live in the city limits. Lol

I made these big clay beads for a friend yesterday. They dried quickly in the hot sun. This morning I painted them, dried the paint and added white wax and rubbed it in. I strung them on jute rope. This will still need to fully cure a few more days.

For a full tutorial on how I make this type of beads, click here: https://sharsumpaint.com/2022/04/26/pottery-barn-inspired-knotted-cement-rope/

The clay I use for these beads is from Dollar General.
Continue reading

More Contemporary Boho

This is line art I created on glass – by tracing a print out with a metallic paint pen . 🙂 This YouTube channel video has many great ideas that think fit right in with this modern boho style. This project I saw on the video, by Katie Bookser, in particular caught my eye.

I printed an image from the site of free images she shared and placed it under the glass of the photo frame I was using. Then with a white metallic paint pen from Dollar Tree, I simple traced the image.

Once the paint was dry, I turned it face down on a unique piece of blue scrapbook paper I placed in the frame. In the close ups, you can see a bit of writing on the paper. With the painting face down, you can easily clean the glass.

This 8”x 12” frameless photo frame is very unique. The glass and contents pop in and out from the front. You press on the edges to release them. There is also a fun surprise under the scrapbook paper. I used a snowflake picture I made this winter. Repurposing are its finest. 🙂

Photos were a little challenging due to glass reflection.

I had so much fun with tracing line art on glass yesterday, I just had to play around with another one this morning. I’ve discovered I love to do this!

The graphic is from a free vector site called vecteezy. I did a search for face line art. I traced this graphic on glass with a black permanent ink Sharpie.

The tribal peel and stick wallpaper came from Dollar Tree. The nice solid frame is a Hobby Lobby one I thrifted from somewhere.

I painted the lines on the front with a silver metallic pen and the sides with black chalk paint.

This one is true bohemian style. So cool!

I was fighting reflections on the glass, but I actually love the reflection of the leaves in the first photo. And it’s a beautiful morning on the deck for taking photos. Honeysuckle must be blooming because I can catch a whiff of it every now and then.☺️

It was a rainy day yesterday and since rainy days are made for crafting, I had a couple more projects in me.

I was in Danny’s workshop area and happened to see this cute recipe box I thrifted so long ago I didn’t even remember it. Who knows why it was in there. 🤷🏼‍♀️

I opened it up and the lid has a little shelf inside to hold a recipe card. How cool is that! The wood was natural and I decided it was the perfect thing for a modern boho decor as well as many other styles.

I immediately knew I was adding some transfers to it and knew just which ones to use from some small ones I got at Dollar Tree.

Aunt Ada’s recipe card for homemade sausage seemed like the perfect recipe to display. I love how she titled it “Correct Way” and how beautiful her handwriting was. 🥰

I also recently thrifted this solid metal bird tea light candle holder. After immersing myself in modern boho decor, I knew I had to spray paint him metallic gold. 🙂

Yesterday was definitely “A good day to have a good day!” And it quit raining, and the sun is shining, so today looks like it’s going to be a good day, too!

Decoupage a Dollar Tree Makeup Bag

I have been discovering all sorts of things to decoupage. This idea of decoupaging a makeup bag is the latest and greatest.

I ran across this Decoupage Queen’s youtube channel – Joan-Marie Domino. She has many great ideas, but the one I saw and had to try was decoupaging a makeup bag.

I was so inspired when I watched her tutorial. I had just bought 3 makeup bags. I knew I could find an idea on line and Wow! I sure did.

I found three beautiful napkins in my stashe I knew would look beautiful with the pink and gray on the bags. Friends had given me these napkins so I have no idea where they came from originally.

Her makeup bag was canvas. These Dollar Tree bags were kind of a brushed fabric and were plastic lined. Good for makeup that might leak, but…..not for the iron on decoupage she used on hers. I was afraid the hot iron would melt the plastic liners.

So I ended up doing regular decoupage, using Saran Wrap to help me push the napkins down onto the fabric. Here are the steps I used.

Step 1: Buy a makeup bag. These plastic lined makeup bags came from Dollar Tree.

Step 2: Place parchment paper inside just in case the decoupage medium goes through. I didn’t think it would being plastic lined, but didn’t want to take any chances.

Step 3: This step is important, according to Joan-Marie’s tutorial. Make sure you use Fabric Mod Podge. I assume it helps with not only adhering well, but also makes the napkin supple and keeps it from cracking.

I applied one coat of the Fabric Mod Podge over the top area of the bag. DO NOT apply to the zipper area. I let that coat dry well.

Step 4: I then applied a second coat and lay the napkin over it. I used Saran Wrap to help press the napkin (cut a bit longer on all sides) into the fabric. I tried to have a very straight line on the bottom edge of the napkin so that it went right up to the edge of the pink area. I let that coat dry thoroughly.

Step 5: Next, I trimmed the napkin a bit more then used a nail Emory board (sandpaper would work) to get a clean edge on the sides and top.

Step 6: Once dry, I added a second coat of the Mod Podge. Note: It will be tacky after both coats even after fully drying.

Steps 7 and 8: It is now ready for TWO coats of a clear matte water based LIQUID sealer. Make sure you use a liquid and not a spray. Let the first coat dry thoroughly before applying the second. I happened to have some wise owl clear matte one hour enamel, but any clear matte water based sealer will work.

Once dry the bag will no longer be sticky and the napkin will very supple. You can wad it up and smooth it out and it will not crack.

And …. just look at the beautiful makeup bags now!

DIY Fabric Carrots

I made a couple of carrots for Easter. They turned out pretty cute and made a great back drop for the little stand up bunny!

They were easy to do. I saw the carrot treat bags at Dollar Tree and bought a package of two, thinking I would do something with them.

The first thing I did was cut off the green polka dot tops.

Next, I used a pencil eraser and white paint to make random polka dots on the front and back of the orange fabric.

I had some green Dollar Tree wired ribbon. I cut thin strips of various lengths, using both the wired pieces and the plain ones.

Next, I glued the strips randomly across the inside, both sides.

I pulled the drawstrings together very tight and hot glued around to keep it tight. I fluffed all the greenery and bent the wired pieces in place.

Then, I stuffed my carrots.

I glued the greenery to the inside on one side of the carrot, and then glued the other side to it.

I then glued the edges to it and anything sticking out I gathered and glued that, too.

As a final touch, I glued some jute twine to the front, leaving about a 3” length, then wrapped it around the top several times, ending back at the front, tyed a bow and glued it in place.

The final project, displayed with other items I have crafted, just in time for Easter.

Forget Making Moulds – I Had An Idea and it Worked!

Yesterday was a snow day (in public school terms) so as a retired teacher I respected the tradition of doing nothing but play. I discovered a new painting technique in the process.

Earlier I painted plastic eggs to make some egg bunnies, but that’s another tutorial. Basically, I glued them shut, scuffed them up, gave them a coat of chalk paint, dabbed more paint along with picking up at the same time with my brush some Howard’s Chalk-tique

After I made ears for them I decided they needed to be in their own egg cups.

So I painted some peat pots and tried out an idea I’ve had since I bought some plastic puffy stickers at Dollar Tree. My thought was I could glue the rose stickers on, paint over them, then distress them. They had a metallic finish on them and so I was hoping the metallic finish would come through, and Oh….yes it did!!! I found these at Dollar Tree. I also found keys and butterflies and now can’t wait to use them, too..

I used a fast drying glue called Quick Hold. It is made by E6000 but sets up much quicker. It sets in about 45 de ones and cures within 4-6 hours. It has been working great on almost everything I’ve used it on. It was holding well on these attaching to the peat pot but they were a little stiff and the ends kept popping up. I wasn’t concerned as I thought I’d reglue them after I painted over them.

I then painted over them and used a mini heat gun to dry them. An amazing thing happened. The heat must have softened the plastic and did something to the glue (possibly reactivating it) because I was able to easily push down and press them for a few seconds and they stayed put! Not sure why or how, but they lay down now. Just fine!

Then I took a damp towel and rubbed away the paint on the raised part of the roses…..and there was the metallic finish coming to life right before my eyes. To really enhance it I rubbed a bit of clear wax over it and Wow! As you can see in the photo above, my idea worked! I’m so happy!

I could do snow days every day (for awhile anyway. Lol)

And here’s the final project. 🥰