An Ear of Harvest Corn Made With Wooden Beads

Today’s early morning project: I created an “Ear of Harvest Corn with Wooden Beads”

I only had enough beads for one ear. I had wire here, but if I do any more I would get copper jewelry wire. I believe the beads came from Dollar General and the raffia is from the hula skirt from Dollar Tree.

This was a fun and quick project and would look great mixed in with your other fall decor. I love the Fall natural look.

There was no need for me to make a tutorial on this, because the tutorial I used from Hammons Nest was excellent and easy to follow.

If you’d like to try this, here’s the Hammons Nest tutorial: https://fb.watch/8thInCI9jQ/

Creating Wooden Acorns

I did a mini tutorial on this earlier, but since I’m making 36 wooden acorns for my cousin’s Thanksgiving table, I thought I’d take more photos as I worked and explain in more detail.

I first gathered all my supplies. The wooden eggs came from Amazon. My cousin had these sent, but I think they are the same brand as ones I purchased earlier. https://www.amazon.com/gp/aw/d/B01CJ7KWW2?psc=1&ref=ppx_pop_mob_b_asin_title#

I also bought jute from Amazon. I may get another as I’m not sure this will be enough. https://www.amazon.com/gp/aw/d/B07K857VGB?psc=1&ref=ppx_pop_mob_b_asin_title#

The drop cloth I already had and the sticks to make stems came from my yard.

I cut the drop cloth into 36 5” squares. It seems to go faster when you precut the drop cloth.

I had a section of an egg carton I used. I laid the drop cloth piece at an angle and placed the egg in the center. That seemed to work well as I applied glue and pressed and smoothed the cloth on all 4 edges.

I then trimmed away the excess fabric.

Next, I tucked in and glued the sides.

I then trimmed and glued down the drop cloth.

Next, I started gluing and wrapping the jute all around.

When I got to the top, I used the stem I cut with my hand miter cutter. I also purchased it from Amazon. I glued the stem to the top, letting it set up. Then I finished wrapping and gluing until I finished where I started out. I cut the rope and glued it down.

My acorn was complete.

I now have 12/36 acorns completed.

A friend, when I posted these, said she loved the natural canvas acorns but was surprised I hadn’t painted them with our paint. Well, since I was working on acorns anyway, here is one of the natural wood eggs I have paint stained with our Missouri Limestone Paint Company “Sour Green Apples” and sealed with spray lacquer. Very cute. So ok…..I will be making some more of these in other Fall colors. Thanks for the suggestion, Debbie Carter!

My cousin loved the painted ones, too, so I made 18 drop cloth and 18 painted ones. 🙂

A Print from a Shower Curtain Becomes a Christmas Decoration

Today’s project: I just had to do this. I found this awesome Christmas shower curtain at my sister-in-law’s yard sale yesterday.

I knew I wanted to use the images for decoupage. It is 100% polyester, so I wasn’t sure what would be the best way to do it. I posed the question to a decoupage fb group I belong to. A couple people suggested making printed copies of the images! Brilliant! I hadn’t even thought about doing that… and now I can use the shower curtain, too! Just look at all the different images on it!

I copied the image I wanted on my ink jet printer by laying the shower curtain on the tray in the area that showed that image. Then, the question of how to cut it out.

That brought to mind an old German cutting technique called Scherenschnitte, which means “scissor cuts” in German, and is the art of paper cutting design. I had done some of this many years ago. At one time I even had special scissors. I do have a pair of very sharp, small pointed scissors, so I cut around the edges my design with a kind of modified Scherenscnitte technique. It worked fine. These are the scissors I used.

I remembered to spray both sides of my printed image with Mod Podge spray to keep it from bleeding. When it was dry, I used Elmer’s Bonding spray on the back and bonded it to a piece of painters drop cloth the size of the back of the 8×10 frame I found in my stash to use. I made sure I pressed down carefully on all the cut edges to make sure they bonded well.

I then used a spray adhesive called Pixie spray on the back of the drop cloth and pressed it to the backing of the frame so it would lay flat.

I opted not to use the glass as I really wanted the texture of the drop cloth to show….and the texture of the paper. You really can’t even tell the image is a piece of printer paper.

I tried to take a couple of pics to show the texture. I am thrilled with how this project turned out and it took less than two hours to complete.

The frame is just perfect for this vintage looking image, don’t you think? It looks like it has been around hundreds of years.

Then a friend challenged me to make something from one of the trucks. So, I used this one and added a couple more embellishments.

Here are a few more ways I’ve used the printouts:

Thanksgiving Card Stock Napkin Rings

Today’s early morning project: More napkin rings, this time with white napkins. These are available and I do have more napkins.

I had fun making napkin rings for some green napkins, so when I saw this Pinterest idea for some made with card stock and ribbon, https://www.onsuttonplace.com/thanksgiving-napkin-rings-free-printable/I knew I had to make these. Yes, I had everything I needed in my “extensive private craft supply collection.”

Slip the napkin in and slip it out. You can save these to use again next year.

Harry Potter-Style Potion Bottles

For some reason I’m on a roll with crafting….oh wait…. I know why. I should be cleaning.

It’s my neighbor’s fault. They are moving and not wanting to take some things with them, so they have been gifting and selling things to us. My hallway is full of their treasures.

Today, I am clearing a small amount out by making these cool potion bottles. Believe me I have probably another dozen bottle. I was inspired by some I saw on Pinterest. They even had printable labels to download. I saved that post and pretty much followed the tutorial there. https://overthebigmoon.com/halloween-decor-harry-potter-potion-bottles-free-printable/

And then….my neighbors came bearing a gift of about a dozen or so hot sauce bottles they saved. They really like this hot sauce. I knew right away those would make awesome potion bottles. So, of course, I had to make one. Just one…to see how it would look.

I loved how it turned out so much, I knew I had to make a few more. So, I did. I also used one of the other bottles they had given me. I think it might have been an olive Oil jar.

Here’s my first set of Harry Potter-Style Potions. I used various colors of our Missouri Limestone Paint Company chalk-style paint to get the look of dirty glass. I filled them with colored water, weak tea, Cream of Wheat, and Baking Soda. 🙂 One stopper was already green. The others I stained darker.

This set is available for porch pickup now or will be in one of my booths closer to Halloween.

Fall/Thanksgiving Napkin Rings

Today’s project: 4 napkin rings and napkins.

*wired jute for rings – Dollar Tree
*jenga blocks paint stained with holes drilled – Dollar Tree
*beads cut off and saved from a beaded basketball net – thrifting 🤷🏼‍♀️ 🙂
*raffia – Dollar Tree
*vinyl words cut on Silhouette.
*small clusters of berries – Dollar Tree
*folded napkins – searched google for a tutorial on folding napkins a like a leaf

http://www.origamitree.com/2016/12/napkin-folding-leaf-tutorial/

I threaded twelve beads onto a length of wired jute and left enough on the ends to tie a knot and have about 3 inches left over. Then I stripped the jute off one end of the wire and threaded it through the jenga block and twisted both ends tightly to hold it in place.

I cut the thankful words on my Silhouette and added to the jenga blocks.

I made small raffia bows and tied them on with some of the wire that was still left on from the jenga block.

Then I ran a piece of raffia through the block and around the bow to hide the wire. I added a little cluster of berries with hot glue.

You could use these through the fall season and through Thanksgiving.

DIY Acorn, Tassel Gnome, a Pumpkin, and Preserved Leaves in a Wooden Bowl

A little Fall inspiration today.

*Saw an idea this morning on YouTube from Liz Fenwick DIY https://youtube.com/channel/UCntvPlLI7oY_xap7_piH5UA for making an acorn. I used a wooden egg, drop cloth, and jute rope from DT. It worked perfectly.

*I just had to make a tassel gnome. I am loving making these. So much fun and each one has a personality. I believe his name might be Woodsy. Here’s the link to the tutorial I used: https://justthatperfectpiece.com/easy-gnome-christmas-ornament-diy/

*Then I painted a little pumpkin so I would have an odd number of items in the bowl.

Loving the neutral look this year…..

My cousin loved the drop cloth acorn so much he had me make 36 for his Thanksgiving table! About halfway through, I painted one instead of wrapping it and he loved the painted ones, too. So, I made 18 drop cloth and painted and lawyered 18 in this beautiful fall colors! That was a lot of acorns!

Check out those risers! We cut them out of a birch tree branah from a fallen tree in their yard. We let it dry out, about 6 months, and cut it into 1”, 1 1/2” and 2” slices!

A DIY Fall Vignette

Today’s early morning project: I went shopping in my basement, then started creating.

You won’t believe it but this sweet little ceramic vase with the silicone base started out in life as some kind of egg cooker. (I still have the lid to save for another project sometime.) 😳 You never know what you will find thrifting. 😁 I filled it with some fall flowers and a fall pick. So pretty now.

Then I found a little riser I had made but hadn’t used yet. I stained it and I couldn’t believe how perfectly the vase fit the top of the riser.

I also searched the stash of vintage blocks I had and glued these together for a fall decor.

And the final project I actually did last night. This was a little Dollar Tree ceramic blank place card stand. I added these sweet little Dollar Tree woodland transfers. The colors and the woodland animals work well for fall.

Update: A couple more projects I finished today.

All will be in our outside booth tomorrow at the 3rd Saturday Downtown Flea Market somewhere in the area around The Gray Wall. Be sure to stop by!

A Stenciled Wood Pumpkin Cut Out

Today’s early morning project: I upcycled a 12” wood cut out pumpkin (the one that is orange and says thankful and blessed). I scraped off the glitter and temoved all the embellishments and used the other side.

First I stained it and let it dry. Then I had a silicone sink mat from Dollar Tree and used it as a stencil and sprayed over it with white spray paint. I chose to spray lightly in some areas to give it a distressed look. Love how it turned out.

I made a little tag from some balsa wood and stained it. I saw an idea on a YouTube video to use a piece of burlap, fray the edges and create letters from raffia. That worked great! Then I glued the burlap to the tag. I used the same raffia to hang it from the stem, gluing the down to keep it place, then created a raffia bow.

The cut out already had holes for hanging, so I braided some jute twine, ran it through the holes and tied with knots in the back.

Another neutral hanging pumpkin completed.

This could easily be a door hanger. I am showing it just simply wired on and sitting in the middle of a 20” grapevine wreath. This would need to be on a covered porch, though, away from the elements.

Loving it on my orange wall in my hallway. I think I might have to keep this one. Lol

Paper Bag Pumpkin

Today, I decided to make a paper bag pumpkin and embellish it with a tassel gnome. Read on to see how I did it.

I used a Dollar Tree Orange pumpkin and cut a hole in the top and bottom. I also used approximately 8 paper bags from Dollar Tree. I quit counting and ended up using parts of the strips I made, but I’m sure it wasn’t over 8 bags.

I peeled the bottom of the bag away from the glue and opened the bag up completely. Sometimes it tore a little but that’s ok.

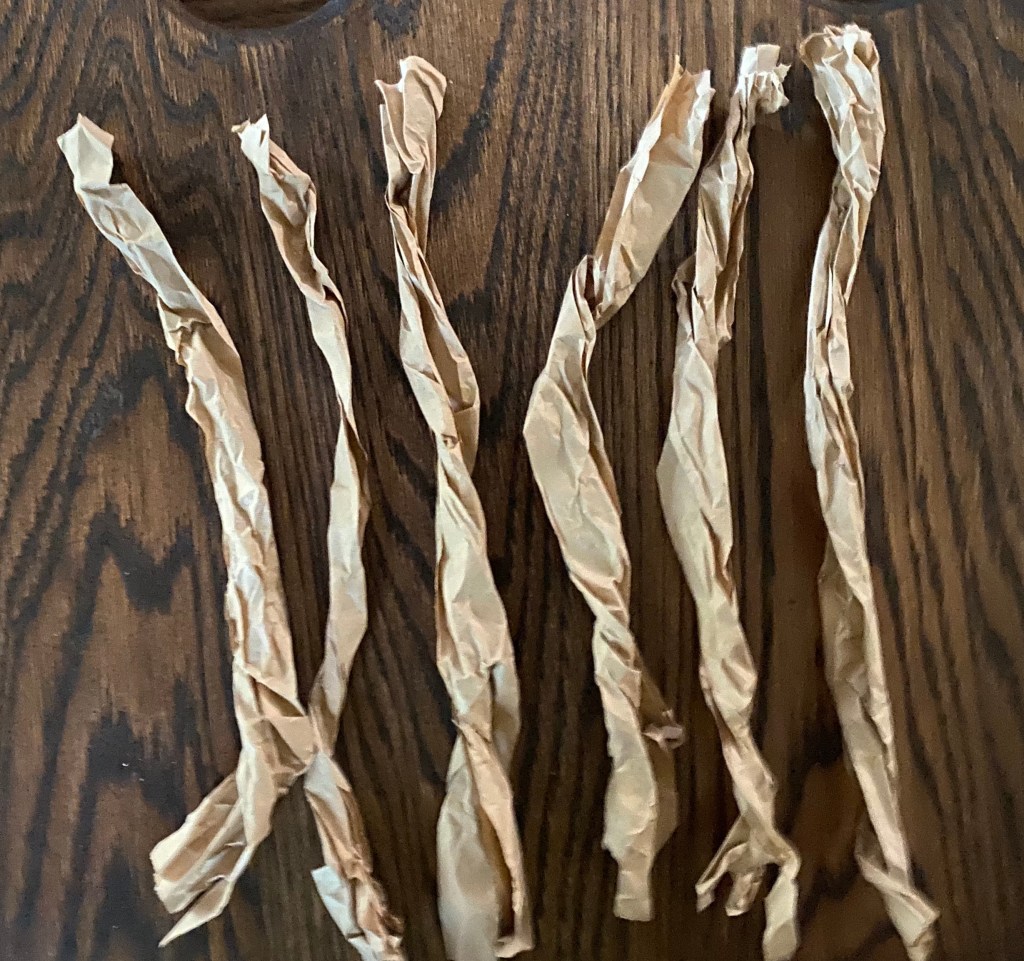
While the bag was open, I cut each bag into 6 strips. The edges I left together and the others I kept in groups of 2 so for each bag I had 12 strips to use.

I then put two strips together, crumpled them up, and then twisted them.

I was then ready to start gluing them to the pumpkin form. I started off by gluing a strip in one of the grooves and stuffing the ends into the holes and gluing them in. I did a few like that and then started filling in as needed.

I won’t lie. This is pretty time consuming, but hang in there. It is worth it in the end. There might be easier ways to do it, but this just worked well for me. I continued on until all the strips were glued on.

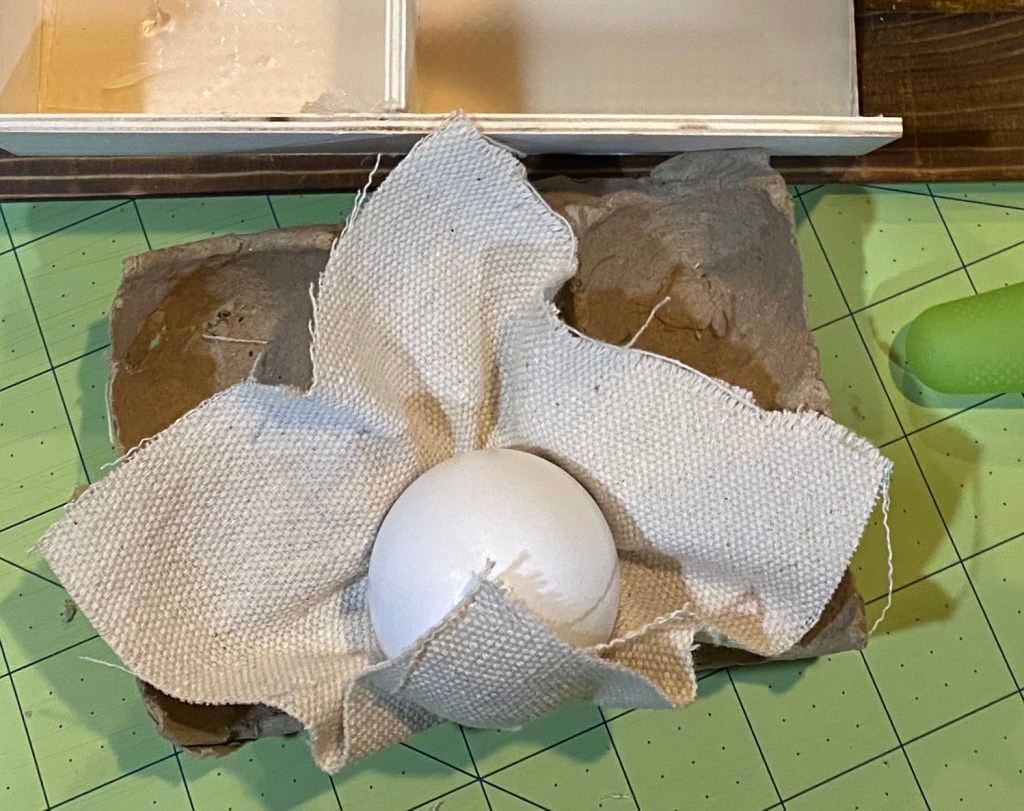
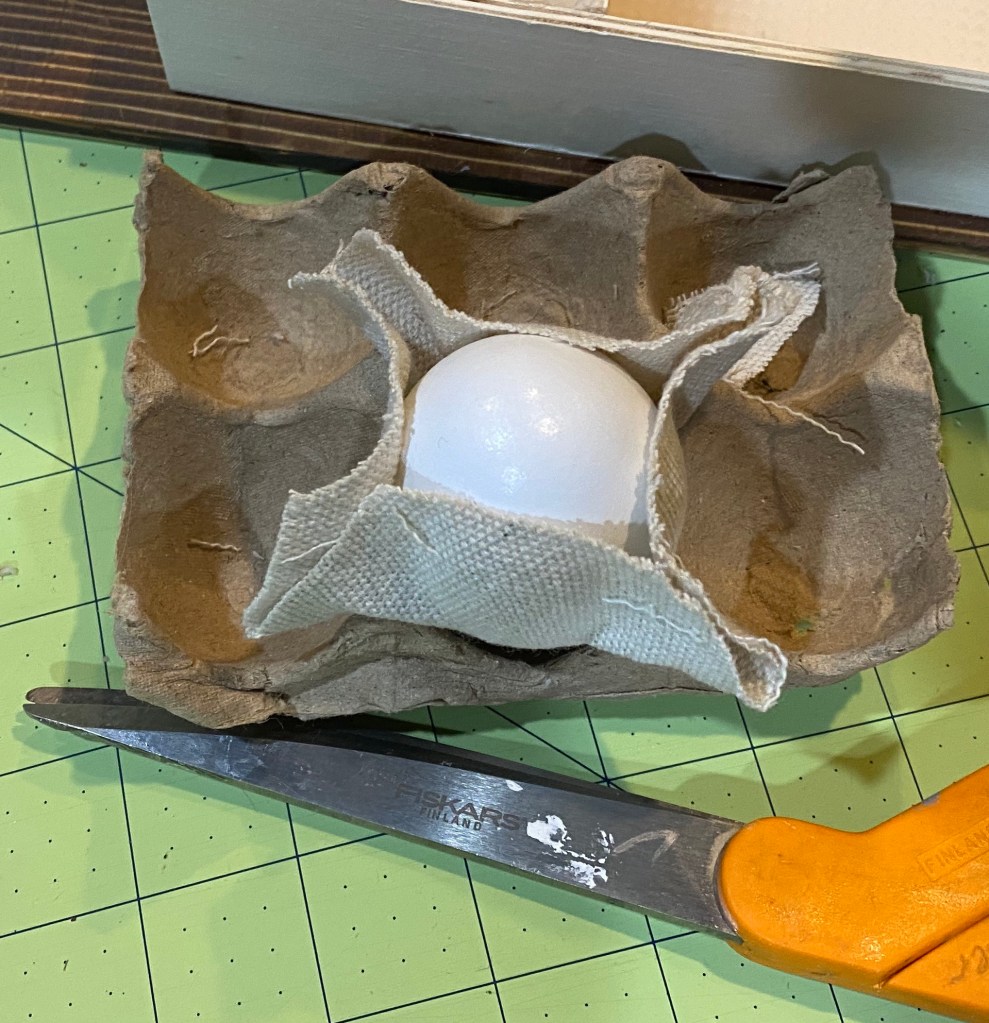
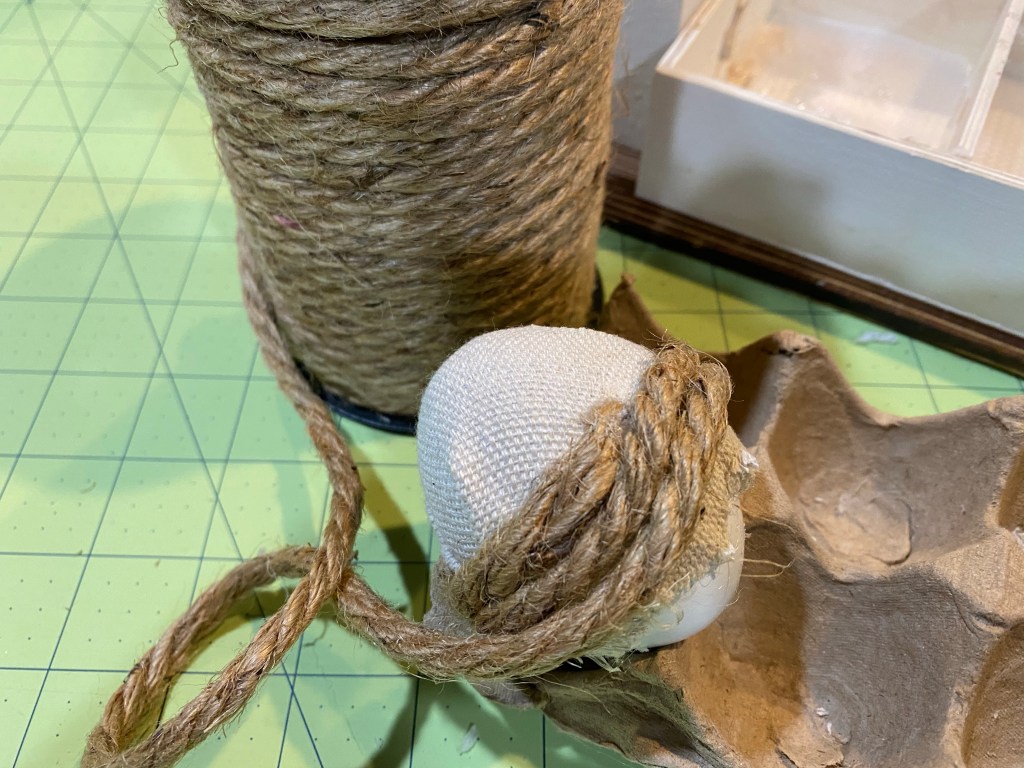
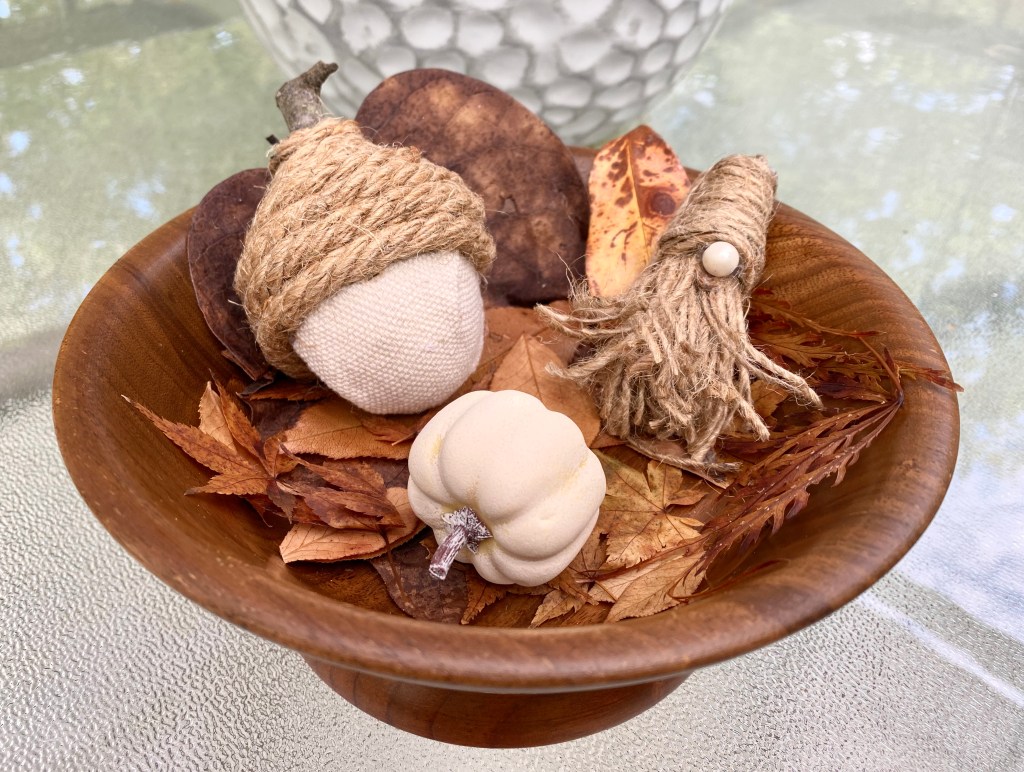
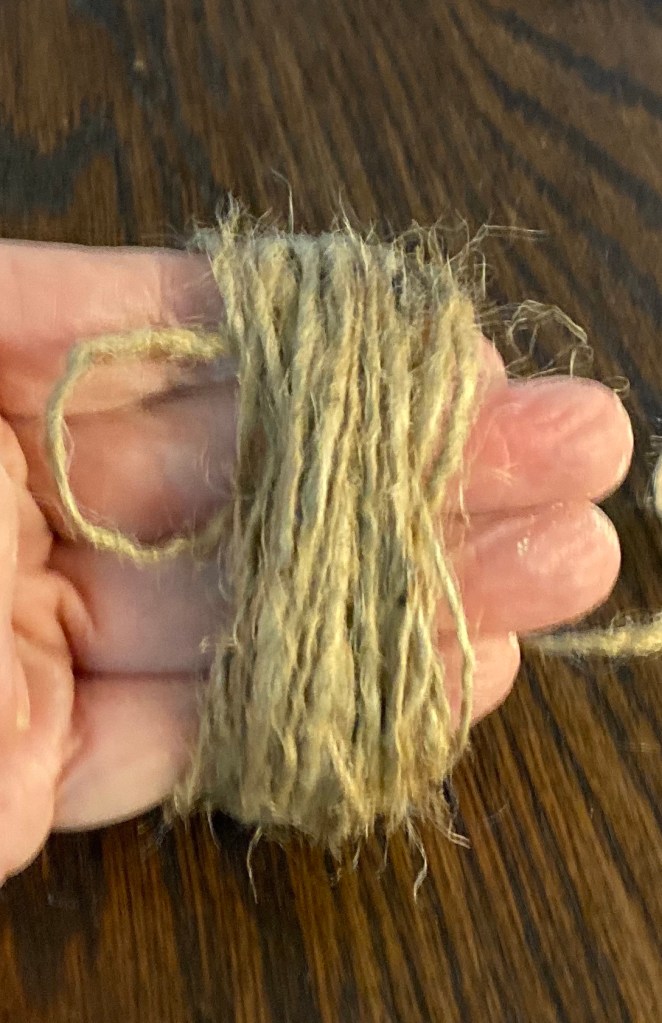
I then made a tassel gnome using Walmart cotton twine for the body and jute twine for the hat and a little wood bead for his nose. I used the tutorial below to make my gnome. I made him a little shorter than the tutorial by cutting off some of the strings on the bottom.

https://justthatperfectpiece.com/easy-gnome-christmas-ornament-diy/

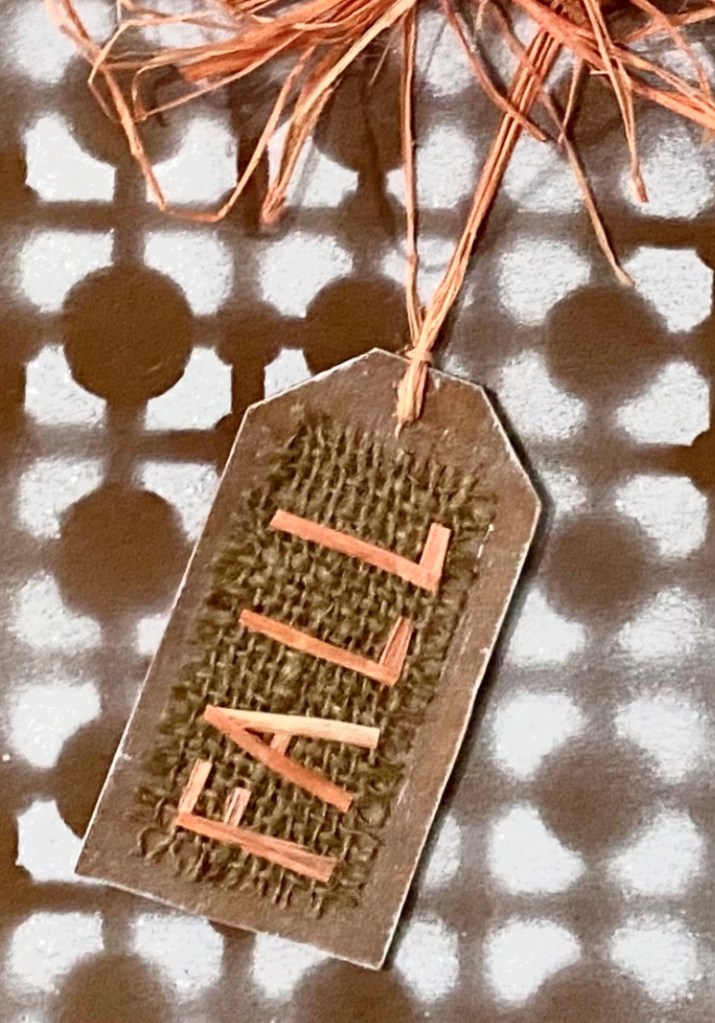
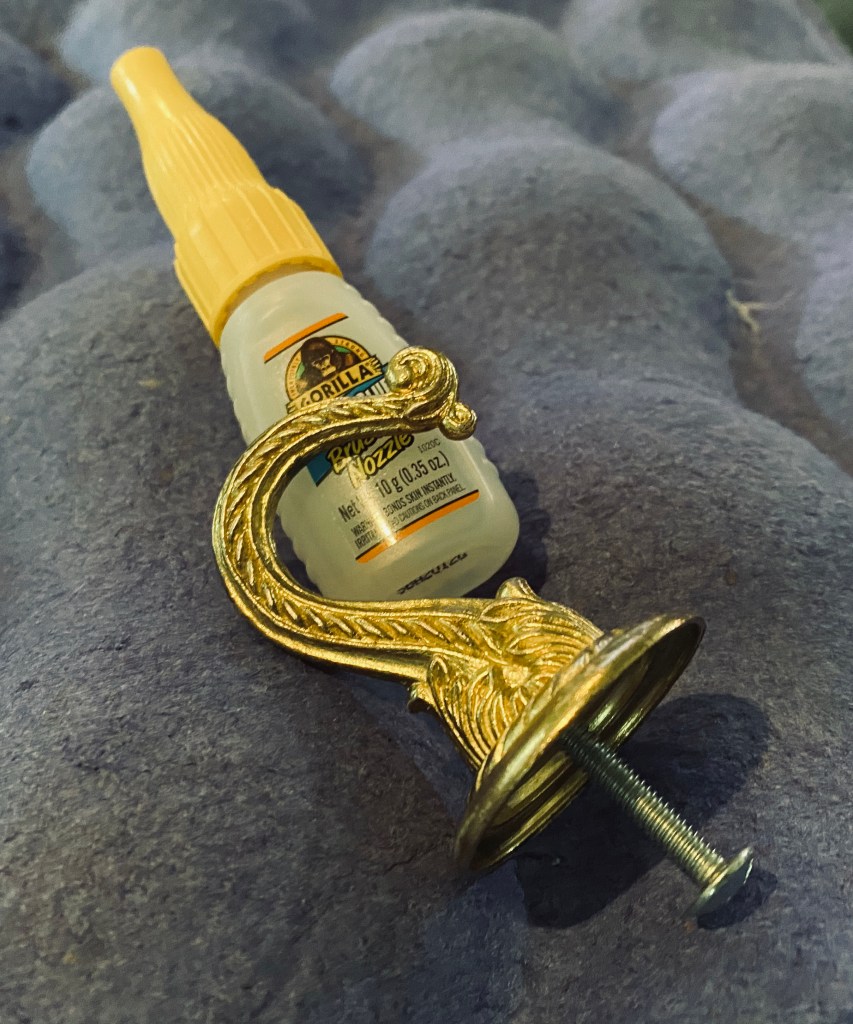
I used this gold decorator hook but it was a bit too shiny, so I painted it a light coat of brown and covered it with cinnamon. I let it dry then sealed it with Mod Podge satin spray sealer.

I added a screw to the hook, put some super glue around the screw and the edge of the hook bottom and pushed it into the pumpkin.

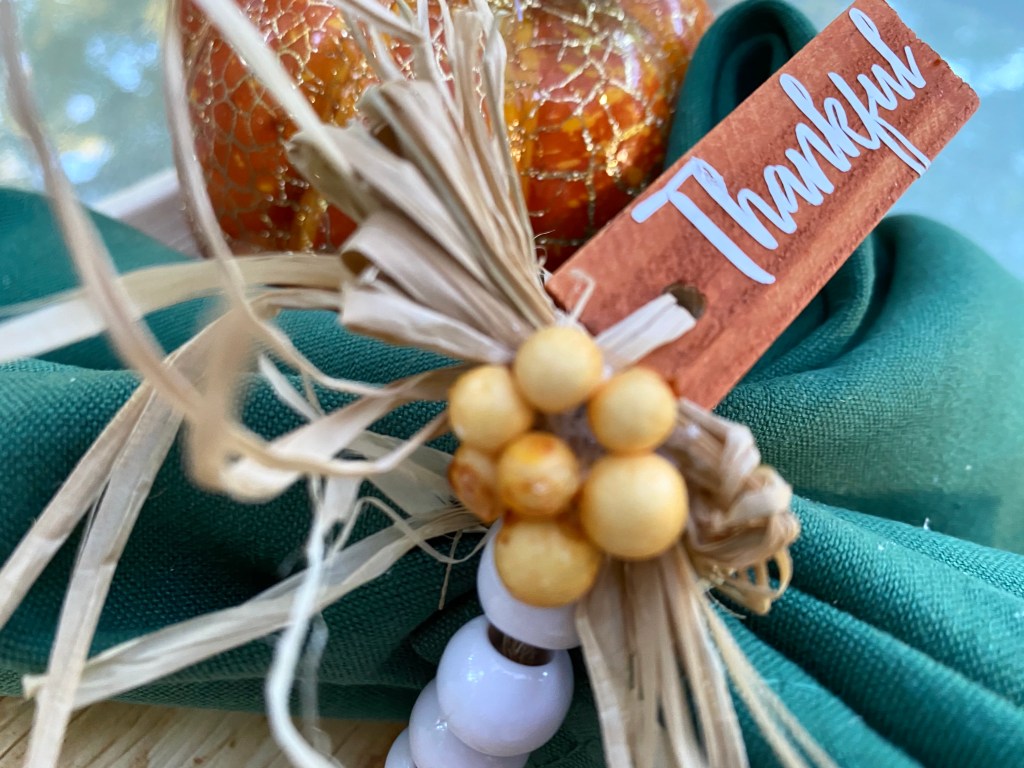
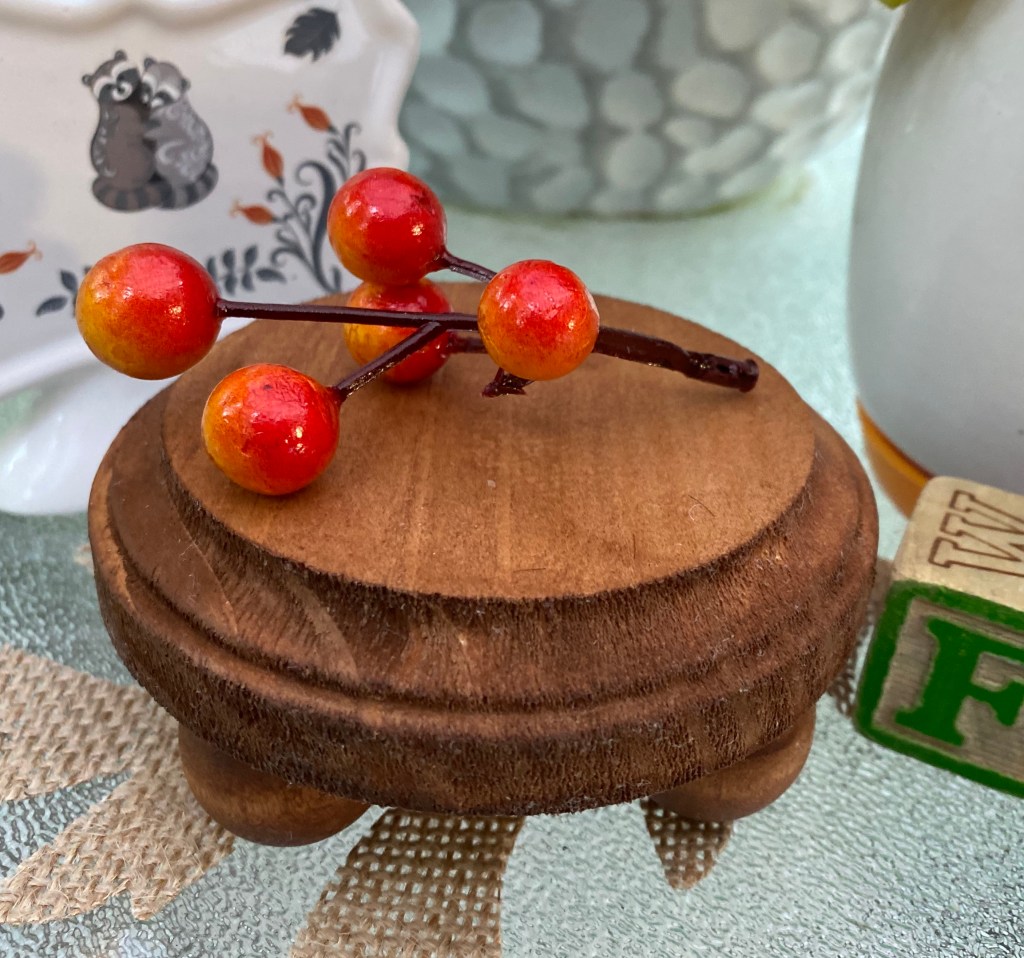
I tied some raffia together and tied my gnome to it, then with another piece of jute, tied all to the hook. I then added a couple of little wood leaves I already had.

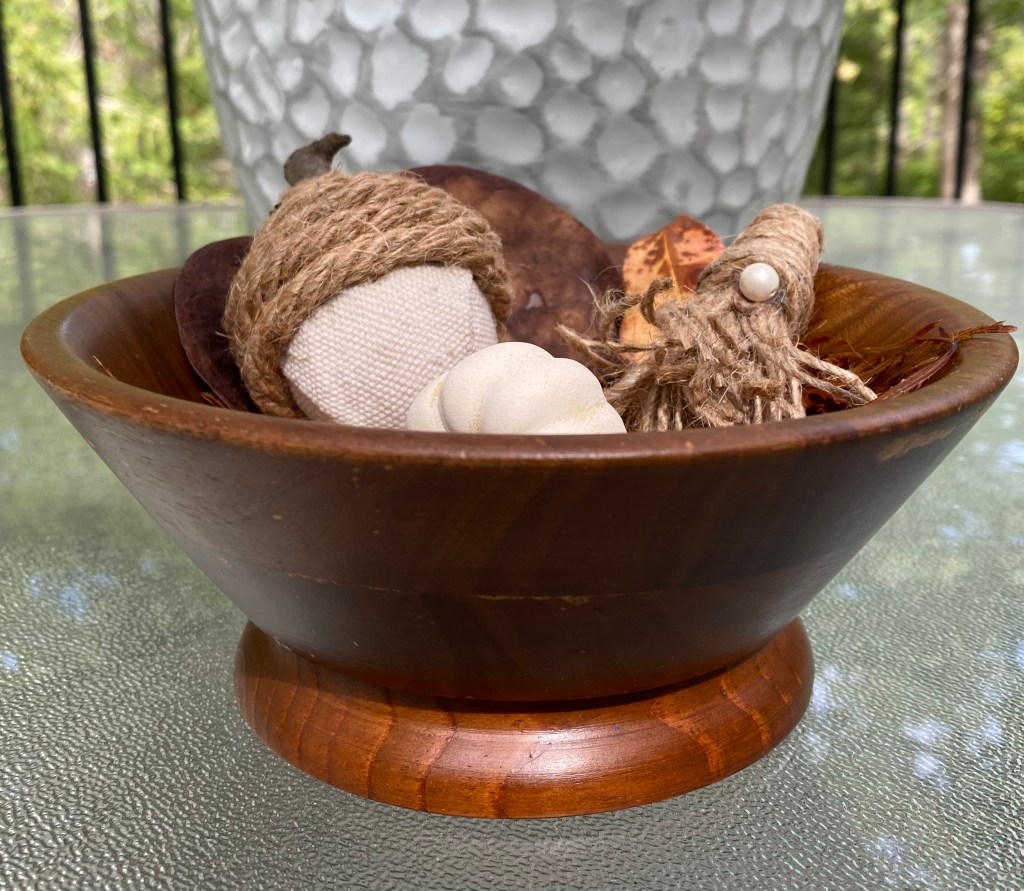
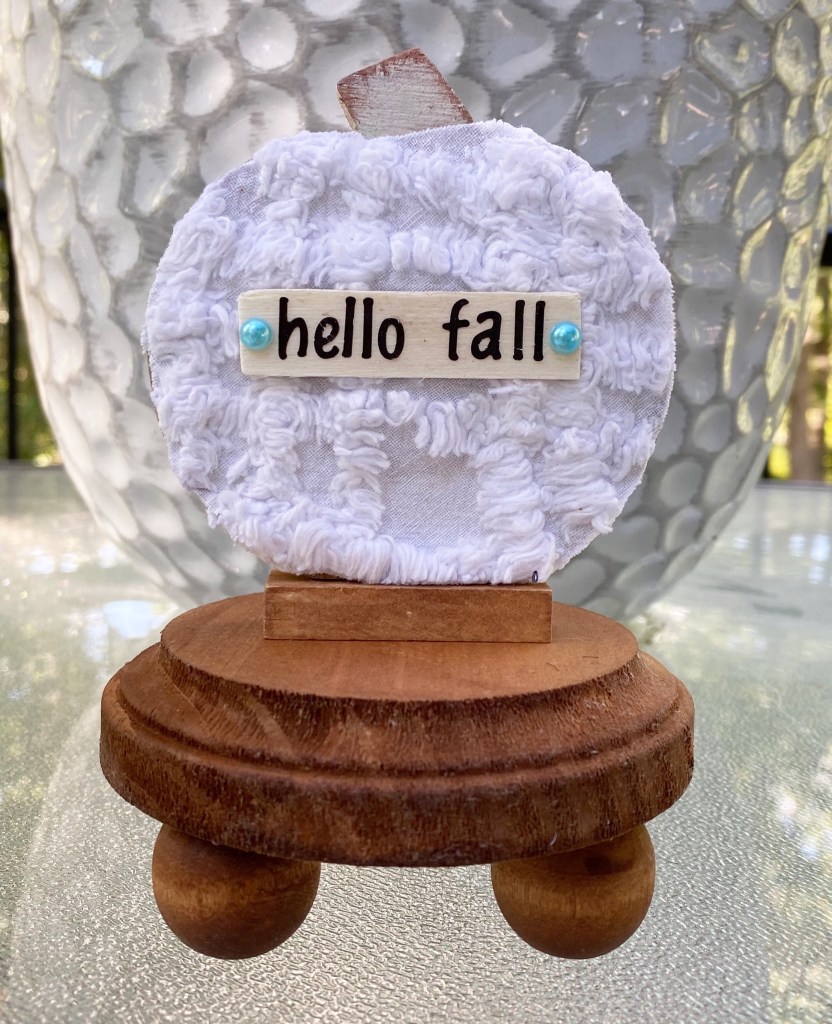
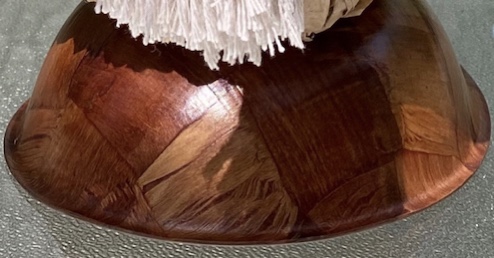
I had a small parquet wooden bowl so I turned it upside to display my finished pumpkin. I did not attach the pumpkin to the bottom of the bowl. It can then be used for other things.

And…then….my paper bag pumpkin was complete!