Another Teresa Greene (Our Greene Acres) inspired project. I cut a round piece of drop cloth and stamped it all around with a leaf pattern.
I then gathered it up, stuffed it with poly fiber, added a wood stem, and secured it. I fluffed the edges, letting them ravel as I fluffed them.
This pumpkin was inspired by Julie’s Signs & Designs. I made a template kind of in the shape of a tear drop and cut 8 pieces from a vintage chenille bedspread. I hot glued them together so the edges were on the outside.
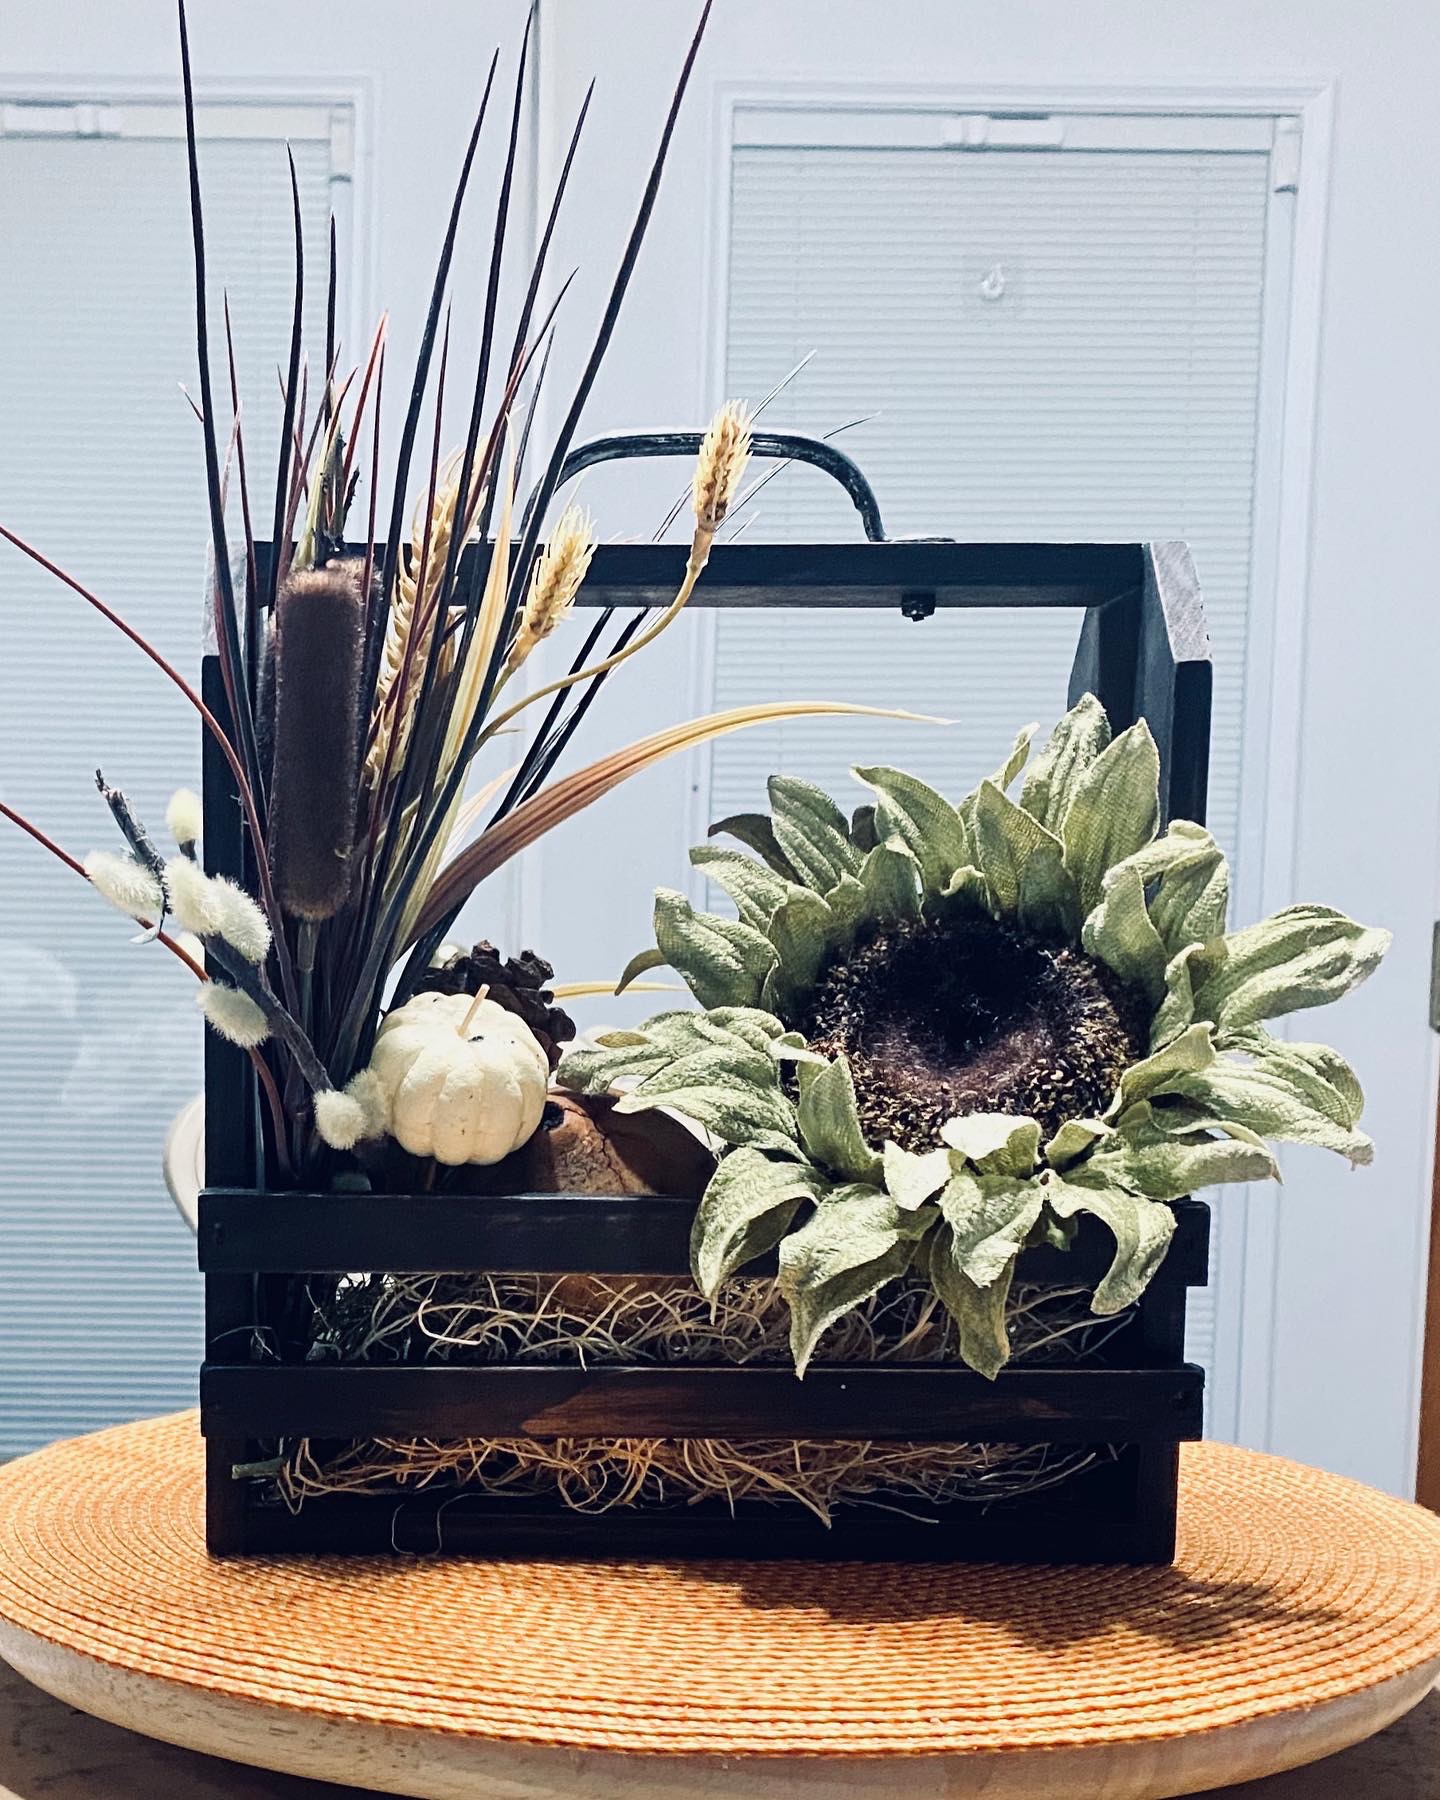
I thrifted this wood container and did a black distress over it using our Missouri Limestone Paint Company chalk-style paint in Coal Shovel. I added some filler, fall foliage, a pinecone, a couple of pumpkins, a gourd, and this beautiful green silk sunflower to create a unique fall centerpiece that looks finished from front and back.
I follow an awesome lady on YouTube….Teresa Greene from Our Greene Acres. She has excellent tutorials. Most of her ideas are shabby chic/farmhouse. They are not always my style, but the things I make from her tutorials usually sell well around my area of Missouri. This one sold within minutes after posting it in my personal Facebook page.
Basically, all you need to make the sunflowers are some type of fabric (the one above is drop cloth for the petals and burlap for the center). You will also need scissors, a little poly fill for the center, some hot glue, and ….. a canning jar lid and ring. This one was a regular mason jar size.
I’m not going to recreate the wheel here for making the sunflower. I will just share Teresa’s tutorial. This project starts at the 16:48 mark. https://m.youtube.com/watch?v=8wzvB-seb3I&t=616s I will share how I made the stem of mine below.
I wanted to make a sunflower with a long stem but wouldn’t flop over. I wasn’t sure how I would do this so started looking around. Invention truly is the mother of necessity.
I had some faux tulips from Michaels that had long green flexible hollow stems.
I took one of the tulips off and removed the little plastic thing that went into the stem. After finishing my flower, I hot glued it to the back and then hot glued a strip of fabric over it so it would stay in place. I just needed a stick to go inside so I remembered the whittling my dad used to do (I specifically remember him making whistles). So I just whittled the stick to size. Lol
I pushed the stick through the tulip stem (I used two of the hollow stems and pushed them together. I left a little room at the top so I could fold it over and glue it down to the flower.
That still wasn’t strong enough. Then I remembered these green metal hollow sticks I used around my rose bush. One was broken so I broke it off all the way and I had a sturdy stem. I think I originally got them at Lowe’s. They are stakes made to look like stems of plants so they blend in.
I then dropped the stick covered with the tulip stem down the green tube and hot glued it in place. I then folded over the stem at the top and glued it down. That worked just fine. The drop cloth was strong enough that the sunflower didn’t flop too much.
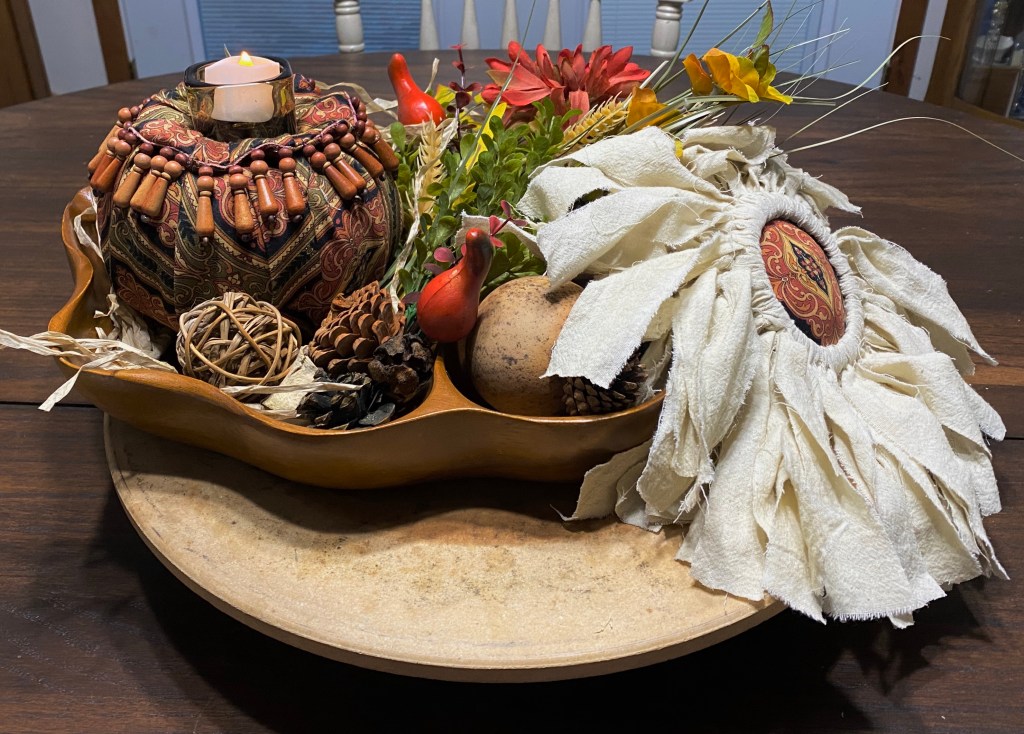
I had this very strange pitcher/mug thing I thrifted several years ago because it was cool and I loved the color. It was perfect for my one long stemmed sunflower. I filled it with left over burlap and added some greenery and wedged my sunflower in place. I love how it all came together!!
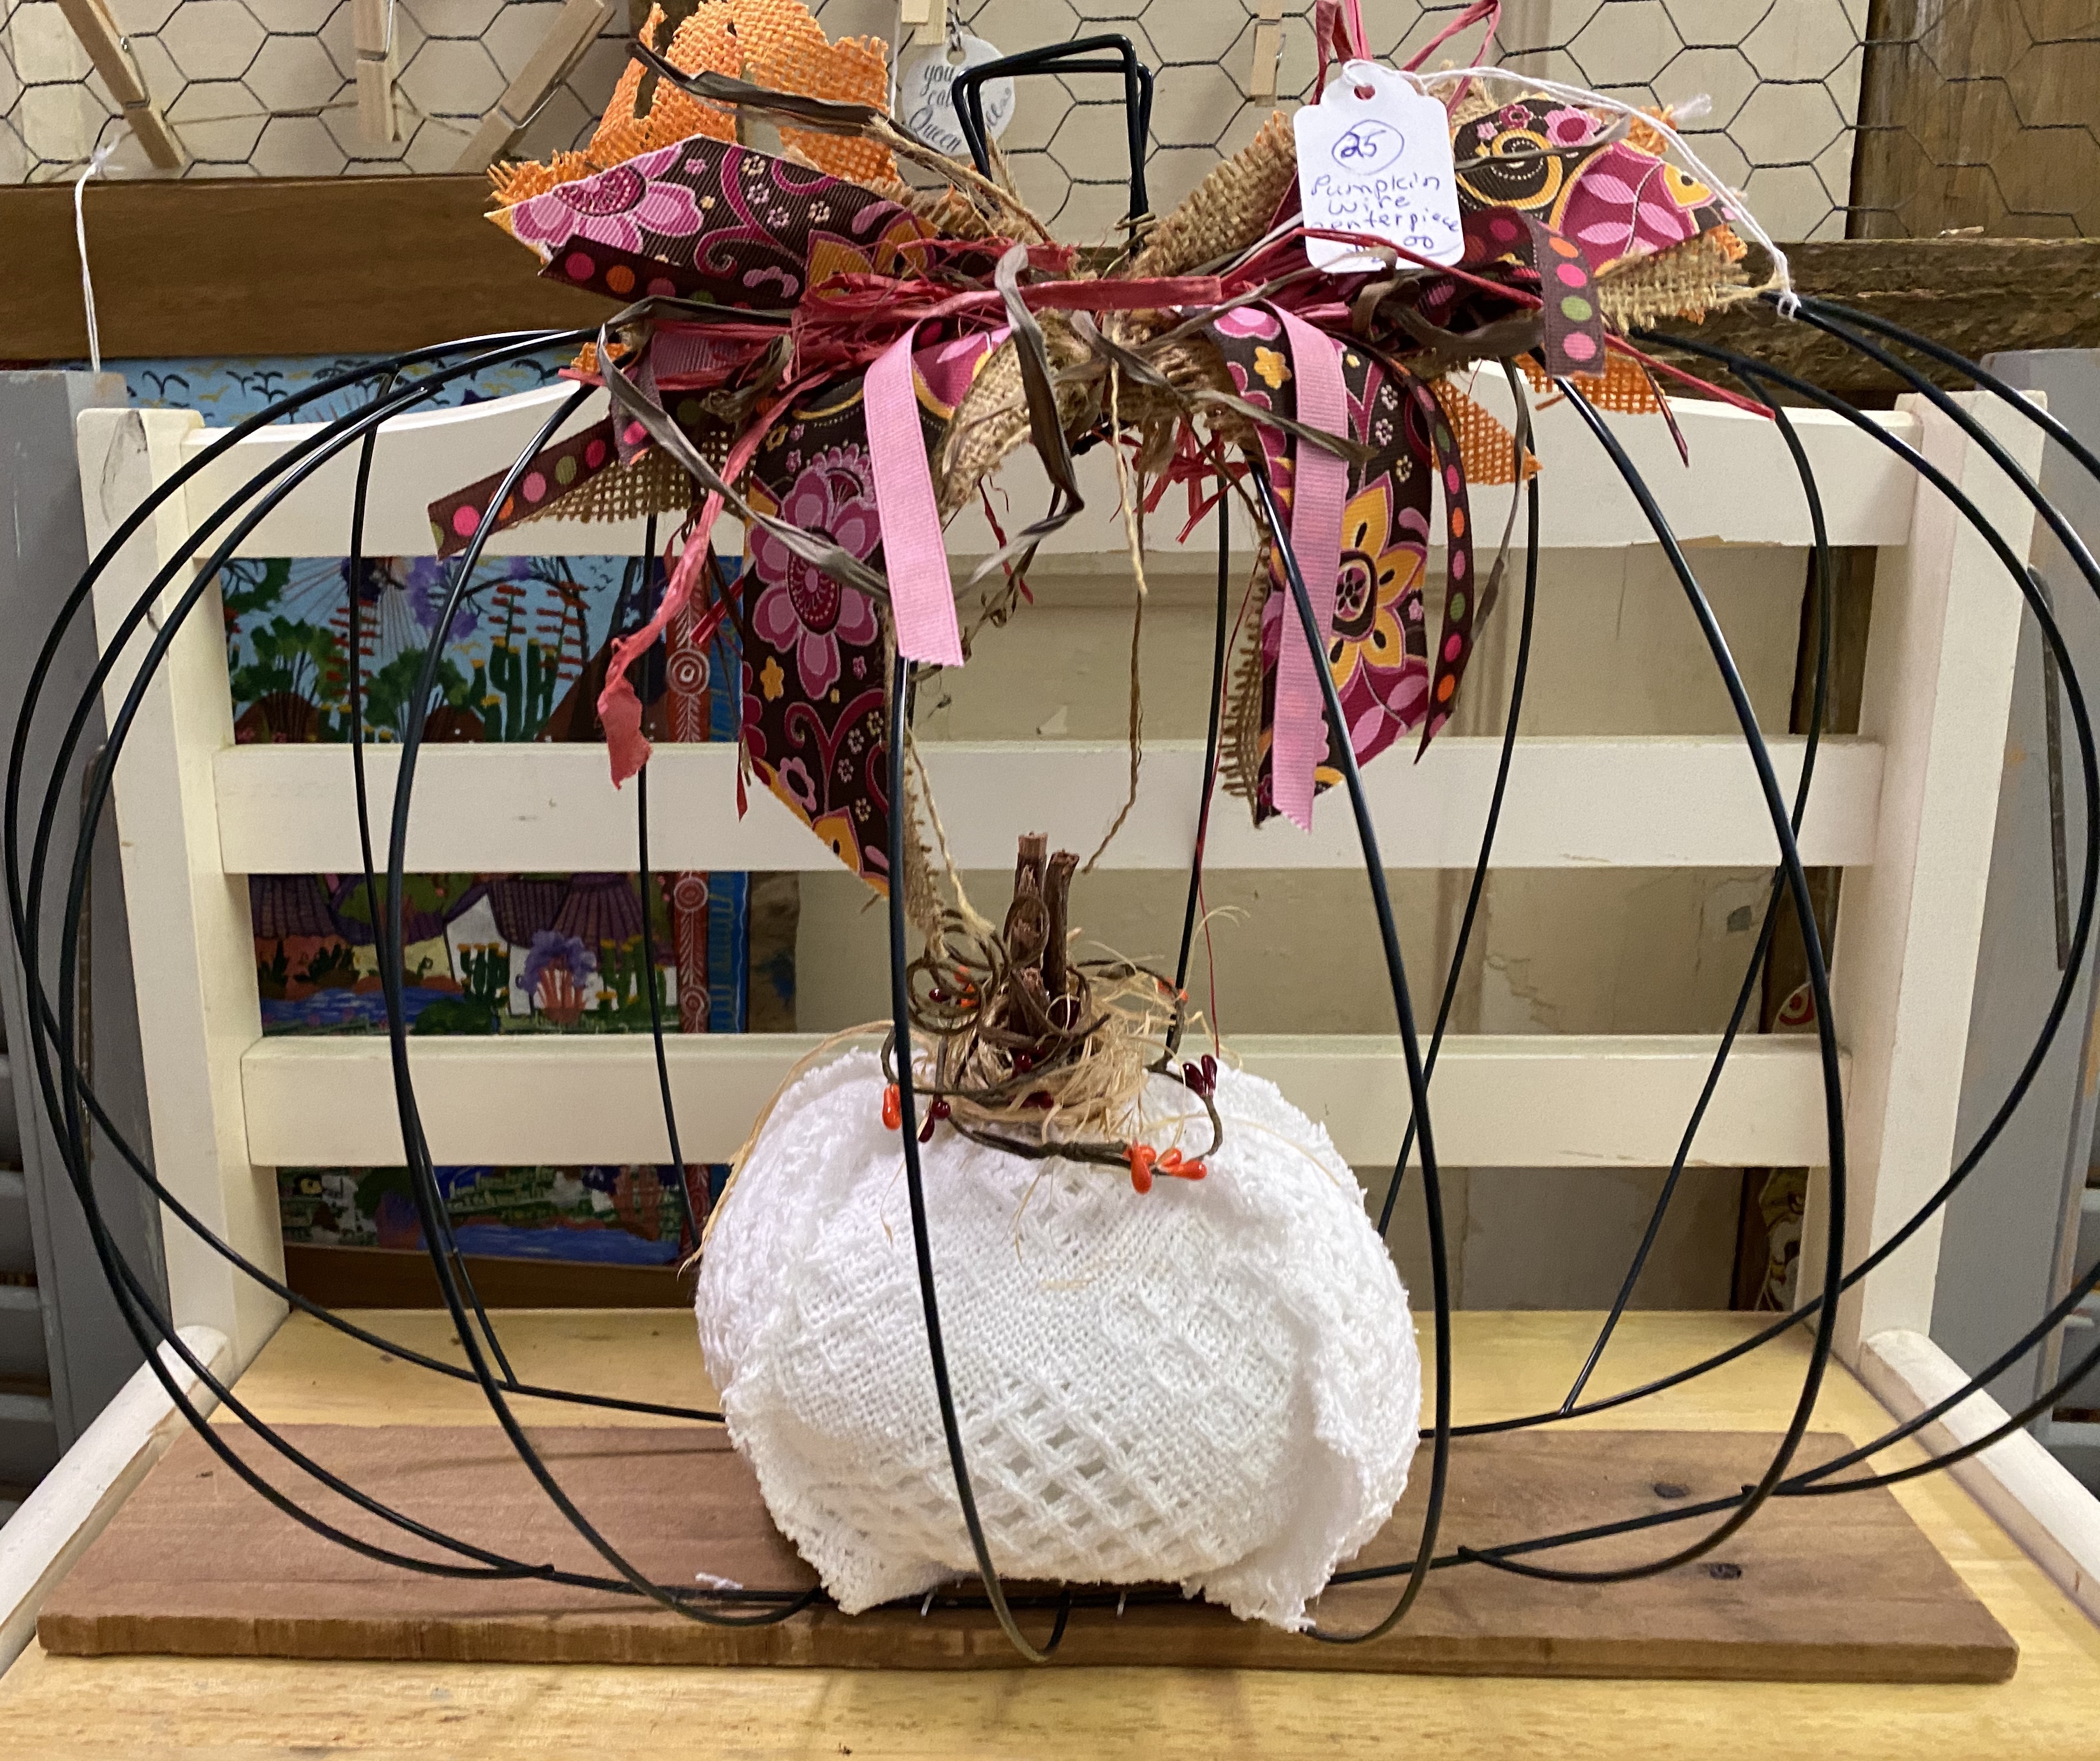
The first sunflower I made from Teresa’s tutorial was a hanging one. I used flour sack cloth (from Walmart Craft department) I dyed with left over coffee for the petals and fabric from an old valance for the center to match a pumpkin I had made earlier (another Teresa tutorial). I love how it turned out and how it looks in a fall centerpiece I put together.
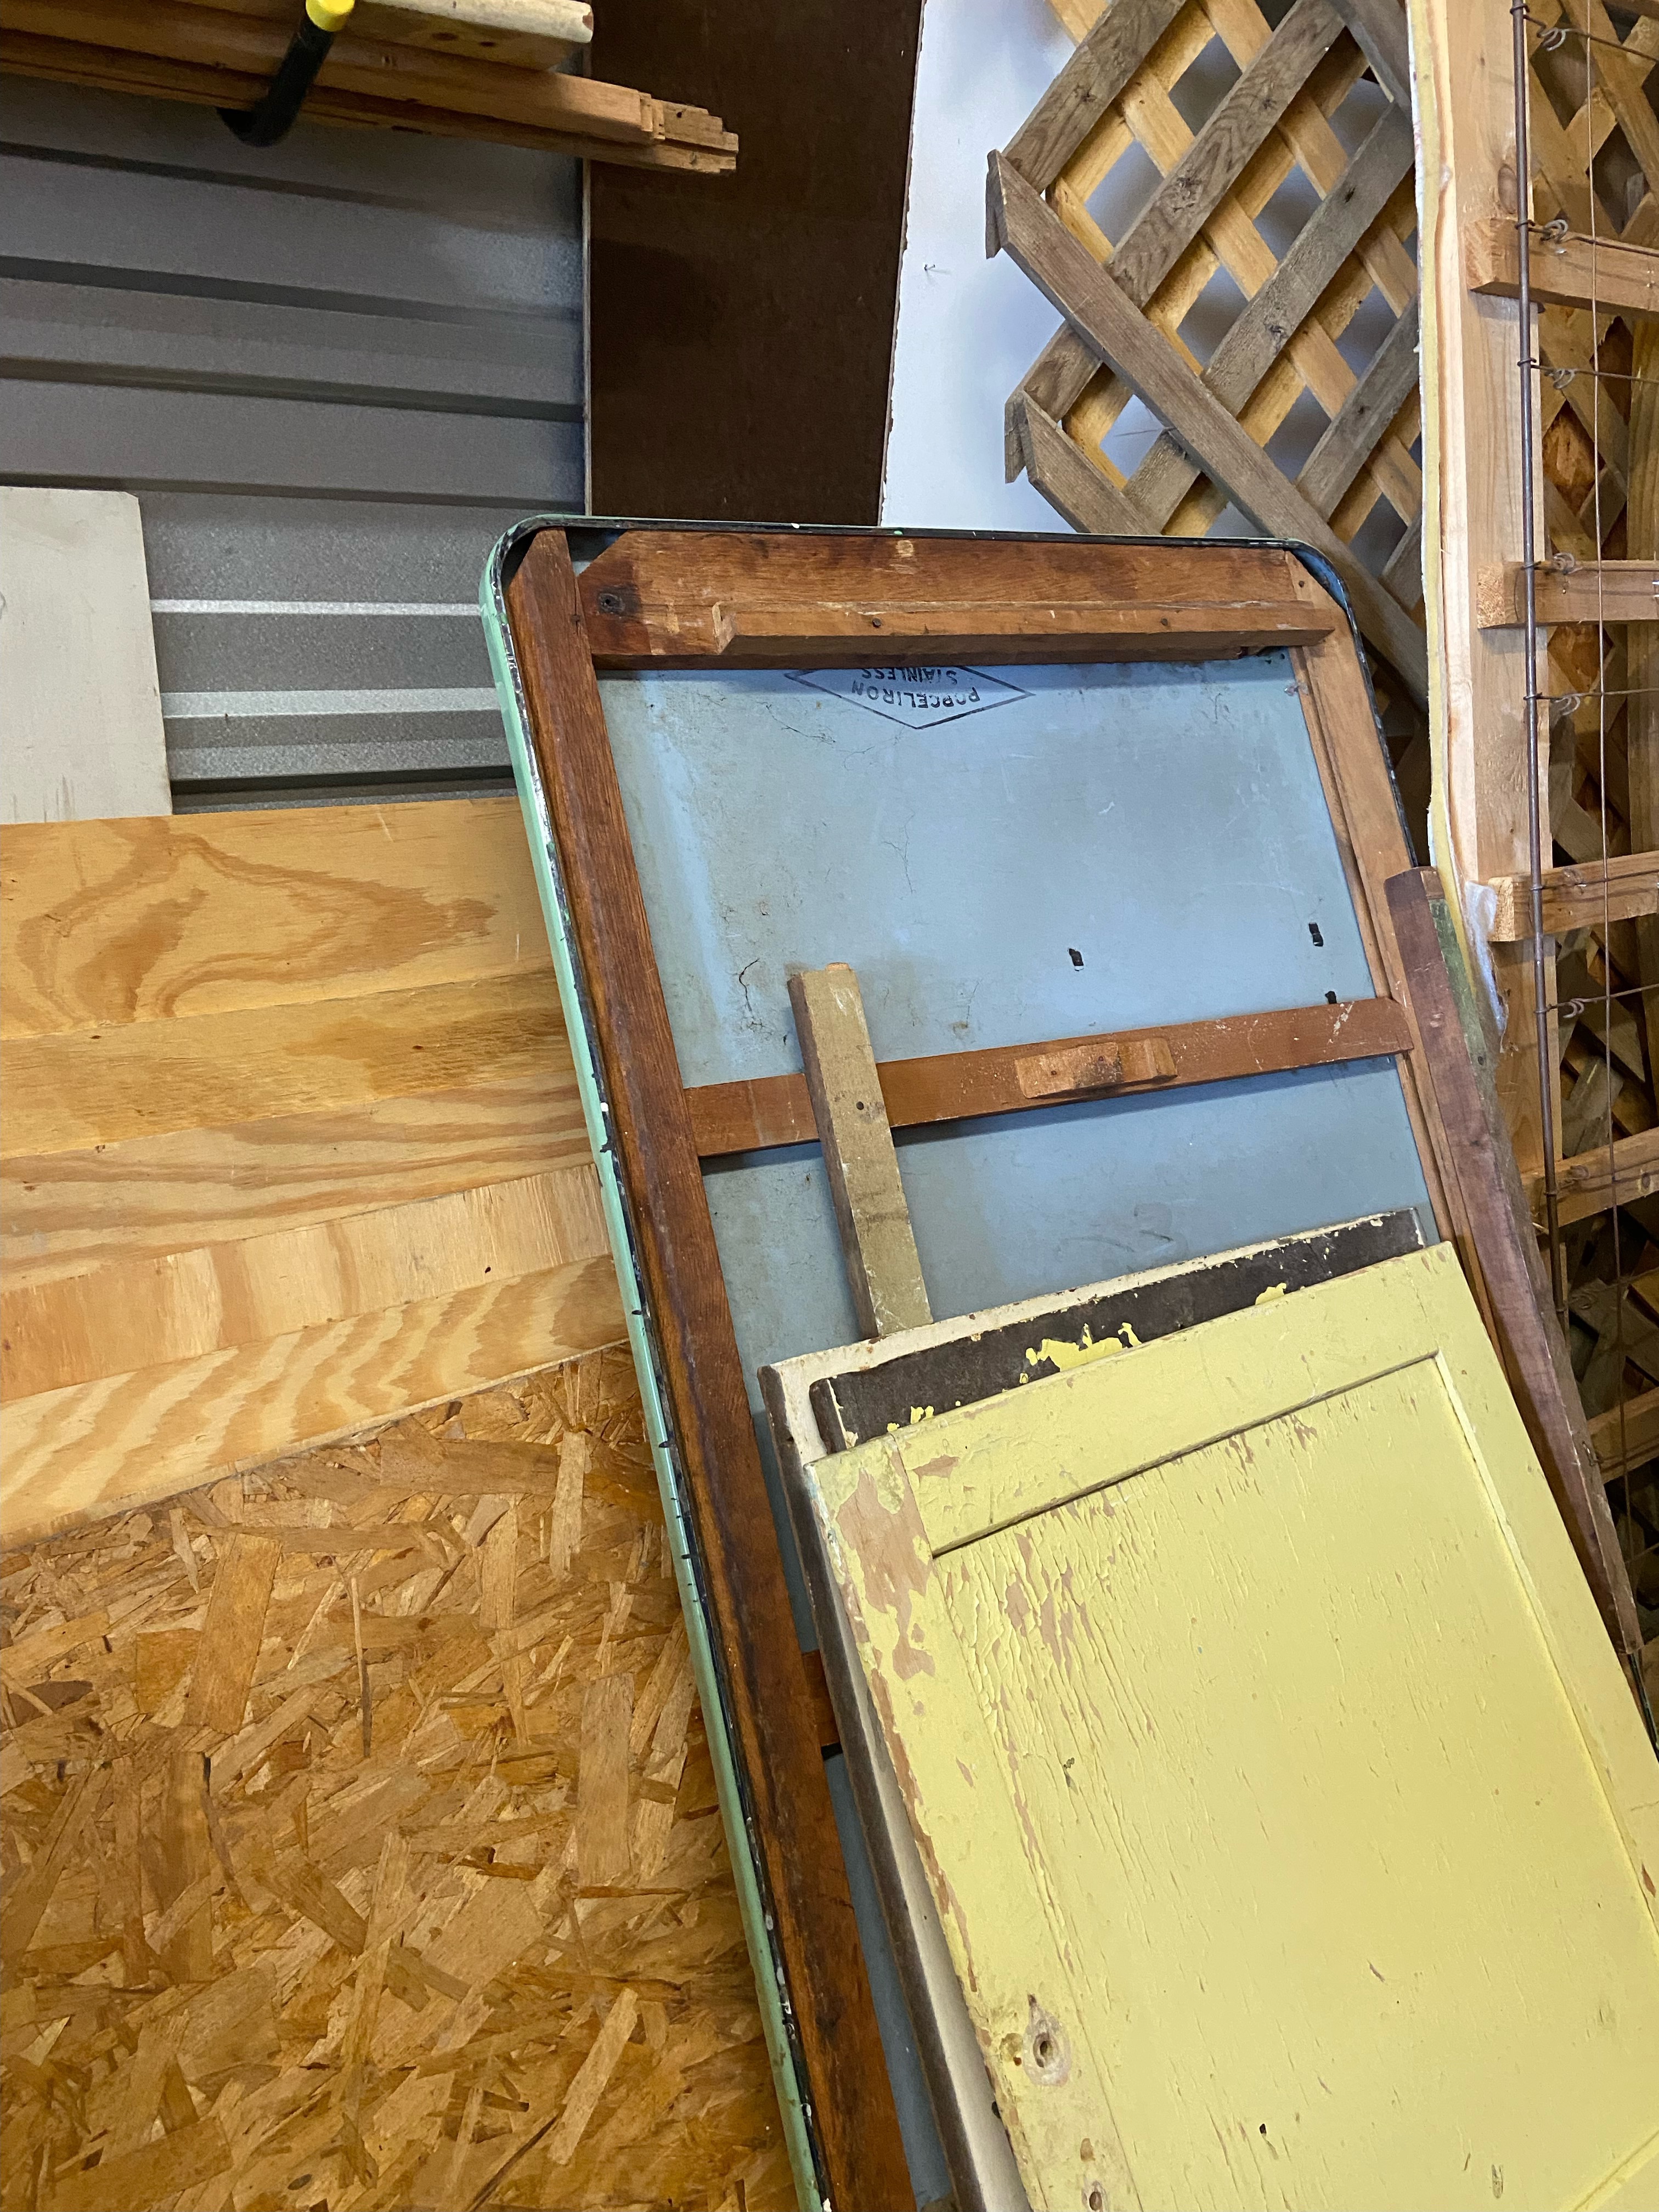
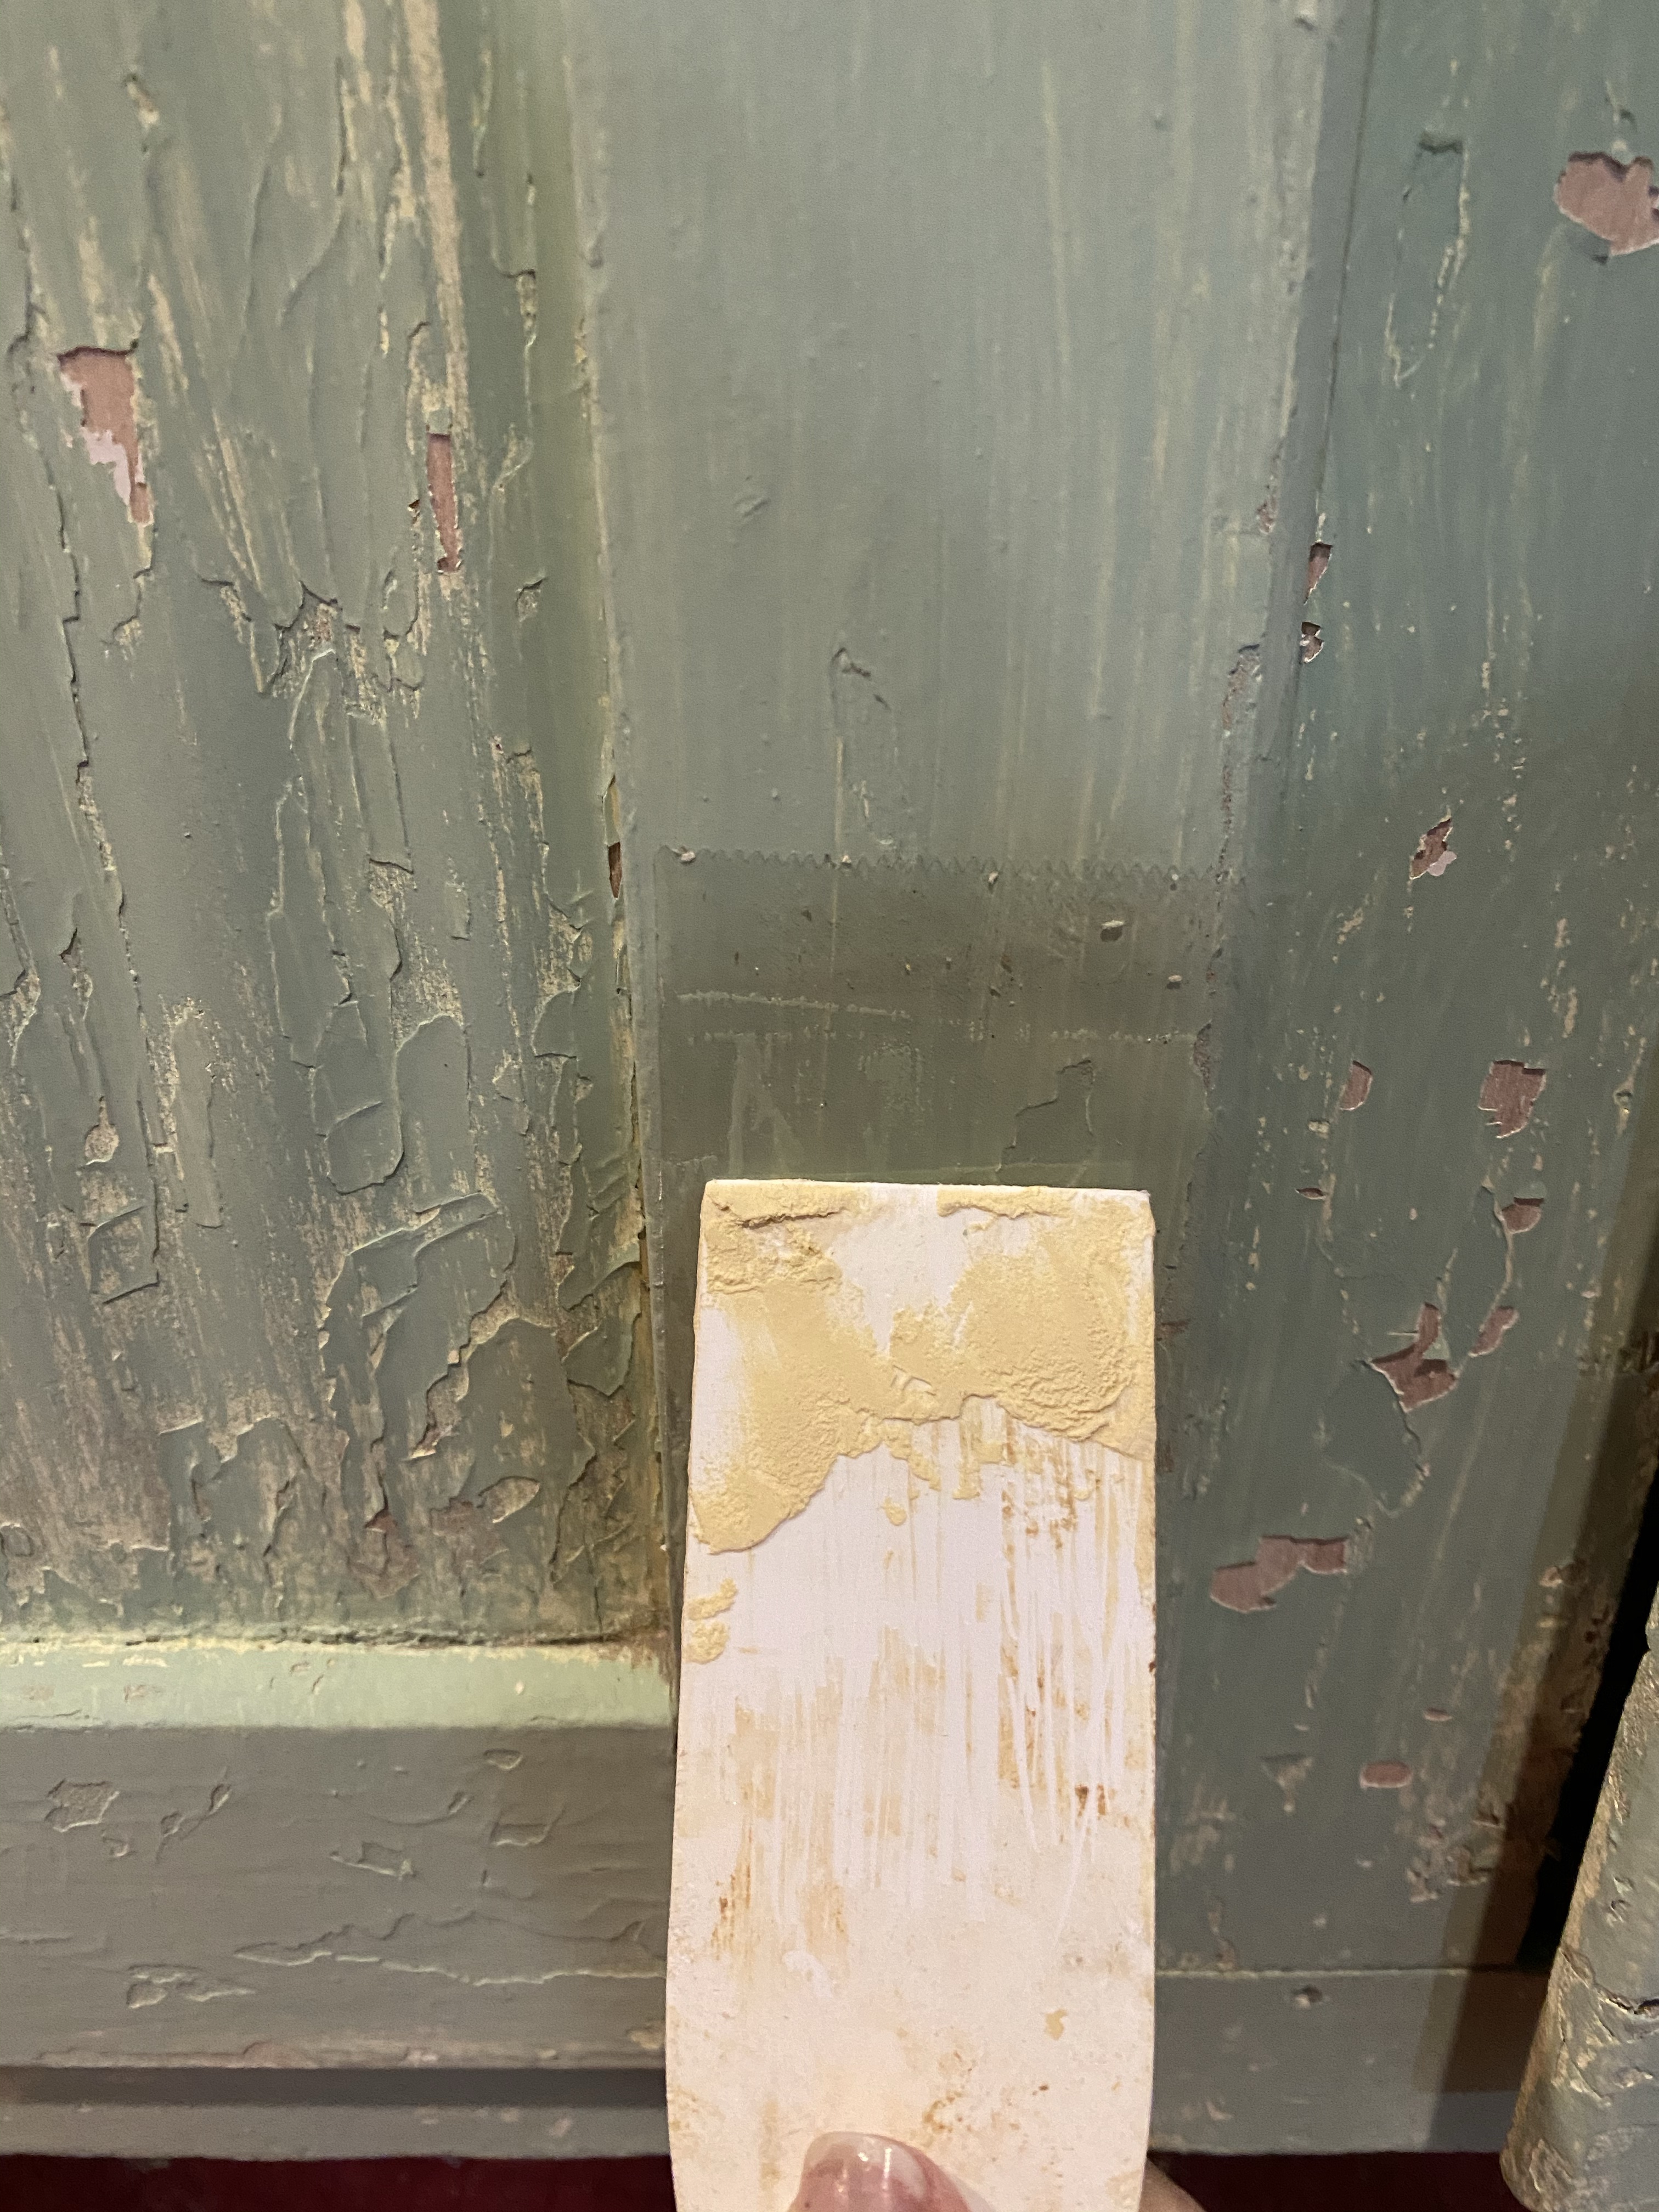
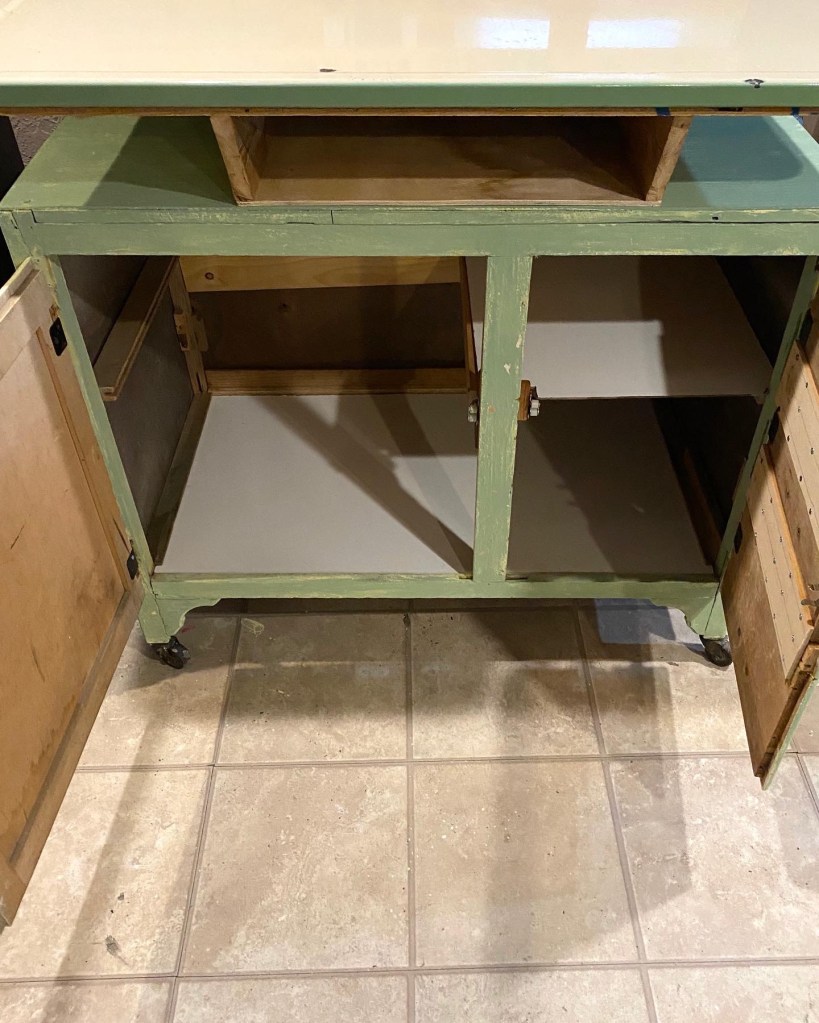
We recently thrifted a vintage cabinet. One drawer was missing a box so the front was just nailed to the cabinet. The cabinet had at least 3 layers of paint on some places, others had only one. It was falling apart.
The top was awesome. It was a vintage metal top, a cream color with farmhouse green edges. I don’t think it was the original top as it really didn’t fit.
Danny took it all apart, and rebuilt it from scratch. He created another door from the fronts of all 3 drawers and added a bottom and a shelf on one side. He also added hardware to keep the doors closed. He added a wood box type thing to the top of the cabinet to raise it up to cabinet height once the metal top was added. He also added a pallet board rack.for hanging tools, etc. There is lots of storage for soil, pots, etc.
He sanded the paint that was loose and I painted it with a mix of our Missouri Limestone Paint Company chalk style paints to match the green edges of the metal top.
To create the chippy look all over, I first painted the whole thing a light yellow like most of it has been painted. I let that dry and then rubbed it all over randomly with a candle, focusing on the edges.
I then painted it with the green paint I had mixed. I allowed some of the yellow to show through on places. Once that was dry. I took packing tape (and sometimes used duct tape) and applied it. I used a plastic scraper to adhere it, then quickly ripped it off. It took up some of the paint in small areas and a lot of paint on the areas I had applied wax.
Color is a little off due to lighting.
Color is a little off due to lighting.
Color is a little off due to lighting.
The newly finished potting bench turned out great and sold very quickly as did the basket of fall flowers and leaves and the sunflowers.