It’s been awhile since I added sold projects, so thought I’d update and add a few.
This has to be my favorite piece I’ve sold. It was shipped all the way to Virginia. This was a watercolor technique I came up with, staining the wood with a paint wash. Read all about the Rags to Riches story of Sir Albert on my blog!
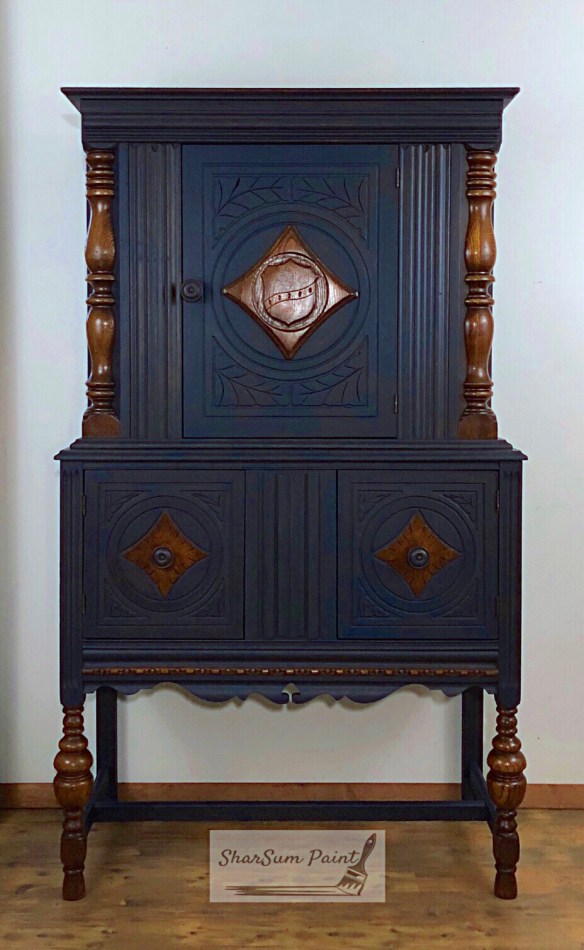

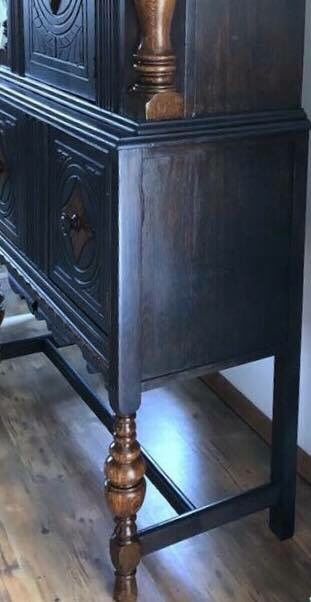
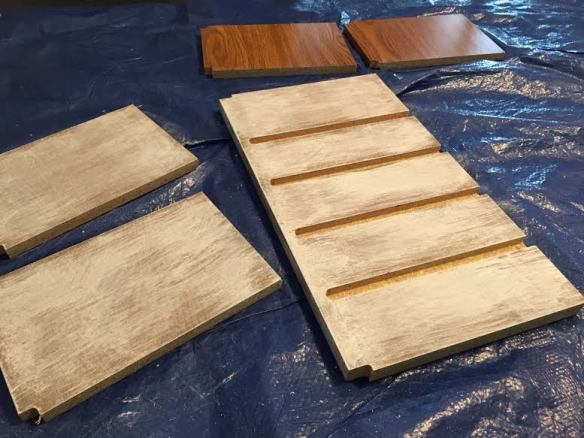
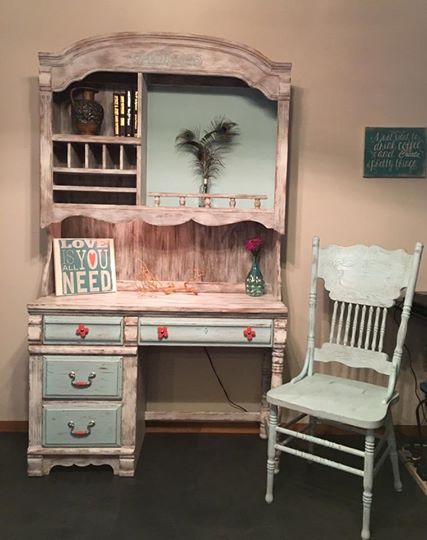
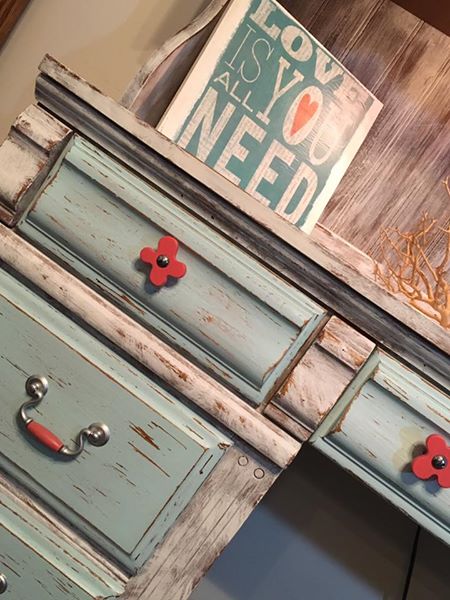
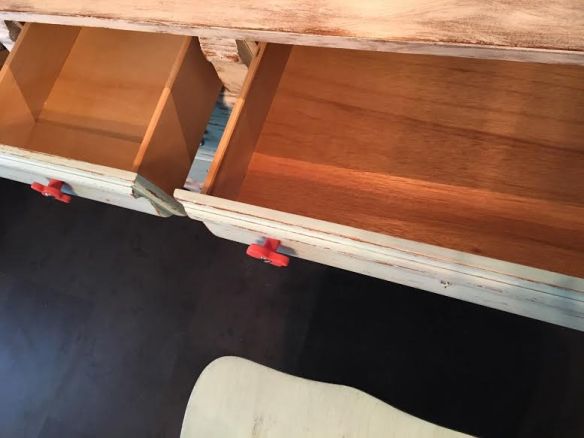
The unassembled parts of a hutch we recently finished for a client. Too big to put back together in my house. Don’t you just love the decoupaged knobs and drawer sides?

This dining room set is one of my favorite ones we’ve painted and sold.

Another favorite set.

We even paint and sell jewelry boxes.

Yes, this pink one is really a jewelry box.

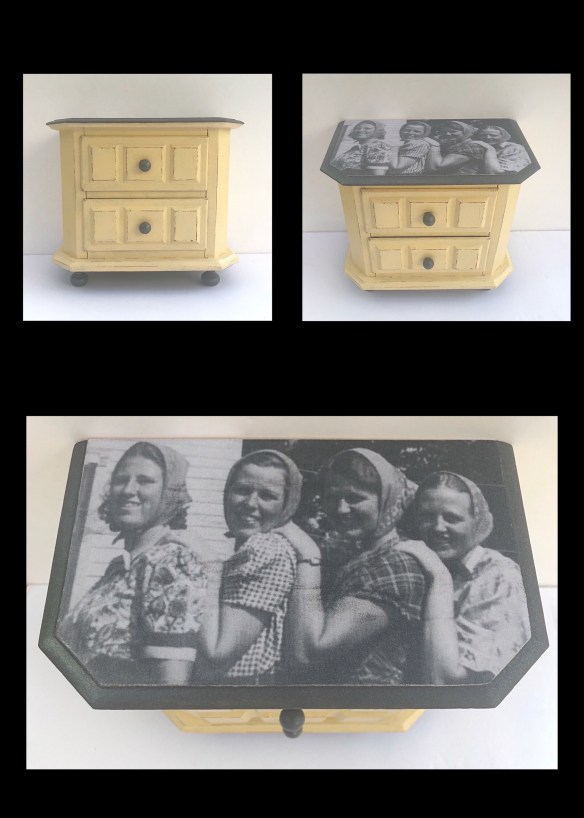
This one was actually a gift. It is a memory box I made for my sister with a vintage photo of my mom and her sisters decoupaged on the top. Have a photo of your own? We have more jewelry boxes. We can copy your photo and make one for you!
This client owned set was just what she was envisioning. We even painted books to go in the basket we painted for one of the nightstands.

We paint and sell smalls, too. Like these vintage sewing machine drawers.

We have turned several Queen Ann captain chairs into colorful, whimsical works of art. This one we donated to my grandson’s kindergarten classroom.

Love how this one turned out!

We had fun with this set. Client purchased it to donate to a heart charity auction.
 We painted a bunch of these cute little vases. Can paint these with your color choices. I love filling mine with fresh blooms from my yard.


This is a cute little cabinet we reinvented with a farmhouse look, custom painted with client color choice. We can do that. Just ask!!

This was a little bench I painted with Missouri Limestone Psint Company’s January and Crepe Myrtle. Stencils were cut using my Silhouette Portrait machine and contact paper.

This is another piece I really hated selling. I was so wishing I had a 4 season room. I would have kept this little table set in a heartbeat.

This 1880’s sofa table is very long. It really needed a paint job so we gave it one. I distressed this piece with vaseline. : )

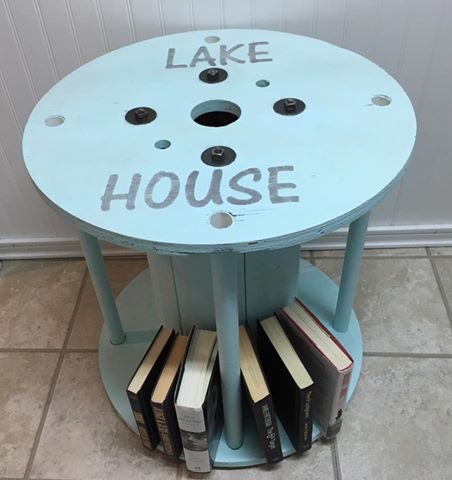
The original use for this spool was for electrical wiring a Lowe’s. We transformed this into a little table, just perfect for a beach house. I called a friend who had just purchased a beach house as a second home. She thought so, too. It is now happily content in its new home. : )
I had this waterfall set and custom painted it for a customer. She wanted the dresser to be gray with some of the wood still showing. The wardrobe’s inspiration was from a piece she saw on Pinterest. We even found the same exact vinyl design on Amazon.


Another Steam Punk look for a customer that loves the look. The middle piece of marble was broken on this coffee table and had been replace by a piece of glass. We covered a thin board with this map fabric from Jo-Ann’s and it fit perfectly under the glass. Gave it a black paint job and sealed it with poly.

This was such a fun project! This dated wooden nautical clock was blah, until I turned it into a Steam Punk look with a little black paint and wax.

Love Pinterest. That’s where we got the idea to take chairs and turn them into a bench. The bench is 3 chairs put together. We used the back legs of the 4th chair to create the sides. This bench sold with a table and chair set my friend was selling. Love how it all turned out.


This is one of my first “restoration hardware” looks I did. I really enjoy trying out different painting techniques.


I loved painting the gray ombre desk so much, I painted the dresser that matched it the same way. The lady that bought the desk snatched up the dresser right away.
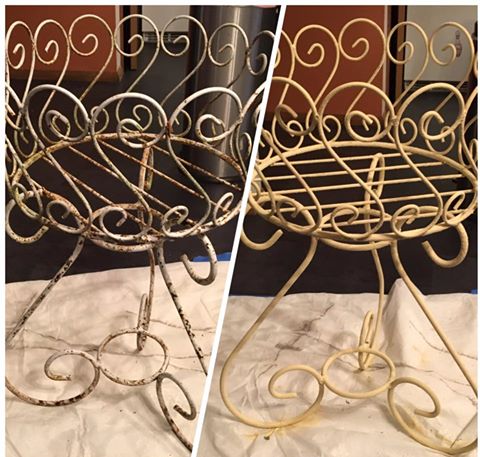
I didn’t sell this one. This is my front door, and my wrought iron furniture I have in my front yard. The door is metal. I did this about 3 months ago and still haven’t sealed it. I’m not sure I will. It is holding up well.


This hutch and desk was a drab, yellowish color and had seen better days. Painting it with varying shades of pink made all the difference in the world.

This is one of my all time favorite pieces. I would have kept this one if I had the room in my house. 


We had another client who had 6 chairs that needed painting. We took that project on and delivered them back home this past week. They look gorgeous with the dining room table that was handcrafted by the husband. A beautiful set at the fraction of what a new one would cost.
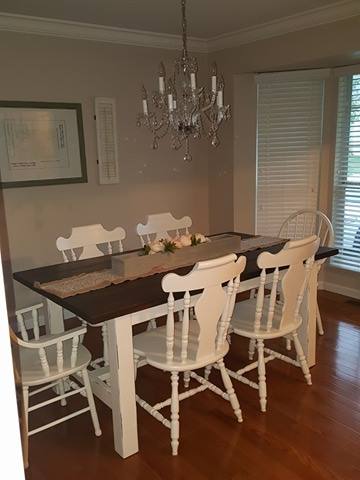
Painted chairs – Missouri Limestone Paint – January
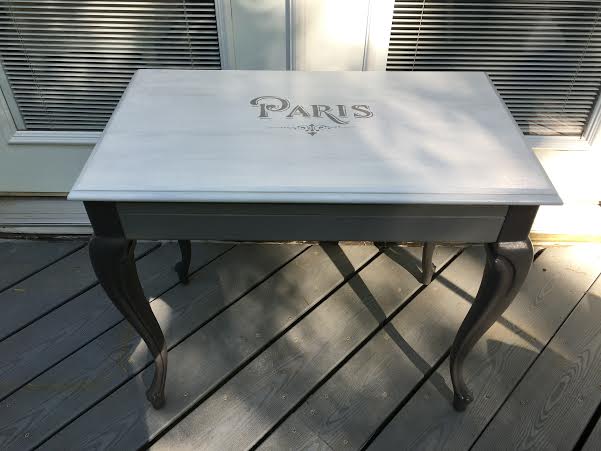
This little vanity table was a family heirloom. It had been “antiqued” by the client’s grandmother back in the 1960’s. Read more about that here. The client had admired the Ombre desk I had completed and so the vanity has the same type of look, with the addition of a stencil to give it a french-style look.

Original “Antiqued” Table

Inside of table

Table painted with Missouri Limestone Paint’s January/Winter Gloves Wash, Sunday Silver, and Gray Goose

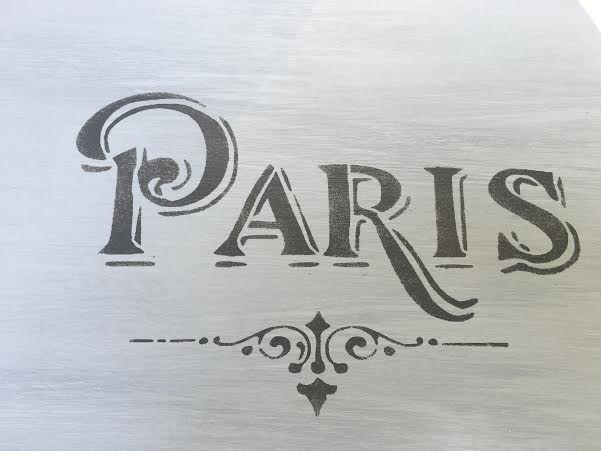
Paris stenciled with Sunday Silver chalk-based paint.
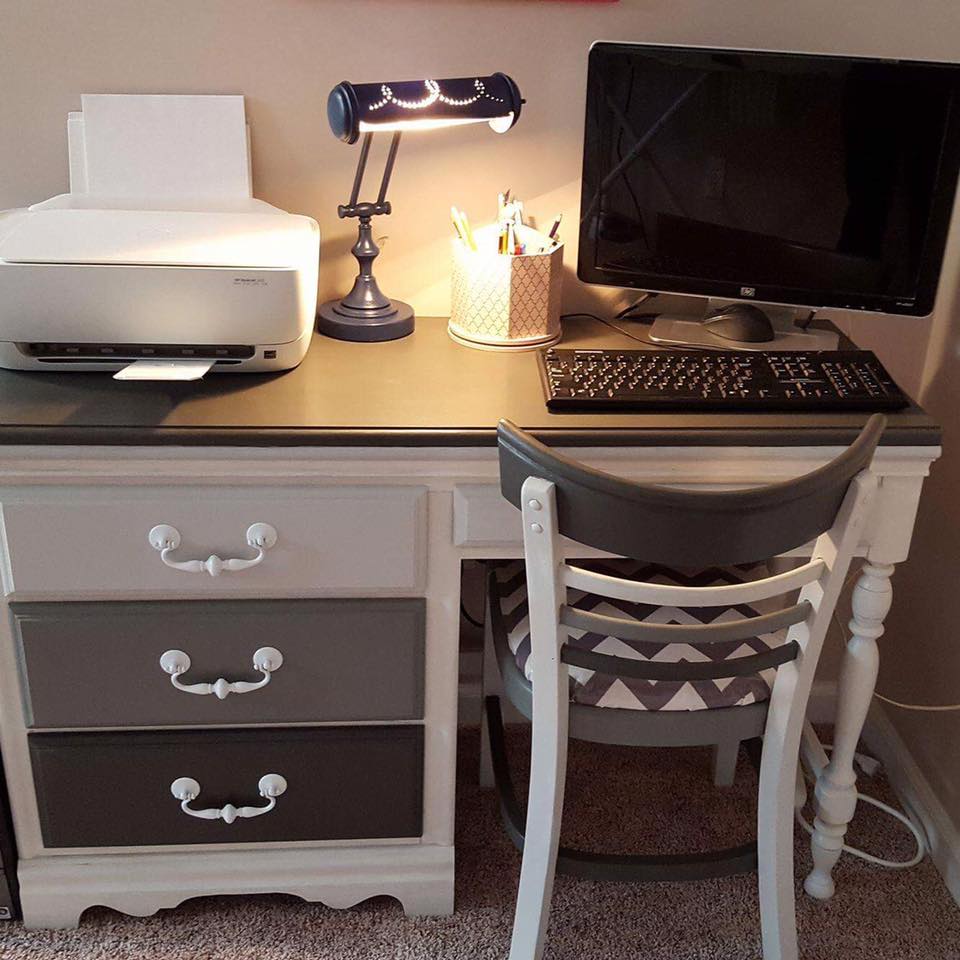
Ombre Desk Set – painted in varying shades of gray – Missouri Limestone’s Chalk-based Paint – Winter Gloves, Sunday Silver and Gray Goose. Lamp is painted with Indigo.

Desk Lamp – Painted with Indigo

Ombre Desk in it’s new home – 9 year old owner is said to be very excited. : )
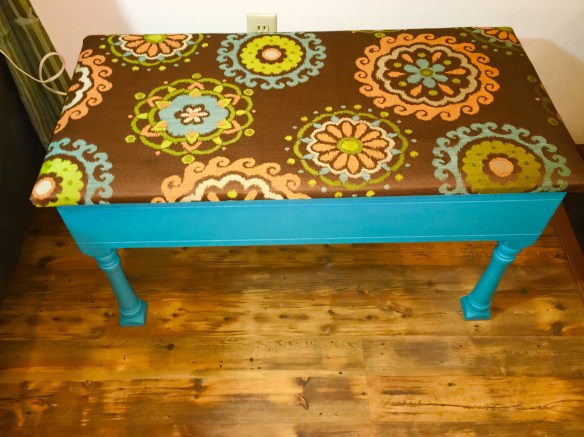
Piano/Storage Bench – painted with Trading Post

Pet Bed – upcycled from a drawer – Painted with Coal Shovel

Lamp painted with Vintage Coral.

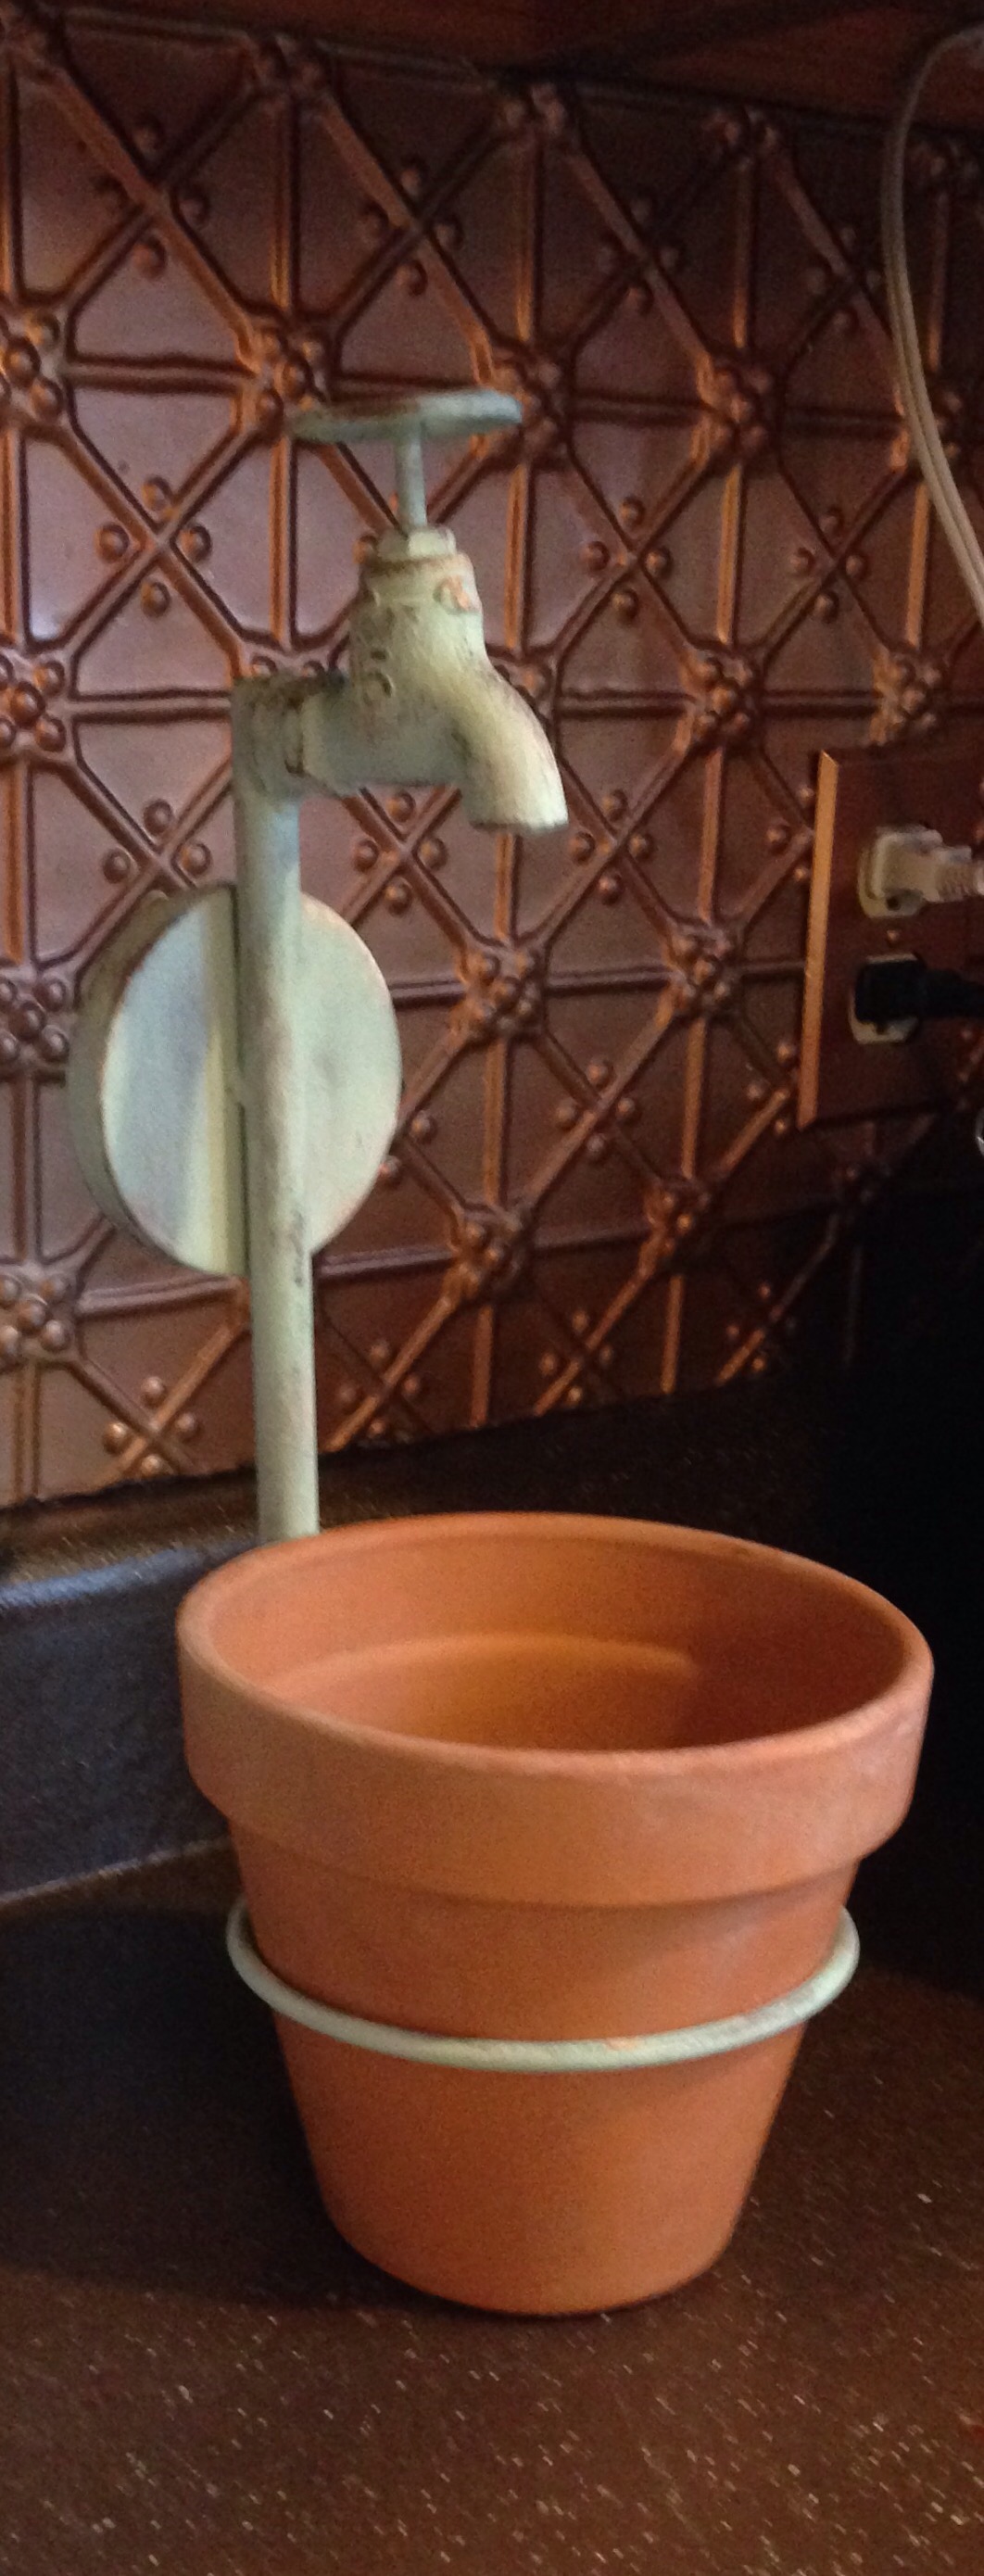
Spigot Planter – painted with “Clothesline”

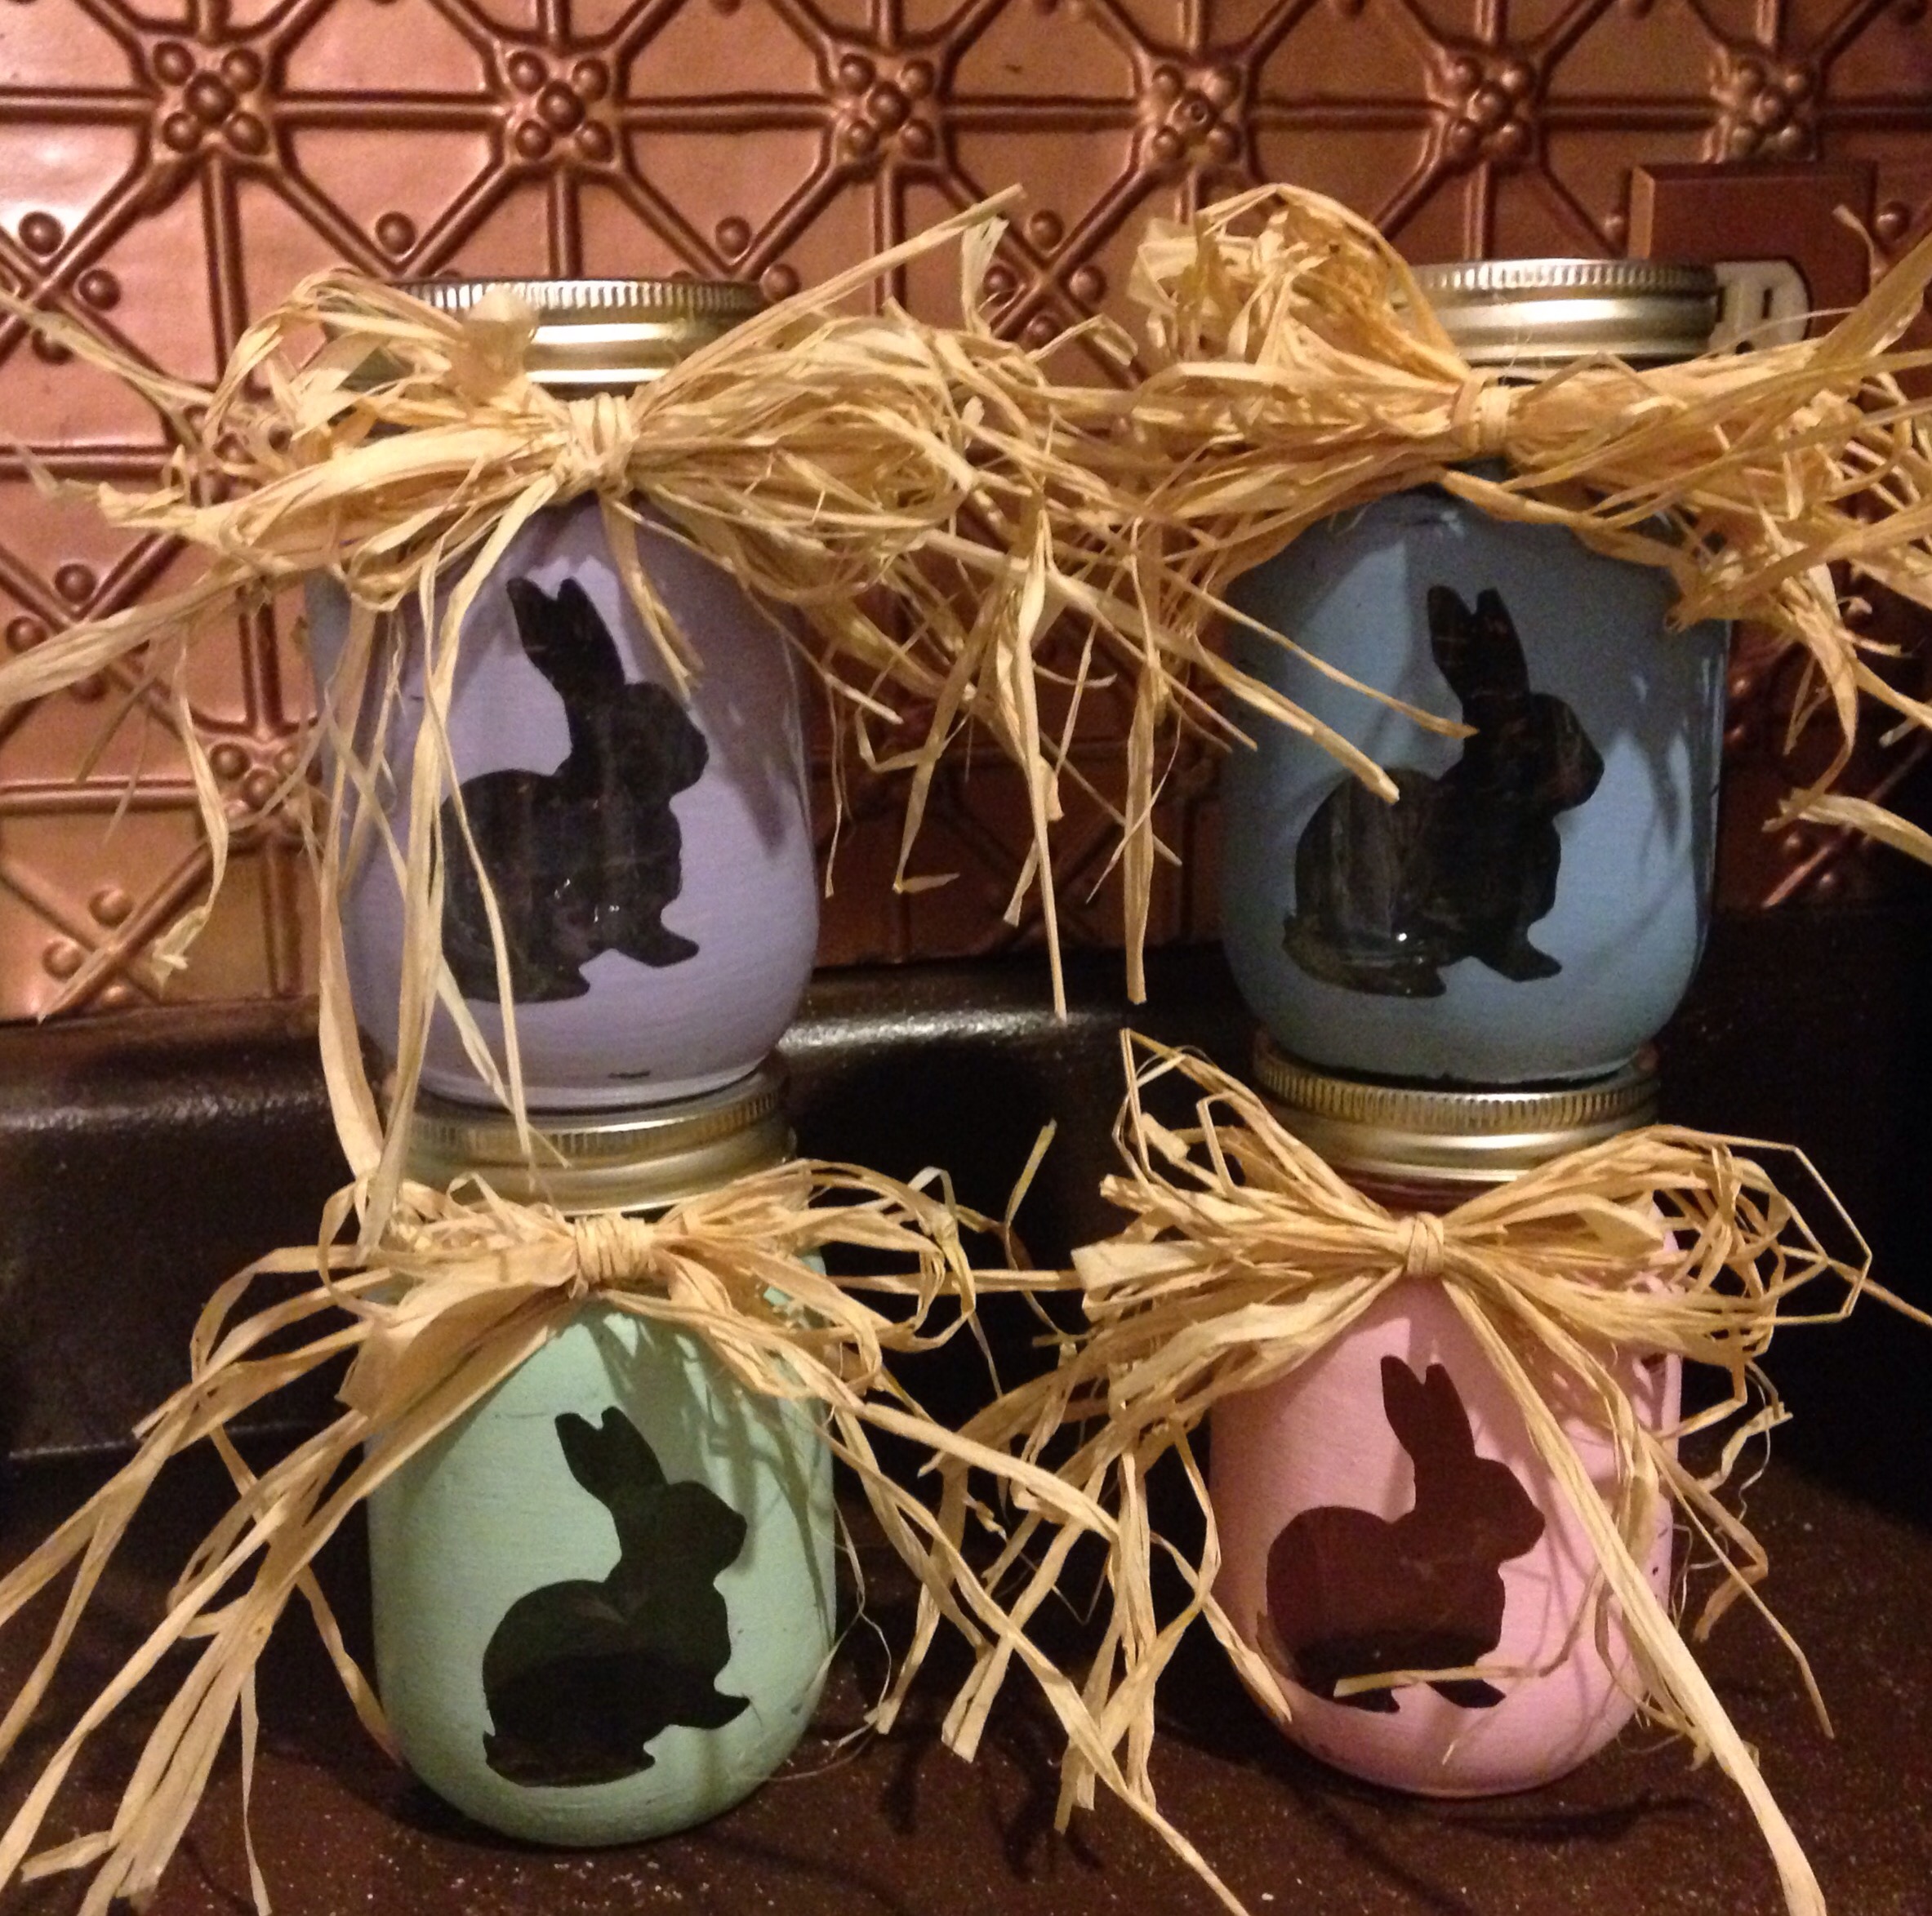
Easter Candy Jars

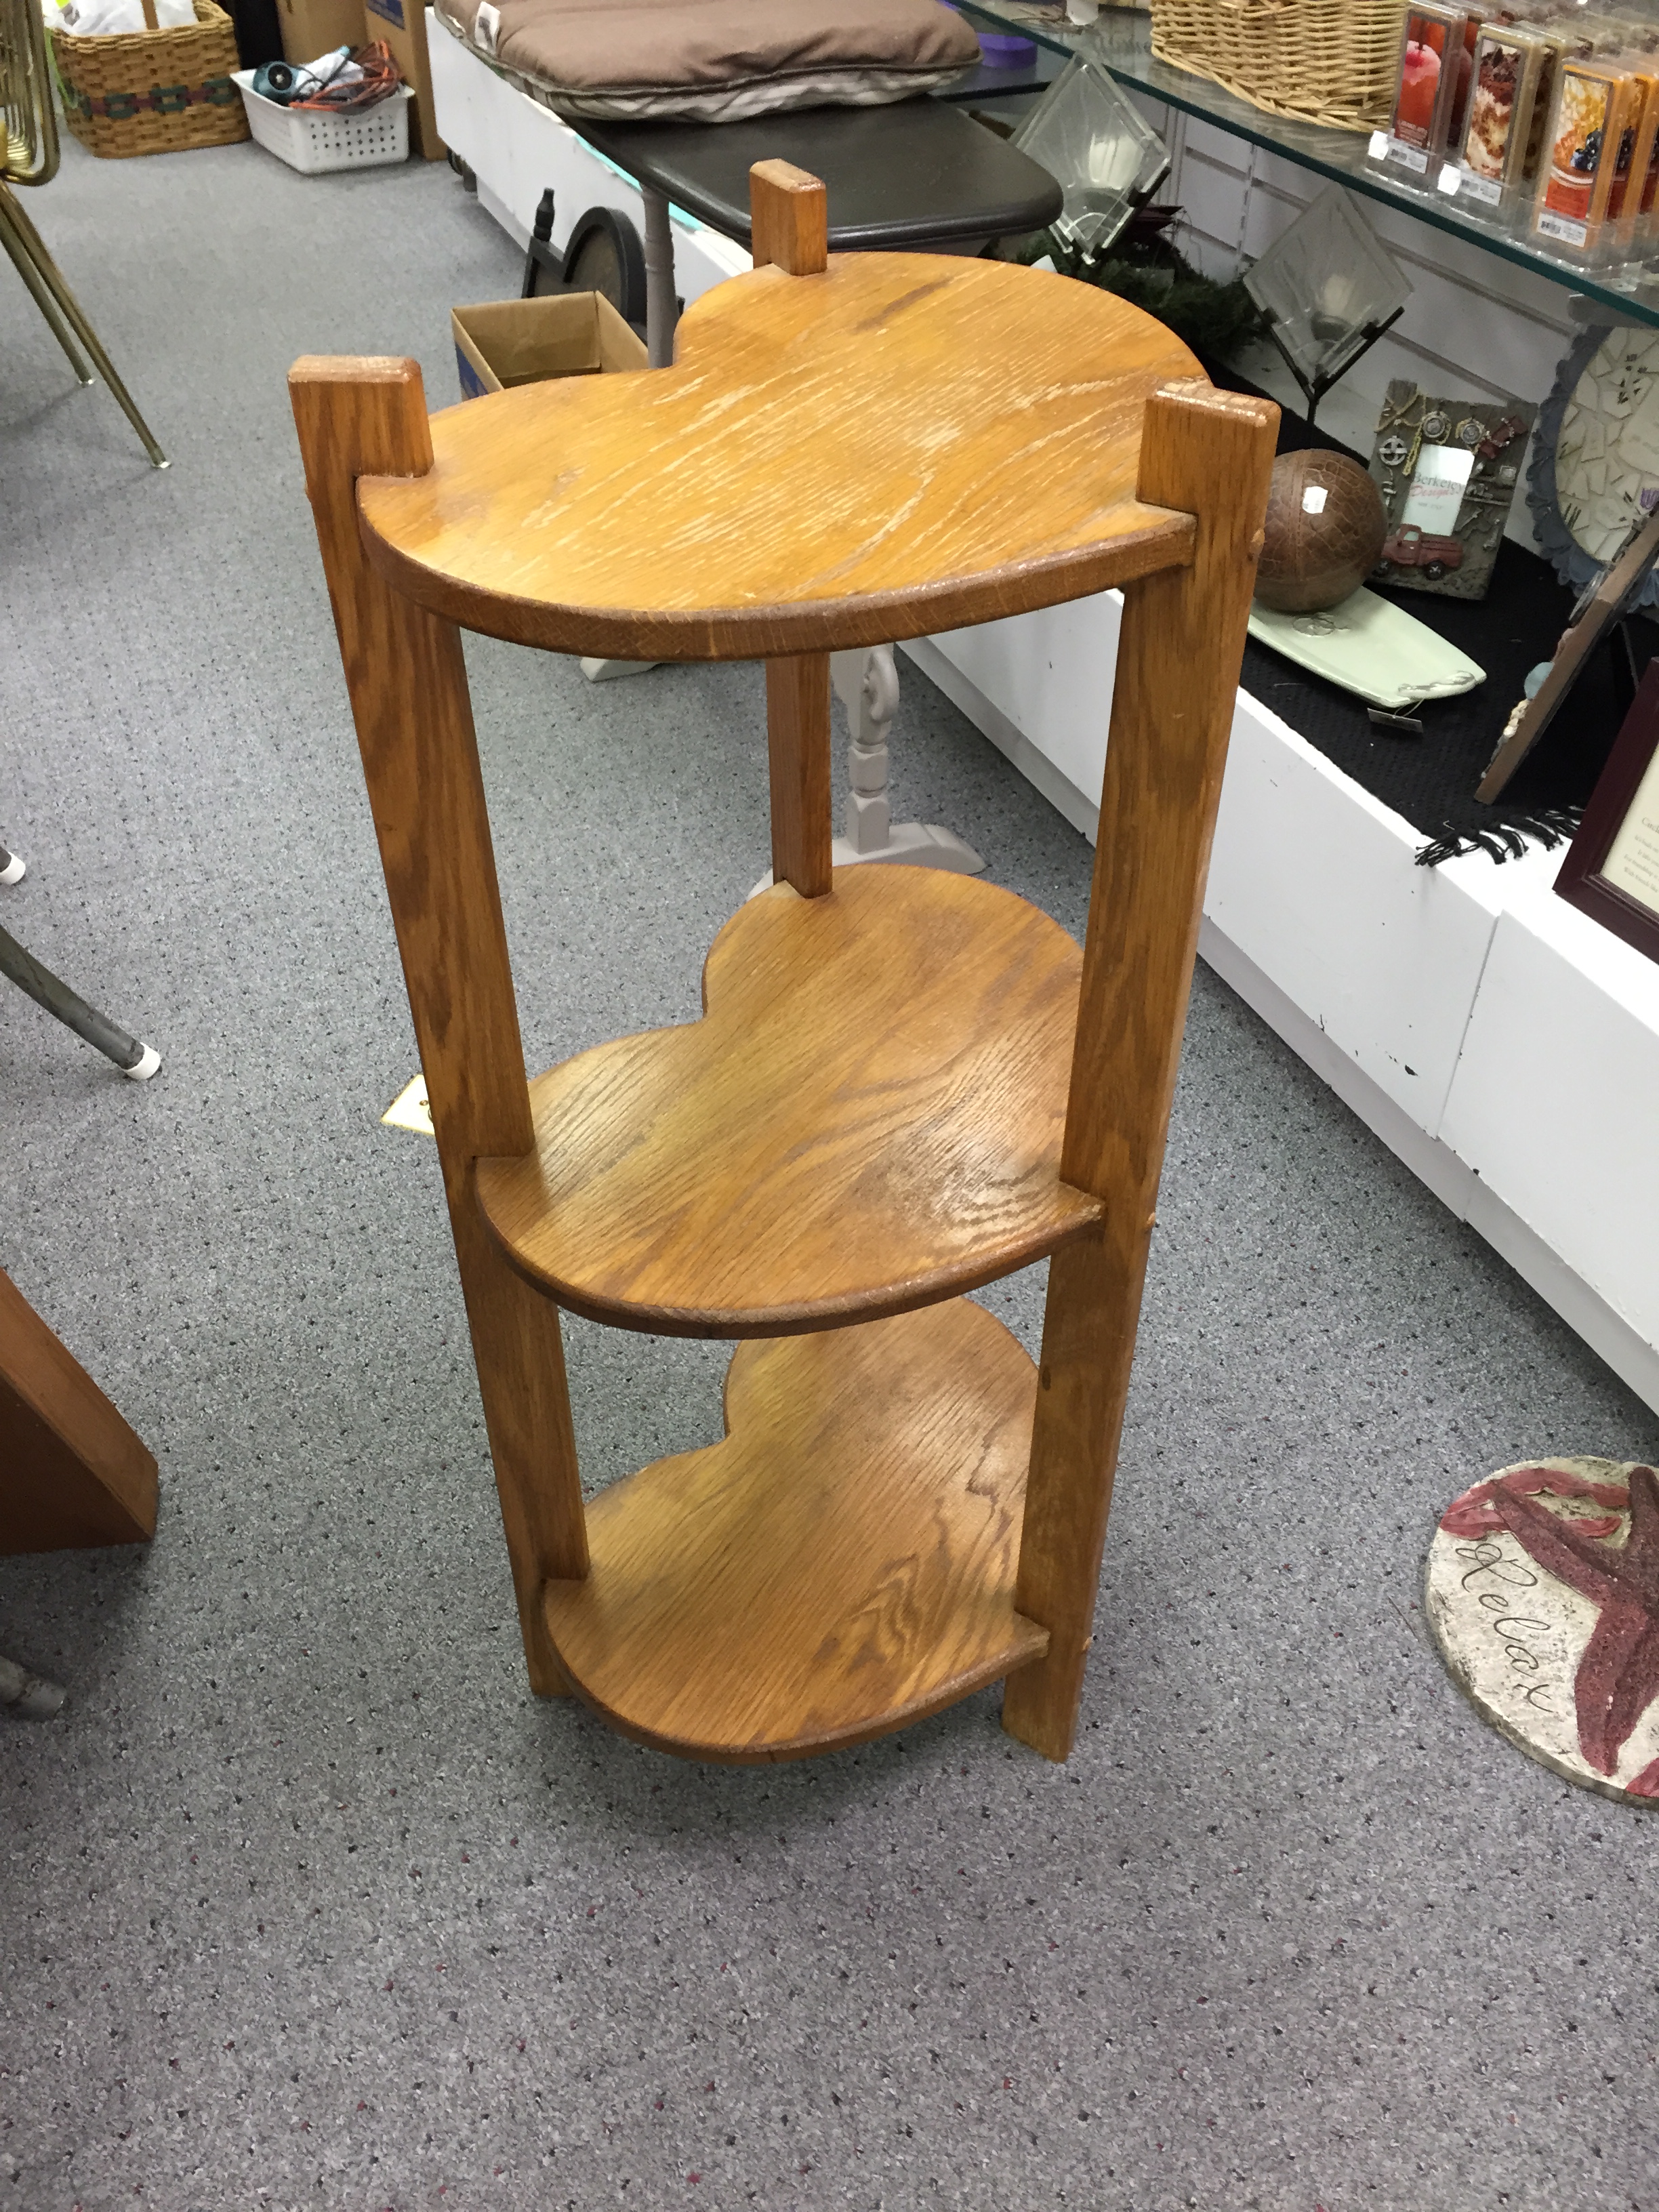
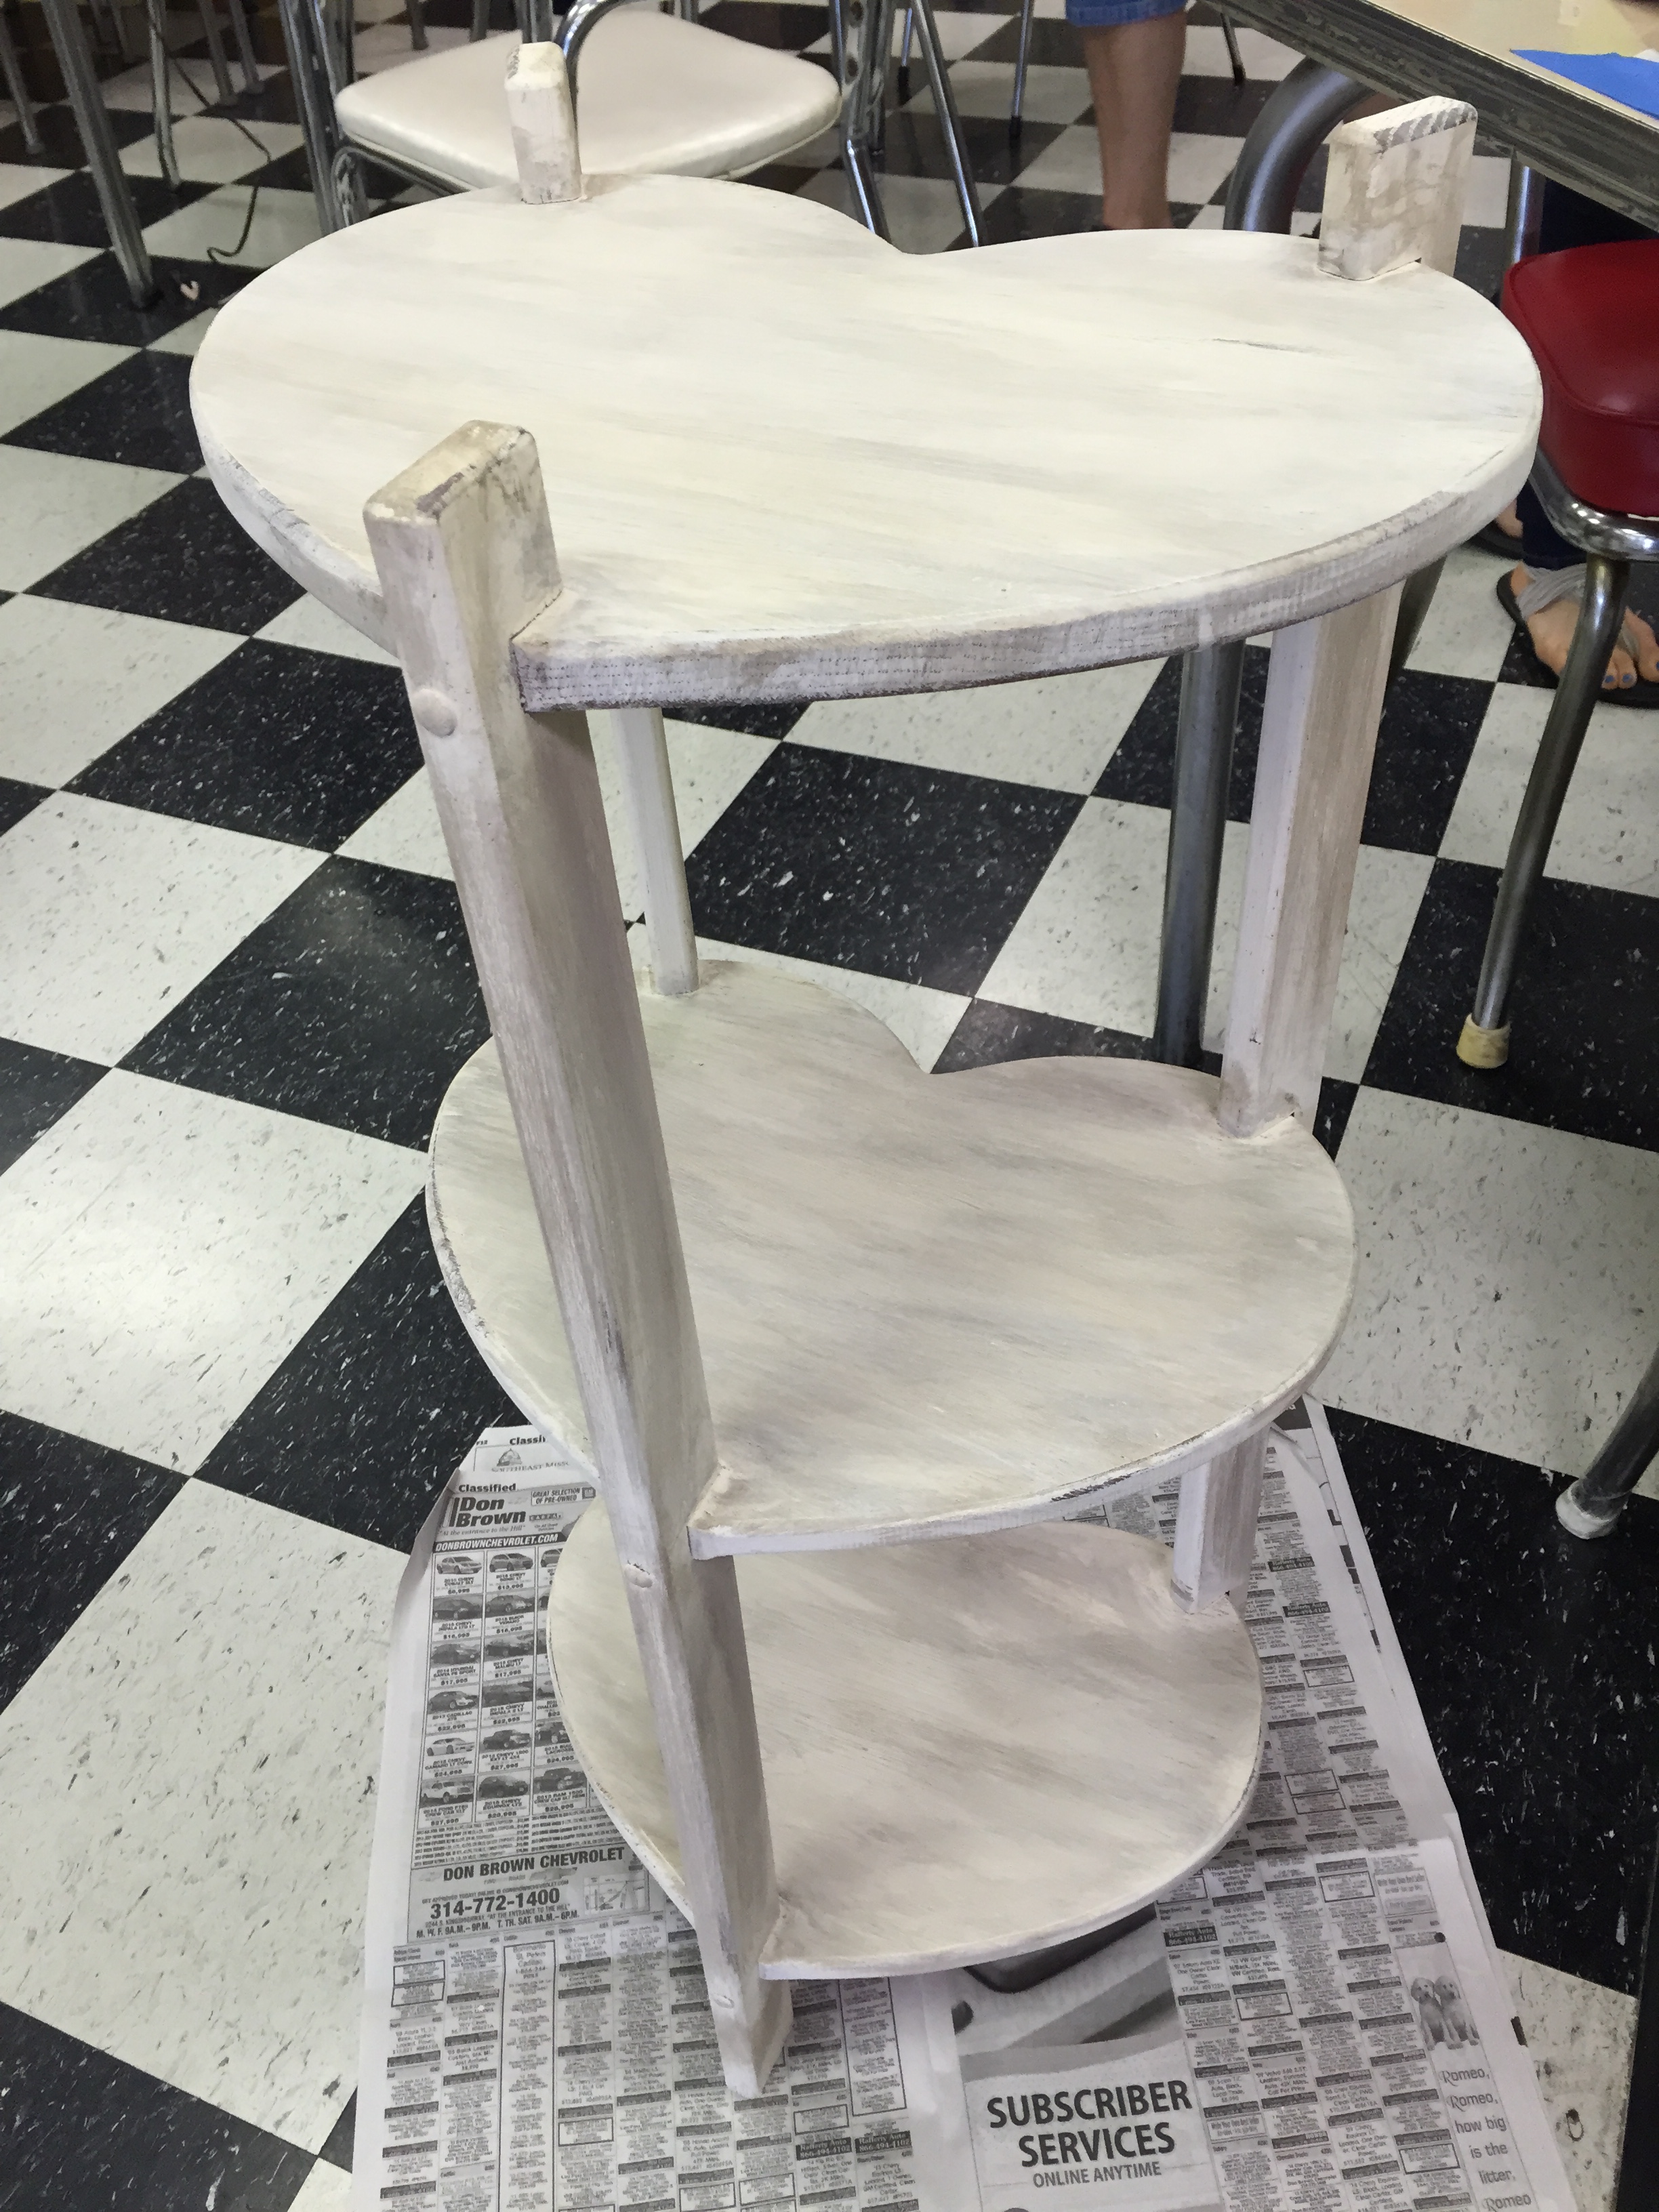
Small Tilt Table – Painted with Grannie’s Lace

Memories Photo holder – painted with Coal Shovelv

Spigot towel rack painted with “Clothesline”

Small Detailed Cabinet – painted with Dark Roast on top (with poly sealer) and Zinc on bottom (with clear wax and dark wax in detail area)

The small table is sitting happily in its new home. Looks like the colors go perfectly with the decor in the home.


