Meet Agatha, my yard angel. After making some other yard decor yesterday and seeing some cute angels in a garden group I’m in, I knew I had to have one. So I made her this morning…. all by myself …. with materials I had here and my husband’s power tools. Ok … his battery drill with a screwdriver bit. But “power tools” sounds better.
Head and neck: a thrifted cutting board Halo: a grapevine wreath from Dollar Tree Hair: bed springs he cut off an old mattress he found on trash pick up day awhile ago. It kept him busy for two days cutting them off. 👍🏻 Necklace: I made gold bells out of big pill bottles for a wreath I made at Christmas. Agatha wanted them for a necklace. Body: a wonderfully rustic shutter a friend gifted me. Arms: braces from an old chair Wings: leftover pieces from my son’s new deck. They were already triangles. Bag of flowers: tote bag from our trip to Amsterdam several years ago. Flowers from Dollar Tree. I will be changing that out to a watering can soon but I wanted a photo before the rain and the watering can is In my booth for sale right now. Lol
I gave her wings and arms a touch of paint to blend them in.
I screwed the pieces on (I even found that metal stuff with holes in it to attach the wings) and placed her on the hill by the pond.
Thrifting can be so much fun and when you decide what to do with your finds, it is even better.
Yesterday we made a plant stand from this metal stand that was in a storage unit my husband bought a couple of years ago (just like on Storage Wars Lol)! I had looked at this stand the other day and remembered a metal basket a friend had given me. Sure enough…. it fit. So he put the basket on the stand and secured it, then spray painted the base black. Voila`! Instant plant stand!
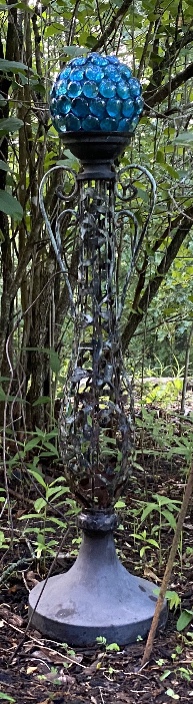
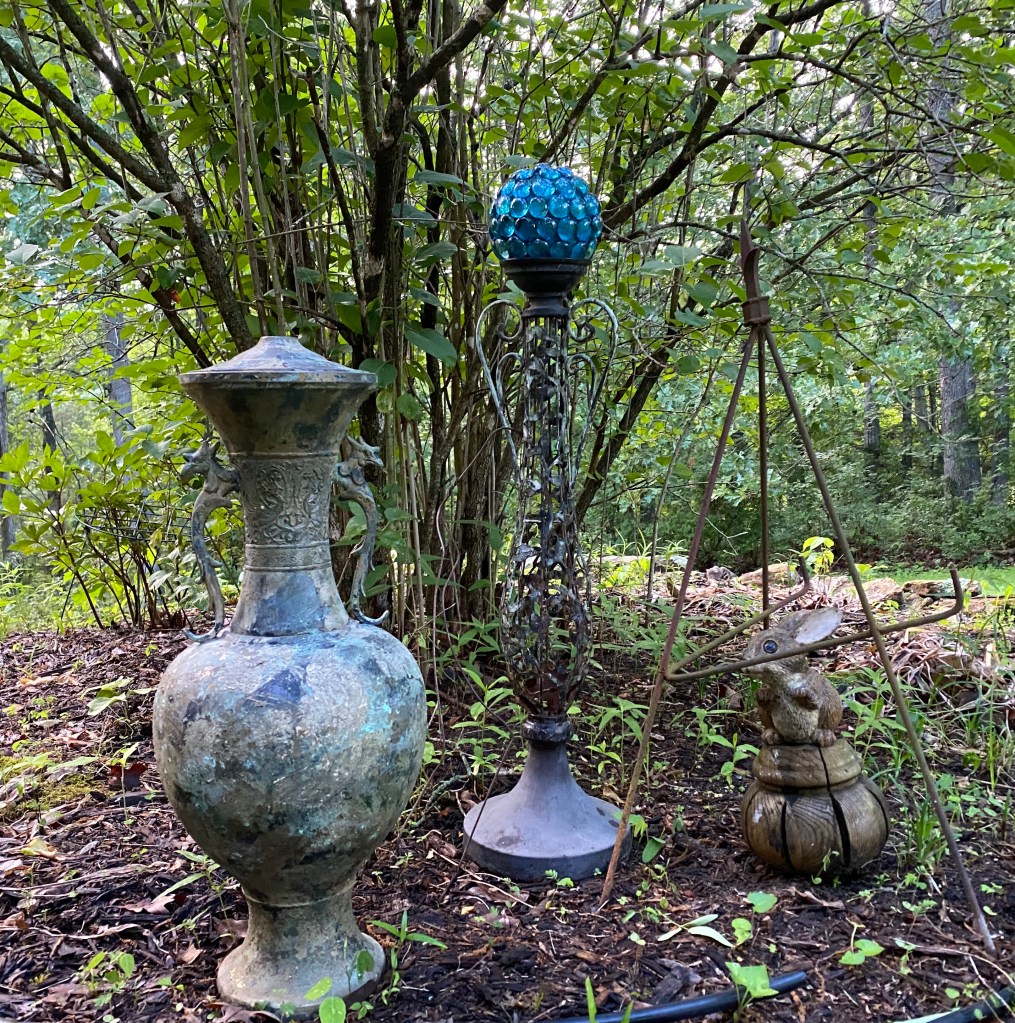
I have no idea what it was originally, but there were two of them. One is in our flower bed holding a blue gazing ball I made last year.
Thus cool urn thing was in the storage unit, too. The patina on that urn after being in the weather for a year! ❤️
When I posted this photo in one of my groups, someone asked me if the metal piece on the right was an easel. I hadn’t thought of that but I believe it is now it was pointed out. They suggested adding a frame and centering it over a pretty plant, etc. Now I’m going to have to try that!
I had to borrow my Portulaca (It looks so good right now and has really grown) off my big plant stand to get a photo, but I’m thinking of planting just some ivy so it will trail down the sides. We still have some coming up around the deck we can’t get rid of. Surely I won’t kill it.
Anyway…..it is so much fun making something out of nothing.
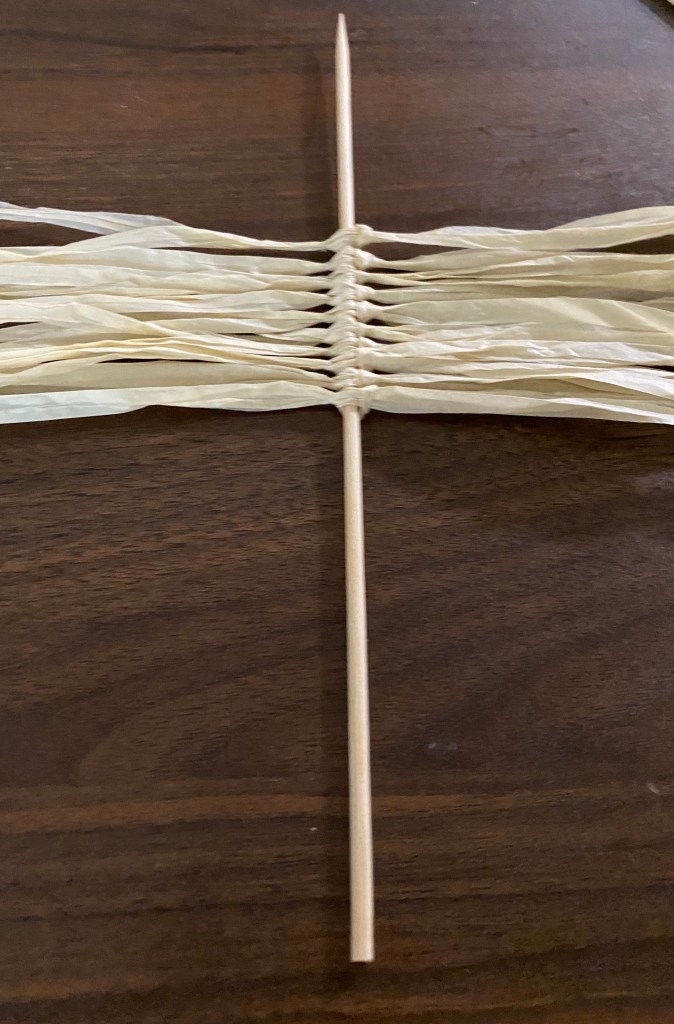
You can find anything on Google. It worked perfectly.
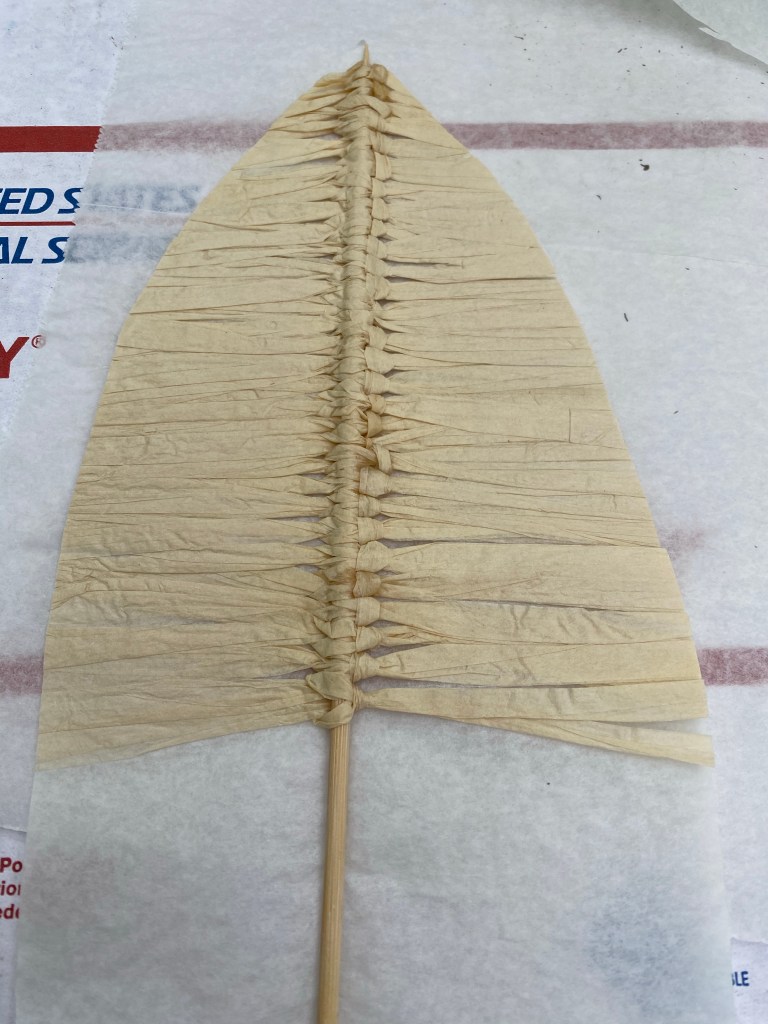
I cut off strips from the hula skirt. The idea video above explains how to attach the strips.
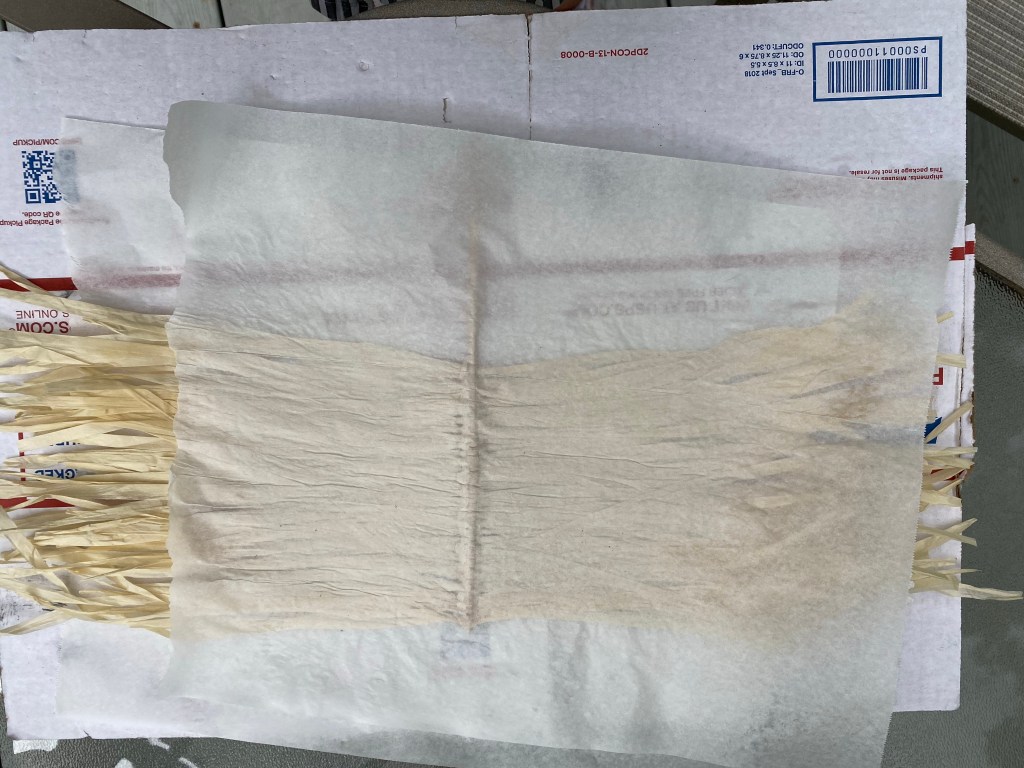
Once I had enough strips tied on, I put down a sheet of parchment paper, placed my piece on it, sprayed it with my homemade starch, then added another piece of parchment paper, and ironed it dry.
It came out nice and stiff. I was able to peel off the top piece of parchment paper easily. I left the back piece on at that point because I thought it would be easy to cut the shape of the feather with it attached. And it was!
I then used glue. The gluing isn’t shown here but I spread tacky glue on the back across the top and bottom and down the seam to hold all the strips together and so they wouldn’t shift up and down.
One it was cut out, I peeled each piece apart as they were all stuck together from the starch.
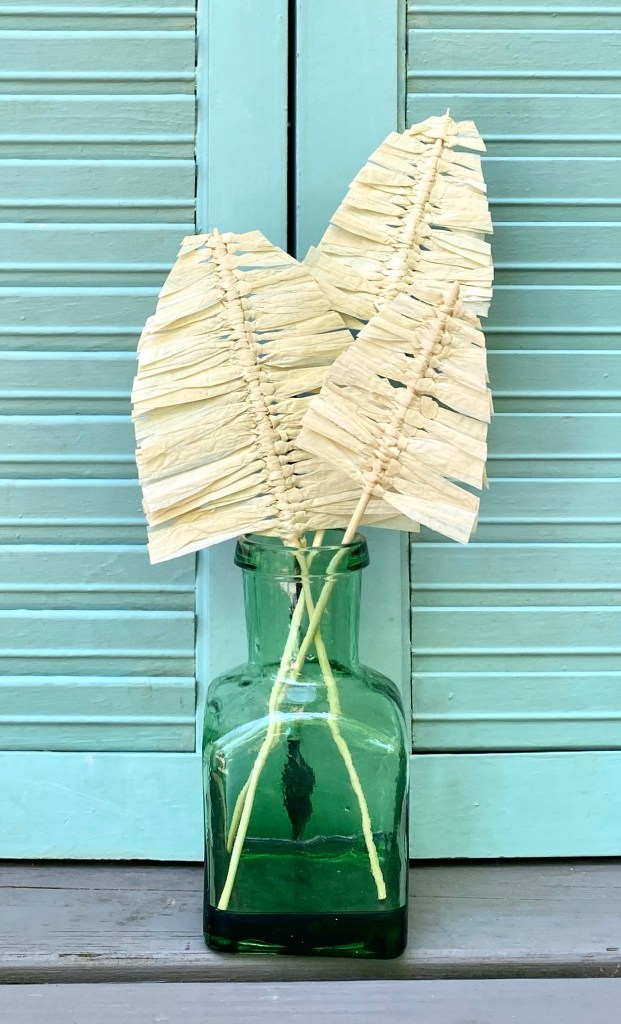
I will say this wasn’t a quick project, but it was easy to do. And I made it outside in this beautiful weather we are having!
And that green glass vase! I thrifted it long ago. I never knew how I would use it until now.
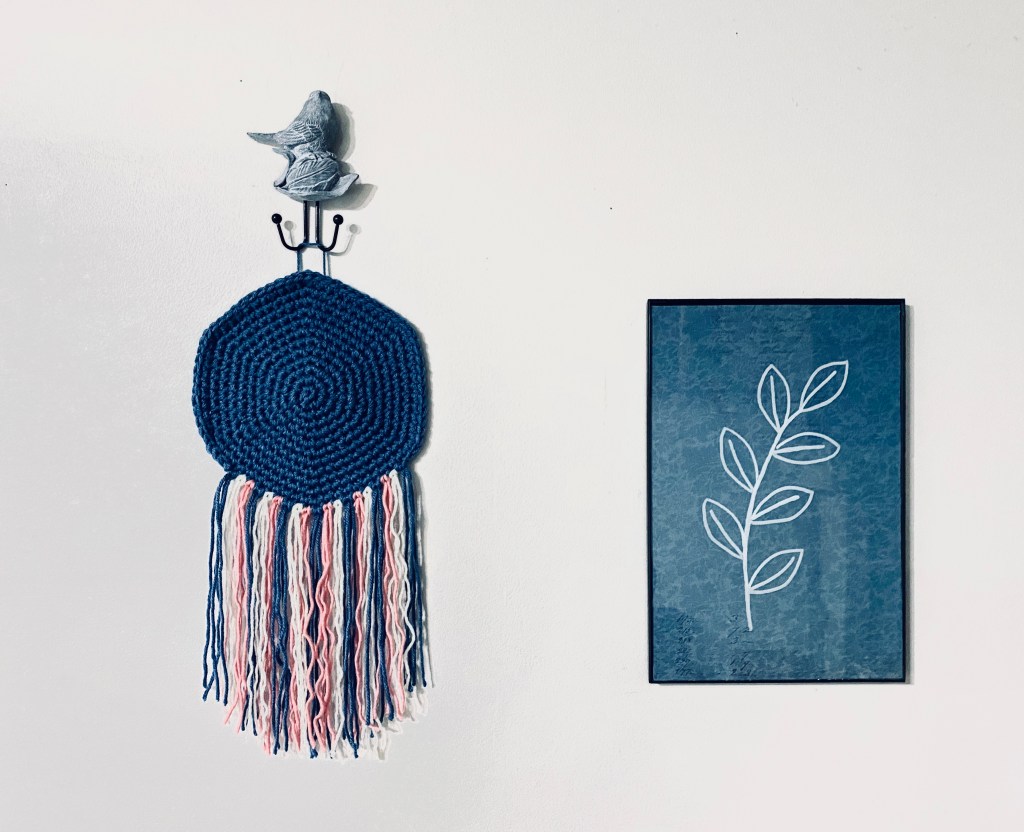
This is line art I created on glass – by tracing a print out with a metallic paint pen . 🙂 This YouTube channel video has many great ideas that think fit right in with this modern boho style. This project I saw on the video, by Katie Bookser, in particular caught my eye.
I printed an image from the site of free images she shared and placed it under the glass of the photo frame I was using. Then with a white metallic paint pen from Dollar Tree, I simple traced the image.
Once the paint was dry, I turned it face down on a unique piece of blue scrapbook paper I placed in the frame. In the close ups, you can see a bit of writing on the paper. With the painting face down, you can easily clean the glass.
This 8”x 12” frameless photo frame is very unique. The glass and contents pop in and out from the front. You press on the edges to release them. There is also a fun surprise under the scrapbook paper. I used a snowflake picture I made this winter. Repurposing are its finest. 🙂
Photos were a little challenging due to glass reflection.
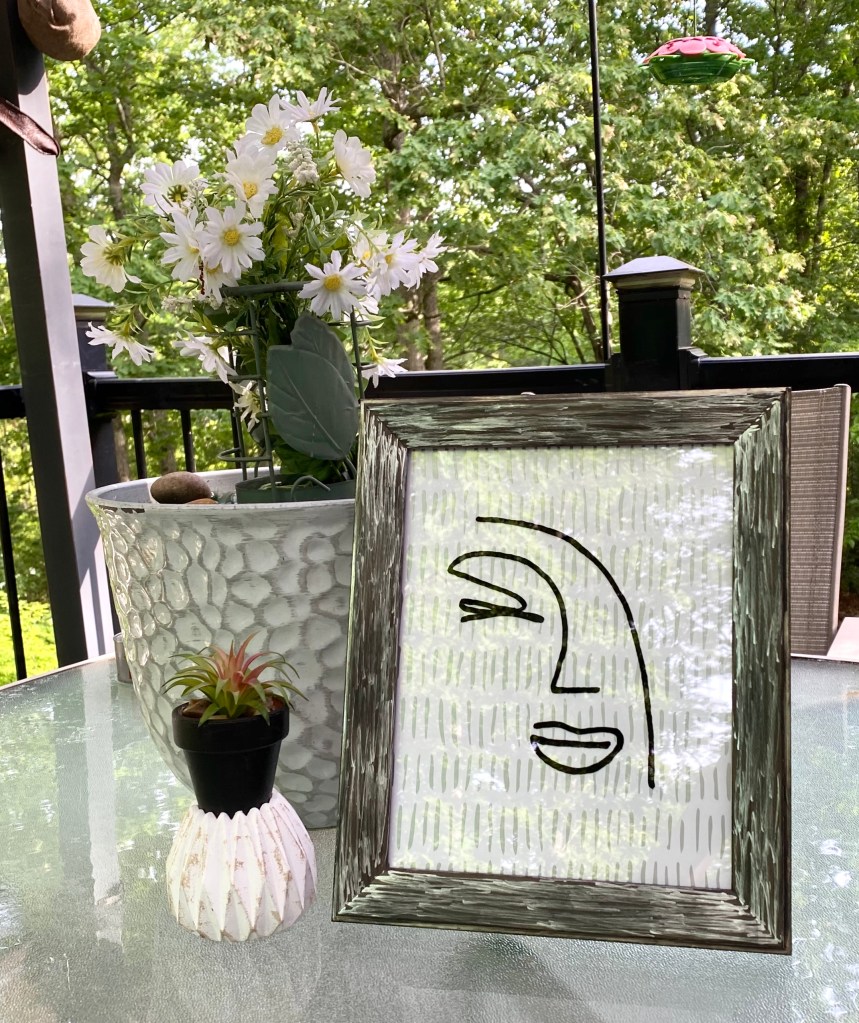
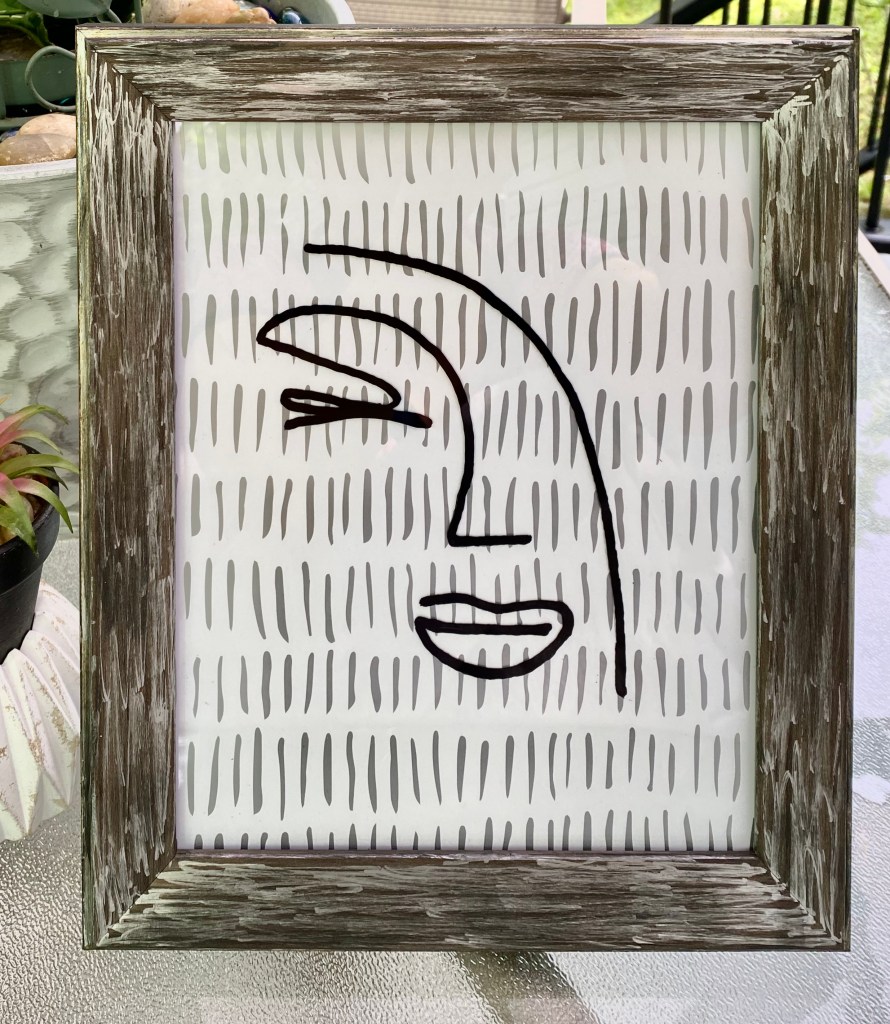
I had so much fun with tracing line art on glass yesterday, I just had to play around with another one this morning. I’ve discovered I love to do this!
The graphic is from a free vector site called vecteezy. I did a search for face line art. I traced this graphic on glass with a black permanent ink Sharpie.
The tribal peel and stick wallpaper came from Dollar Tree. The nice solid frame is a Hobby Lobby one I thrifted from somewhere.
I painted the lines on the front with a silver metallic pen and the sides with black chalk paint.
This one is true bohemian style. So cool!
I was fighting reflections on the glass, but I actually love the reflection of the leaves in the first photo. And it’s a beautiful morning on the deck for taking photos. Honeysuckle must be blooming because I can catch a whiff of it every now and then.☺️
It was a rainy day yesterday and since rainy days are made for crafting, I had a couple more projects in me.
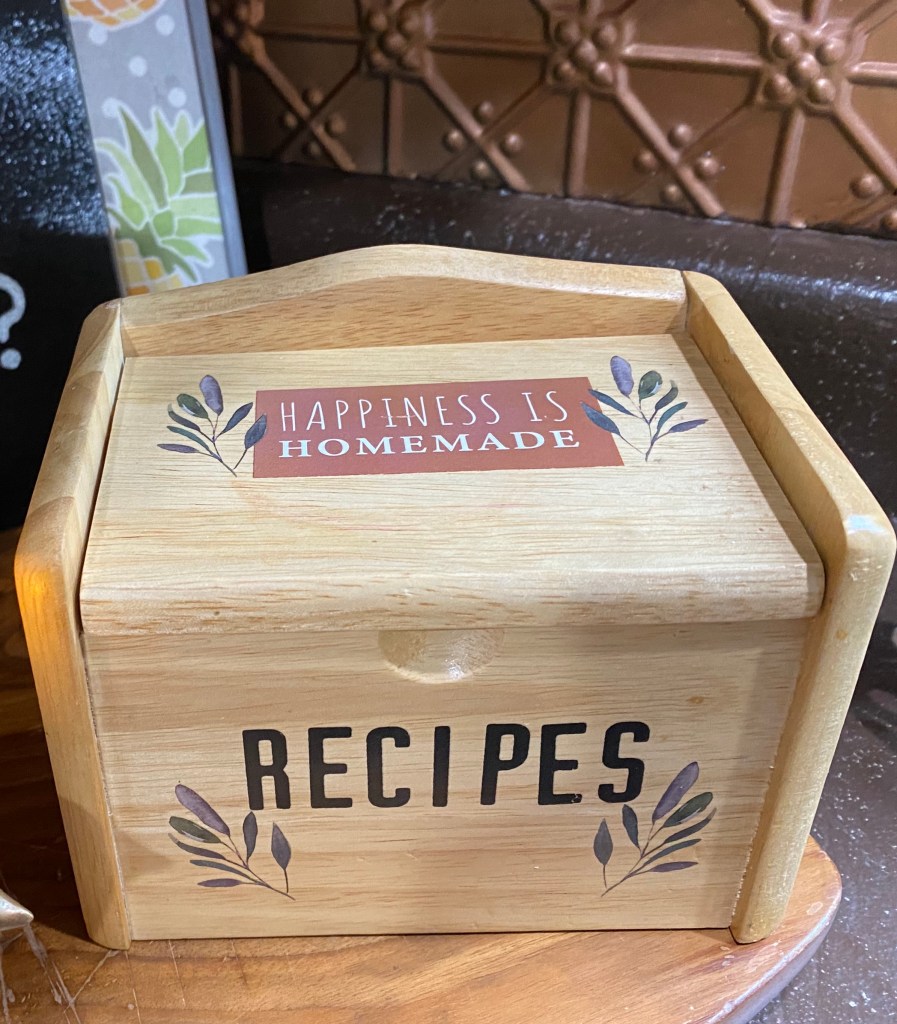
I was in Danny’s workshop area and happened to see this cute recipe box I thrifted so long ago I didn’t even remember it. Who knows why it was in there. 🤷🏼♀️
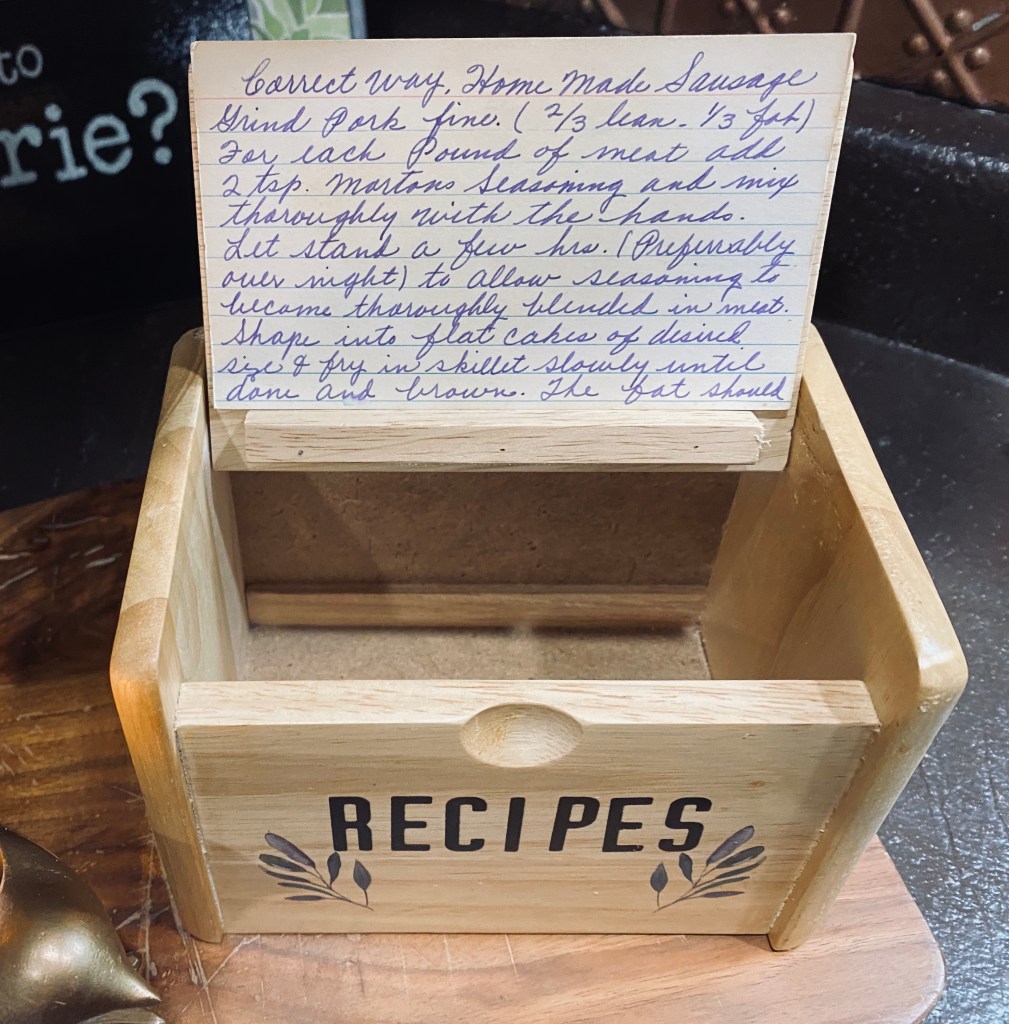
I opened it up and the lid has a little shelf inside to hold a recipe card. How cool is that! The wood was natural and I decided it was the perfect thing for a modern boho decor as well as many other styles.
I immediately knew I was adding some transfers to it and knew just which ones to use from some small ones I got at Dollar Tree.
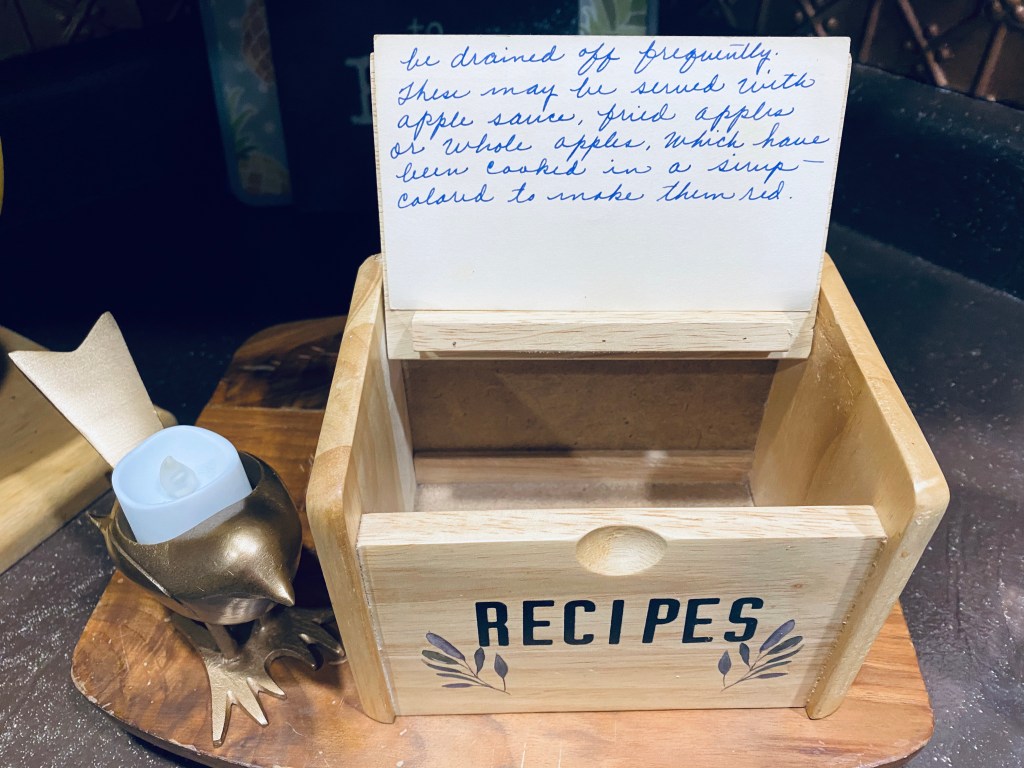
Aunt Ada’s recipe card for homemade sausage seemed like the perfect recipe to display. I love how she titled it “Correct Way” and how beautiful her handwriting was. 🥰
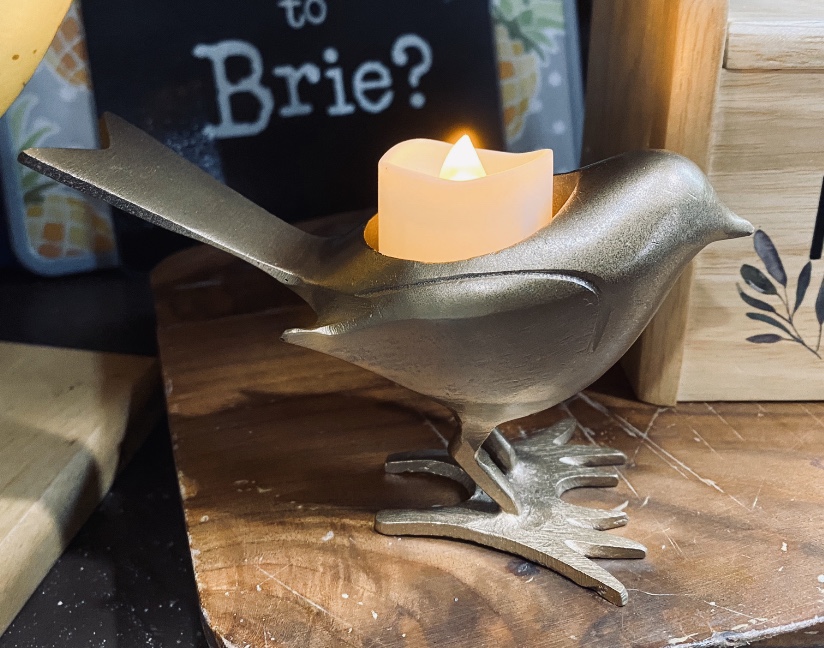
I also recently thrifted this solid metal bird tea light candle holder. After immersing myself in modern boho decor, I knew I had to spray paint him metallic gold. 🙂
Yesterday was definitely “A good day to have a good day!” And it quit raining, and the sun is shining, so today looks like it’s going to be a good day, too!