Fall Garland for My Mantel

I’m working on putting my living room back together after a neighbor that’s moving gifted me with a lot of crafting supplies …. but first things first ….I needed a fall garland for my mantel. 🤪

I’ve added pics below of each step I did in making my fall garland.

The light green garland I bought at Hobby Lobby last year. I made off white pom poms and yarn hearts for it and it stays up all the time. Then I add to it each season.

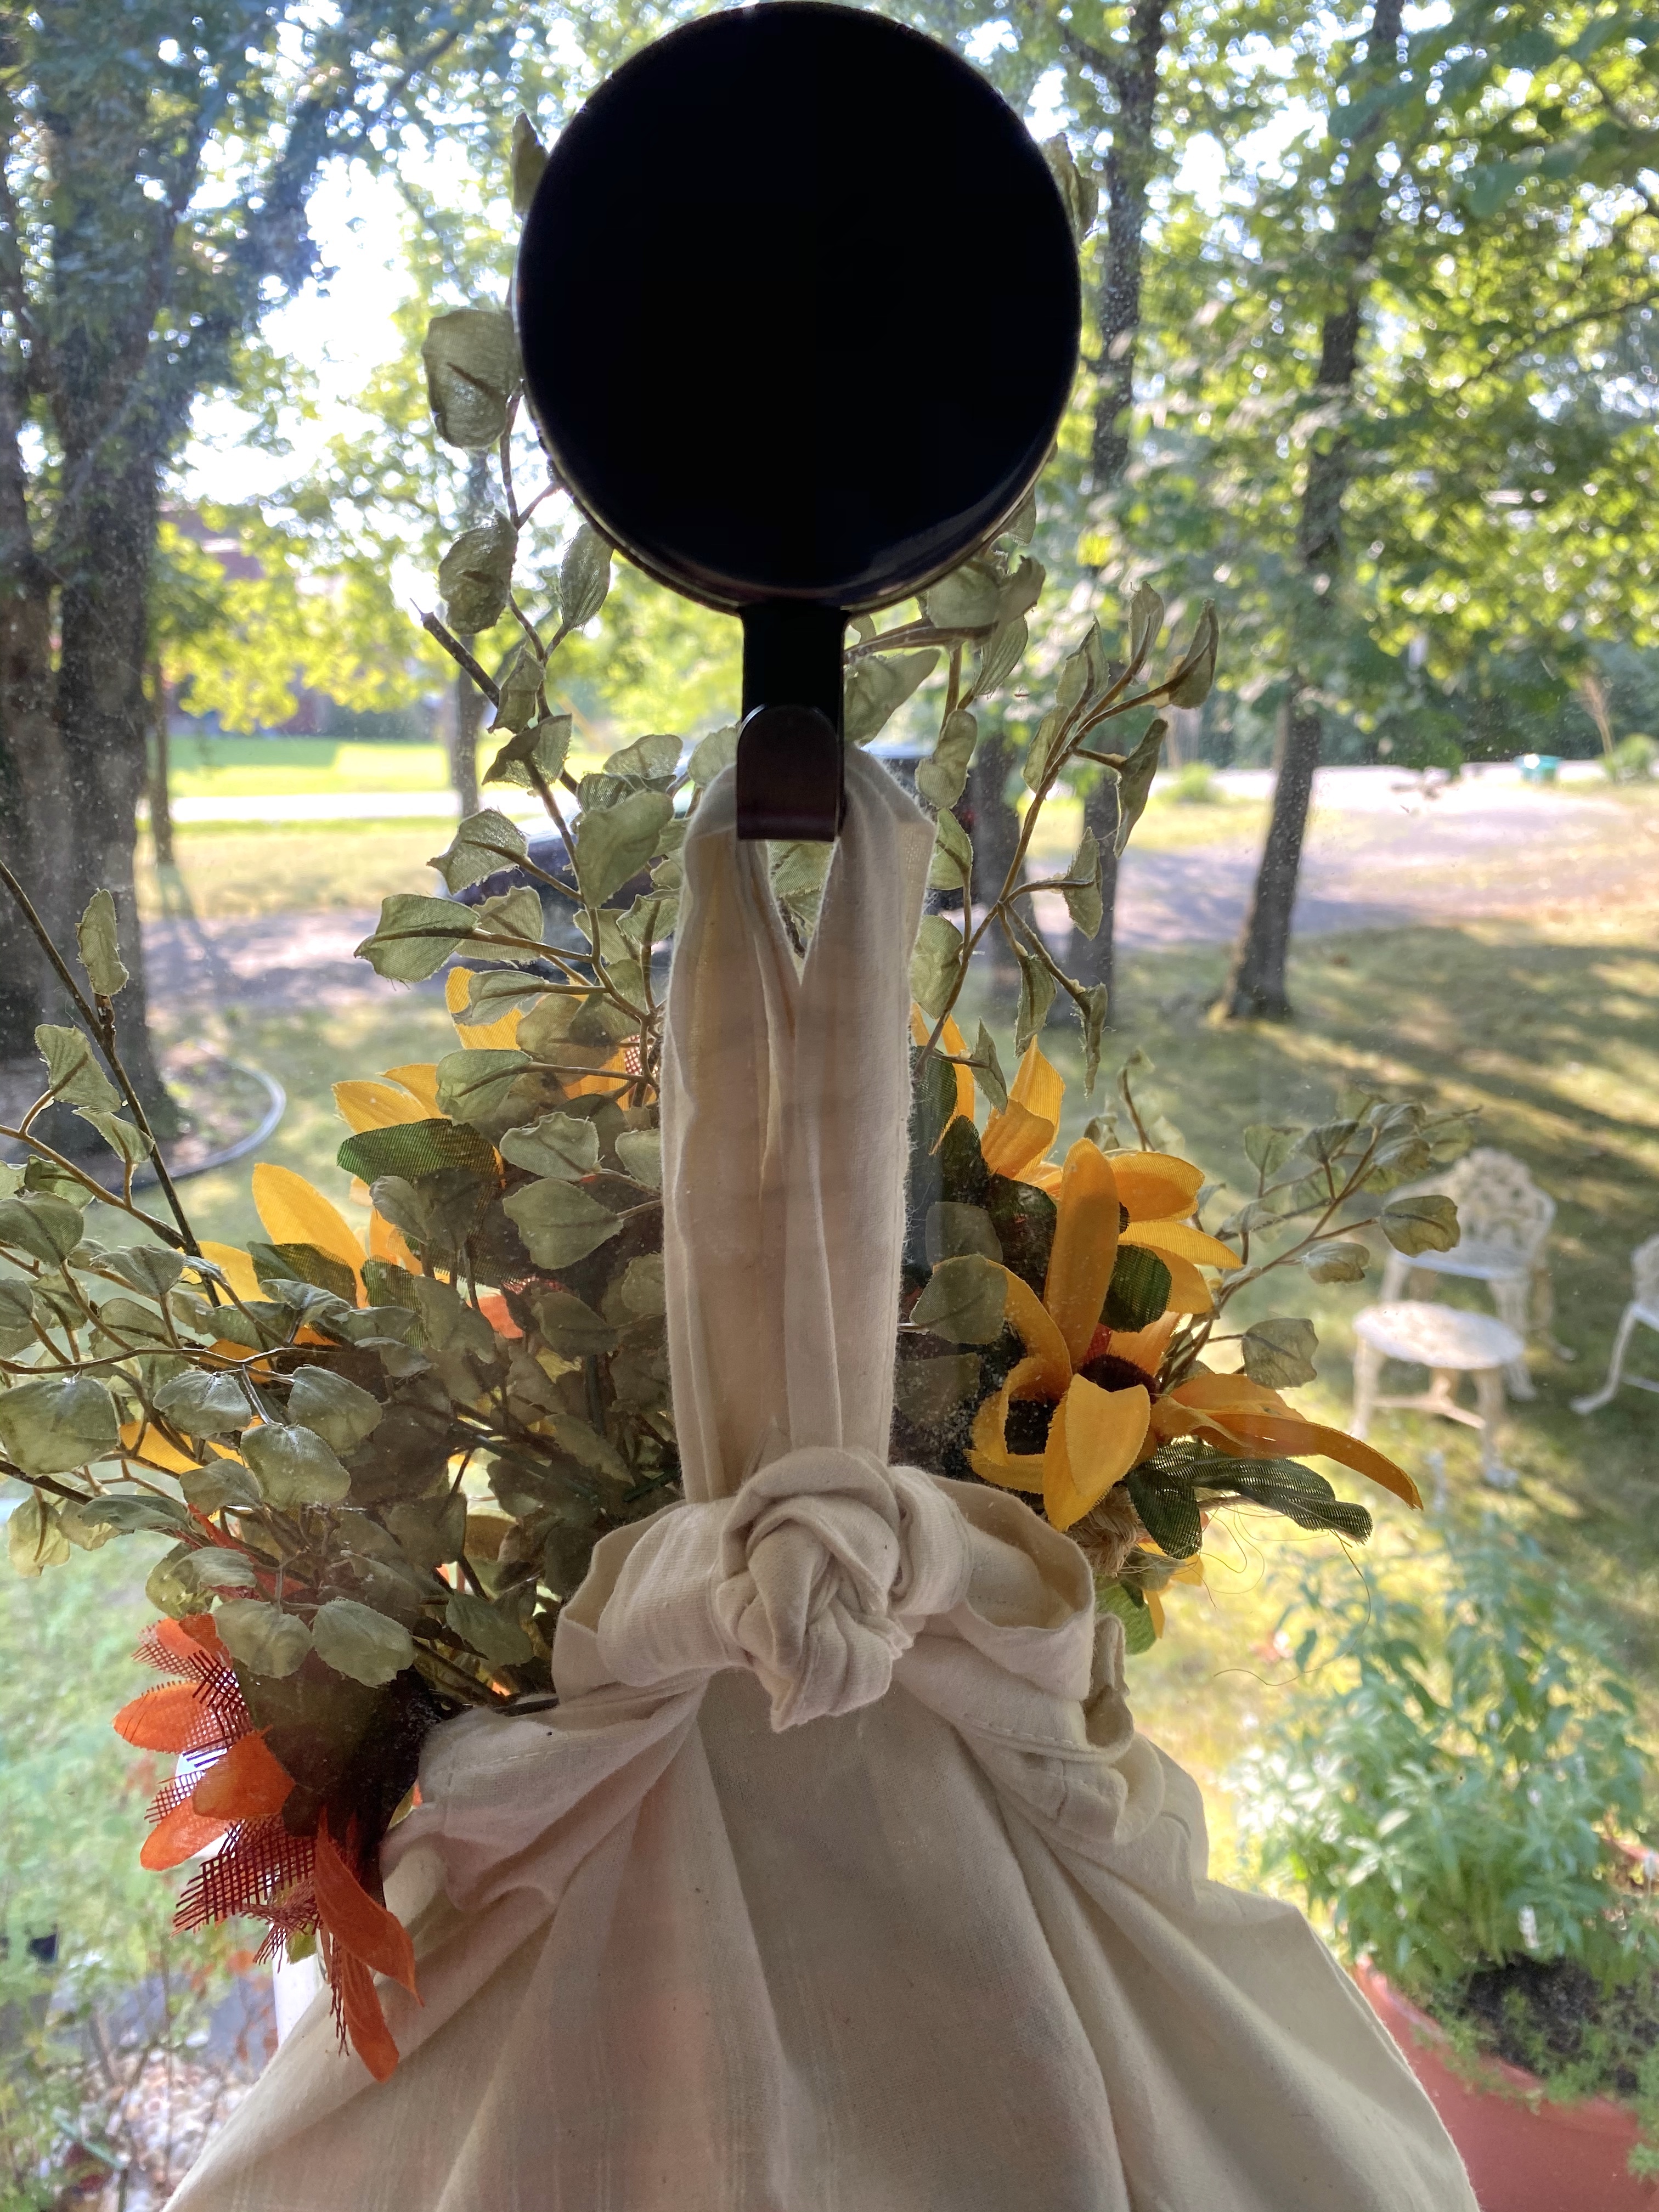
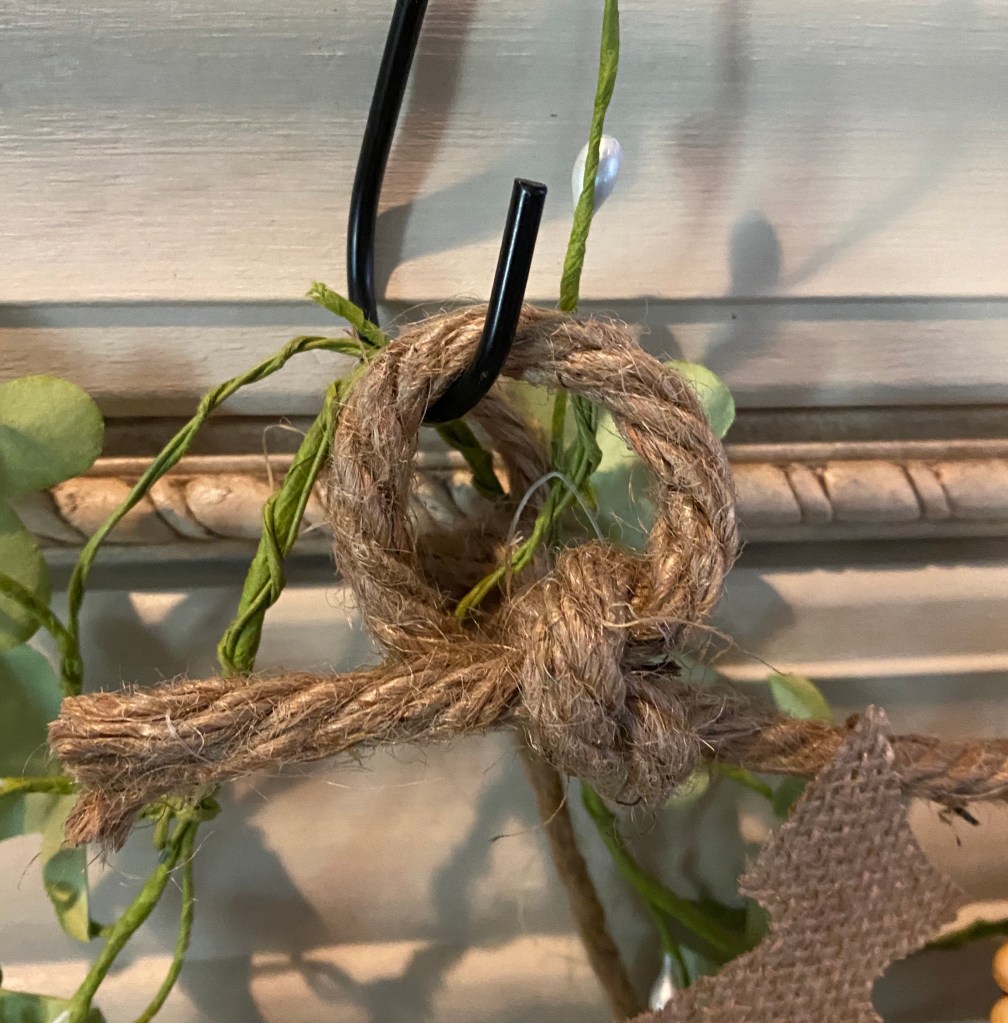
Today I used a length of the thicker jute rope from Dollar Tree and made loops at each end to hang on the end hooks.

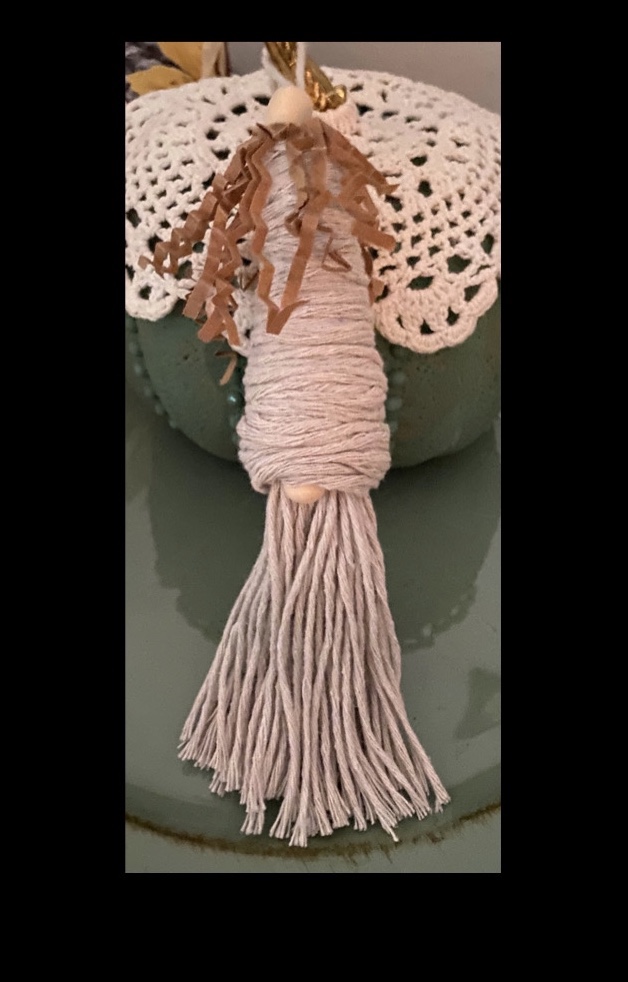
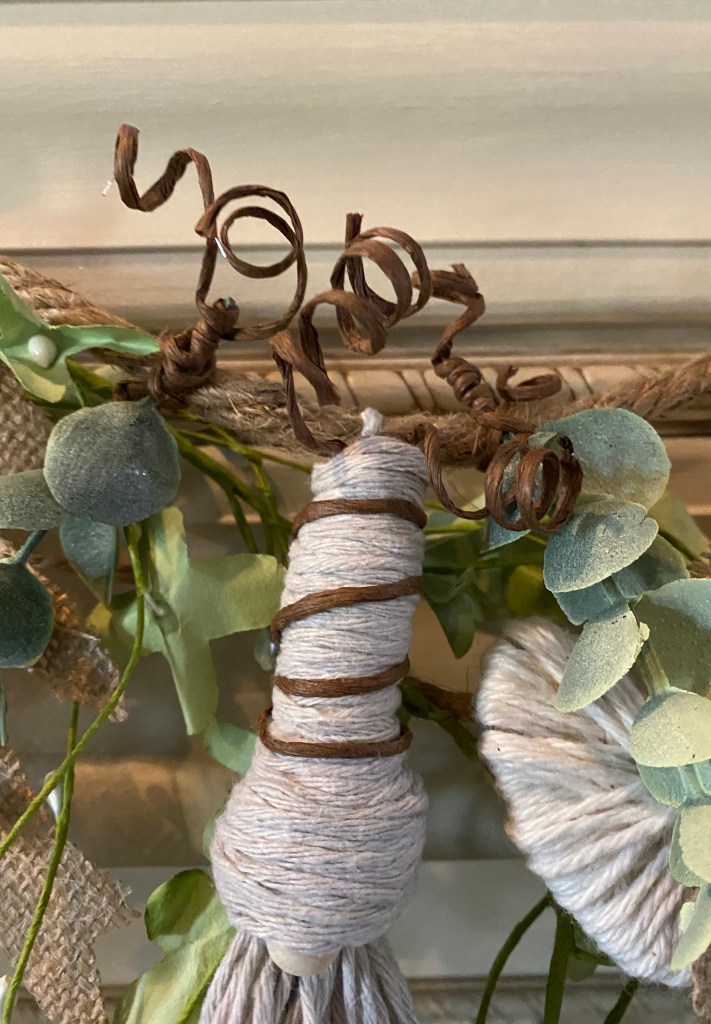
I made a tassel gnome (tutorial I used: https://justthatperfectpiece.com/easy-gnome-christmas-ornament-diy/ )and decorated his hat with paper covered wire from Amazon, curling the ends.

I added burlap leaves from Dollar Tree. They have a long wire on the back that loops over the rope. Just squeeze it to keep the leaf in place.

I wired little sprigs of greenery I had with the paper wire to the rope and curled the ends.

The little pumpkins were wired to the rope by wrapping the stem tightly. The little cream berries came in a package from Dollar Tree. I folded the wire on them over the rope like I did with the leaves.

I then hung my fall garland over the light green one. Love the neutral look this year.

Fall is in the Air

I’ve been busy creating Fall decor, both for my booth and for me. 

Lady night, while watching TV, I made my first gnome of the season. I saw this idea of creating a tassel gnome on Pinterest and couldn’t wait to make one. I am so going to make some for my booth. They will make such cute ornaments!

But then, I had to create a pumpkin for him to hang on. My Dollar Tree finally got in some of the bead stickers so I added some to a DT orange styrofoam pumpkin and painted it with my new custom color. It is a 50/50 mix of our Missouri Limestone Paint Company Chalk-style paint “Evening Shade” and our newest color “Soothing Sage.”

I only gave it one coat as I wanted some of the orange poking through. I also dry brushed a tiny bit of “Soothing Sage”. I added a small round doily And look at that stem! Yes, it is a decorative hook.

Here’s the link for the tutorial I used to make the twine gnome ornament.

https://justthatperfectpiece.com/easy-gnome-christmas-ornament-diy/

Here’s a few more of my favorite fall projects I’ve completed this year.

Pumpkin Door Hanger and More

Keep reading to see more of these cut outs I’ve completed.

I made this pumpkin hanger from a Dollar Tree pumpkin wood cut out today. I loved how it turned out so much, I ran back up and bought 5 more before they were all gone. I did leave some there for others. 🙂

First I stained the outline. Then I painted the raised areas with our Missouri Limestone Paint Company chalk-style paint in “Soothing Sage”.

I wrapped the stem area with twine and created a messy bow with a variety of strips of ribbon and raffia, I wired them all together and attached them to the stem with more wire. I had a metallic leaf and super glued it to the stem. I also had some paper covered wire I twisted around a pencil and added it.

I added a twine hanger on the back . The pumpkin can hang on the wall or it can lean up against something else in a vignette.

I can’t wait to make more of these. I love how this one turned out.

I am obsessed with these pumpkin cut outs. 🙂

I think this one might be my favorite – decoupaged scrapbook paper from Hobby Lobby.
Wait! Maybe this one is my favorite. 🙂
Love the muted orange of this one.
The white with stain really stands out.

Two Early Morning Projects: A Door Hanger and a Paper Feather Plaque

It’s been awhile since I’ve had an early morning project, but today I have two.

I often do early morning projects. If you don’t see them here, you should see them on my Instagram account. https://instagram.com/sharsumpaint

Project 1: Front Door Hanger

I saw a neat idea for making a door hanger using a canvas tote. I didn’t have a canvas one, but I do have an awesome cotton one I bought as a souvenir of Amsterdam when we visited on our Viking Riverboat cruise several years ago. It was just hanging in the basement. Why not use it and be reminded of an awesome time every time I walk in the door. You could use just a plain one, too, or maybe stencil a design on one.

I used white plastic grocery bags to stuff the bag.

I tied a knot in the back handle close to the top of the bag and wrapped it through the hole it created several times until I had a short hanger. Then I tied a looser knot in the front handle and wrapped it through the hole until both loops were the same. I took a pic after the fact, do hopefully, the pic will help you understand my description.

I then decided I might as well start thinking of fall and so used greenery and fall sunflower colors inside. The orange sunflowers really brought out the orange in the bike.

Project #2: Paper Feather Wall Plaque:

I printed feather shapes with a French script (from The Graphics Fairy – https://thegraphicsfairy.com/french-script-paper-feathers/) on black and white printer paper. I cut this one out and used a watered down antique wax on it. I just dabbed the wax on here and there with a sponge. Once dry, I cut fringe slices around.

Interesting note: Once I applied the antiquing wax to the black ink jet text, it turned green. I really like that look, although I didn’t plan it. Lol

I had a white shiny 4×4 tile. I first sprayed it with Mid Podge sealer to help the paint adhere well. I sprayed it with black hammered spray paint. When dry, I applied antiquing wax, let it set awhile, then buffed it. This kept it from being so black and gave a bit of a brown look to it.

I then gave the feather a few light folds and super glued it to the tile, giving it a 3D look.

I finished it off by tying a bit of twine in a knot and then superglued it to the base of the feather. Will add a hanger to the back.

Now to come up with more ideas for paper feathers. I’d love to see projects others have done. Just add photos to the comments here if you have!

Closeup of how the black ink jet script turned green after applying wax.

Drop Cloth Cover for Flower Pots

I used a left over piece of Redesign with Prima transfer this morning on a little “bag” vase I made with painters drop cloth. (6” w x 8” h with the faux lambs ear plant added)

I hot glued the sides and bottom of the drop cloth to make the bag and turned it inside out. I took out strings along the top for the fringe. And stuffed any extra fabric inside the jar. I added a jam jar I had and a sprig of lamb’s ear from Walmart.

I then added a bit of stuffing along the sides and back (a trick I learned from a video) to make it look more like a slouchy bag. I didn’t add any under the transfer side as I wanted the transfer to stand out.

I decided not to seal the transfer as I burnished it into the cloth really well and it won’t be handled much.

The possibilities for these bags are endless!

A 4th of July Tiered Tray

This display shows that tiered trays don’t have to be elaborate and how you can use items around your house to create themed tiered trays. The display will be available at our booth at The Gray Wall in Sullivan, Missouri, just in time for the 4th of July. I also will have quite a bit of cobalt blue depression glass from my own collection that will be available. It is so beautiful, but I just don’t have room for it anymore. And how perfect for your July 4th celebrations!

Once I gave this little garden gnome a patriotic outfit with paint pens, I had to go on a hunt around my house to find things to display with him.

The tiered tray was a bronze color until I gave it a hammered black spray paint makeover.

I love this tray as you can change out plates on it. Right now it holds two plates from my colbalt depression glass collection.

The USA and July 4th are just stickers that will come off and you can reuse the little cup and teapot for other holidays. Dollar Tree carries a variety of letter/number stickers.

The colbalt blue vase from my collection on the left is perfect for this theme. It has an eagle design on one side and George Washington on the other. And the goblet with the stars and the colbalt blue insert and red flower inside is perfect!

I’m still working on a red/white/blue bead garland, but it will be ready when this display and my colbalt blue collection goes to the booth this week!

Update: bead garland is finished!

Drop Cloth Meets a Microwave Plastic Ring

Our microwave quit working. We got rid of it, but not before I salvaged the plastic ring with rollers that goes under the glass plate.

Ok. I saved the glass plate, too. I’m sure it will become a project at some point.

Yesterday, I had an idea for the ring.. 💡 I used it as a frame for a wreath!

I cut the little rollers off and cut strips of drop cloth about 6” long. I tied each strip onto the frame, fraying them as I tied. I pushed them together as tight as possible.

It made a 12” wreath.

I love it hanging from a vintage window I have. Sorry about the pics. It is rainy and overcast today and I was having trouble with the reflection in the window glass. I smudged out my reflection as best I could (you’re welcome), but hopefully you can see how pretty it is anyway.

Painting Wooden Beads

I searched and found an easy way to paint wooden beads that worked for me.

I also used our brand of chalk style paint, Missouri Limestone Paint Company which we produce for our small business. In this project I used the colors “Field Corn” and “Coal Shovel”.

I used two of the little throw away plastic containers that come with some of my Home Chef meals. I wash them out and store them away to use as needed. But any little container with a lid would work. I choose to use ones you can throw away after use. Who wants to wash out paint containers?

My first project was to make a small “bee” garland, so I wanted yellow and black beads.

I poured a little yellow paint into one of the containers and added the beads. I put the lid on securely, the shook and rolled the beads around inside.

I then threaded the beads onto a bamboo skewer from Dollar Tree. I took a small artist brush and smoothed the paint out a bit and then, holding them on the skewer, I made sure they were separated.

I held them with one hand and with the other, I used a hair dryer to dry them, turning the skewer as I dried them. This took just a few minutes. I alternated between heat and air drying.

I then sealed them by spraying them with Mod Podge matte sealer, holding the skewer and turning it as I sprayed. I dried them again with the hair dryer.

I did the same with the black beads.

And here is my finished project, shown with another project I made. I have enough beads painted to make another.

Tiny Banner for Tiered Trays

A Valentine Craft – A Tiny Banner from Dollar Tree Dominoes

I’ve come up with a way to use these flat wooden dominoes from Dollar Tree! I bought some of these thinking there had to be a way to use them in crafts and this morning, it hit me….💡 Tiny banners for tiered trays…..or other ways you can think of.

I made one to see how they would look, but you can see they work great! I just had to share so you could run out and get a supply of these dominoes. They are generally in stock, but I did see you can buy anywhere from 4-32 packages online. You might have to pay shipping to your home for smaller quantities, but for at least 36 ordered, I think you can have them shipped to your store.

These dominoes are raw wood on the back and paper on the front.

The wood is thin Balsa wood, like the little wooden airplanes you put together. I cut this one into a banner shape with scissors. I tried a craft knife later, but strong scissors worked better. I sanded the edges smooth and drilled small holes for the baker’s twine, also from Dollar Tree.

To get the aged wood look, I painted both sides with white chalk-style paint and let dry. Then I watered down a little dark walnut gel stain and used a paper towel to wipe it on and wipe off. I did just a bit of white on top again. Just a bit. Then sanded each one just a bit. The sanding really distressed them nicely. I hadn’t done the final sanding on my sample.

I painted right over the paper. I did both sides, but the back is raw wood so I don’t suppose you’d have to finish it.

I had some hearts I cut from vinyl but you could also use stickers. Dollar Tree did have a lot of those.

If you use generic string or jute twine and removable vinyl, you could easily change out your banner for any season. Stickers might be harder to remove, but maybe not.