Fall is in the Air

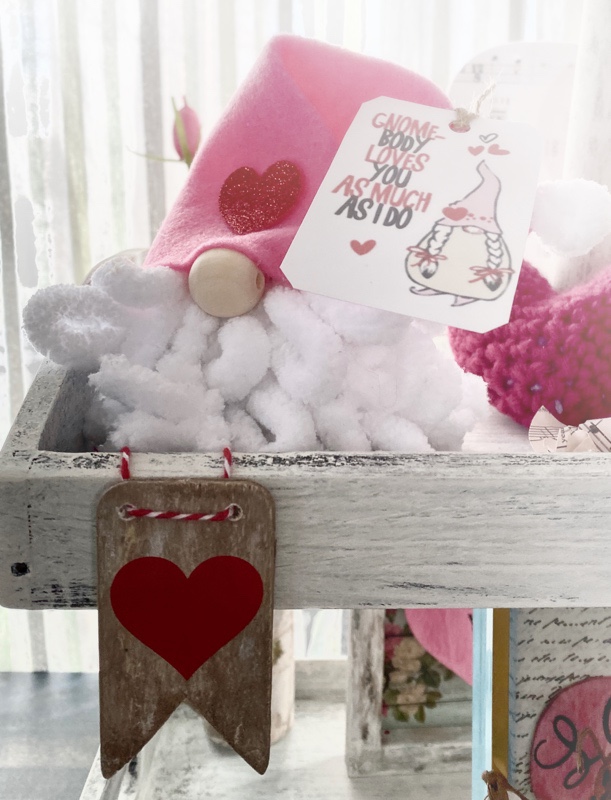
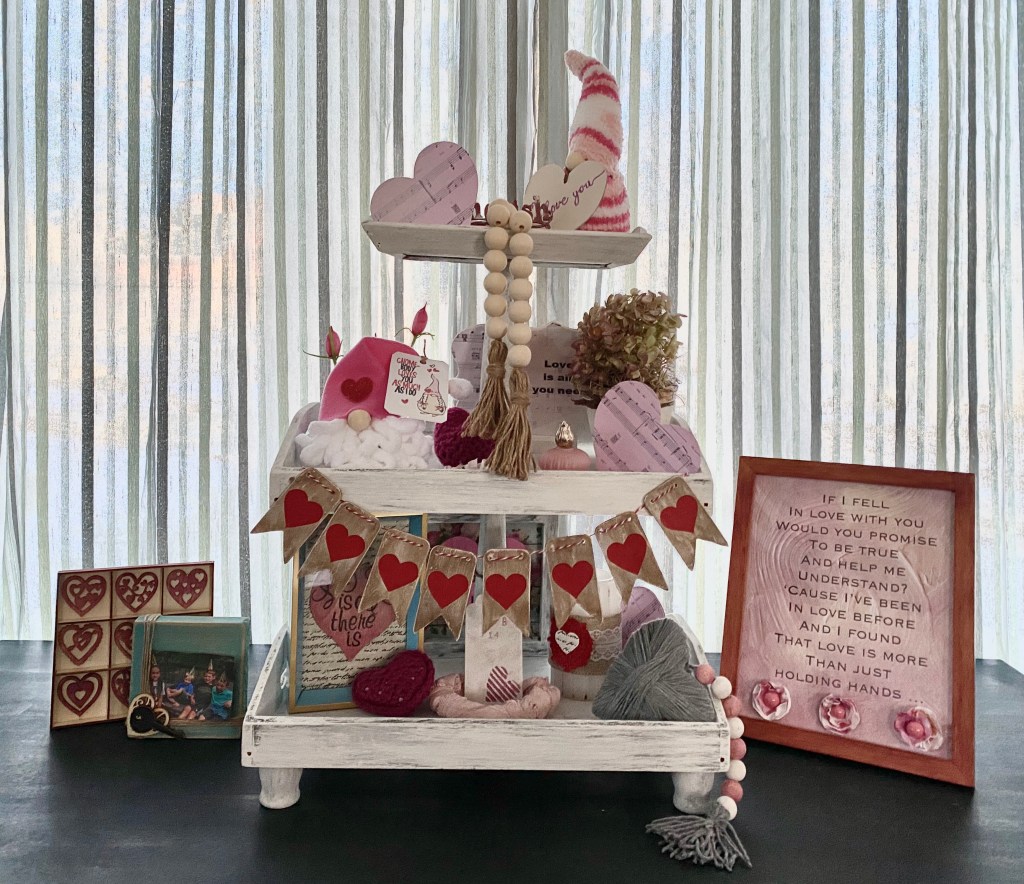
I’ve been busy creating Fall decor, both for my booth and for me. 

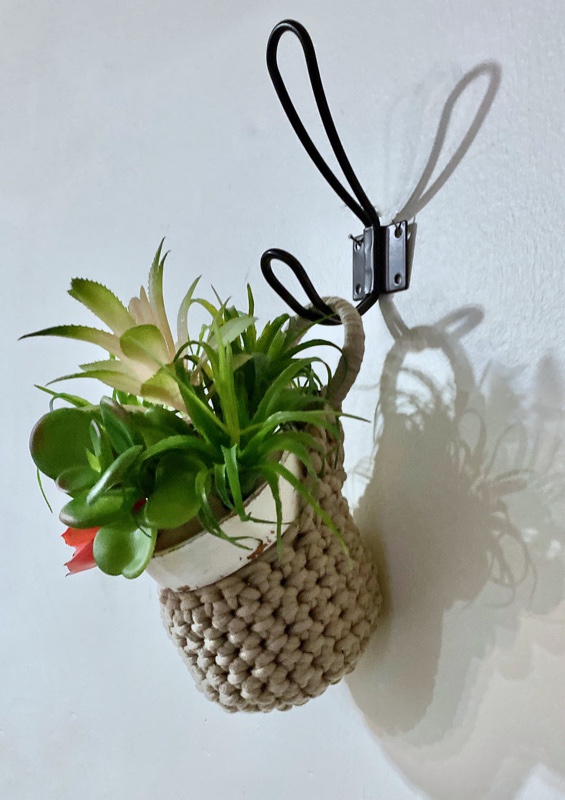
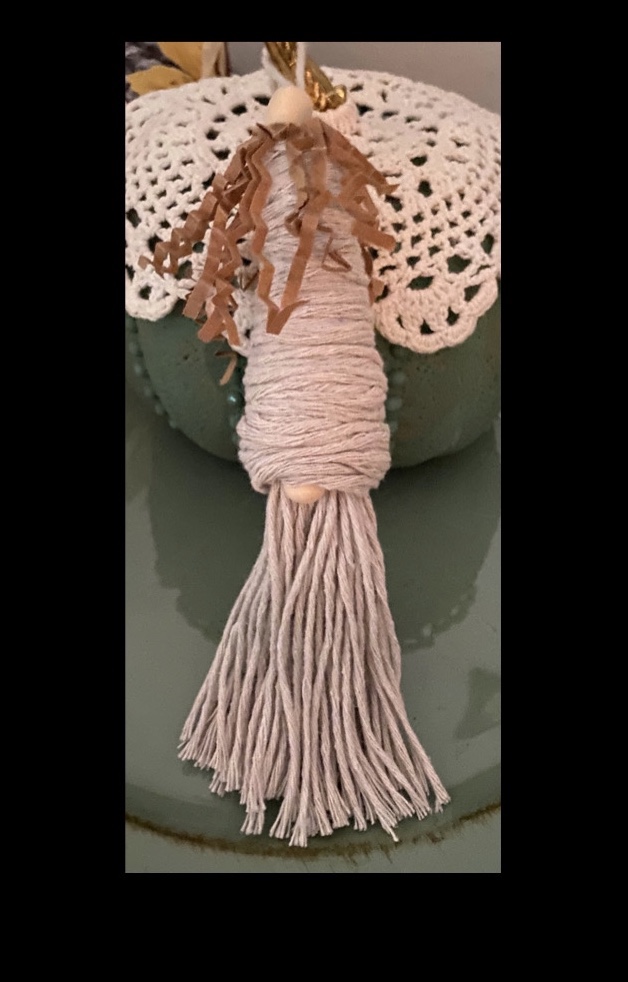
Lady night, while watching TV, I made my first gnome of the season. I saw this idea of creating a tassel gnome on Pinterest and couldn’t wait to make one. I am so going to make some for my booth. They will make such cute ornaments!

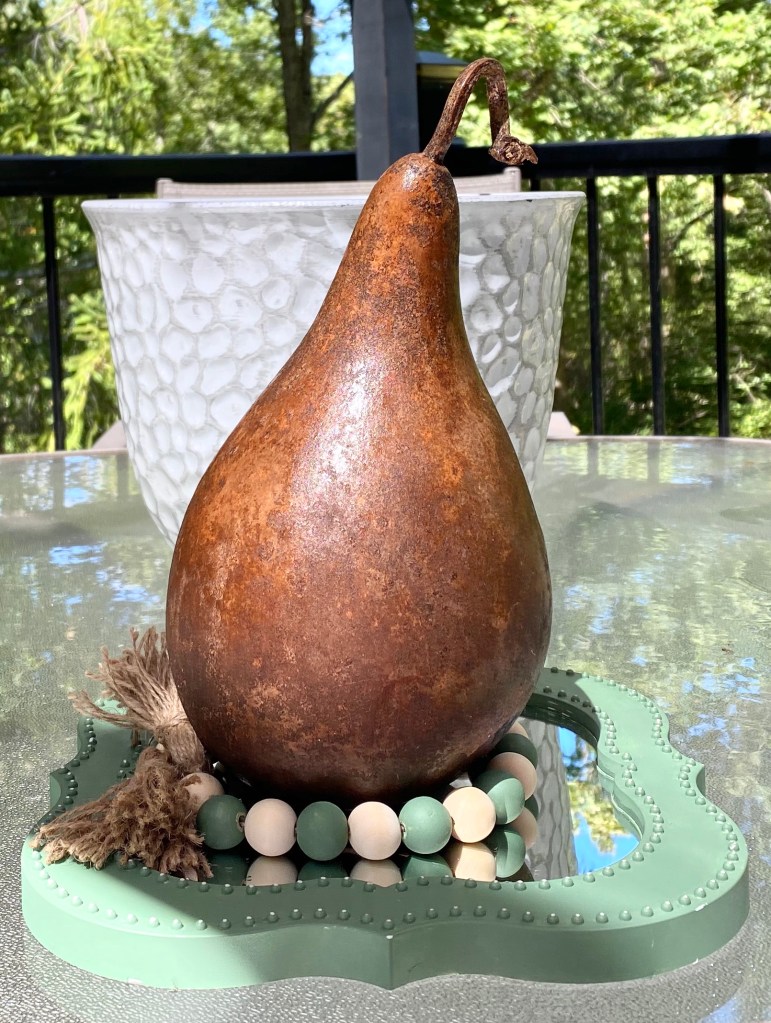
But then, I had to create a pumpkin for him to hang on. My Dollar Tree finally got in some of the bead stickers so I added some to a DT orange styrofoam pumpkin and painted it with my new custom color. It is a 50/50 mix of our Missouri Limestone Paint Company Chalk-style paint “Evening Shade” and our newest color “Soothing Sage.”

I only gave it one coat as I wanted some of the orange poking through. I also dry brushed a tiny bit of “Soothing Sage”. I added a small round doily And look at that stem! Yes, it is a decorative hook.

Here’s the link for the tutorial I used to make the twine gnome ornament.

https://justthatperfectpiece.com/easy-gnome-christmas-ornament-diy/

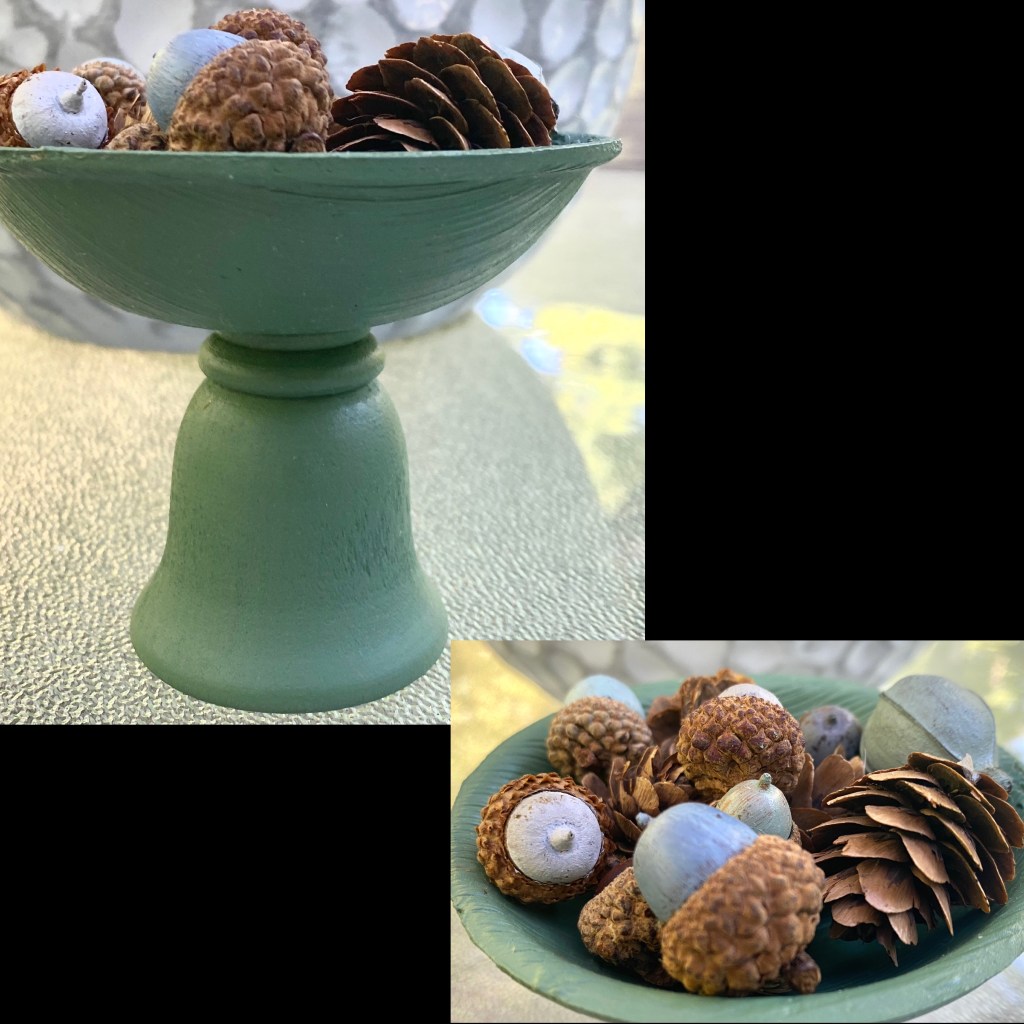
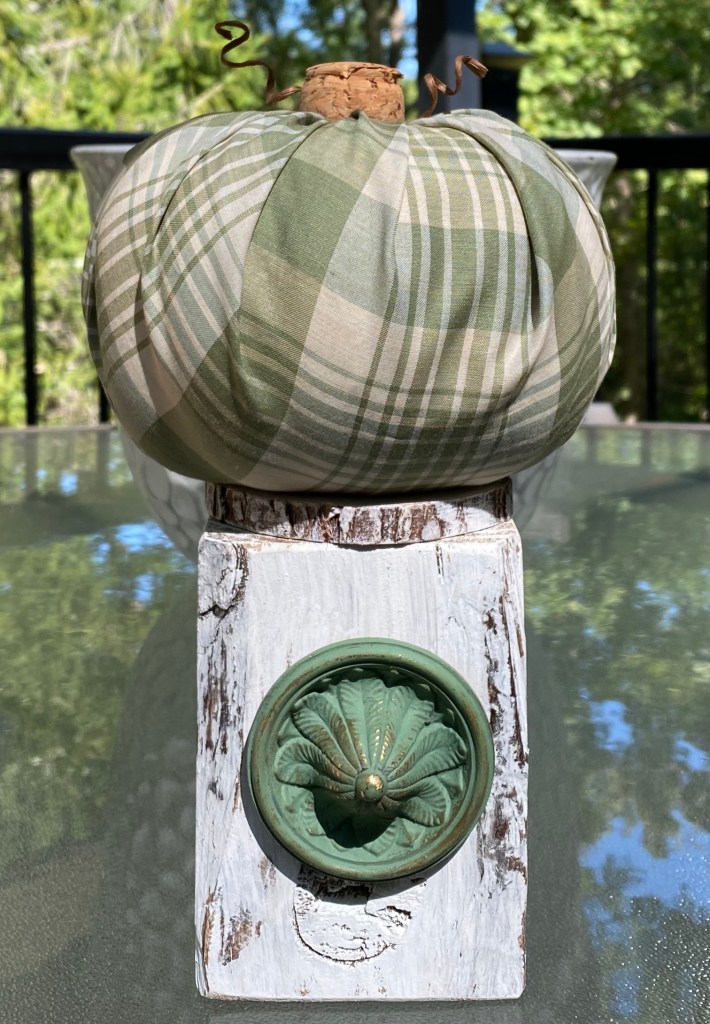
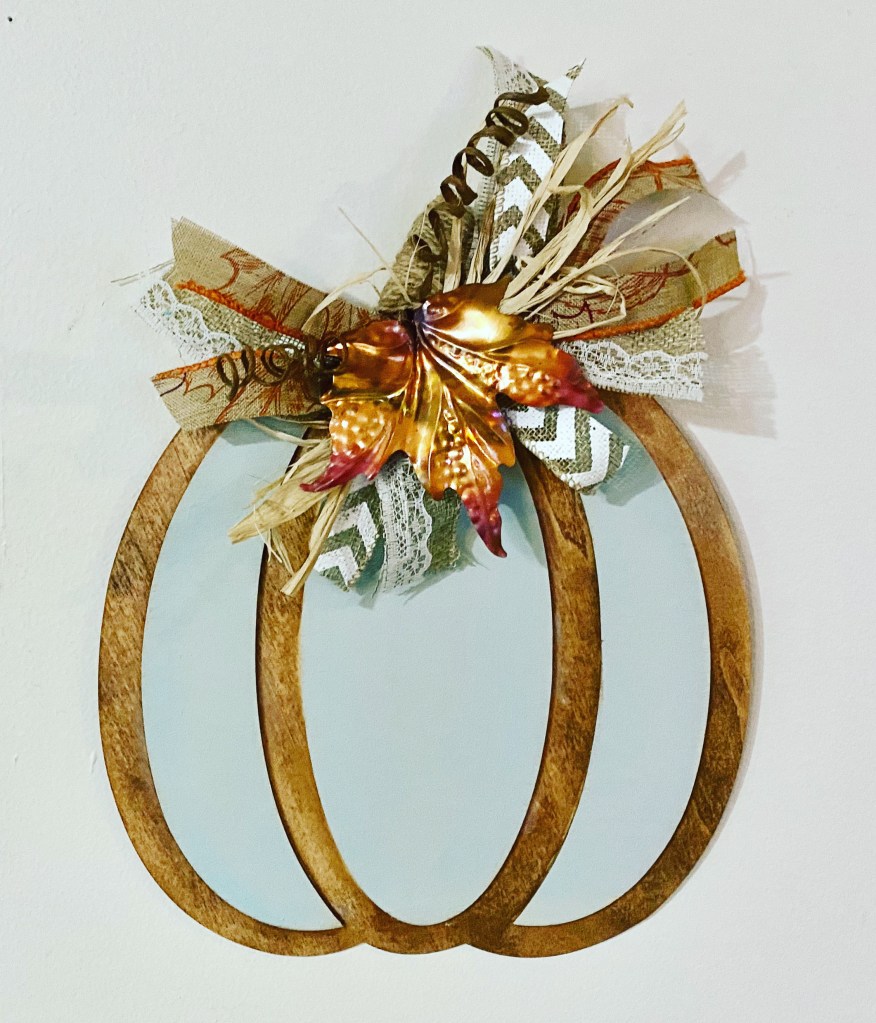
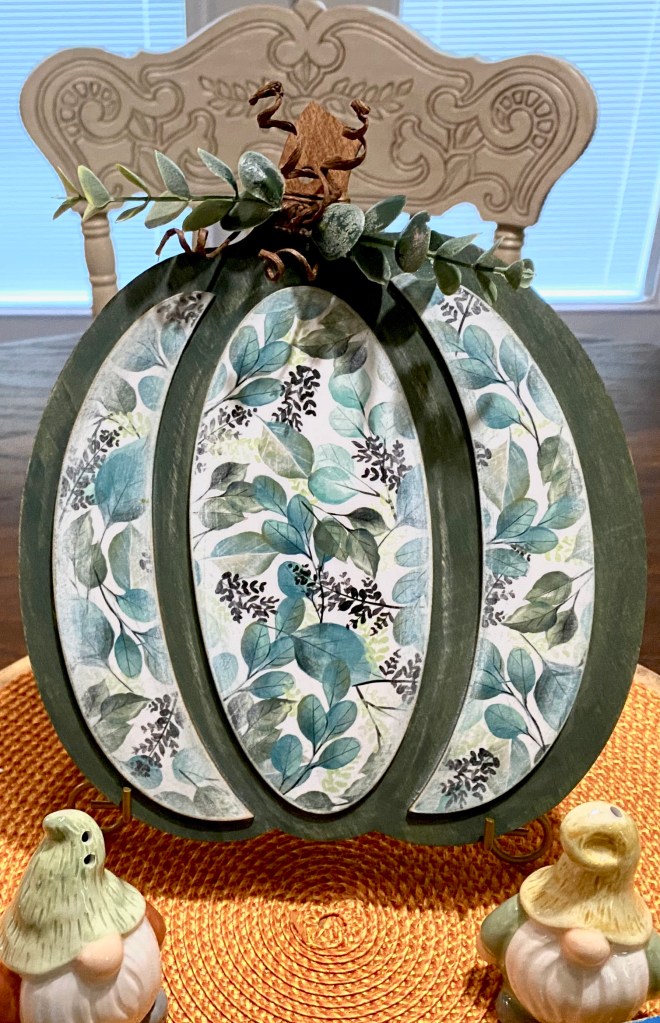
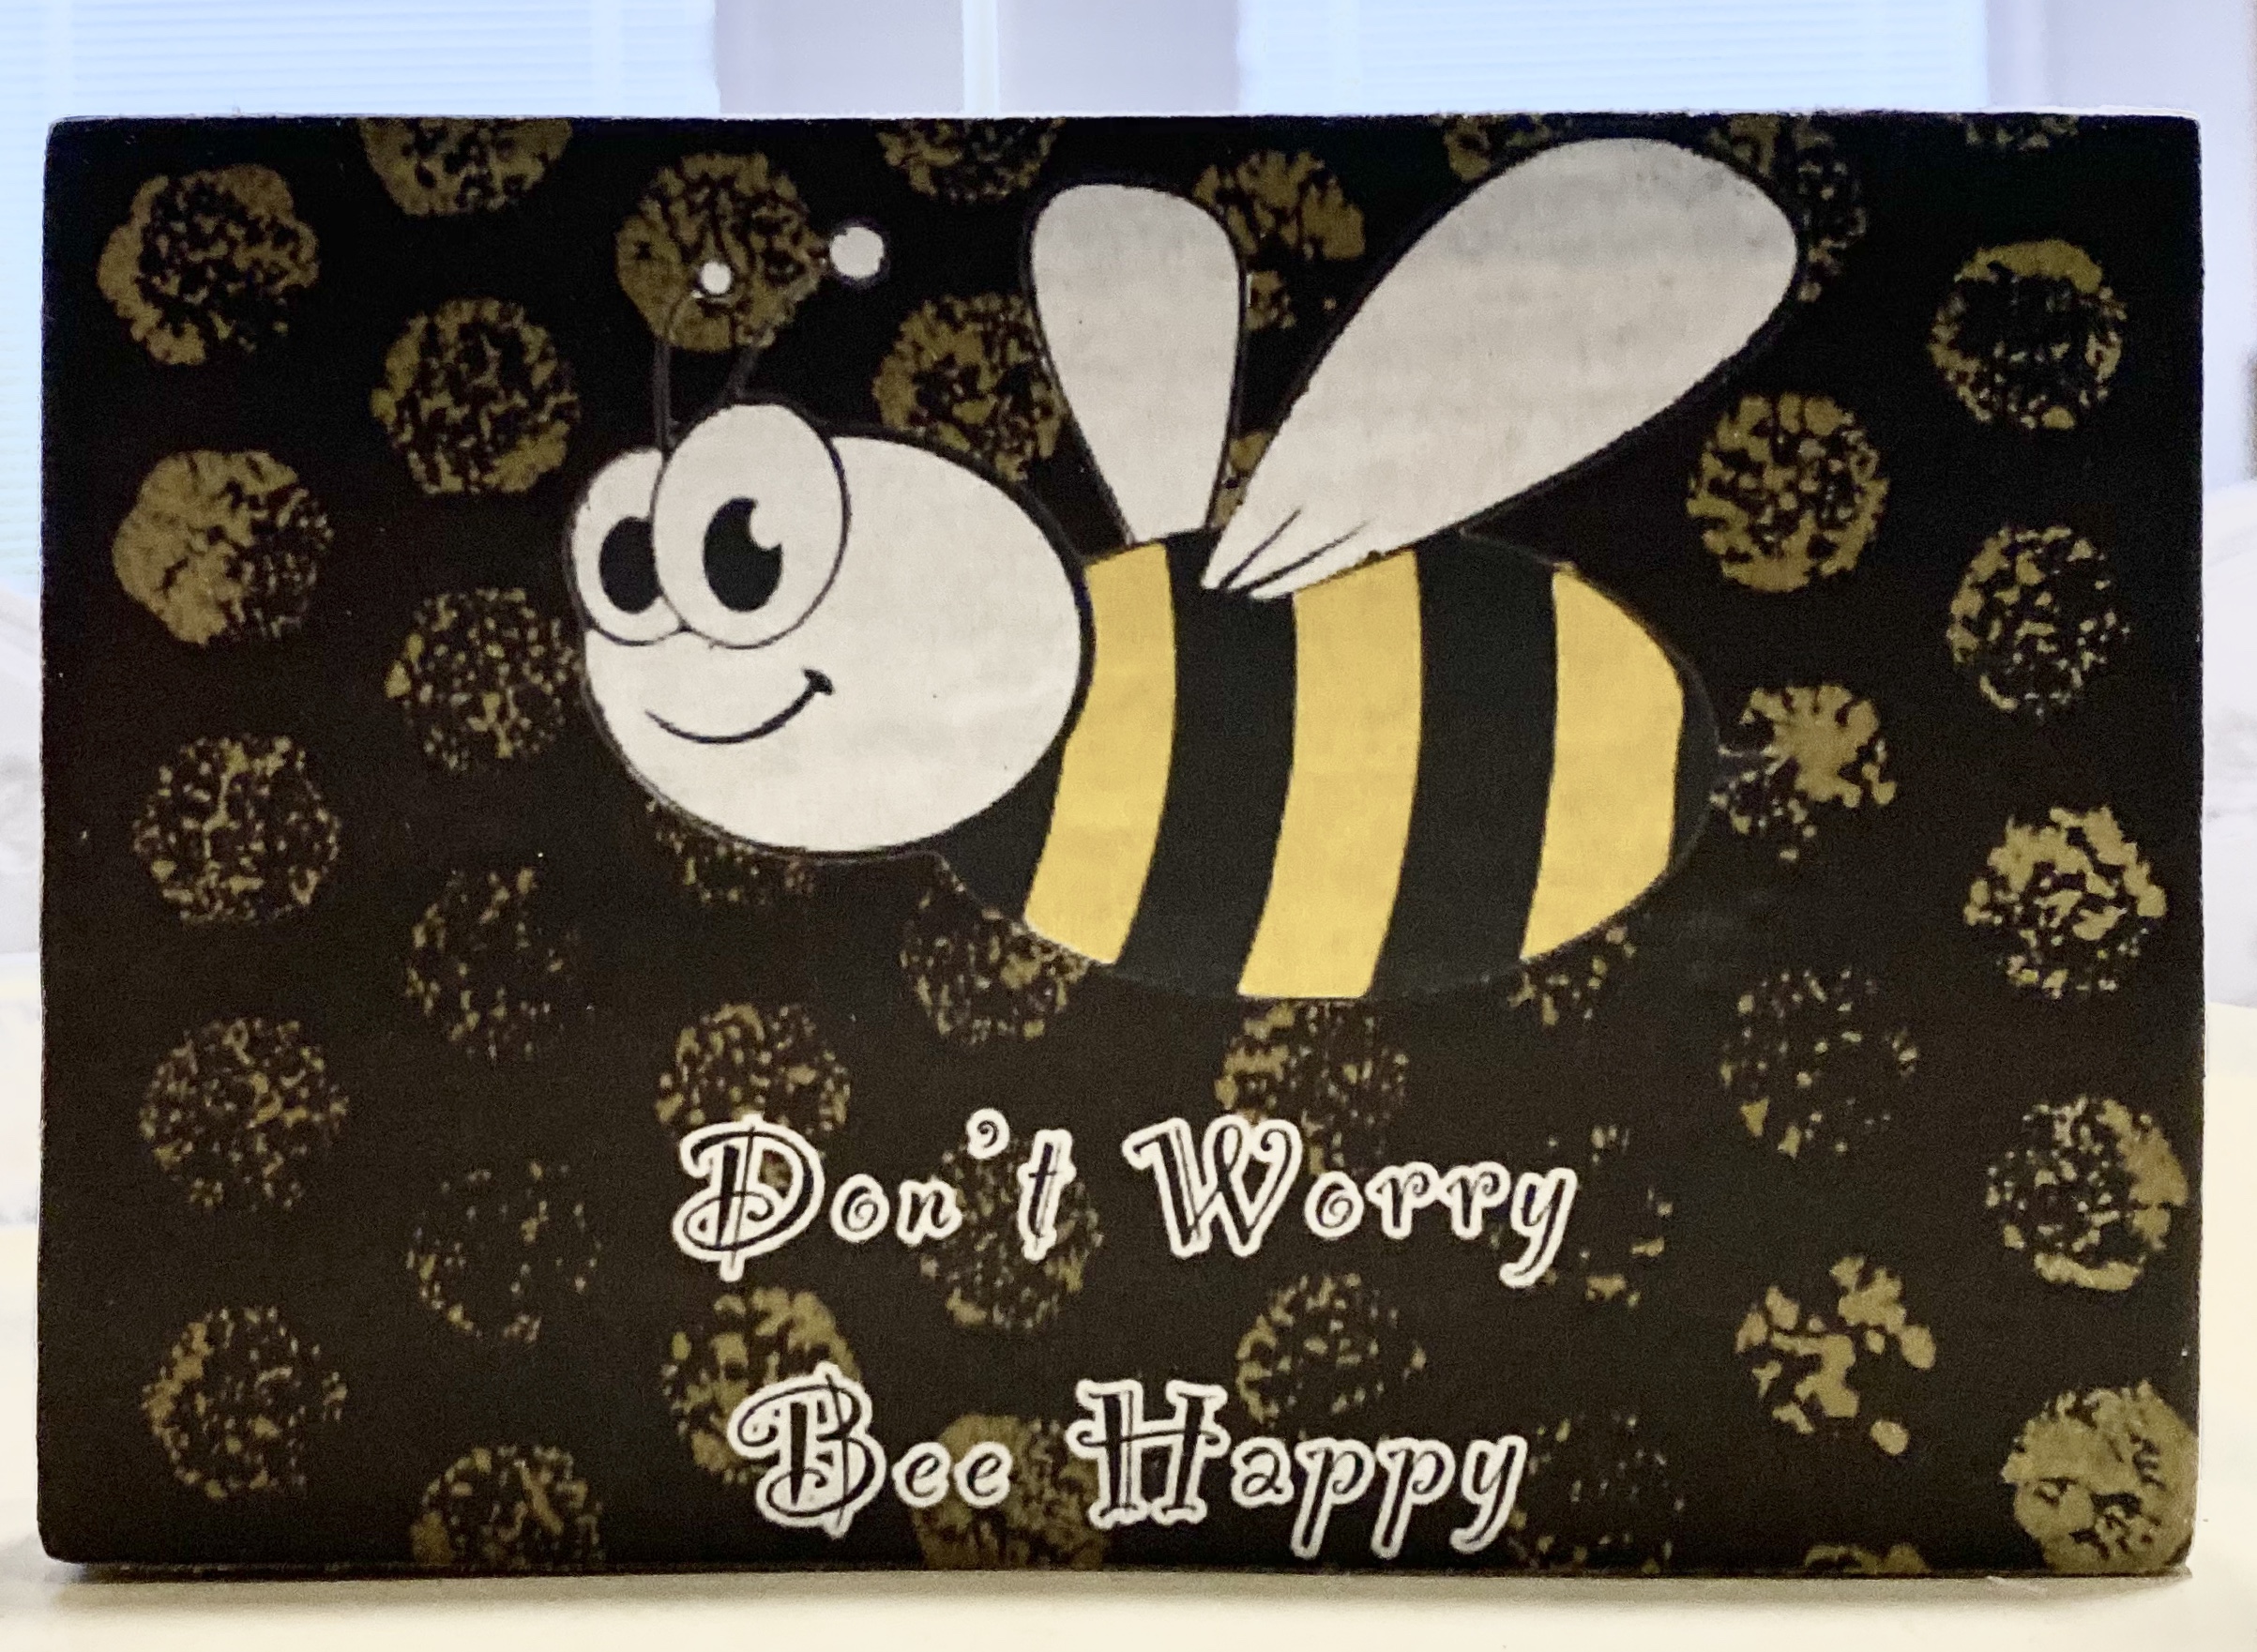
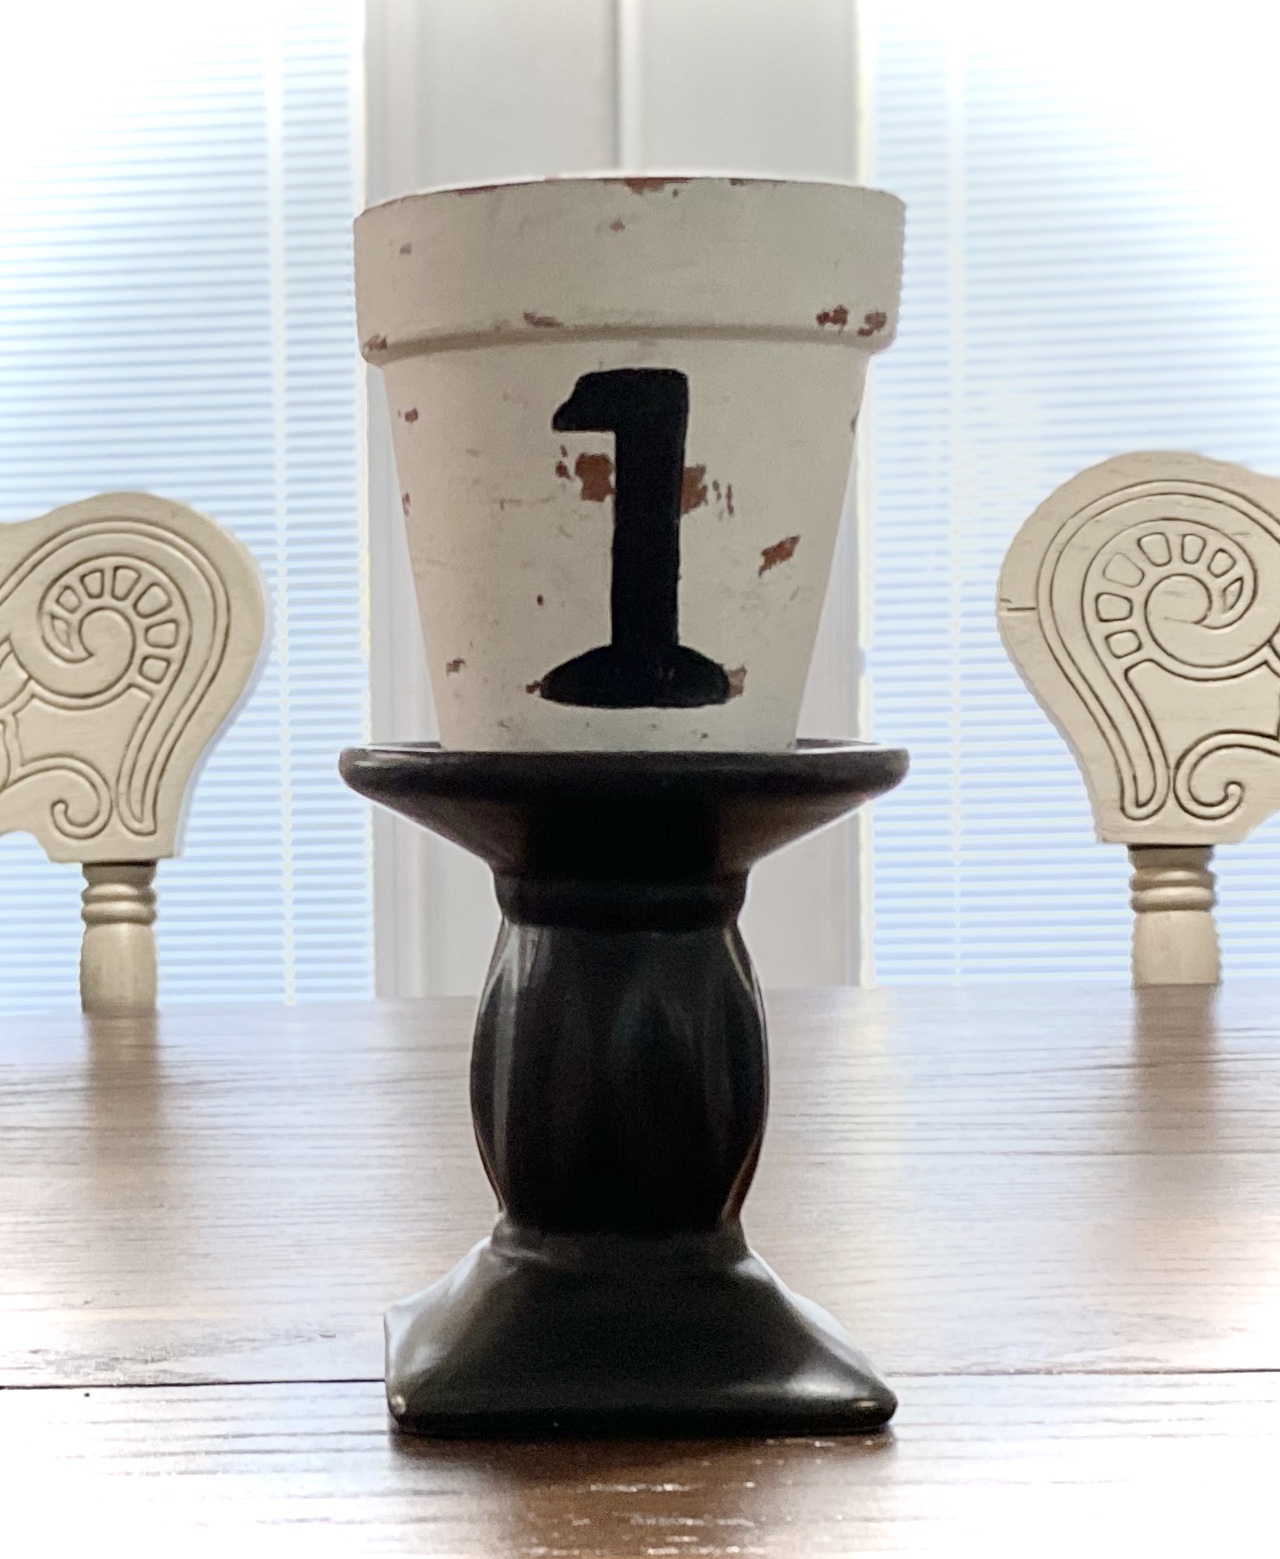
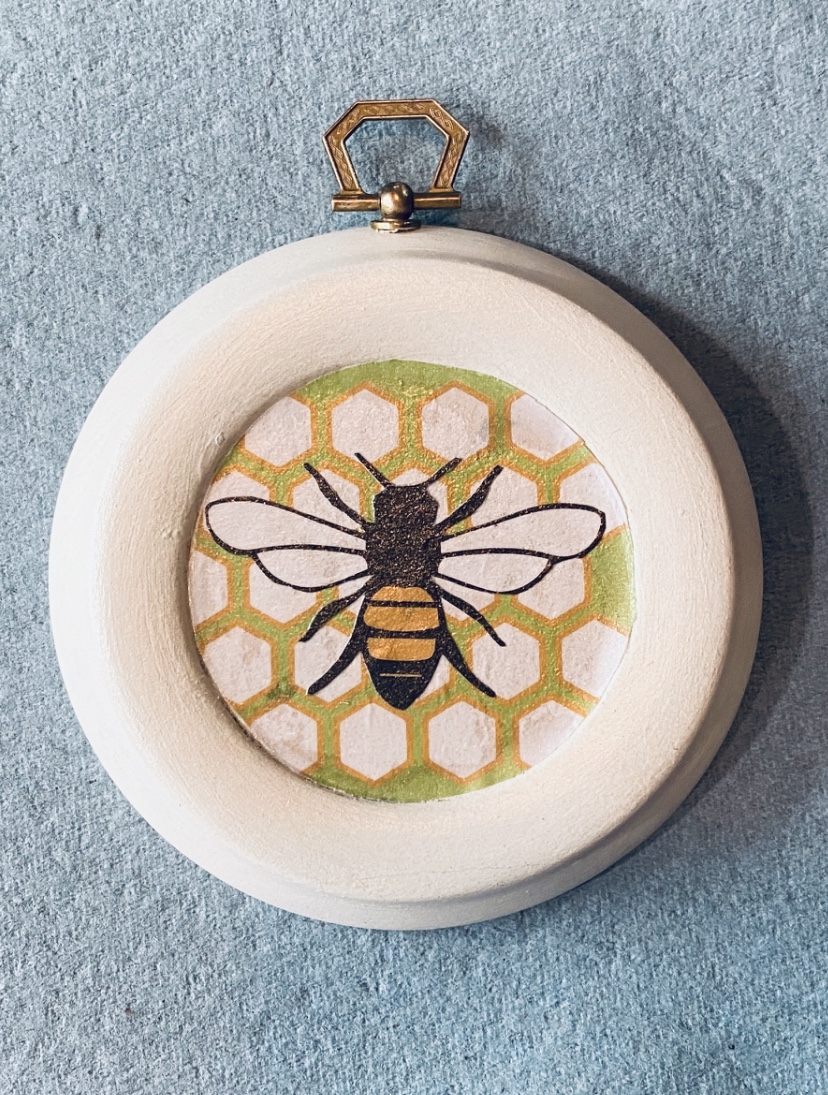
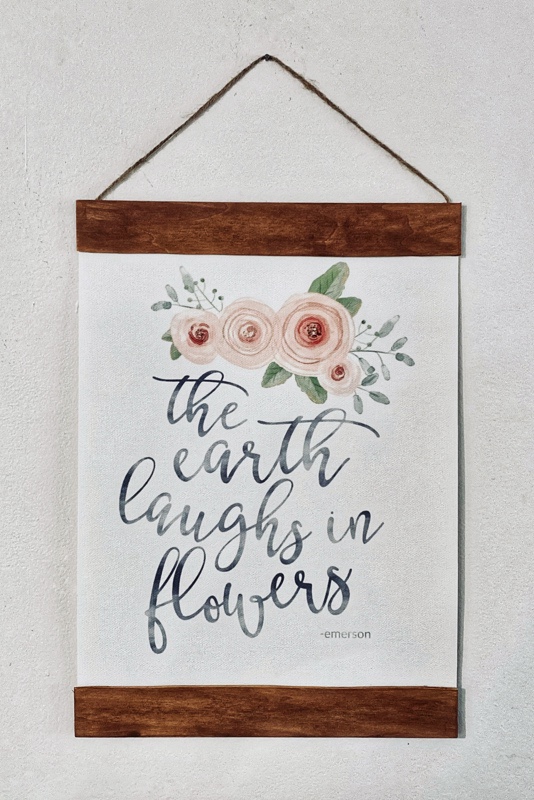
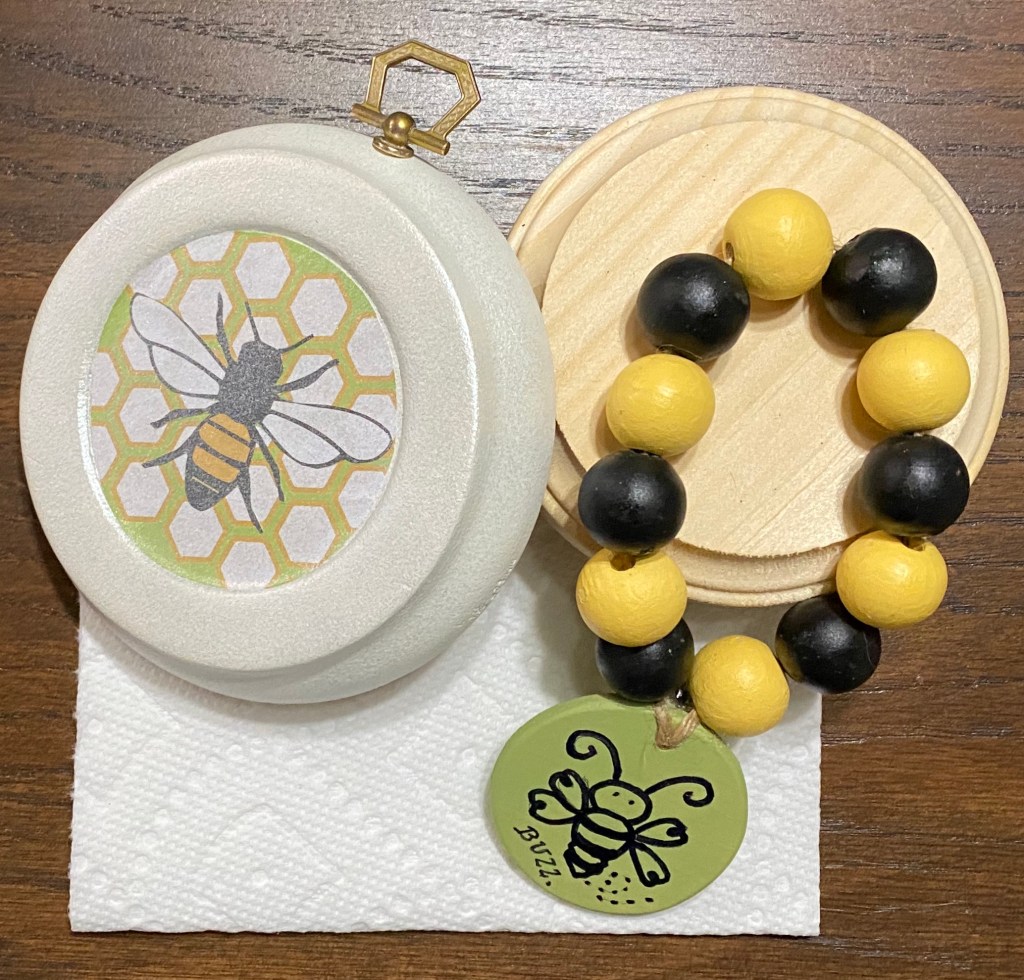
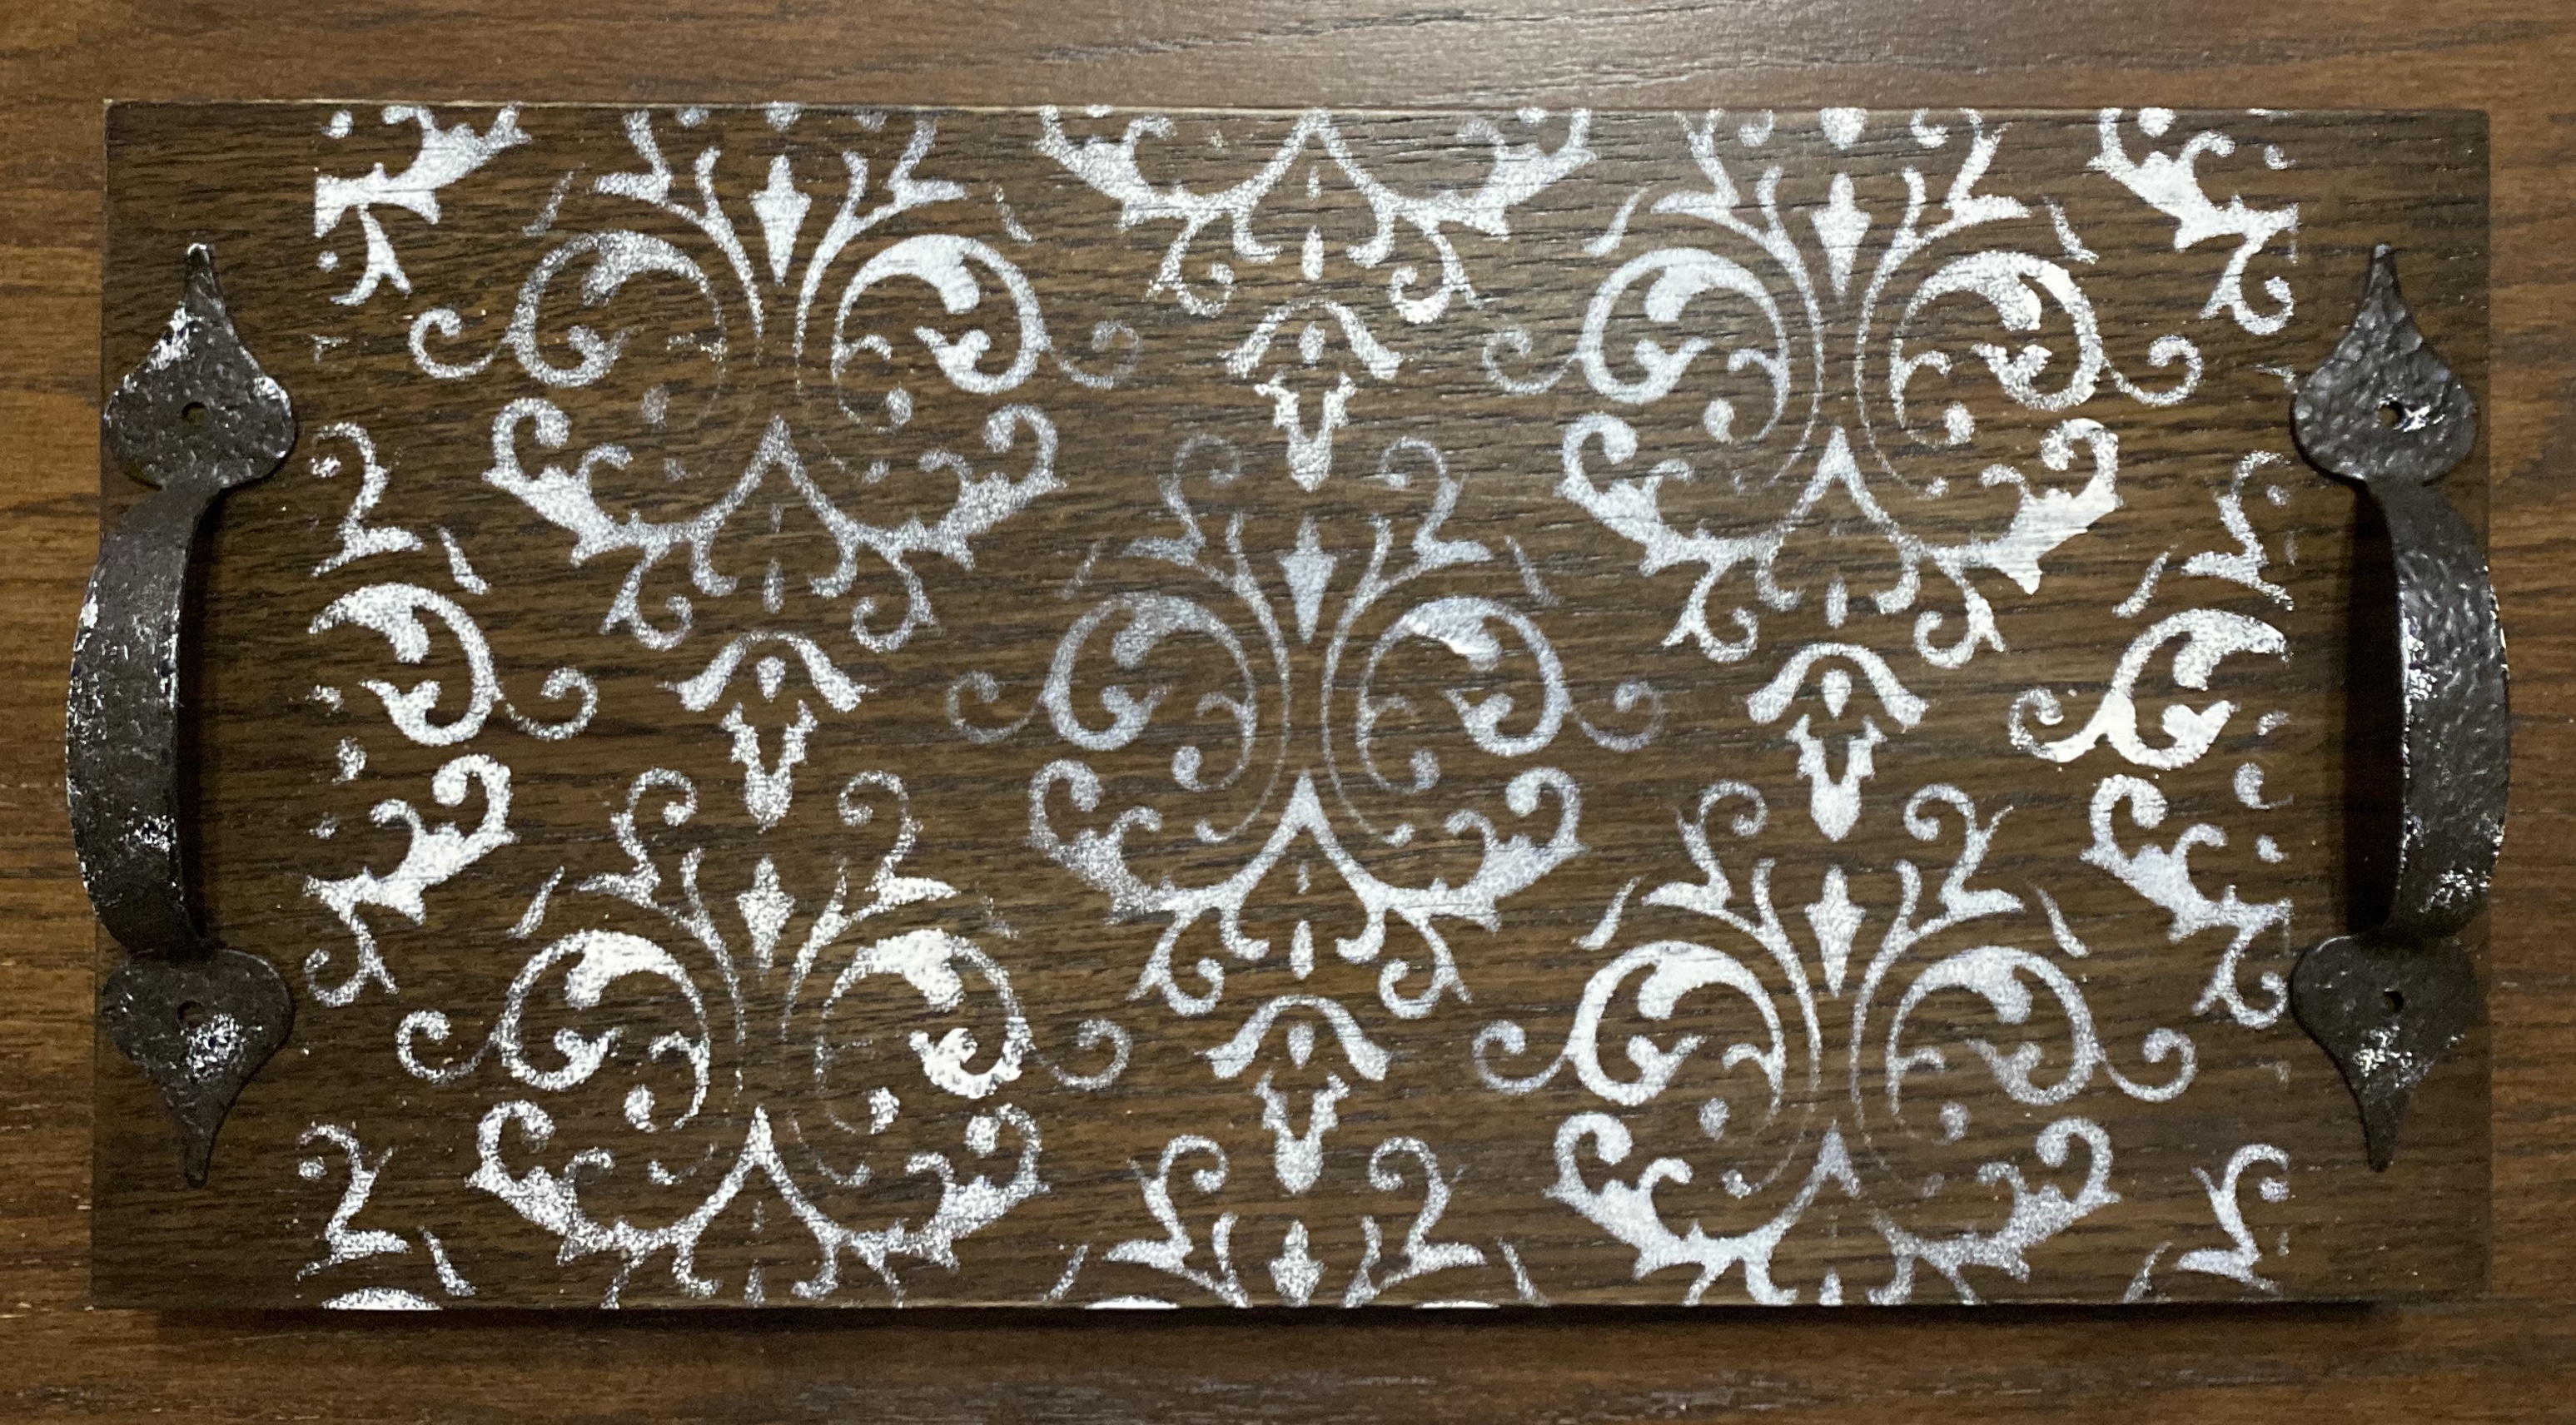
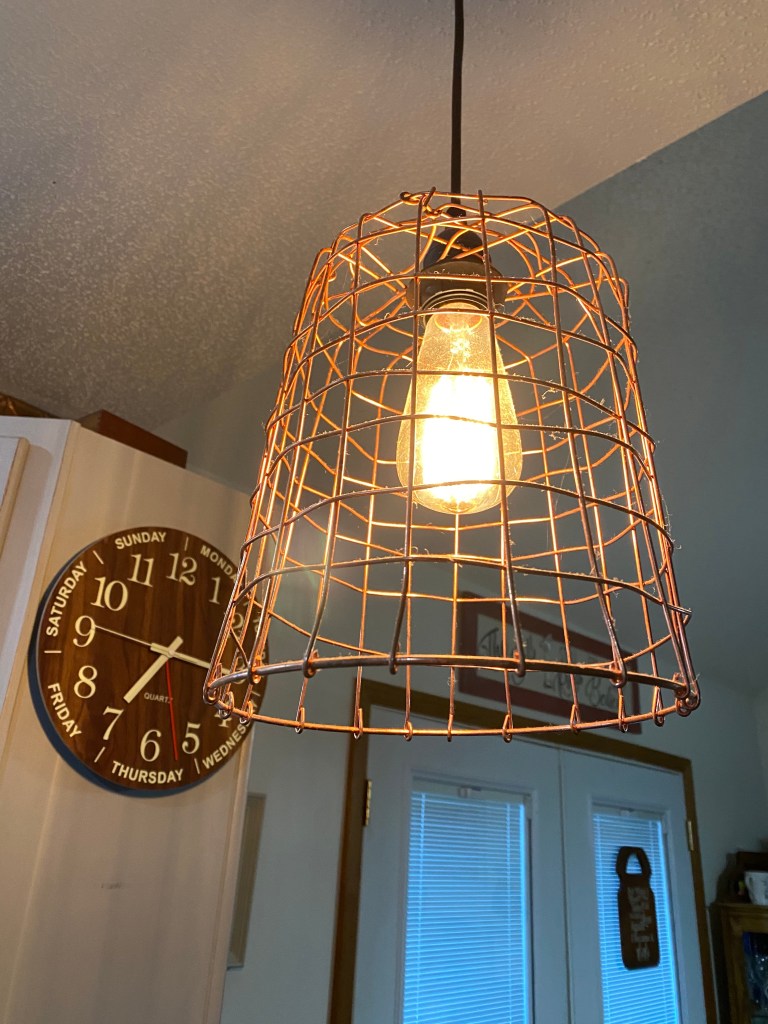
Here’s a few more of my favorite fall projects I’ve completed this year.

Pumpkin Door Hanger and More

Keep reading to see more of these cut outs I’ve completed.

I made this pumpkin hanger from a Dollar Tree pumpkin wood cut out today. I loved how it turned out so much, I ran back up and bought 5 more before they were all gone. I did leave some there for others. 🙂

First I stained the outline. Then I painted the raised areas with our Missouri Limestone Paint Company chalk-style paint in “Soothing Sage”.

I wrapped the stem area with twine and created a messy bow with a variety of strips of ribbon and raffia, I wired them all together and attached them to the stem with more wire. I had a metallic leaf and super glued it to the stem. I also had some paper covered wire I twisted around a pencil and added it.

I added a twine hanger on the back . The pumpkin can hang on the wall or it can lean up against something else in a vignette.

I can’t wait to make more of these. I love how this one turned out.

I am obsessed with these pumpkin cut outs. 🙂

I think this one might be my favorite – decoupaged scrapbook paper from Hobby Lobby.
Wait! Maybe this one is my favorite. 🙂
Love the muted orange of this one.
The white with stain really stands out.

Microfiber Stenciled Coasters

While waiting for my visiting grandson to wake up, I strolled around my basement wondering what I could declutter first. Then I happened upon a package of terry cloth coasters called “Thirsty Coasters”.

I bought several packages of these at one point, thinking I could do something with them sometime. Another time I bought several cool little coaster holders. Same. Lol

Forget decluttering for now. I started wondering if I could stencil a design on them. I had a little boho mandala stencil that fit perfectly and I had lots of chalk-style paint from our brand we produce and sell Missouri Limestone Paint Company, so I chose “Gray Goose”.

They stenciled beautifully. Once they have had a good 30 day cure, our paint will be indestructible no matter how many sweaty glasses or hot coffee cups are set on it as the paint becomes part of the fabric.

This will make an awesome Christmas gift – just thinking ahead. 😂

So, I have done a bit of decluttering, too! Lol

I gathered my supplies and my coffee and was ready to begin.

I like using the makeup sponges I get at Dollar Tree for stenciling and small projects. I off load a little of the paint onto the paper plate so that when I stencil, it doesn’t seep under.

The terry cloth took the stenciling beautifully. I love how they turned out!

They fit perfectly in the coaster holder I had.

What a cool boho look!

Decoupage with Fire? Who knew?

I happened upon a video tutorial that shared the technique of decoupaging with fire. Really? So of course I had to try it.

Here’s the original tutorial shared by Studio MD. I suggest you watch it before trying this technique. https://youtu.be/75b6NXJ0FIMhttps://youtu.be/75b6NXJ0FIM

My experiment kind of worked, but I think it would have worked better if I had used a glue stick or a decoupage medium, but I didn’t have a glue stick. I decided to give it a try on this little Dollar Tree photo frame. I painted the front of the flower with our paint brand Missouri Limestone Paint Company chalk-style paint, color “January” first to help make the print of my napkin stand out. I think the napkin I used was also from Dollar Tree.

DO NOT DO THIS! Instead of the glue stick I, unfortunately, used Dollar Tree spray adhesive. I should have known better. I haven’t found it to work on anything I’ve tried. I think it got the paper too damp and I had to keep relighting it as my fire would go out almost immediately.

The lady in the video showed using this technique on several cut out letters. I think her technique worked great on them.

One more time….decoupage with fire

I salvaged my project, though I needed to sand the edges. I had no idea what to do with the little Dollar Tree photo frame, but then decided to turn it into a pin cushion. It’s kind of cute and functional, too!

Front
Back

A Few Early Morning Projects

I hope you enjoy seeing some of my early morning work. It’s my favorite time of day to create.

I have tutorials on some of these on my blog here. You can do a search to find the post. Others I have explained more about on my Facebook https://Facebook.com/sharsumpaint, Instagram https://instagram.com/sharsumpaint and Pinterest https://Pinterest.com/sharsumpaint pages.

Hanging Canvas Print DIY

I’m on a kick of creating early morning projects lately. Today’s came to me out of the blue, thinking of supplies I had on hand. I love when inspiration strikes and what’s in my mind actually works out!

However, it should actually say “The earth laughs in snow in Missouri in late April.” Missourians all over hurriedly covered budding plants the last few days in preparation for the snow and freezing temperatures. So this image made me feel better at looking at snow in my yard still today.

Step 1: I had a couple of sheets left of this stiff canvas paper I bought several years ago. I knew I wanted to print an 8×10” sign out on it. I did a search for you and found, at this time, you can purchase the canvas and water color combo for a good price on this site on eBay. It isn’t easy to find, but I’m sure you can find it or something similar other places, too. This Printworks brand I used is made for ink jet printers.

Step 2: Next I went in search of an image to print on my canvas paper. I found the perfect free image on this amazing blog “Harbour Breeze Home”. Thank you so much for sharing. It printed out perfectly on my canvas paper. It looks like it is a water color painting on canvas!

Step 3:

I made the wooden slats for the top and bottom by cutting a balsa wood slat from Hobby Lobby to size (with scissors), sanded, and then stained it with the brand of chalk-style paint we produce “Missouri Limestone Paint Company” paint. I added a bit of water to “River Bottom Dirt”, painted it on, then wiped it down with a paper towel. This really helped enhance the grain in the wood.

Step 4:

I then used Gorilla Glue Clear Grip to glue the paper onto the slats and the jute rope for hanging.

And there it is …. hanging on my wall next to another DIY I did, using a Oui Yogurt jar, a macrame hanger and a banana stand. But that’s another project! 🙂

Painting Wooden Beads

I searched and found an easy way to paint wooden beads that worked for me.

I also used our brand of chalk style paint, Missouri Limestone Paint Company which we produce for our small business. In this project I used the colors “Field Corn” and “Coal Shovel”.

I used two of the little throw away plastic containers that come with some of my Home Chef meals. I wash them out and store them away to use as needed. But any little container with a lid would work. I choose to use ones you can throw away after use. Who wants to wash out paint containers?

My first project was to make a small “bee” garland, so I wanted yellow and black beads.

I poured a little yellow paint into one of the containers and added the beads. I put the lid on securely, the shook and rolled the beads around inside.

I then threaded the beads onto a bamboo skewer from Dollar Tree. I took a small artist brush and smoothed the paint out a bit and then, holding them on the skewer, I made sure they were separated.

I held them with one hand and with the other, I used a hair dryer to dry them, turning the skewer as I dried them. This took just a few minutes. I alternated between heat and air drying.

I then sealed them by spraying them with Mod Podge matte sealer, holding the skewer and turning it as I sprayed. I dried them again with the hair dryer.

I did the same with the black beads.

And here is my finished project, shown with another project I made. I have enough beads painted to make another.

A French Country Riser

I’m an early riser and lately I’ve been creating projects. But today I was going to get an early start on cleaning. At least I started out with good intentions.

I was ready to tackle cleaning up my crafting area. But then I picked up a board. Not just any board. This board came from a very unique pick. You never know what something will become sometimes, but you know it will turn into something cool some day. Hence, cleaning up my craft area.

Macy’s in the mall at Cape Girardeau, Missouri was going out of business. They were selling everything, including fixtures……and this board. I loved the dark grain in it and the edges, so… it came home with me.

When I picked it up today to store it somewhere, I suddenly knew what it was going to be. Cleaning was going to have to wait. I had everything I needed. Paint, a stencil, feet, handles, and satin finish spray sealer. I antiqued the handles up a little from their original black. They were screwed into place after the

Meet a 6 1/2” x 13” French Country inspired tray. For decoration only.

A Pendant Light Shade Makeover

I’ve been looking at my pendant light in my kitchen and have not been feeling the copper wire basket I replaced the original pendant shade with a couple of years ago. The original was a tan color. I had the basket and didn’t want to buy a new shade. My kitchen walls are copper painted tin so it looked pretty neat with it.

But that was then and this was now. And now it seemed rather plain.

This morning, while browsing Pinterest, I saw someone had taken clear pendant shades and painted them with translucent paint and made little organizer bowls with them. Hold that thought because I see another project coming up. 😁

We just do happen to be the proud owners of 3 clear pendant shades. I’m not sure how we acquired them anymore. I checked, and the opening fit.

I wanted a turquoise shade. I had painted some Oui yogurt jars in an earlier project so I knew just how I would do it. Here’s the link to that project. https://sharsumpaint.com/2021/03/15/oui-jars-transform-into-faux-depression-glass/

This project didn’t take long at all. I’m an impatient crafter so, I helped drying time along with my hair dryer.

Materials used

I used Dishwasher safe Mod Podge. Not because I’m putting it in the dishwasher. I am not even going to use water when I need to clean it. I just like to work with it and like the glossiness of it. You can use any glossy Mod Podge. Just make sure it’s glossy.

Applying the first coat. I used a stencil dauber, but makeup sponges work great, too.
First coat dried. Used a hair dryer to help it dry faster.
Applying the 2nd coat
2nd coat applied and ready for the hair dryer.
2nd coat dry. I’m amazed every time!

Originally, I was going to remove the copper basket, but by adding the new turquoise shade, I like how it looks with the copper tin walls now!

Tiny Banner for Tiered Trays

A Valentine Craft – A Tiny Banner from Dollar Tree Dominoes

I’ve come up with a way to use these flat wooden dominoes from Dollar Tree! I bought some of these thinking there had to be a way to use them in crafts and this morning, it hit me….💡 Tiny banners for tiered trays…..or other ways you can think of.

I made one to see how they would look, but you can see they work great! I just had to share so you could run out and get a supply of these dominoes. They are generally in stock, but I did see you can buy anywhere from 4-32 packages online. You might have to pay shipping to your home for smaller quantities, but for at least 36 ordered, I think you can have them shipped to your store.

These dominoes are raw wood on the back and paper on the front.

The wood is thin Balsa wood, like the little wooden airplanes you put together. I cut this one into a banner shape with scissors. I tried a craft knife later, but strong scissors worked better. I sanded the edges smooth and drilled small holes for the baker’s twine, also from Dollar Tree.

To get the aged wood look, I painted both sides with white chalk-style paint and let dry. Then I watered down a little dark walnut gel stain and used a paper towel to wipe it on and wipe off. I did just a bit of white on top again. Just a bit. Then sanded each one just a bit. The sanding really distressed them nicely. I hadn’t done the final sanding on my sample.

I painted right over the paper. I did both sides, but the back is raw wood so I don’t suppose you’d have to finish it.

I had some hearts I cut from vinyl but you could also use stickers. Dollar Tree did have a lot of those.

If you use generic string or jute twine and removable vinyl, you could easily change out your banner for any season. Stickers might be harder to remove, but maybe not.