What a week we’ve had! This week Danny and I worked with our friend, Michelle, to come up with a beautiful dining room set for a customer. Michelle had the table and chairs but the customer also wanted a bench, preferably a church pew. We had the task of staining and re-covering the chairs and finding a church pew or something like it.
 Repairing, staining, and covering the chairs – no problem.

But, when it came to finding a small church pew, we were soon out of luck and time. Danny had often talked about trying to turn chairs into a bench after we saw one, so we started thinking about finding some chairs and trying that. Michelle found us 4 chairs and we were off to Pinterest to learn how to make one.
We saw a lot of chairs made into benches but many of them curved, due to the shape of the chairs. And then we found what we were looking for! There were no detailed directions, just this simple paragraph and we had our “ah-ha” moment. http://www.robomargo.com/bench.html
KyLady wrote: “We shortened the front piece on the middle chair and attached it to the corner of each of the outside chairs. If you do not shorten the front piece of the middle chair the bench would not have a straight front and back, it would curve since the fronts of chairs are wider than the backs. The only legs removed are the front ones on the middle chair, the other legs are the original chair legs. All you actually use on the middle chair is the entire back and the front piece.”
At first it didn’t sink in because we didn’t understand what she meant by shortening the front piece and atta ching it to the corner of each of the outside chairs. And then we got it. Notice the middle chair has no front legs. Removing them allowed the chairs to sit right next to each other. This made the middle chair the same width in the front as in the back. You can see in the photo it is narrower than the other two chairs. The front piece KYLady mentioned is that piece the arrow in the photo is pointing to. That piece was saved and shortened and added back on so all 3 chairs would be the same in the front. “Ah-ha”!
So now Danny was ready to start. We only needed 3 of the chairs for the bench to get the size bench we wanted. The fourth was still used,  though. You will see how in the the photos below.
You can see the gap when the front legs were still on the middle chair in this photo.
In this photo, Danny has remo ved the front legs of the chair and both the side and front pieces and has glued and clamped and screwed the middle chair to the other two. He screwed them together right under the top edge and right under where the seat would go. He shortened the saved front piece to fit the space in front, and then added dowels (and holes) to fit them together and glued it in place.
Re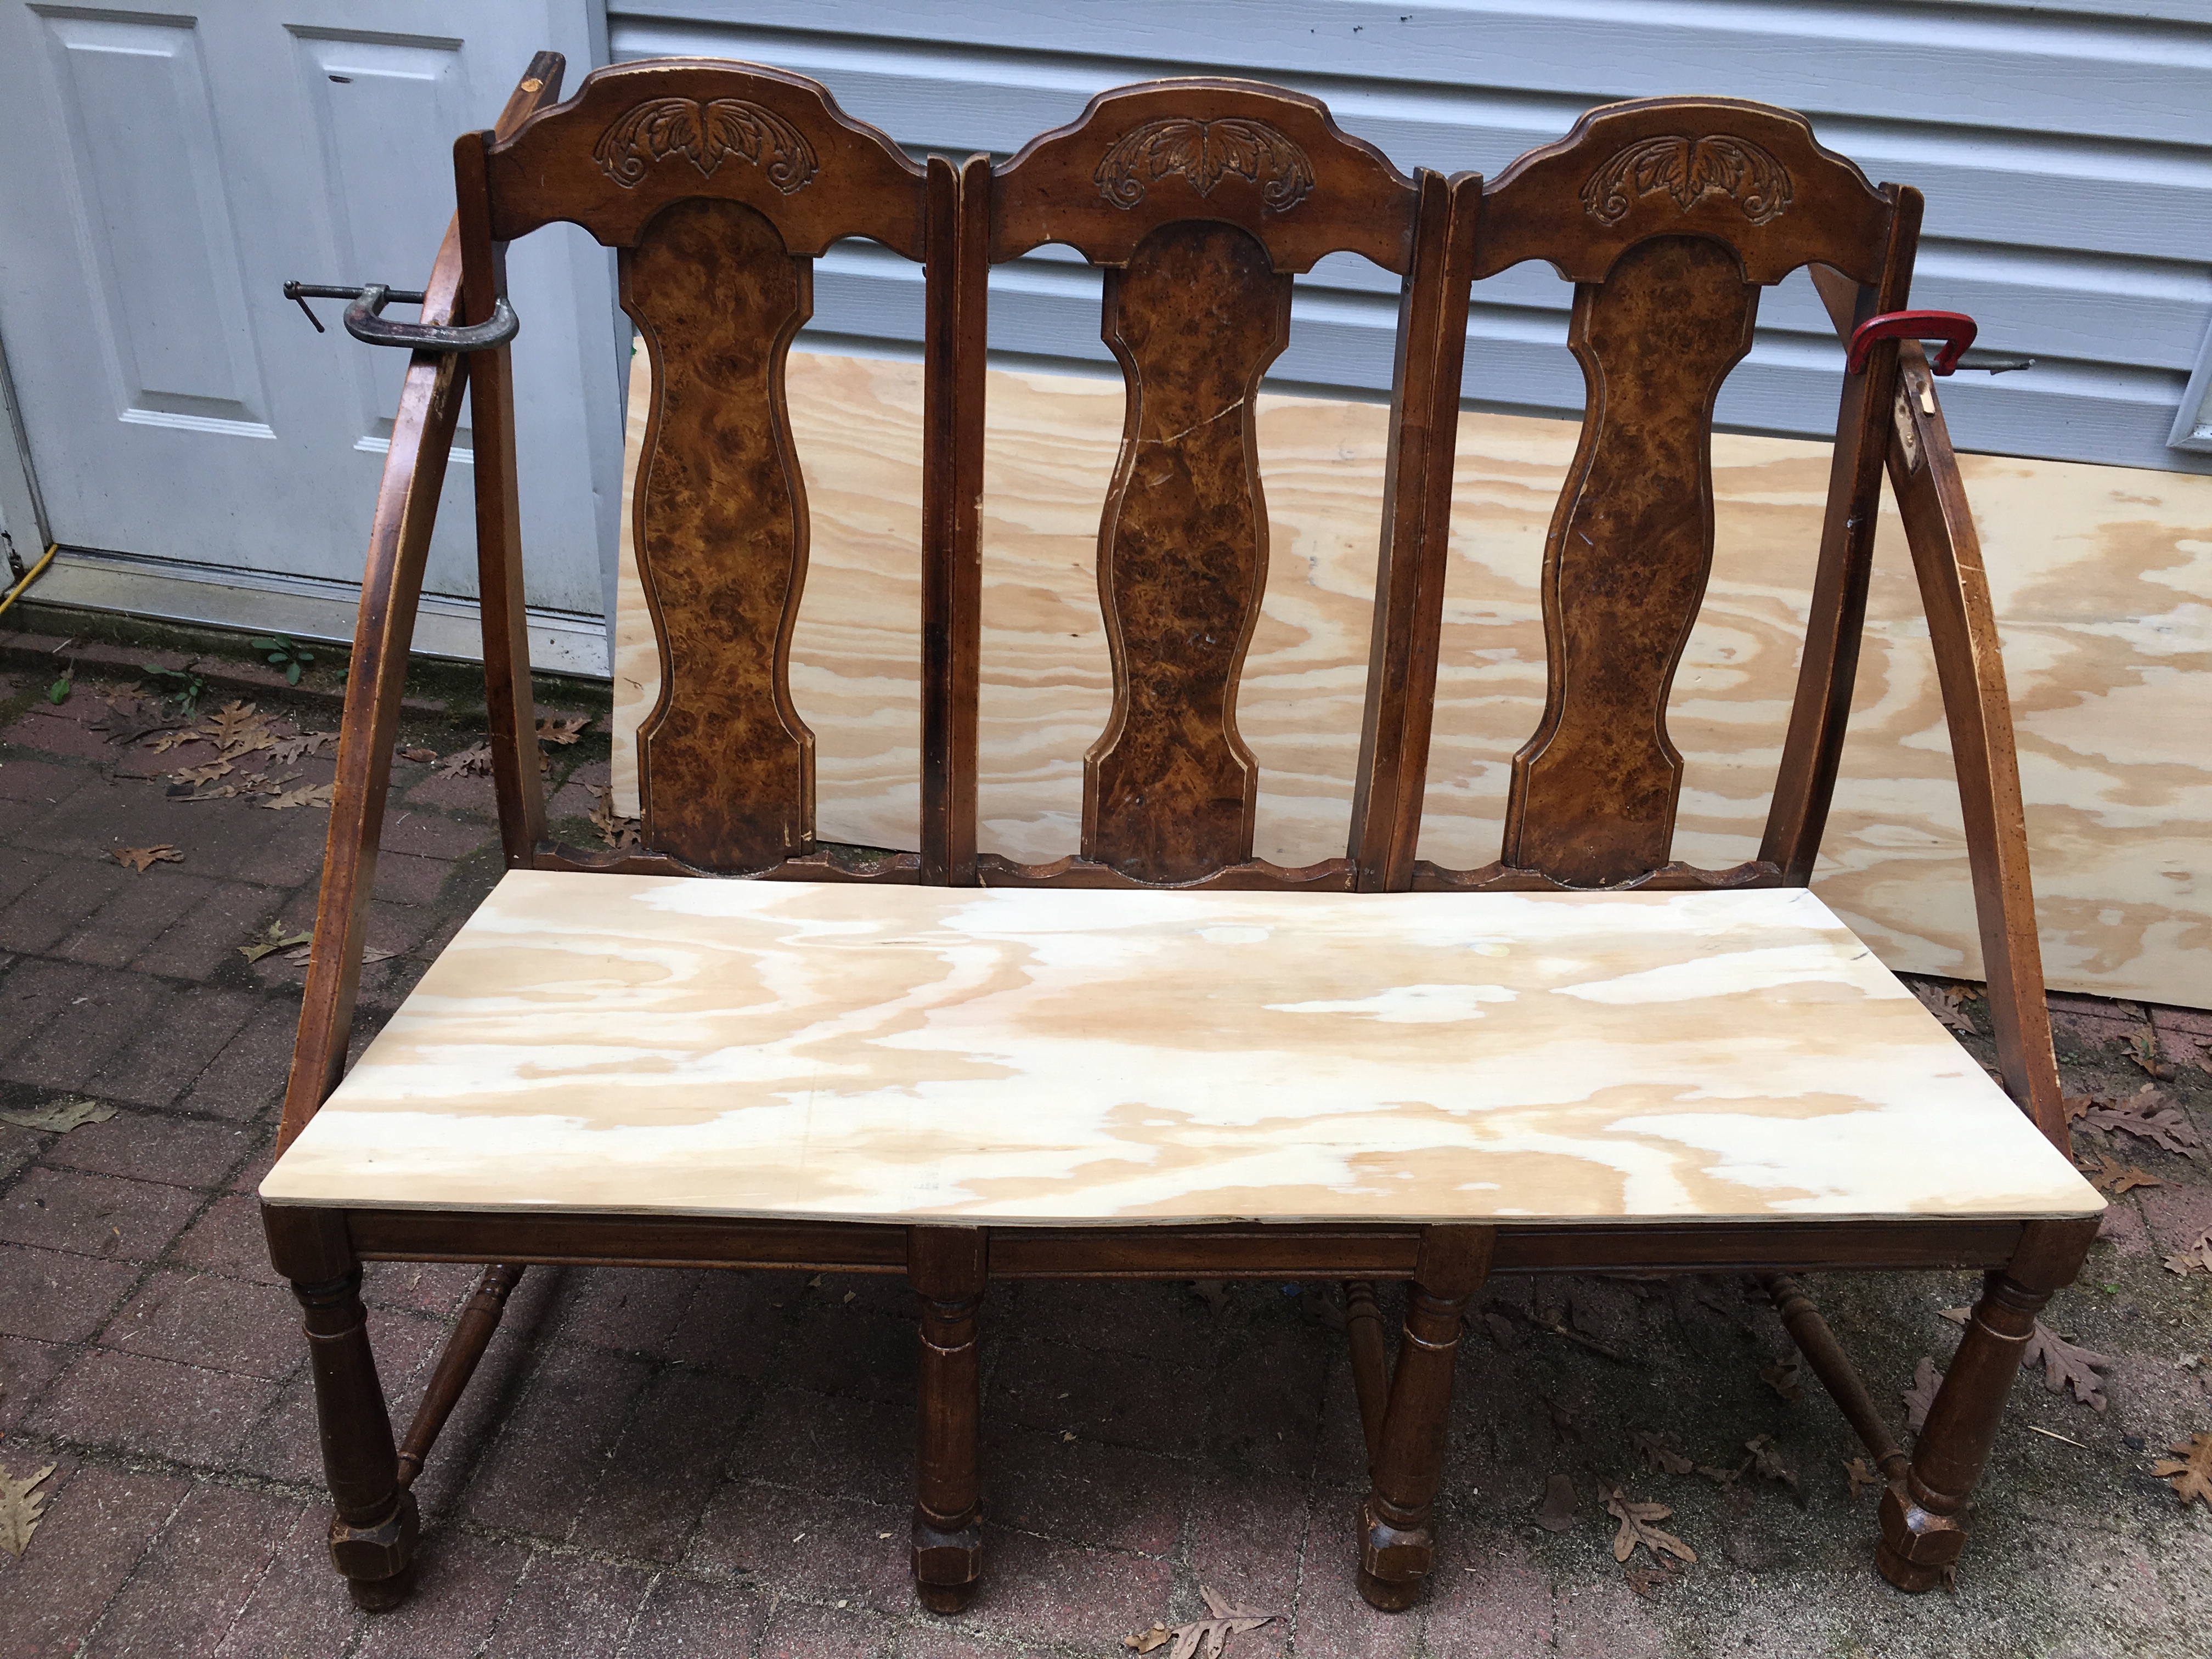 member that fourth chair? The back legs were broken on it anyway, so he used them to create beautiful curved sides for the bench. That was Michelle’s creative idea! He cut them off even with the back of the chairs using a straight cut and then glued, clamped and screwed them on. He also cut a 1/2″ piece of plywood to fit, then sanded it for smoothness.
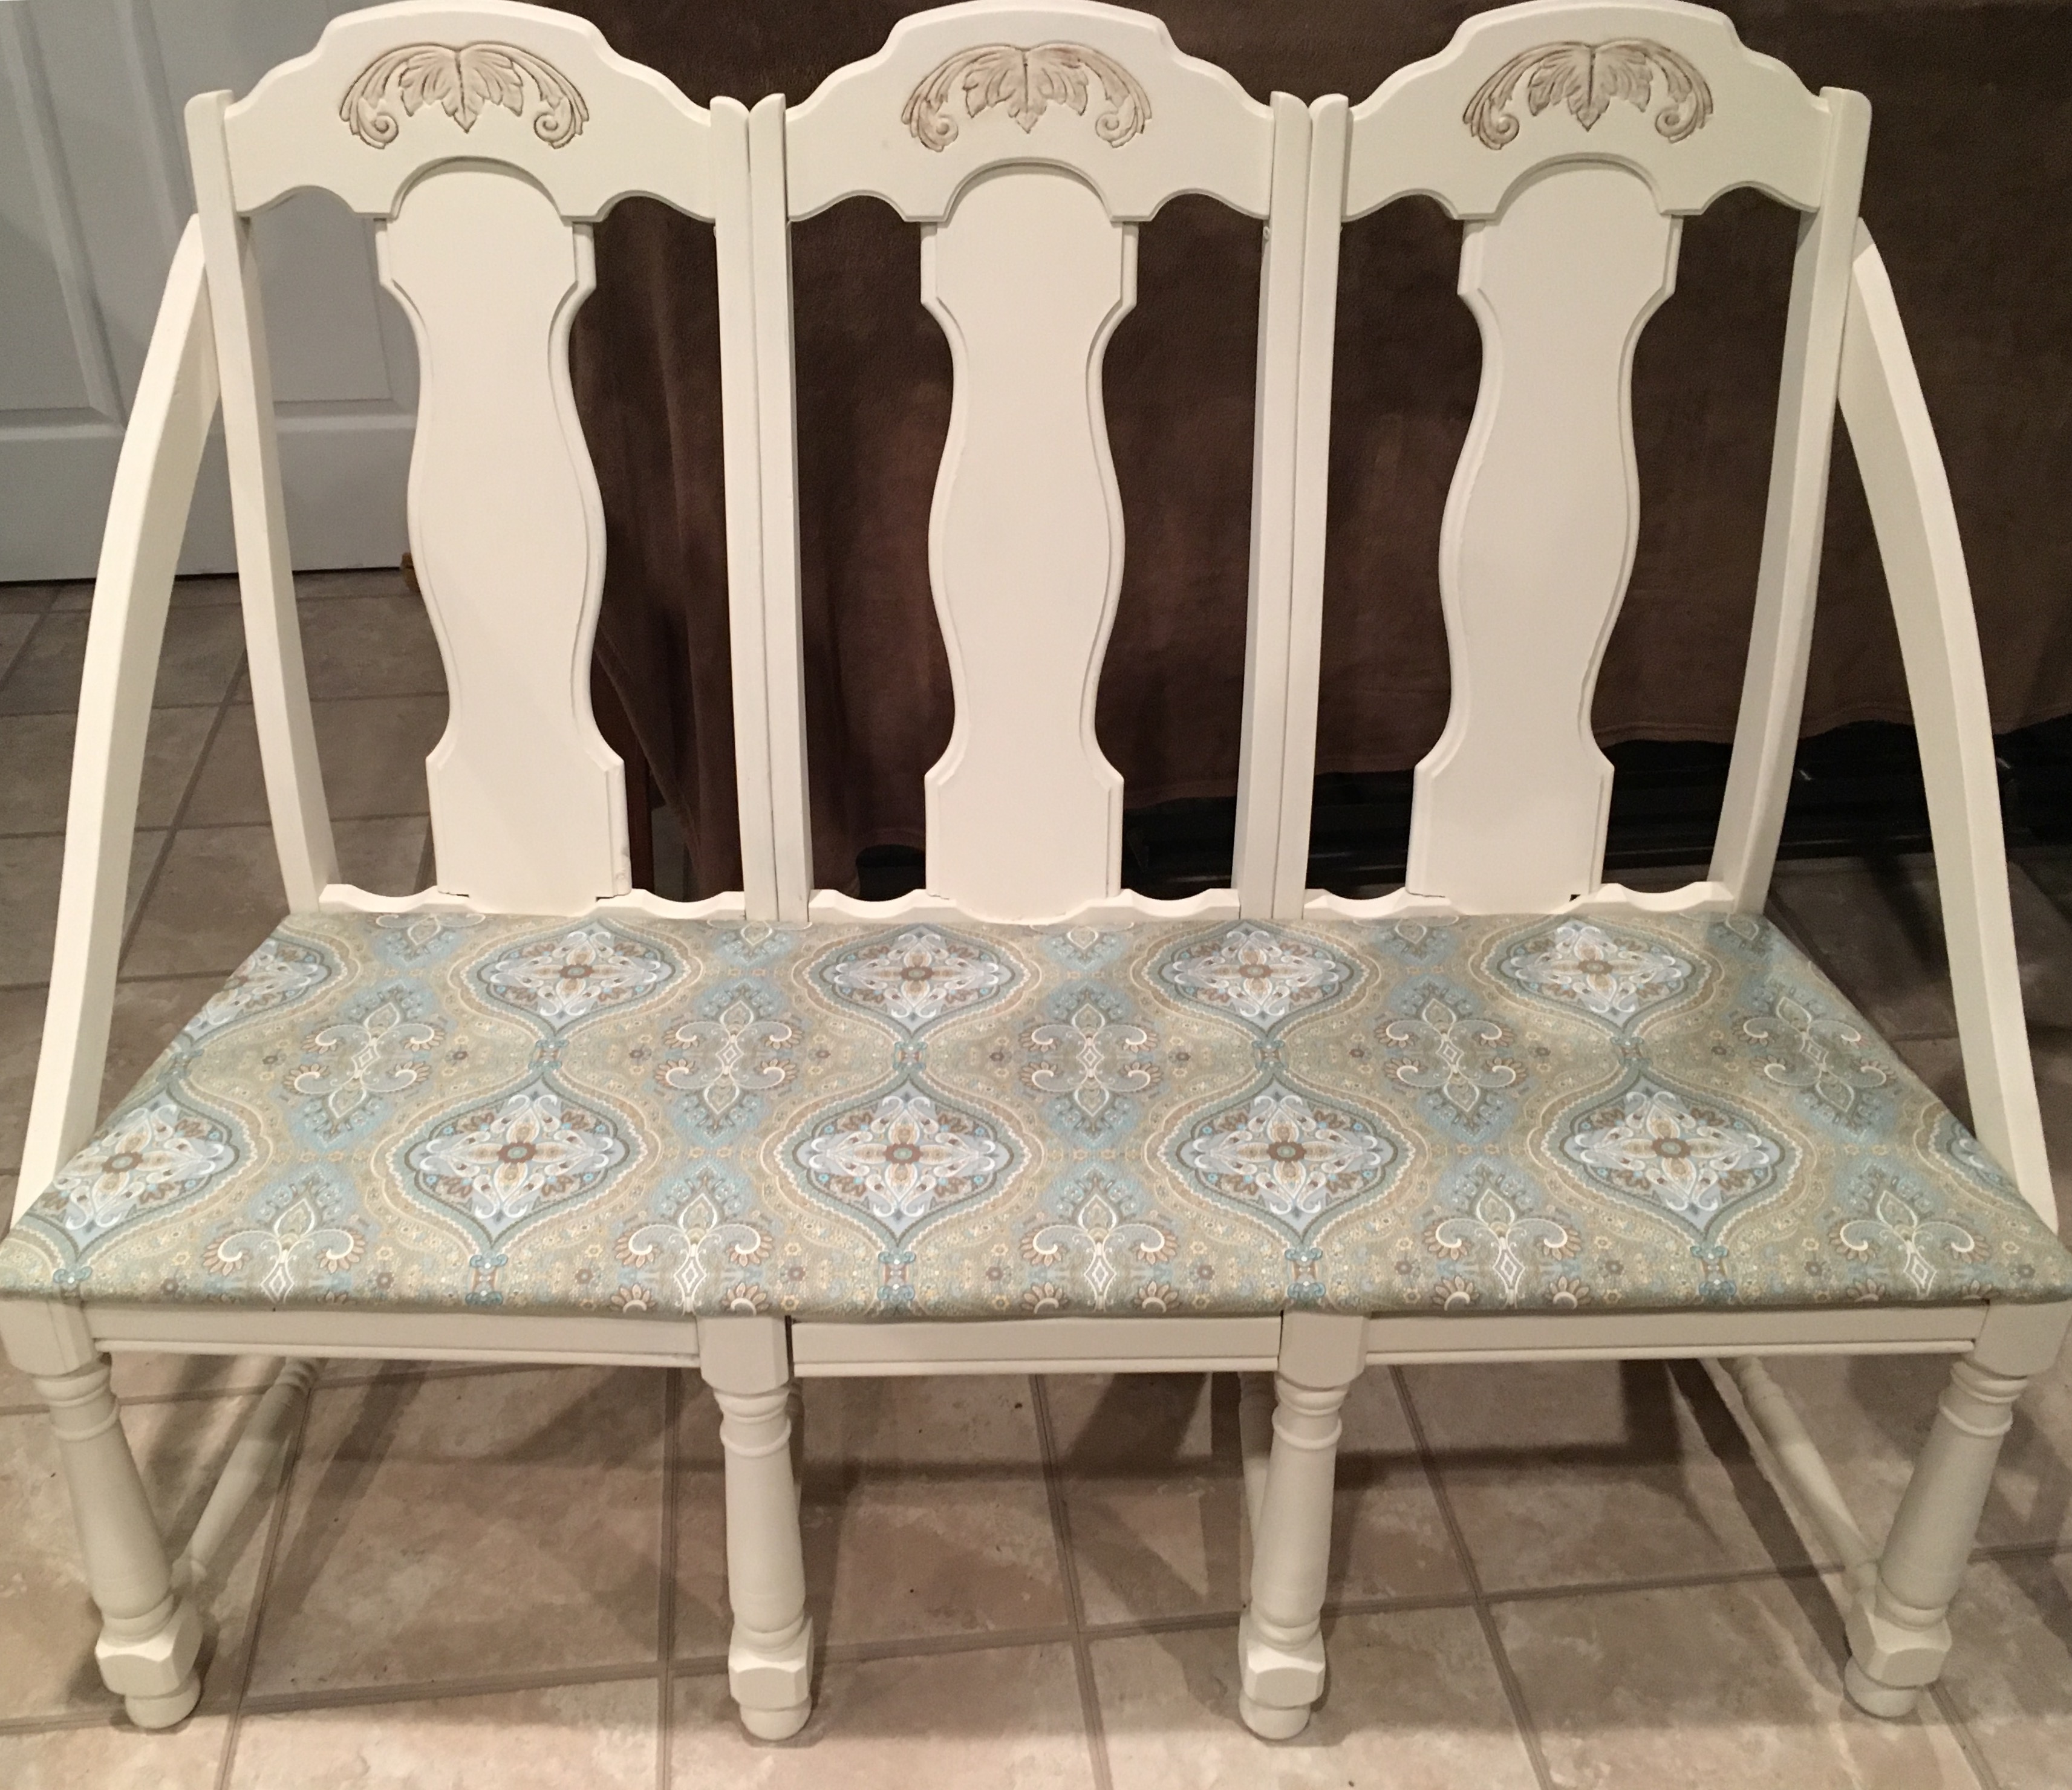
We were now ready to paint. We used, of course, Missouri Limestone Company’s chalk-based paint in “Grannie’s Lace”, the brand we distribute and love to use!


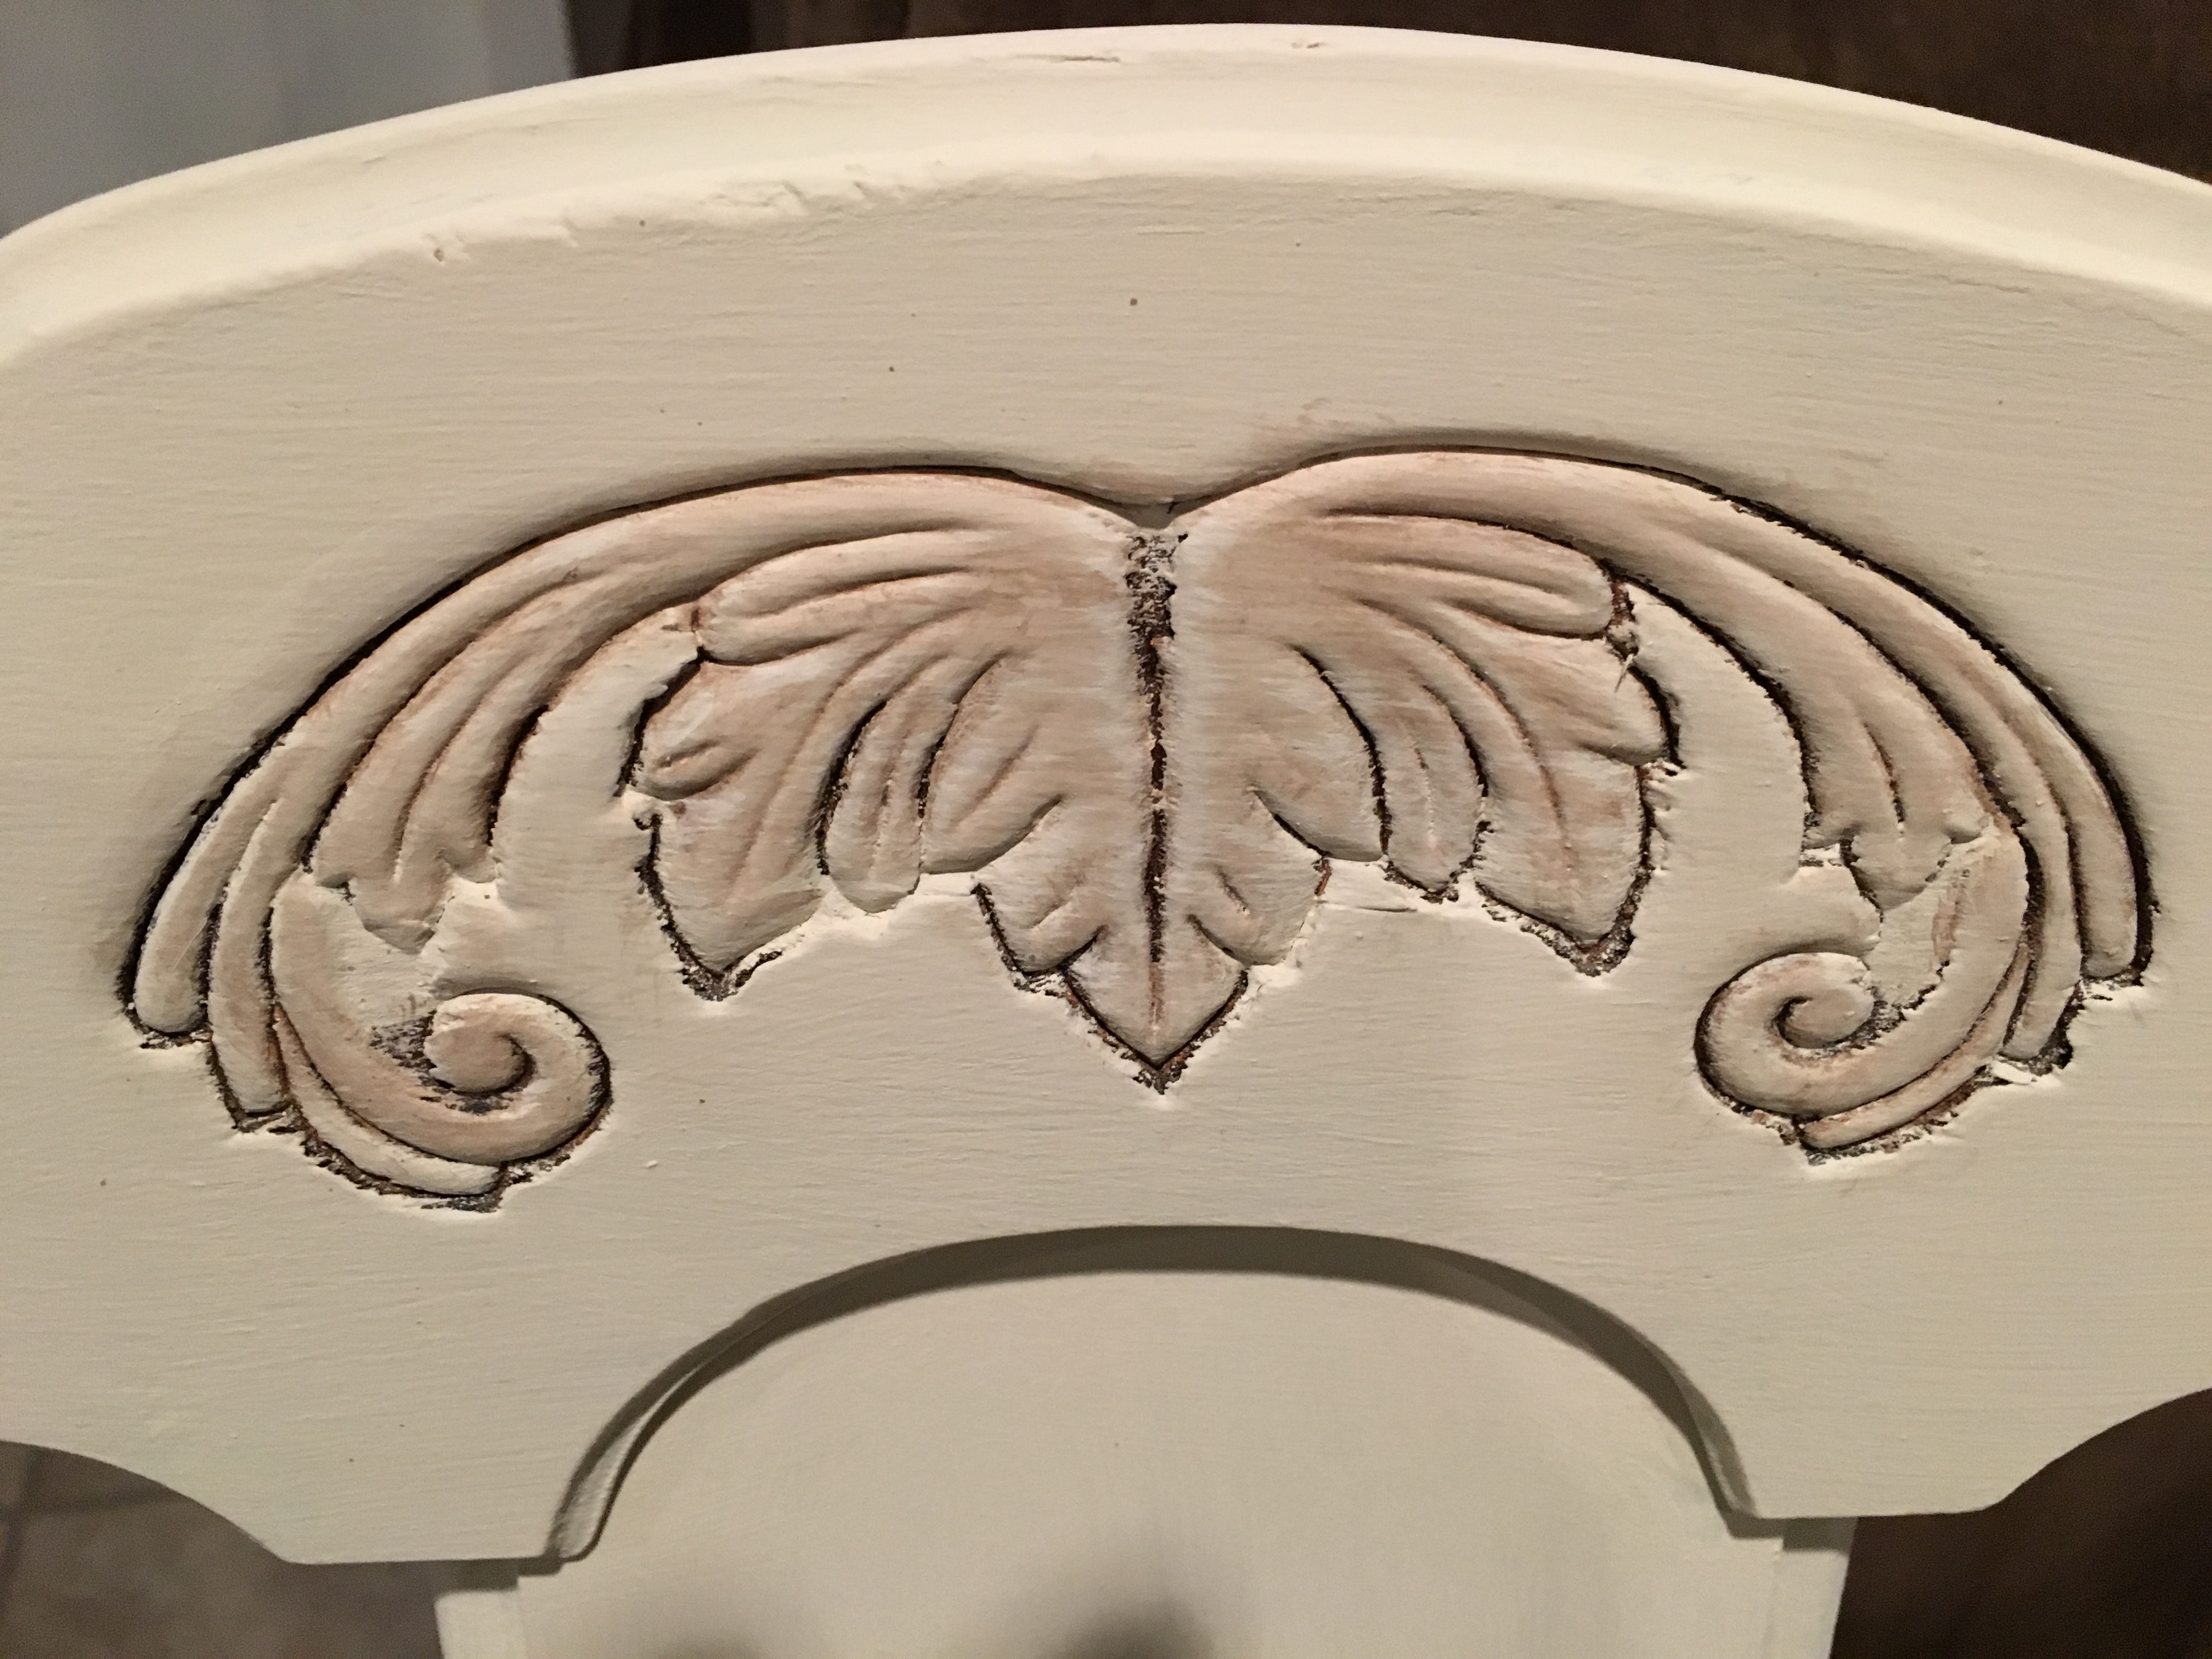
With a little dry brushing of some water-downed Varathane water-based stain and sealer, we highlighted the embossed design on the front of the bench. We added some fiberfill batting to the board, covered it with fabric and screwed it in place underneath. We sealed it with poly and the result was a beautiful bench.
Danny did a great job creating this work of art, don’t you think? The customer was thrilled! She said she liked it even better than the church pew she had been thinking of originally.
Danny’s ready to make more as soon as he finds more chairs! Be sure to contact us: sharsumpaint@gmail.com if you’d like a custom made bench for your house.