
I have neglected my blog for awhile, but I have been on a crafting frenzy. I have been posting on my personal Facebook page, though, until I can transfer them here, so at least they aren’t lost. You can do a search for my name, Sharon Sumner if you like to see. Most of my Facebook posts are private, but my crafts are all public. I do not accept Friends on my page, though, unless I know you. I would love for you to follow my SharSum Paint page. I sometimes post them there, too. Facebook.com/sharsumpaint. I do post most of them in my Instagram page also. You can follow along there, too. instagram.com/sharsumpaint
Today, I am sharing how I made this tin can pocket. I’ve been a little obsessed with these. They are just a can from your pantry. You open both ends, smash the bottom and decorate. You can do a Google Search for tin dan pockets and find videos popping up on how to make this. Some use a vise, some a hammer and some just stomp on them. Like this fellow crafter, Junk Gypsy. lol https://www.facebook.com/1646948723/posts/10224724308128875/?d=nu
I’ve decided my goal in life must be to come up with as many ways possible as I can in making these pockets.
It became pretty involved and took awhile, but I so love how it turned out. The steps I took have kind of became a tutorial. I’m pretty wordy so bear with me. 🙂
I had to smash my own can this morning. Danny didn’t have a supply ready for me. 🤷🏼♀️ I basically used the idea from Junk Gypsy’s tutorial 😂😂😂 by first stomping on it with my foot, but then I put it on the vise and finally used the hammer to finish it off. Glad Danny wasn’t awake yet to video me.
~ Painting the can
* I first spray the can with an acrylic sealer. This helps chalk paint adhere to metal.
* I then daubed on white chalk paint. This gives an awesome texture I love using on metal and glass.
* When dry, I sprayed the can with Mod Podge Pearlized Spray – this gave it a shimmer. If I didn’t want the shimmer, I would have used Mod Podge clear matte spray.
~ Creating the dragonfly design and Decoupaging the napkin
* I had this awesome dragonfly stamp given to me by awesome friends (formerly known as neighbors Boot Pierce and Rhonda Pierce). So I stamped a plain sheet of napkin (left from peeling off from another napkin project). I wet the sides in a jagged line and tore it. This helps to blend in when decoupaging.
* I used Mod Podge matte finish to decoupage the napkin, applying it to the can and laying the napkin down, then on top, pressing lightly into the ridges and making sure it is smooth. I dry it with a hair dryer, making sure I lightly press with my fingers as I dry it.
~ The other side is Rub on Transfers
* The other side I used the gold rub on transfers from Dollar Tree. These are not perfect and the first sheet I tried was already attached to the sheet that was supposed to come off so I couldn’t use it. The second one was ok, but the details are so delicate it was almost impossible getting it down into the ridges. I ended up just using my fingernail to adhere the butterflies. I ended up liking the distressed look it had so all was well. I then sprayed both sides with the Mod Podge spray again.
~ The hanger
* I didn’t drill holes in the can so I glued the hanger inside. I used wired jute and strung it with white beads. The beads have a shiny ceramic look to them. I’m like the crow who sees something shiny and has to have it. I found a little a couple little mini basketball nets at a thrift store. Net, who cared? Shiny white beads for my stashe? You bet! I cut off all the strings and now have a whole container of shiny white beads ….minus the 20 I used for this project.
~ Embellishments
* I thought ribbon glued on the bottom would be a cool look. On the dragonfly side I even used a few flowers from my flowers I used.
* The flowers are flocked and from Dollar Tree. These are very high end looking and beautiful. I pushed all of them into a small piece of styrofoam and glued them into the styrofoam. Then I just put the whole thing into the can.
* The shiny vinyl butterflies. I’m in love with these 3D butterflies from Dollar Tree. I glued them to skewers and stuck them in. For each side showing, just turn the butterflies around to the front.
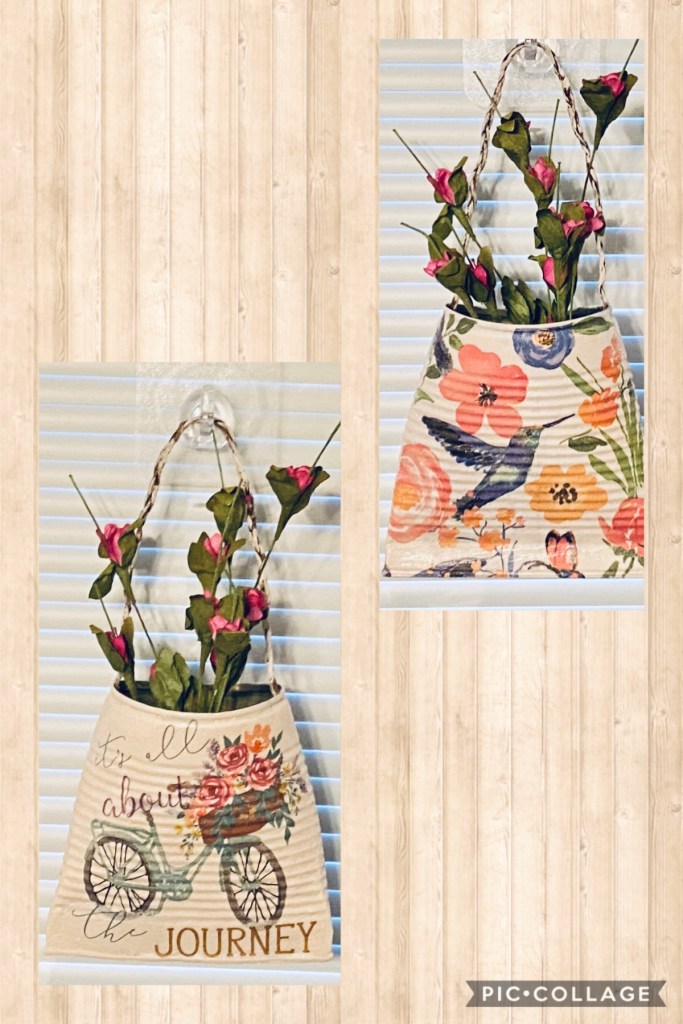
And that’s it. This is my 5th tin can pocket…..so far. But who’s counting?🤪
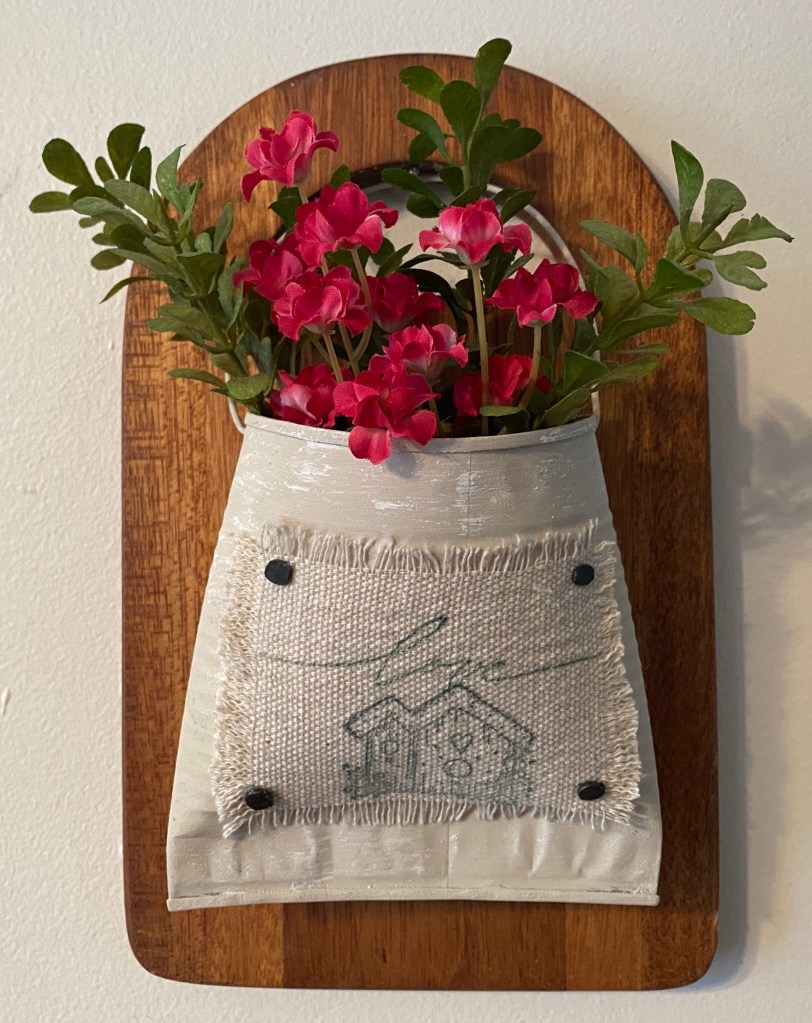
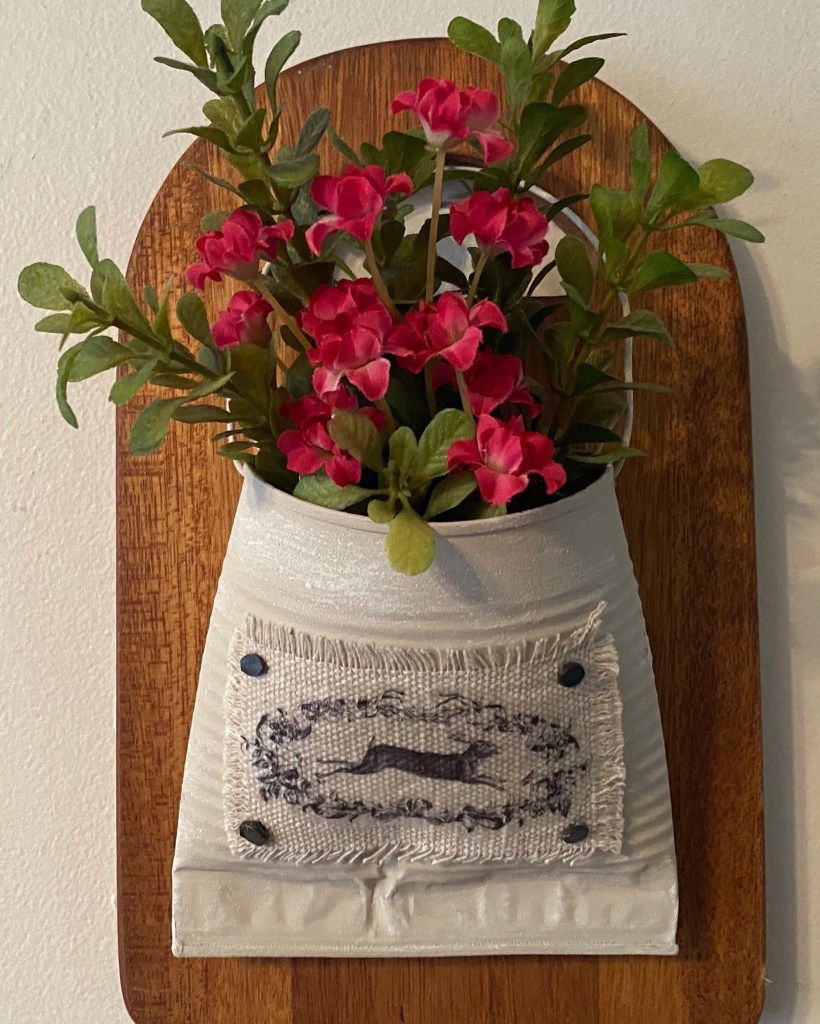
Here are my others. Some are decorated only on one side, others are two sided.


Love the finished look 🙂 Jute is one of my fav mixed media pieces to use.
http://www.diyingmachine.wordpress.com
LikeLike
Thank you so much! Heading to your page now! 🙂
LikeLiked by 1 person