Just a Few of the Crafts I’ve Done Lately – Part 2

Click here to see Part 1

For the basket, I painted it an off white. I cut out and glued bunnies from a napkin to some burlap type fabric with spray adhesive, then Mod Podged them to the basket and added a little jute twine bow I made. I crocheted egg covers last year and I stamped and stuffed the little fabric bag last year, too. I sprayed plastic eggs this morning with Mod Podge pearlized spray to make a soft shimmer. I also sprayed the Happy Easter sign and attached a skewer stick to the back. I made the bow with some awesome fabric yarn I have.
I had a Dollar Tree tinsel rabbit face and purple yarn. I wanted to see if this yarn would work.
I started at the bottom and made sure the loops lay so that I covered them all the way to the neck when I wrapped the yarn around. Then I did each ear individually and started from the top, making sure the loops lay so that I covered them and ended up meeting the other loops at the neck. I think it gives her a French Poodle haircut. 😁
I reused the eyes and mouth and used felt for the nose and inner ear pieces. I had purple ribbon the exact color. I wired it on and added a jewel in the center.
She turned out pretty cute, I think.
I’ve had several friends over the last couple of years shared with me examples of crafters that have painted pinecones to look like zinnias. I got out that bag this morning and the pinecones it held were the exact kind I needed, so….. I painted and planted some. I also had the little sign so I cut the “bloom where you are planted” out of vinyl and added to the sign.
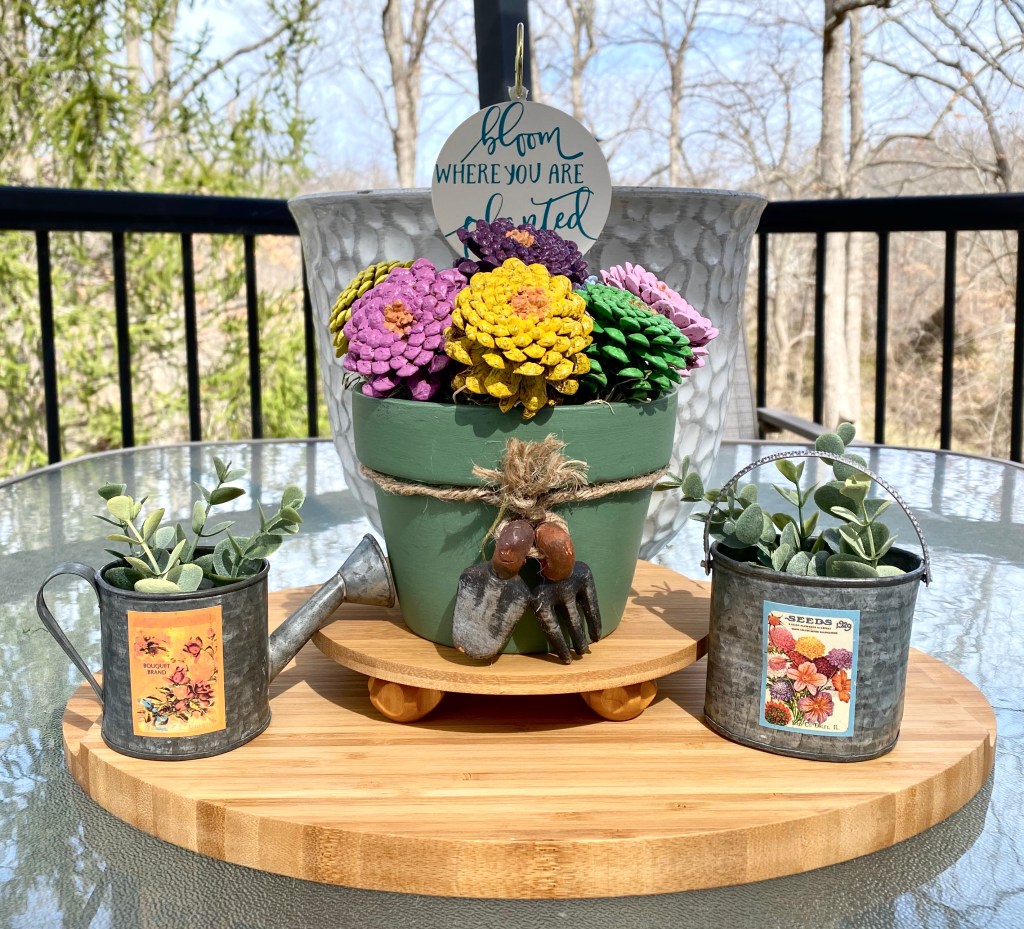
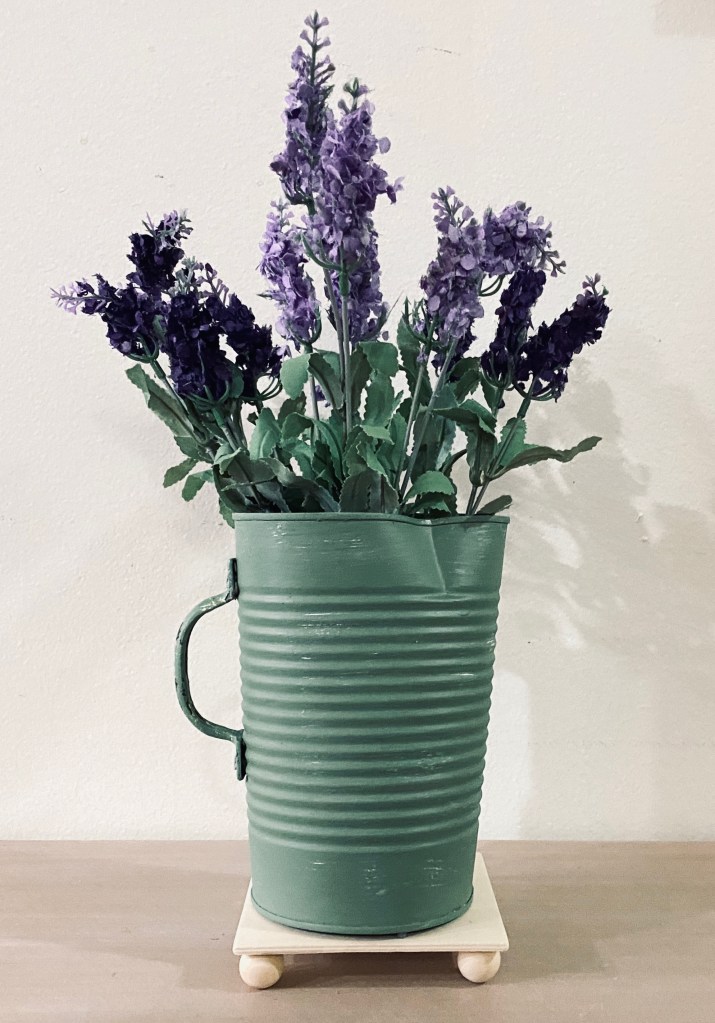
I also had these cute little tin containers so I planted some faux greenery in them.
You can bring this sweet girl out year after year. She looks good enough to eat, doesn’t she? But she is just a styrofoam bunny. I gave her two coats of a dark chocolate brown – Missouri Limestone Paint Company “French Roast”. I even gave her candy/like eyes using white and pink paint pens. I then sprayed her with a clear gloss spray to seal in that rich color. I added a bow around her neck and stuck in and glued a skewer stick in her bottom, cut to fit the bowl, to help her stay upright in the white shredded filler.
I painted, distressed, sealed and waxed a wooden bowl for her and she is now complete.
I made the Dollar Tree racetrack cloche. The interesting thing is that the white and orange gave it a pretty pinkish cast, so I left it like that. I sealed it with clear matte spray and a coat of Pearlized Mod Podge. I also added nautical rope all around and painted it, too. I added a pretty ceramic drawer knob to the top and paint dyed some gauzy fabric ribbon to put around it.
I used paperback books and covered each book with this cool vinyl wallpaper I thrifted. Made a messy bow, spray painted some keys, added a Dollar Tree wood cut out bird, and tried to used the Dollar Tree Transfer words. They didn’t want to cooperate with the uneven vinyl, so I did the best I could then hand wrote the letters over the glittery gold with a metallic gold marker pen.
I think I could easily become addicted to making these flowers. I did a lot of searching and finally started finding some using some of the vintage twisted paper I thrifted. Even the tutorial by Artful Affirmations I found on this flower was from 2016. It was very popular in the 80’s but not so much now. It looks like crepe paper, but is much sturdier. This paper, and the little heart shaped plastic box came from the grab bag I got at a thrift store.
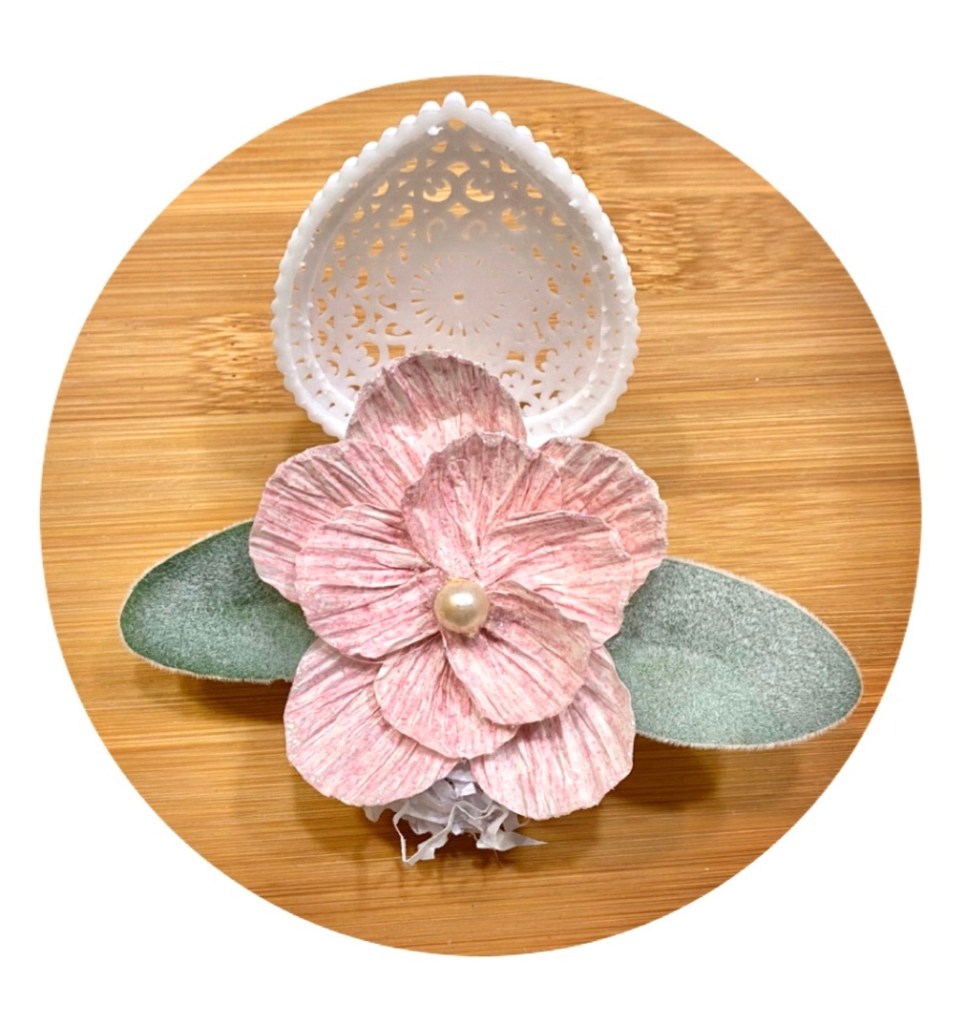
The flower adhered inside the box is sitting on a napkin. Tutorial found on Pinterest by Artful Affirmations.
I saw a technique to use hairspray when you were wanting small crackles. It works! 🙂
I cleaned a 40 oz. tomato juice can and then sprayed it with a clear sealer to help the chalk paint adhere. I let it dry and then sprayed a heavy coat of hairspray all over. I dried it with a blow dryer then put on a thick coat of chalk paint, painting in one direction and did not go back and forth or overwork it or the crackle won’t happen. I then used a hair dryer and the crackled appear. The hair dryer seems to make better crackle. Do not use screws to attach the handle of you want it to hold water.
This was the first can I made. I had this old chippy handle I wanted to use. I attached it with screws (not a good idea if you want it to hold water. It didn’t matter on this one because I cut both ends out of the can! What was I thinking!!! I guess I thought I was going to make a smashed can basket. It holds faux flowers, nicely, though. I ended up putting a fake bottom on it because every time I picked it up, the flowers dropped out. Lol

1 thought on “Just a Few of the Crafts I’ve Done Lately – Part 2

  1. Pingback: Just A Few Crafts I’ve Done Lately – Part 1 | SharSum Paint

Leave a Reply

Fill in your details below or click an icon to log in:

WordPress.com Logo

You are commenting using your WordPress.com account. Log Out /  Change )

Facebook photo

You are commenting using your Facebook account. Log Out /  Change )

Connecting to %s