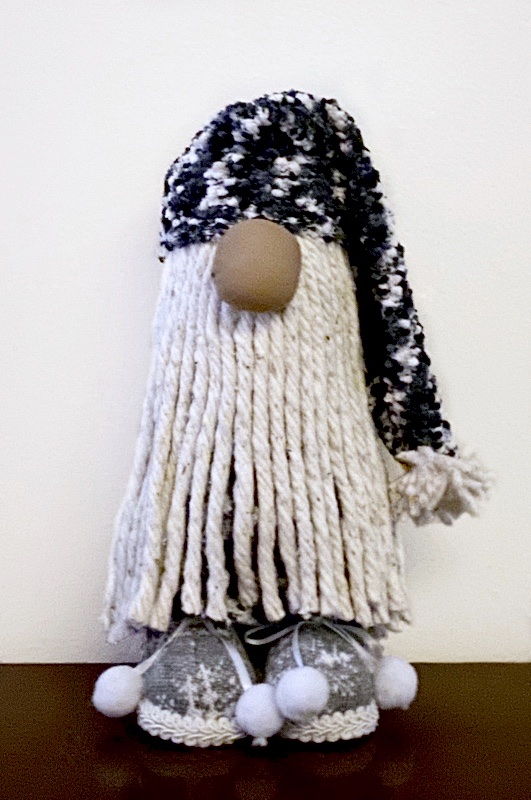
Gnomes are so popular this year I thought I would make a winter one (that can be displayed all season) in honor of Danny’s Scandinavian heritage.
First, a little history lesson. A Scandinavian gnome is a mythical creature of folklore that likes to live near homes and protects them and the children living there from misfortune. It is known as a Tomte or Nisse. We associate them with the winter solstice or the Christmas season.
The ones we are seeing everywhere we look are just too cute. I forgot to take pics as I worked on this little guy, but it isn’t too hard to visualize how I made him.
This gnome stands about 12″ high.
Supplies:
* 1 plastic glass – this glass is 2/$1 at Dollar Tree

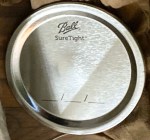
* Wide mouth pint canning jar lid and insert
* A scrap of knee high or pantyhose and a bit of fiberfill or wooden ball or anything that would make a nose. I used pantyhose (Dollar Tree) and fiberfill for this one.
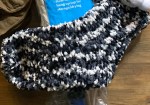
* 2 socks from Dollar Tree – update: these are adult socks!
* Cotton mop head – I found this one attached to the mop for around $4 at Dollar General. Will be enough to make several gnomes and the handle unscrews and can be used for something else.

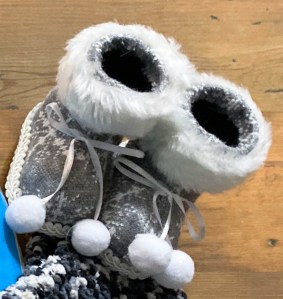
* Pair of booties – these are Christmas Ornament found at Walmart. Too cute!
Steps for putting the gnome together. Sorry I forgot pics.
1. Hot glued the canning lid insert to the lid. Then hot glued the top of the glass to the lid. It was a perfect fit! The reason I did this was to give it more surface area when gluing to booties.
2. The glass becomes the body. Turn the glass upside down and hot glue the canning lid and insert to the top of the booties.
3. Cover the glass and boot tops with one of the socks and arrange to your liking. I spot glued on the top and on the sides a little just to keep the sock from slipping.
4. I cute a piece of pantyhose and stuffed it with a bit of fiberfill. I shaped it into a round nose.
5. I tried the other sock (the hat) on to see where I wanted to place the nose, then glued the nose onto the sock covered glass right below the edge of the hat. I removed the hat for the next step.
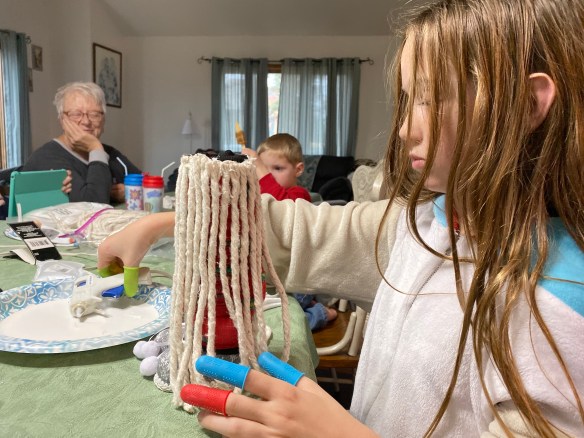
6. I cut the mop head strands from the mop and glued them very close together all around the edge of the top part of the upside down glass making sure I glued strands above and below the nose so close the ends don’t show. I then gave the strands a haircut.
7. I put the hat back on and shaped it the way I wanted, spot gluing it to stay in place.
8. I made a little Pom Pom for the end of the hat.
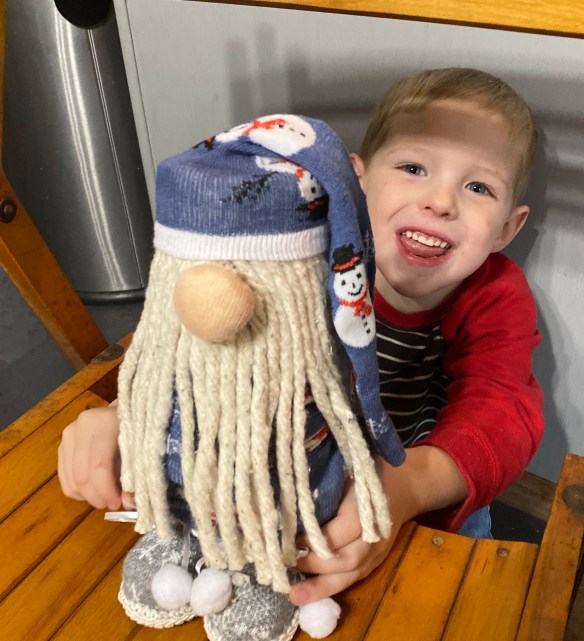
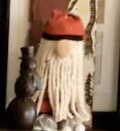
And there is my little gnome. I think I will call him “Tommy the Tomte”. ❄️💙
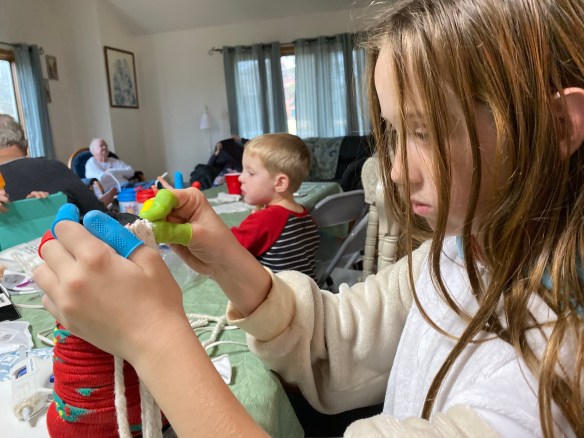
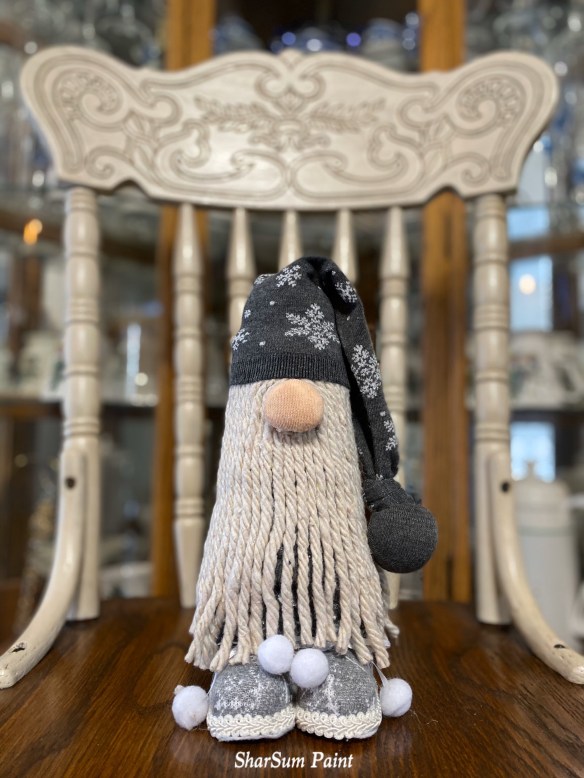
I also helped my granddaughter and one of my grandsons (the other two weren’t interested lol) with making one for their families during our First Annual Thanksgiving Craft Day. We used a different Dollar Tree cup for theirs. These came with lids and straws. The straws I saved to use for drinking straws for my house and used E6000 to glue the lid onto the shoe tops. That worked very well.
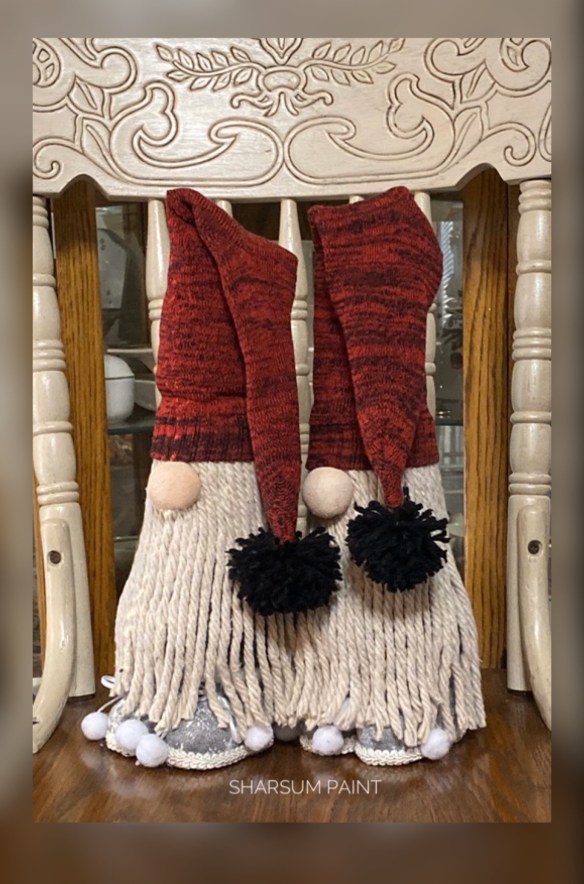
And then I made this one that sold!
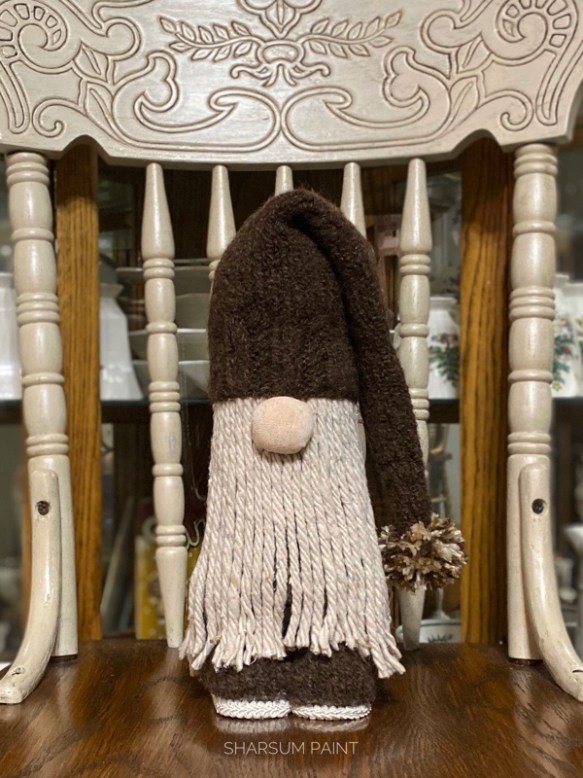
This next gnome is a custom order.
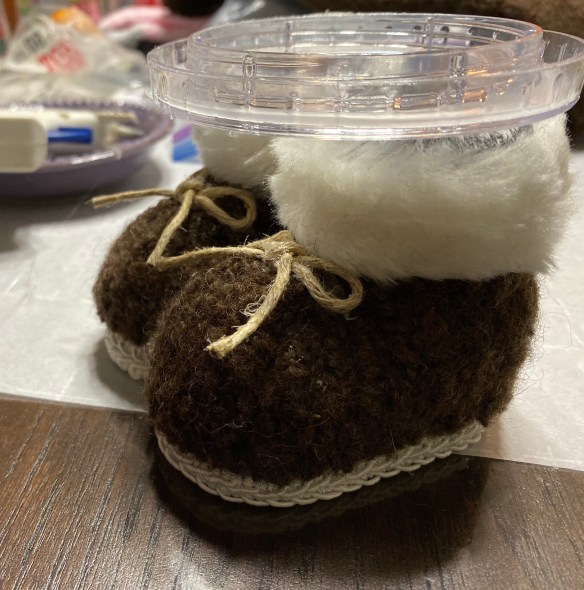
This gnome is a bit different than the earlier ones. He is created from hand knitted sweater sleeves. Parts of the sweaters were made into pillows, so this gnome will fit right in with his owner’s decor. Look at his booties! They are the same as the other ones I have been doing. I just covered them with some of the brown sweater. There is a close up of the booties and the body. The body is covered with the second knitted sweater. The hat is created from the brown sweater. I’m going to be making about a 4” traveling gnome to match. This gnome will get to stay in the car of the owner and do some traveling. 🙂 You aren’t going to believe what his booties and body will be made of. Stayed tuned to find out.

And since I had a few that haven’t gone to their new homes yet, I created a band. Meet GG Top! 🤣
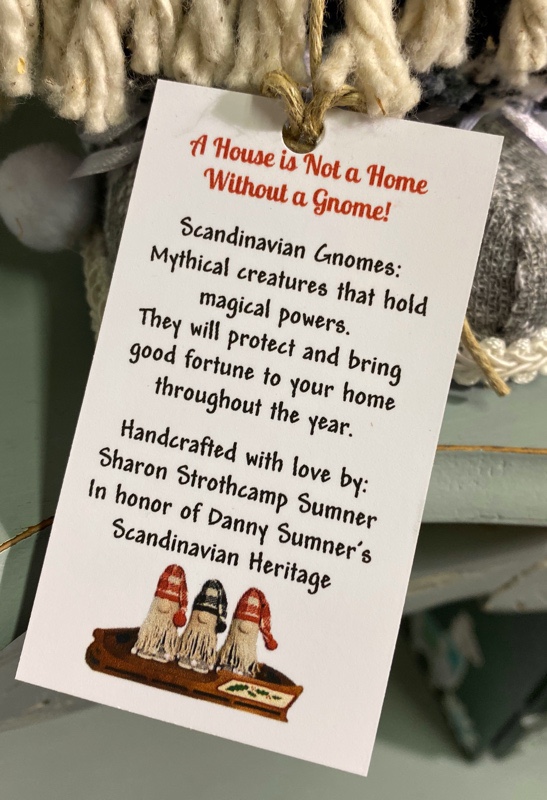
I saw this tag idea on Pinterest so I made tags for each of the gnomes going to a new home.
More gnomes going to homes. 🙂