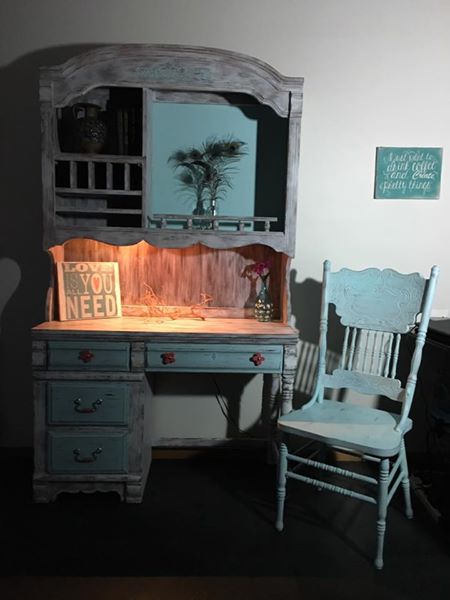
This has been one of my favorite pieces I’ve painted. I really wish I would have had room in my house to keep it, but it sold very quickly. I’m so happy it sold to a family who had adopted several kids and wanted it to put in a bedroom, but once the lady saw it, she was going to display it in one of her main rooms instead to show it off. Here it is in all its glory but since I recently was asked how I did this, I am going to show you some steps on how it came to be.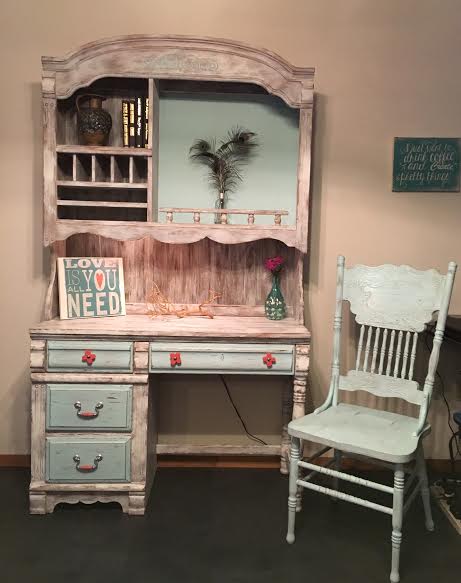
I put off doing anything with it for months because I wasn’t looking forward to trying to paint inside those little cubbies on the hutch. I even sold it to a painting friend because I wanted it out of my living room. But then….I ran across a post from a lady describing how she had painted a desk using the dry brush technique. And, wow!!!! It was the same exact desk I had. They say imitation is the greatest form of flattery, but I did show her what I had done when finished. She loved it! She laughed and said she thought it was her piece at first. So I thank her sincerely for the inspiration to try something like this as I never had attempted anything like it. It was time I bought my desk and hutch back from my friend. I was sure glad she still had it. : )
Here you have the original desk and hutch.


As you can see, it is your standard oak. The desk even had a hard laminate type top. No problem. It was time to start.
Proper preparation is very important. I cleaned the whole thing thoroughly. We usually use a spray container of a 50/50 mix of vinegar and water or 50/50 alcohol and water then clean and rinse well and let dry. I then scuffed up the whole thing by hand with just 220 sandpaper, just to rough it up a little. No major sanding need. Cleaned again.
I took out the drawers and decided it would be easier to take the back off the hutch to paint it. When we did, what do you know? All those little cubbie slats came out! The hutch ended up being a breeze to paint, too.
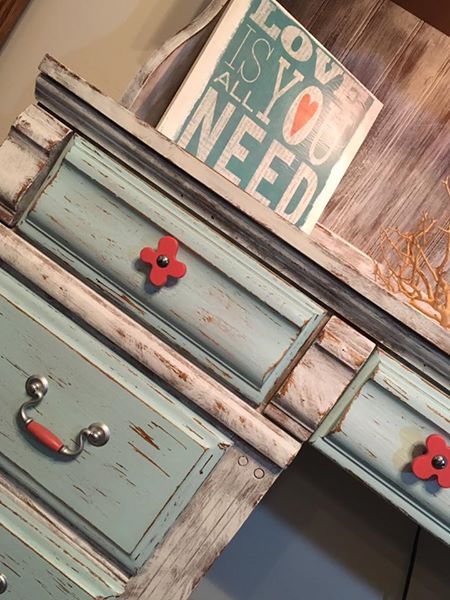
The drawers I painted with a couple of coats of a light turquoise with the paint we sell and use called Missouri Limestone Paint Company and the color is “Front Porch”. Love the name. Doesn’t it remind you of the color of the slats on the ceilings of the old farmhouse porches? I distressed the drawers a little, too. I even painted the cute little knobs I found at a yard sale and the wooden part of the handle with the color “Harvest Pumpkin”. I did seal those with poly. The drawers have a slightly gray shading to them. I did that by rubbing them with very fine steel wool. That really makes a nice look.
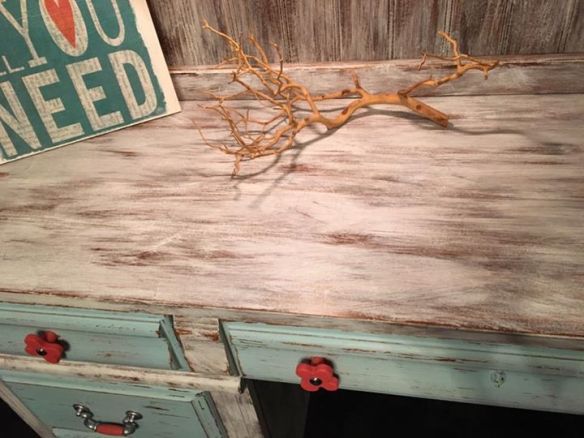
I did a little video at the time to show how to dry brush, using the color “January”. In this case, I wanted some of the oak showing through. The big thing is not to have too much paint on your brush and then dab most of it off. Fair warning – this video is in no way professional. And yes, I sometimes paint in my dining room. I have severe garage envy.
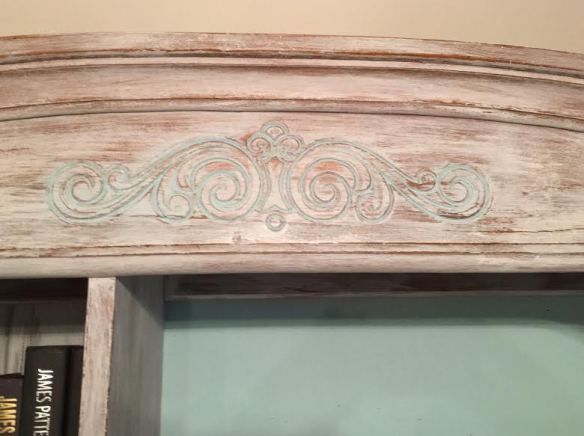
This hutch also had a corkboard. I painted it with a coat of Zinsser Bulls Eye Shellac first to keep the paint from soaking in too much, then painted a couple of coats of “Front Porch”. I used a little of the “Front Porch” to get into the grooves of the detail on the top of the hutch.
I painted a chair with “Front Porch” and distressed it after the paint dried with a slightly damp scrubber sponge. Used the scrubber to distress, then the sponge to wipe clean.
I sealed the whole piece with several coats of wax. We use toulene-free Briwax.
I hope this tutorial inspires you to dry dry brushing. It is very easy to do, and the results can be spectacular. I have a few more photos of the process for you to enjoy.

Painting the corkboard
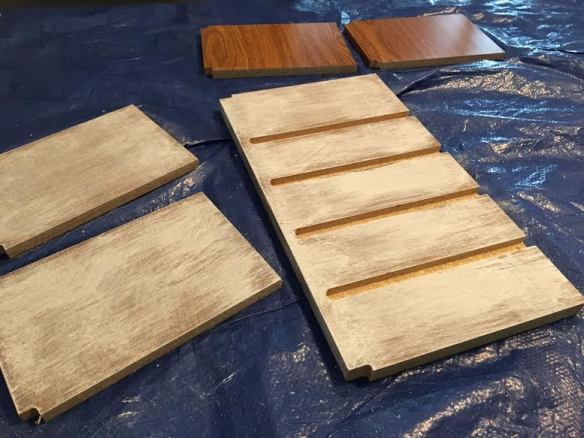
Painting the cubbie slats and bottom
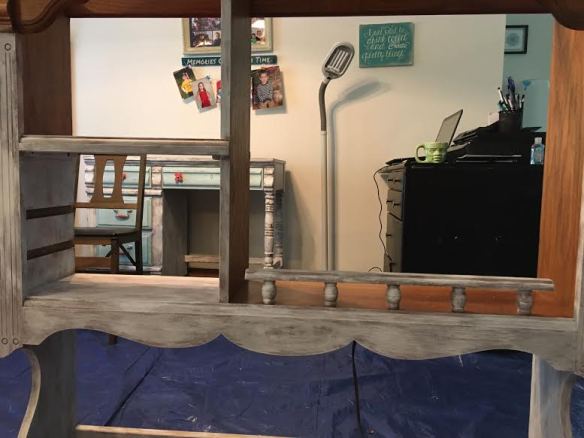
Hutch without the back
Facebook: https://facebook.com/sharsumpaint
Instagram: https://instagram.com/sharsumpaint
