Our heartfelt thanks goes to the Sullivan Arts Council for sponsoring our July Make & Take It Class. Everyone is so busy in the summer, it is hard for people to fit one more thing in, but the Arts Council really spread the word through advertising and we had a great class. We like to keep the number of participant around 5 – 8 at Gift Emporium and we had 5 people eager to learn more about chalk-based paint and even more eager to paint their projects. A variety of items were brought in and they all turned out gorgeous! Thanks so much to the ladies for their attendance. I warned them they would be looking around for more things to paint and one told me later she already had! LOL
I didn’t get before pics but the after pics really show off how well these projects turned out. What a fun day!
For more information on upcoming classes or how to host your own, please visit our Painting Class page.

Teri brought in a white angel she bought at Cracker Barrel and 2 other items she wanted to paint to match.

Missouri Limestone’s “January” was the perfect color. She found the basket and bowl very easy to paint.
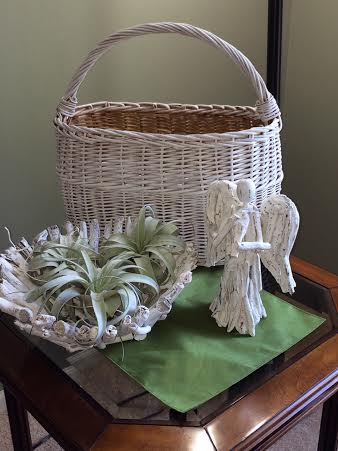
She added an air plant to the wooden bowl when she got home, took a photo of this gorgeous arrangement and sent it to me. II love it!
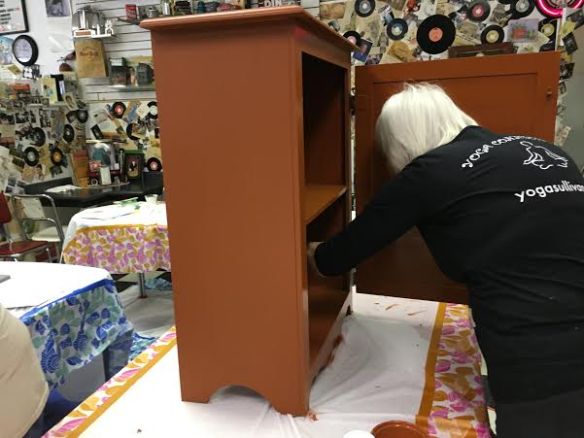
I don’t know what it is about this color “Old Tin Barn” but we all couldn’t keep our eyes off this cabinet Karen painted. I saw a before pic and saw the finished project in her home. It is amazing what a difference it made and the color was perfect for the room. I can’t wait for her to send before/after pics of this project.
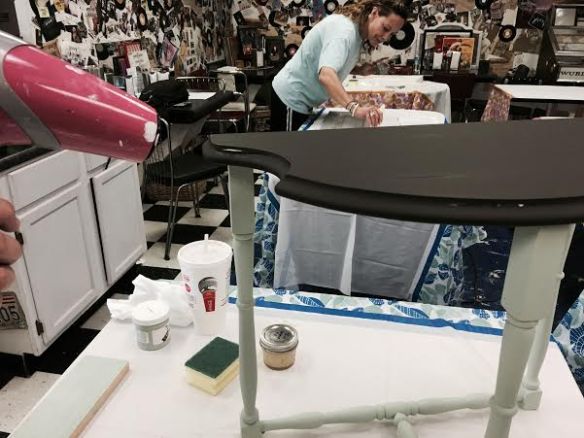
Merry’s little half table was a beautiful combination of “Clothesline” on the bottom and “French Roast” on the top. I love when “French Roast” is used on the top of tables. It is such a rich color and when wax or poly is used, the color really stands out. The lighting here makes the legs look white, but they are really a beautiful green as you can see in other photos.. And yes a hair dryer really helps you watch the paint dry : )
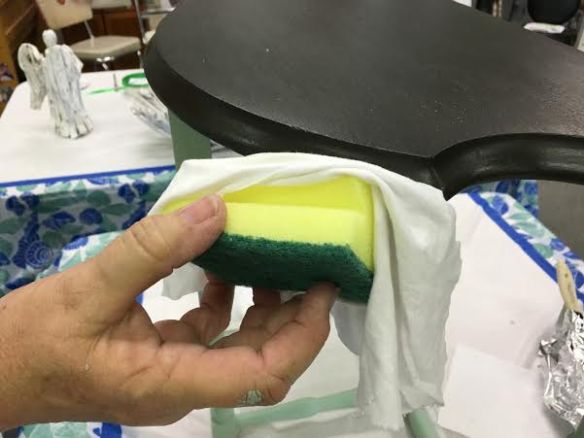
Merry had this brilliant idea when buffing. She wrapped a buffing rag around the sponge from her kit. It worked perfectly. Just look at the luster on the edge of this table top. Great idea, Merry! That’s a tip I will be using and sharing!
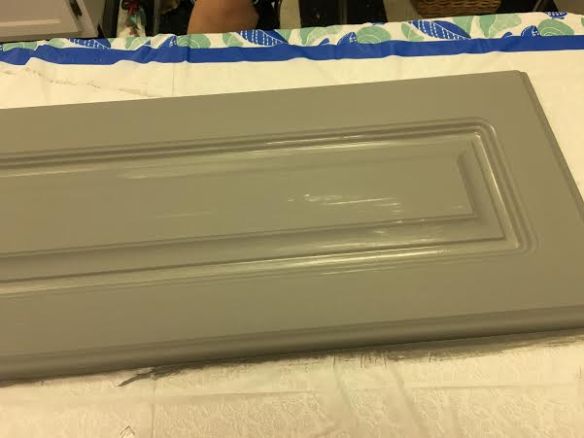
I admit I was a little worried when Lee brought in an extra kitchen cabinet door to practice on before deciding to paint her cabinets. The finish was one I’d never seen. It was a very slick finish. Lee said it was a plasticized foil wrap of some kind. I just was afraid it would be too slick to hold the paint. Danny did scuff it up a little with a fine sandpaper.
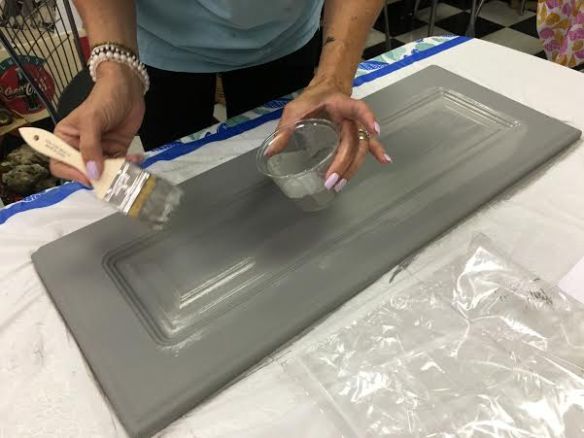
We couldn’t believe how well it took paint on the first coat. This is the 2nd coat. She gave it one more coat, watering the paint down just a bit as it didn’t need much. It turned out great! I think Lee just may be painting her cabinets in the near future.
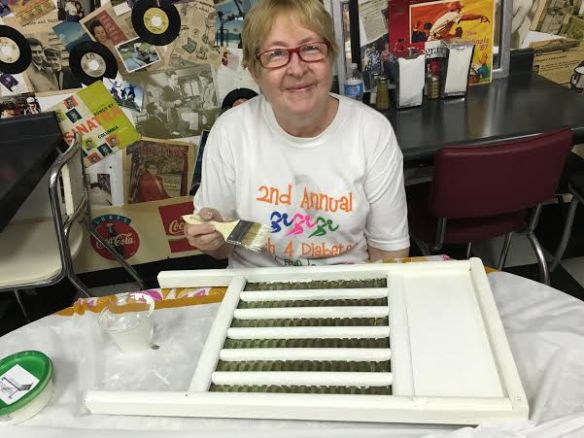
Karen brought in an antique washboard. It really soaked up the paint but by the 3rd coat it had evened out. She’ll be painting the metal black when she gets home, using a very small brush and a steady hand. She was thinking about doing some “crackling” on the top part. Give me a call, Karen, and we will go over the crackling technique again. That would look great!
It is amazing how fast the time flies when you are painting. One of the great benefits of the classes is getting to see what the others bring in to paint and how all the items are so transformed in such a short time. As a teacher, I am always thrilled to learn from students, and the t-shirt over the sponge to use for buffing was pure genius. : ) I can’t wait until the next class.
